Community Brag Posts

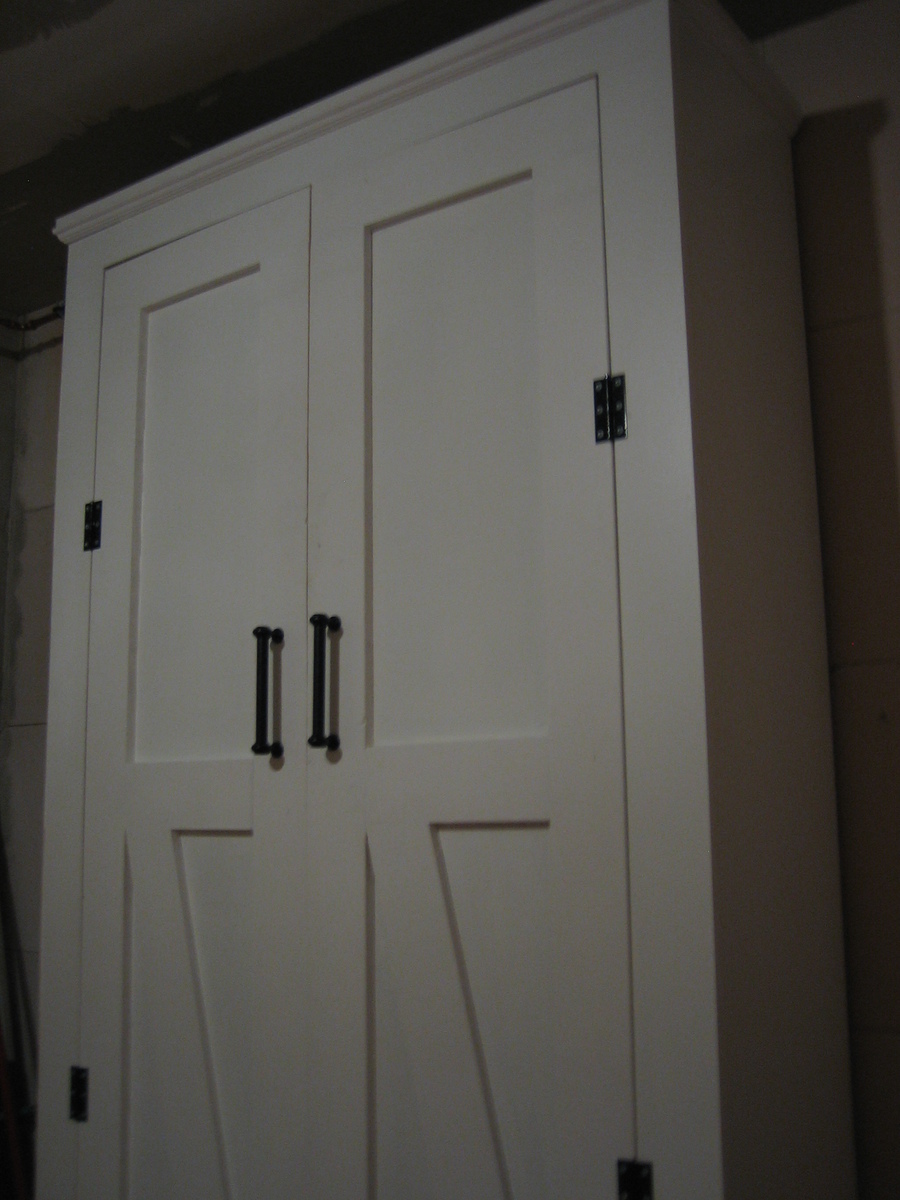
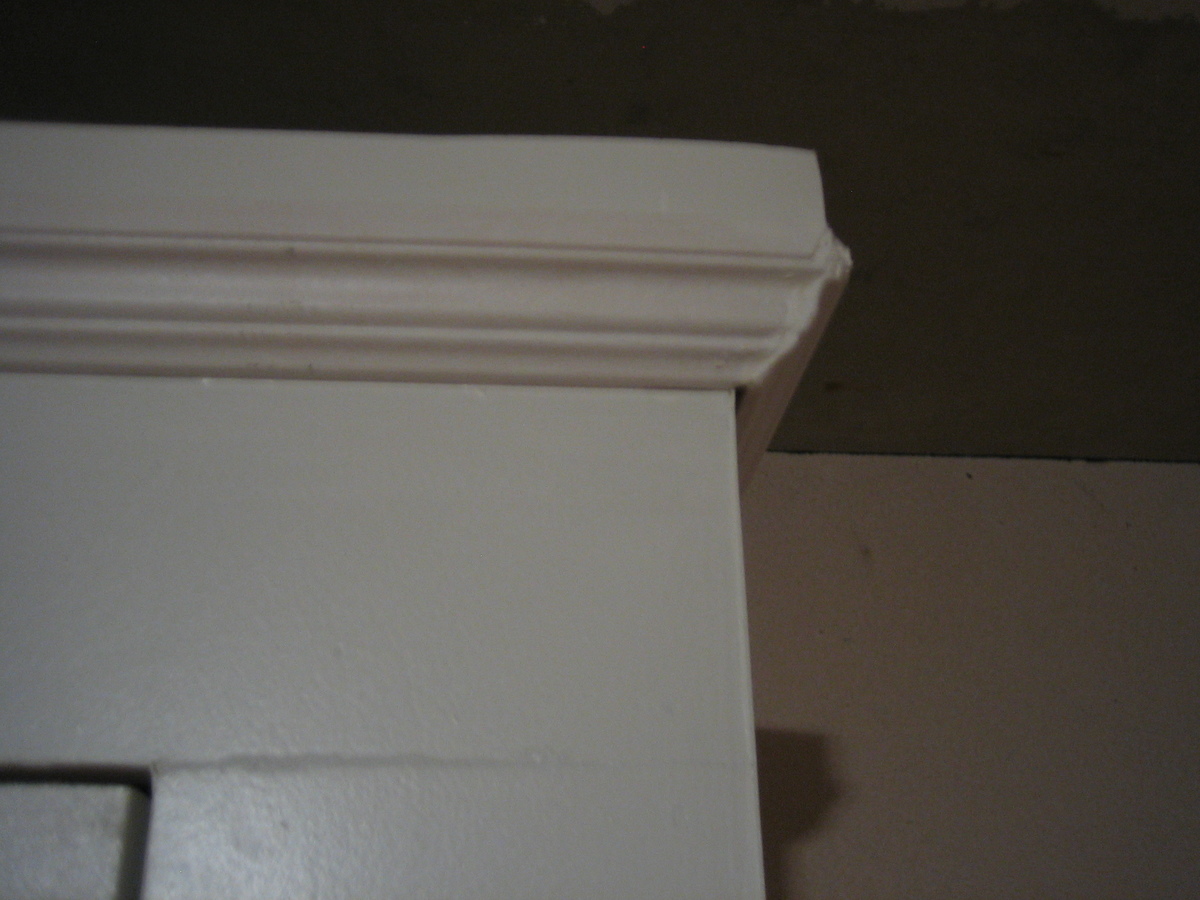
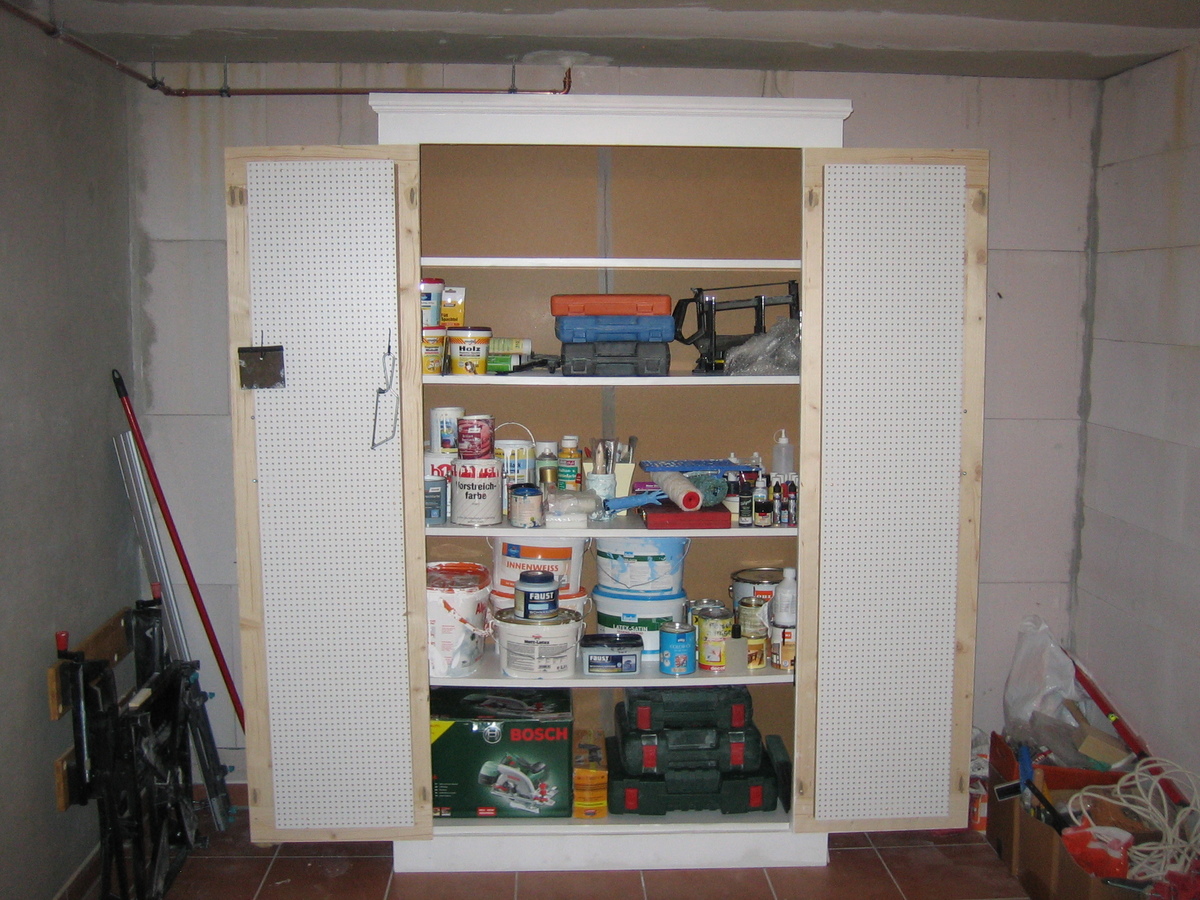
Storage Cupboard

Submitted by sophie on Wed, 05/23/2012 - 23:44

My cupboard is quite a lot bigger than the one in the original post but is super sturdy.
It was a relatively easy project to build. My main issue was that I used chipboard for most of the cupboard and ironed on veneer on the cut sections which threw my door frame measurements out of whack and I had to shave a bit of my door off with a plane to get it to fit in neatly.

Built from Plan(s)
Estimated Cost
€60
Estimated Time Investment
Weekend Project (10-20 Hours)
Finish Used
White 2 in 1 primer and matt white
Silver hinges painted with high gloss black
Recommended Skill Level
Beginner

Comments

Amandahaslip (not verified)

Sun, 08/12/2012 - 11:47

Hi there. I love this!!! I was wondering if you remembered the dimensions of wood used or what not? I want to make one or two of these for my basement laundry room for storage but am new to this so not sure how much I would increase all of the wood etc from the original plans. Thanks!

sophie

Mon, 08/13/2012 - 02:48

Hi! So glad you like it! I used SketchUp to create my dimensions to fit my space. Have you ever used it before? It's a free designing tool and really helps me to visualise if the wood's all going to fit together or not.
Here are the wood measurements I used:

Chipboard, white, 19mm
Part/Length (mm)/Width (mm)/Amount
Top:1200/436/1
Side x2:2000/400/2
Bottom shelf:1124/350 /1
Shelf x4 :1124/350/4
Frame top & bottom:1162/100 /2
Frame side x2:1800/100/2
Door frame top & bottom:476/100/2
Door frame side x2:1594/100/2

Door backing MDF 3mm
Part/Length (mm)/Width (mm)/Amount
Back:2000/1162/1
Door back:1700 /360/2

If you have any other questions, I'd be happy to help. Good luck!

Podium for My Wife's Classroom

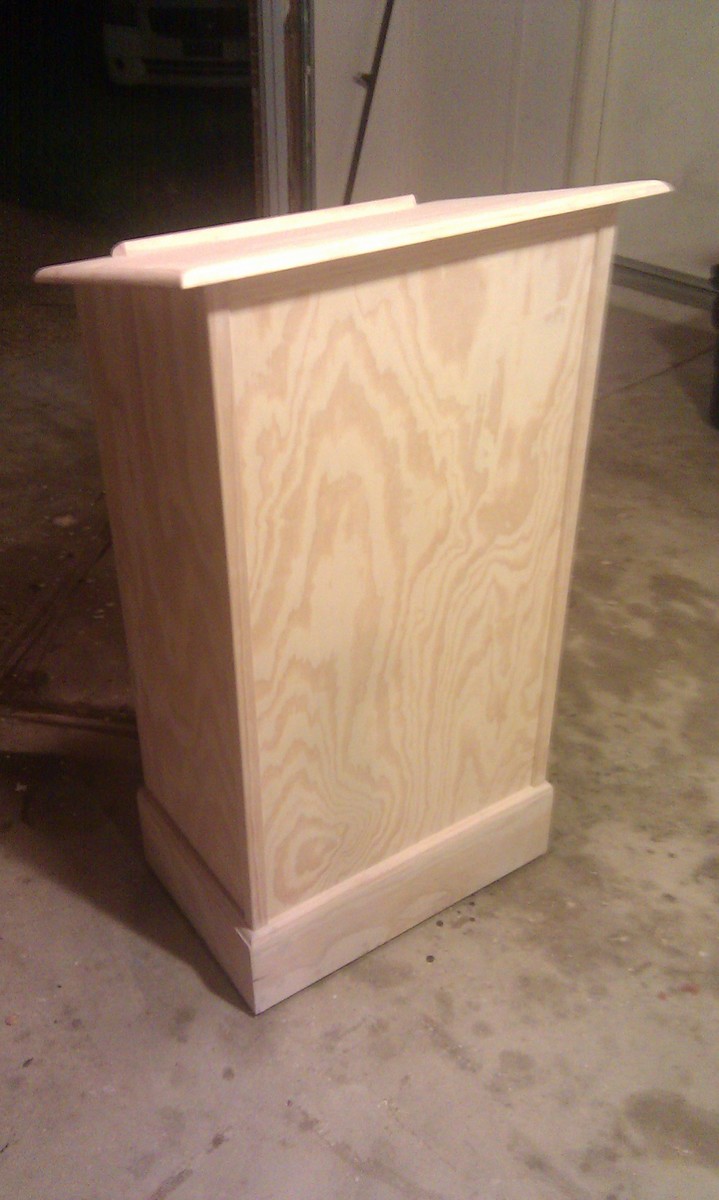
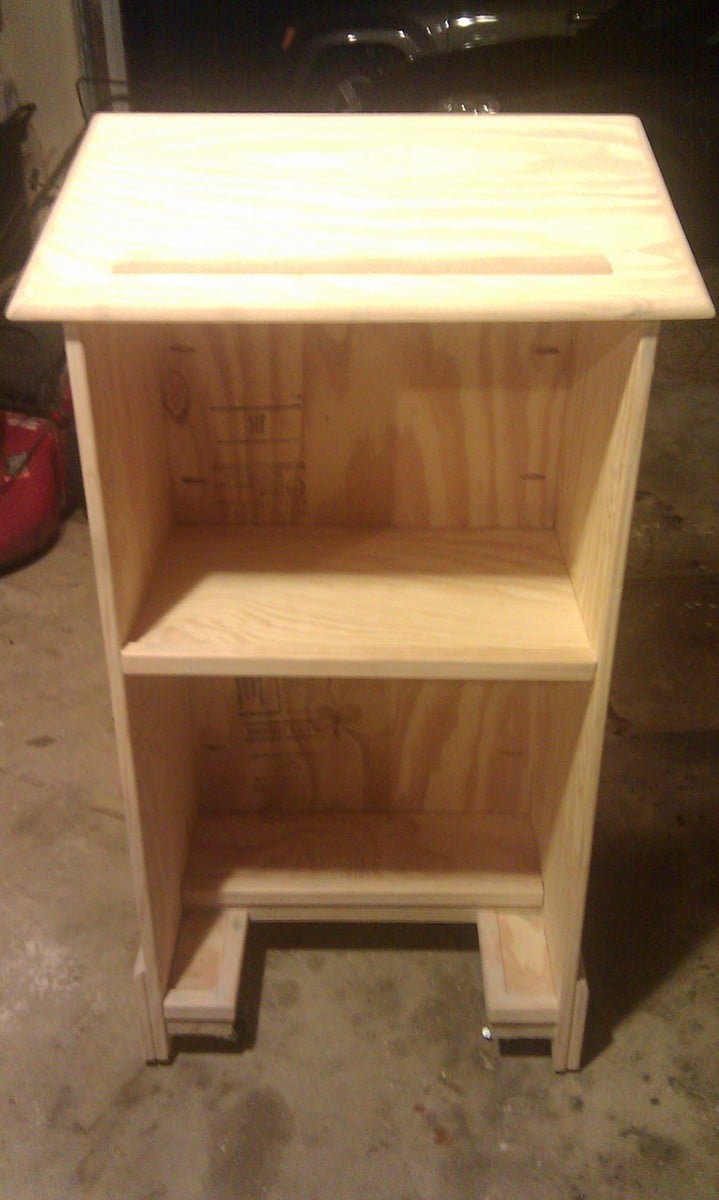
This is my first try at building furniture. I've built larger things in the past like decks and a fort for my nephews, but never furniture. Even though I used the plans to build the main box, I did change up the bottom and added some new stuff. I added wheels to the bottom my wife could easily move it around her classroom. I didn't want to put a square base on it because I thought it might hit her ankles when she was standing close to it. So I sort-of notched it out to give an opening for her feet and I used some scraps to create a short shelf at the bottom. I also added more trim that the plans call for. I cut strips of the pine plywood for the base molding and topped it with quarter round. I used corner trim for the front corners, the self inside and the bottom notched shelf. I also used screen trim for the back of it. I think it came out nice and I've very pleased with it. I used 2 coats of Minwax PolyShades American Chestnut on it.

Built from Plan(s)
Estimated Time Investment
Weekend Project (10-20 Hours)
Finish Used
Minwax PolyShades American Chestnut
Recommended Skill Level
Beginner

Modern tree house

Submitted by Anonymous (not verified) on Sun, 06/14/2020 - 11:24

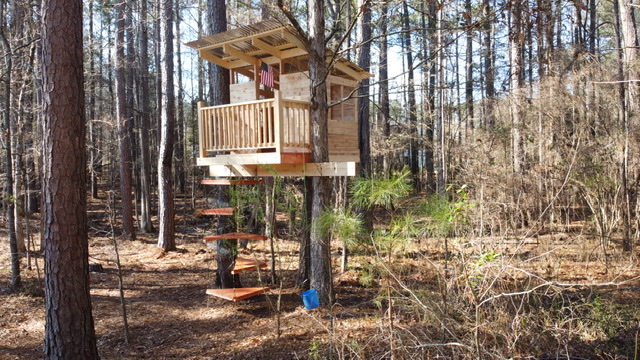
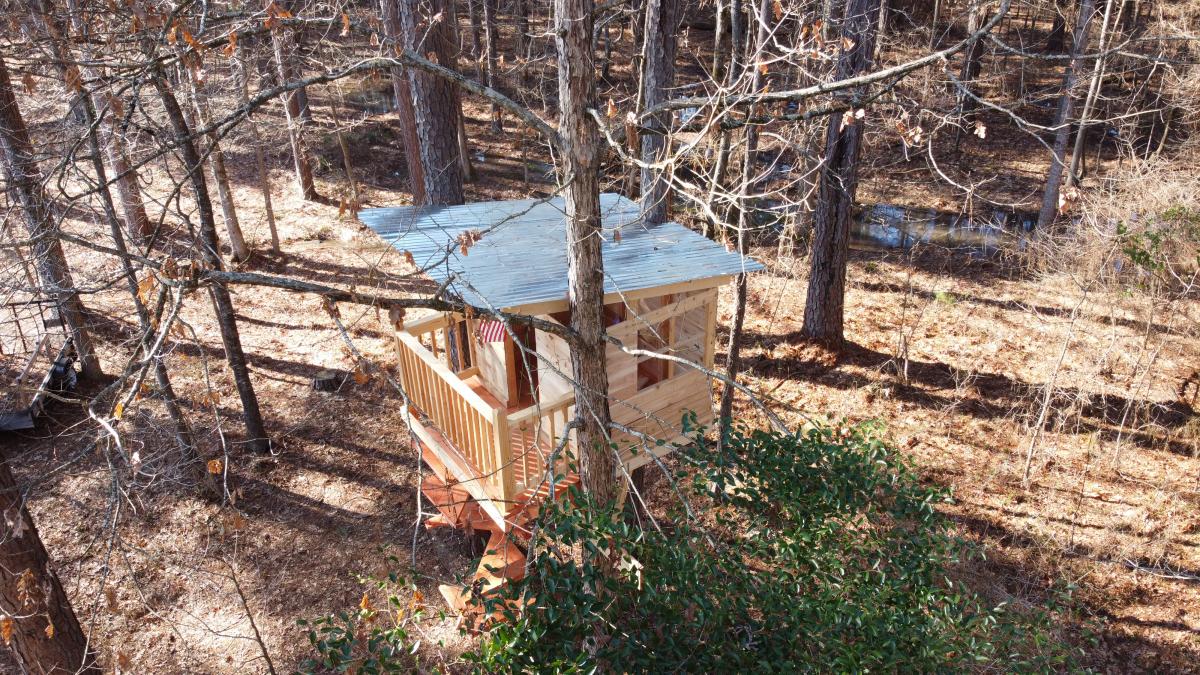
I modified the modern tree house plan and added some safety features for young kids. I did a spiral up ladder enclosed with a mesh net so they can’t fall very far. I also added more siding and put cross bracing in window wells to limit opening size. Finally, a full porch style railing and the main support beams are pinned at one end and have a self designed treehouse sliding bracket to allow for tree movement in the wind.

Estimated Cost
$1500
Estimated Time Investment
Week Long Project (20 Hours or More)
Recommended Skill Level
Intermediate

Comments

kmccrac2

Sat, 10/30/2021 - 07:09

Hi! I know this post was forever ago, but this is exactly how I want the treehouse to be for the my kids! I am trying to see if there was anyway you could show me how you did the modifications! I’d be forever grateful!

$40 Ping Pong table top game

With Father's Day rolling in, my sons and I needed a gift, stat! My husband thinks that Table Tennis is the quintessential father-son activity, so that was an obvious choice.
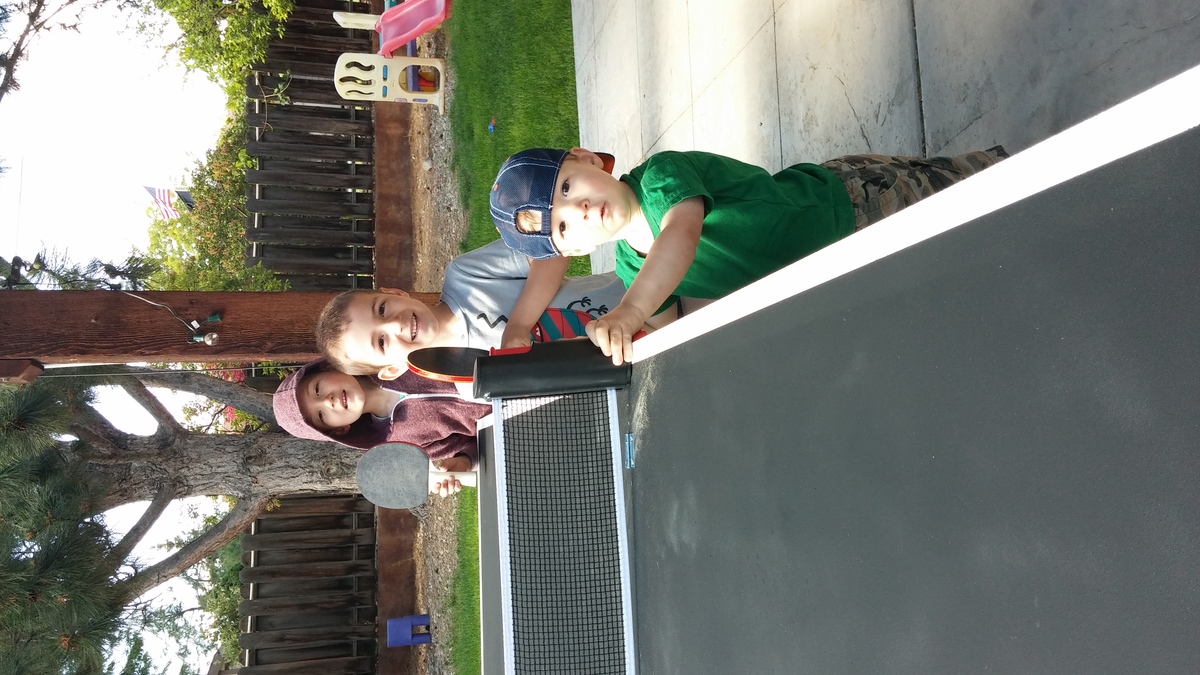
We needed something easy to make, easy to store, and budget friendly. With a 6, 4, and 2 year old helping out, I made a foldable mdf ping pong table that could easily be placed on our picnic table outside.
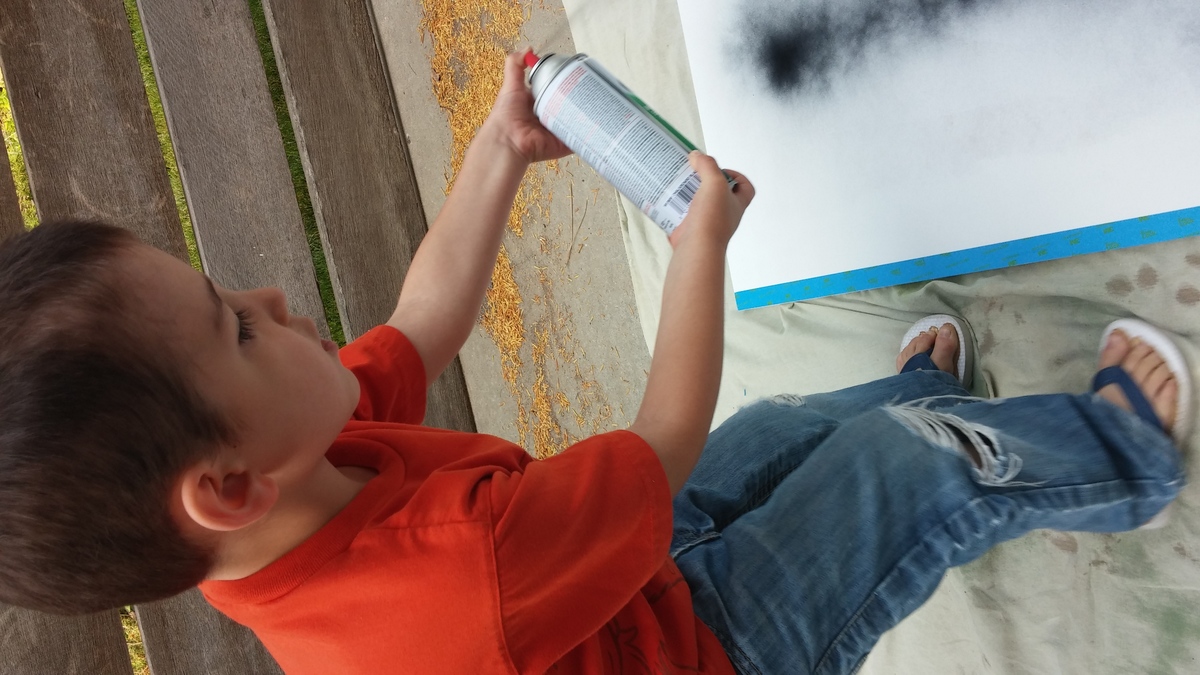
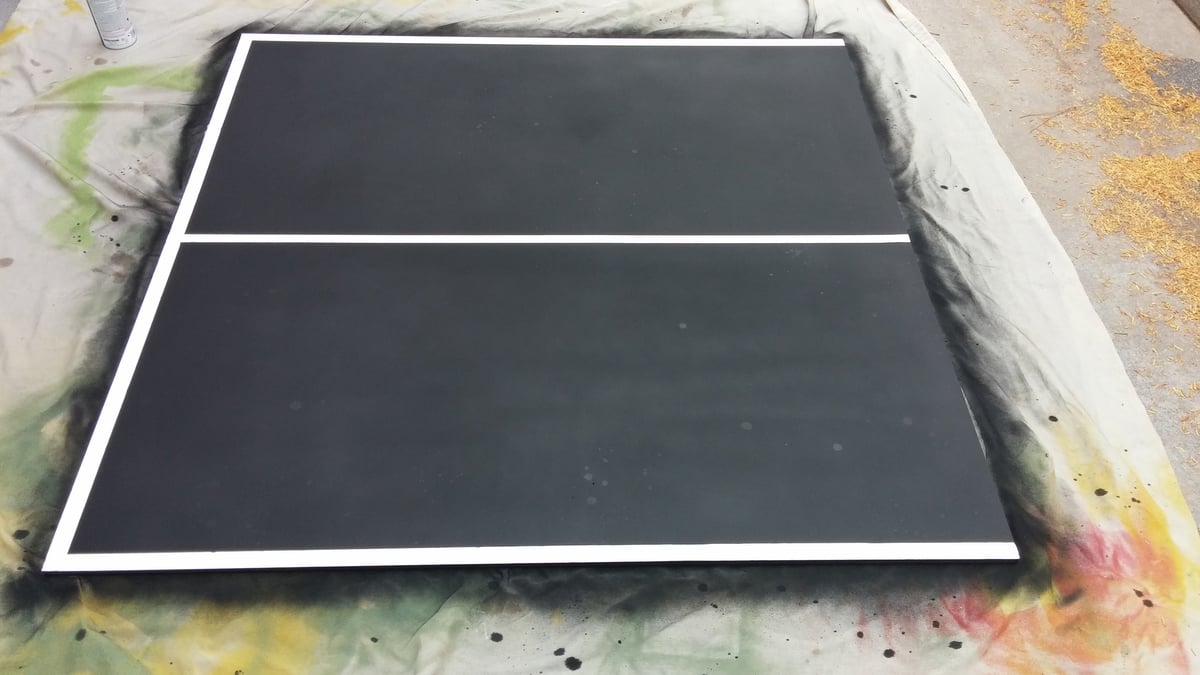
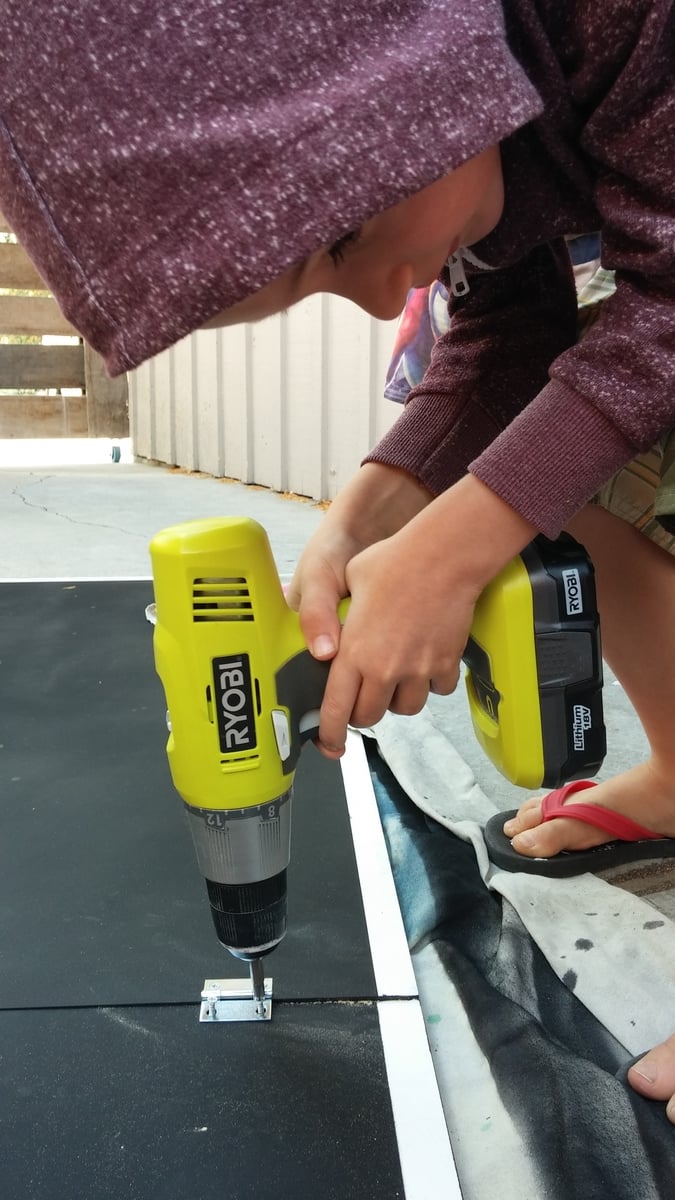
We had home depot cut the mdf in half, primed it, taped off some lines, spray painted it with chalkboard paint (bonus, you can keep score!), and screwed 4 small hinges to attach the 2 halves. We added a removable table tennis net, some paddles and balls, and have played nearly every day!

Estimated Cost
$40
Estimated Time Investment
Afternoon Project (3-6 Hours)
Finish Used
Chalkboard spray paint
Recommended Skill Level
Starter Project

Comments

Simple Playhouse

Submitted by Anonymous (not verified) on Mon, 07/27/2020 - 12:06

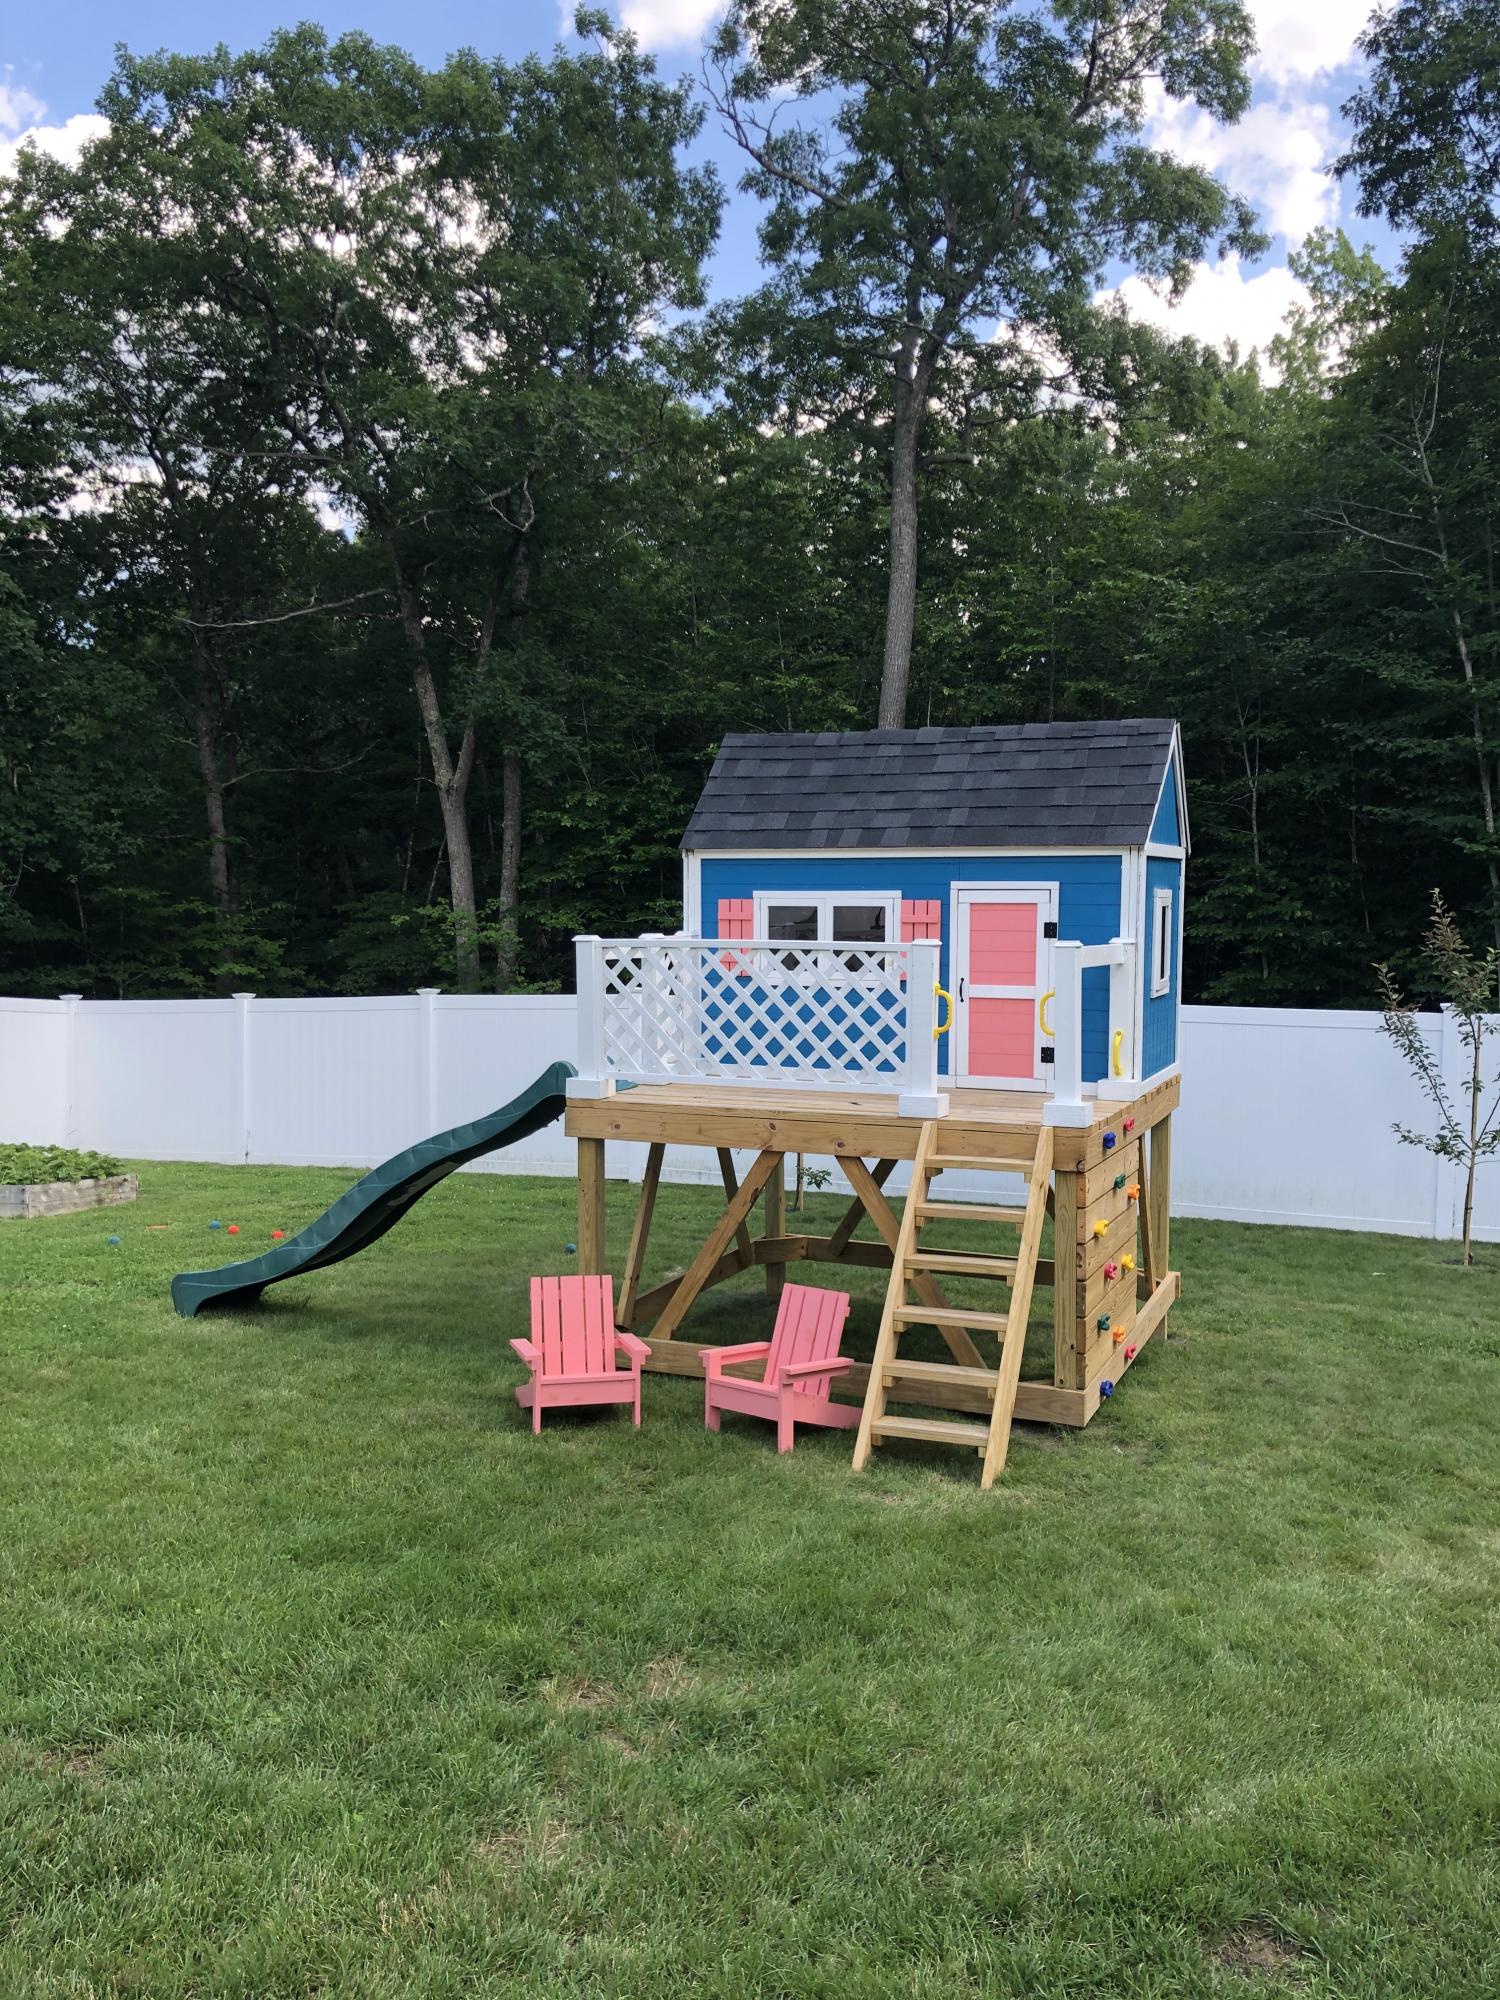
My first big project and my kids couldn't be happier. I'm pretty proud too, just don't take a square or level anywhere near it :)

Comments

Seasonal And Holiday

First Bed

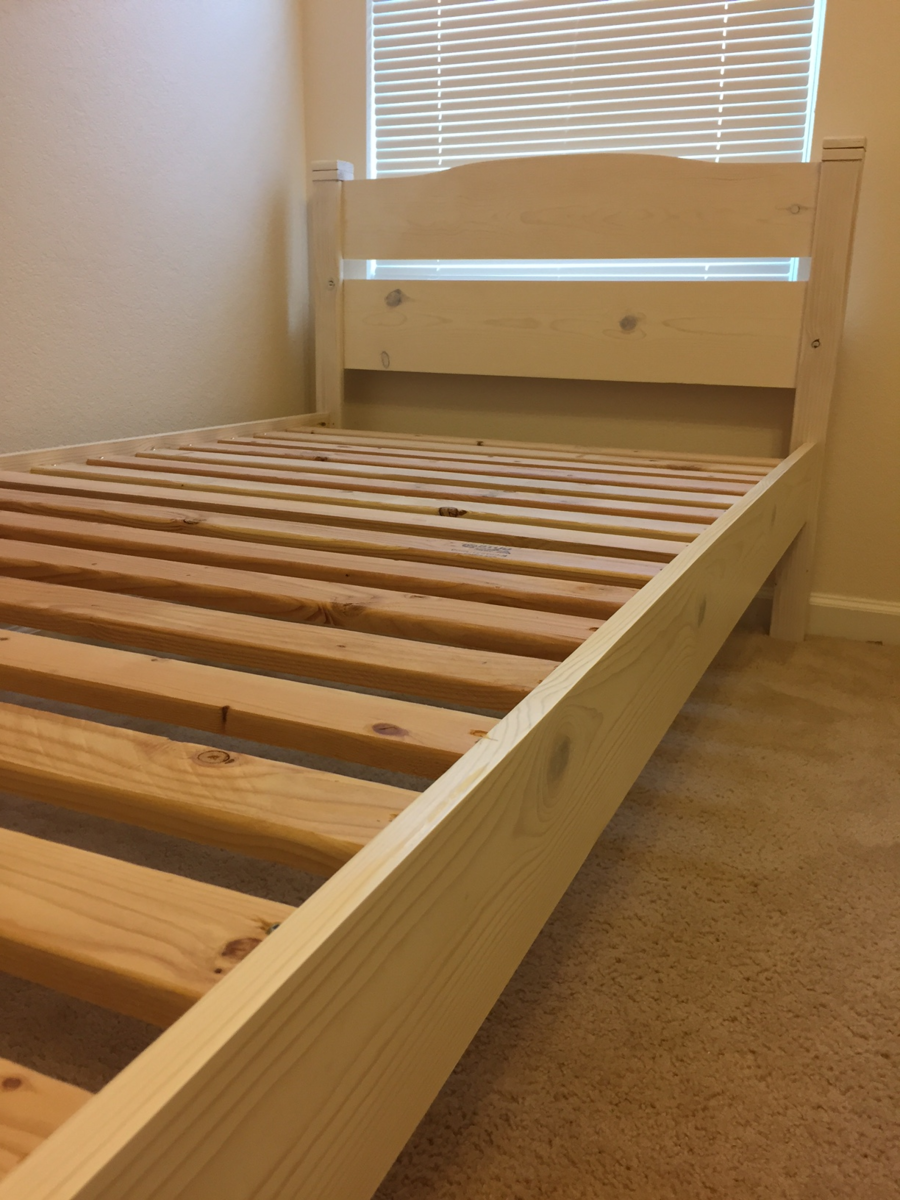
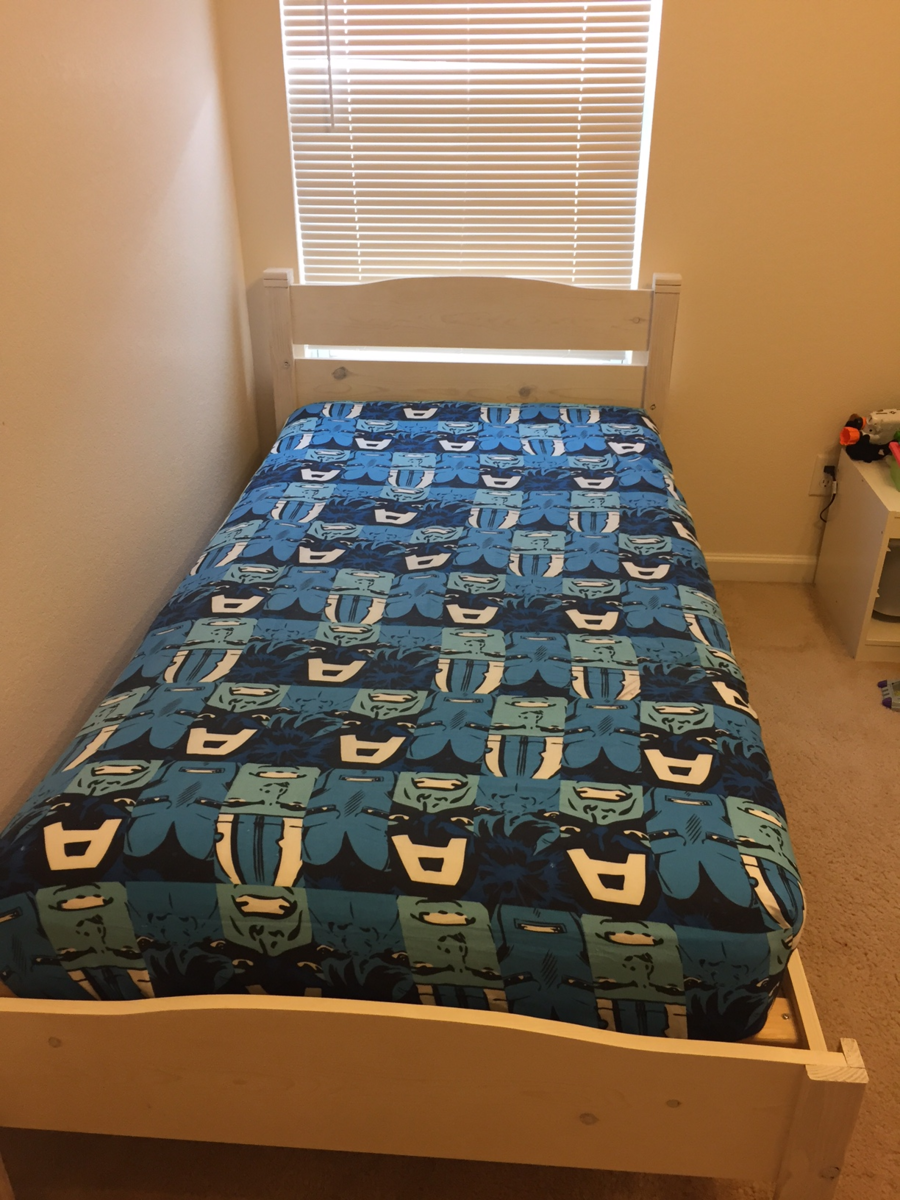
After making the farmhouse table and bench I was excited to try a bed for my next build. I wanted something simple for my 5 year old son that wouldn't necessarily be outgrown in a year or two. I truly like the simplicity of this bed and the price point for making it was even more attractive. His entire bedroom is white furniture but I did not want to completely cover the grain of the wood. At the same time, I wanted to ensure this bed was going to match with the rest of his room. I decided to do a white wash finish and then a clear coat. It turned out perfect; matches his other furniture and still displays the wood grain. The bed was beyond simple to construct. I had two worries prior to starting the bed: the curve on the headboard/footboard and how sturdy the bed would be given how the rails attached to the headboard/footboard. For the curve on the footboard and headboard, I used a scrap piece of cardboard to trace a curve for half of the piece. Once I was happy with the curve I cut out the cardboard and transferred the curve to the headboard and footboard. I did half of the curve so I could guarantee each side would be identical and made it easy to have matching headboard and footboard. I intended on buying some hardware to make the bed more sturdy based solely on the plans. However, once I had the entire thing put together and I (6 foot, 200 pounds) got on the bed and moved around rather violently without any movement. since this bed is for my 5 year old, I have no worries about the structural integrity. For the whitewash finish, I simply mixed a couple ounces of spare white paint I had with water (1:1 ratio). I used a rag to rub the whitewash into the wood and ensure even coating. I completed the project with a satin polyurethane.

Built from Plan(s)
Estimated Cost
I already had the screws, paint, and polyurethane. The wood was $54.88 before taxes in my area. Out the door for under $60 is a steal in my opinion!
Estimated Time Investment
Day Project (6-9 Hours)
Finish Used
I had some spare white paint and made some white wash with it. Simply mix water and paint (1:1) and wipe onto the wood with a rag. One coat of white wash was all that was needed. I did add a layer of satin polyurethane to ensure it was protected.
Recommended Skill Level
Starter Project

Closet Shelves

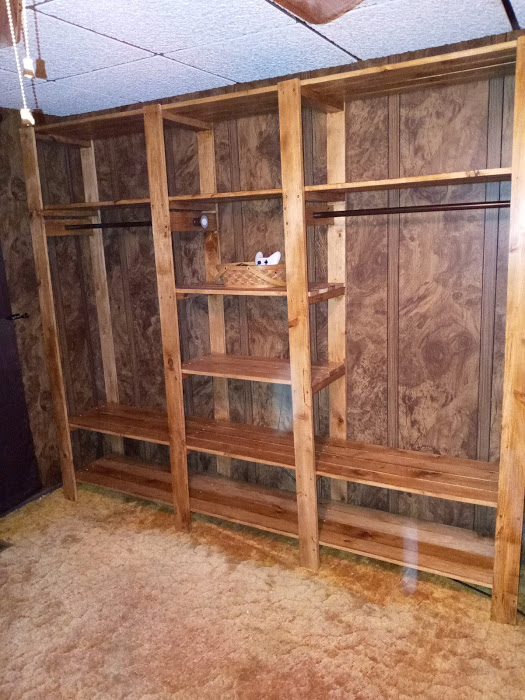
So I was complaining to my wife that our one closet in our bedroom was becoming too cluttered. She asked me to build her one. I told her that if she found the one she wanted me to build, then I would build it. She found this one and so I built it for her. Let me just say that she is very happy with it and it came out very great. I did find a couple of shower curtain rods that were brown to used instead of the iron pipe. It made the whole project cost around $80.

Built from Plan(s)
Estimated Cost
$80
Estimated Time Investment
Weekend Project (10-20 Hours)
Recommended Skill Level
Beginner

Comments

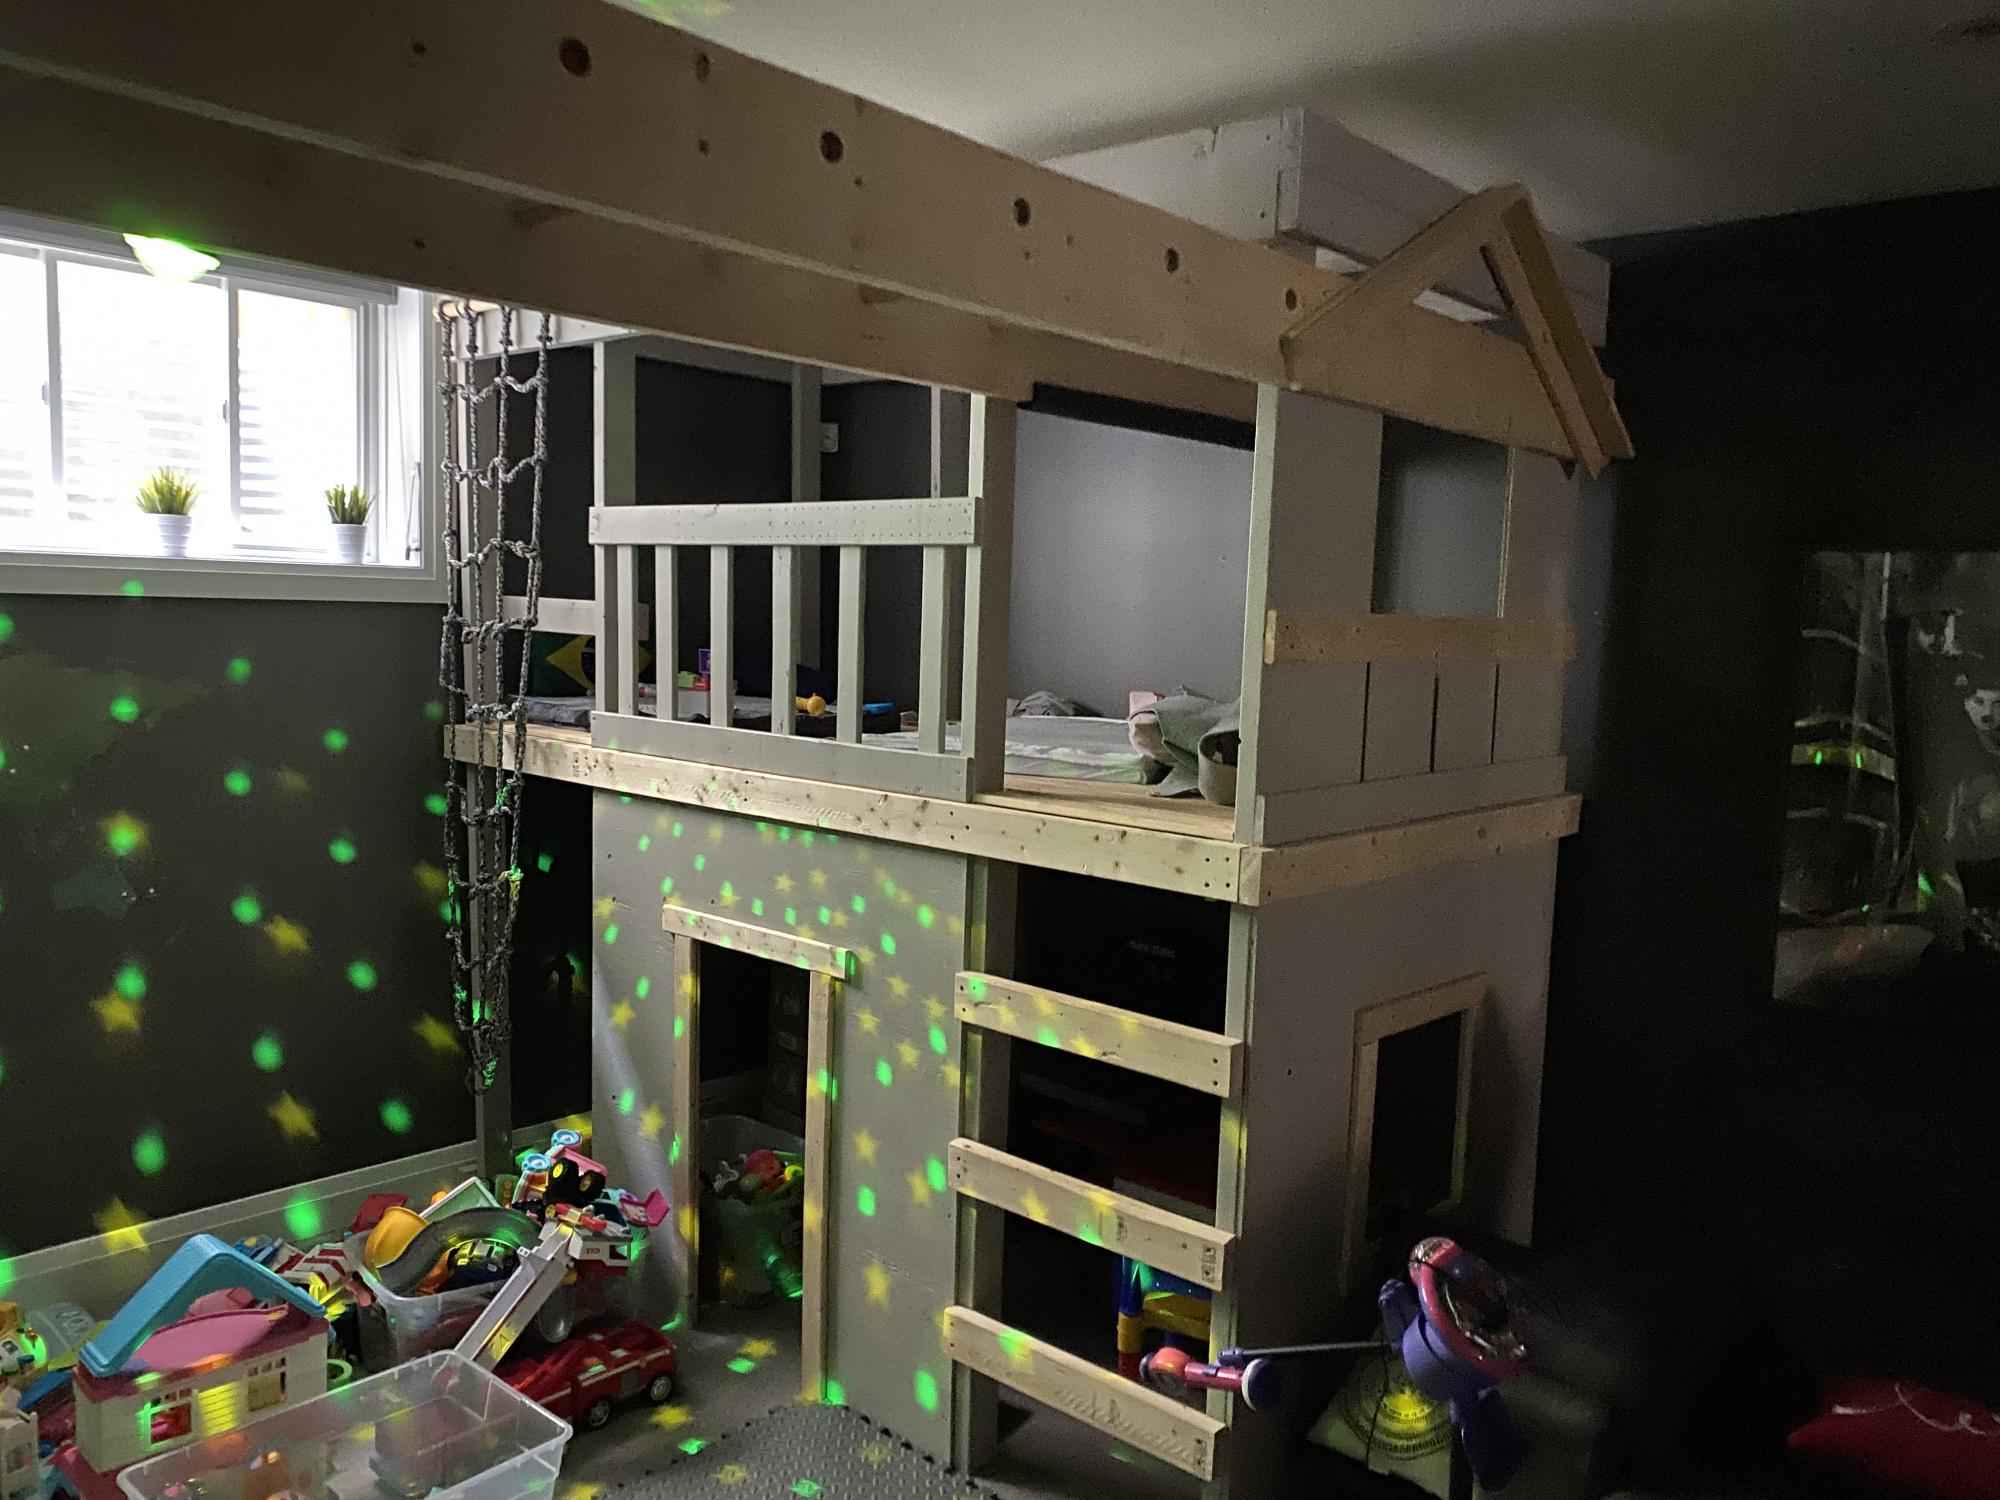
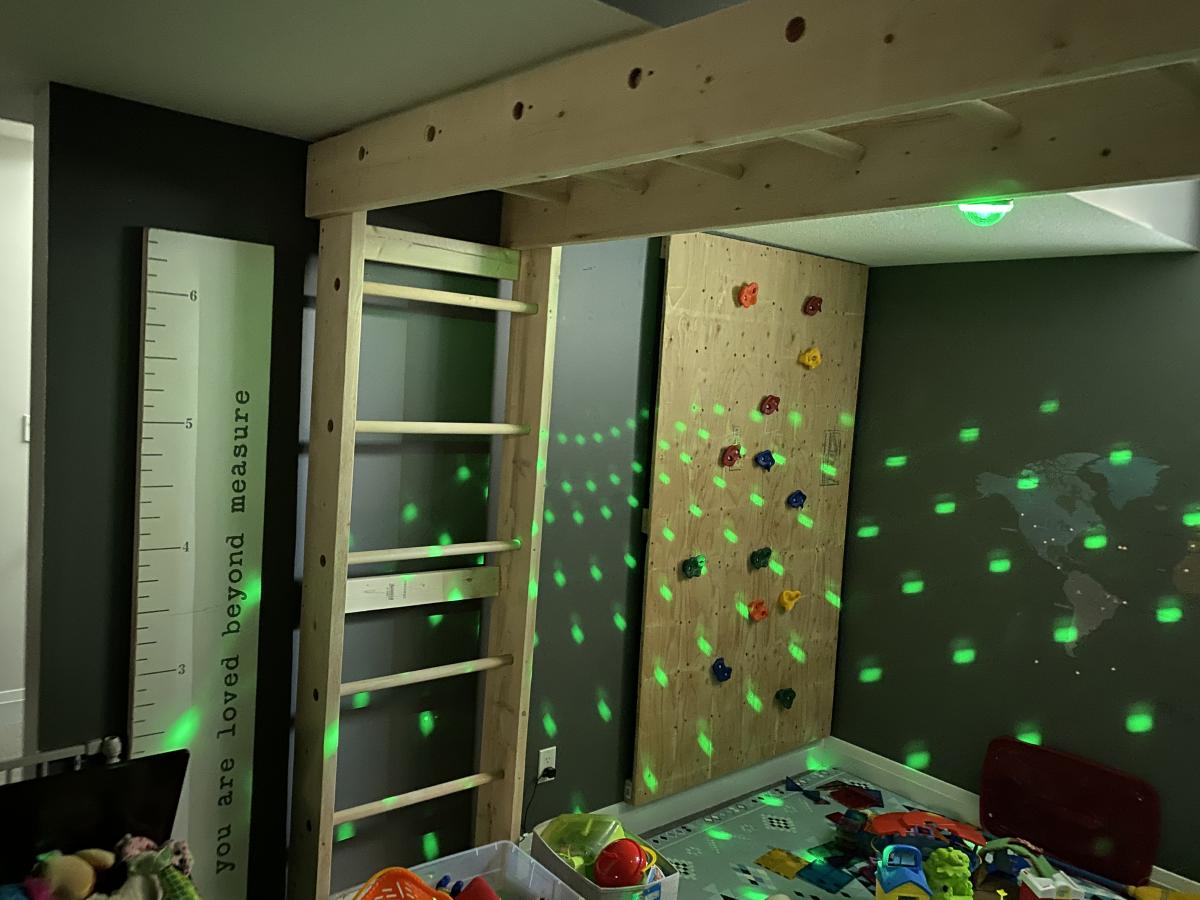
Monkey bar and play house

Submitted by Anonymous (not verified) on Sat, 10/09/2021 - 06:21

Inspired in one of your projects this was my first project with wood and turned out a go to place for the kids and guests to play all the time.
Thank you for the plan. Kids appreciate it too.

Comments

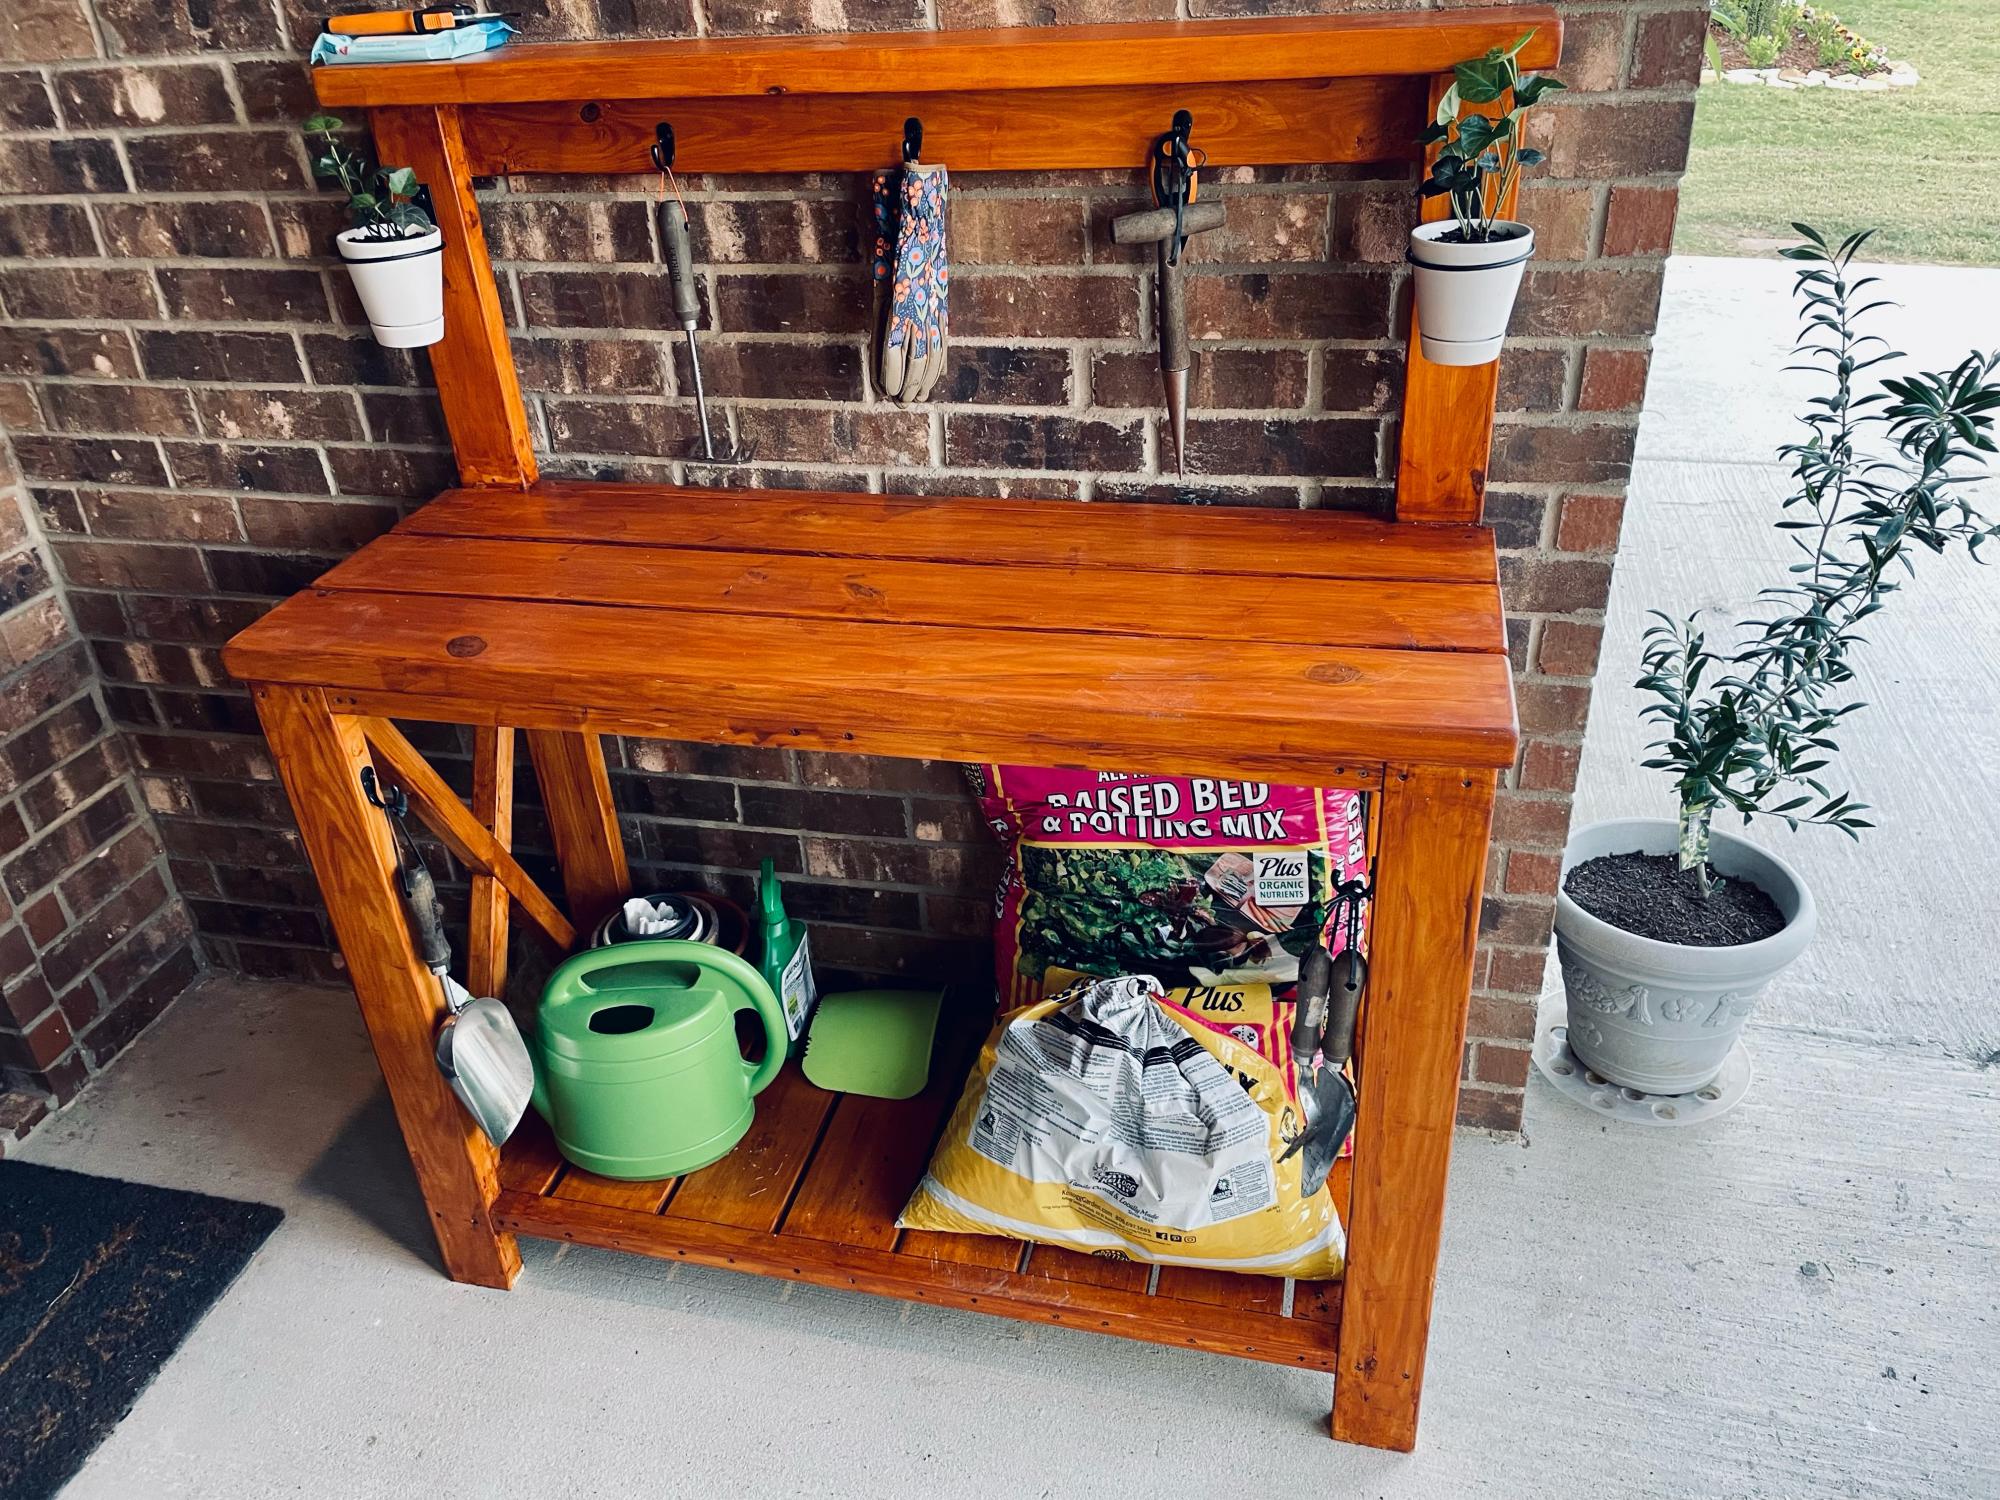
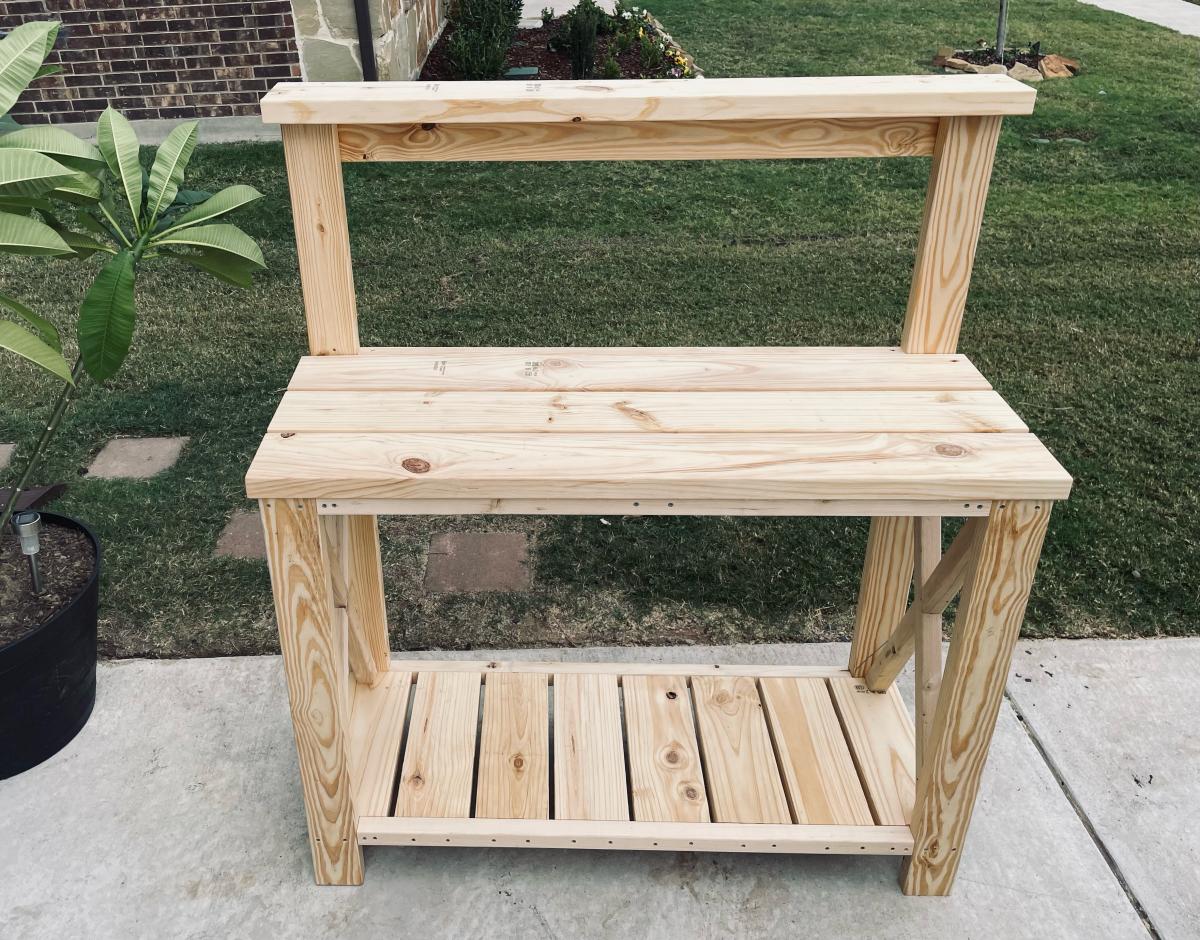
Farmhouse potting bench

Submitted by mbaylis on Mon, 10/18/2021 - 19:14

Birthday present for the fiancée. I think it was a hit! :)

Thanks for the plans!

Comments

Very Green Camp Loft Bed with $10 Ledge Bookshelves

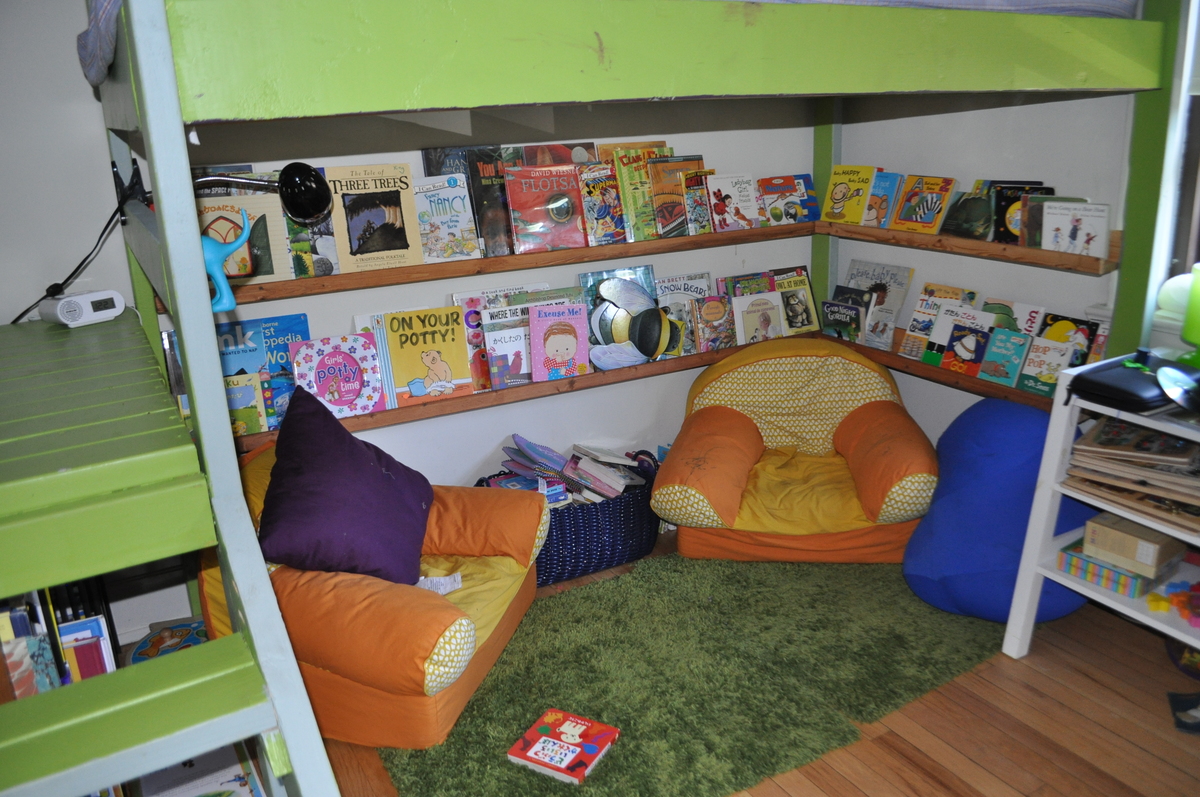
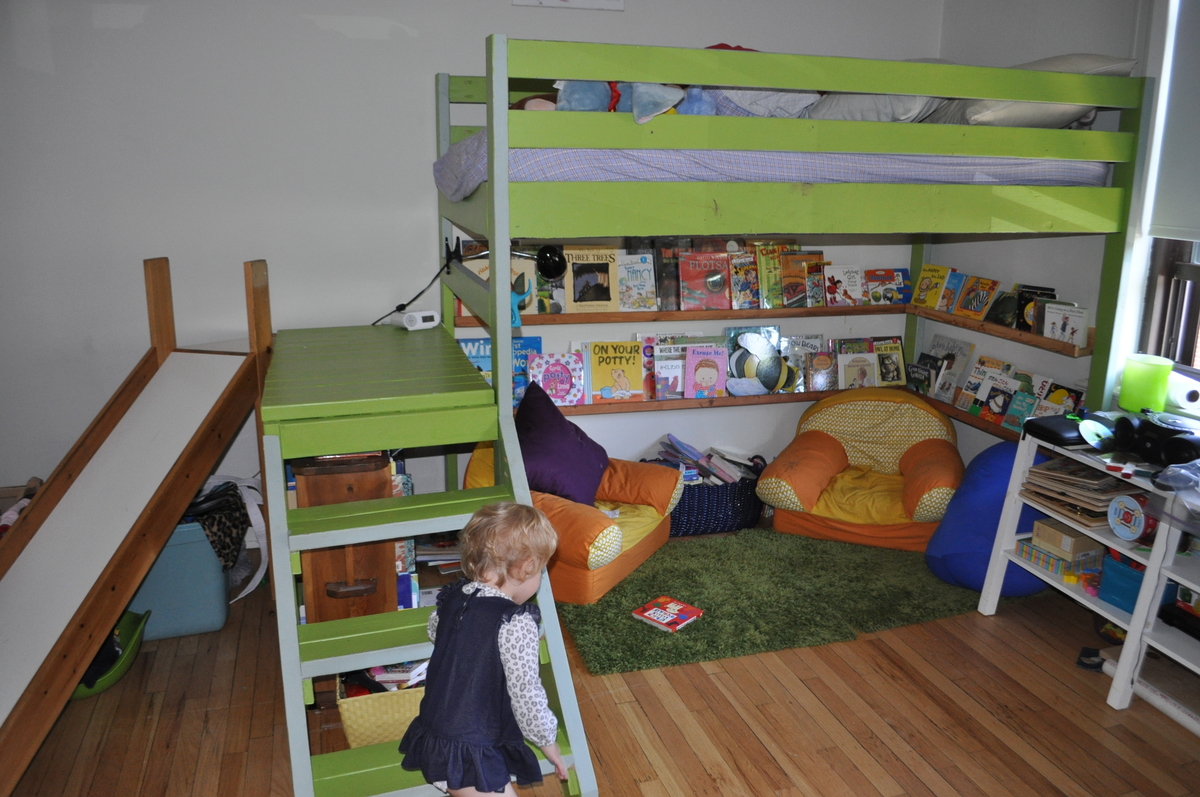
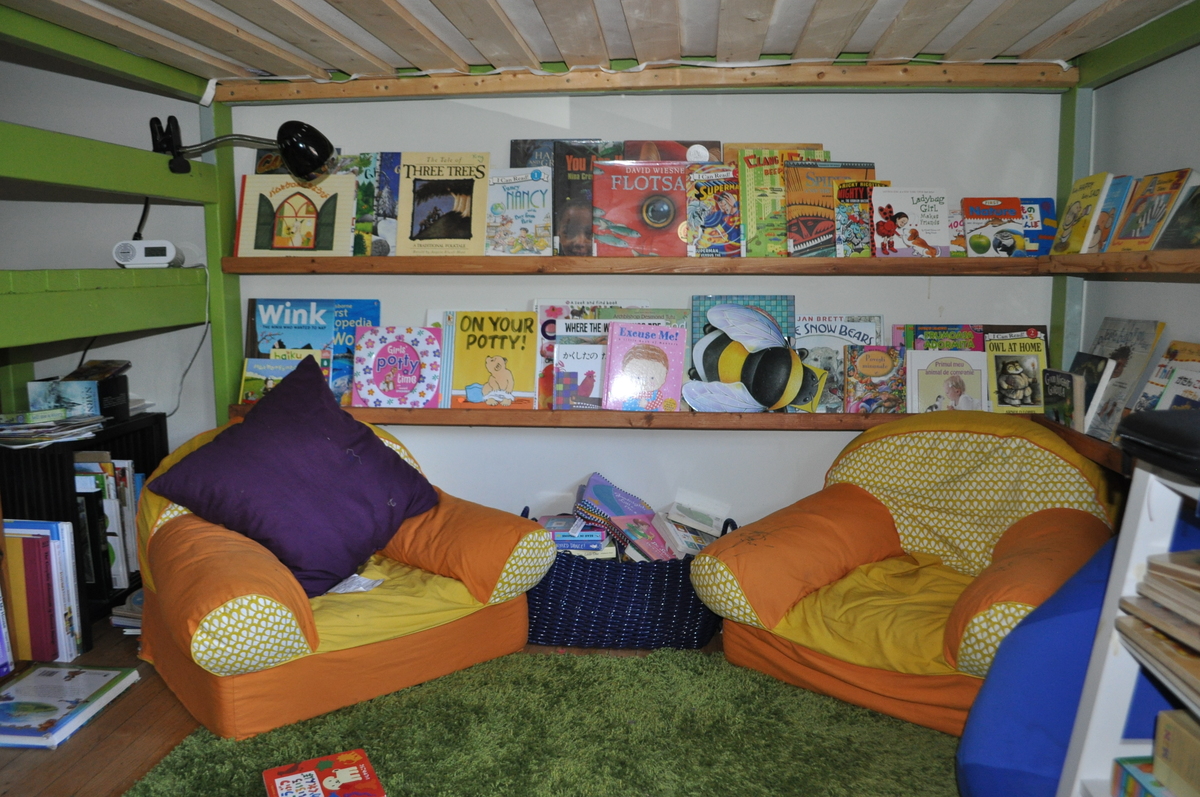
I built this bed in July in anticipation of my two children sharing a room for the first time. They love it. In August, I thought to add the $10 ledges to the frame of the bed when I realized our walls wouldn't support their weight and we're in a rental. I used 1x3s instead of 1x4s those plans called for so the shelves would sit at the same depth as the 2x4s on the frame of the bed.

I wish I knew more about painting soft wood because I don't love how the paint job turned out, though it is green per my son's request. I couldn't deal with more green, hence the ledges are stained.

I love the little alcove this has created. I added curtains and we read stories in there every night. Thank you so much for the inspiration and plans!

Estimated Time Investment
Week Long Project (20 Hours or More)
Finish Used
Interior latex paint with primer built in. I don't recommend this. Better to prime the wood separately, I think.
Recommended Skill Level
Beginner

Comments

Dog Crate

Submitted by Anonymous (not verified) on Fri, 02/24/2023 - 06:28

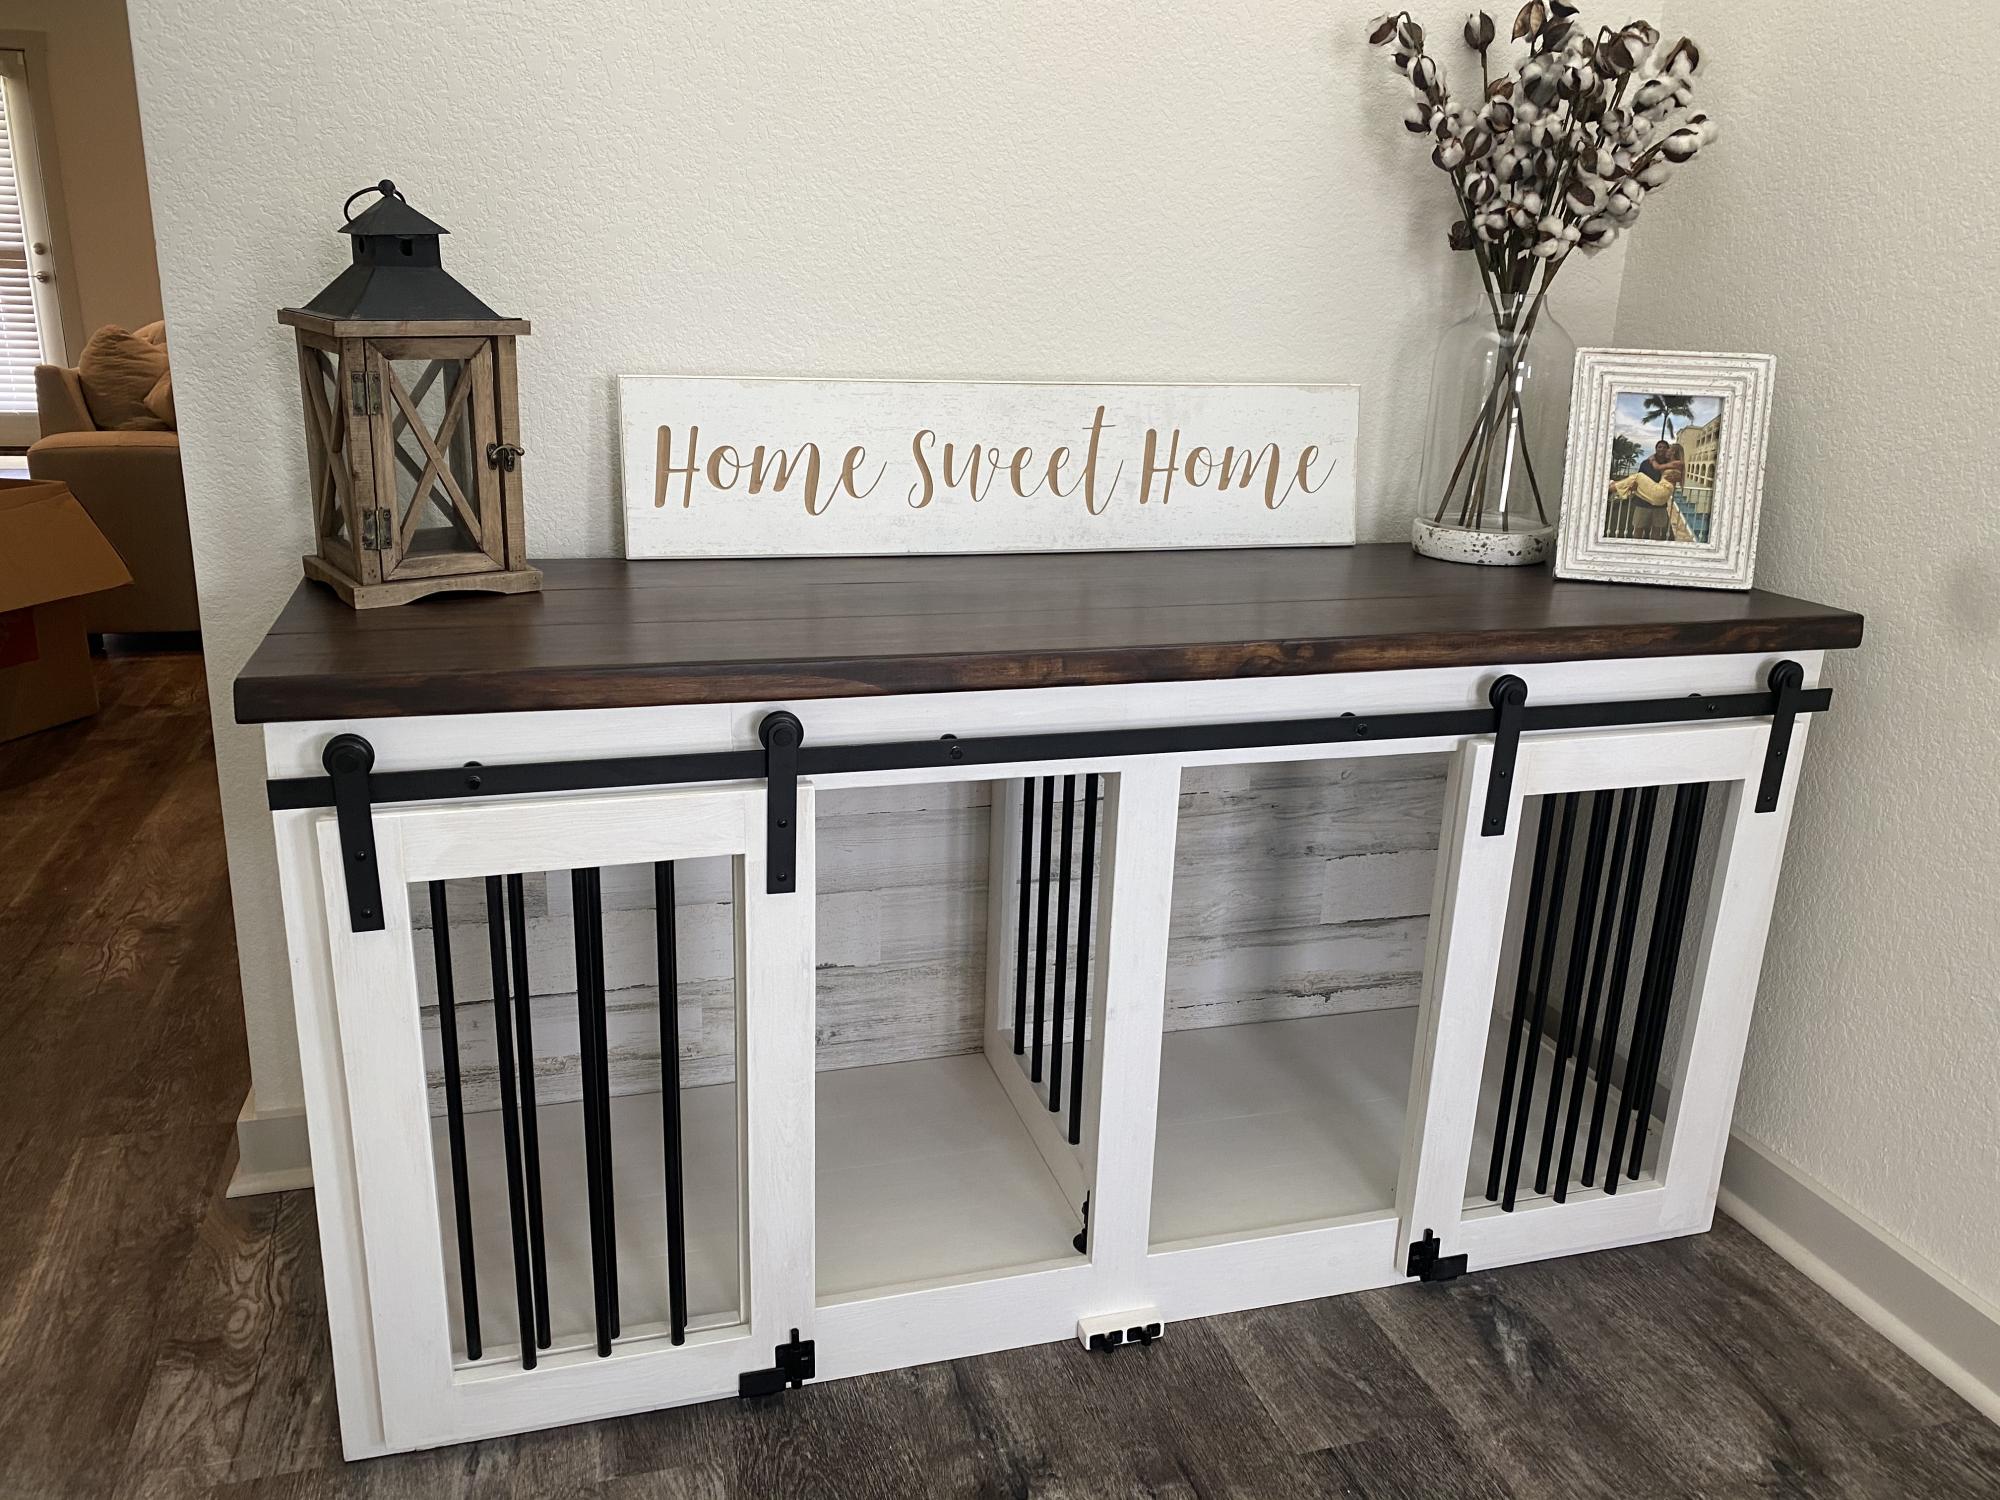
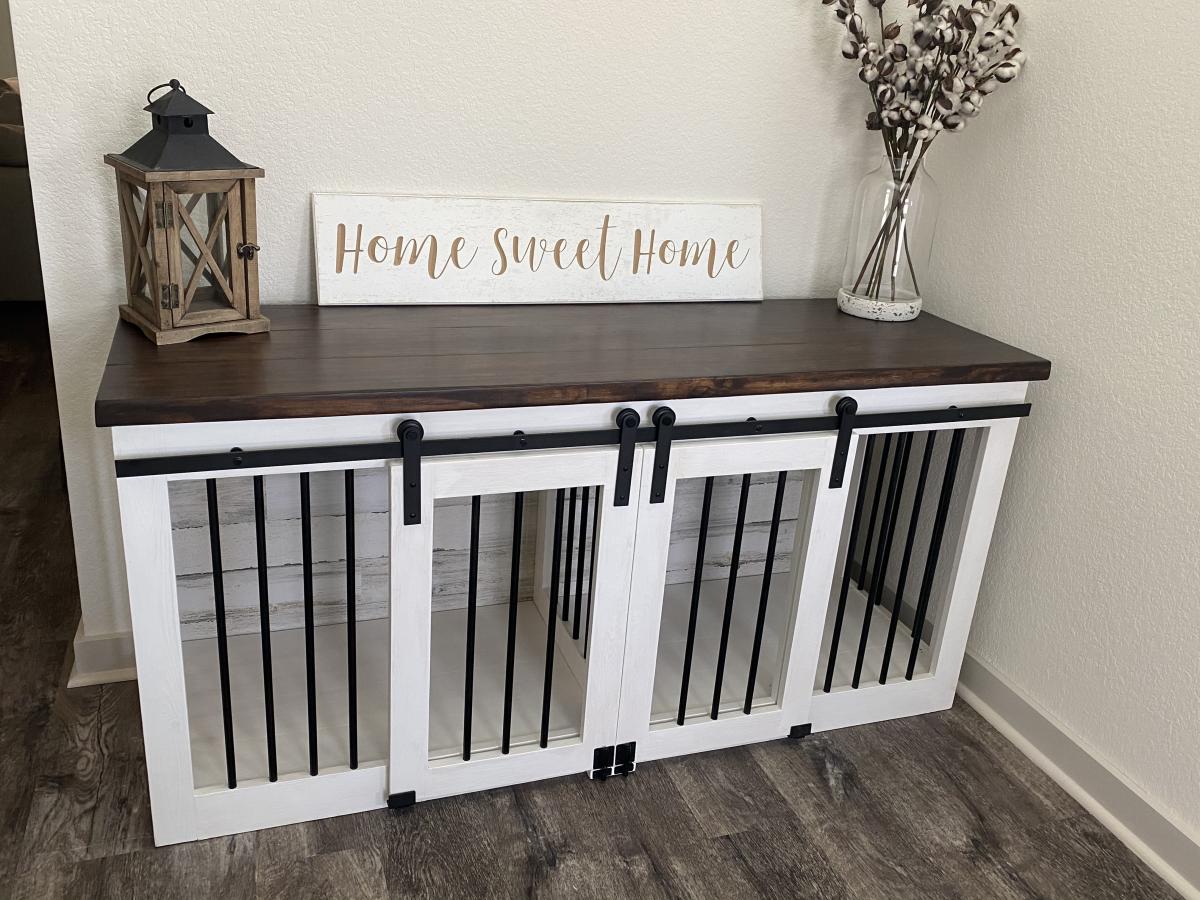
I modified the Grandy Console to be dog crates for my Grand Pups so we didn’t have to have crates set up in the house. Middle divider can be raised to make one big crate.

Built from Plan(s)

Comments

Smaller Version of Grandy

Submitted by Anonymous (not verified) on Sat, 01/09/2016 - 19:11

The original size of the unit was too big for our needs so we cut down the size of the unit to 72" long and 30" high. Used patio rollers for the doors.

Built from Plan(s)
Estimated Cost
$200
Estimated Time Investment
Weekend Project (10-20 Hours)
Finish Used
We used English Chestnut for the stain and the paint is called La Fonda Midnight using Valspar paint.
Recommended Skill Level
Intermediate

Comments

ctufano

Mon, 07/18/2016 - 15:28

Hey love your unit! What did you do for the doors? We are doing similar in cutting the height to 30"

Not sure what to do the doors out of. What was your base material? Kind of trim?

Farmhouse Table with Extensions

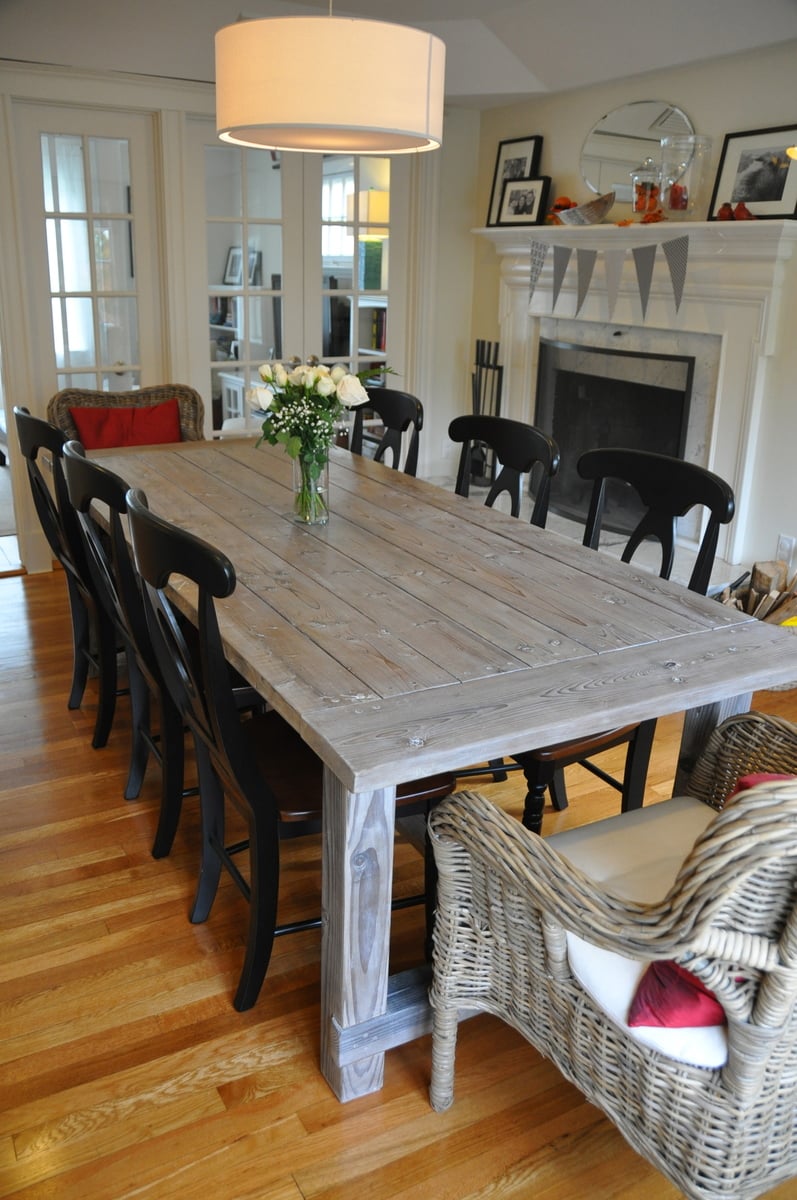
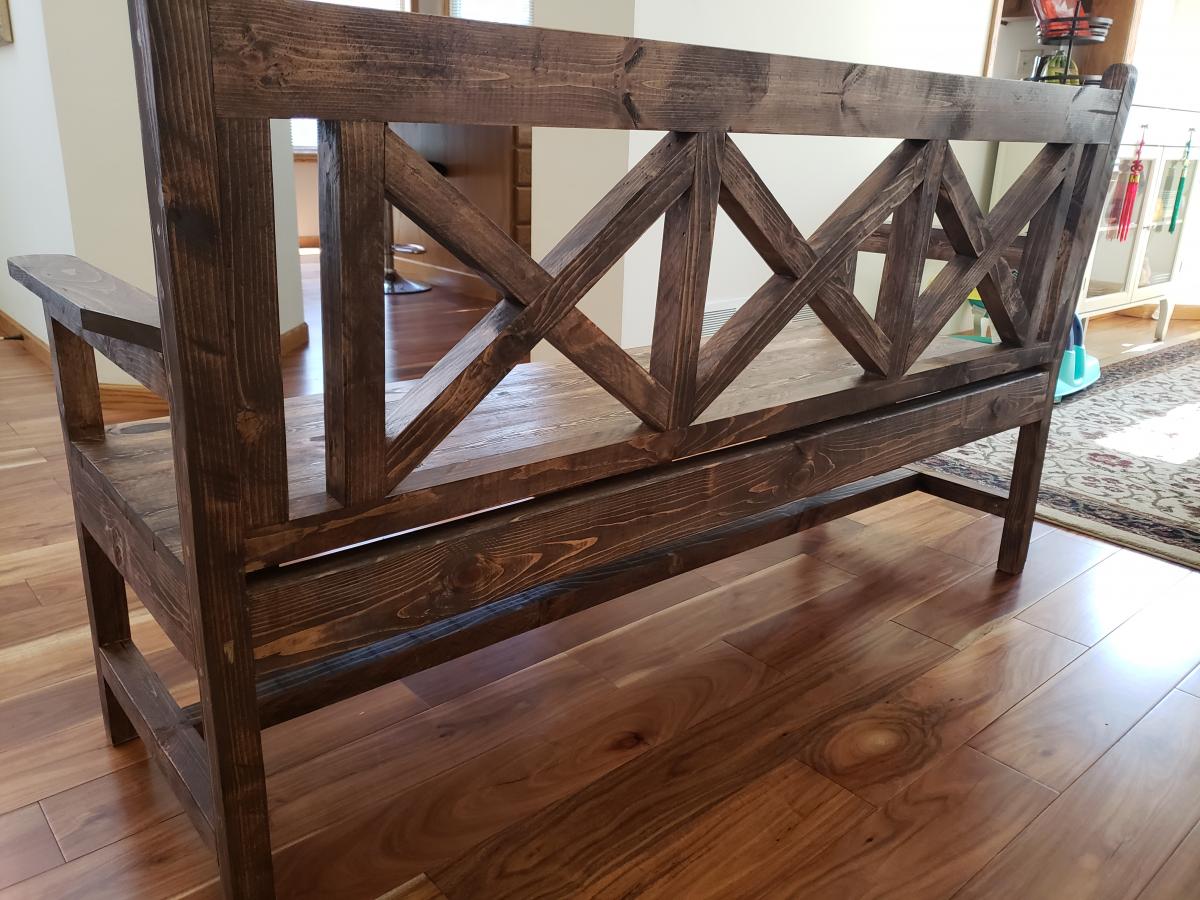
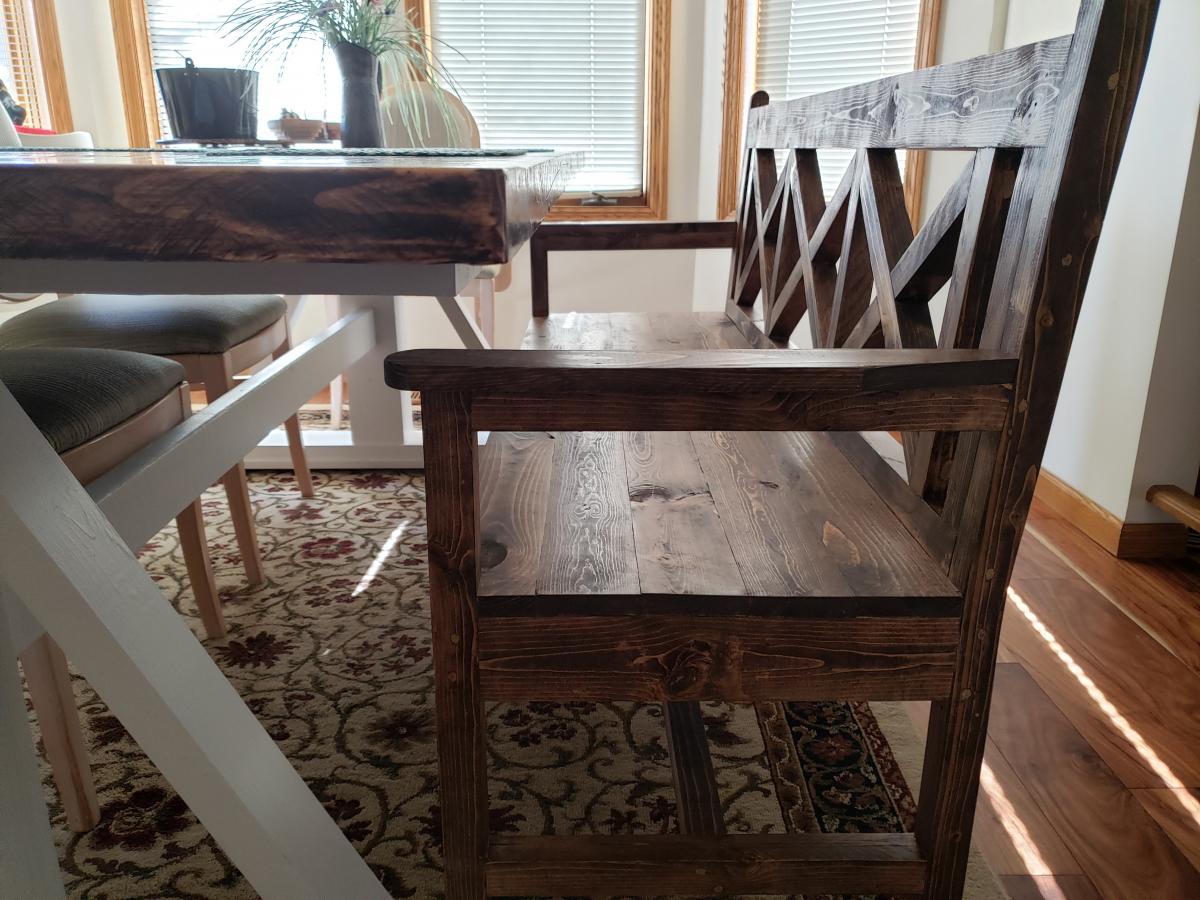
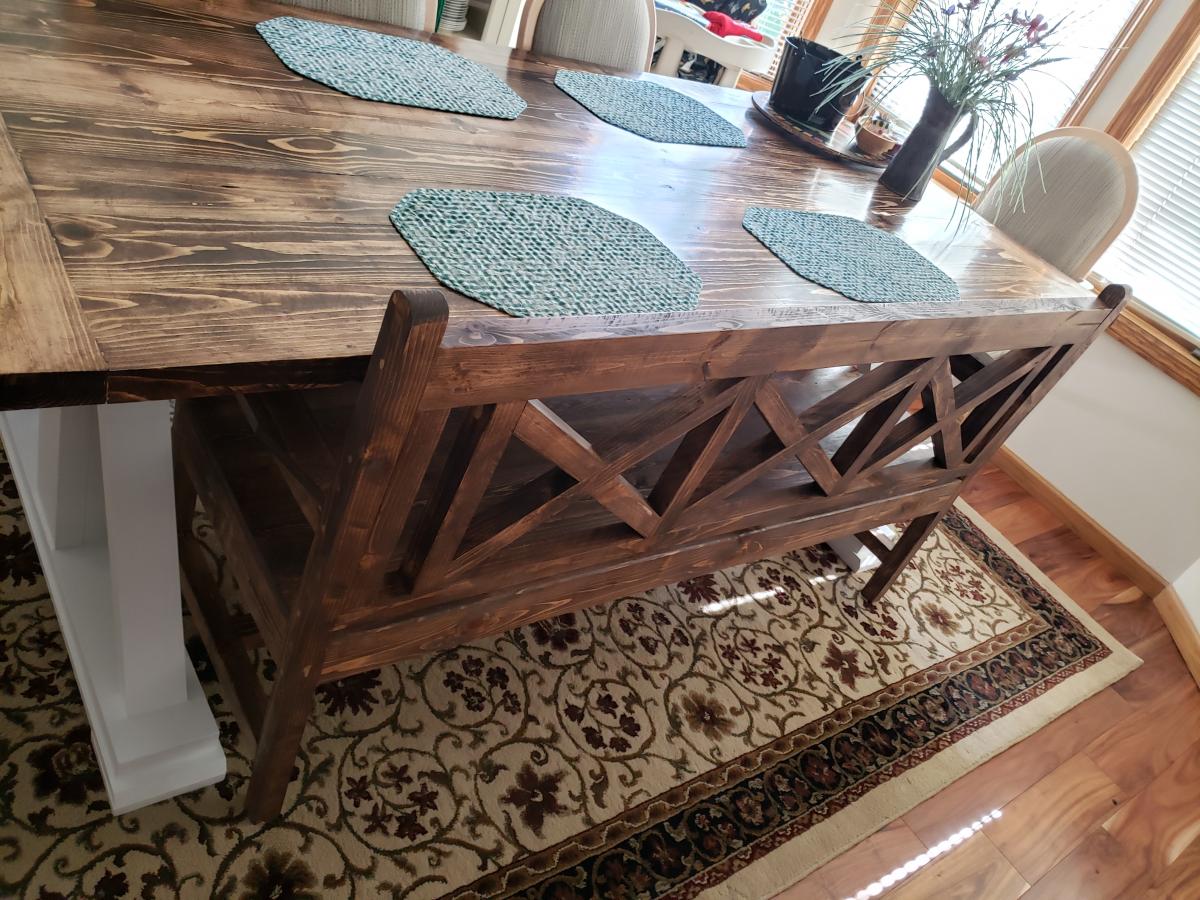
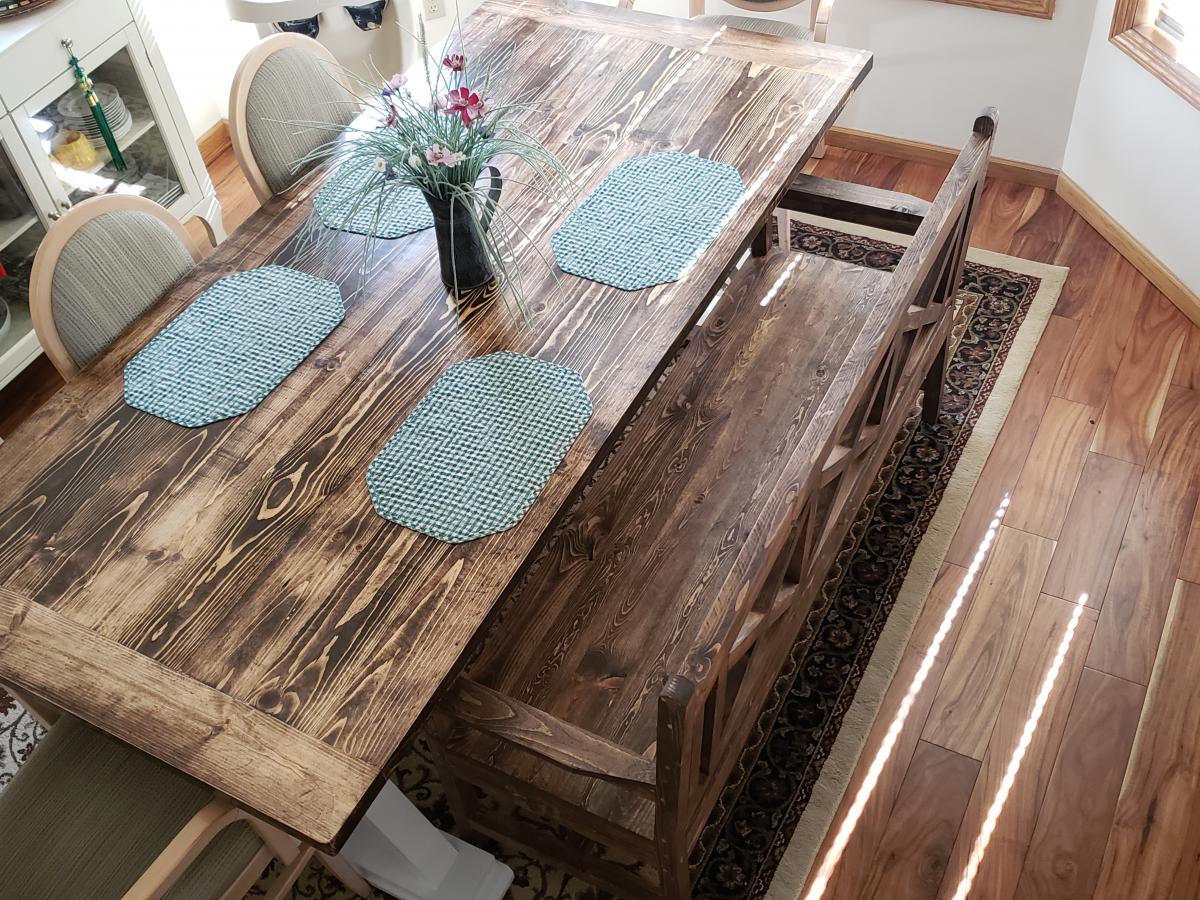
This was my first build and I learned A LOT and watched A LOT of youtube diy videos. The main take-away from this project is not to build in the freezing cold if the finished project is for inside. I finished this project in below freezing temperatures and I noticed that the wood expanded (increasing slightly the gap between the finished boards on the top) when it was brought inside.

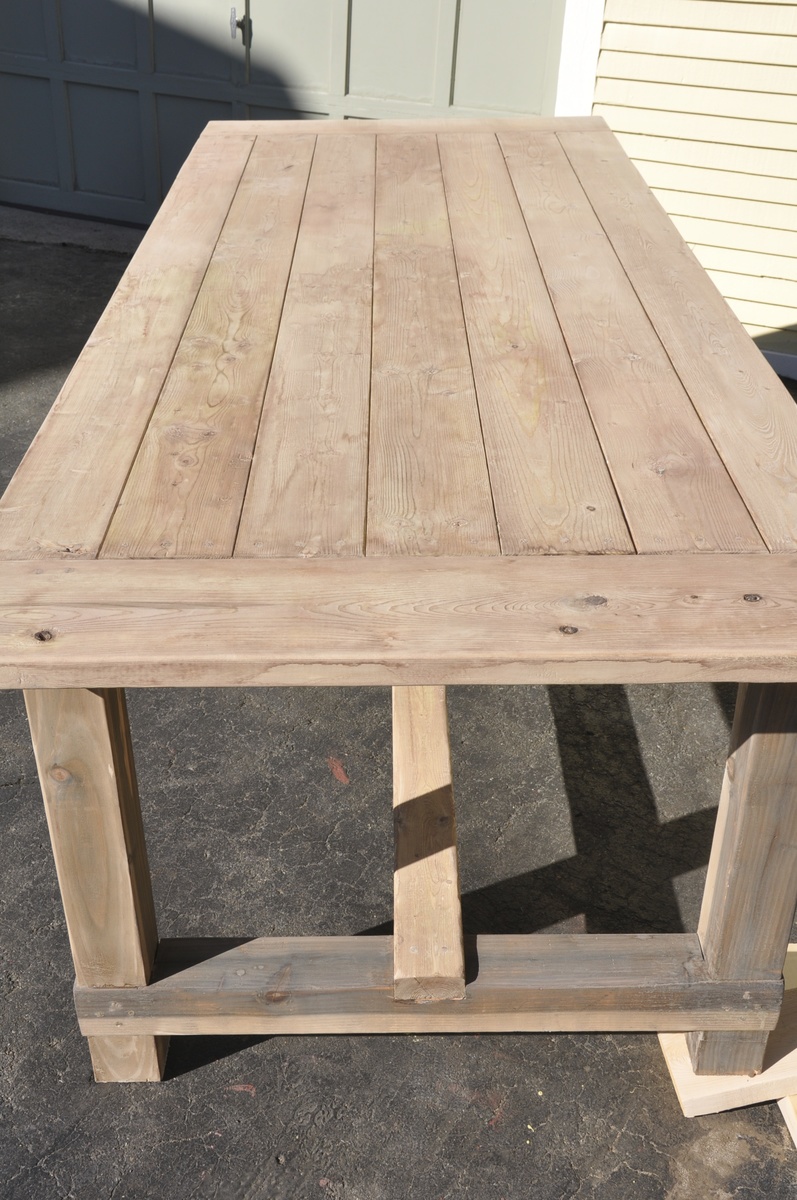
I built this from the original farmhouse table plans with no kreg jig although I did buy and use a pocket kreg jig to make the extensions. The main modifications were using 4x4s such as were used in the Country Living magazine spread that inspired this build and also making modifications to allow the addition of 15" extensions at each end of the table's bread boards.

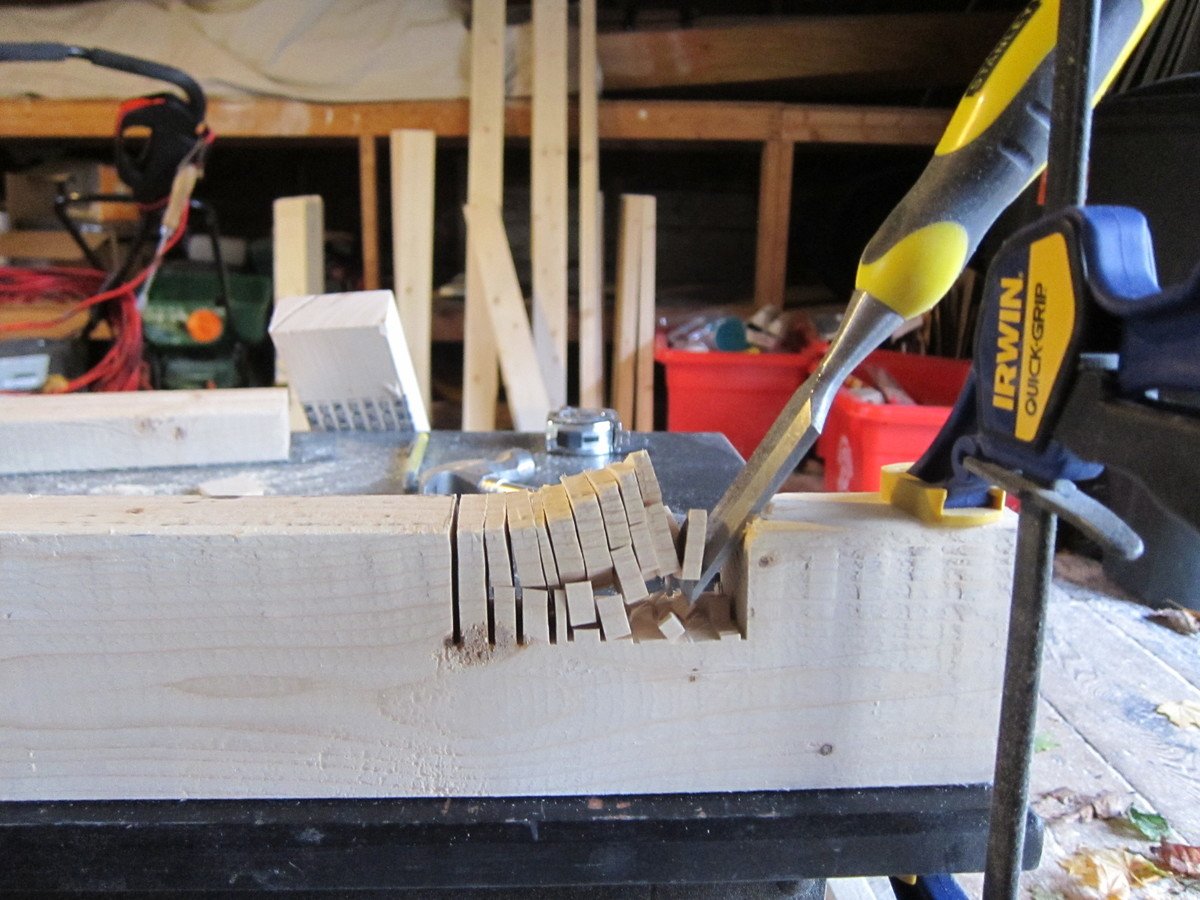
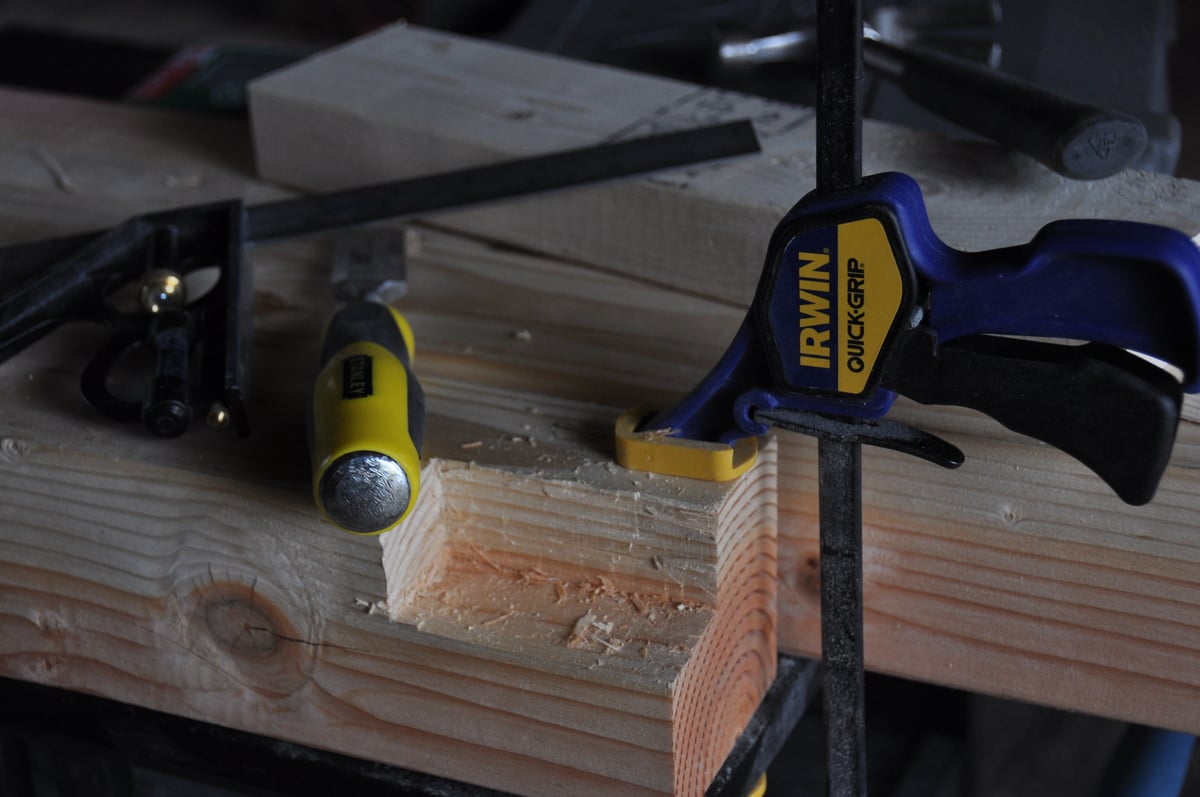
My first challenge was figuring out how to build with the 4x4 legs instead of the 2 2x4s screwed together. In order to accomplish this i had to use a chisel to create the corner lip that the table top frame would sit on. I added photos of this so I hope it will help someone. Chiseling these 4 corners (one on each post) only took an hour or two and was so worth it for the look of the 4x4s. Just measure carefully and work carefully with a sharp chisel. I actually removed half the wood by sawing off the corner at a 45 degree angle. Remember when cutting your boards for the table ends that a 4x4 has different dimensions than 2 2x4s screwed together. Compensate for this in your cuts.

Another challenge was hiding the screws on the table legs and table top. I was leaving the finish natural so didn't want to use wood fill. I accomplished this by getting a countersink bit and then buying wooden dowels the same diameter. For these screw holes, after finishing screwing, I put a dab of wood glue in the countersink hole, inserted the dowel as far as it would go, used a fine hand saw to cut off the dowel flush with the table and then used a hammer to make sure the dowel was in tight and flush.

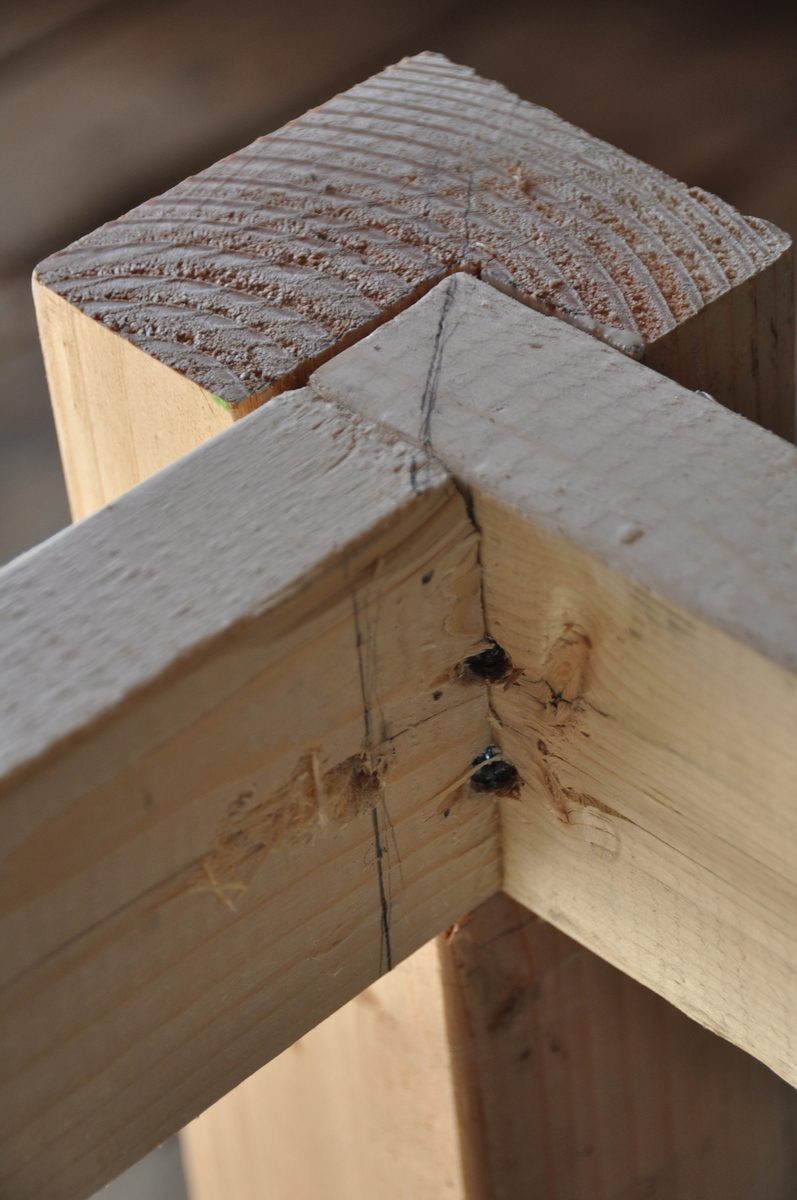
I had trouble figuring out how to attach the table top frame to the table legs with the long screws from the plans so I included a picture of this step. Its really easy but I was not able to use three screws as the plan calls for. I used two instead and it has been very solid. I used the long screws as proscribed.

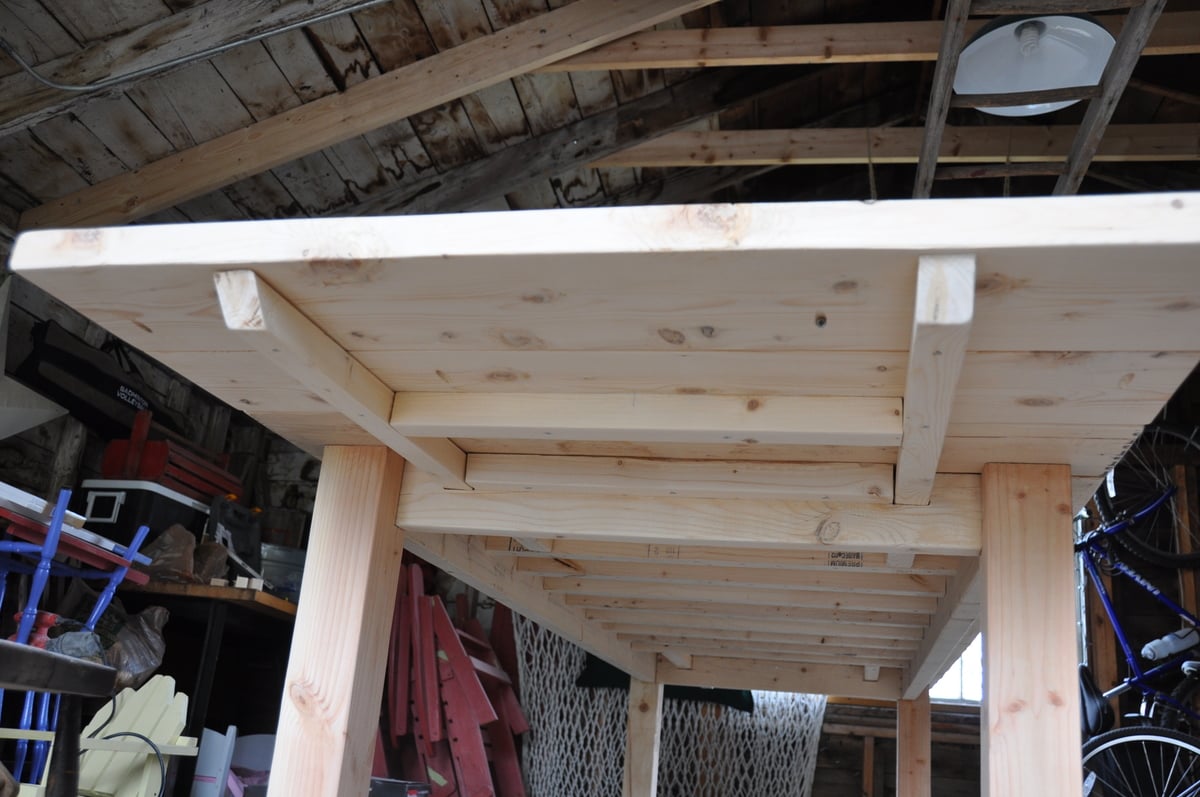
Finally, I wanted to build extensions (2 2x8 boards kreg jigged together) so I could increase seating up to a max. of 12 persons, so I needed to cut out 2x2 gaps on the table ends. I also included a picture of these in place. To make room for the 2 2x2s that extend under the bread boards and table top to brace the extensions, I left out one of the 2x2 cross beams at each end of the underside of the table (the boards that the table top boards screw into).

I hope this is helpful to you!
Estimated Cost
$250
Estimated Time Investment
Week Long Project (20 Hours or More)
Finish Used
Vinegar and Steel Wool Solution (soak steel wool for 24 hours in vinegar and be sure to test on a sample) to "age" the wood. Tung oil over this sealed the stain/wood. over this I applied a wax finish. First I used Briwax Liming Wax to enhance the gray finish and leave a slight white wash patina. This finish was enhanced because I had steel brushed with the grain to remove some soft wood so the liming wax would enhance the grain. I finished the project with clear briwax. We have been using this as our everyday table since February and there are no stains or problems with this finish.
Recommended Skill Level
Starter Project

Comments

dyemond47

Mon, 02/10/2014 - 11:55

Great job on the table! I love...I had visions of this table before I saw it. I wanted to use the 4x4's for the legs as well, the same finish. I am concerned now about the 4x4's because I am an amateur and I think that may throw too many wrenches into my plan. I started with the bench, finished in 3 hours I have patted myself on the back. Plotting on a Kreg jig right now.

epweigel92

Sun, 07/24/2016 - 09:57

Love the look of this table! Just to make sure I'm following correctly, the extensions are ones you can add and remove, not fixed? Do you have a pic of how they slide in or out?

Playhouse Loft Bed with Stairs

Submitted by Karajoy on Tue, 01/03/2012 - 18:12

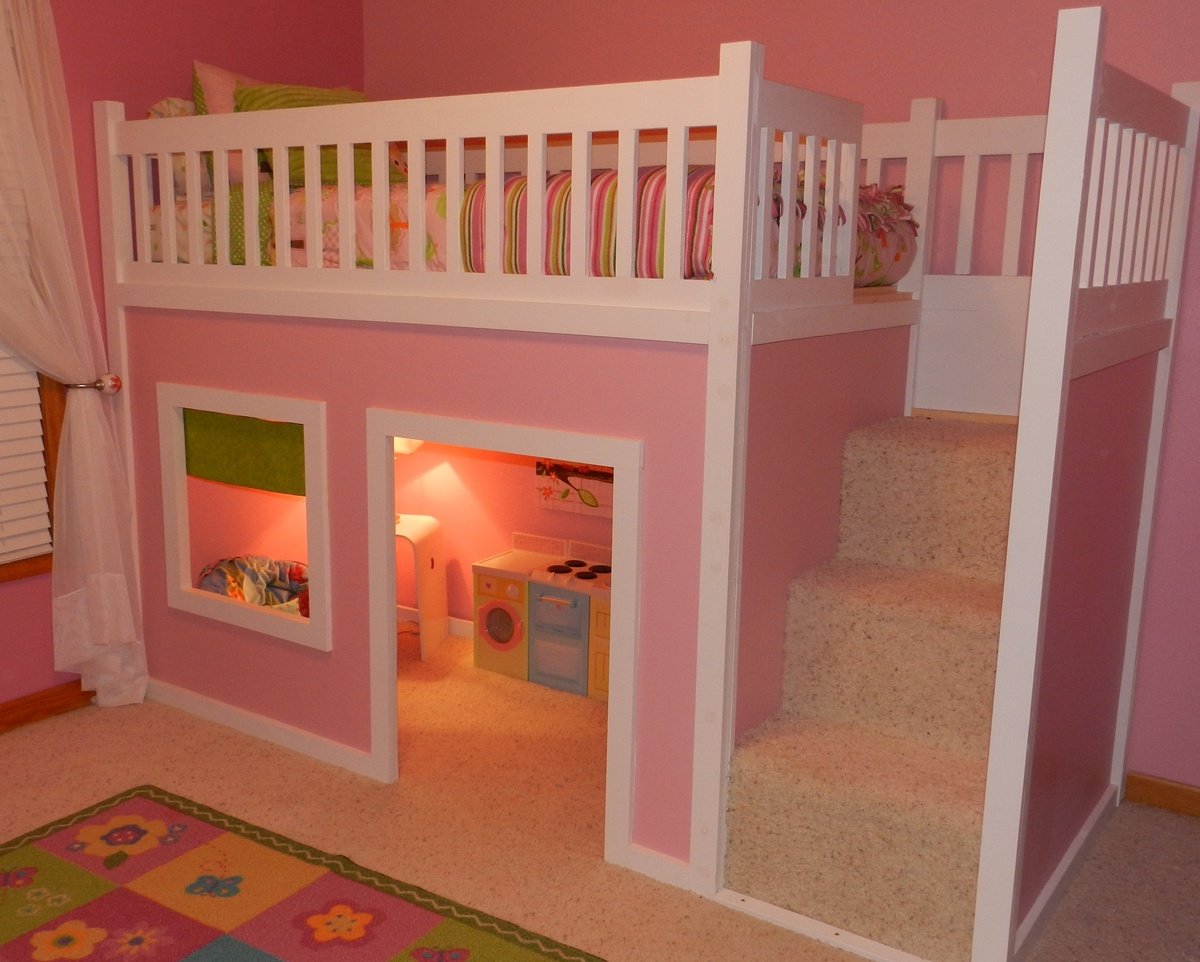
When I showed my husband the plans for this playhouse loft bed on Ana's site, he decided that we needed to build it for our daughter for Christmas. We combined the two plans for the Playhouse & the stairs and modified it slightly to fit our space. We had left-over carpet which we used on the stairs. She absolutely LOVES it!! And secretly, I think her 3 older brothers do, too. Thanks SO much, Ana!!

Estimated Cost
350
Estimated Time Investment
Weekend Project (10-20 Hours)
Finish Used
Paint is BHG Pink Carnation.
Recommended Skill Level
Beginner

Comments

Phillip (not verified)

Wed, 01/04/2012 - 14:17

How can I get a copy of the plans?

Anonymous Coward (not verified)

Thu, 01/05/2012 - 07:16

Philip and Guest -
The plans are free, and click on the links in the post

From Plan: (plans are linked here)

Shameka (not verified)

Tue, 11/13/2012 - 18:29

Hey,
How do I get a copy of the plans for this bed? I would love to do this for my daughter for a birthday gift. I have gone to the section where it says plans but there is no link to click on. Thanks in advance.

Guest (not verified)

Tue, 01/17/2012 - 09:20

I would like to know how to get a copy of the plans for this bed. This is exactly what I want to do in my little girls room but I have not beed able to find plans. Thanks!

In reply to by Guest (not verified)

Karajoy

Fri, 01/27/2012 - 21:44

If you look in the section above, you'll see "From Plan:" There are two links (they're black and don't look like links. You'll need to hover over them). One for the basic bed and one for the stairs.

kelly.abbott (not verified)

Tue, 01/17/2012 - 18:38

I do not see the plans for the playhouse loft bed. Where is it located? Can you email it to me or post the link?

Guest (not verified)

Sun, 01/22/2012 - 11:57

Hi, I was wondering what age group this is best suited for? I can't tell from the size of the pictures, and my daughter is only 2.

In reply to by Guest (not verified)

Karajoy

Fri, 01/27/2012 - 21:38

I would say your 2 year old daughter is a little young for a bed this high. I think general guidelines would suggest waiting until age 6 for lofted and bunked beds, but I think that's being very cautious. Our daughter is just about to turn 4 and she does fine in it.

Cindy from Indiana (not verified)

Wed, 01/25/2012 - 11:29

You did a great job! That looks fantastic!

I'm going to be making this bed within the next month or two for my daughter. She's 4 (will be 5 in April). I know the overall design isn't *that* high off the floor, but my daugter has a tendency to roll out of bed...often. LOL

Do you find the guardrail/slats are high enough to prevent roll offs, or should I add some height to them when I build?

Yours turned out awesome! I can see why your daughter (and sons) love the bed!

Cindy

In reply to by Cindy from Indiana (not verified)

Karajoy

Fri, 01/27/2012 - 21:34

Hi Cindy.
Thanks for your kind words.
We had the same concerns about our daughter rolling or falling out. She is almost 4, but still had rails on her previous bed. We put the slats that the mattress sits on in the very lowest possible position and actually traded twin mattresses with her brother who had a thinner mattress. Her's had a pillow-top and even the extra 2 inches made quite a difference.
There are nearly 9 inches between the top of her mattress and the top of the rails which is plenty to prevent accidental roll-outs, but it certainly wouldn't hurt to add extra if it would make you more comfortable.
Now if we could just keep her from standing up there, I'd feel a whole lot better. lol
Good luck with yours.
Kara

Cindy from Indiana (not verified)

Sat, 01/28/2012 - 07:27

Hey Kara,

Thank you so much for replying! That does make me feel more comfortable that there will be around 9" between the mattress top and the rail top. Not sure yet if I'll add a bit more or not, but it's good to hear how it worked out for you guys. Now I'll be hoping to keep my little dare devil from trying to 'fly' off the top of it and we'll be good to go. LOL

Thanks, again! That was really helpful.

Cindy

Guest (not verified)

Thu, 01/26/2012 - 12:59

Hi! LOVE THIS!!! Am planing on making for my daughter. Any chance there are plans for this in a Full Size bed?

In reply to by Guest (not verified)

Karajoy

Fri, 01/27/2012 - 21:48

I've seen some posts on Ana's Brag Boards of these lofts with full sized mattresses on top. Ana's original plan is a twin bed, but others have modified it to suit their needs. You may just want to search and see if anyone has included their plans for a full. Sorry I can't be more help. Good luck!

Guest (not verified)

Mon, 01/30/2012 - 08:09

I will be making this for my boys. For the guard rail, I will be making it go all the way to the ceiling, since they like to jump off of things. They will get a kick out of it because it will be a "wild animal cage", lol.

In reply to by Guest (not verified)

Karajoy

Sat, 02/04/2012 - 16:14

Love it! It takes the safety issue out of the equation totally. Great idea. I know they'll LOVE it, too.

JessiW (not verified)

Tue, 01/31/2012 - 18:32

That is very nice if you dont mind me asking how long did you make that one... I am wanting to make one for my daughter but I dont have 103 inches that called for in the one plan...

In reply to by JessiW (not verified)

Karajoy

Sat, 02/04/2012 - 16:10

We made our bed to the exact specifications that Ana gave (103"), however, if you need to save space, you could leave the stairs off and opt for the ladder.

Kelly Kelley (not verified)

Tue, 02/07/2012 - 15:42

I tried to get the plans for this bed and I cant seem to locate. Could you help please? Thank you!! What a beautiful bed!!

In reply to by Kelly Kelley (not verified)

Karajoy

Wed, 02/15/2012 - 18:34

Hi Kelly,
There are links to the 2 plans in the "ABOUT THIS PROJECT" section above. Just hover your cursor over the "From Plans:" and the links will change color. They appear black and therefore, don't look like they're linked to anything. They're both there. Good luck!!

Guest (not verified)

Fri, 02/10/2012 - 14:23

I cannot find the plans to this bed. Could you email them to me ? Abby

Guest (not verified)

Fri, 02/24/2012 - 17:03

We were looking for plans to build a loft bed to save space in our 3.5 year old daughters room. My husband found this and we are sold on this idea. She is going to flip when she sees her new bed! Love it!

Amanda D. (not verified)

Mon, 03/05/2012 - 20:01

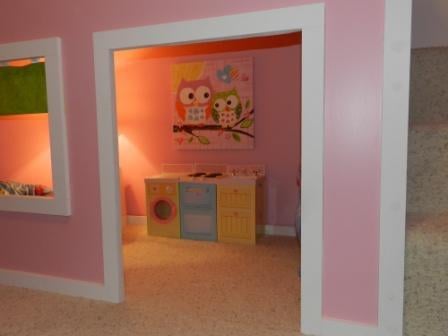
Hi there, I was wondering if you could tell me where you got the fabulous little washer and dryer combo that I see in the photo. I know the sweet owl painting is from target, but I love the little play space you seem to have created! :)

In reply to by Amanda D. (not verified)

Karajoy

Mon, 03/19/2012 - 19:42

The little set inside is from Playskool's Rose Petal Cottage collection. It's a little miniature set and worked perfectly in this space.

Kirstie (not verified)

Sat, 03/17/2012 - 22:52

I LOVE this so much! I love the color scheme as well, we decided to copy the scheme in my daughter's room. I was wondering where you got the curtain from? Did you buy it or make it yourself? It's almost exactly the color of the green paint we bought so I would love to know. Also, I love the washer and dryer too, also curious about that. Thanks!

In reply to by Kirstie (not verified)

Karajoy

Mon, 03/19/2012 - 19:40

Hi Kristie.
I made the little curtain and the little washer/stove/sink set are from the Playskool Rose Petal Cottage collection. Good luck building your playhouse. It's a little girl's dream!!

Guest (not verified)

Wed, 03/21/2012 - 20:27

Hi Kara,
I'm really interested in building two of these for my girls... they caught my attention because they've been asking for a bunk bed and I don't want to do a bunk bed because I hate the idea of struggling to change the bedsheets. Just wondering if it's a hassle with a bed this height.

Yours looks amazing, btw!

Thanks,
Sarah

gabey2329 (not verified)

Tue, 04/10/2012 - 11:18

oh my god i love this it would be awesome for my daughter also. were you able to stay in your budget???? do you think is a safe style for a 3 year old? she would go absolutely nuts!

Guest (not verified)

Fri, 04/13/2012 - 20:17

so beautiful! if i wanted to do this with a full mattress how would i tweak the measurements? i want to do this with a full with the stairs... just so she can be in the bed for a longer period and also the space underneath to be a bit bigger... also if i wanted to make the stairs have a drawer? i really would appreciate alll the feedback if possible because im so far from handy... :-/ and 1 more thing how did u get a light down there?

Veahava

Fri, 05/11/2012 - 18:27

I was wondering if once put together is it easy to take apart? My dad builds houses for a living and was going to make it for my daughter at his house then bring it to mine to set it up

Sharlean (not verified)

Sun, 06/10/2012 - 14:40

My husband and I just finished making this bed with stairs for our 3 year old and he loves it.

Rebeccaguest (not verified)

Tue, 06/12/2012 - 06:41

what age would you reccommend this for?? my son is 3 n a half and i woant to attempt to make this bed, but dont want to spend time and money if i will have to buy him a new bed in a couple of years. i would like it to last a good while. also, like veahava, i was wondering if this was easy to dismantle once put together as i am planning a move in the future, thankyou

winter_baby26

Thu, 06/28/2012 - 07:43

This looks amazing! I'm sure your daughter was thrilled. I can't believe it only cost $350 to build - I have no doubt you would pay significantly more than that if you bought something similar at a store.

Claire_UK (not verified)

Tue, 10/02/2012 - 02:14

This is absolutely divine - you are so talented! I have just found this website and can't imagine I'd ever be able to make something so beautiful. Putting up a shelf is beyond me. Your daughter must be so proud of her little nighttime palace!

Christine N (not verified)

Sun, 10/21/2012 - 20:01

I am trying to get the plans for this bed with the stairs but when I click on the link it doesn't give me the plans. Help, my granddaughter would love love love this. Thank you so much.

Nikki_DivaMomm… (not verified)

Thu, 12/06/2012 - 20:30

I LOVE this bed ! It's exactly what my husband & I are looking for !! With your measurements, is this suited for a toddler mattress or a twin??

Tara Payon (not verified)

Mon, 12/17/2012 - 20:42

Love love love this bed, what size mattress does it use?

cevans81

Wed, 09/11/2013 - 05:11

We made this bed for our daughter and now my son and daughter play with her kitchen and table underneath in the playhouse. Your instructions were so easy to follow and everything matched up perfectly. We did do the ladder due to space but the bed is beautiful. We get so may compliments when people come over and I always tell them about your website. You truly have awesome ideas! I can not wait for the next project and I am sure it will be off your site :-)

kullmann

Mon, 10/07/2013 - 17:26

I love your playhouse with loft bed! How tall is the underneath part? Would you be able to fit a desk underneath? Also, could the plans be adjusted to accommodate a double bed?

THANK YOU!!

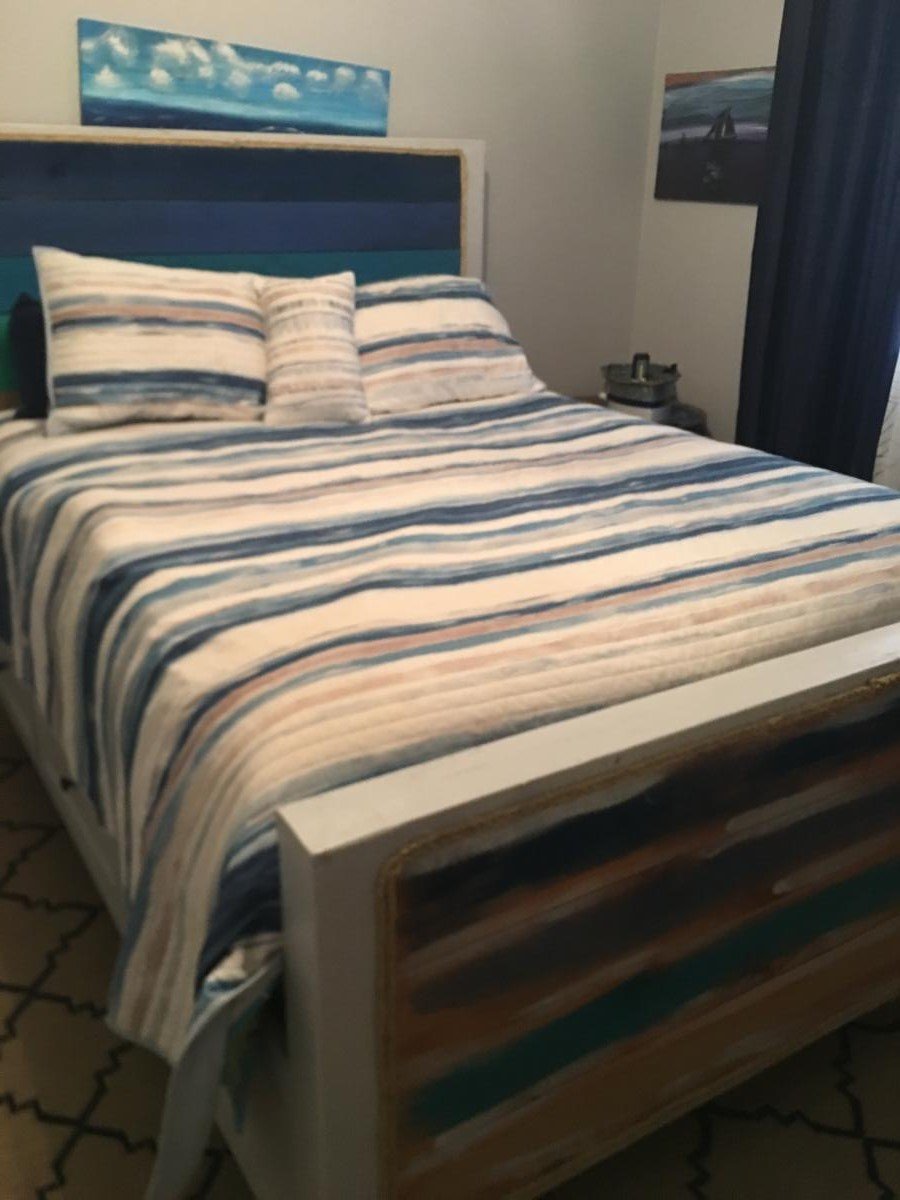
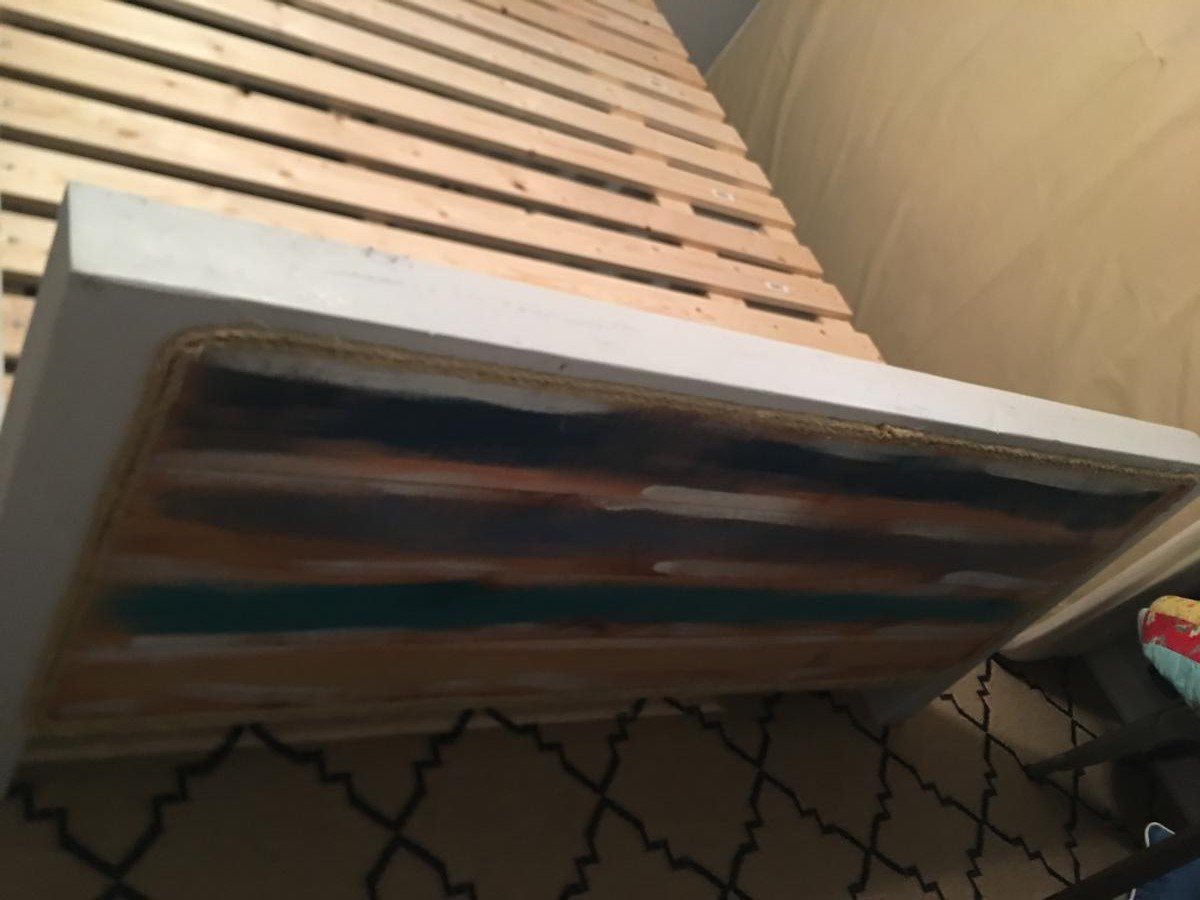
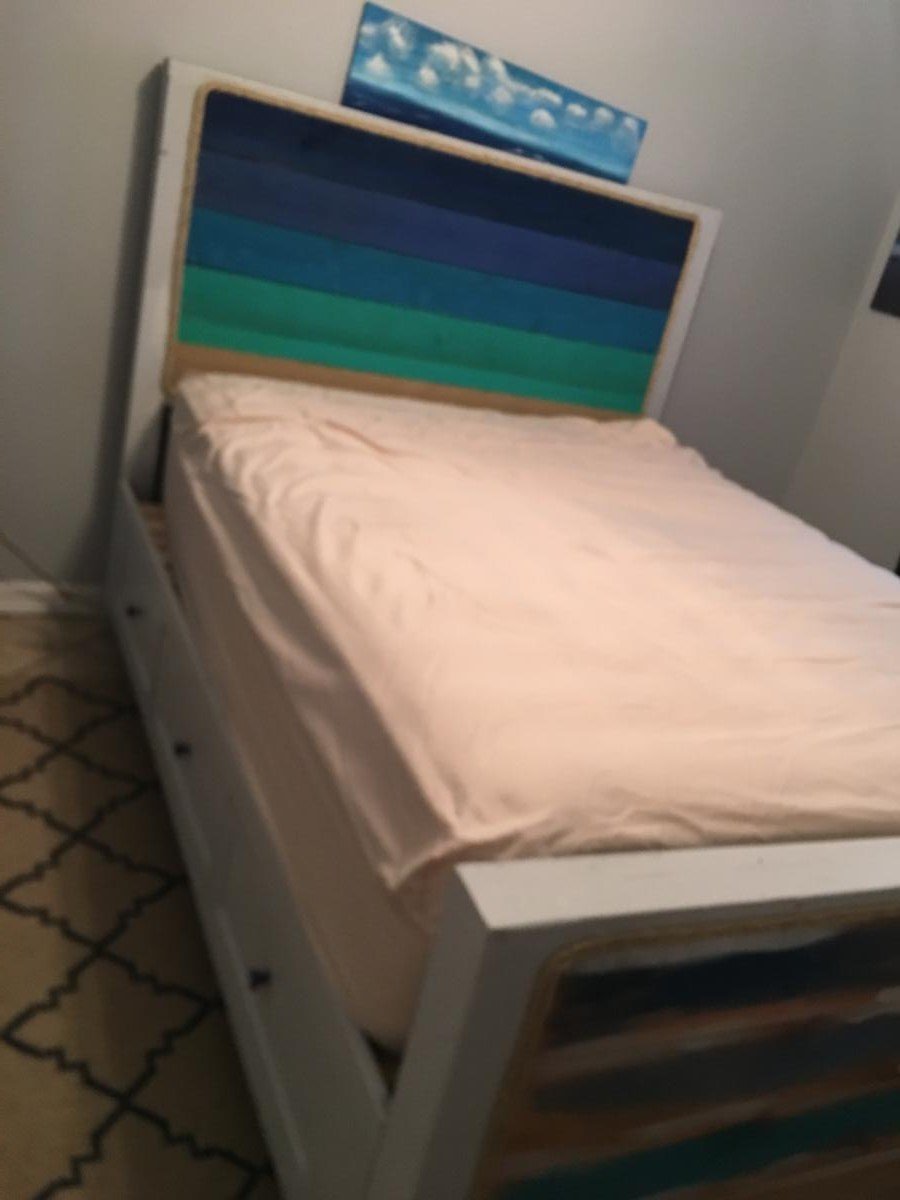
Panel Bed for Ray

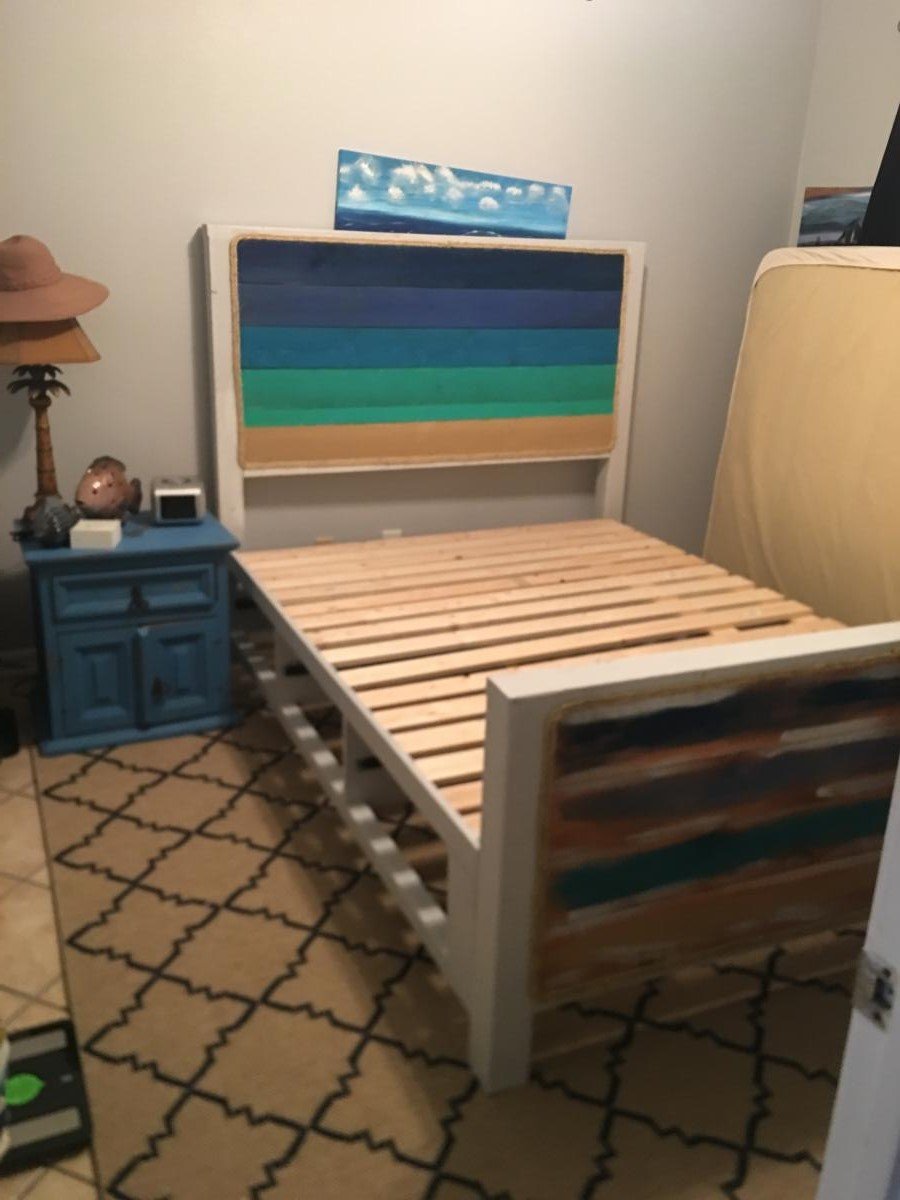
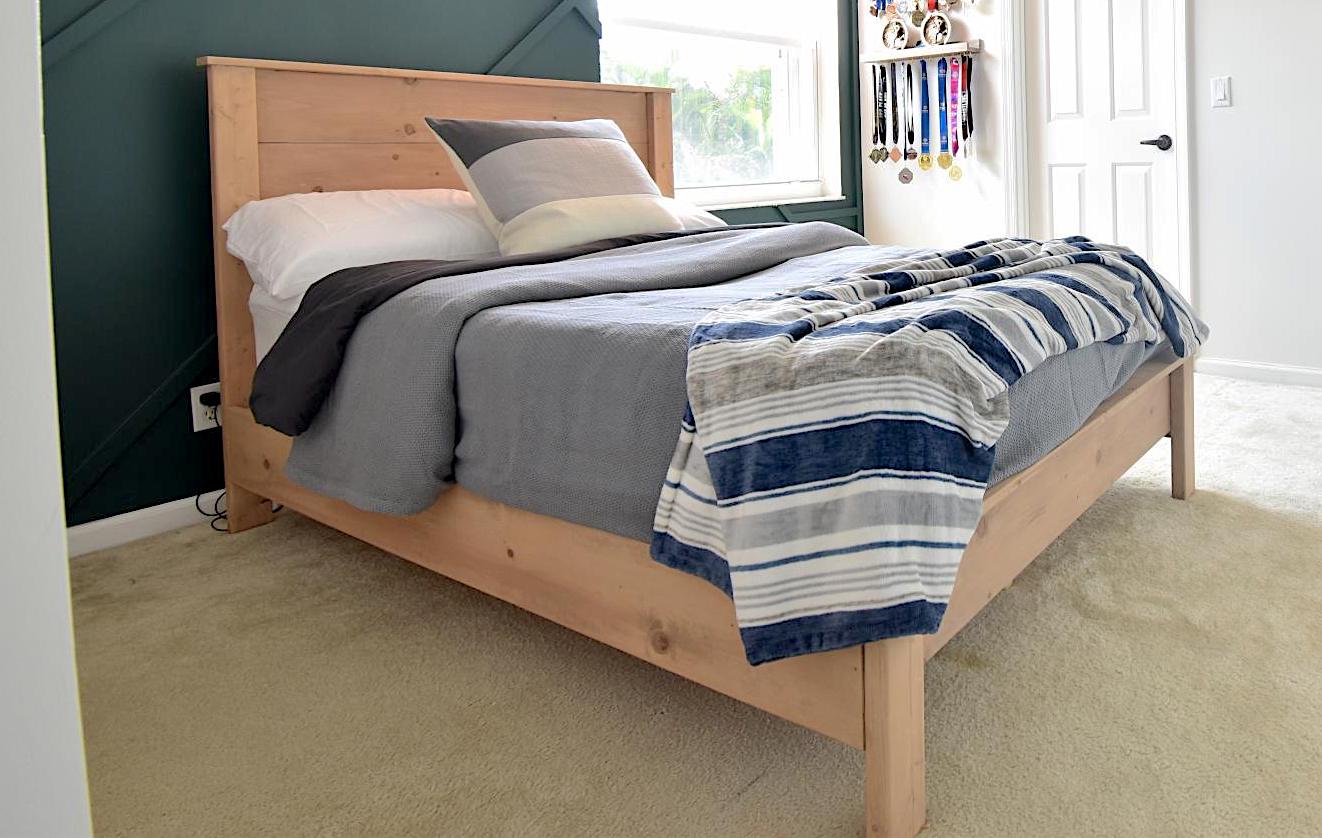
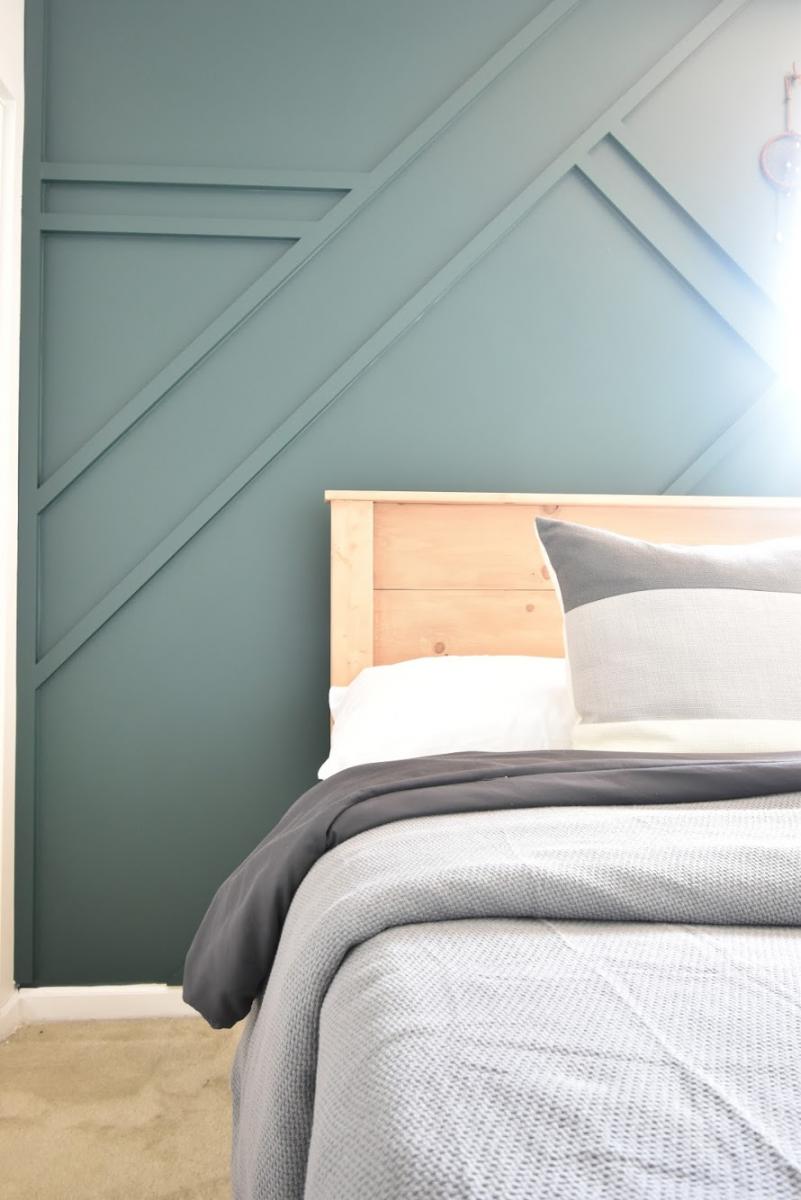
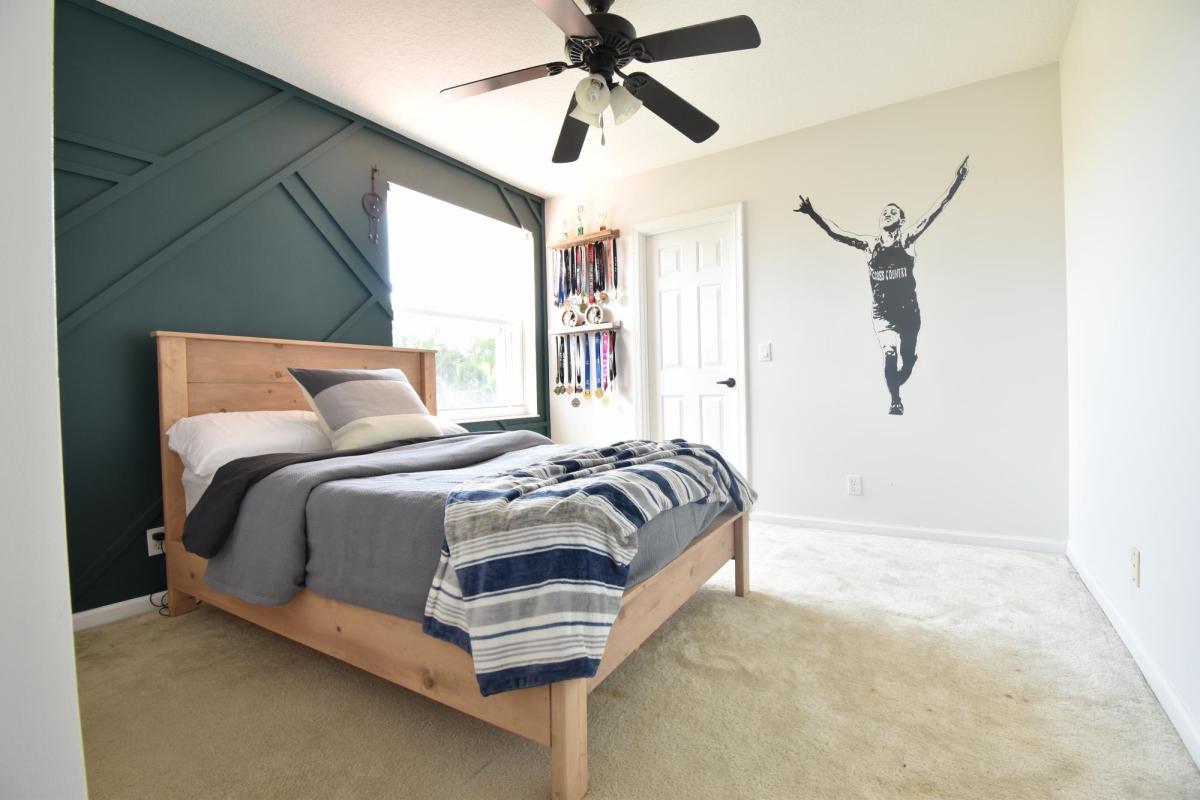
I made this bed over a weekend while I “room crashed” my oldest’s bedroom. 
I’m so happy with the result. I experimented with stains mixing two, well layering colors. 
That was a lot of fun! 
I hope to write a blog post about it one day. I will add it to my ever-growing To Do List. 
Let me know if you have questions. I love talking about building and all things DIY! 

Estimated Cost
100
Estimated Time Investment
Weekend Project (10-20 Hours)
Finish Used
Layered Simply White and Early American from Minwax.
I applied the Simply White (didn’t remove excess) and then I added the Early American on top. Let it all sit a bit and wiped off the stain.
This left a beautiful color.
Recommended Skill Level
Beginner

Comments

Greenhouse

Submitted by Anonymous (not verified) on Mon, 06/26/2023 - 13:04

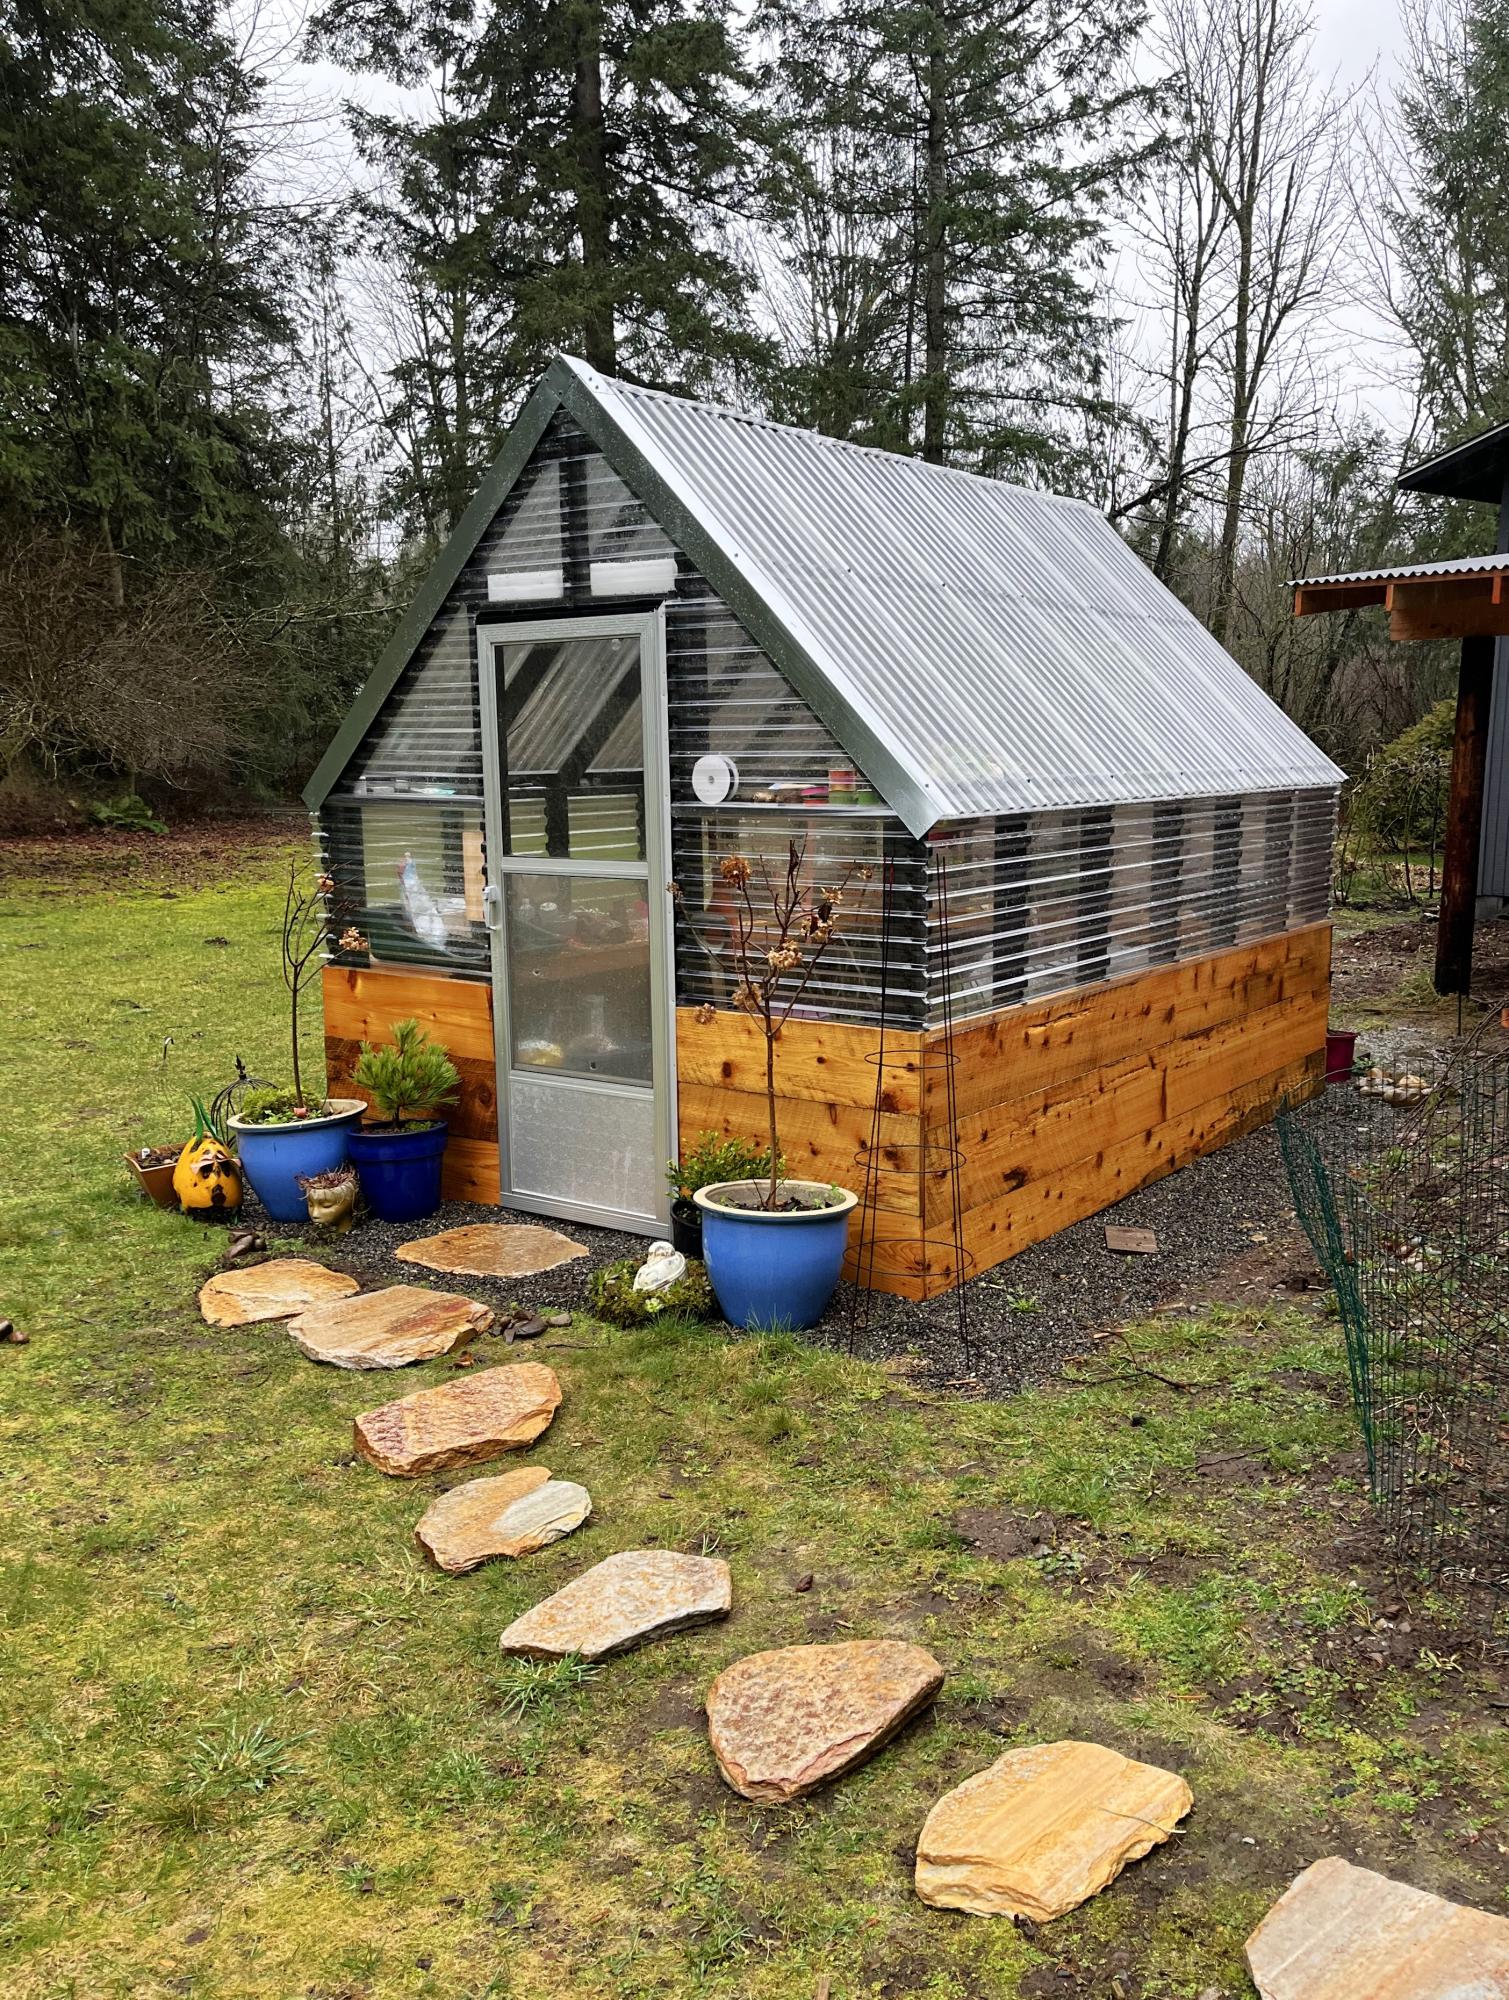
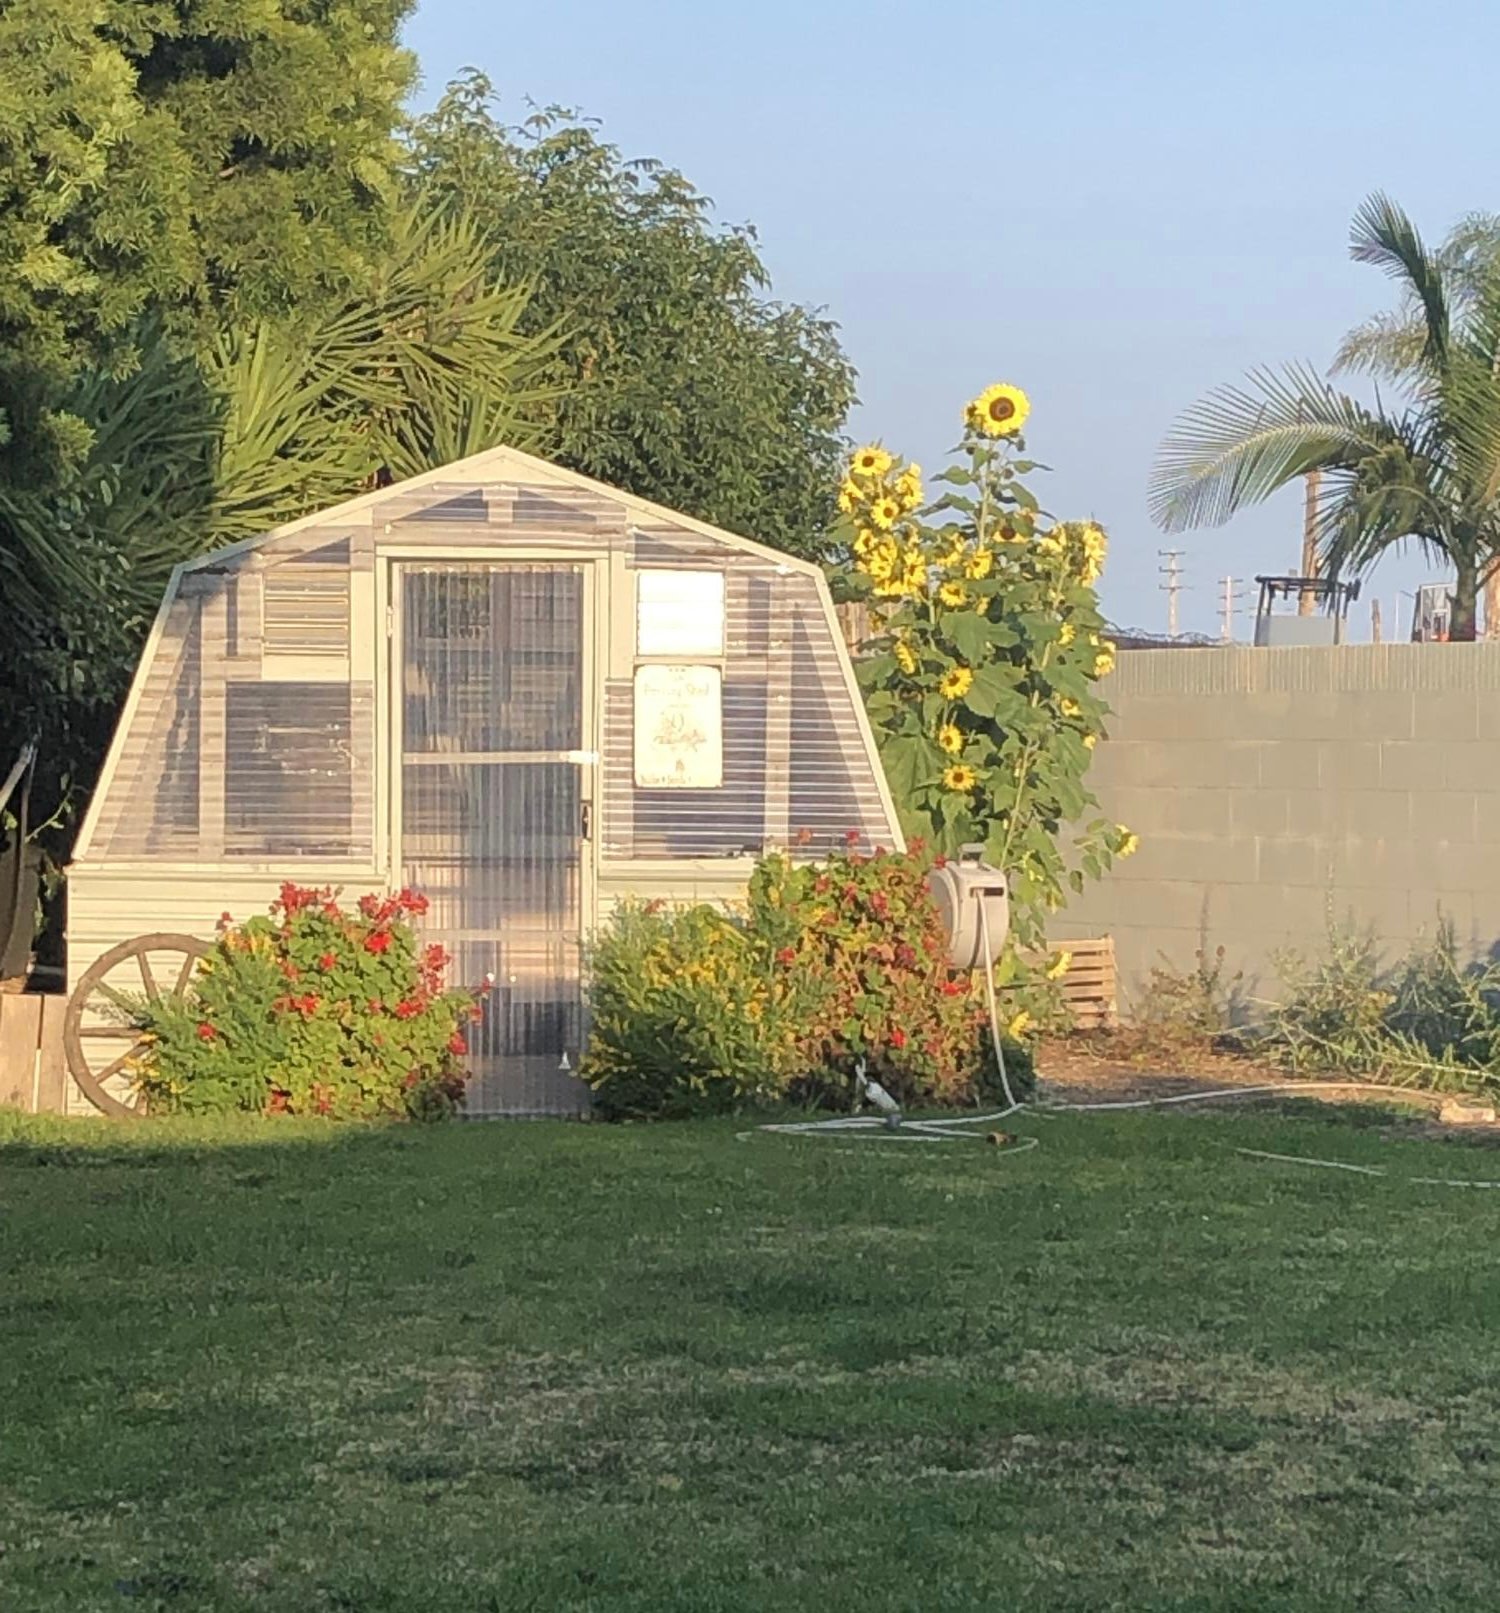
I saw this greenhouse built on the Justin Rhodes YouTube channel and immediately wanted my own. My husband was a champ at making my dream come true!

Built from Plan(s)

Comments

nifof17547

Tue, 04/09/2024 - 01:43

What a great idea! Building your own greenhouse can be a rewarding and cost-effective project. With the right planning and choice of materials, you can create a sturdy structure that will last you for years to come. In fact, a greenhouse is a great way to take care of your health because the crops grown there are undoubtedly of higher quality and healthier for you. Speaking of health, if you want to improve your health, consider using natural supplements such as mullein. Mullein supplements are known for their potential respiratory benefits and can promote overall well-being. You can find organic mullein supplements https://www.amazon.com/USDA-Organic-Mullein-Drops-Lungs/dp/B0CKBPTPRL on Amazon. Adding them to your daily diet can complement the peaceful environment of your greenhouse. So, whether you are a gardening enthusiast or just starting out, remember to take care of both your plants and your health!

Seasonal And Holiday

Main closet bench and shelving

Submitted by Anonymous (not verified) on Sun, 10/27/2019 - 13:11

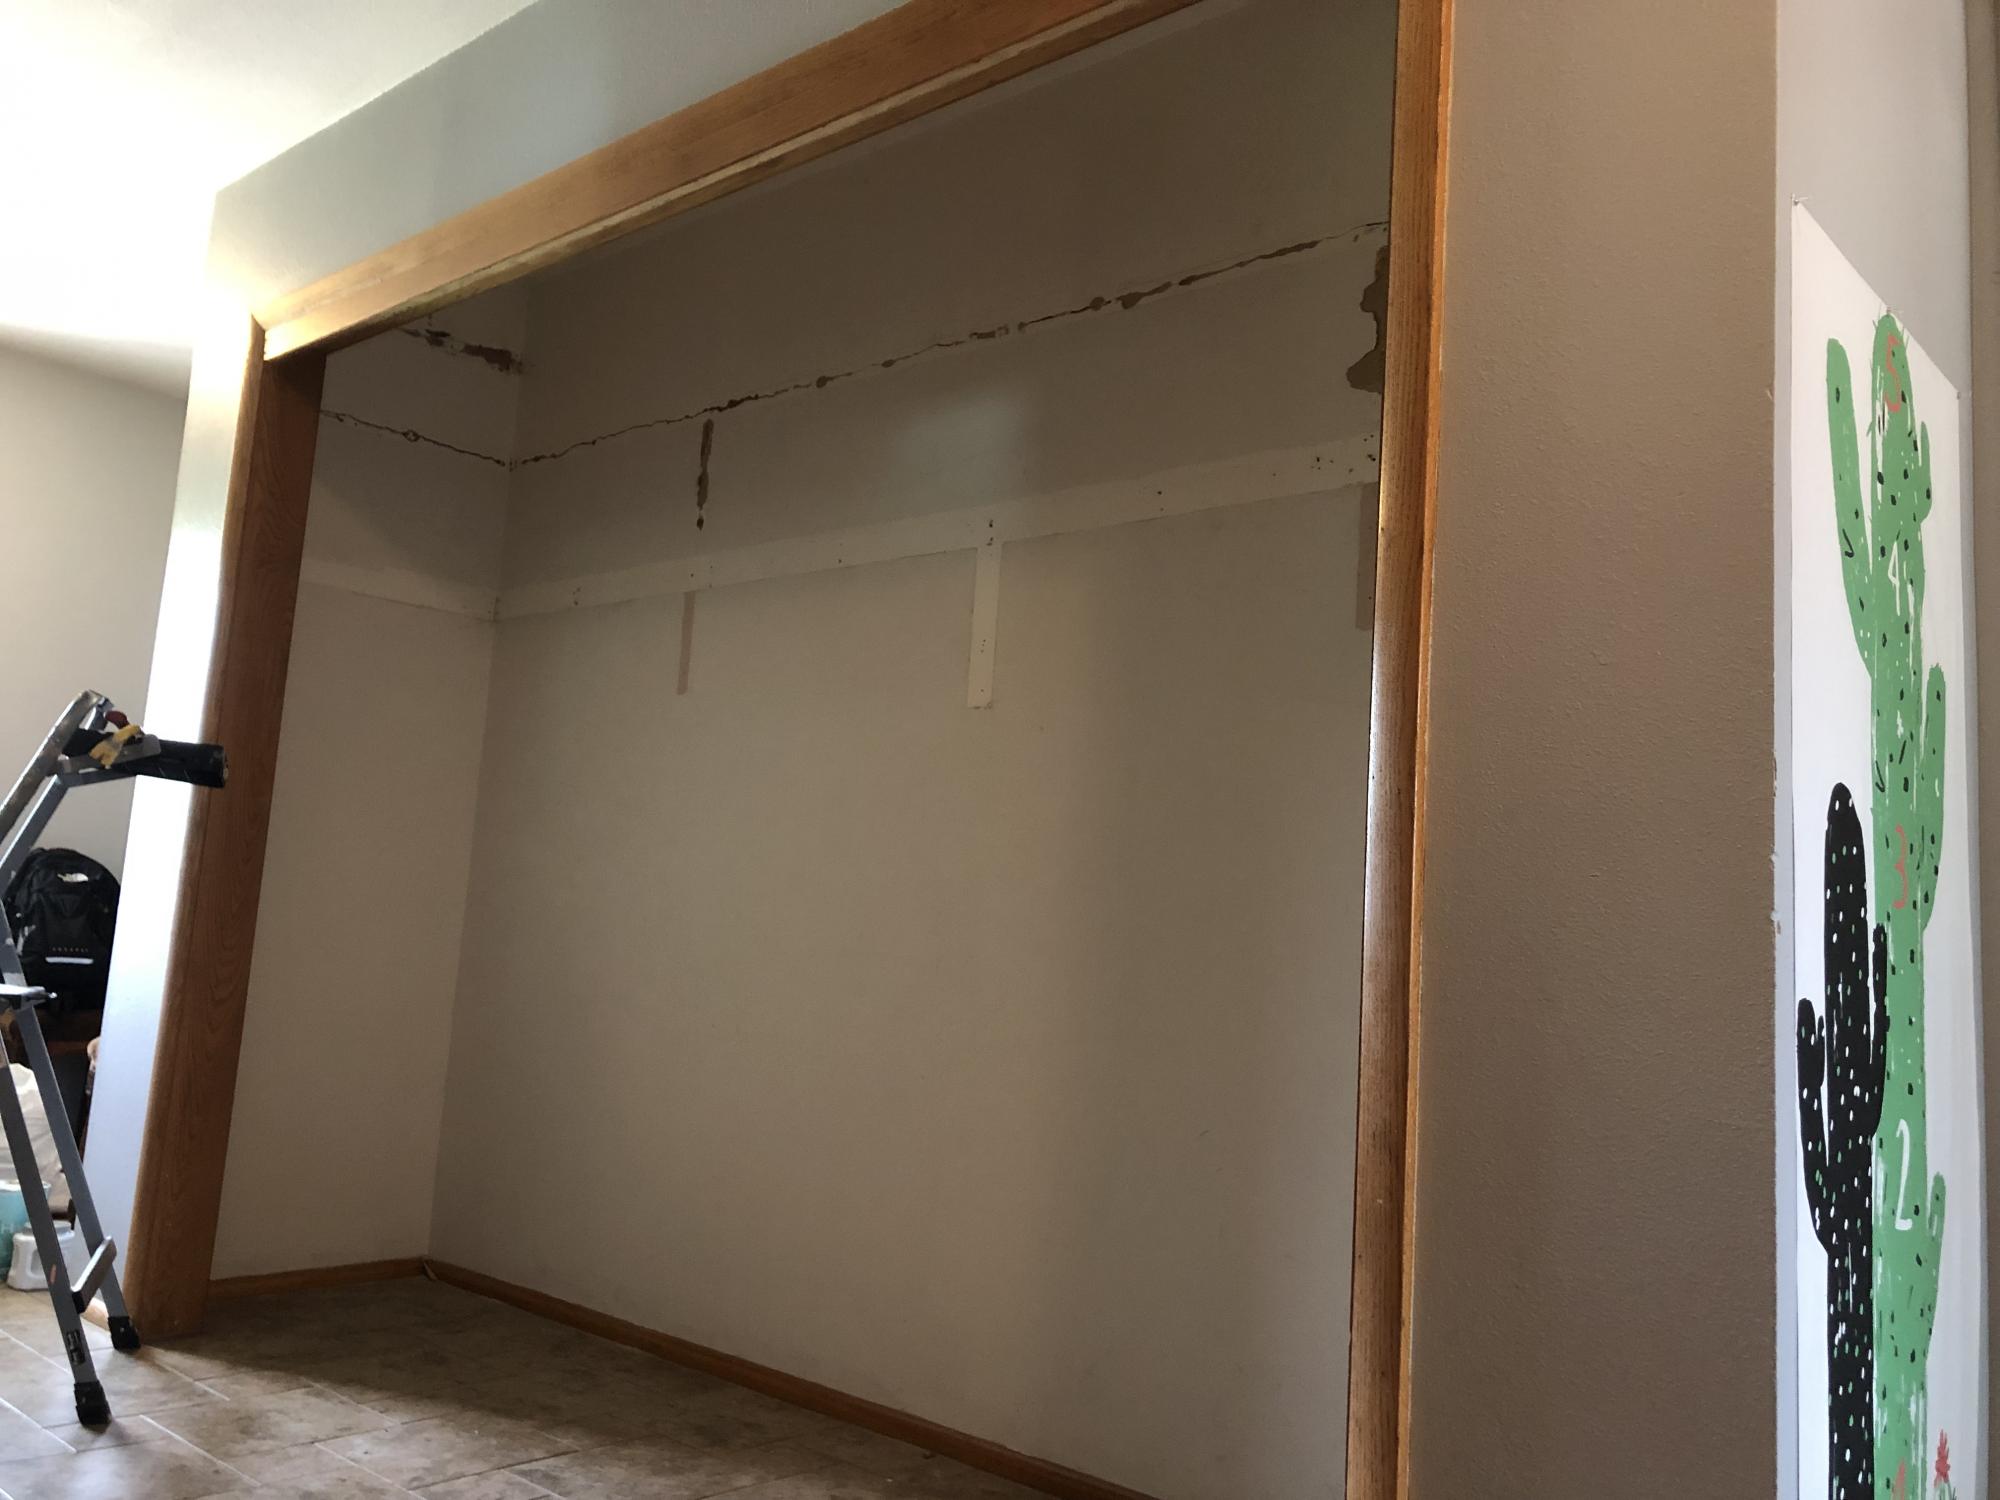
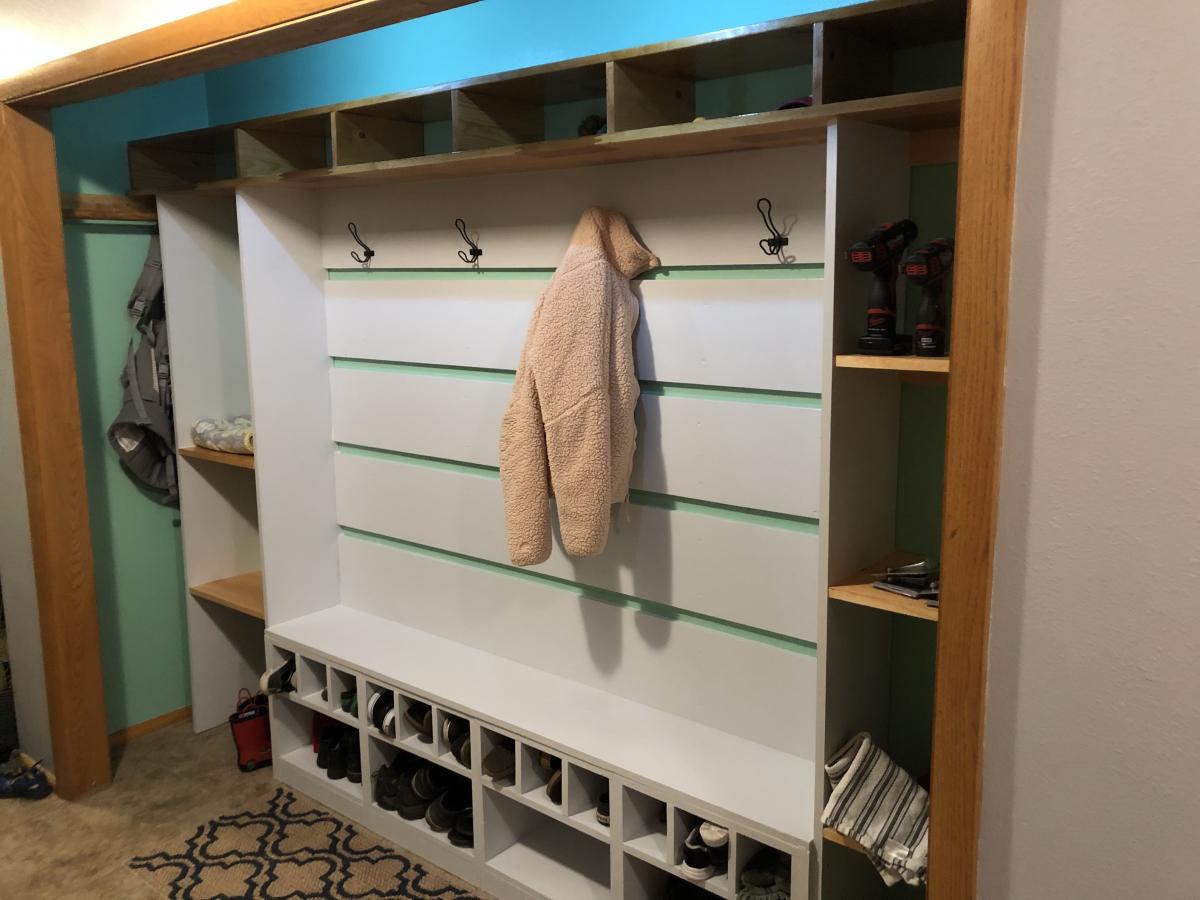
We have a 10 ft closet in our entry which offered plenty of space but had three closet sliding doors. Only one could be open at a time. Had two upper shelves and a rod. Wanted to get things more organized and have a place to get shoes on. Always give my 1 and 3 year old easier access to dress/undress themselves. First attempt at building anything. As I went along changed things based on materials and to get around issues with our closet or my skill level/available tools.

Estimated Cost
200
Estimated Time Investment
Week Long Project (20 Hours or More)
Finish Used
Painted areas are Olympus white sherwin Williams. Stain is classic oak.
Recommended Skill Level
Starter Project
Back