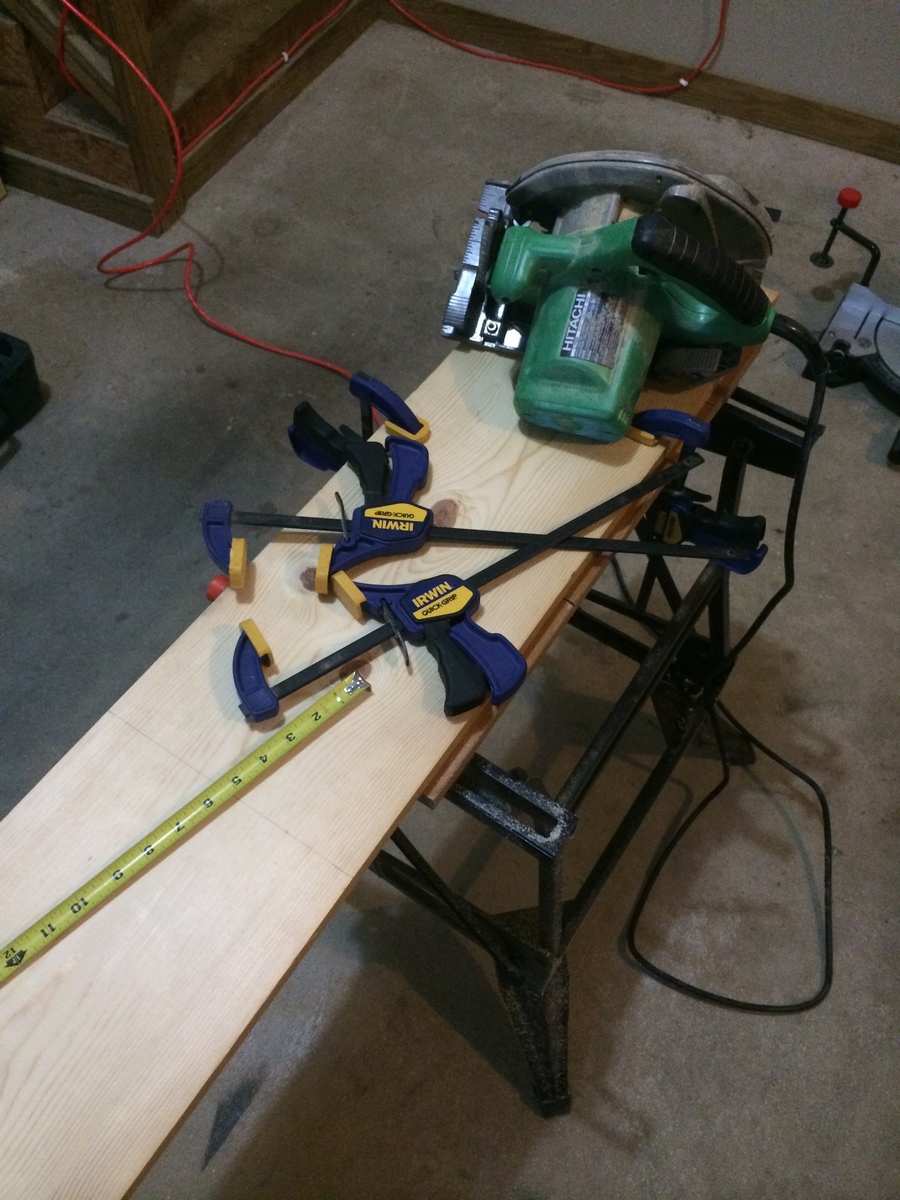
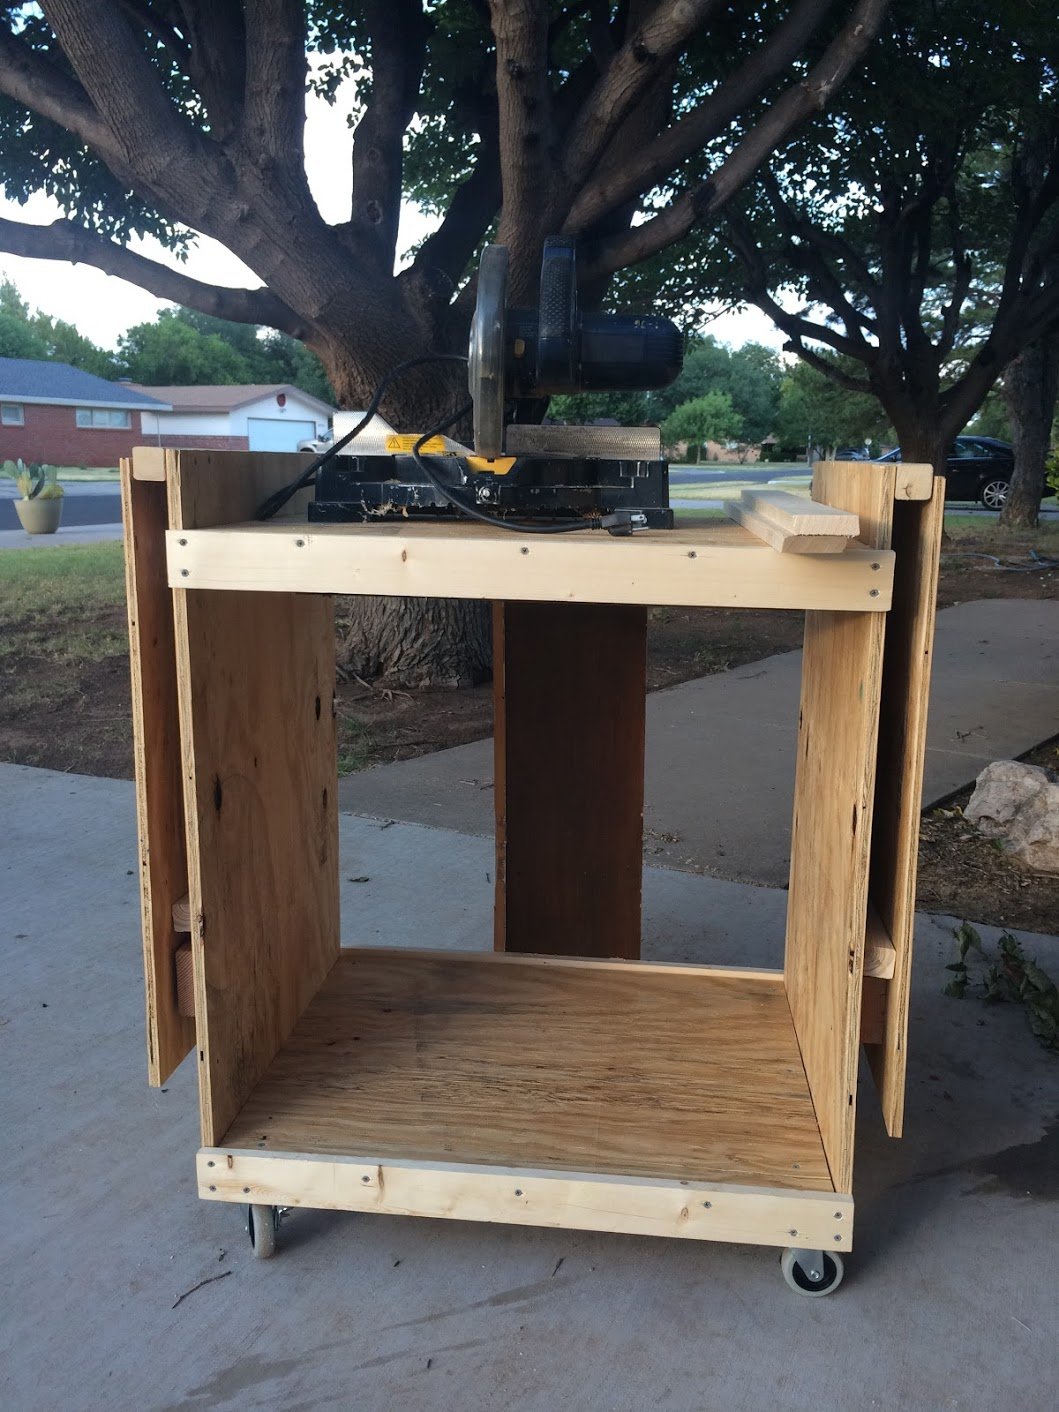
MITER SAW CART
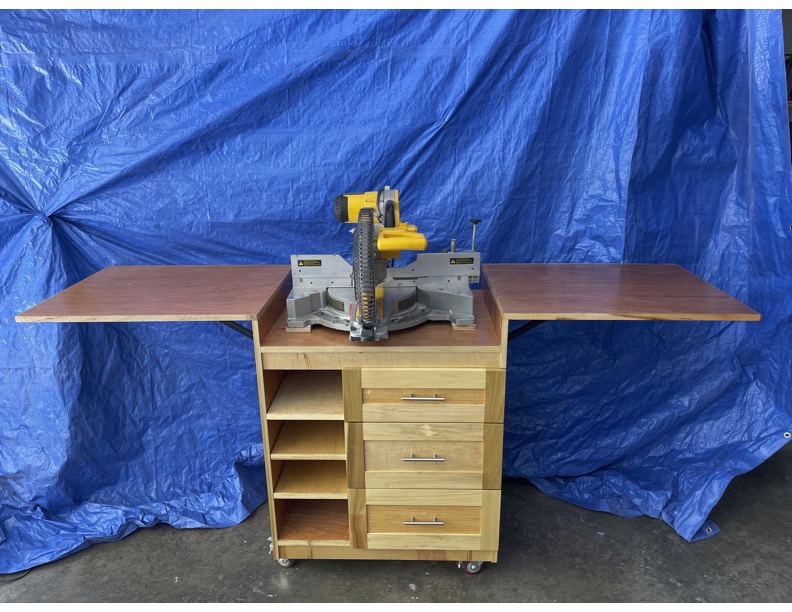
Great Miter saw cart plans! Absolutely love how mobile my miter saw is now. I added adjustable shelves and drawers for a ton of storage.
Built from Plan(s)
Great Miter saw cart plans! Absolutely love how mobile my miter saw is now. I added adjustable shelves and drawers for a ton of storage.
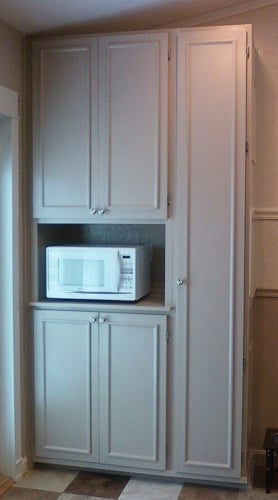
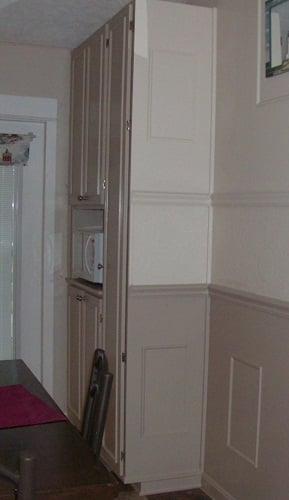
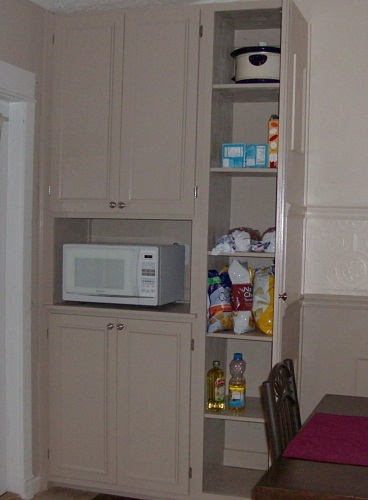
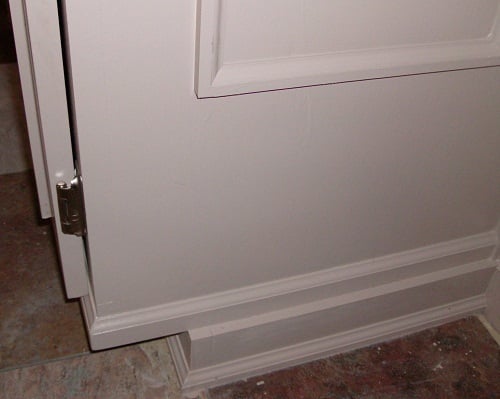
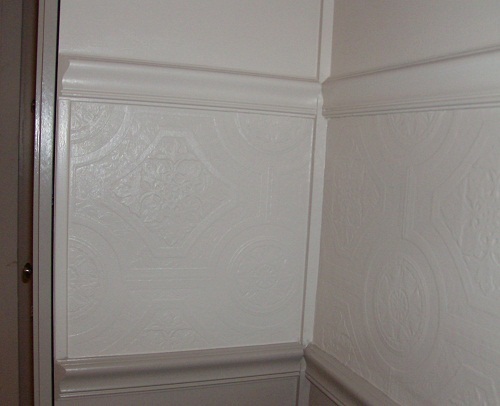
Pantry cabinet, with lots of room, Ana-inspired. We combined ideas from the Momplex kitchen, simple armoire, and benchmark storage, and we are super pleased with how this turned out. We built it in 2 pieces, attached together and then secured to the base and wall studs so it’s a ‘built-in’. Then we added lots of trim and painted to match the dining room. The opening at the left is large enough to fit pretty much any size microwave, and there’s a dedicated outlet behind it in the opening. The shelves are spaced wide enough apart for tall cereal boxes, tall bottles, and chip bags to stand upright. Overall finished cabinet size is 48" wide and 95 3/4" tall. This took us several days to complete. Since the doors are tall and kind of heavy, we added the Blum cabinet door dampeners from Rockler (these things really work!). Ana, thank you so much for the inspiration. I don’t think we would have tried this if it wasn’t for you. We love our new pantry!

Sat, 07/21/2012 - 07:44
It looks amazing! What a great idea to add it as a built-in. Nice modification for the microwave.
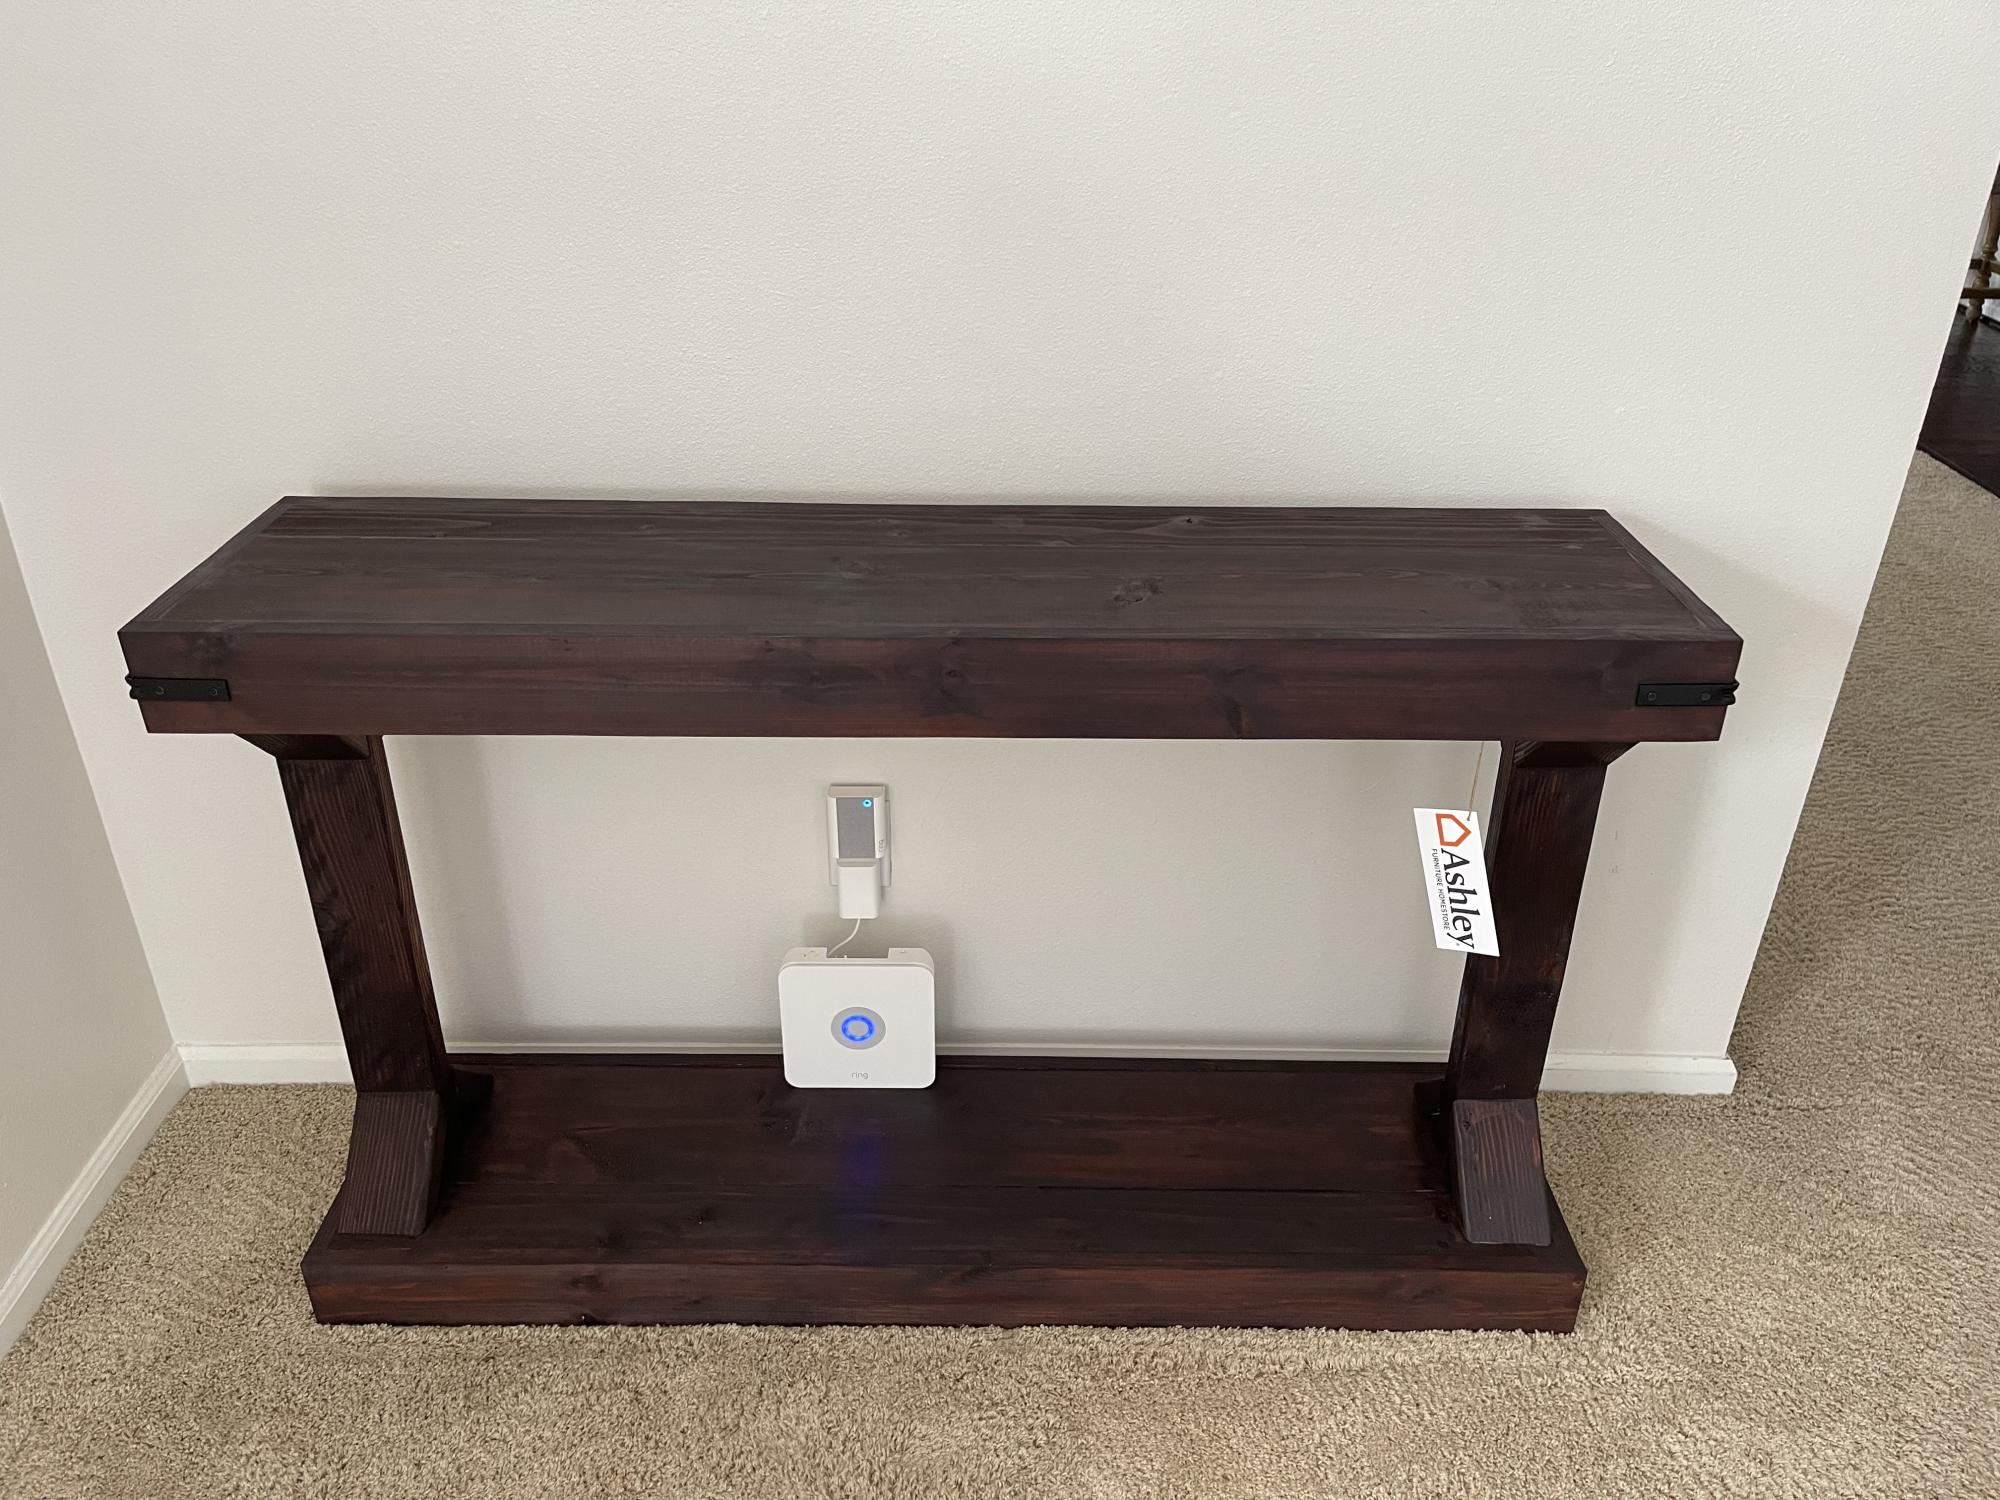
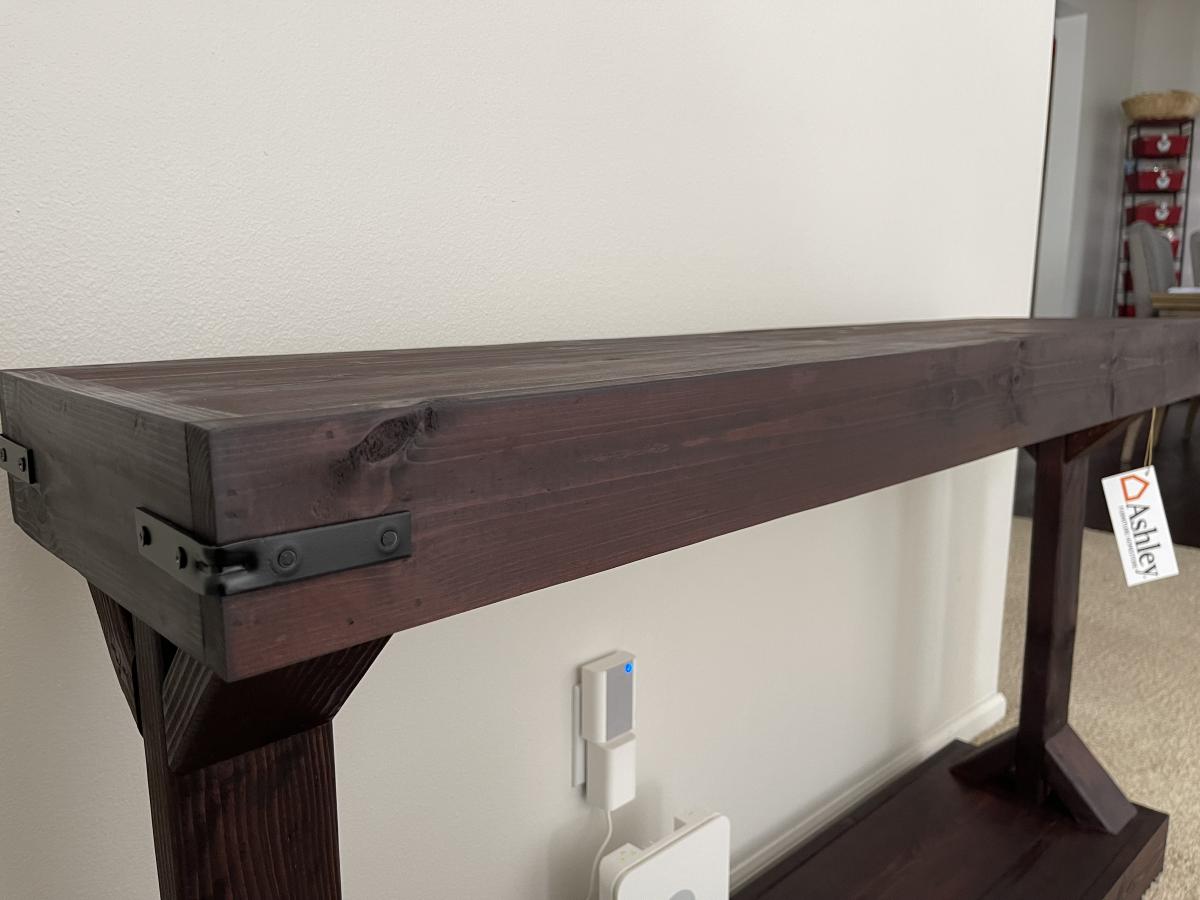
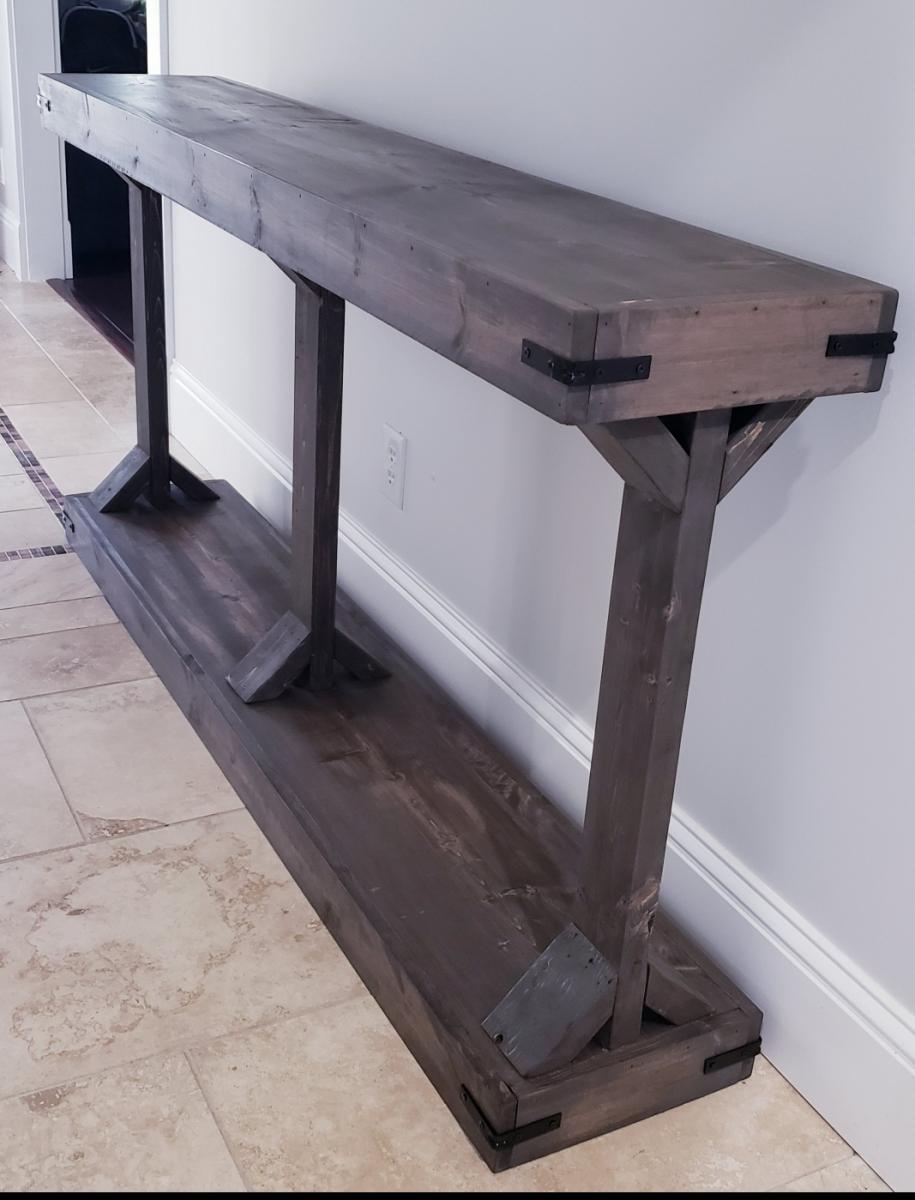
Thanks to Ana Whites plans, I made this beautiful wall table for our entrance way. My daughter said it looked like it was from Ashley furniture store! Haha! So she made me put an Ashley furniture tag on it! She also helped me and this project.
David Marks

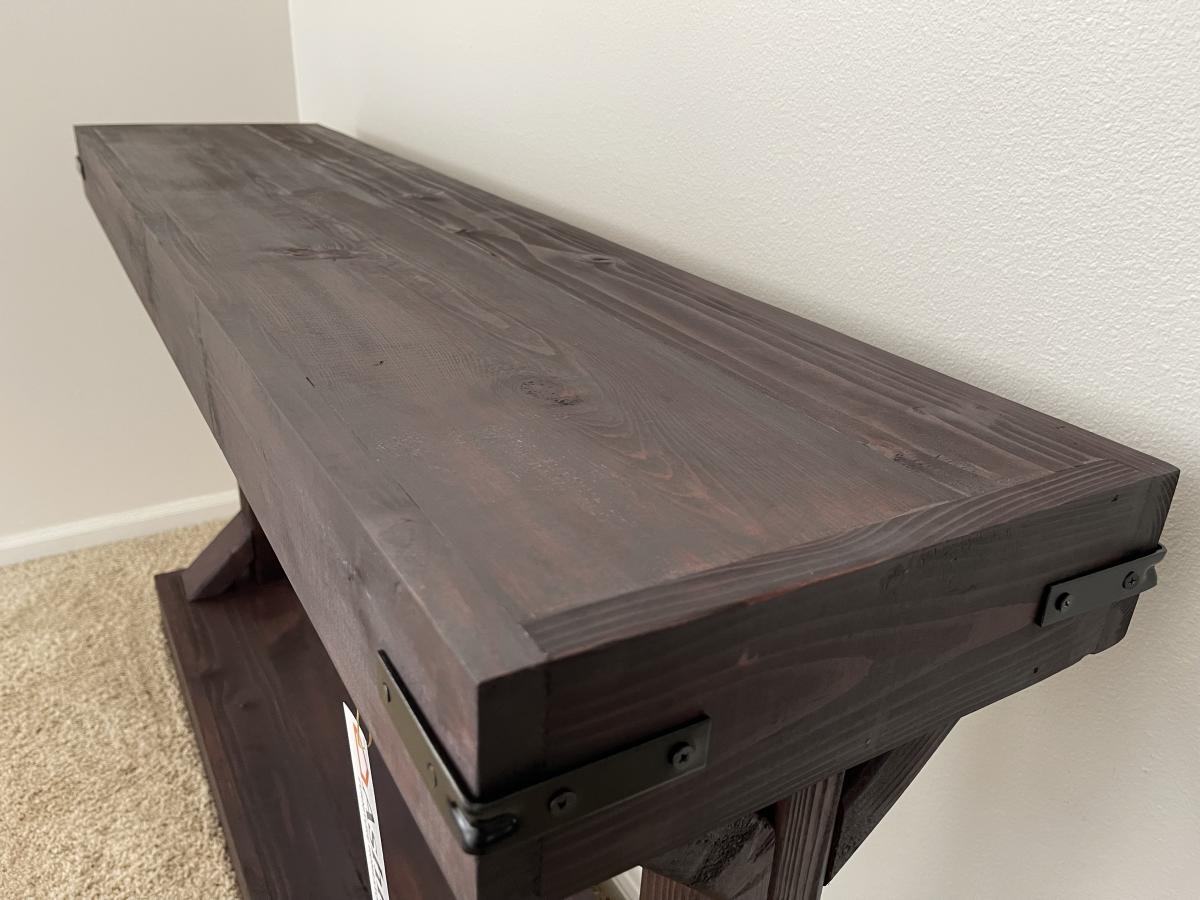
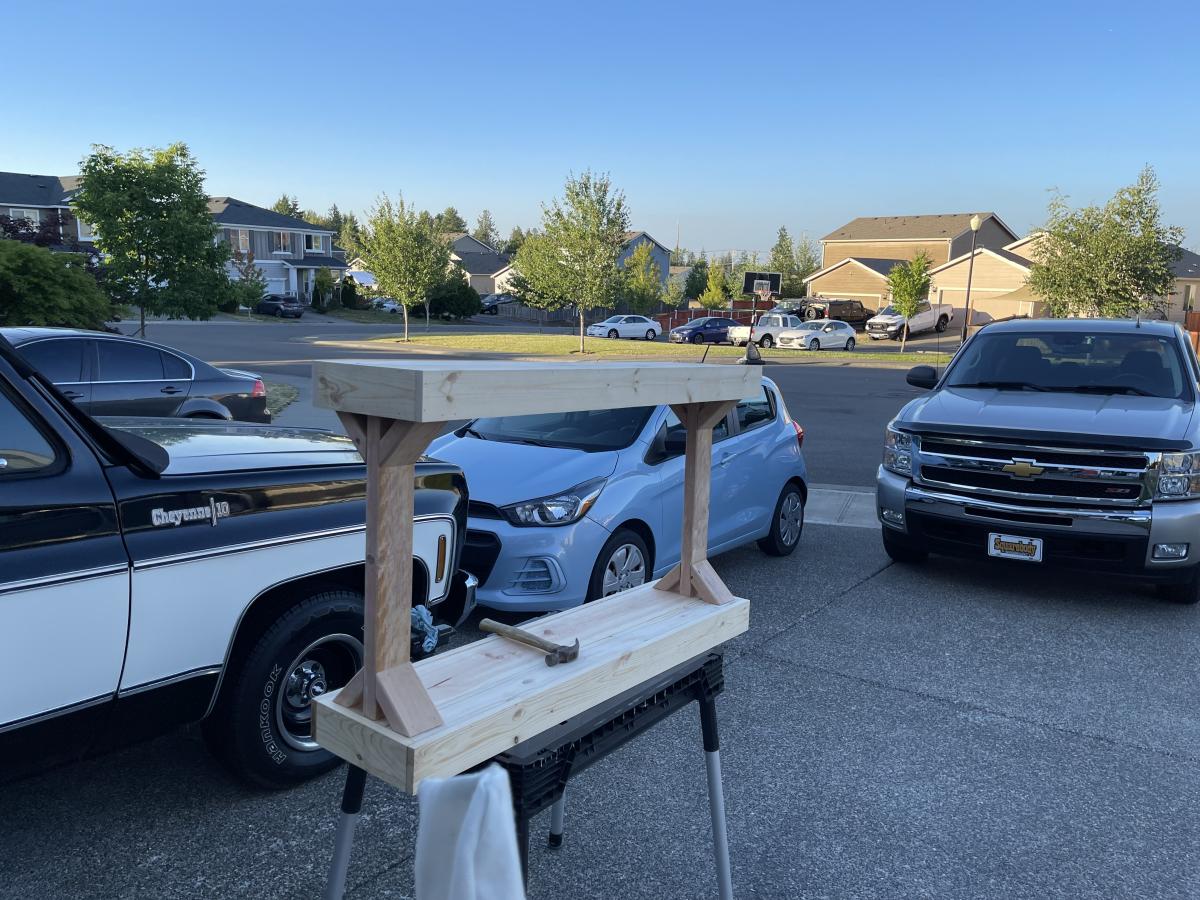
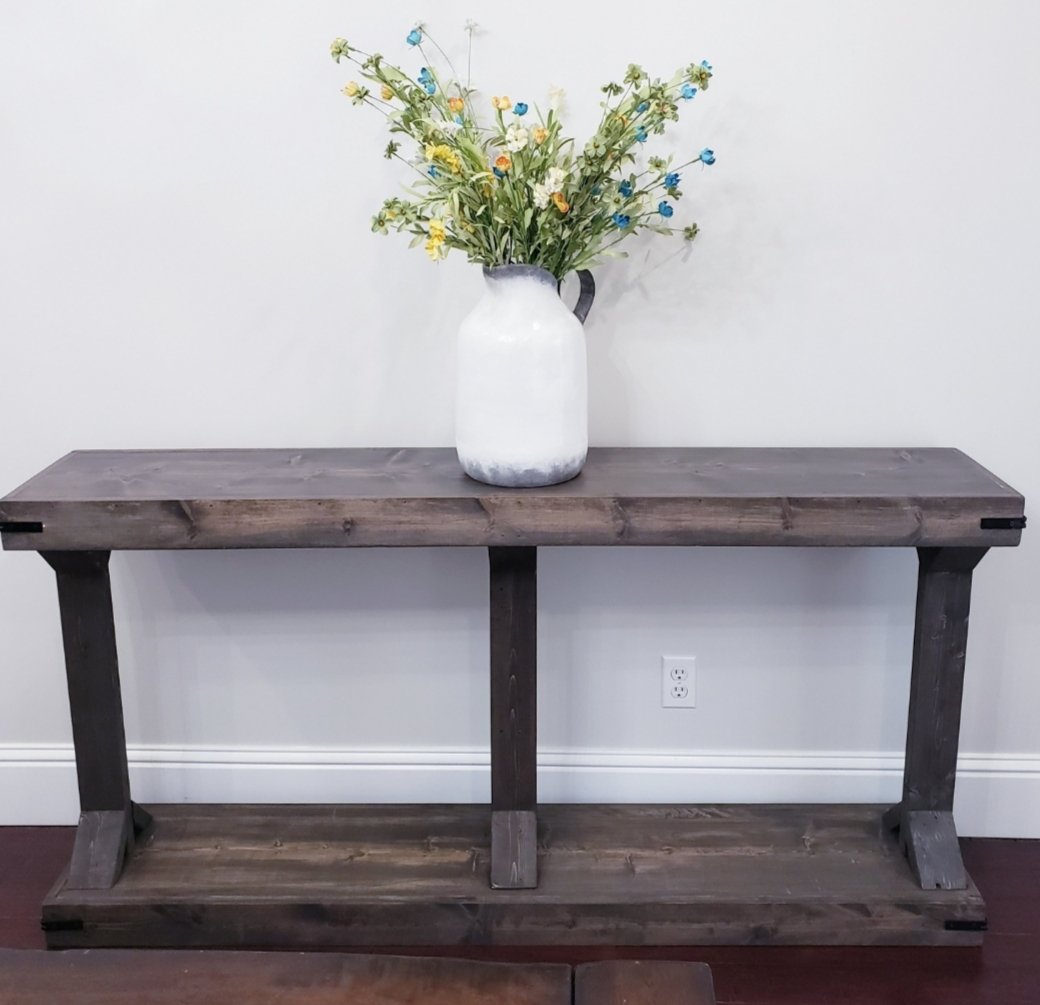
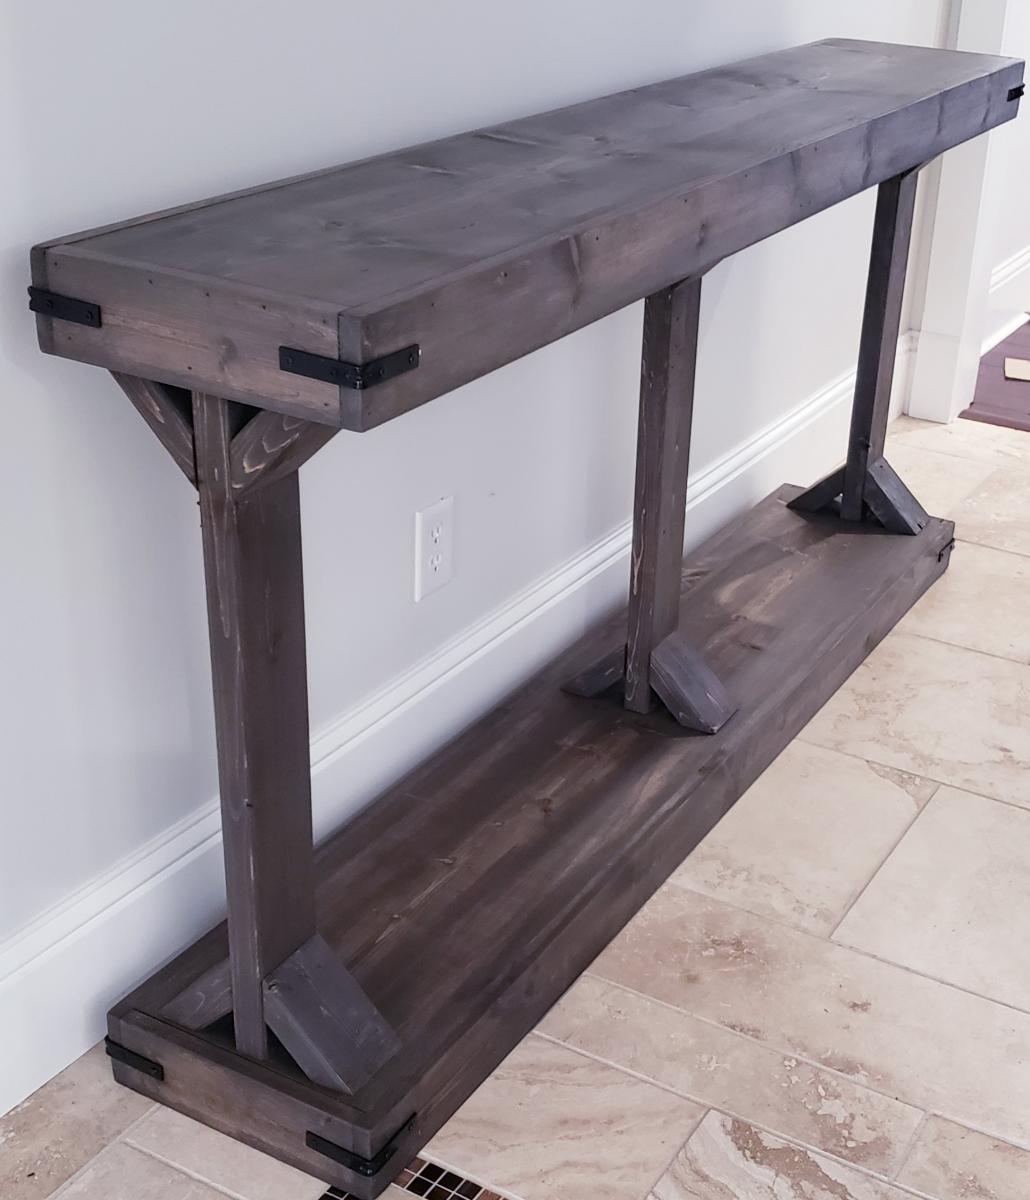
This is a beautiful console table built using the Narrow Console Table (Modern Farmhouse) plan. This is modified to be slightly wider, longer, and taller than the original plan. The dimensions are 68" long, 34" high, and 12.75" wide. The plan was very easy to follow and it was simple to adjust the measurements.
I used Varathane Dark Walnut Stain and once that was dry, I went over that lightly with Varathane Classic Gray stain. The final finish is Minwax Dark Wax and buffed.
More photos available on my facebook wood shop page at the link below.
Thu, 12/05/2019 - 12:06
Beautiful! I really like the finish you did on this table, thanks for sharing the details. I may need to try this myself.
Tue, 02/02/2021 - 19:09
Great color. I have never gone over color 1 with color 2 - I will now try it. Great look!
Tue, 02/02/2021 - 19:13
How do you wipe paint 2 over paint 1? Do you use a cotton cloth?
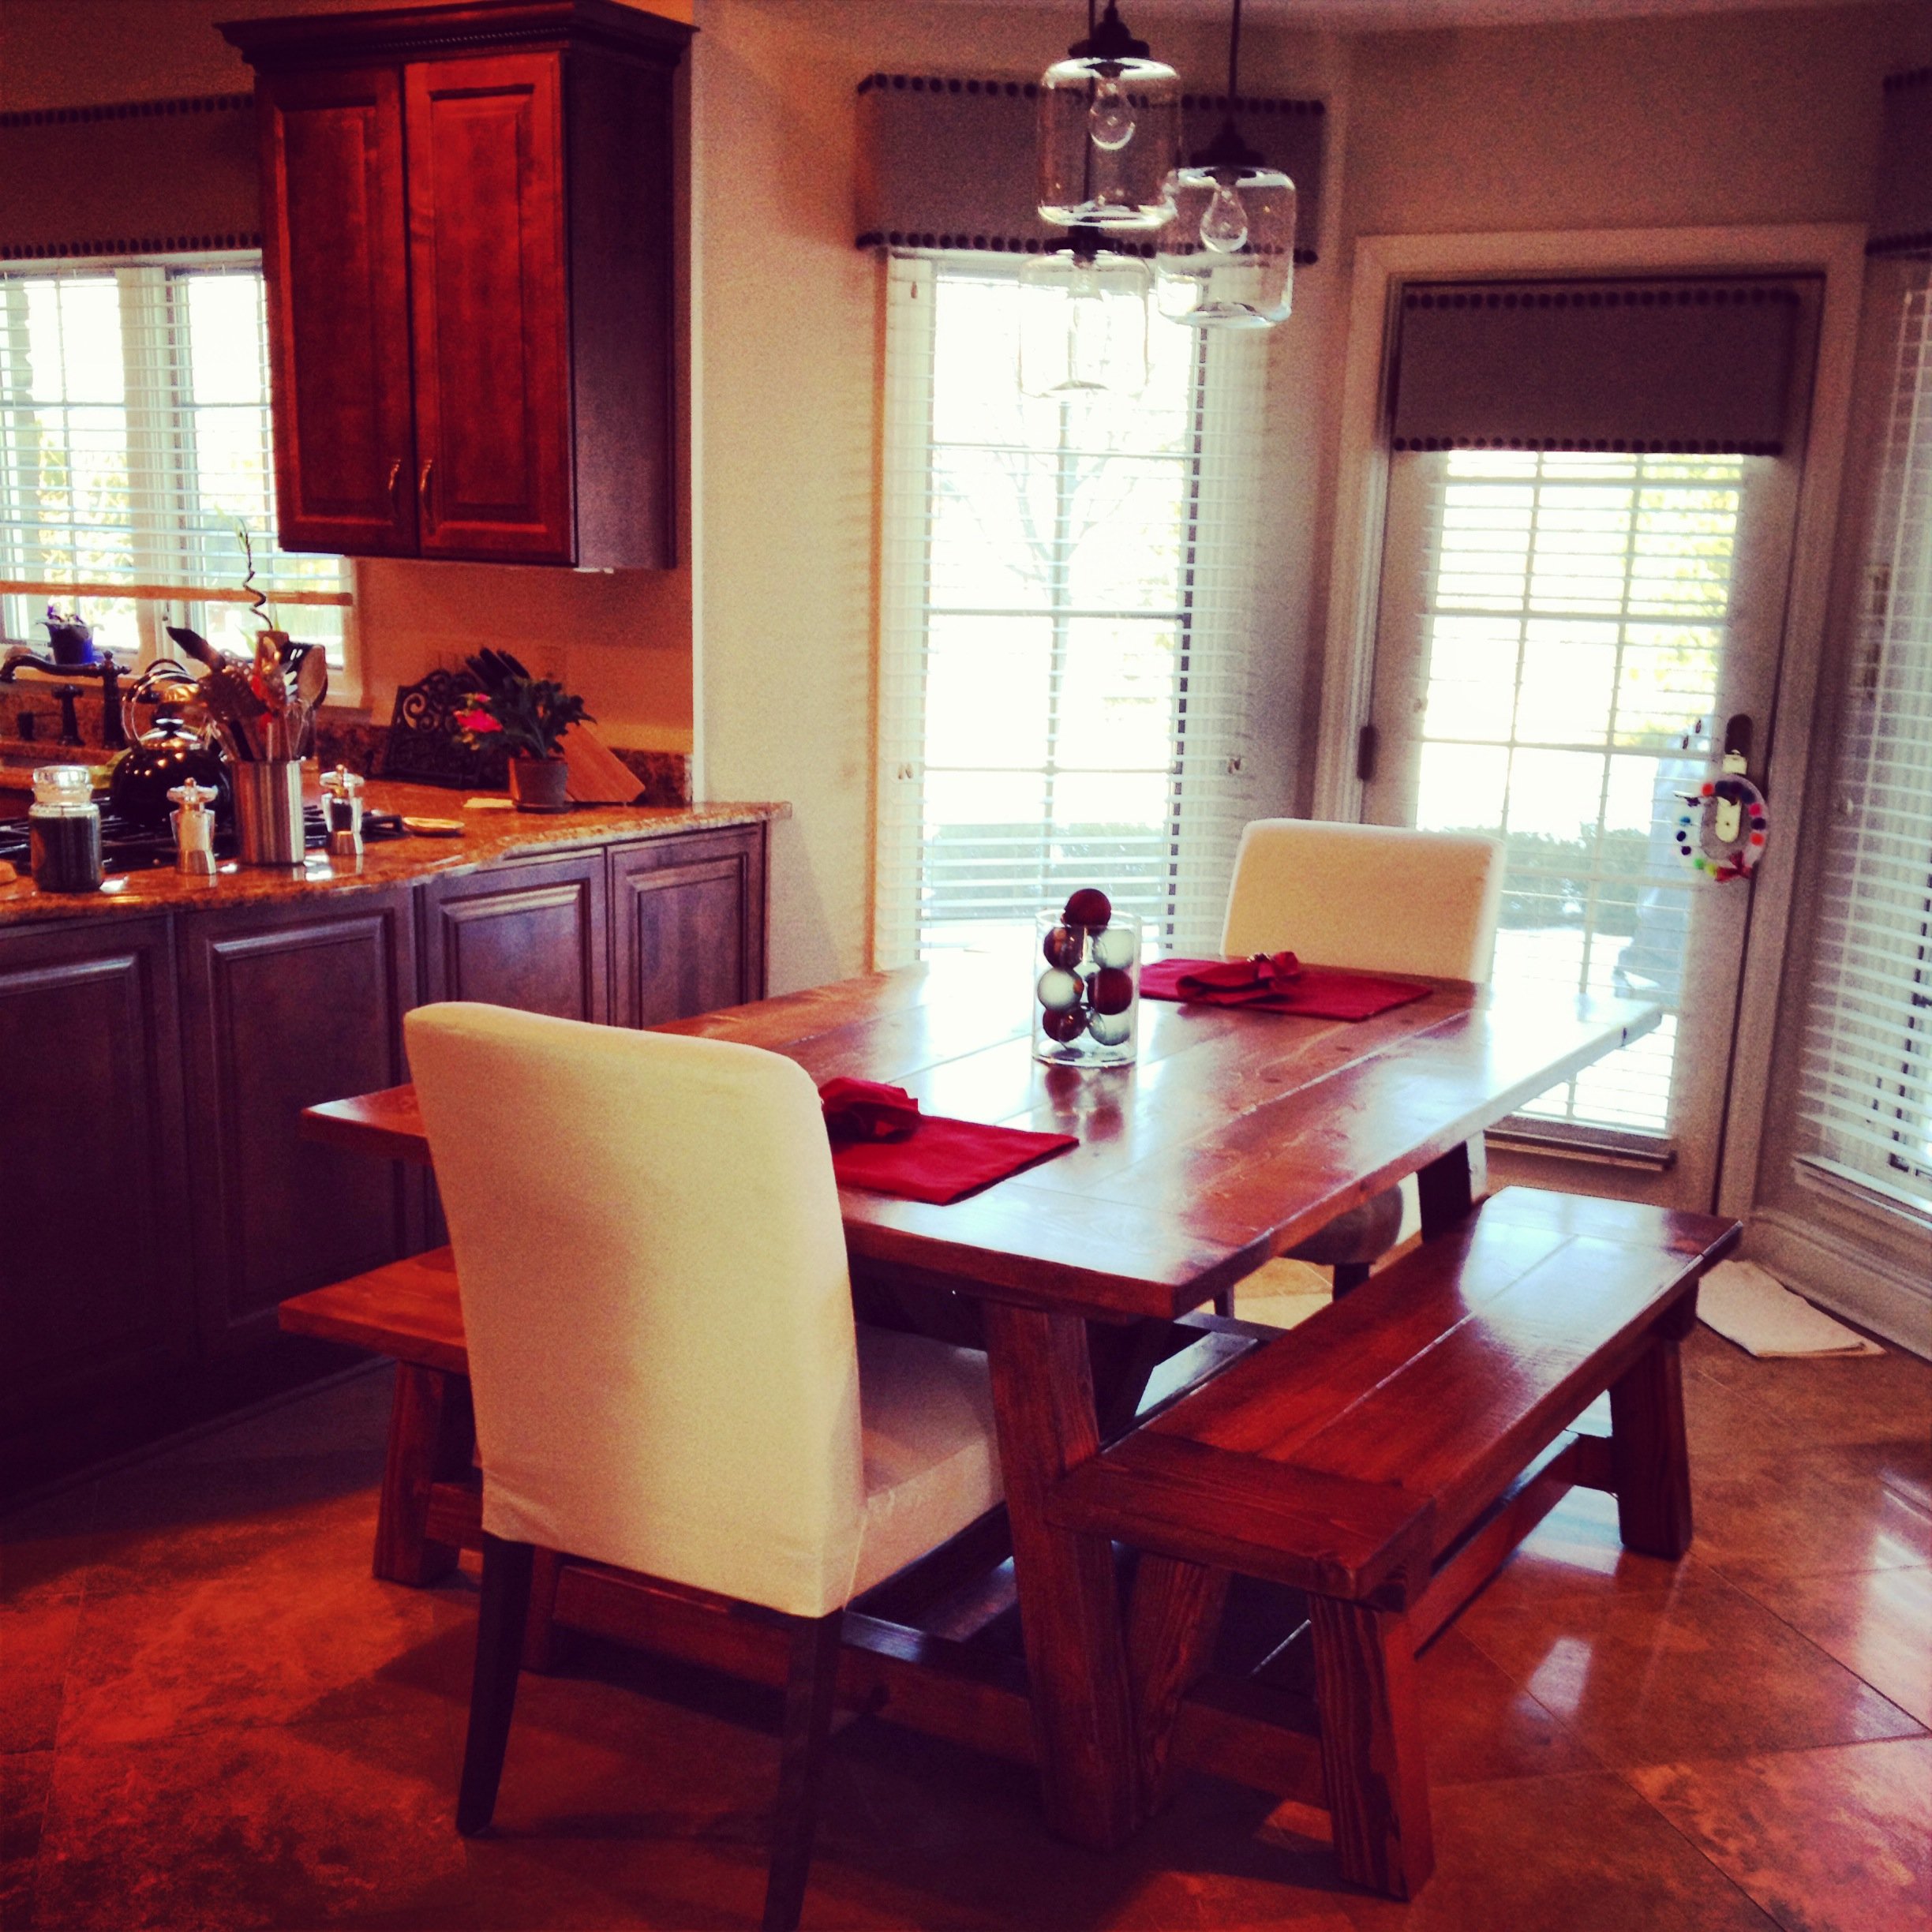
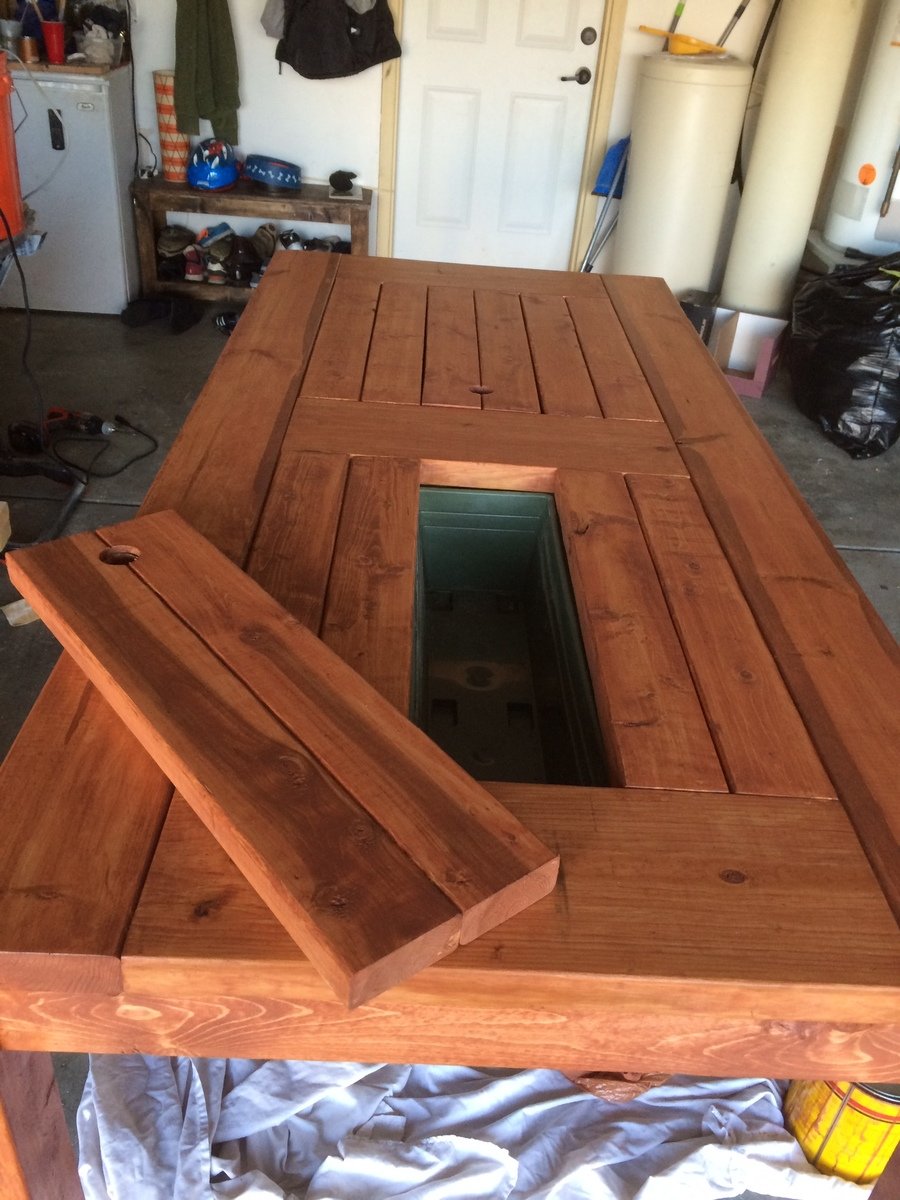
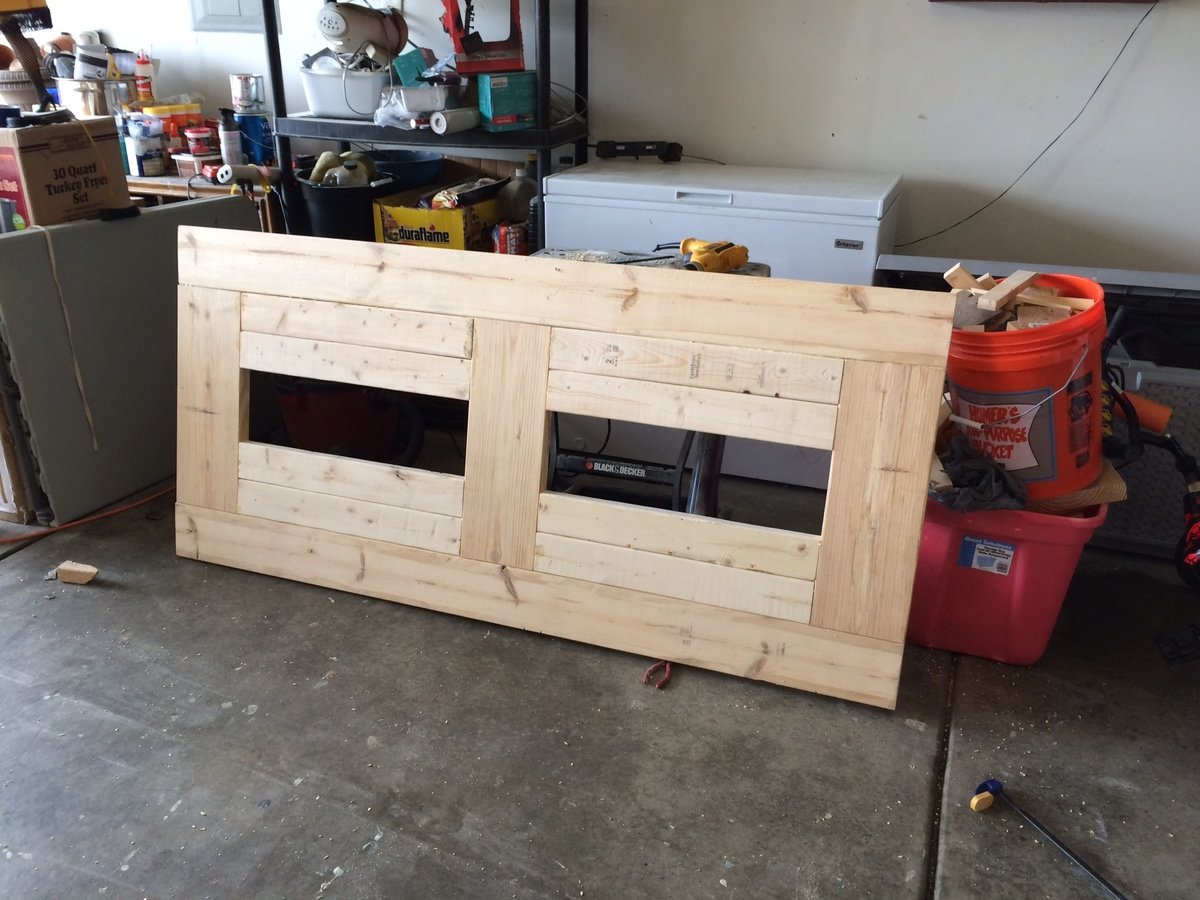
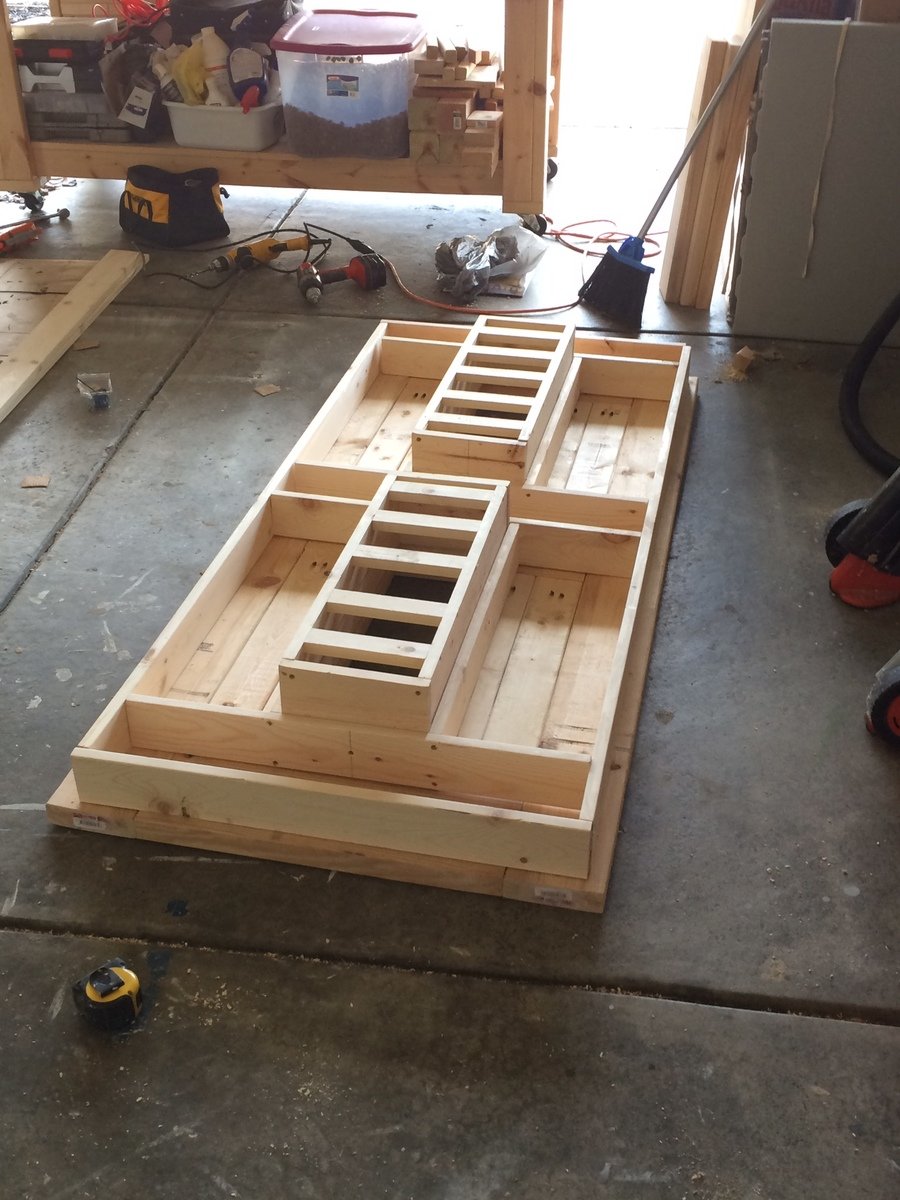
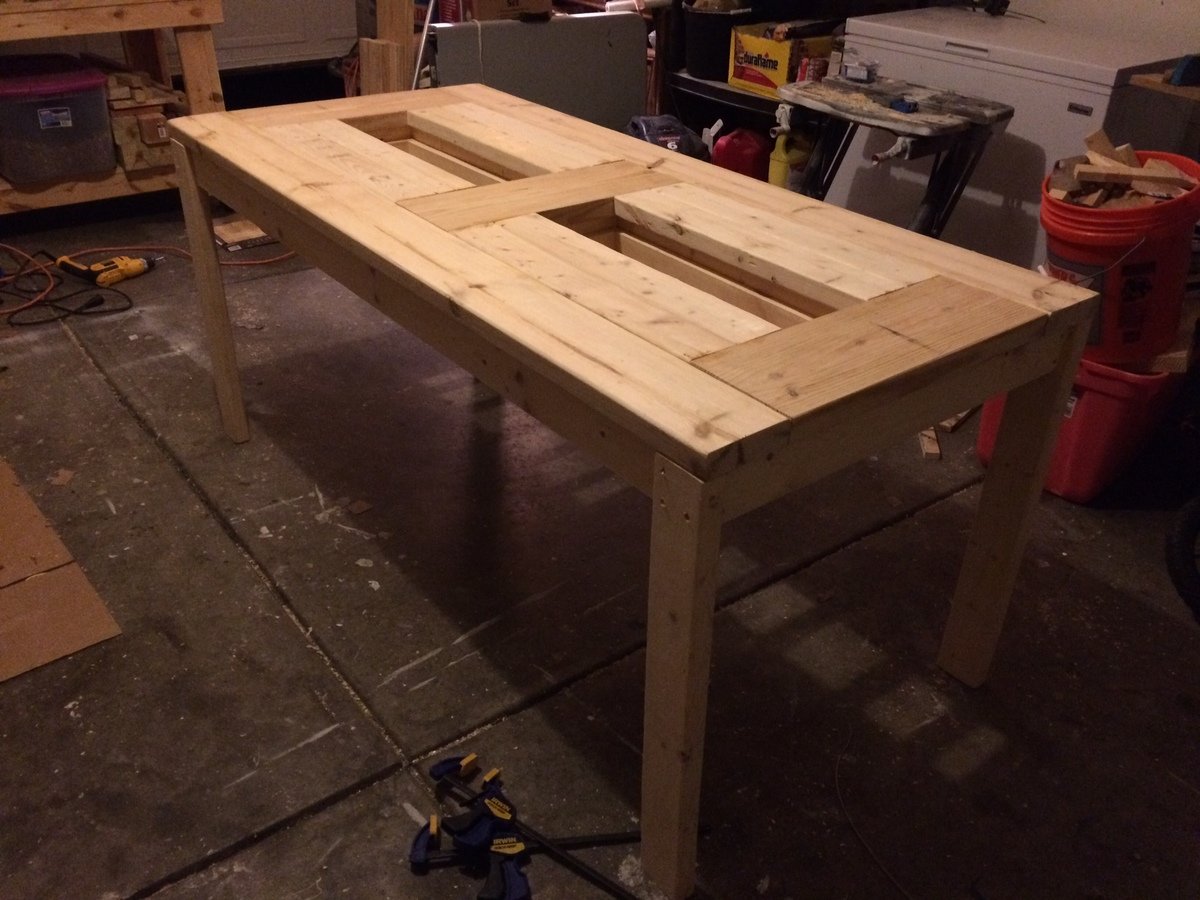
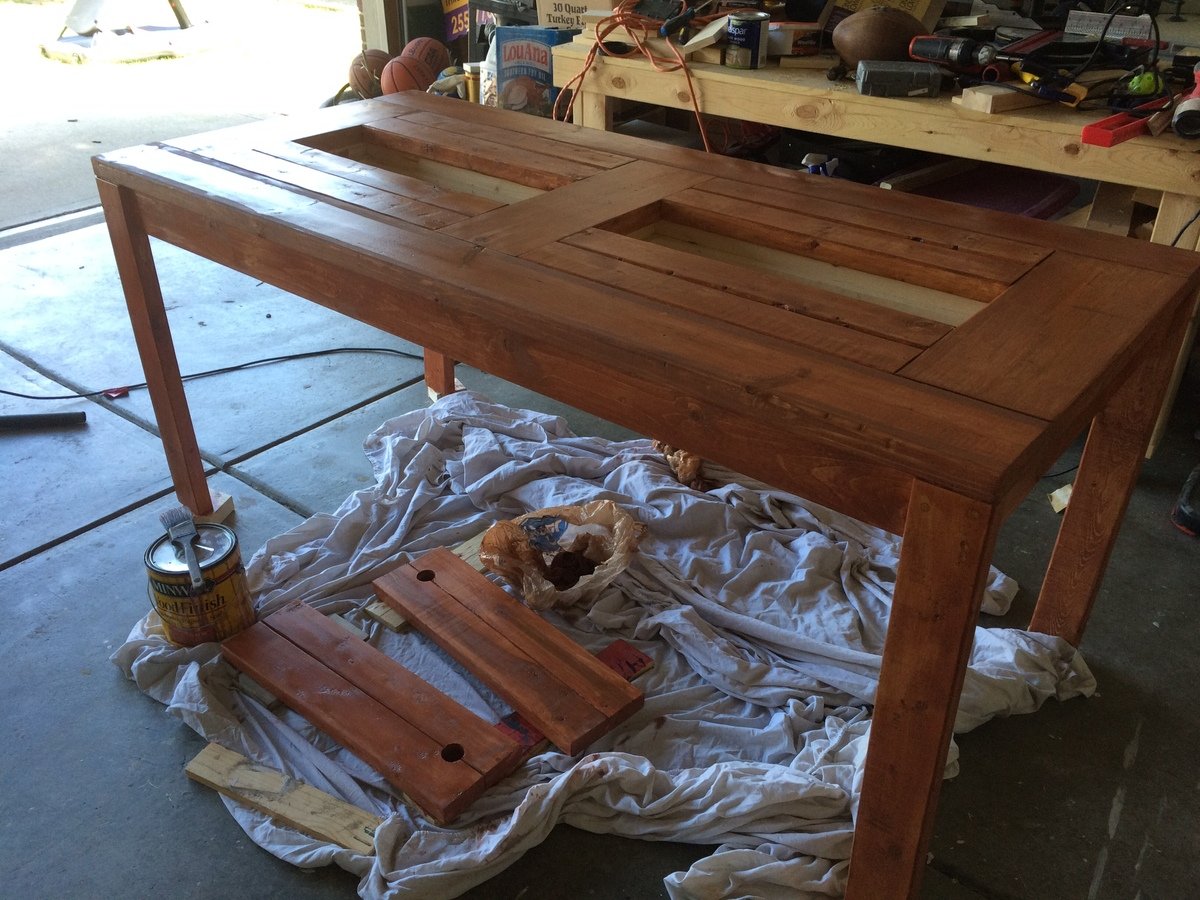
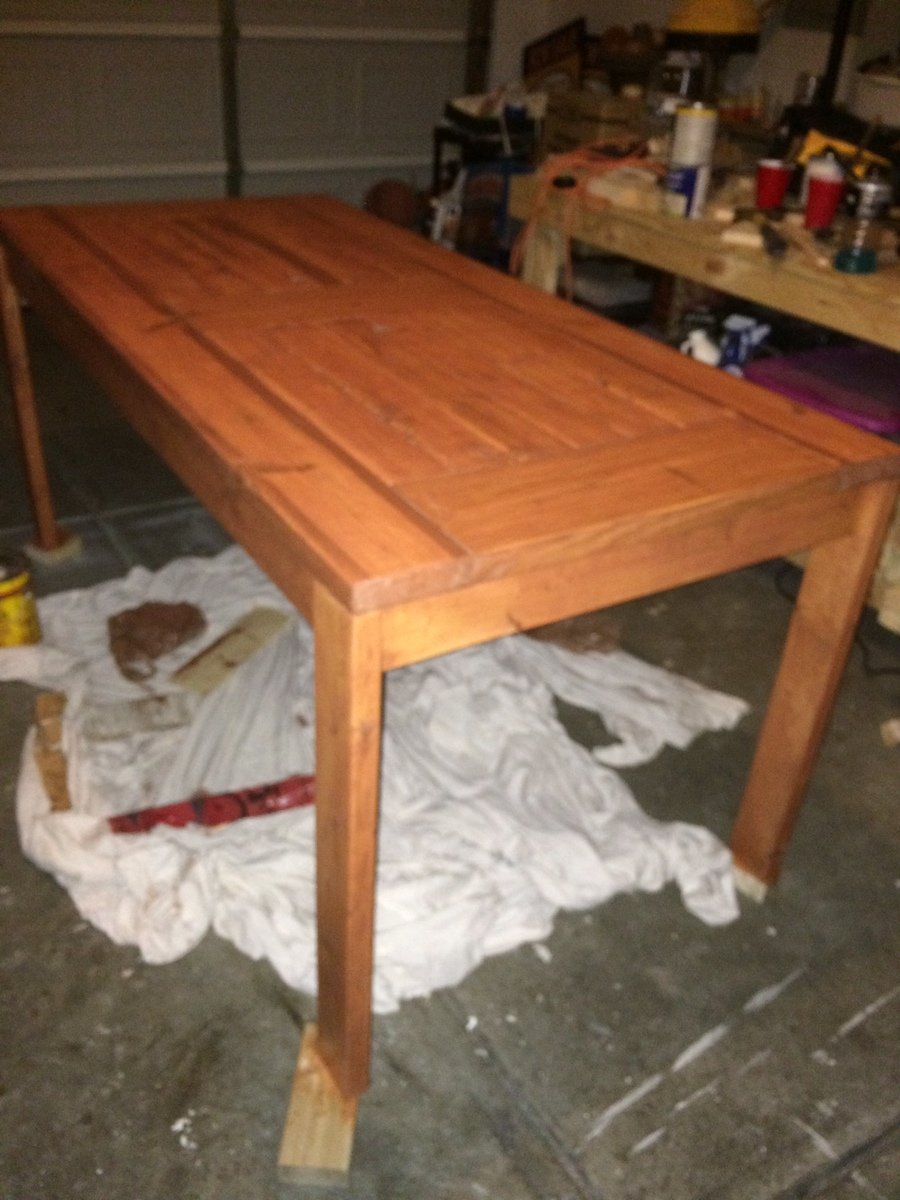
Table and benches were made to plan, except I shortened the overall length and added another 2x10 to the top to give it some additional width. The benches were also shortened slightly so the legs of the benches slide between the legs of the table; which allows the benches to be pushed further under the table when not in use. Avoid my rookie furniture making mistake and go to a specialty lumber store that sells wood that is already aged (dry). Most everything you find at the big box stores will still be wet and shrink/warp on you if not completely dry first.
Mon, 04/28/2014 - 15:51
Your table turned out gorgeous!! Love it! what was the length you ended up using?
Tue, 05/20/2014 - 16:23
Appreciate the compliments. Sorry for the delayed response, but the final dimensions turned out 72" x 46". Let me know if you have any other questions.
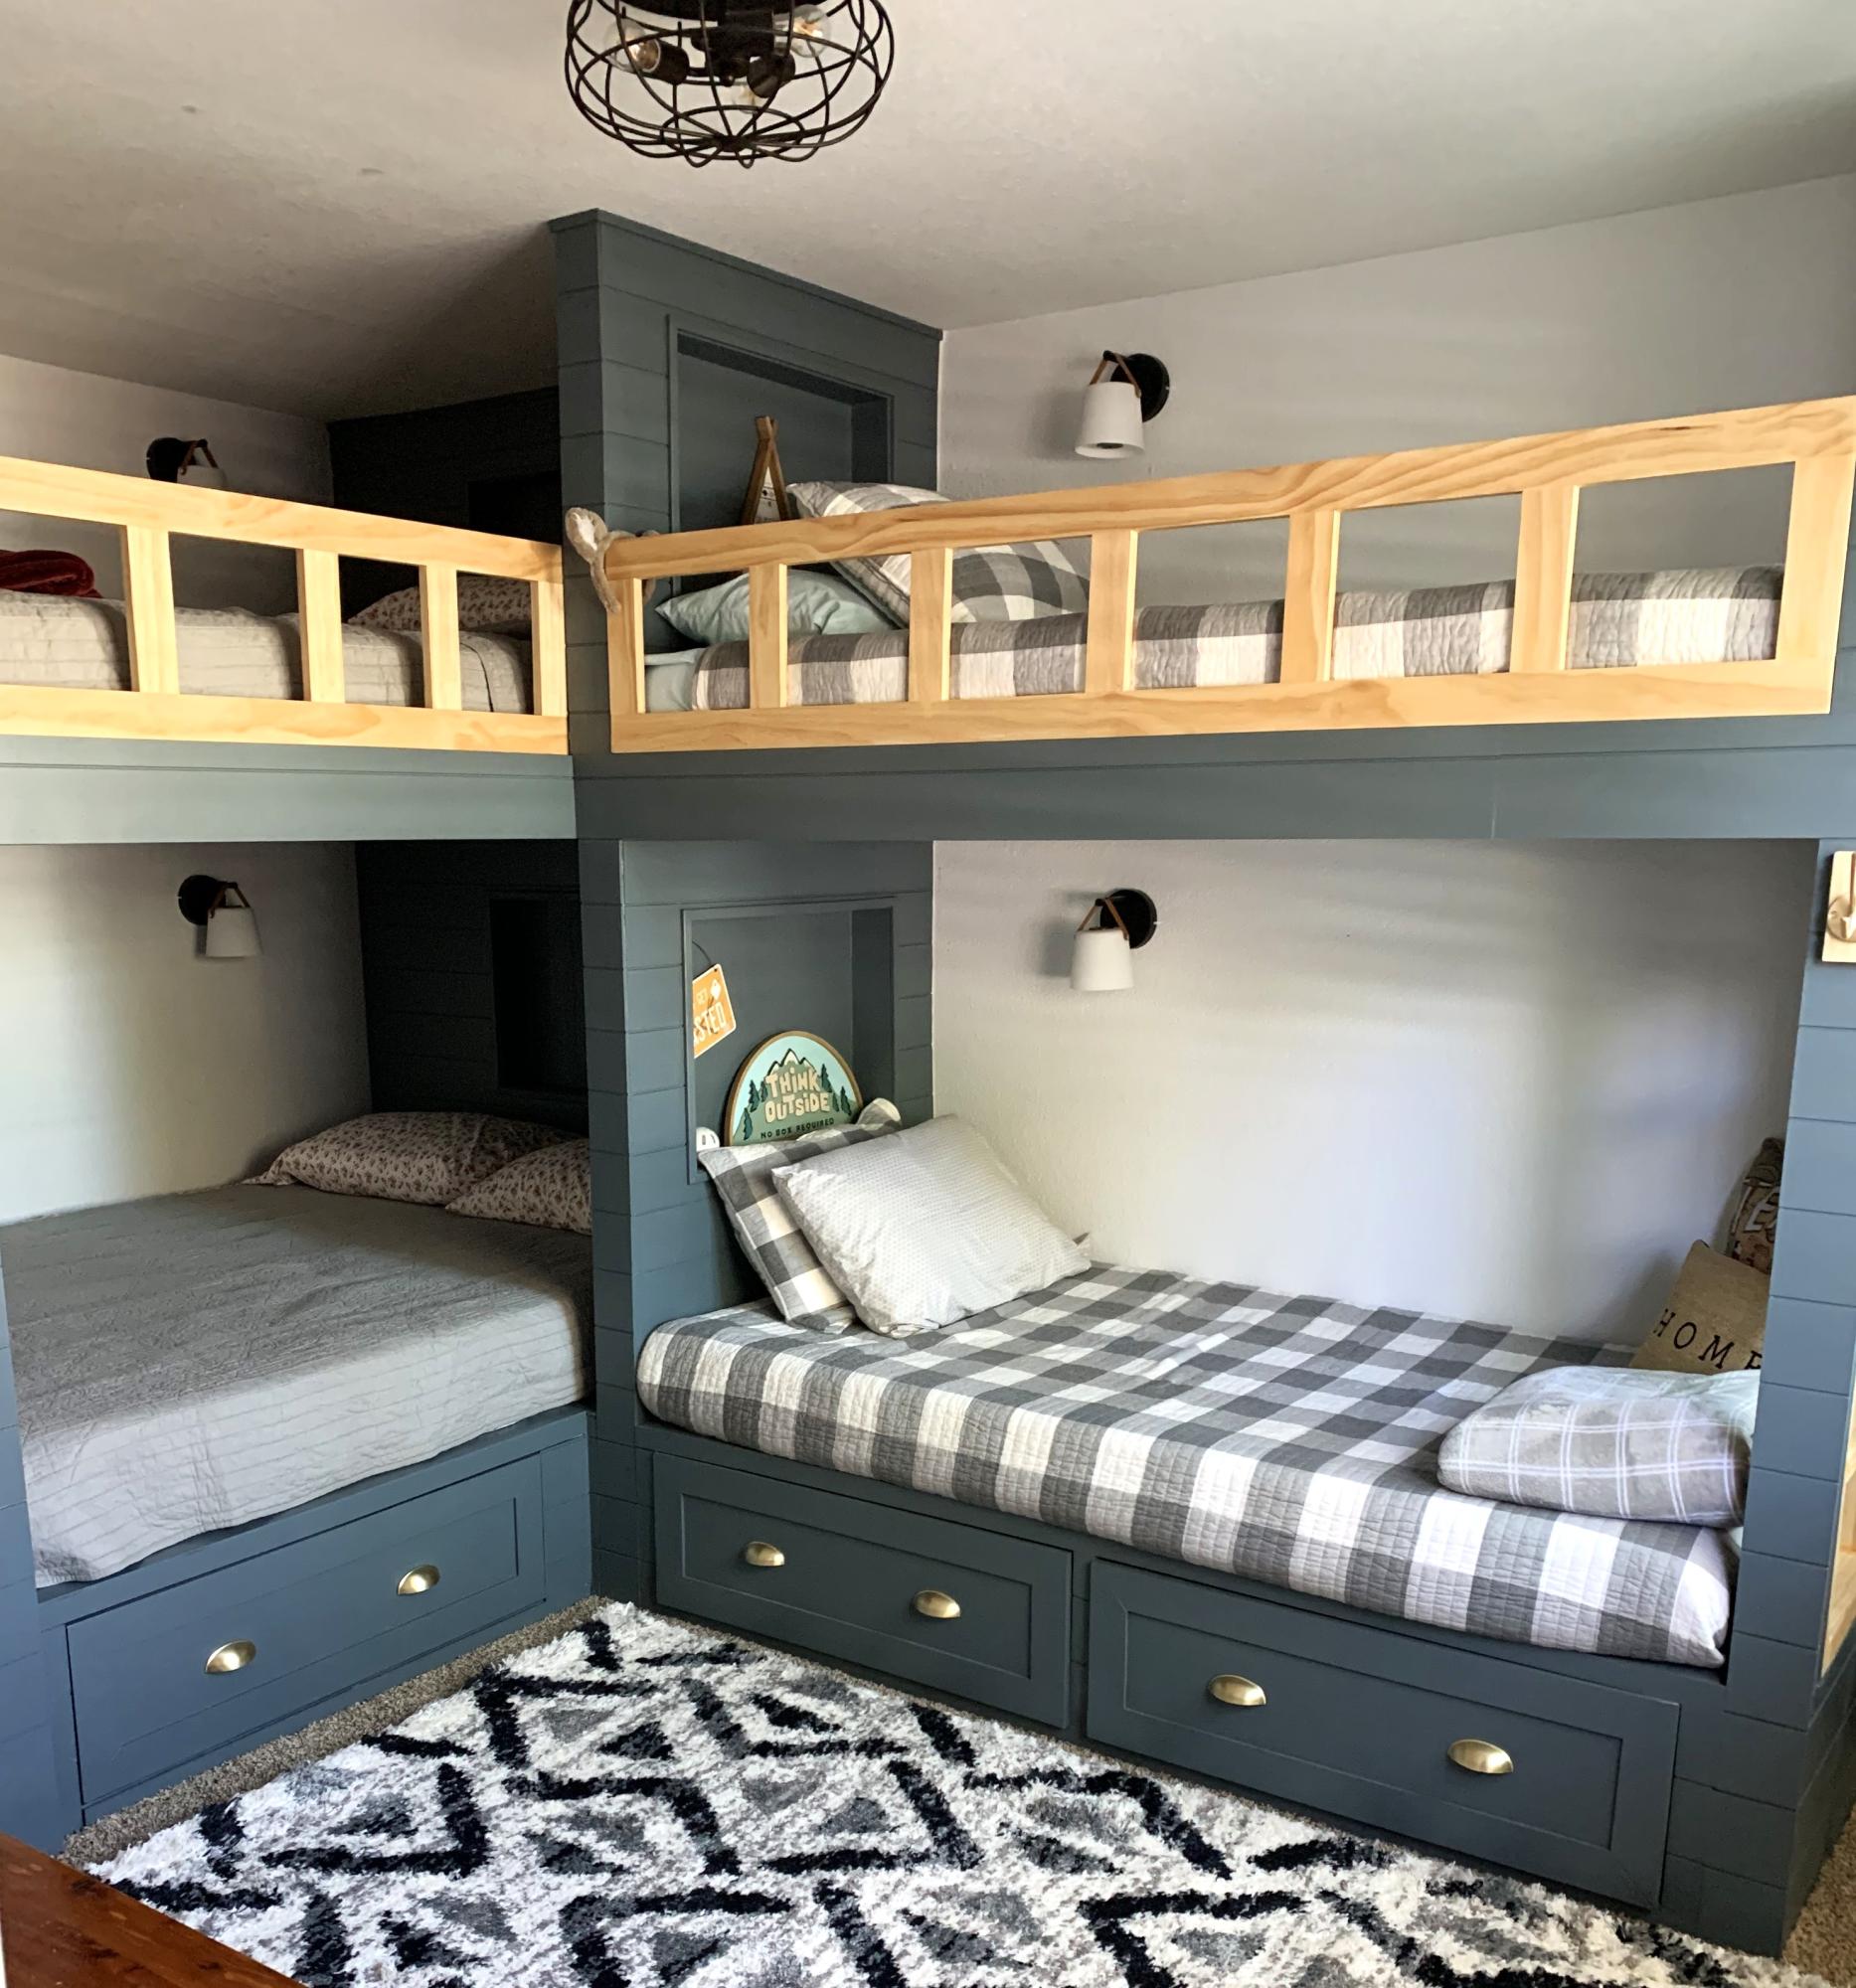
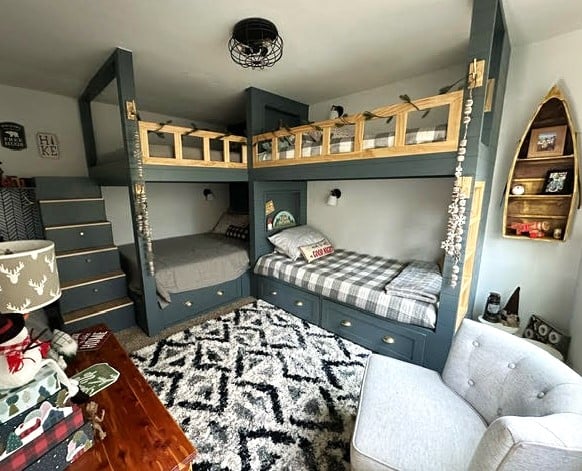
The queen and twin bases were base on your twin bed with storage. Pretty easy to do. This is my first time doing anything this big. I live in a four season resort town and needed beds for heads for ski season.
Debbi H - IG - callintn
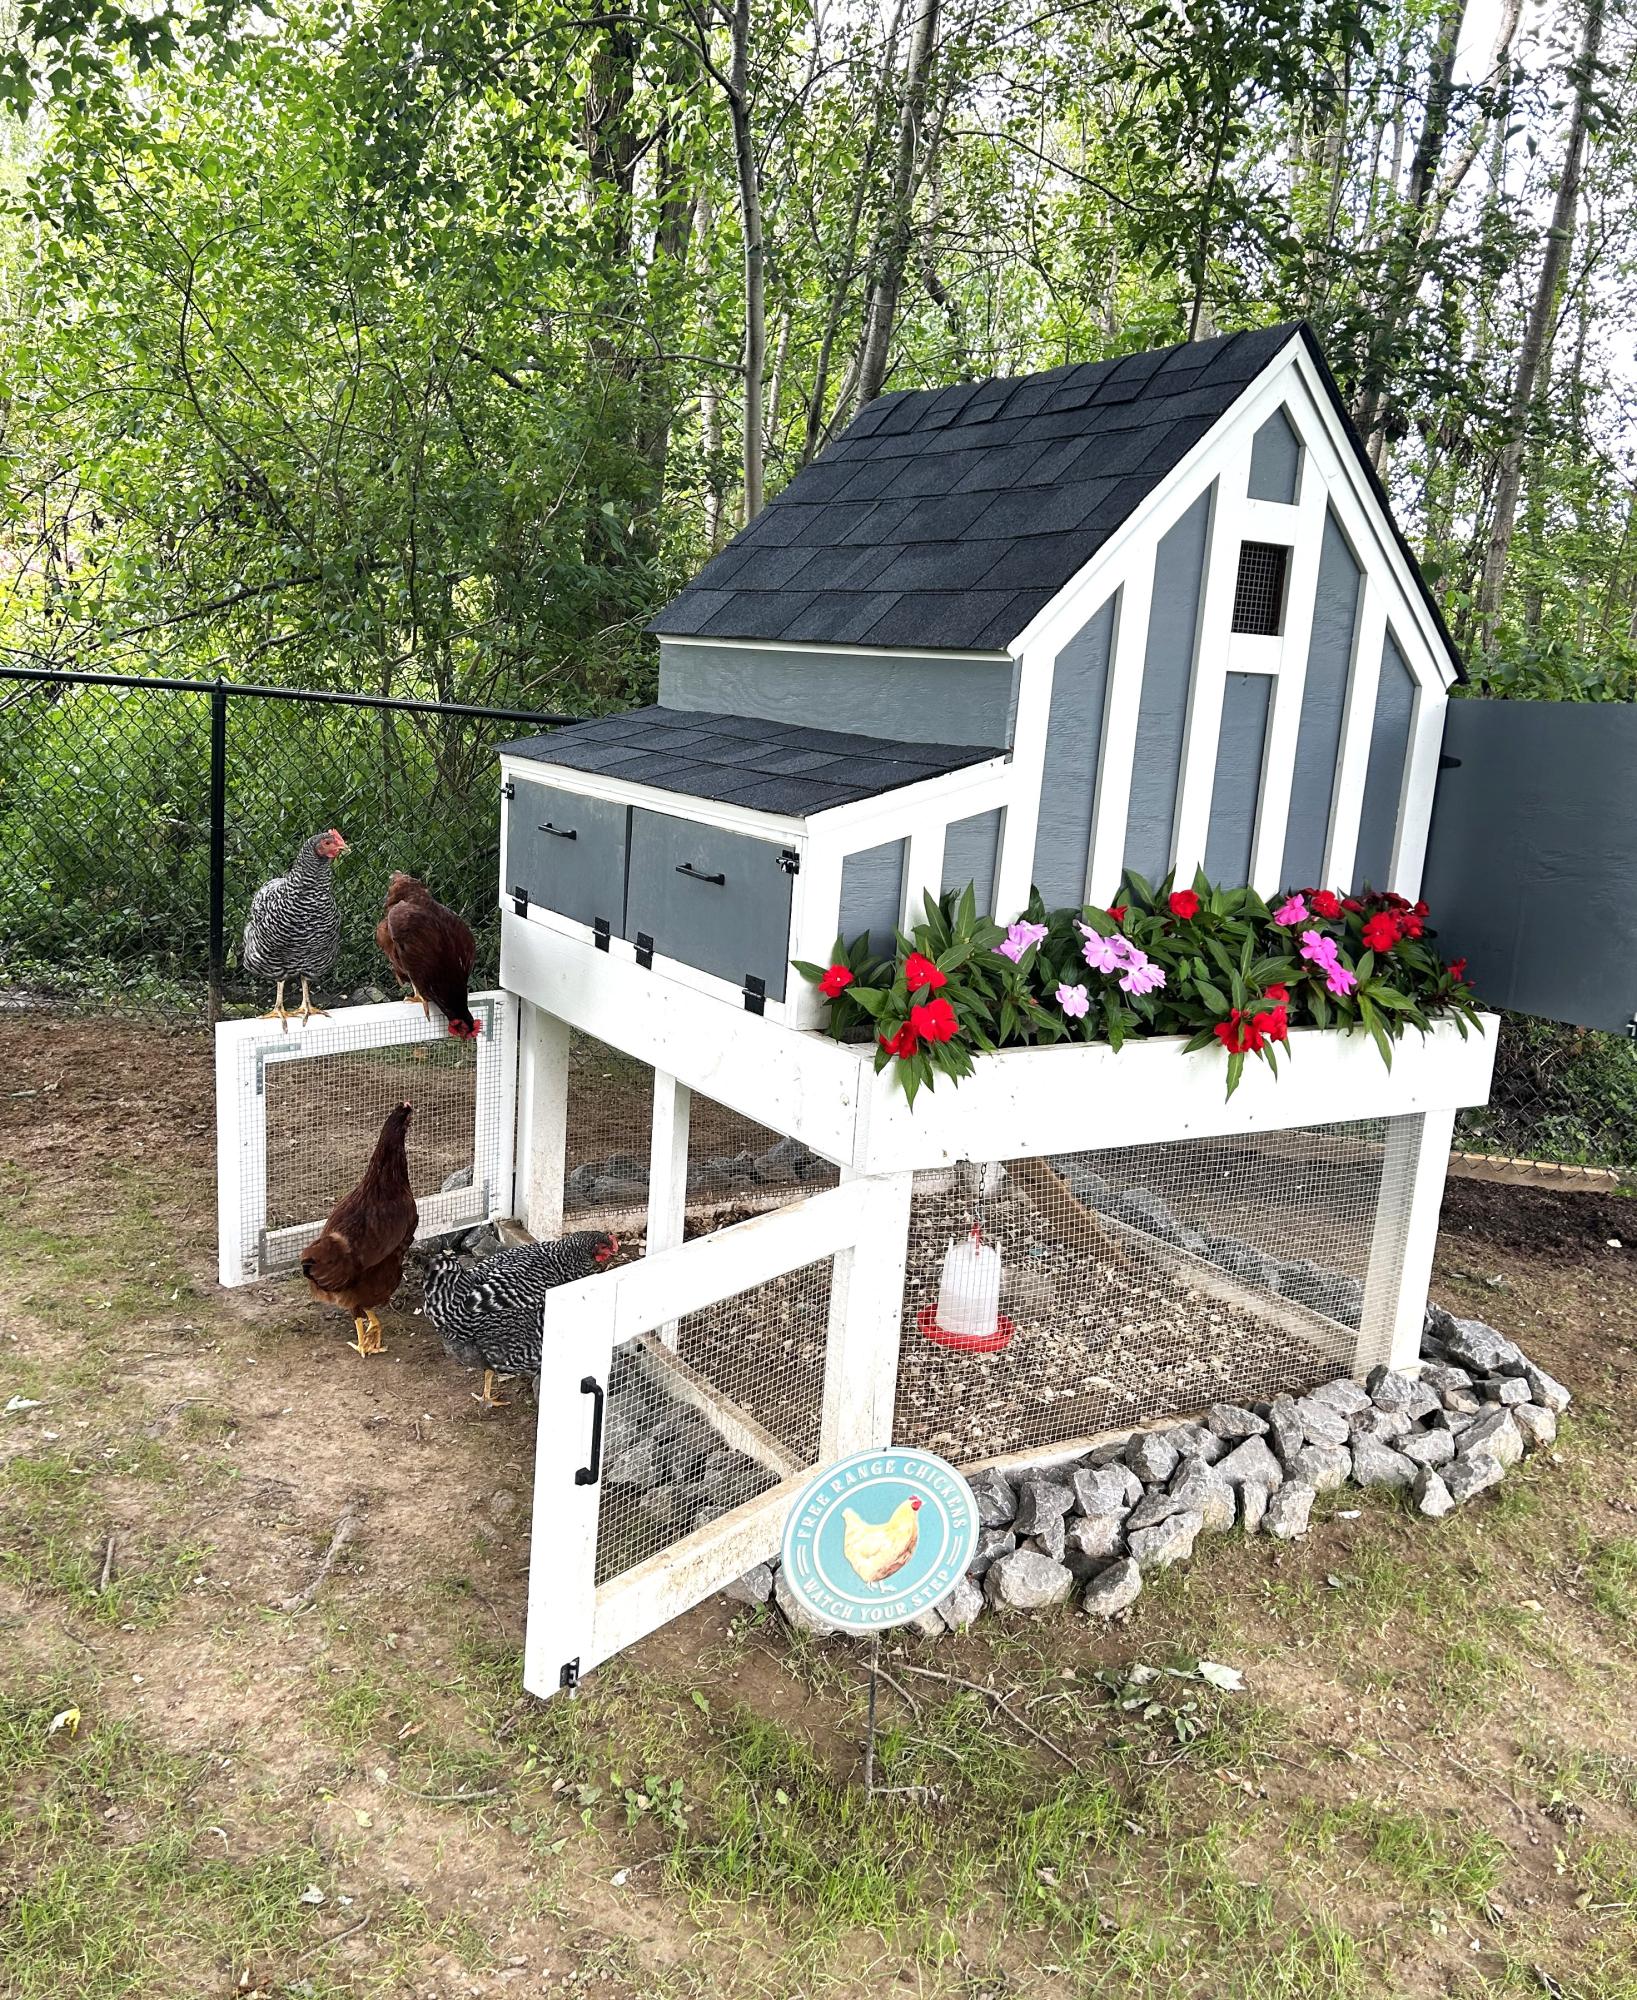
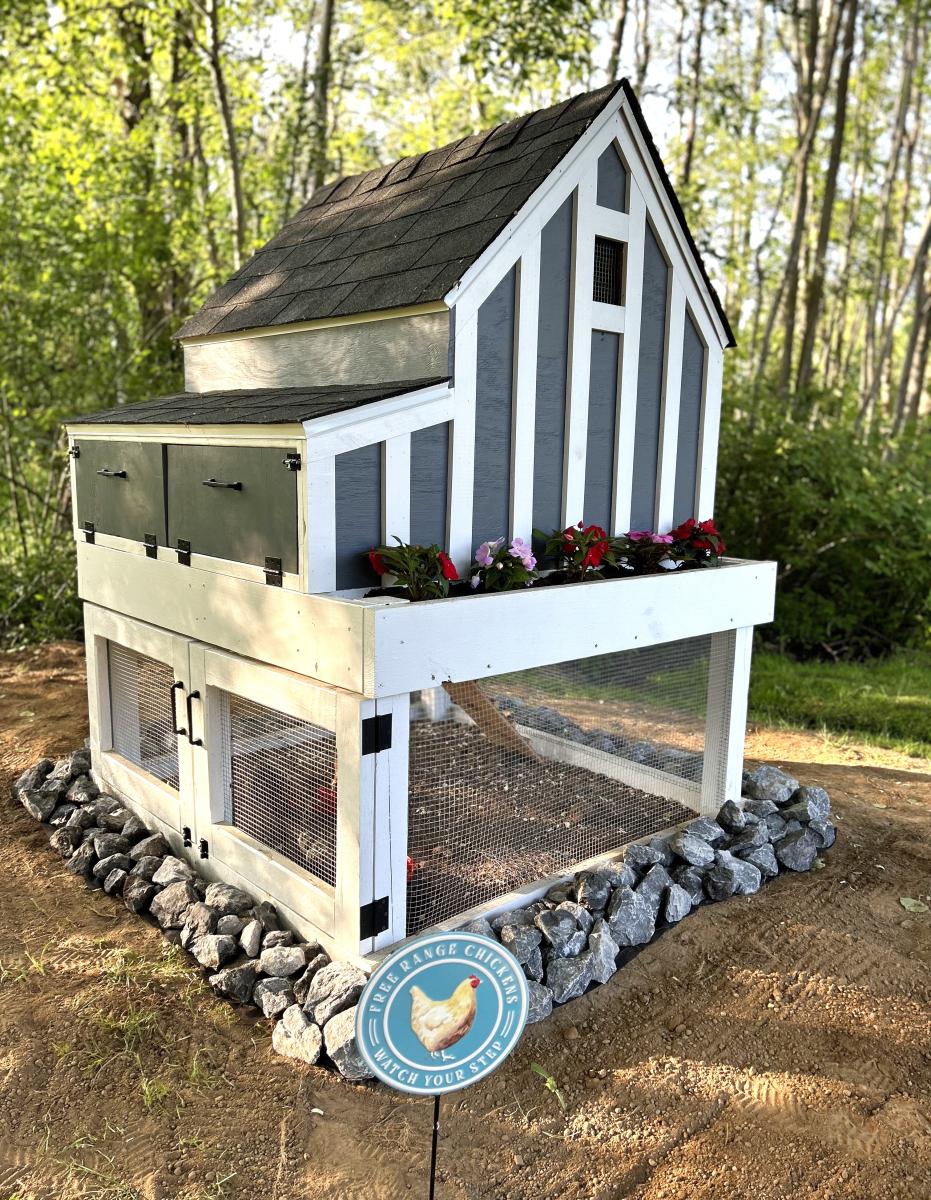
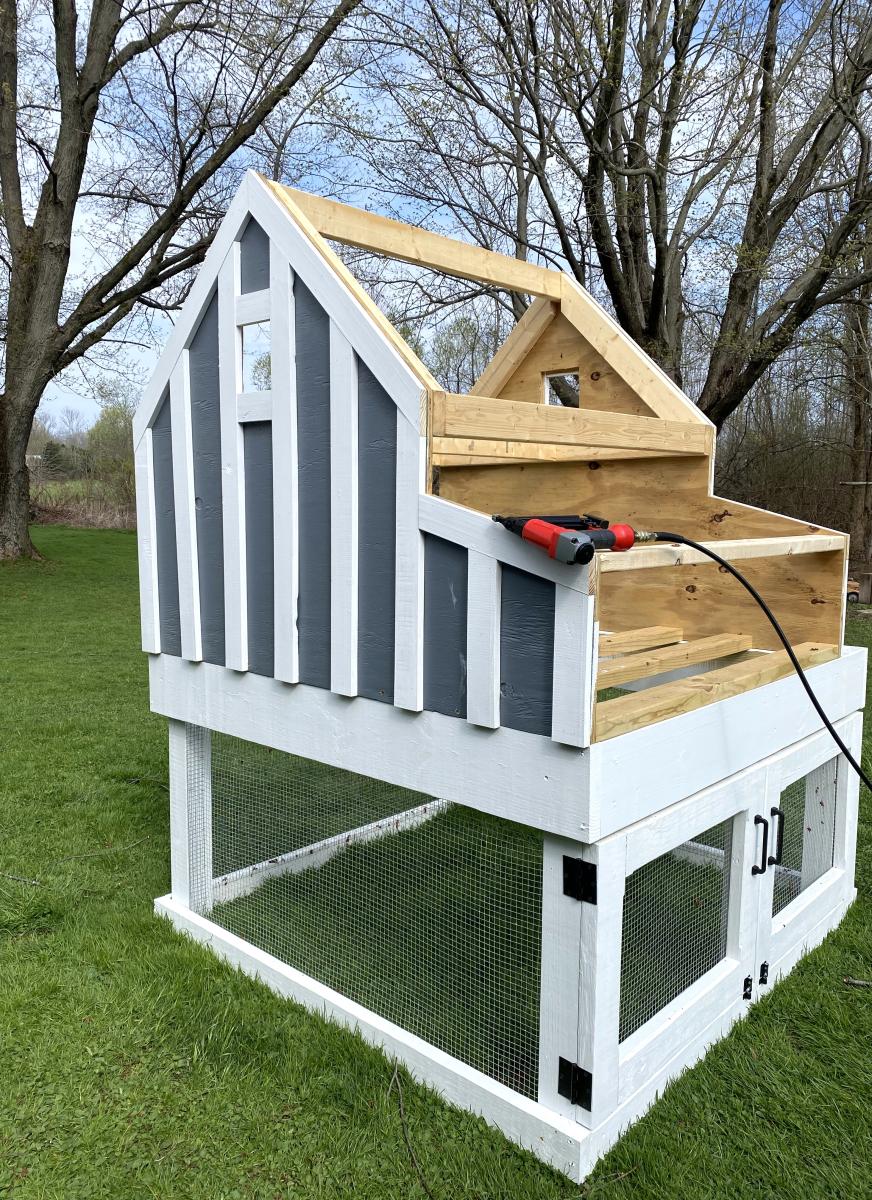
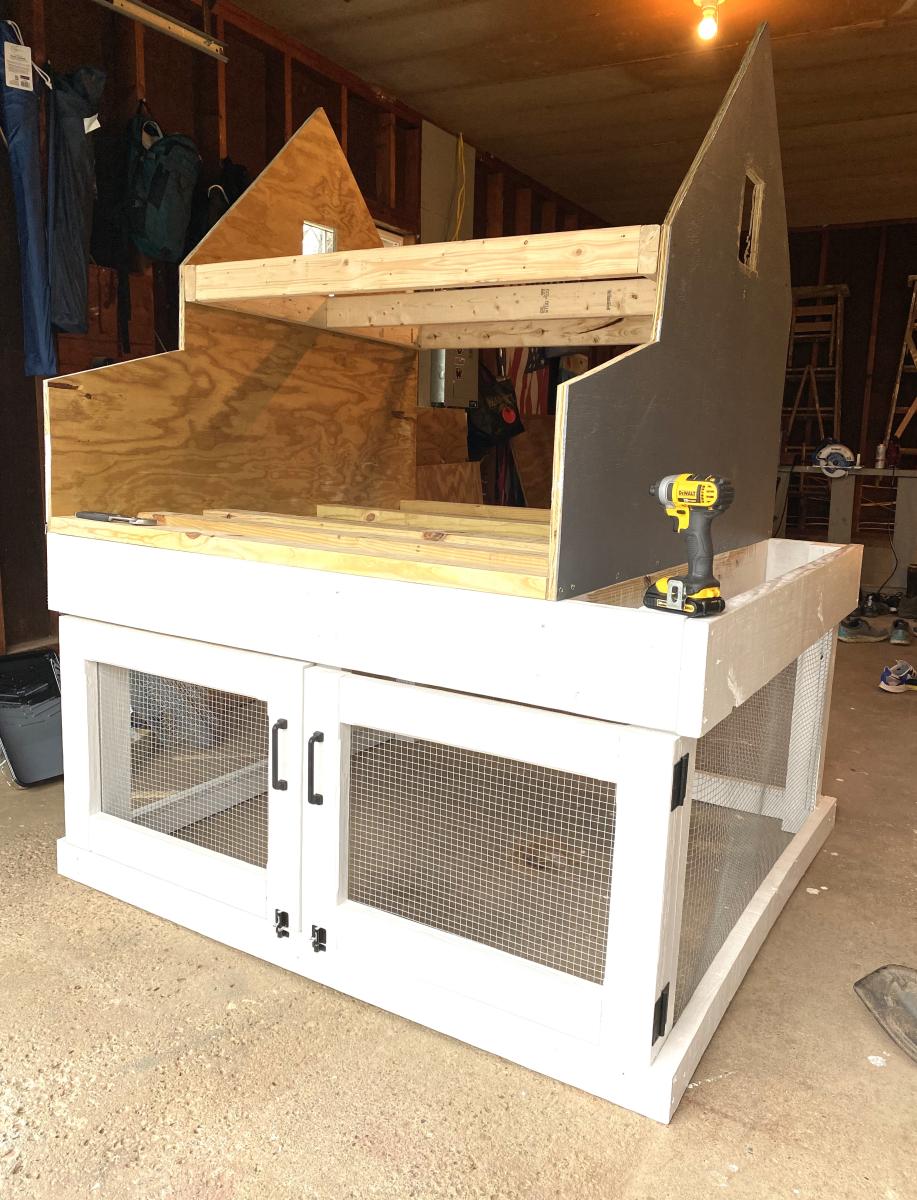
Absolutely loved how this thing turned out. Made a few customizations such as coop extension and drip edge. I have 4 happy hens and a coop that should last a lifetime. Thank you for the help!
Alex
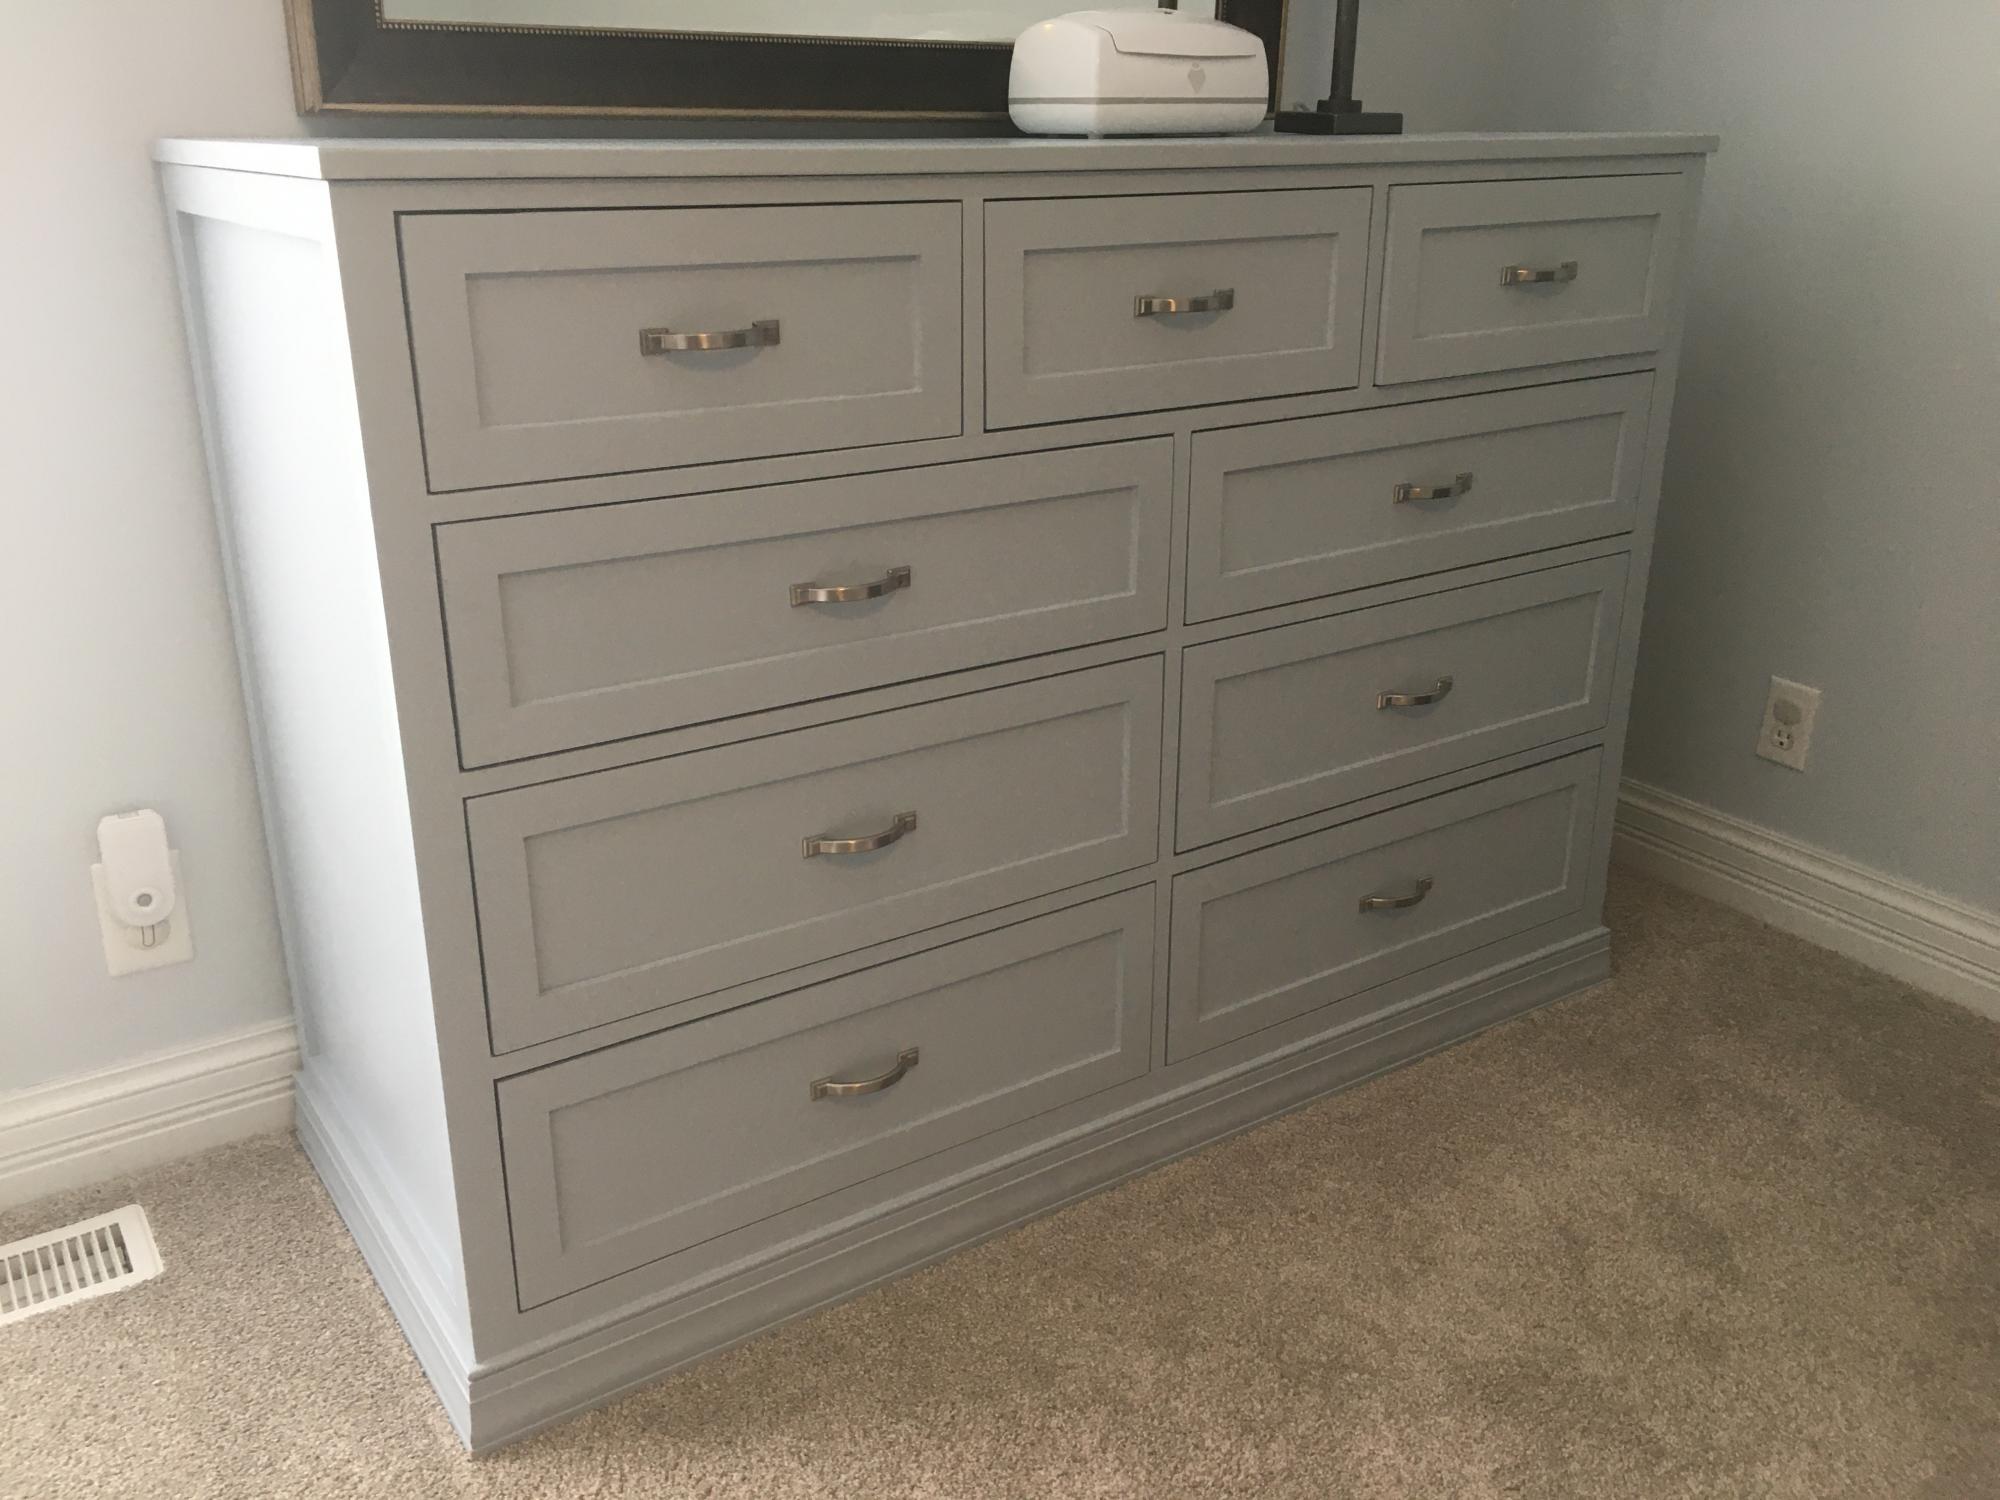
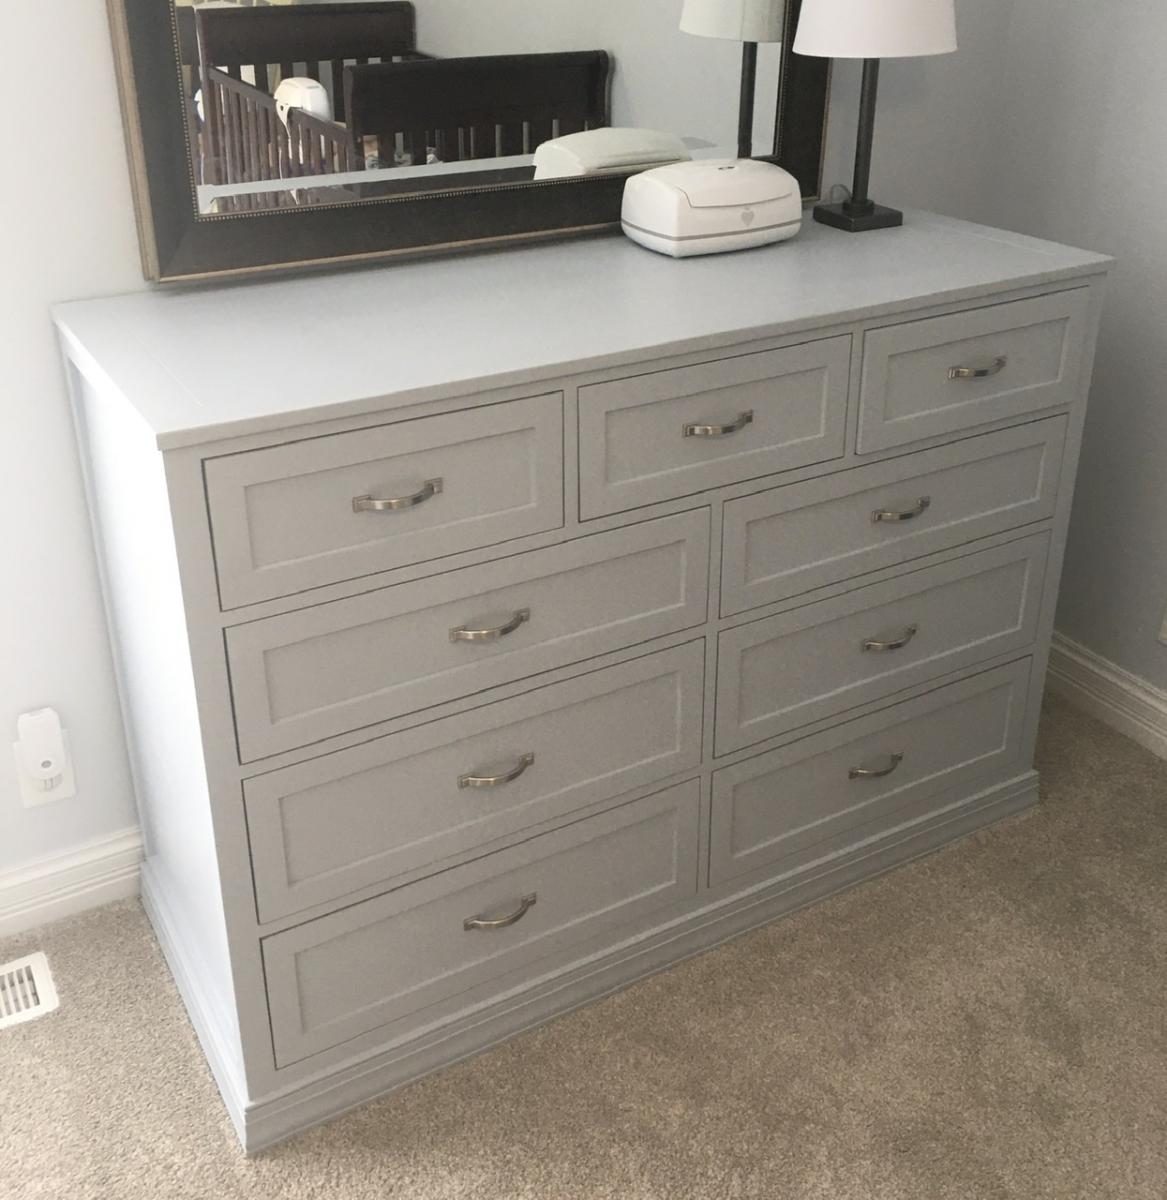
My wife had me build this dresser for our baby boy. She took features from a couple different Ana White dressers and combined it into one. We also added to the height of the drawers, adjusting the overall height of the dresser to serve as a baby changing station.
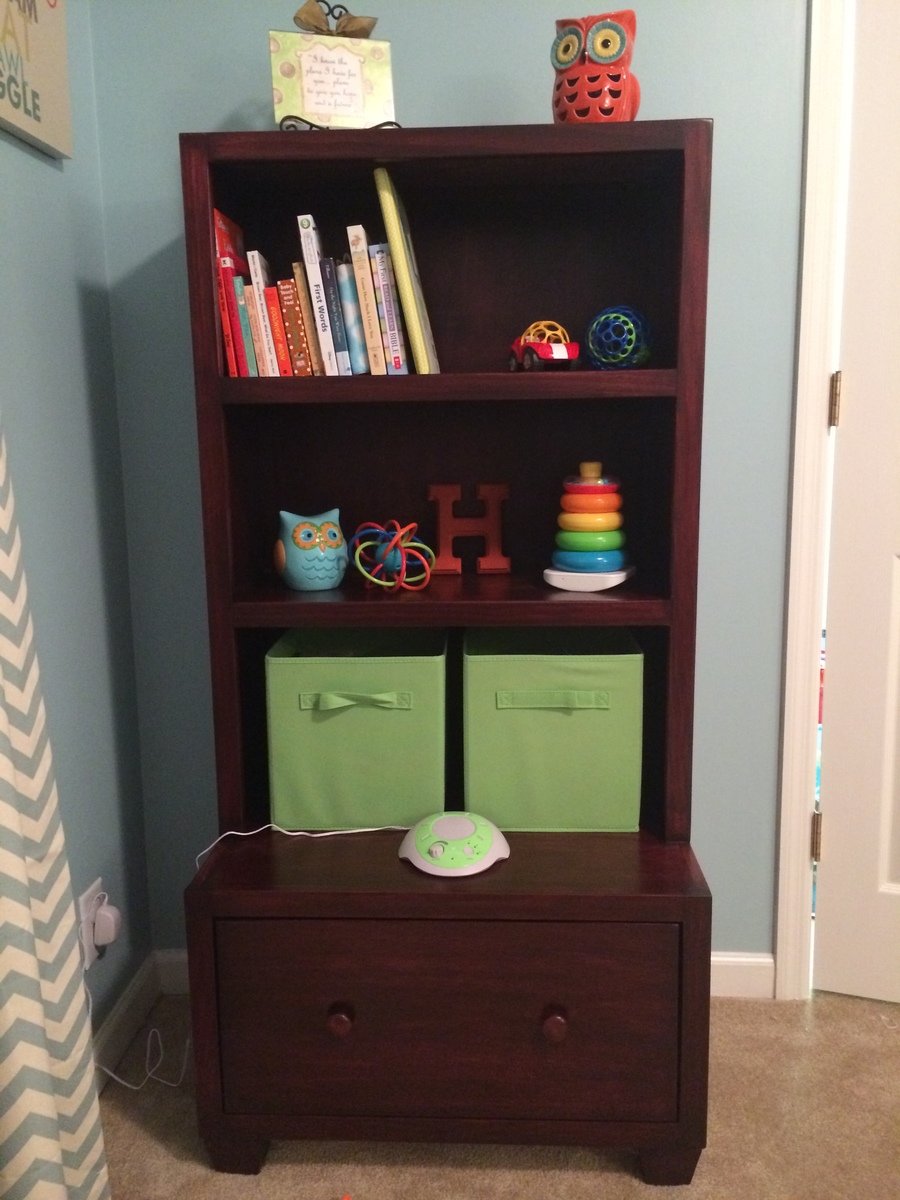
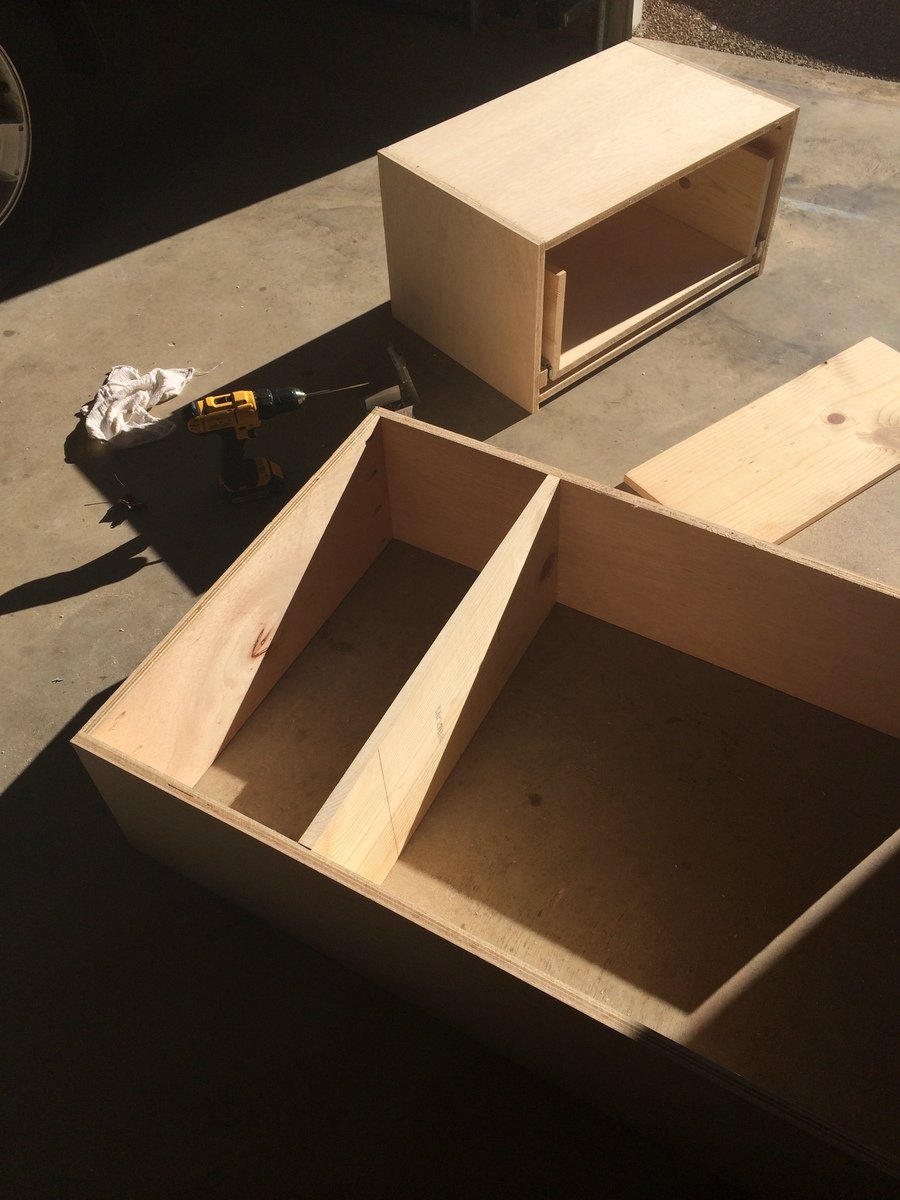
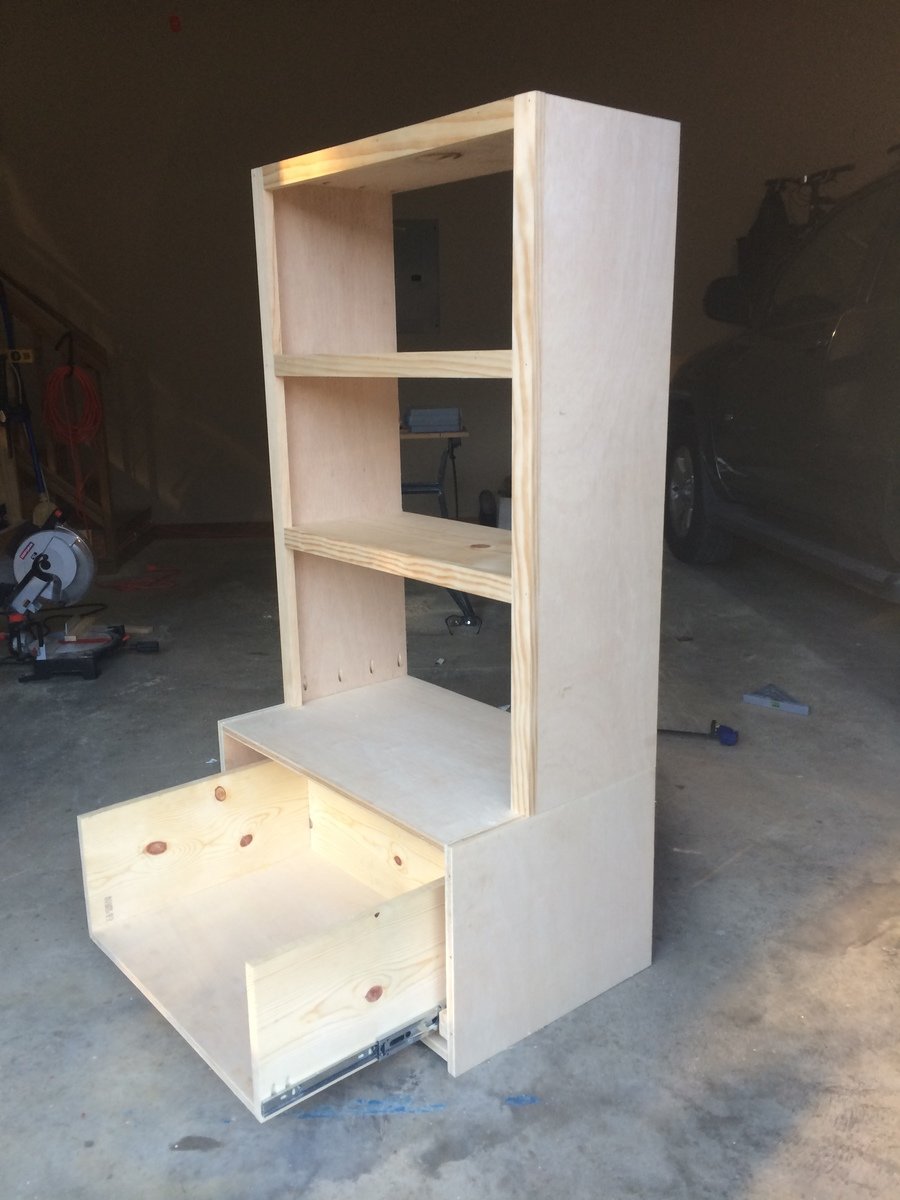
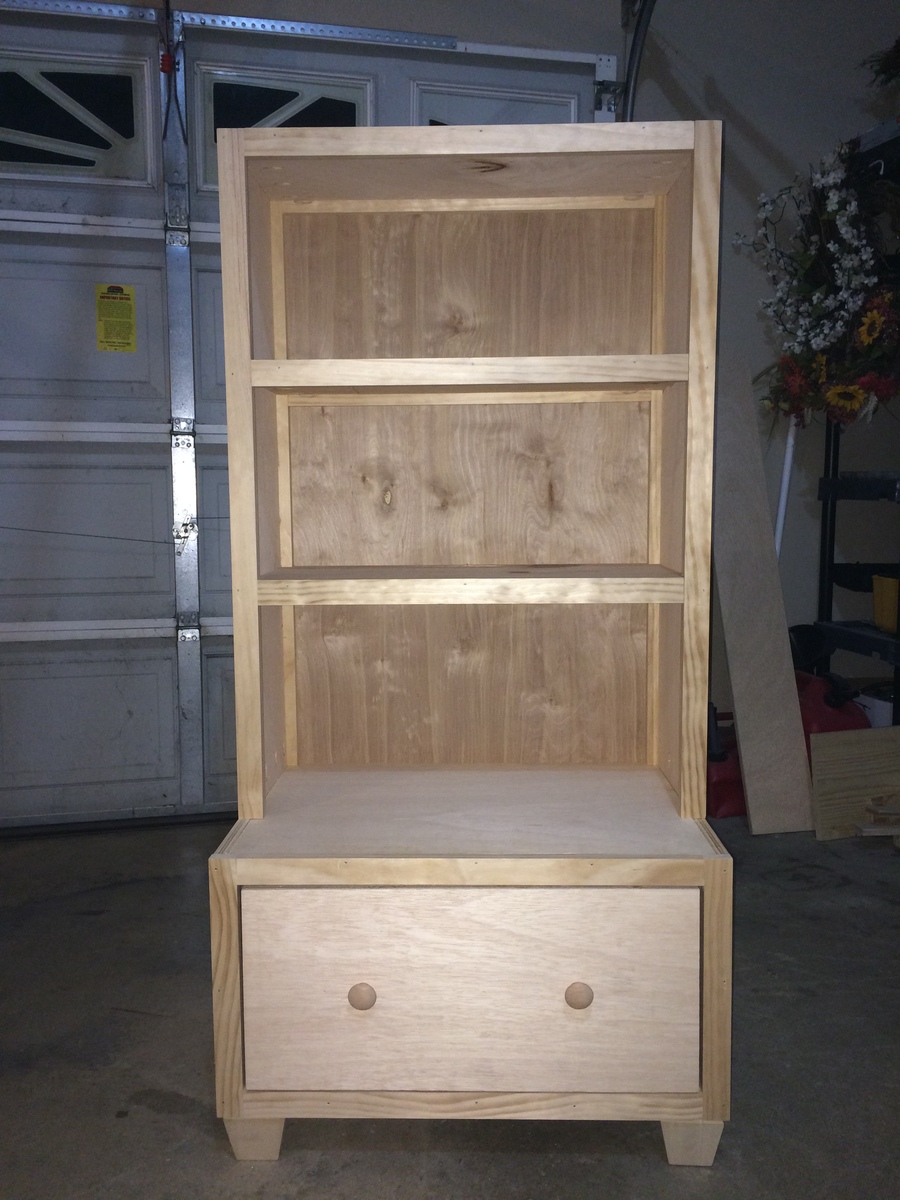
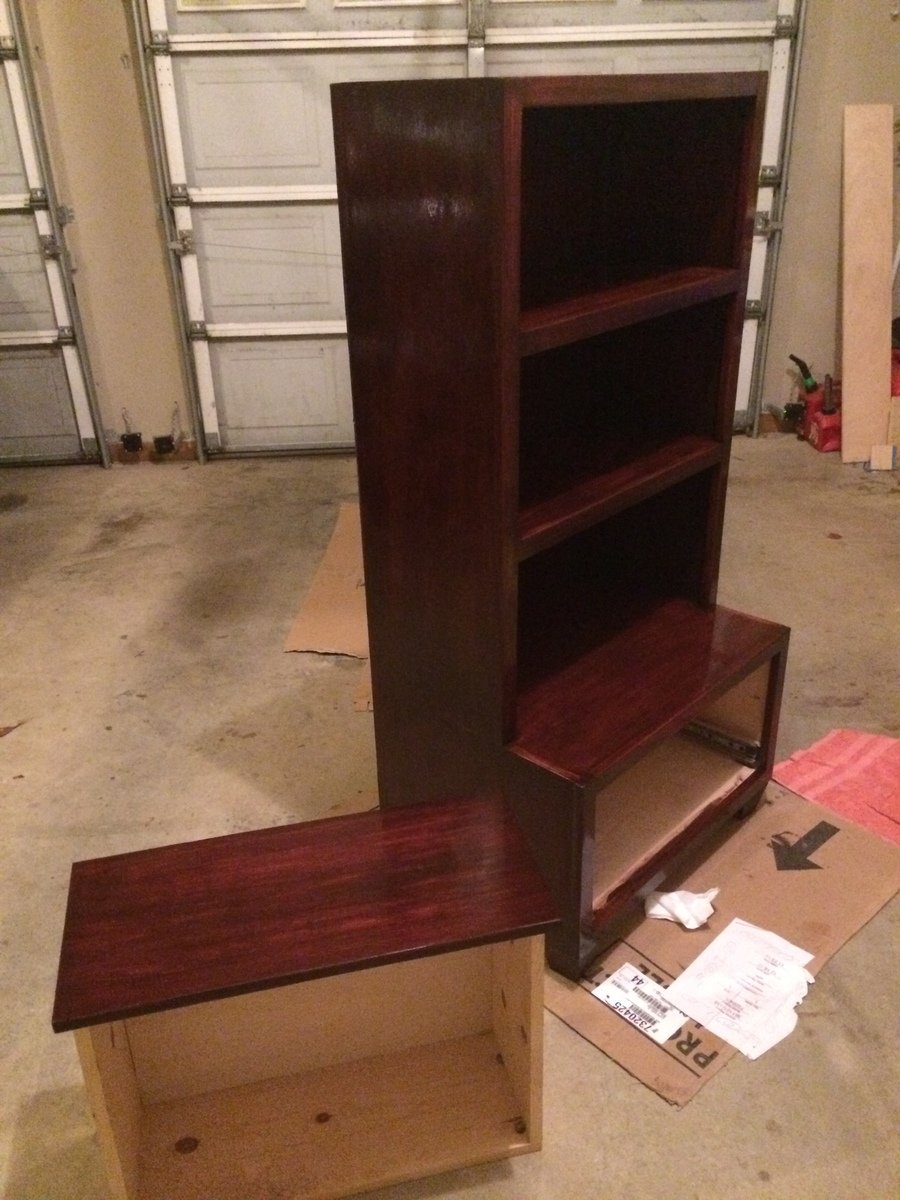
I built a bookcase with a large drawer beneath for my son's nursery. This build was based on Ana's plans for the Cube Drawer Bench and Hutch, but I changed a few things to make it my own. This was my first real attempt at making any kind of furniture, or anything else, really, and I'm fairly happy with the way it turned out. More importantly, my wife loves it.
I learned a TON from all the resources on this website. Thanks Ana!
Mon, 02/10/2014 - 15:59
It looks really great! One question, how did you attach the hutch to the bench?
Mon, 02/10/2014 - 16:54
Thank you!
I attached the hutch to the drawer by drilling 4 pocket holes on the inside of the bookcase where the bottom meets the top of the drawer. I also used wood glue. I was concerned about the hutch moving around, and the possibility of it tipping over, so I decided to go ahead and build the two components as one piece, essentially.
Also, in order to add some additional strength and stability, I combined the frames on both components so that I would have vertical 1x2's going down the entire length of the backside of the piece. I also added horizontal 1x2's on the backside of each shelf. All these things combined really gave it a lot of extra strength.
I made this table for a friend of mine. I'm a Realtor and he used me to help purchase his home. Instead of a boring house warming gift, I made him this table instead!

The wife has a hard time bending down so she wanted pedestals for the washer and dryer. The metal ones with a drawer were too tall. I showed her Sausha's and she really loved that design. I basically used the same construction plans idea from Sausha's project and some tips from Ryan's brag post. But, I wanted to beef it up some. I didn't like the L-bracket to attach the top and 4X4 legs. It didn't seem sturdy enough for me. I used my table saw to square the edges on the 4X4 posts and the 2X6 rails. Then I used my Kreg jig and glued and screwed everything together. I liked Ryan's trim ideas, so I used baseboard trim for the bottom and flipped it for the top trim. I made a 1/2" lip so if it were to vibrate, the washer/dryer would not fall. I put the trim on the bottom of the legs and was considering putting on the top but I put some different trim all the way around the bottom of the 2X6 rails. The wife liked that. I also added some carpet on the top to cut down on vibration and to help keep the units in place. I also put some 4X4 pieces of carpet on the bottom to keep the noise down and to help in moving it. I primed and used an gravity sprayer to paint it. Then I put 3 coats of polyacrylic to help in cleaning and to cut down on scratches from the laundry baskets.


Wed, 06/29/2016 - 14:31
I think you could probably drive a truck on top of yours. :) I was a bit concerned about the strength of the construction when I first decided to build it, but I decided that since it would be stationary once I have it in place and the only force would be straight down, it would be fine. Once I got it put together, it was actually sturdier than I thought it was going to be...from a horizontal force perspective. Virtically, that thing could hold 100 washer/dryer pairs...the plywould would give out before the 2x4s and 4x4s would even budge.
Anyway, nice work! I love the Kreg Jig...I need one of those.
Sun, 01/29/2017 - 16:23
Great looking build, thanks for the detailed photos!
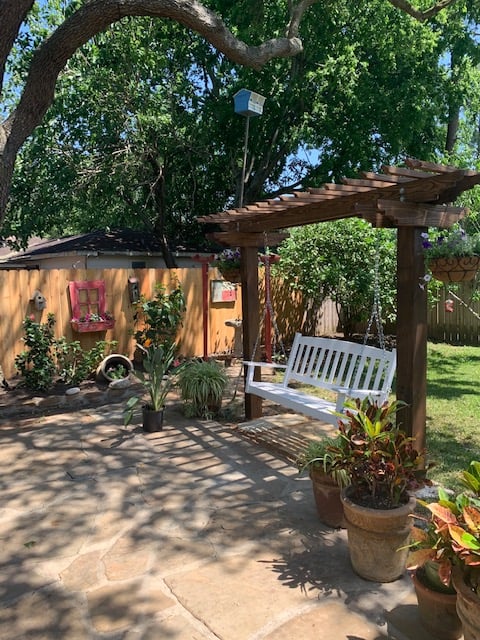
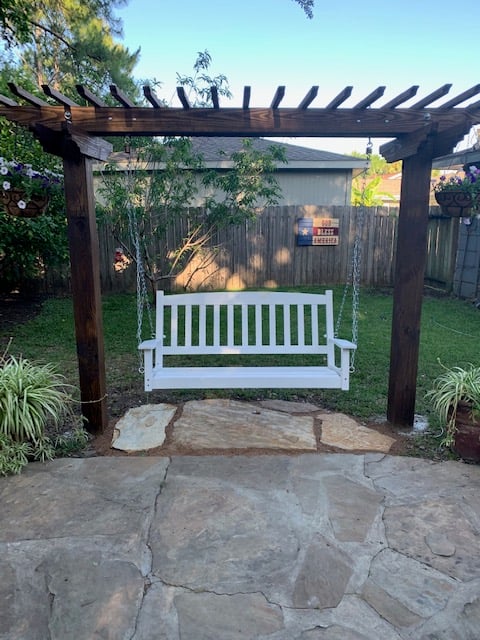
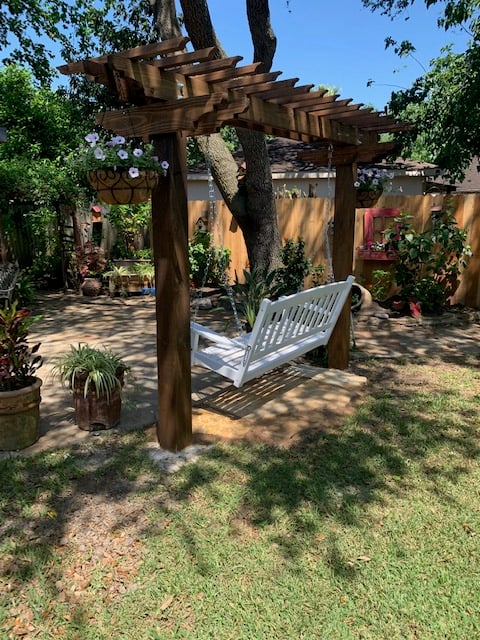
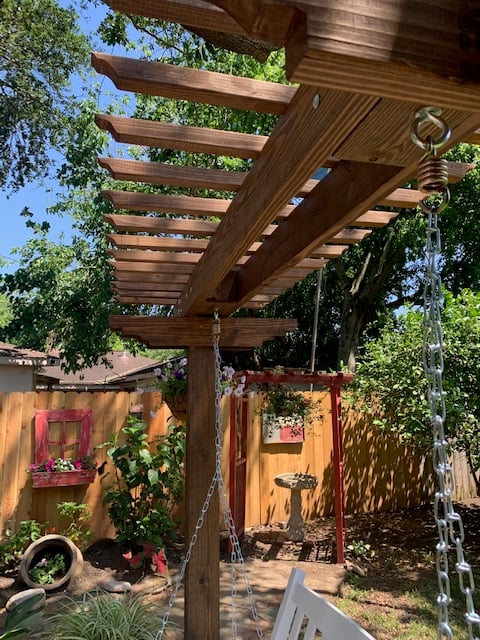
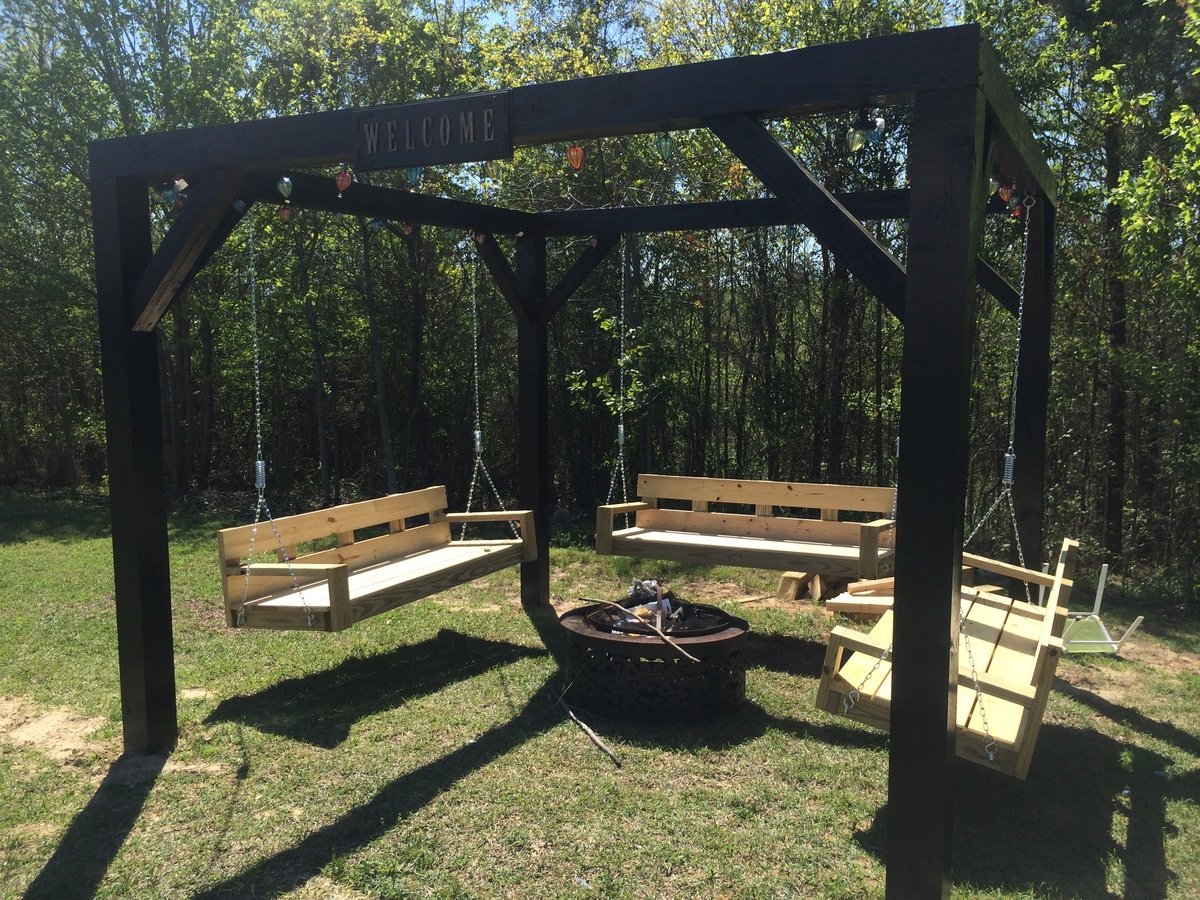
I saw this project on YouTube under Arbor Pergola Swing. It did not mention any specific detailed plans or cut list but it was enough to get me started. I began with (2) 10' 6" x 6" post. buried each 24" and cemented. I cut the post tops at 83" from ground line. The rafter consist of (2) 10' 2"x 6". I used the leftovers of the 6" x 6" post tops in the middle of my rafters to hang the swing from with 1/2 " eye bolt. Then I used (9) 2" x 2 " x 8' and cut each at 36" to finish off the top and (2) 2x6x8 for the 4 rafter supports. I drew out the designs of the rafters and top ends free hand and at made a template for the cuts with s jigsaw.
The entire cost including hardware minus the swing was $170. My wife had purchased the swing last Fall at a clearance for $40 brand new.
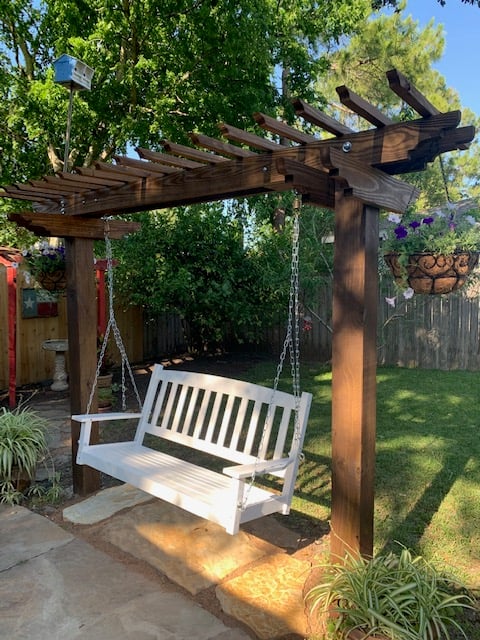
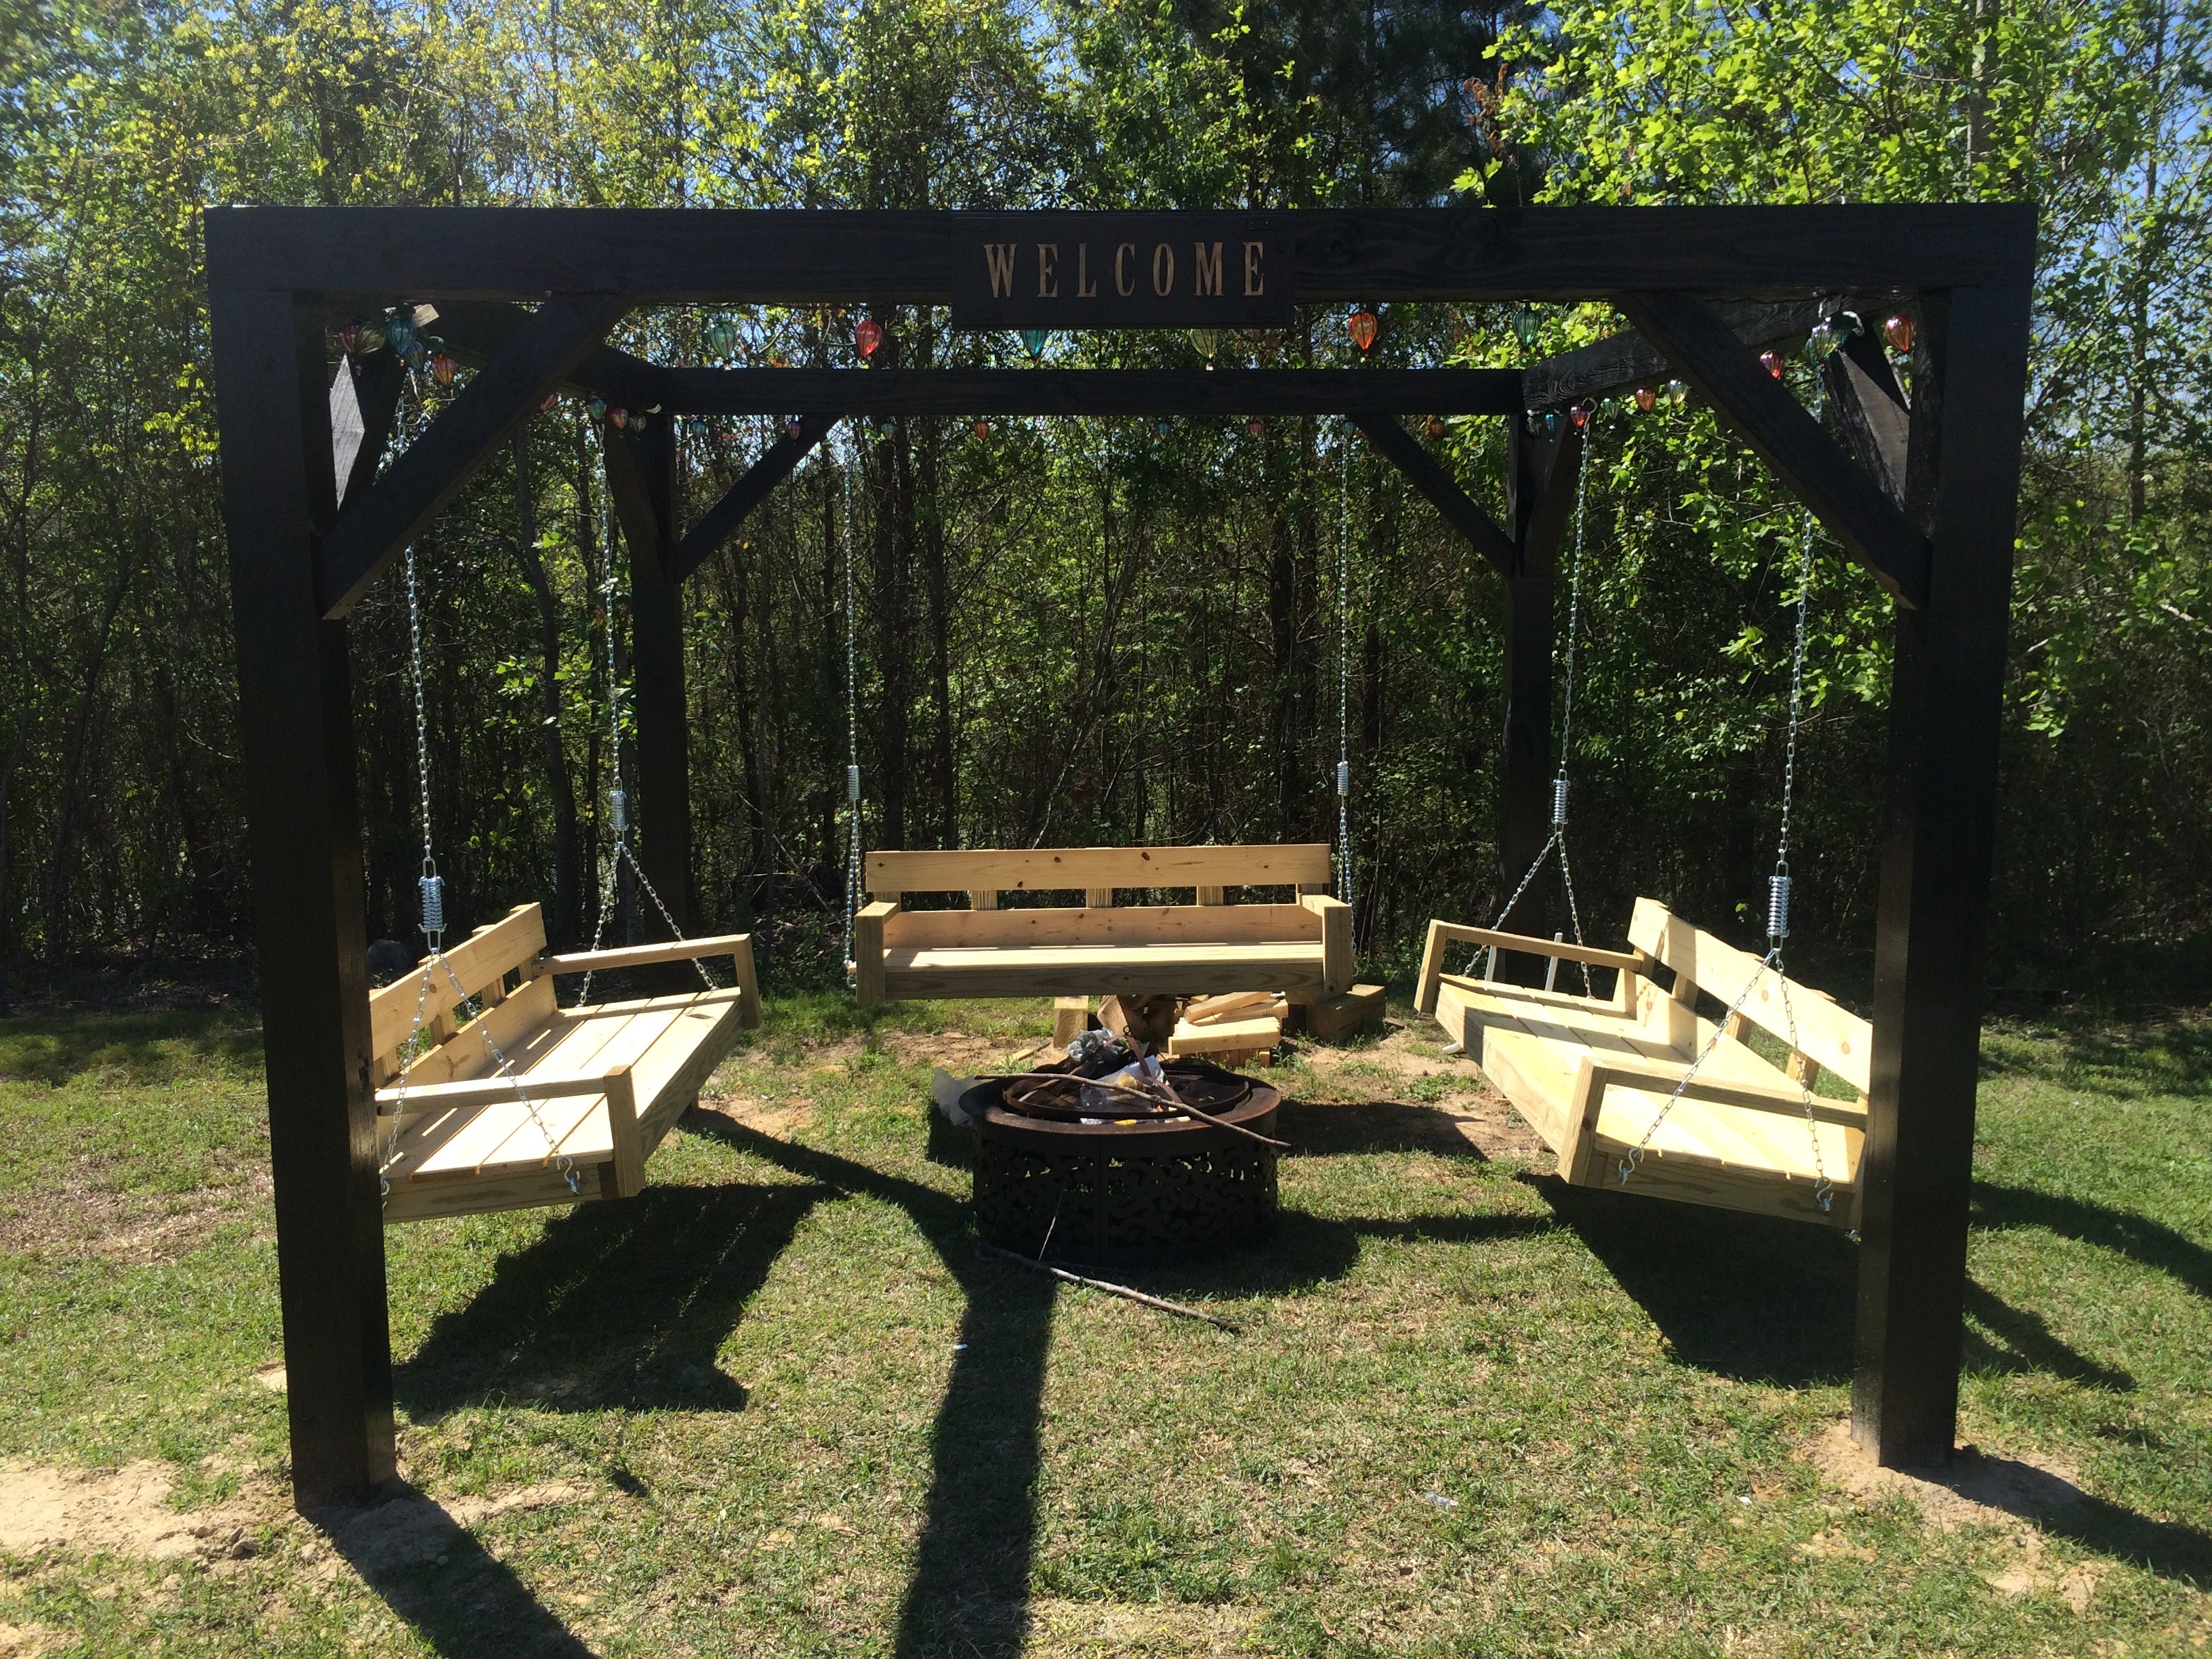
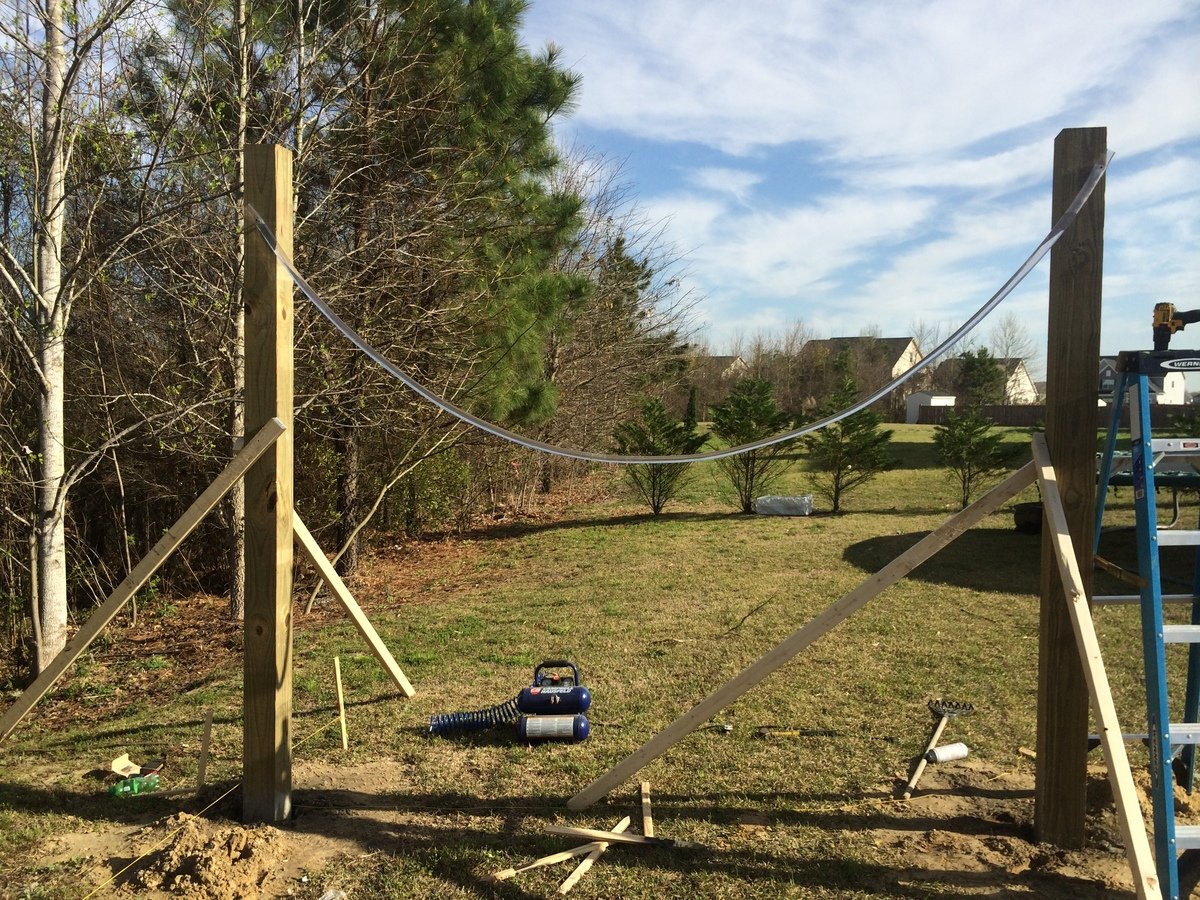
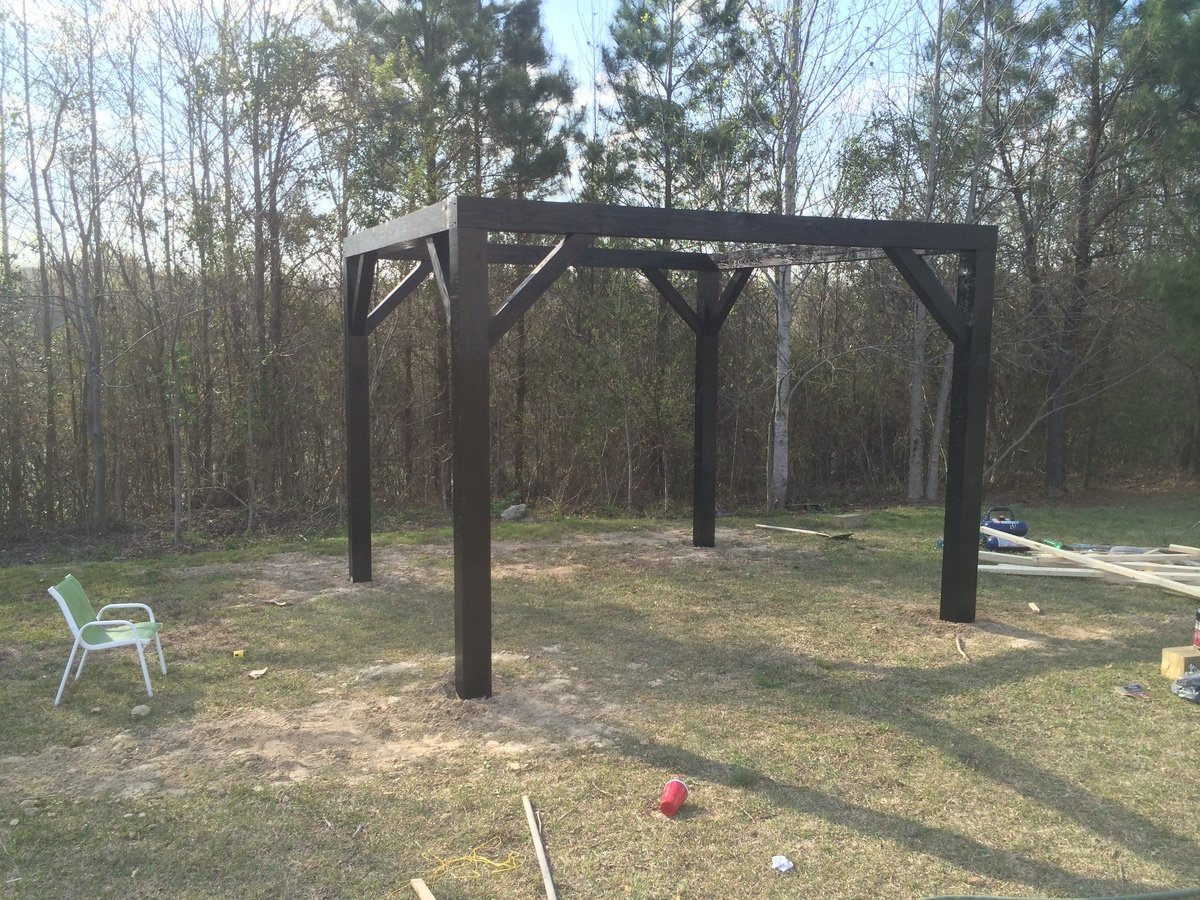
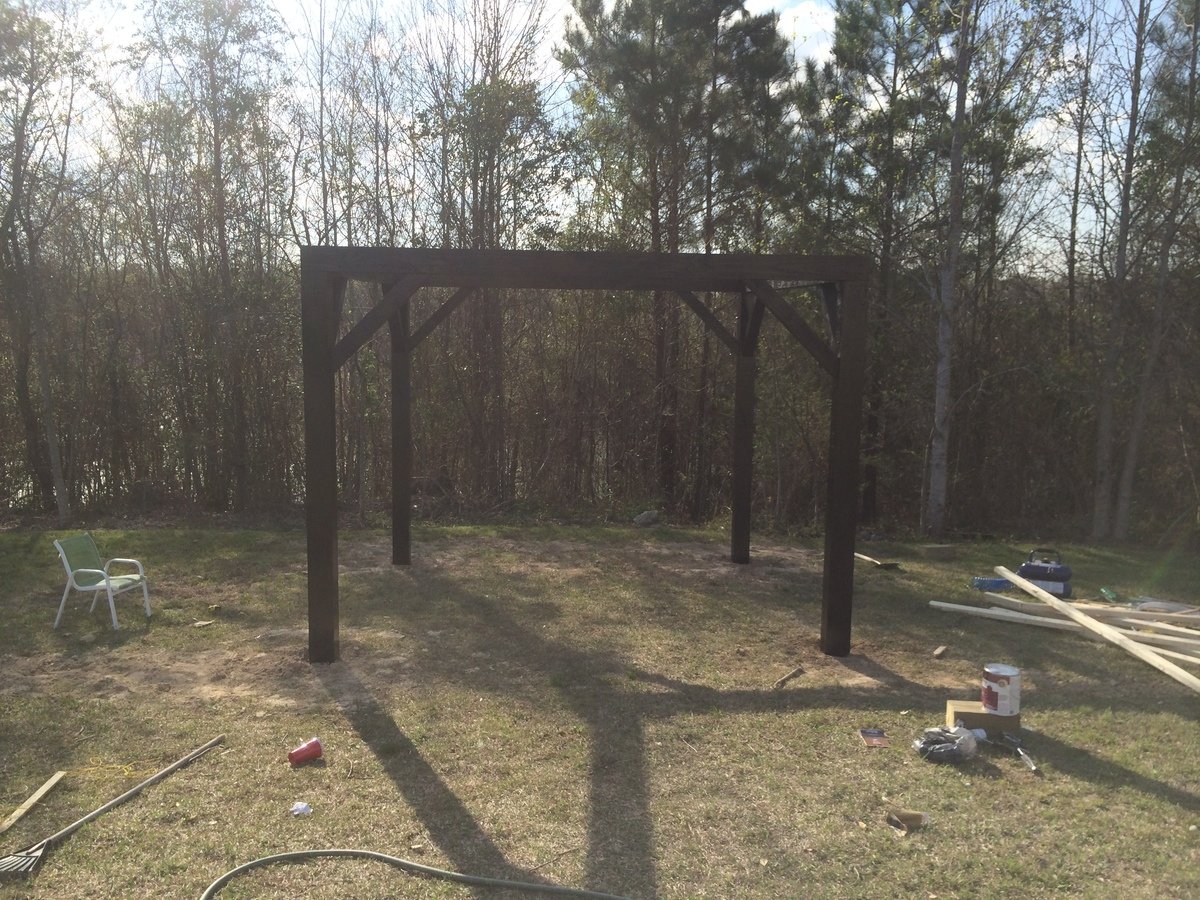
My wife saw something like this on Pinterest and desperately wanted one. The one she saw was hexagonal in shape. We didn't need as many swings so we went with just a plain square shape. We used 6x6s for the legs and posts across the top and used 4x4s for the angled support pieces. We built the swings using the plan from this website. All the materials can be picked up at the blue and orange stores. However when it came to the springs for the swings, the blue store was 1/3 of the price of HD. The legs are 12' long and buried 4' under the ground and cemented in for strength. Luckily I am retired military and was able to rent an auger for 1/2 the price of HD or the blue store. You could do it by hand but it saved us hours and lots of back pain. We found our dimensions for the size we wanted and spray painted dots on the ground where the posts were going to go. We dug the holes and stuffed the 6x6s in them. Using a post level we made sure they were plum. We braced them and added the quickrete and left them to setup over night. The next day we had to make sure all the tops were level with each other. This is where having some knowledge of physics paid off. I took clear tubing and screwed it above the height that I wanted on one post and then screwed the other end to another post. Fill it with water until the water level on the first post is where I wanted it (8 feet high) and it will automatically fill it level on the other end. There is a picture of this above. Water will always level itself out. I had to do this because my yard is at a slight down hill grade. We marked it and cut the tops off to make it level. After attaching the 6x6s on the top with 8" lag bolts it was time to paint. After painting was done we built 3 swings from Ana's plans. We shortened them by 6" to give room to walk between the legs and the swings. All in all it was a great project that only took two dedicated weekends. My wife still has to paint the swings though.

Wed, 05/27/2015 - 07:42
How did you attach the 6x6's to the top? Is it a miter cut at 45 degrees and then put together with the lag bolts. I'm kinda confused. Thanks.
Wed, 05/27/2015 - 22:38
It sounds and looks like the top 6x6s are mitered and sit on top of the end of the vertical posts. I'd say at least one lag bolt each way to hold the mitered corner together and then at least one in each piece down into the vertical to hold it in place.
Sun, 07/19/2015 - 16:26
I have looked at several versions including the hexagon pergola's, but this is exactly what we want. Do you have plans that you can email me? [email protected]
Sun, 04/19/2020 - 12:33
If you recurved plans can you please send to me?
[email protected]
Sun, 04/19/2020 - 12:33
If you recurved plans can you please send to me?
[email protected]
Wed, 04/29/2020 - 16:18
I was looking for material list and plans if you have any please send to [email protected] thanks
Mon, 04/27/2020 - 10:24
WOW, LOVE!!! This is simply gorgeous! What a warm and welcoming addition to your yard. And thanks for sharing your method of finding level for your posts on your sloped yard. I absolutely love it!
Thu, 10/22/2020 - 06:53
Love this, can you please email me the plans @ [email protected]
Fri, 03/26/2021 - 05:58
This is beautiful. Would love to see the plans for this. How small can it be made?
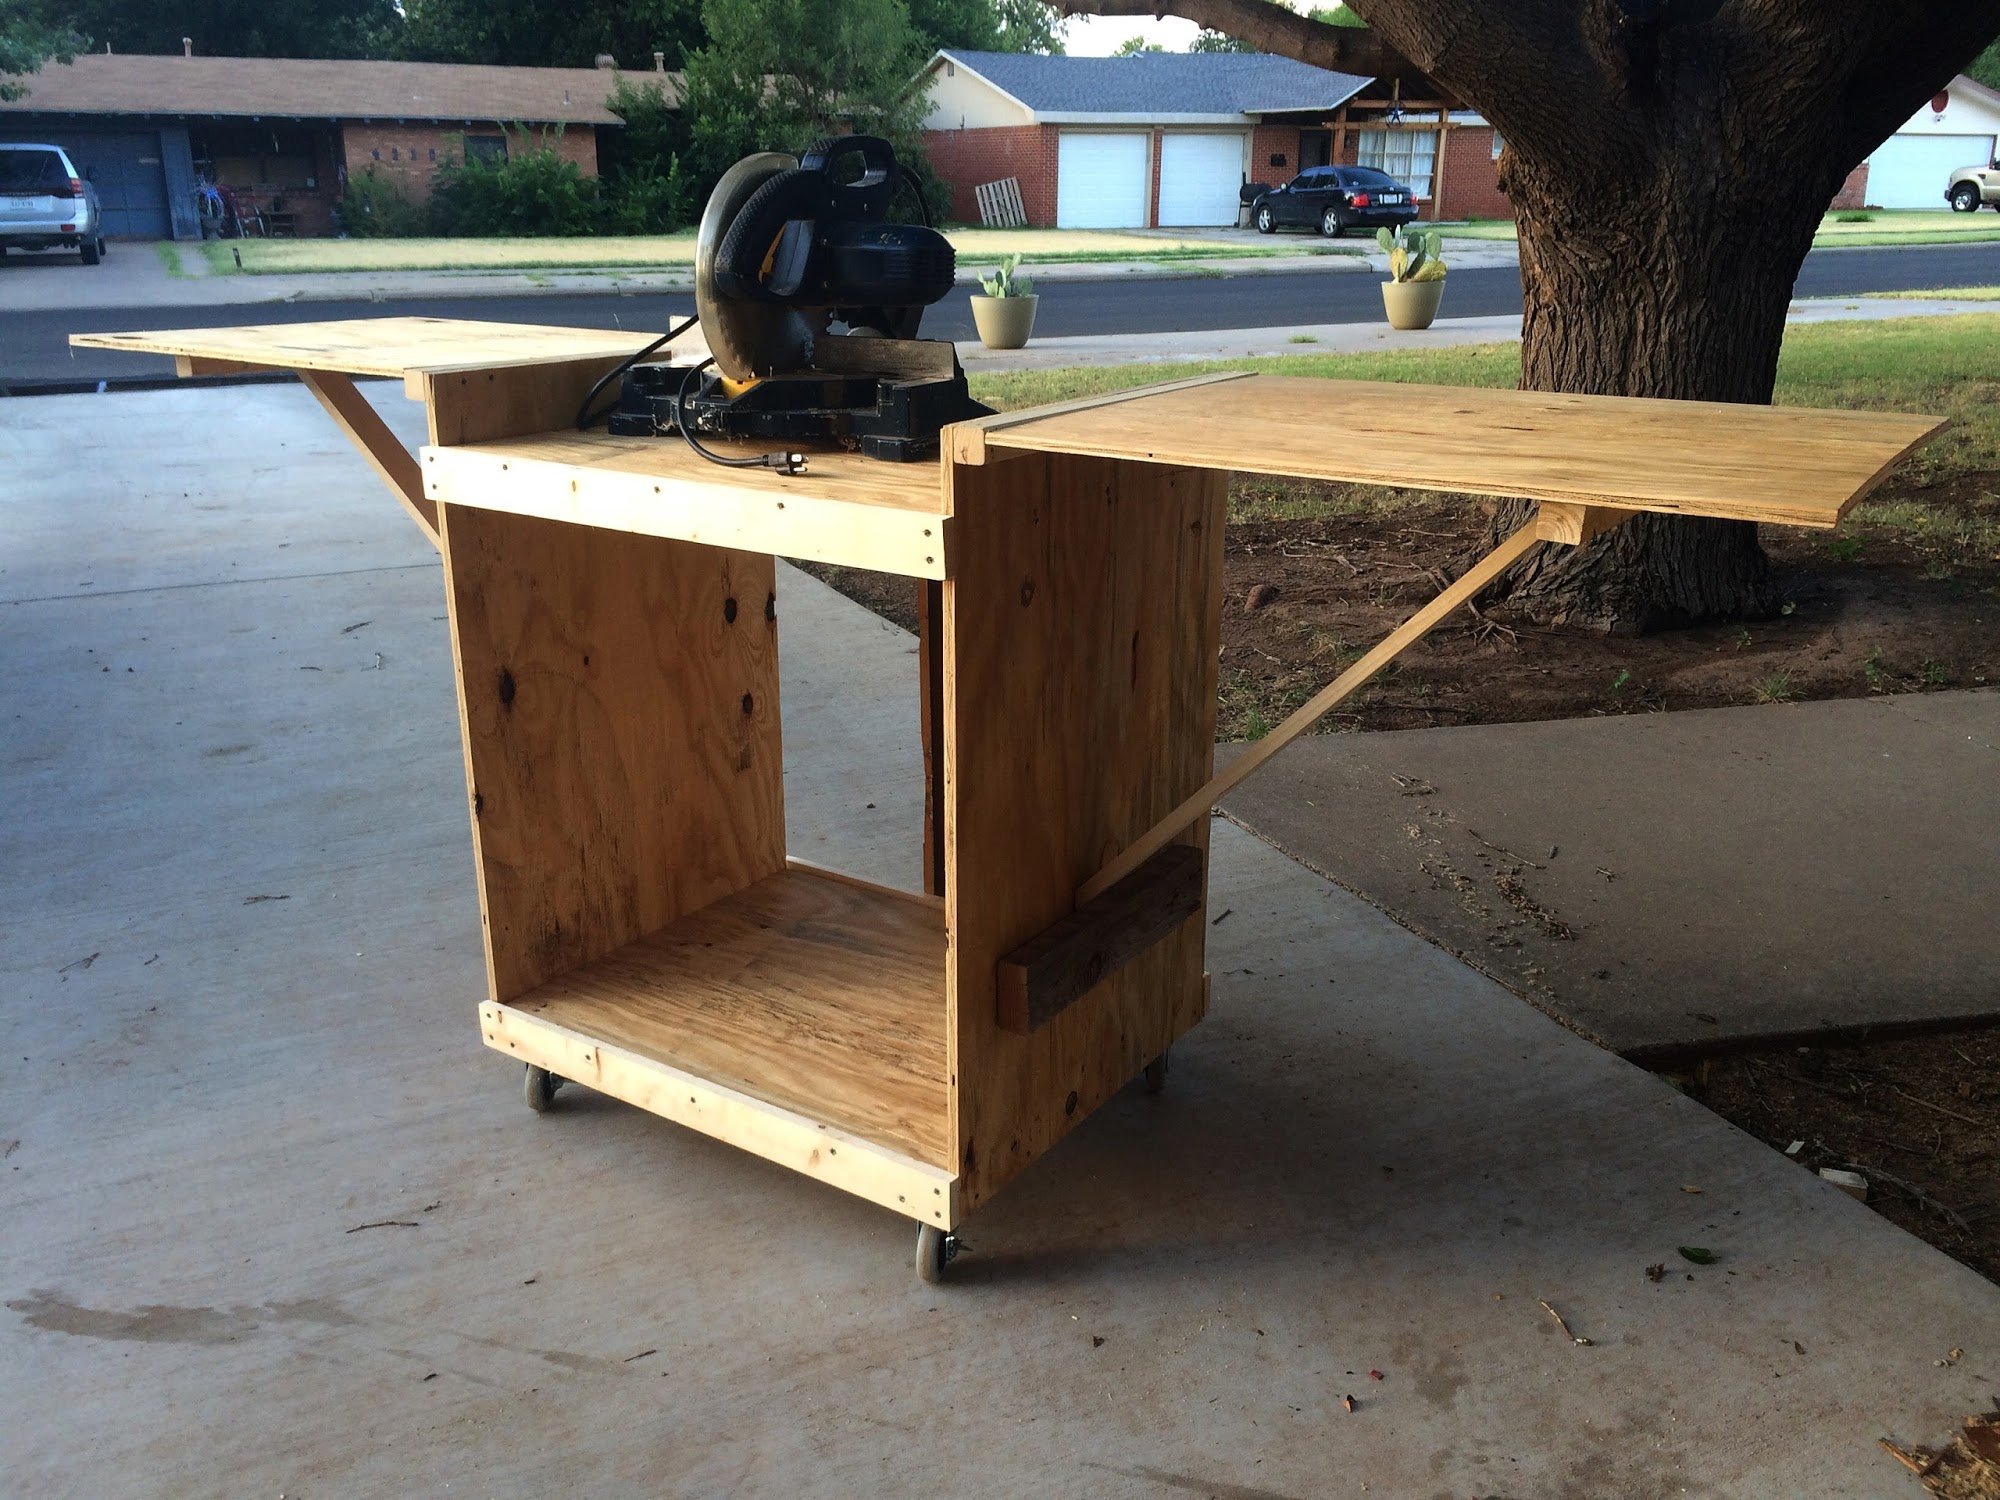
I followed the plans as listed pretty closely. I added a 2x4 under the main shelf for extra support, and used 2x4s instead of 2x2s at the bottom, so I could have something to attach the casters to. I also opted for 1x3 braces, rather than the hinges to hold up the sides. I need to add the fence and paint it white.

Cluckingham Cottage wasn’t built in a day, but it WAS built by a DAME!
A-frame instructions were pretty helpful considering the builder knows nothing about construction. I made a few modifications to accommodate my 5 chooks + 2 bantams . Sturdy and tight structure.

I recently had a workshop built and I have been trying to now work on the furniture for it. My first project was this workbench inspired by the plans "garage workshop workbench". I added drawers on each side and will probably end up adding a shelf in the open area as well after letting my kids finish decorating the top. It's already a nice addition and I may build a smaller version for my garage. I added casters and have the option to roll the table around or have it stationary.
Tonie

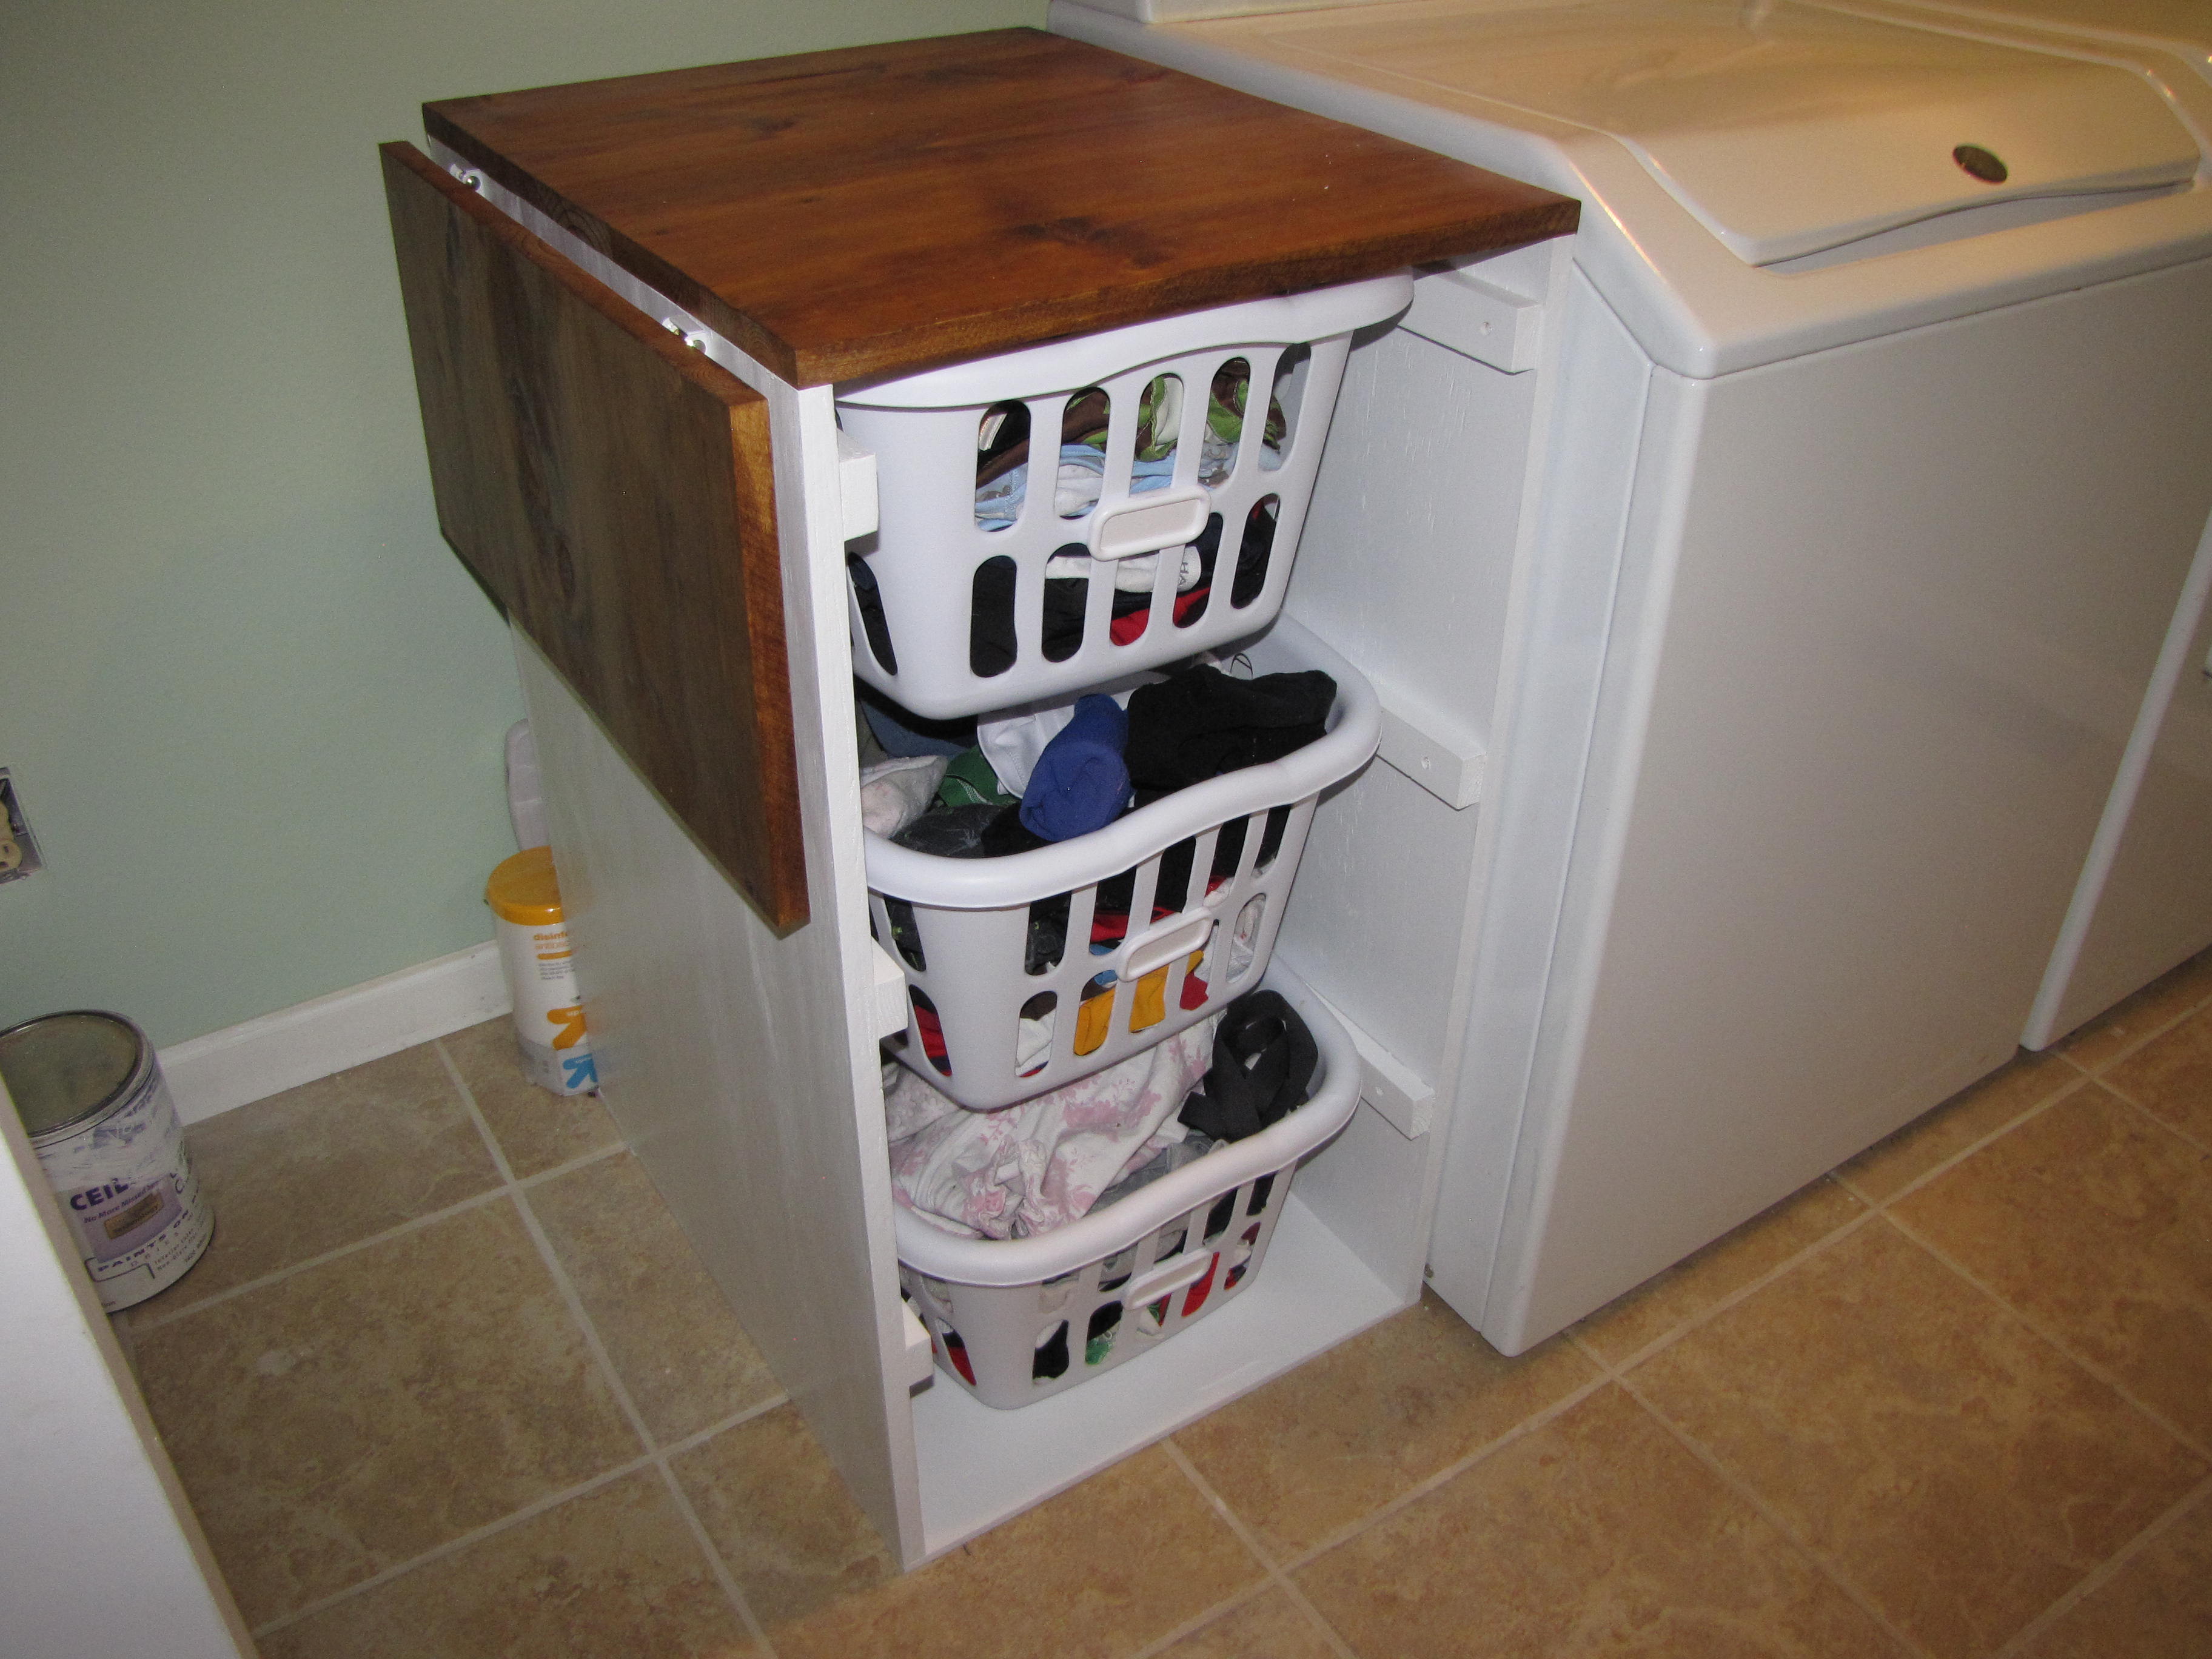
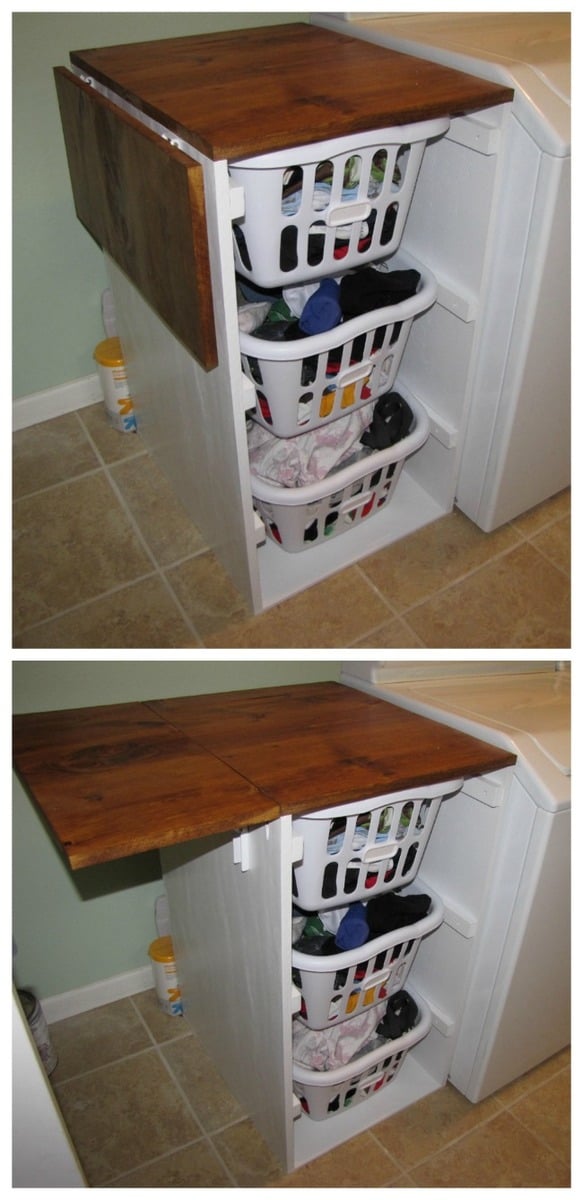
To finish my laundry room off I decided to build laundry cabinets - this laundry basket dresser is perfect! I used 8in. fold down shelf brackets (like the ones in Lady Goats Miter Saw cart). I also cut corners on the back since I was out of plywood after building my laundry cabinets. I used 3 1 X3s to support the back. I used a pine project board for the top which is only 24in deep so I did adjust the plan for that and the baskets still fit!

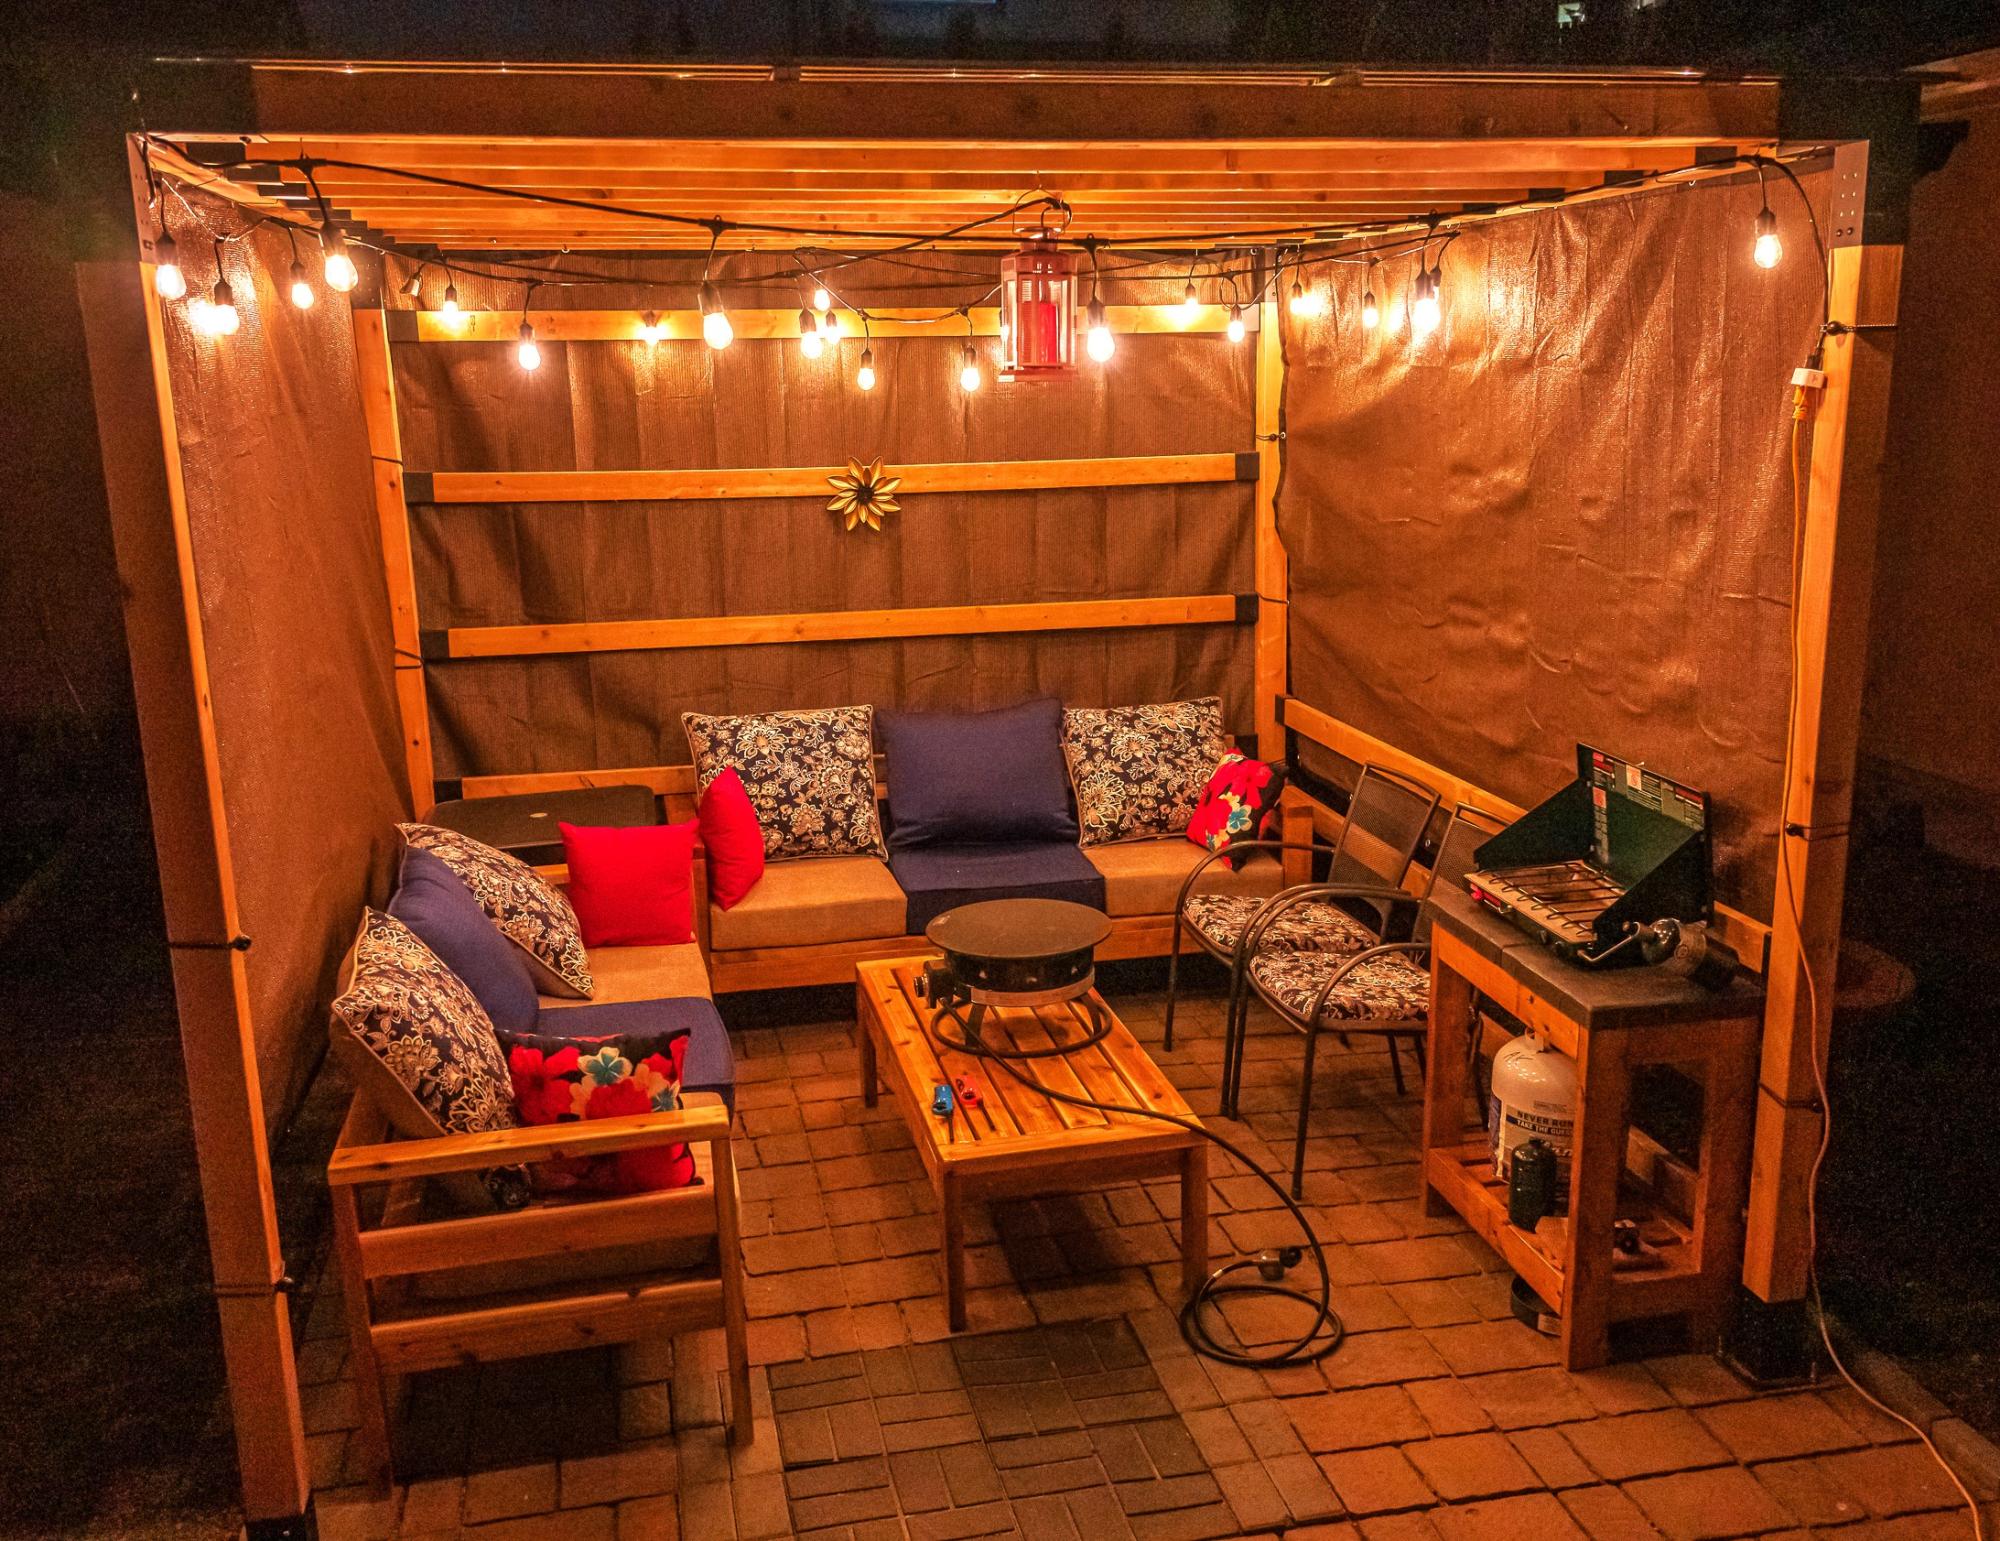
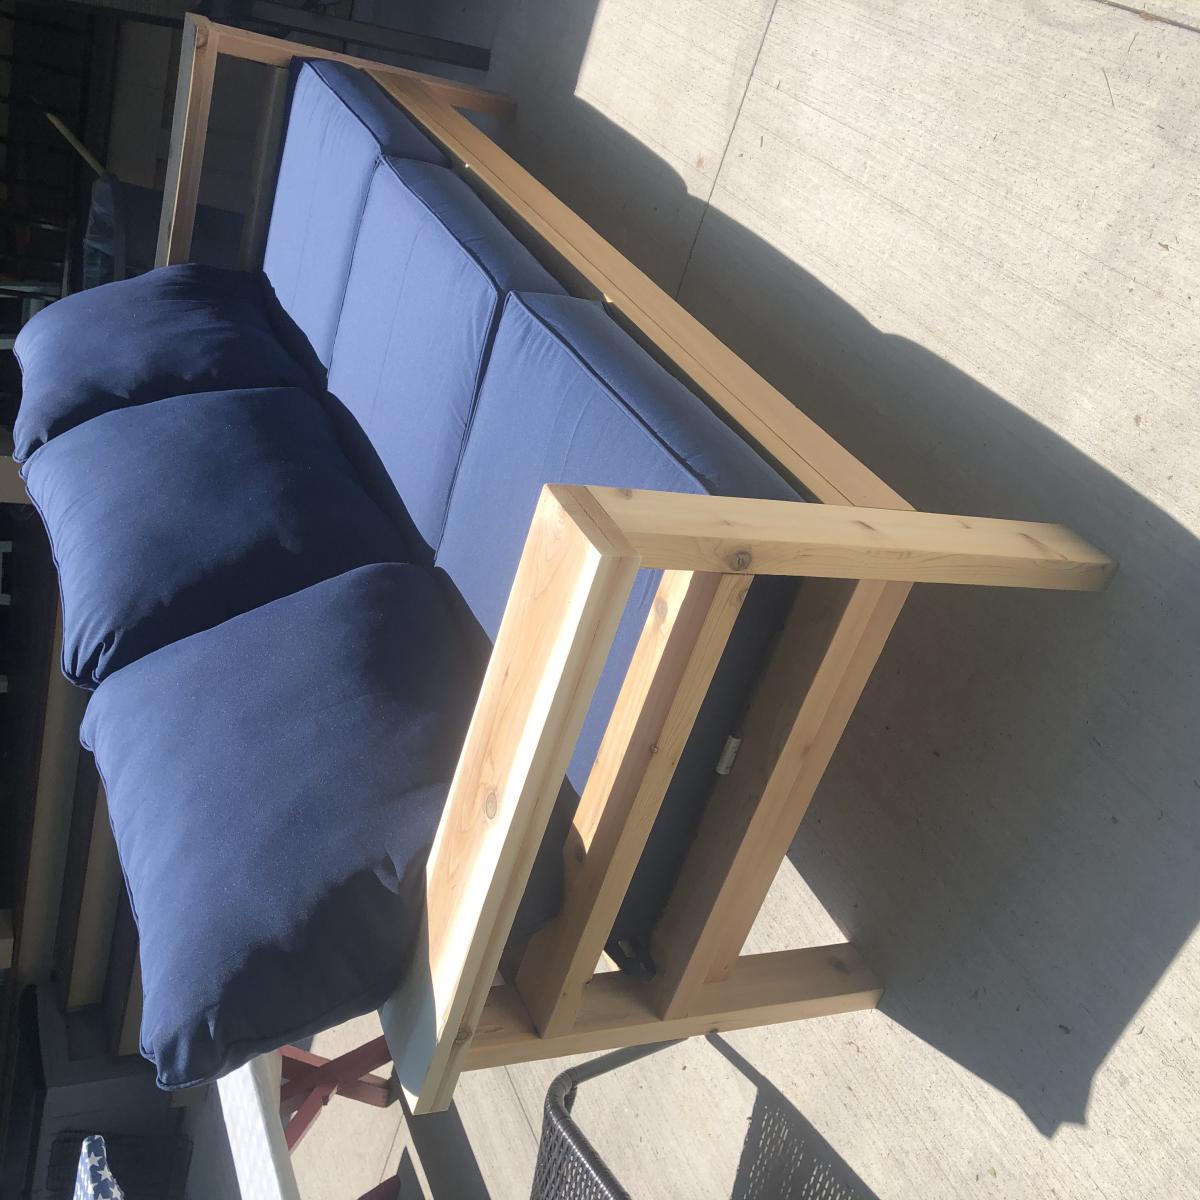
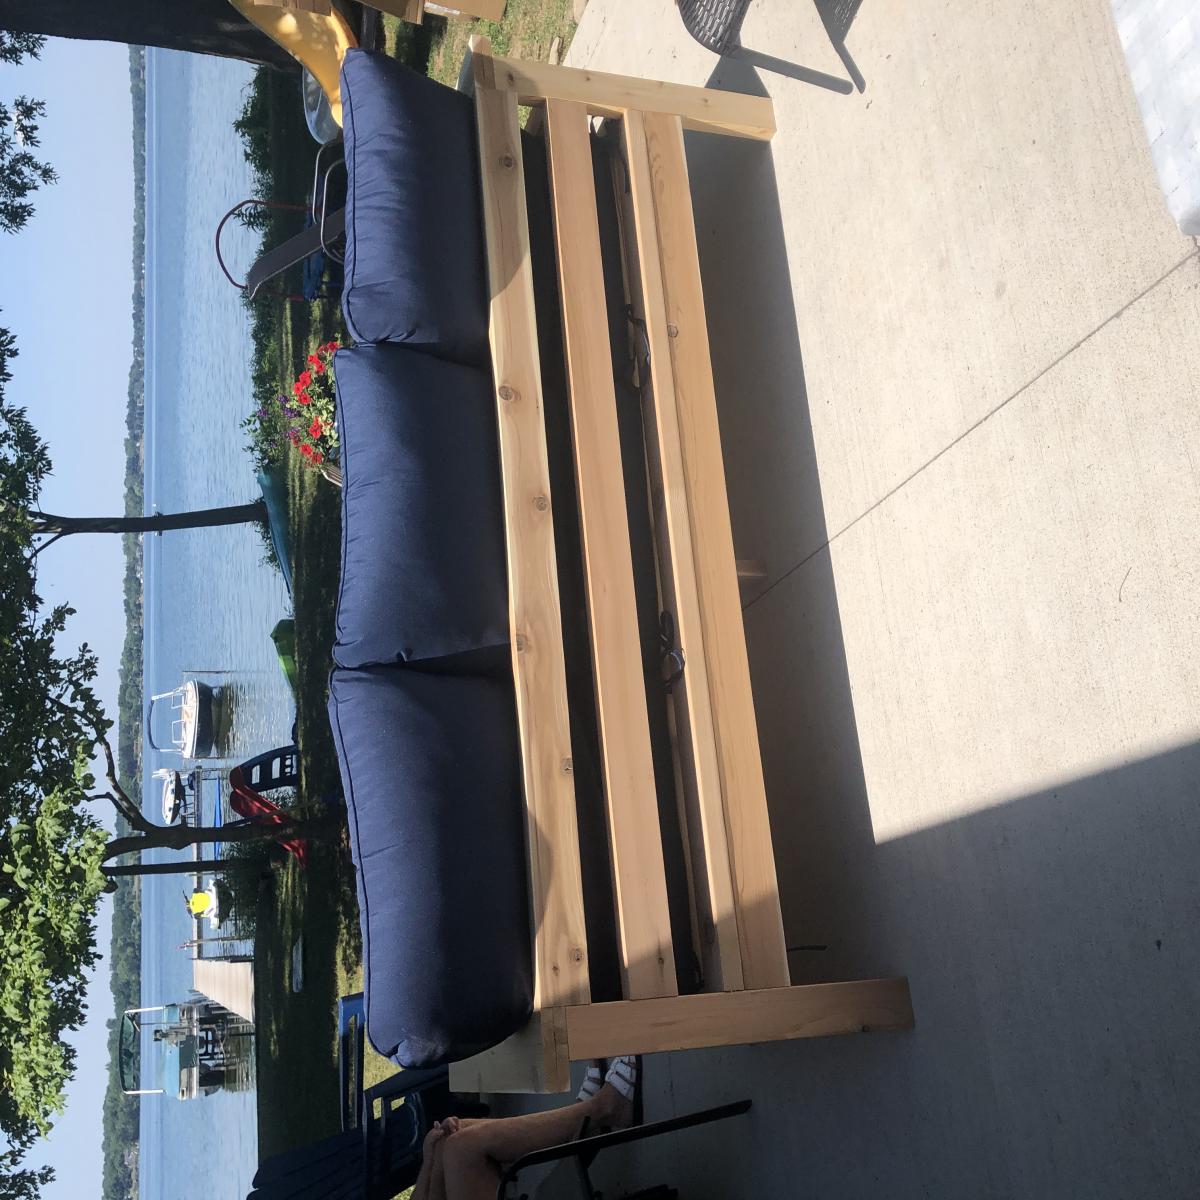
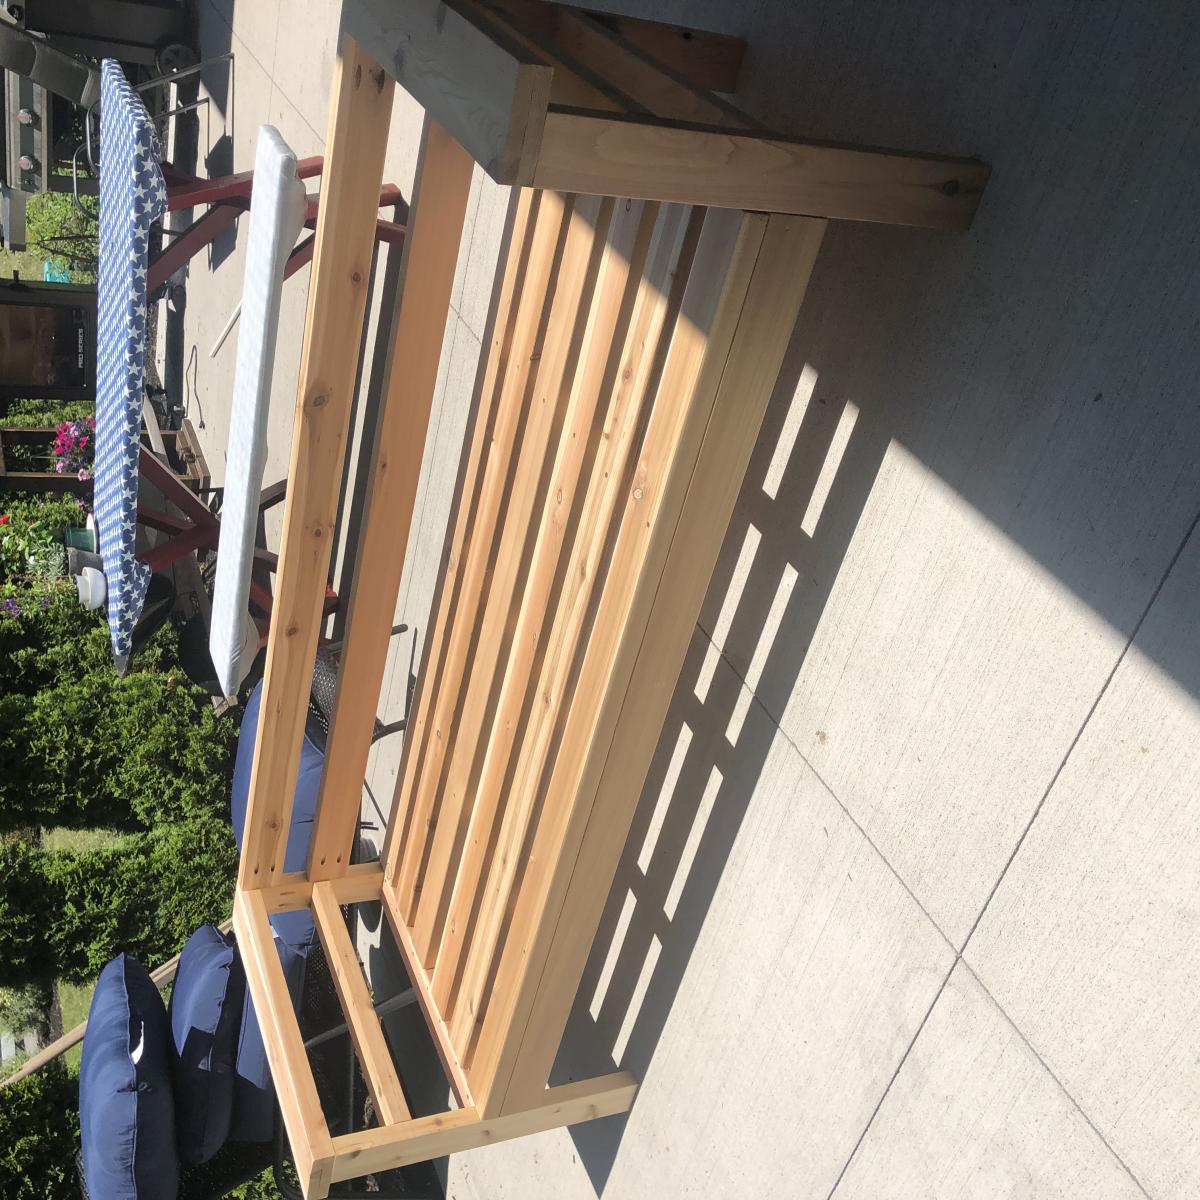
I built two 3 person outdoor sofa's and a coffee table as per your plans. It is sitting nicely inside the pergola we build last fall. I built a grill table too, to match the others. Thank You.
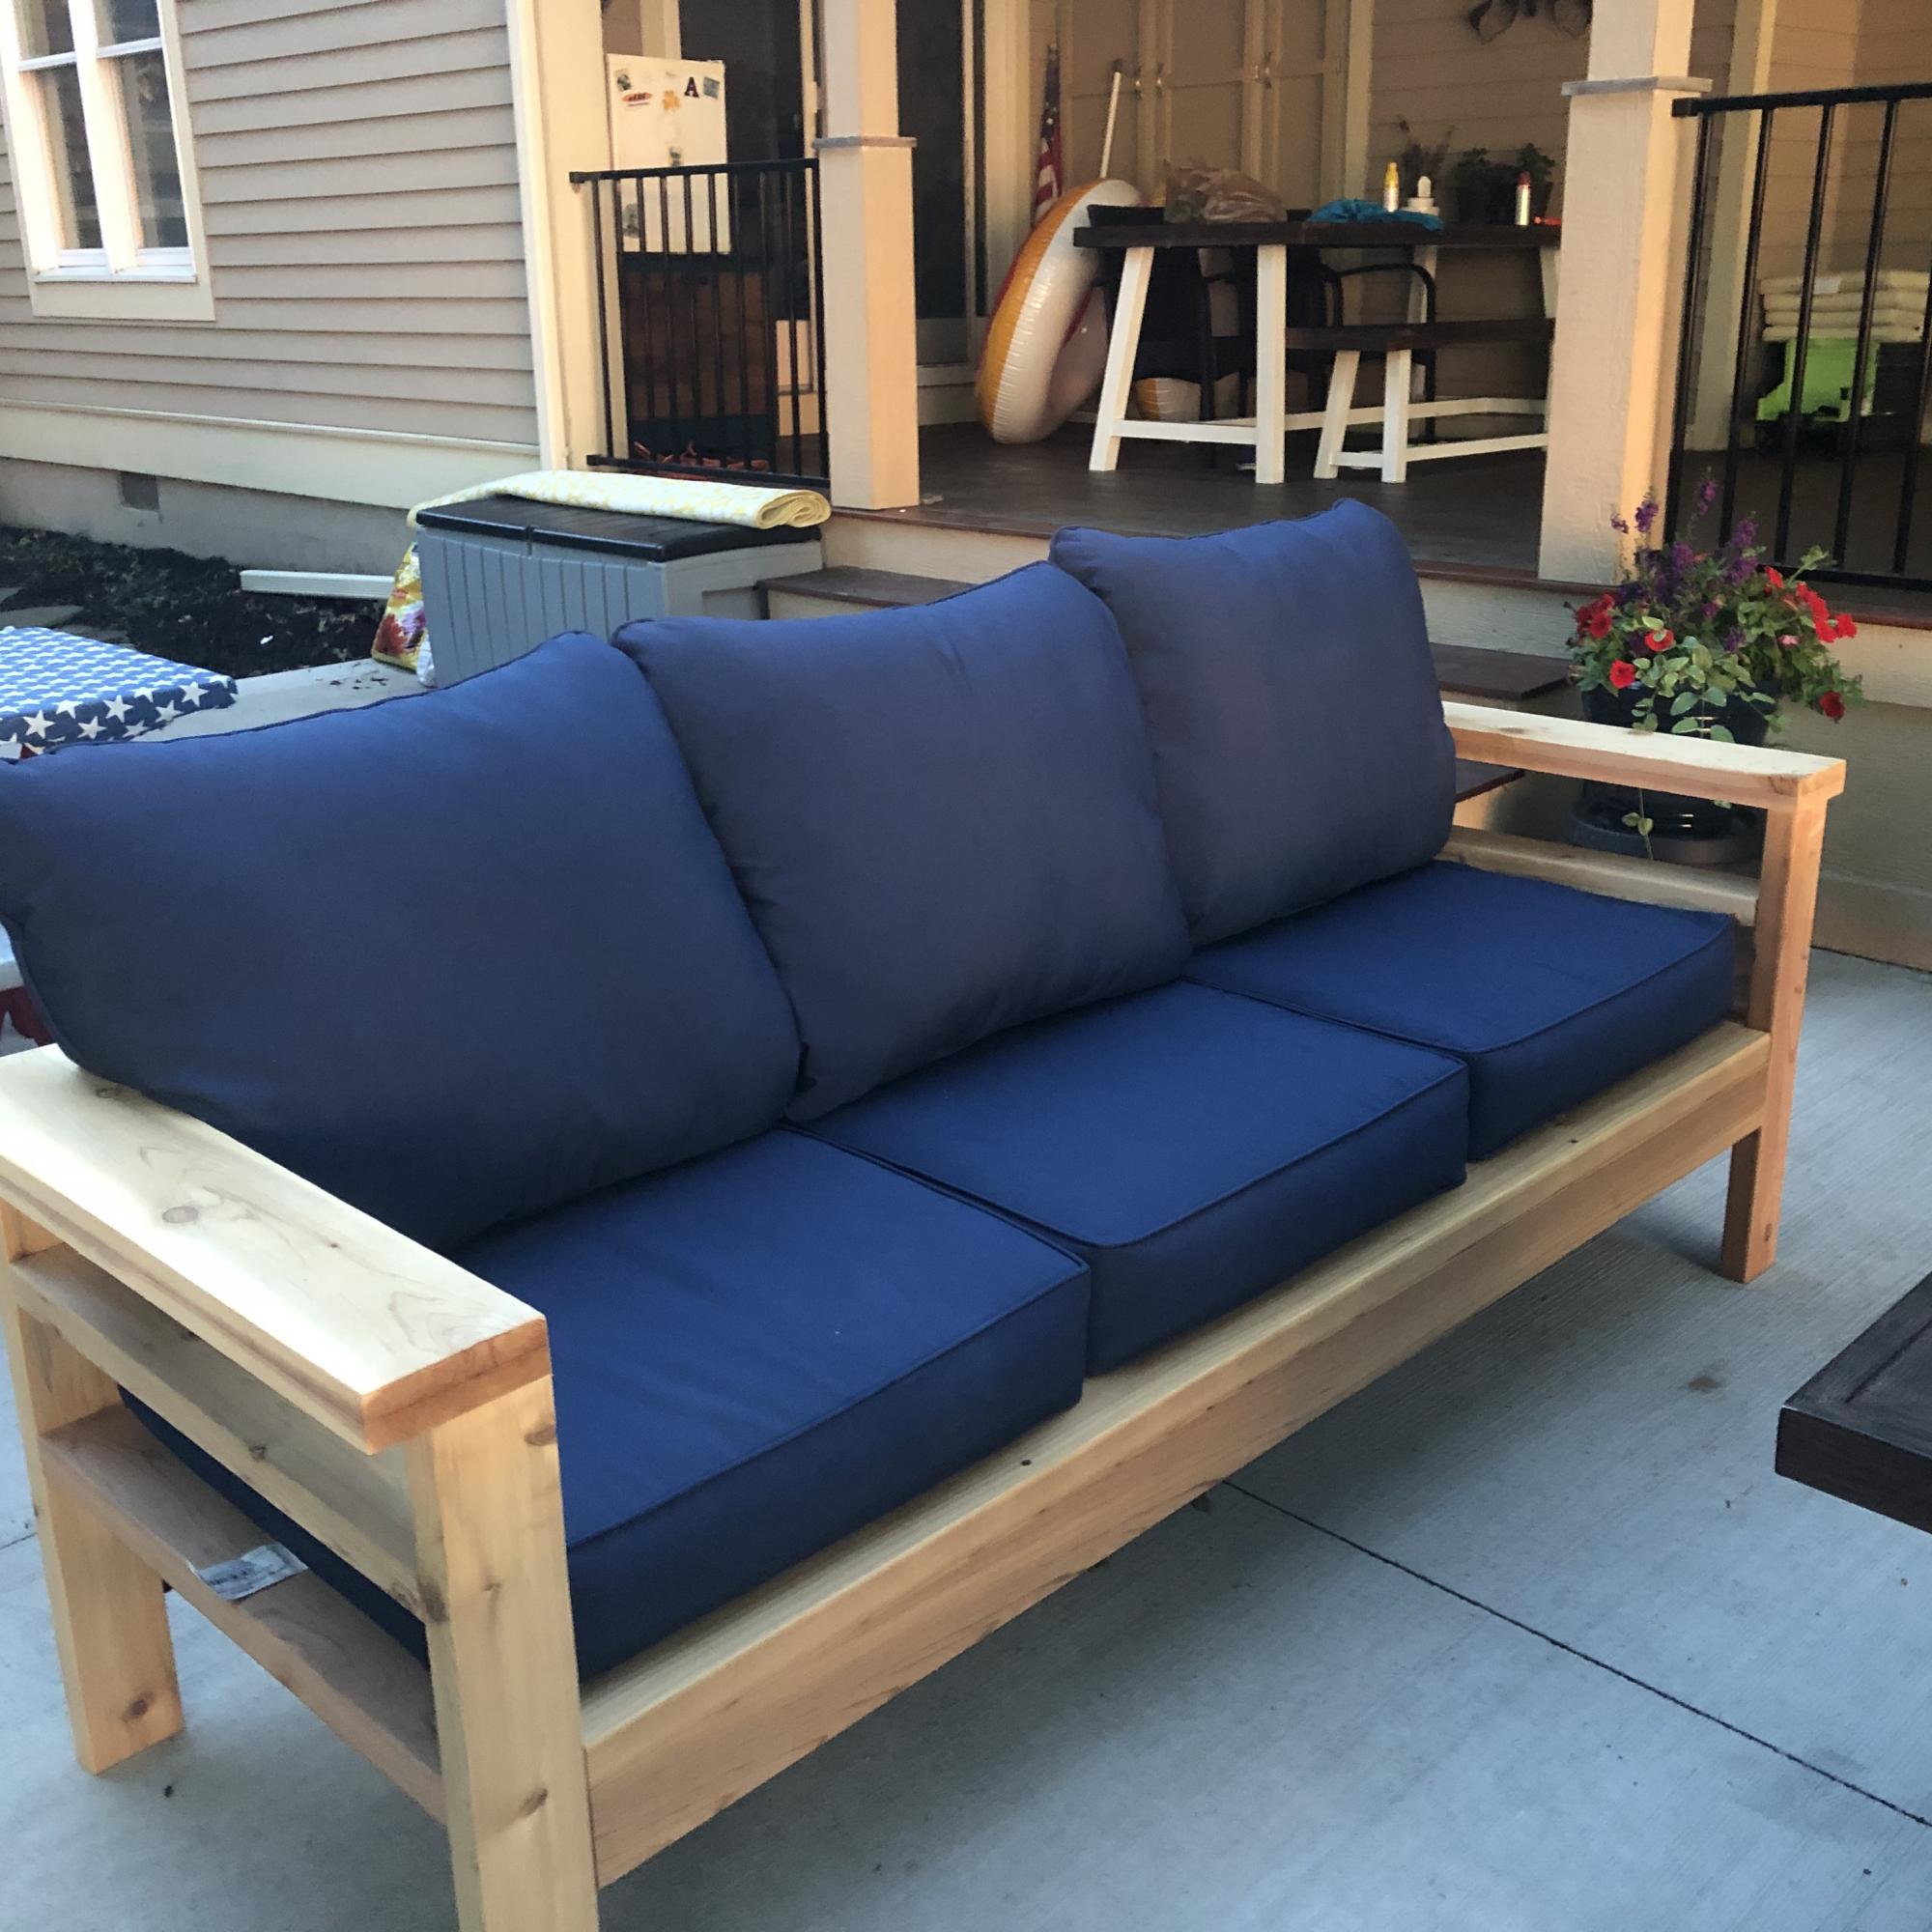
I used cedar and added the extra boards so the cushions would stay put. We also made the arms 2x6 boards so we wouldn’t need end tables for the couch. The plans were super easy to follow. I mostly used pocket holes so the screws wouldn’t be visible. Love how it came out! Thank you for the plans, Ana!!
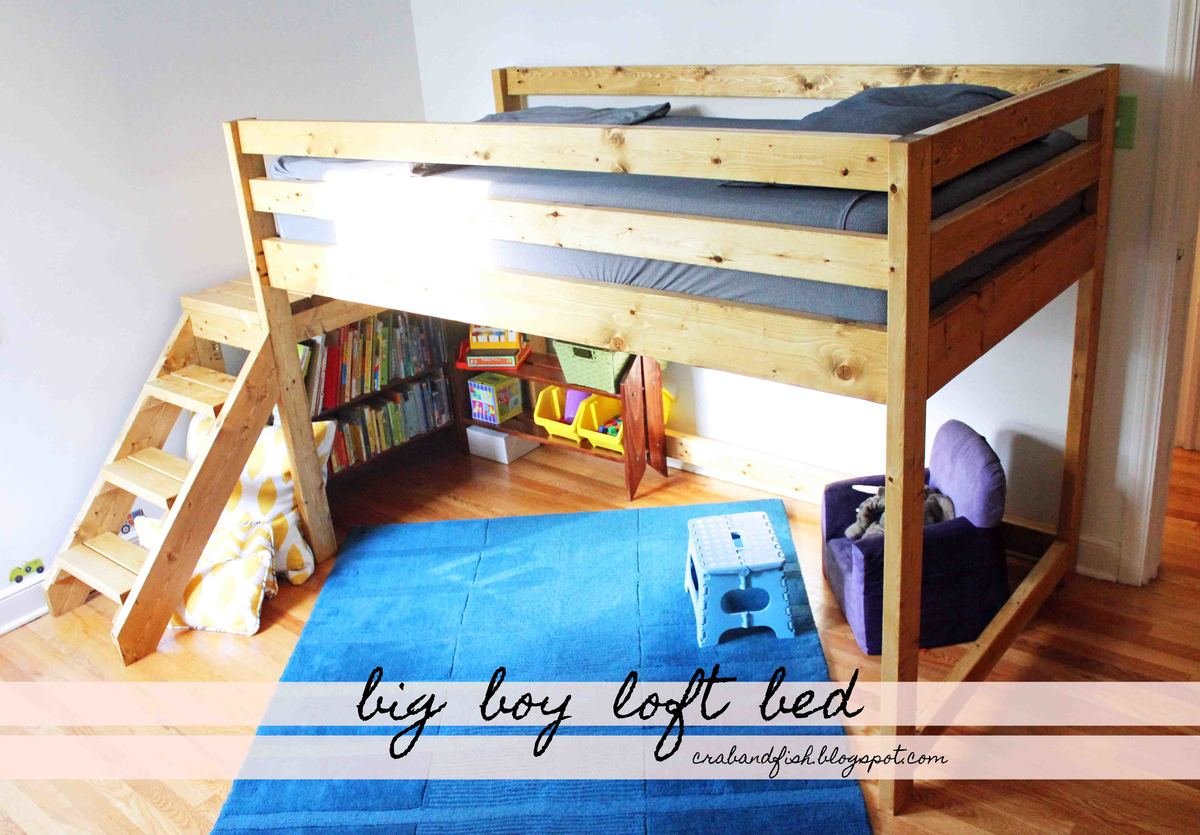
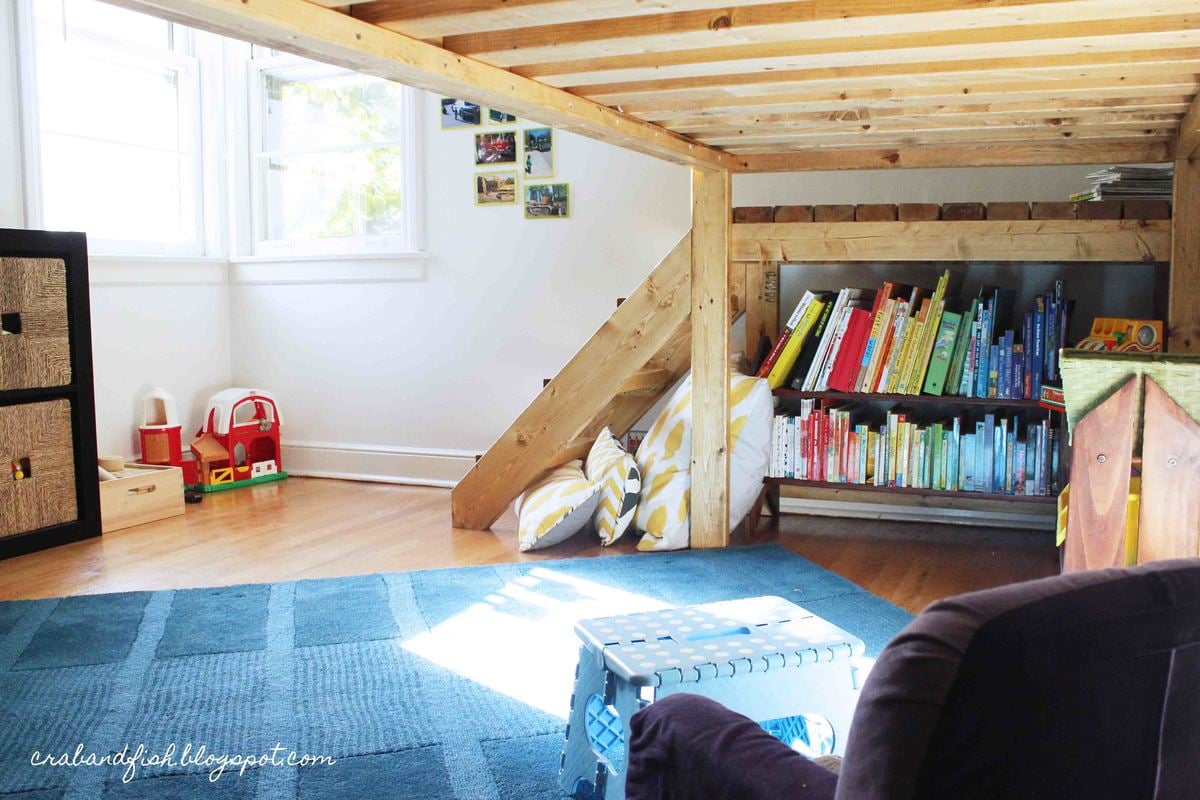
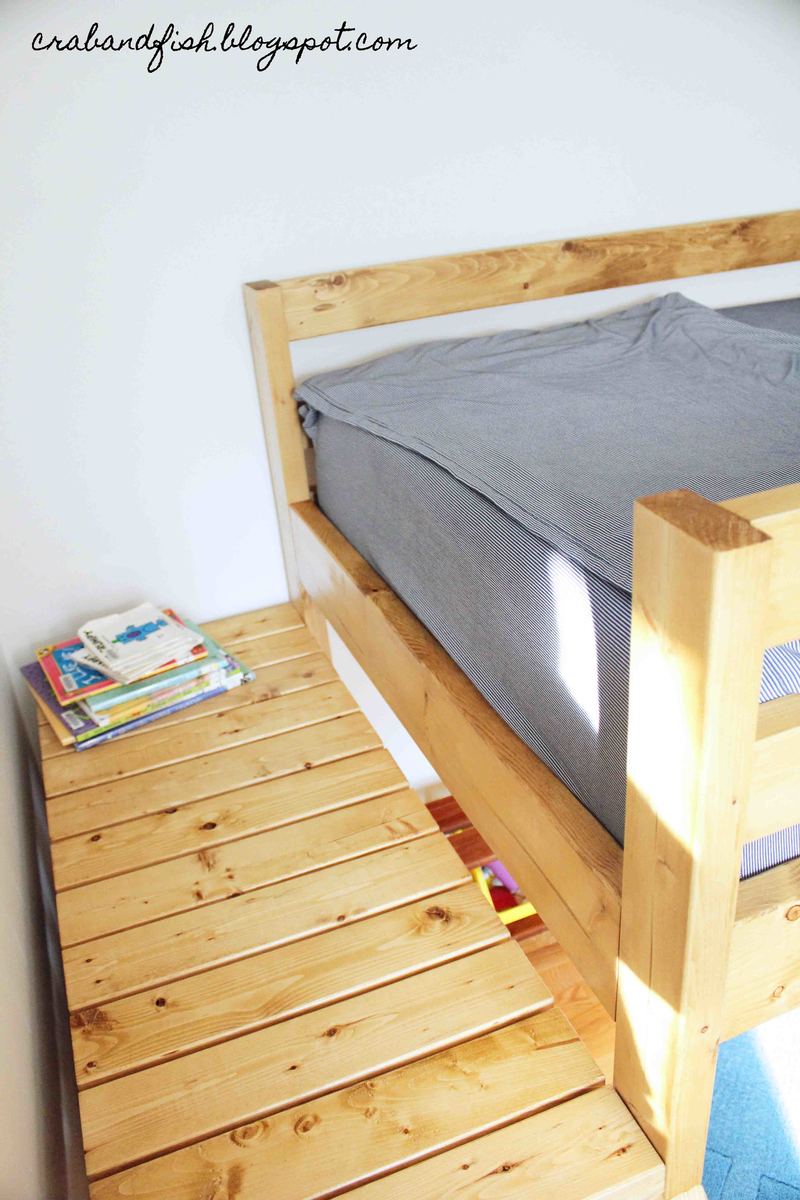
You can see the final project here: http://crabandfish.blogspot.com/2012/10/lil-archers-bed-its-done-its-do…
It was time for our son to move to a big-boy bed! We looked at tons of plans, but none were quite what I wanted. In the end, fish modified plans for Ana White's Camp Loft Bed with Stair. We wanted to make it a bit shorter because we only have 8' ceilings and there is a ceiling fan in the room. We spent about $80 for the lumber and invested in a kreg jig as well. The bed is stained with Minwax Golden Oak. We bought a 10" deep twin-sized foam mattress for the bed - if you are adding a coil mattress and boxspring, the bedside rails would definitely need to be higher.
Our son LOVES it! He is almost three and is easily able to navigate the stairs, which I don't believe will become too "baby-ish" as he grows older. If they do, the steps can easily be removed from the frame without losing structural integrity.
The underbed area has a great "cool" factor - we hang blankets to create forts, and it has become a place our son gravitates to for reading, playing, anything!


Sat, 01/03/2015 - 11:41
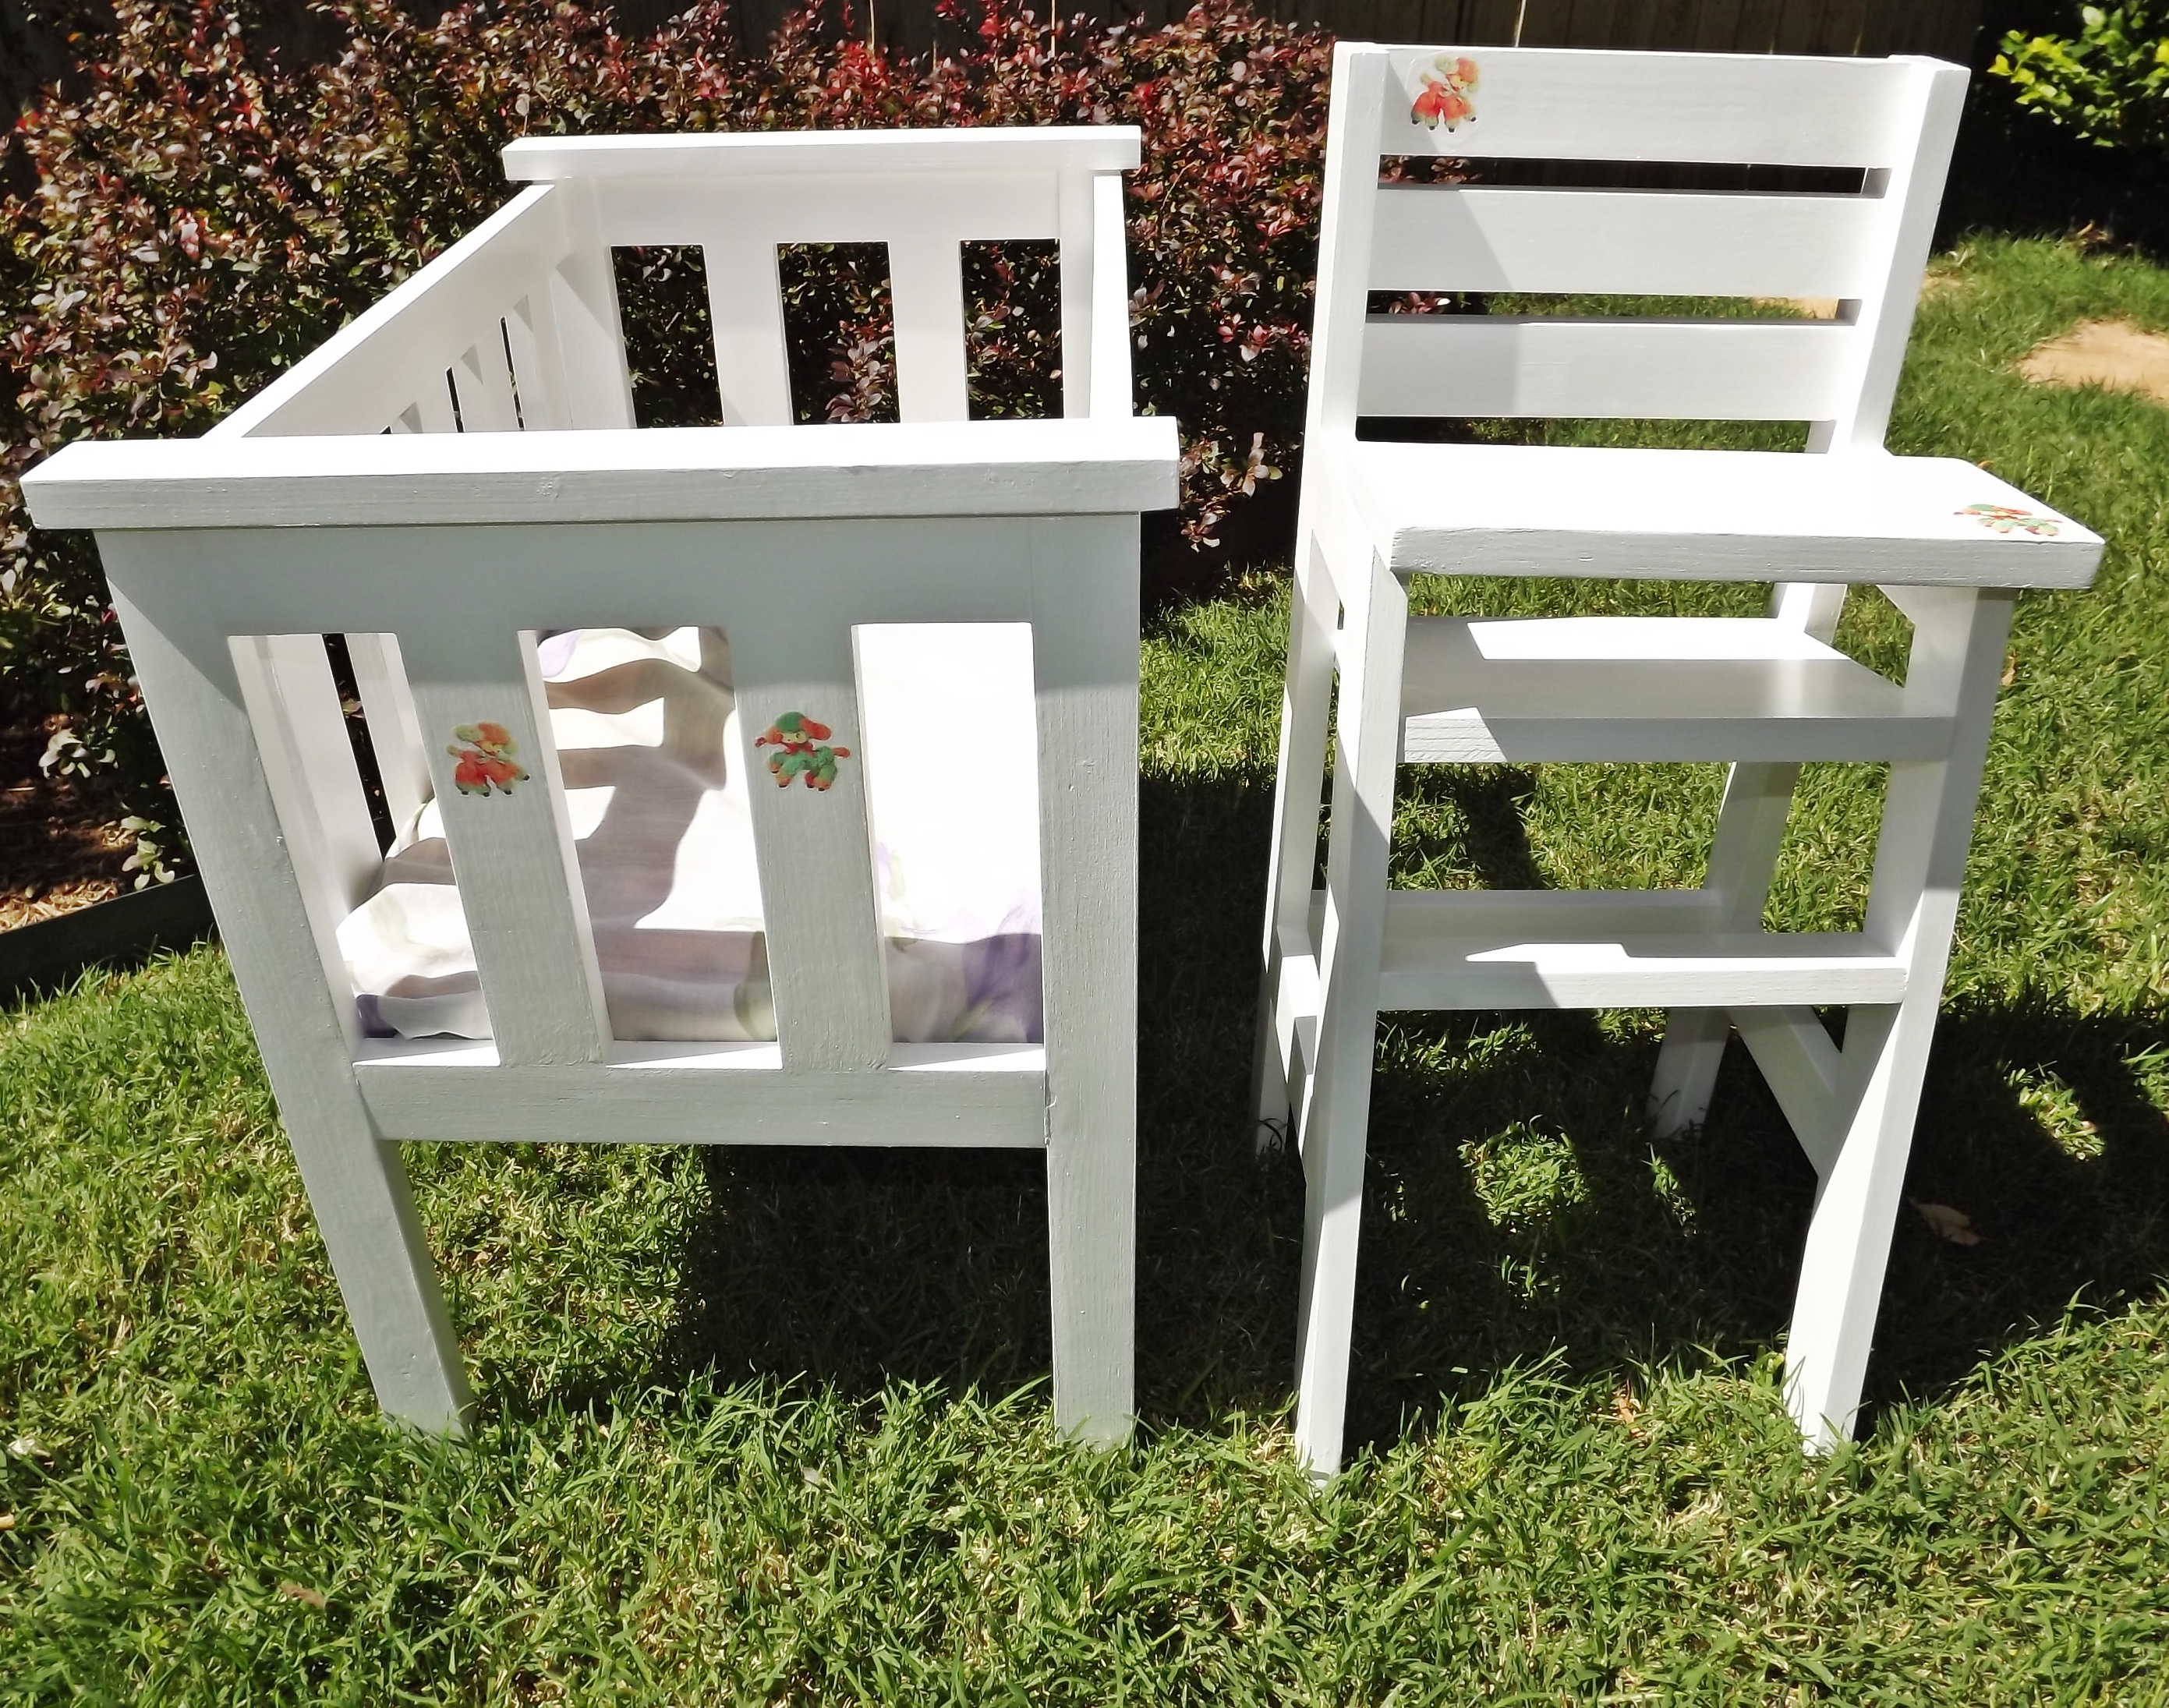
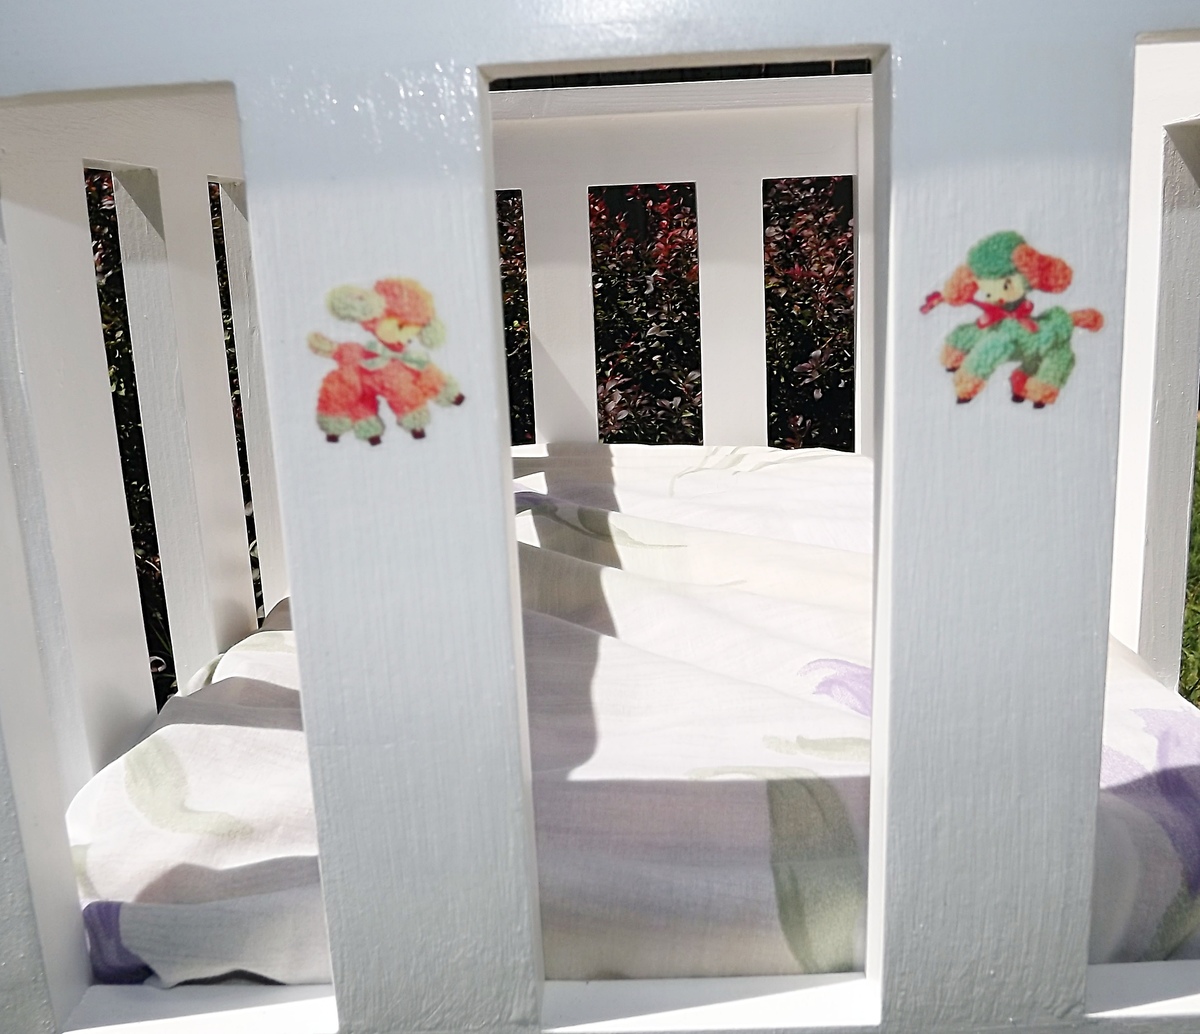
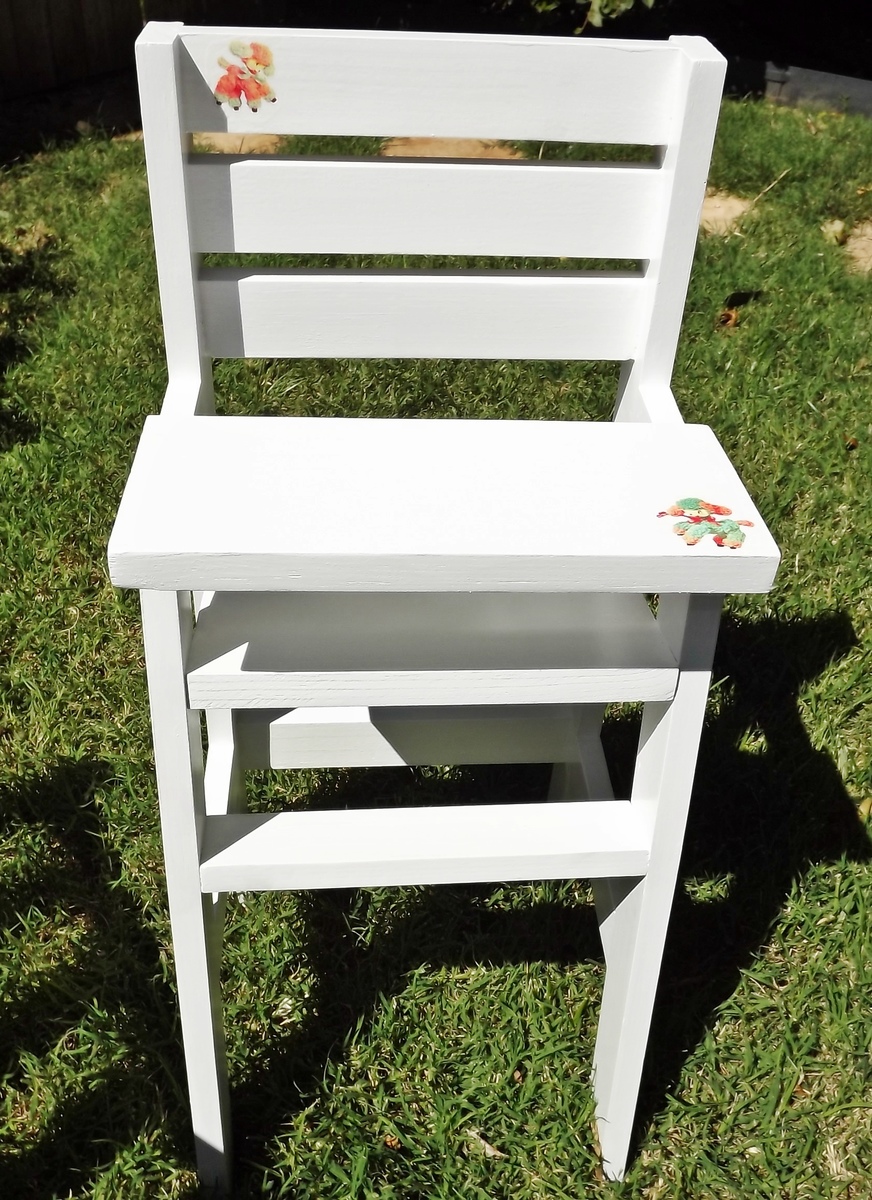
This is actually the third doll crib and high chair set that I've built for a grandniece. It is inspired by the one Gina from Lady Goats built. She just used 1 x 2's for all of the rails. And since I am trying to make each bed a little different, this was a great option. Again, I used the vintage lamb theme on the crib and high chair from my first two sets.


Comments
Ana White Admin
Tue, 06/20/2023 - 20:29
Amazing Miter Saw Cart
Love all the extra storage, fabulous job!