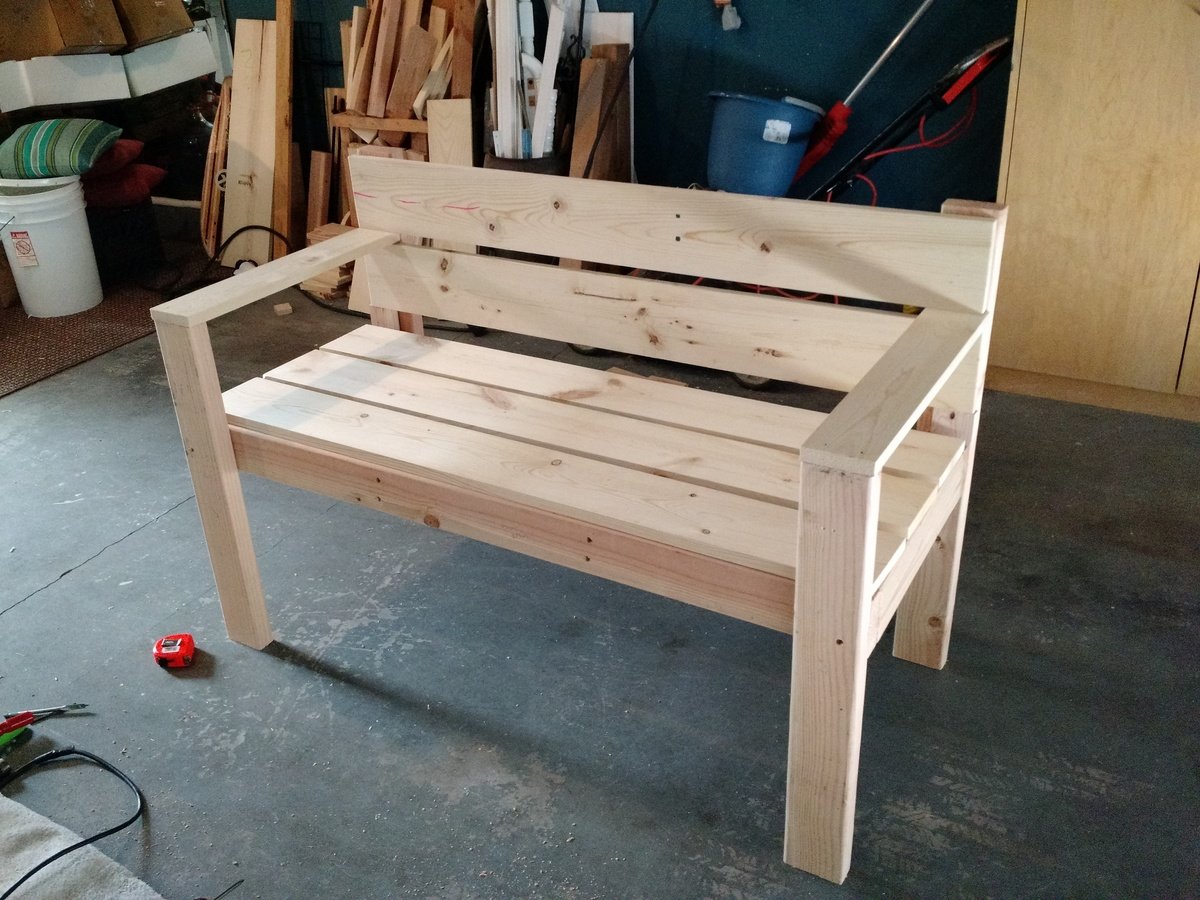
modern Adirondack using 2x6s for the seat and backs
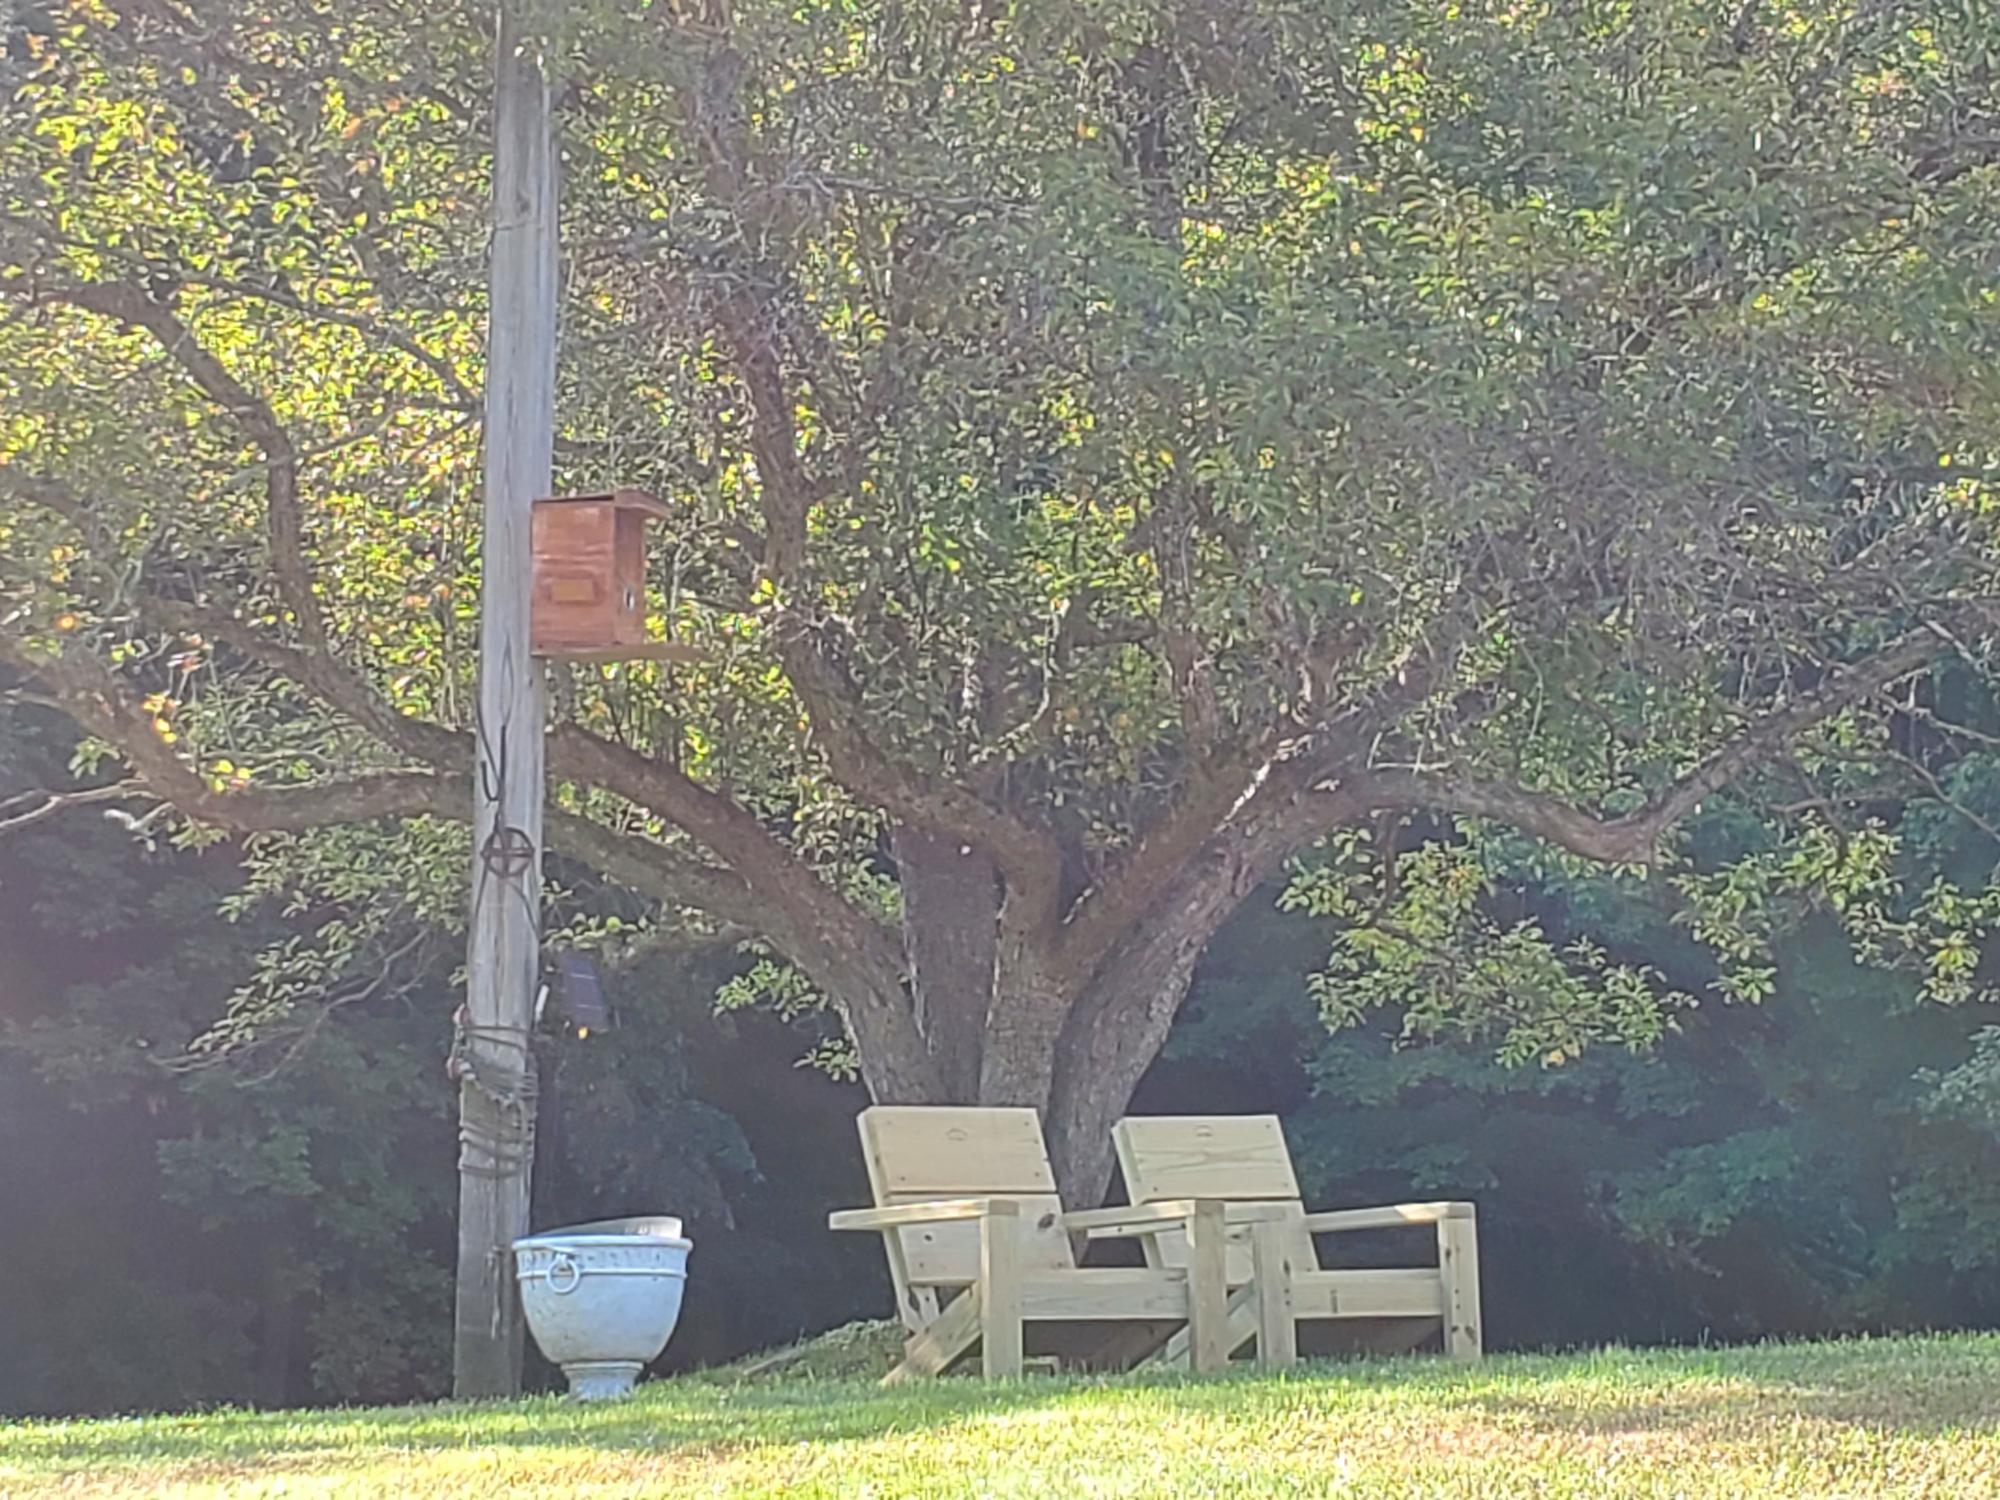
slight change using 2x6 pieces for the seat and back... Otherwise followed the plans to a T and love the outcome
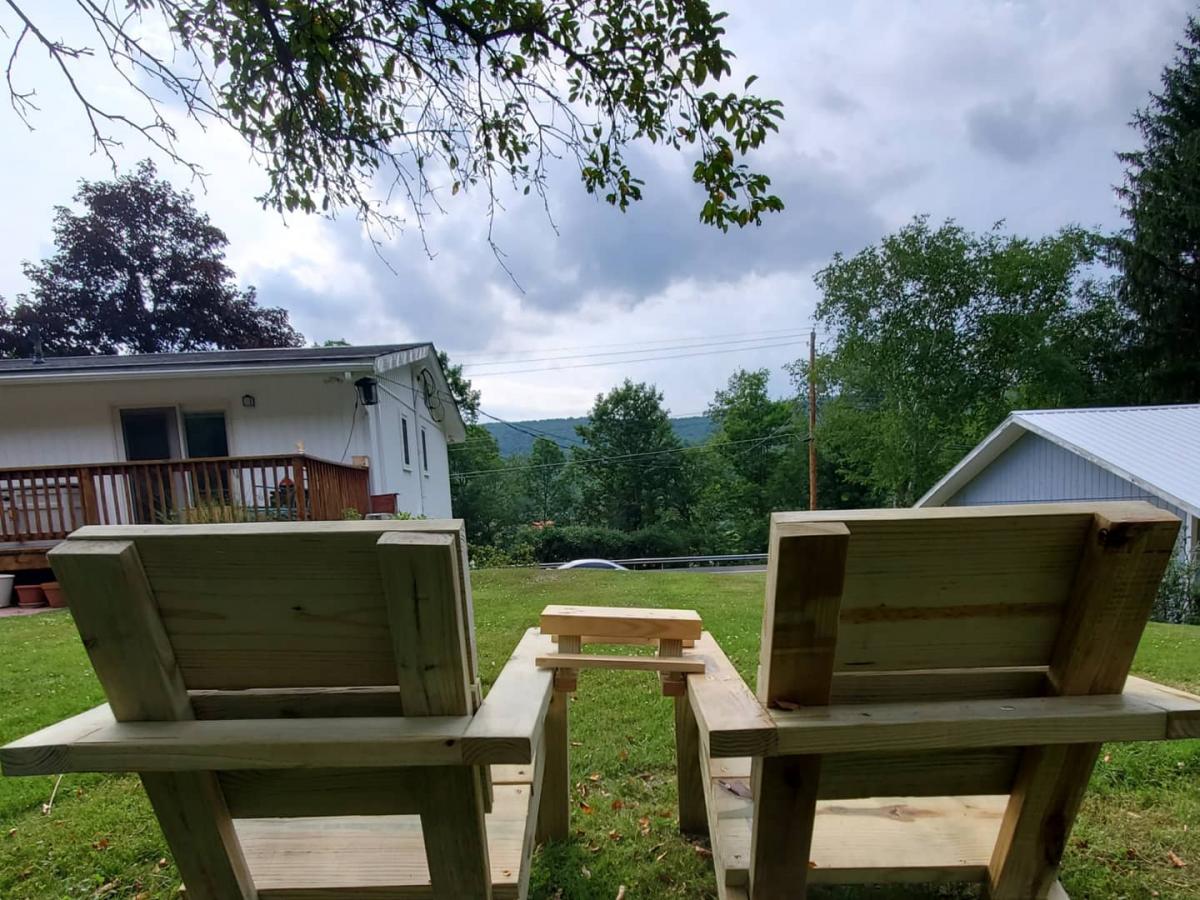
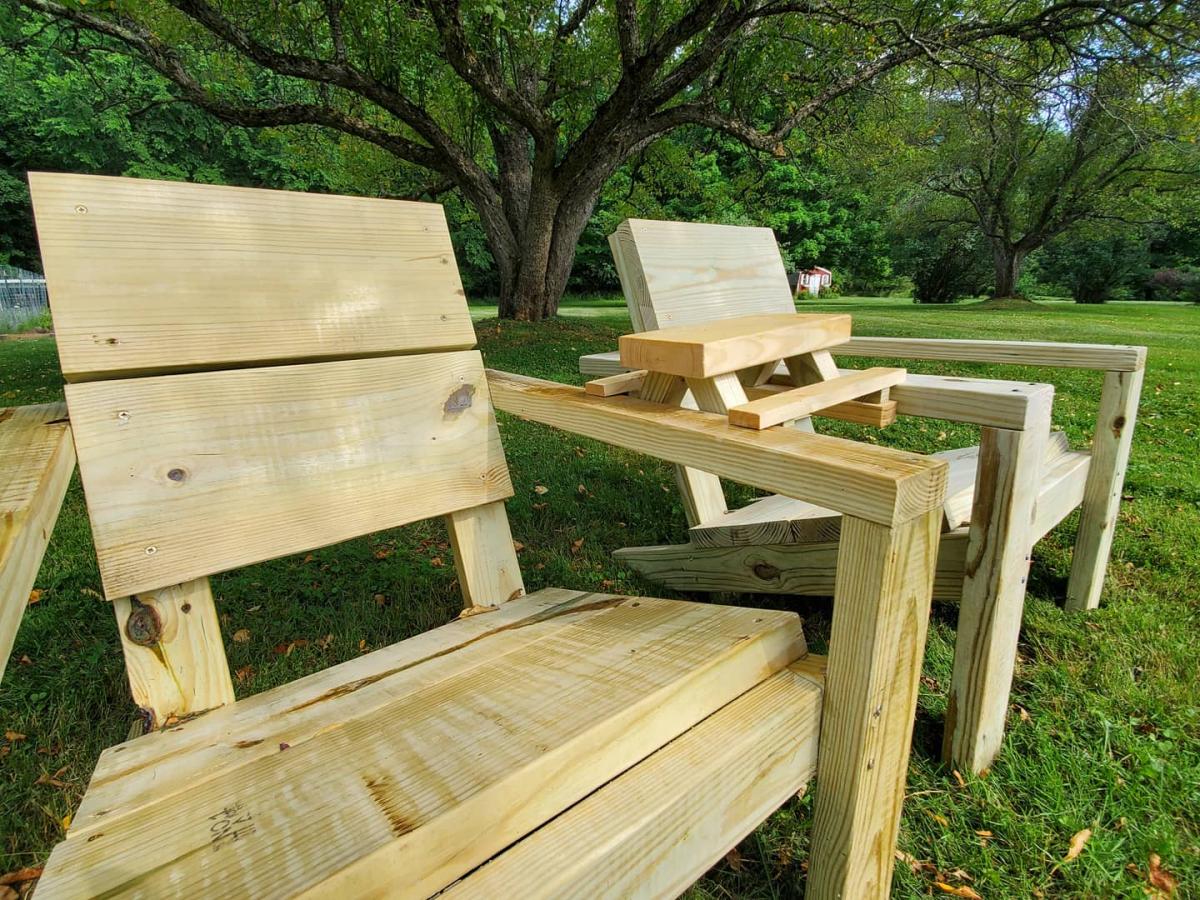
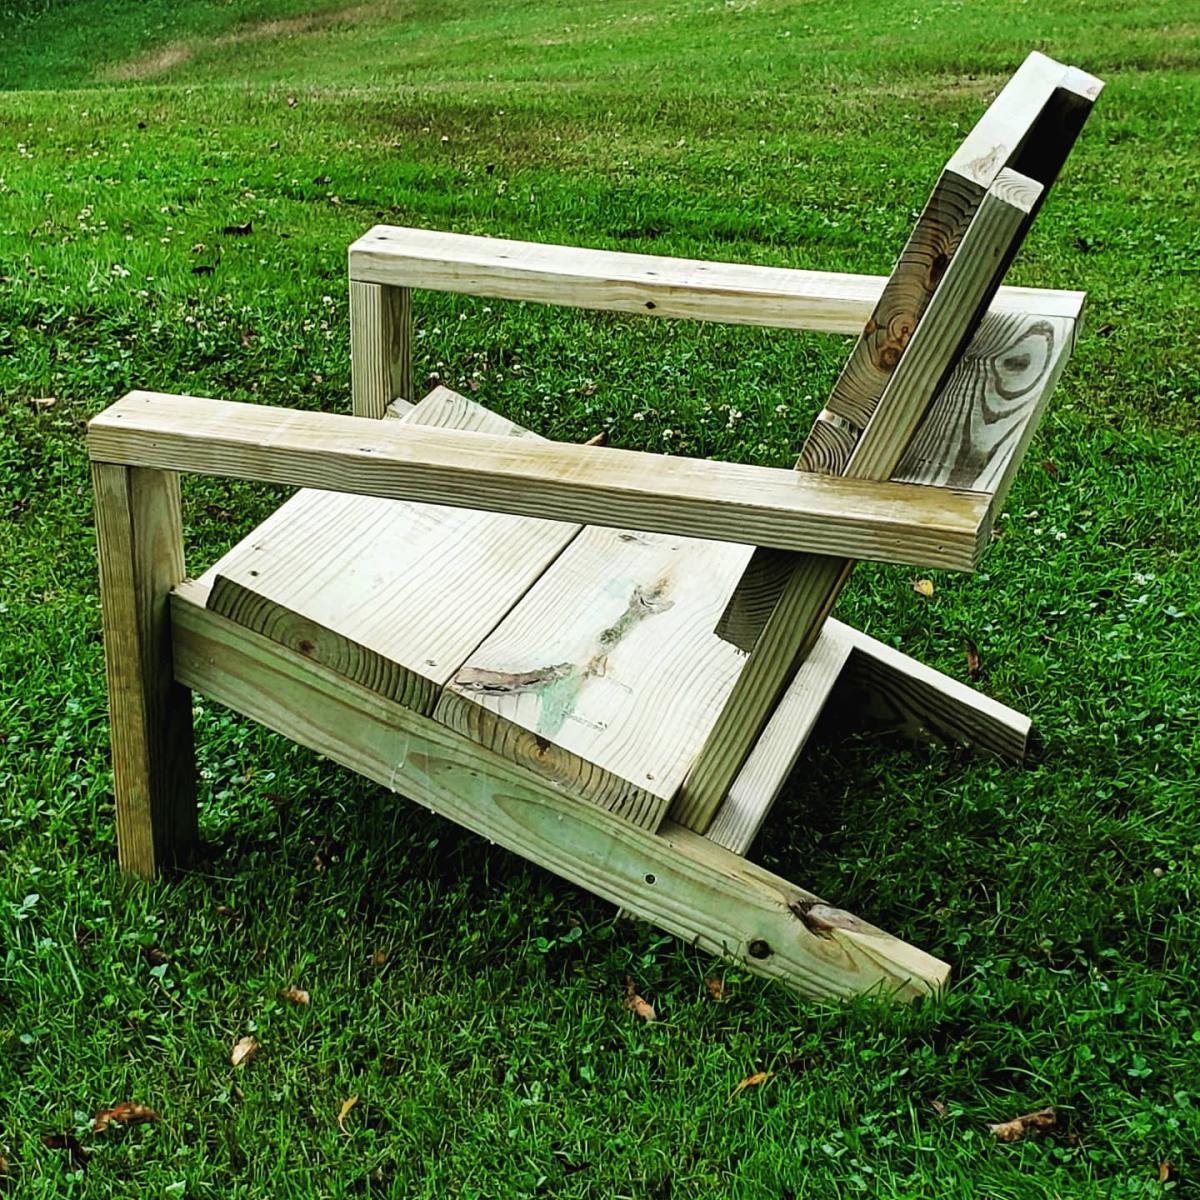
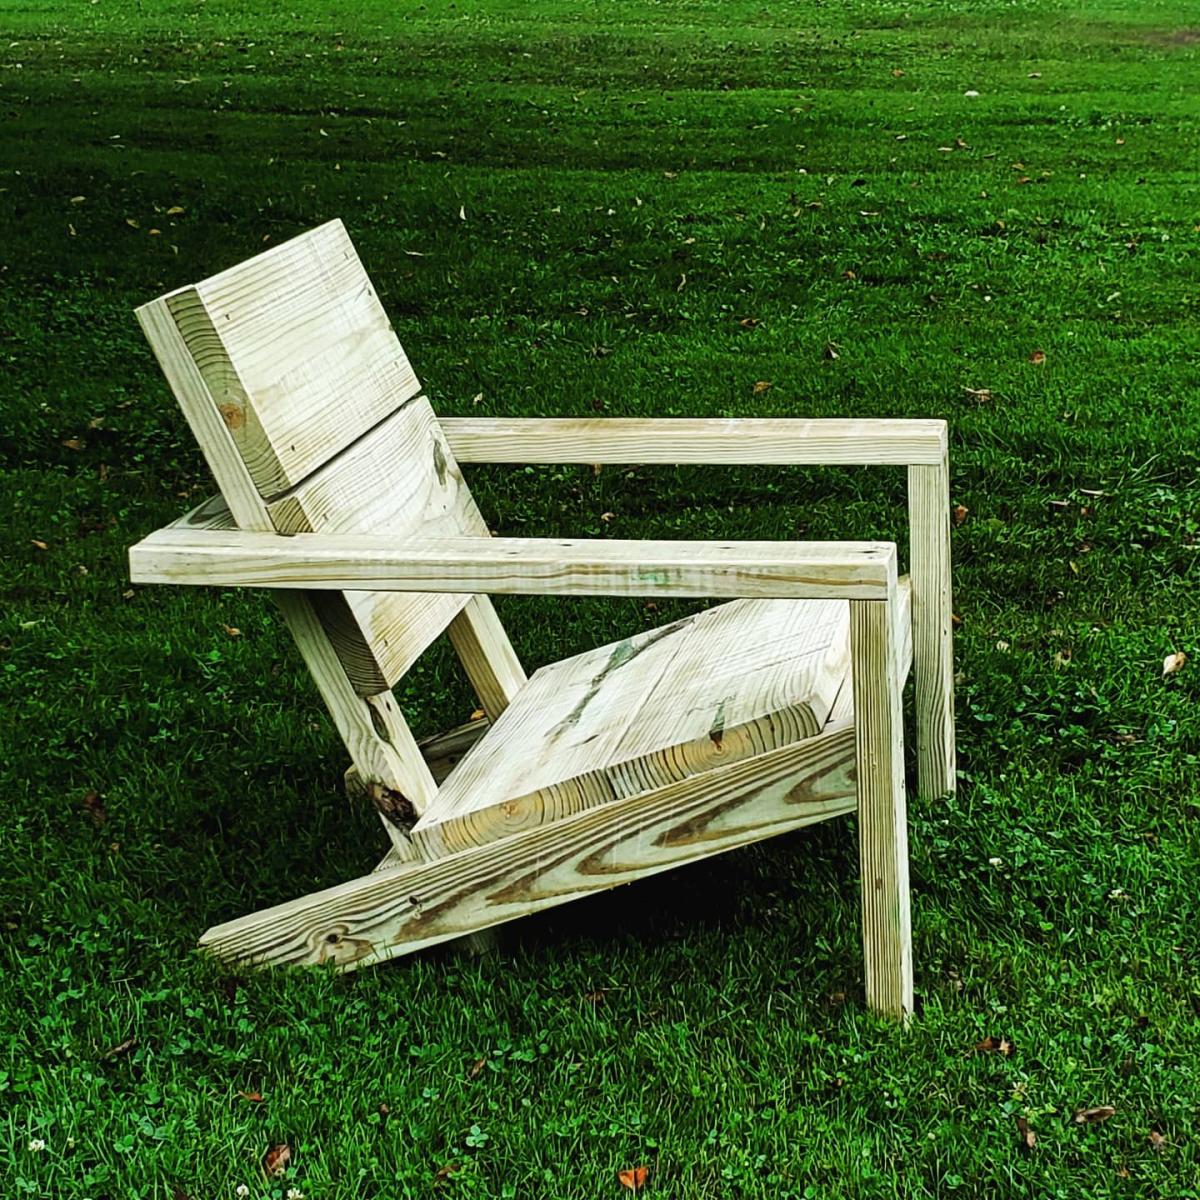
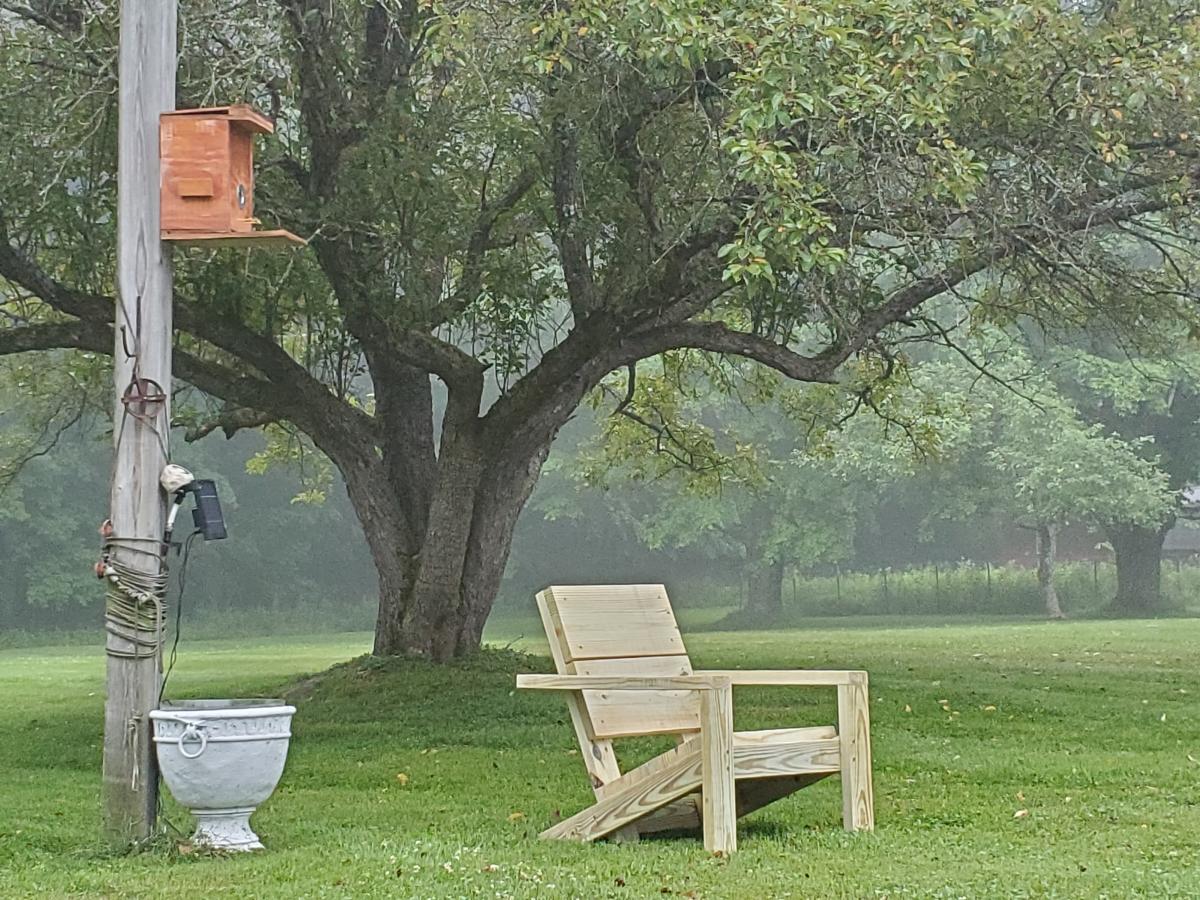

slight change using 2x6 pieces for the seat and back... Otherwise followed the plans to a T and love the outcome


My attempt at the murphy bar featured on this site. Still have to add the sash locks. Added pallet crossmembers at the back, an x in the leg, and a french cleat to mount to the wall.

Tue, 12/31/2019 - 11:49
This looks awesome! I want to help my friend build this for his kitchen. I've looked at the plans in the link & I'm wondering what modifications you made for the X pattern-- how much did it alter the material & cut list?
Would you please share your material & cut list for this?
Fri, 08/14/2020 - 09:28
I don't understand why I cannot find the material list or the instructions for this every link takes me back to the pictures
Wed, 12/08/2021 - 00:27
It is perfect wall management which is used it in small space
Sun, 01/29/2023 - 13:16
Are there plans for this? I'd love to make this. Thanks

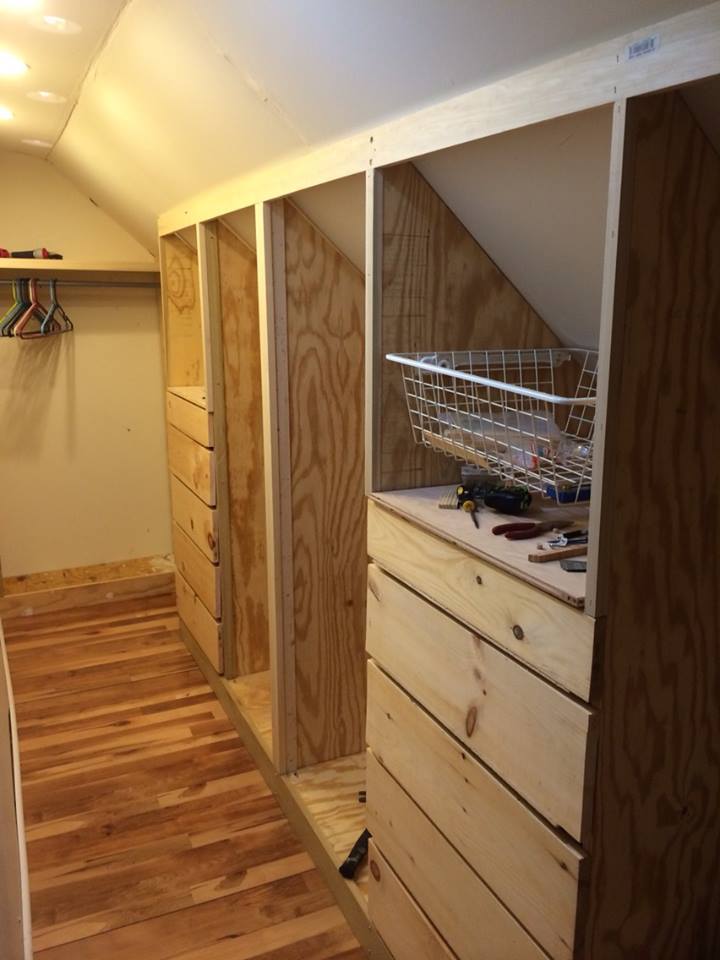
I used the Master Closet system plans with a slight modifcation for the slanted cellings


I took the plans for the narrow farmhouse table and modified them for a pocket hole jig and shortened it down to 6 feet. This was a surprisingly fast build. My husband and I only had about 45 minutes a day to work on it and we still finished it in about a week. More information on the blog post (coming soon!)
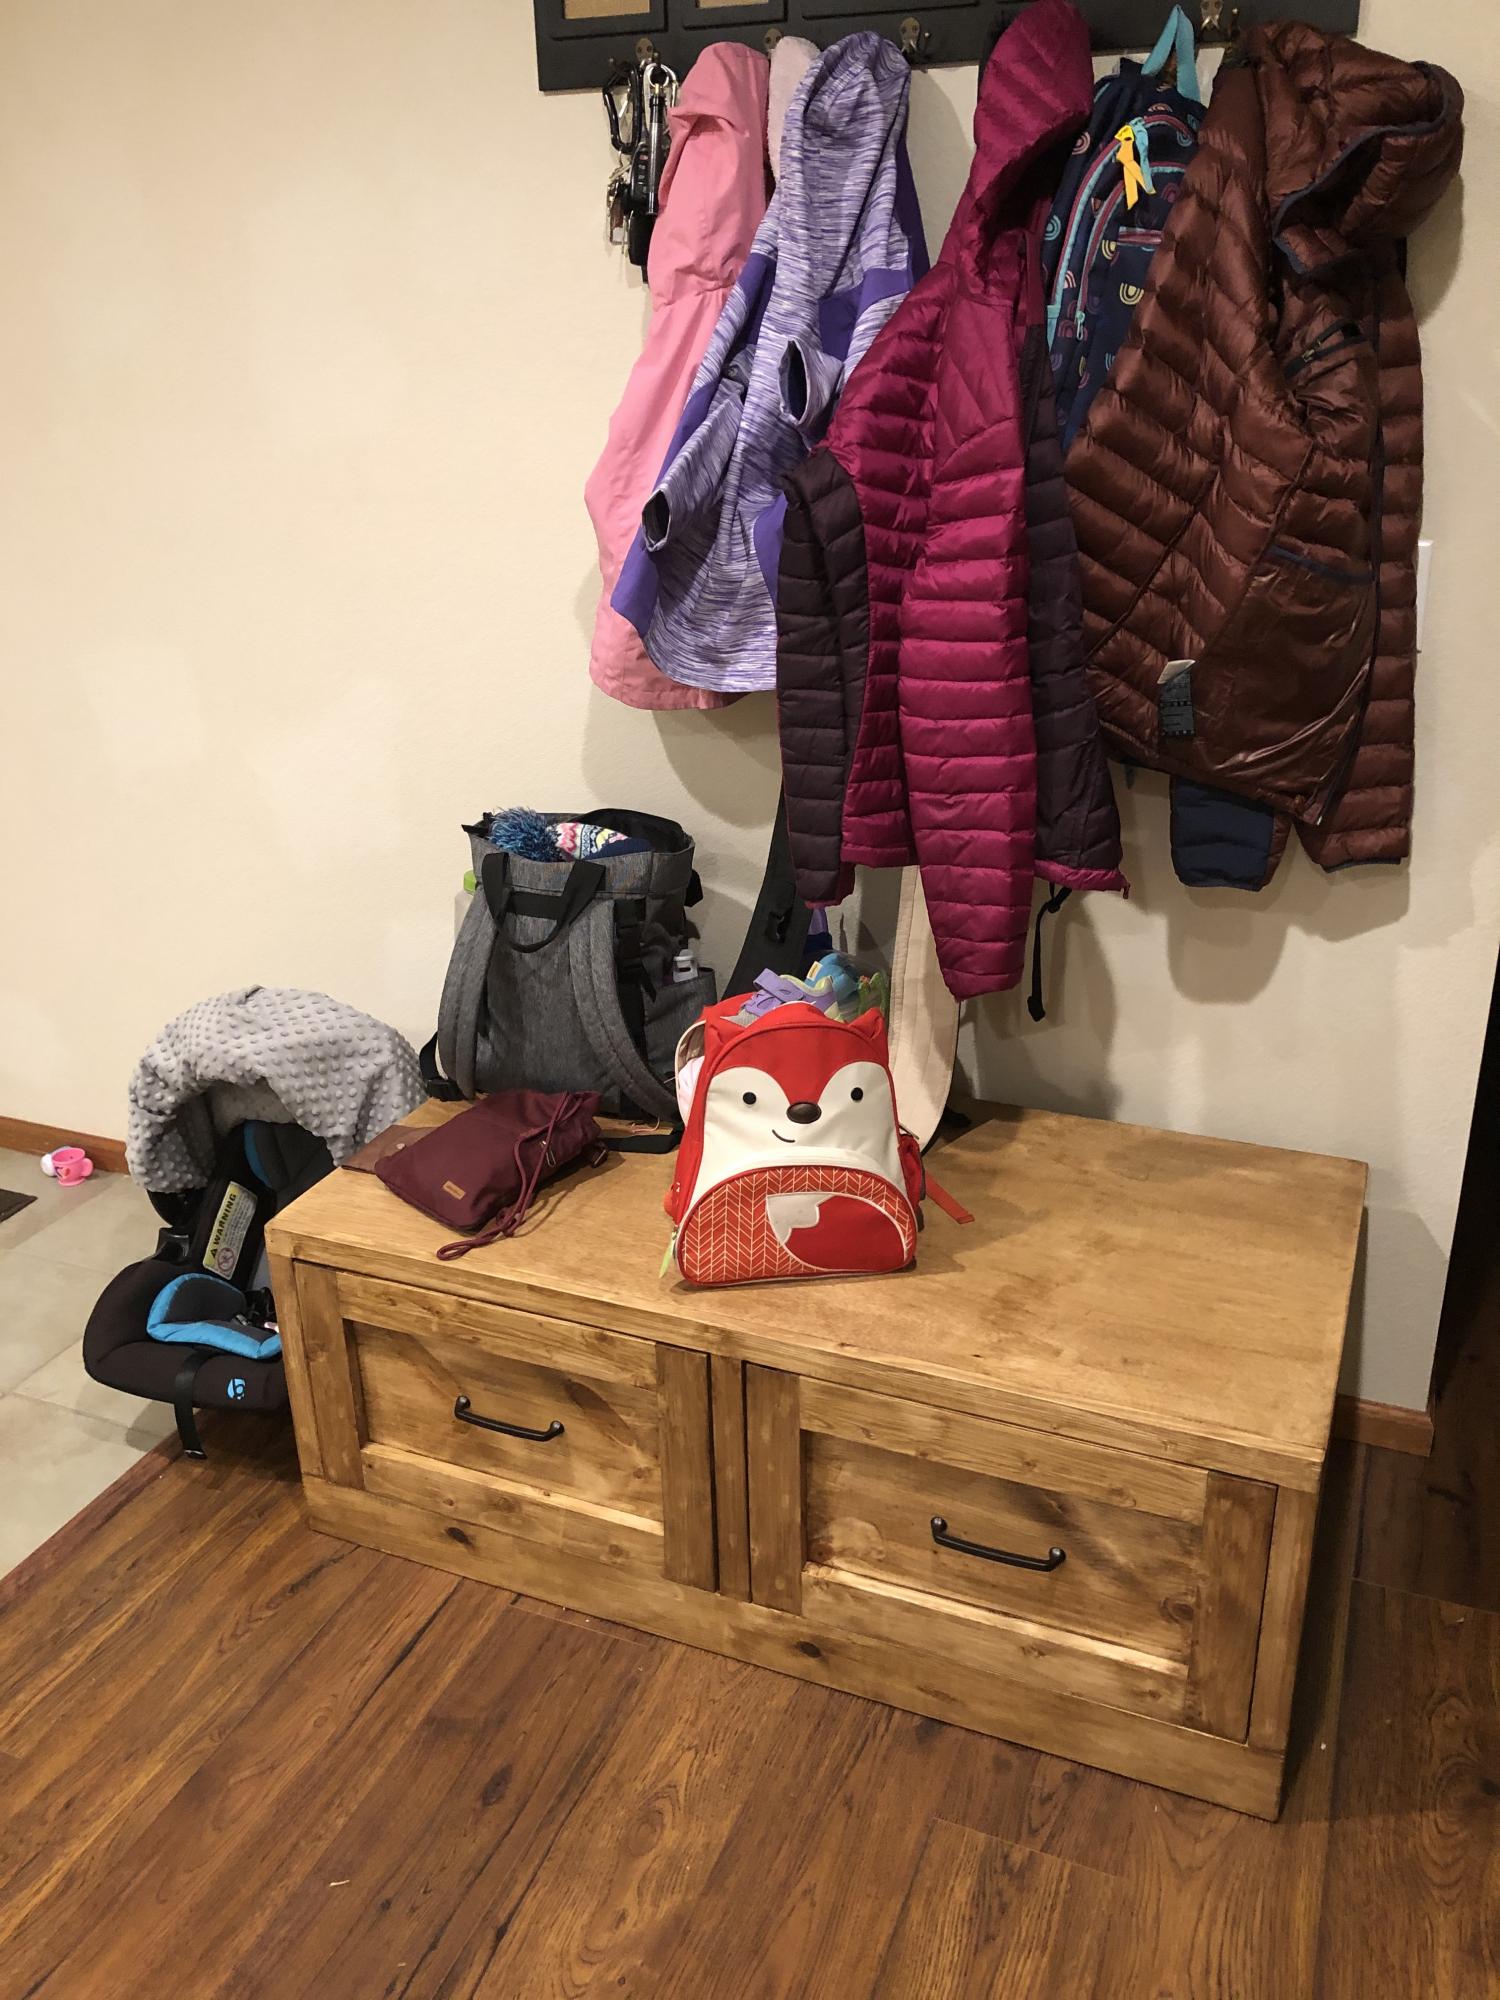
This was my second Ana White project and we love the functionality of this piece. It hides all of our shoes and is the perfect place for little ones to sit while we put shoes on.
Although I didn't build this from a plan I wanted to be sure and share it as it is because of my experience building from Ana's plans that I felt comfortable giving this a shot.
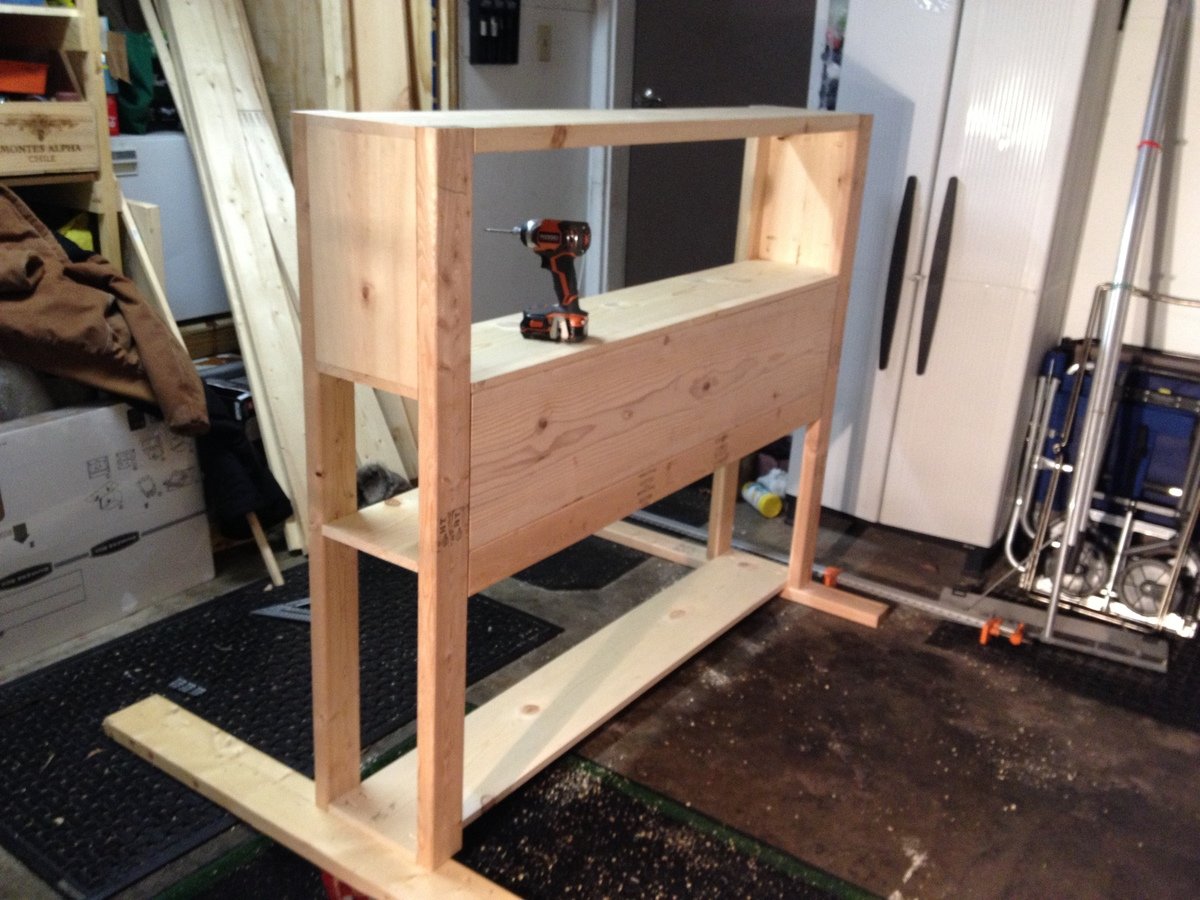
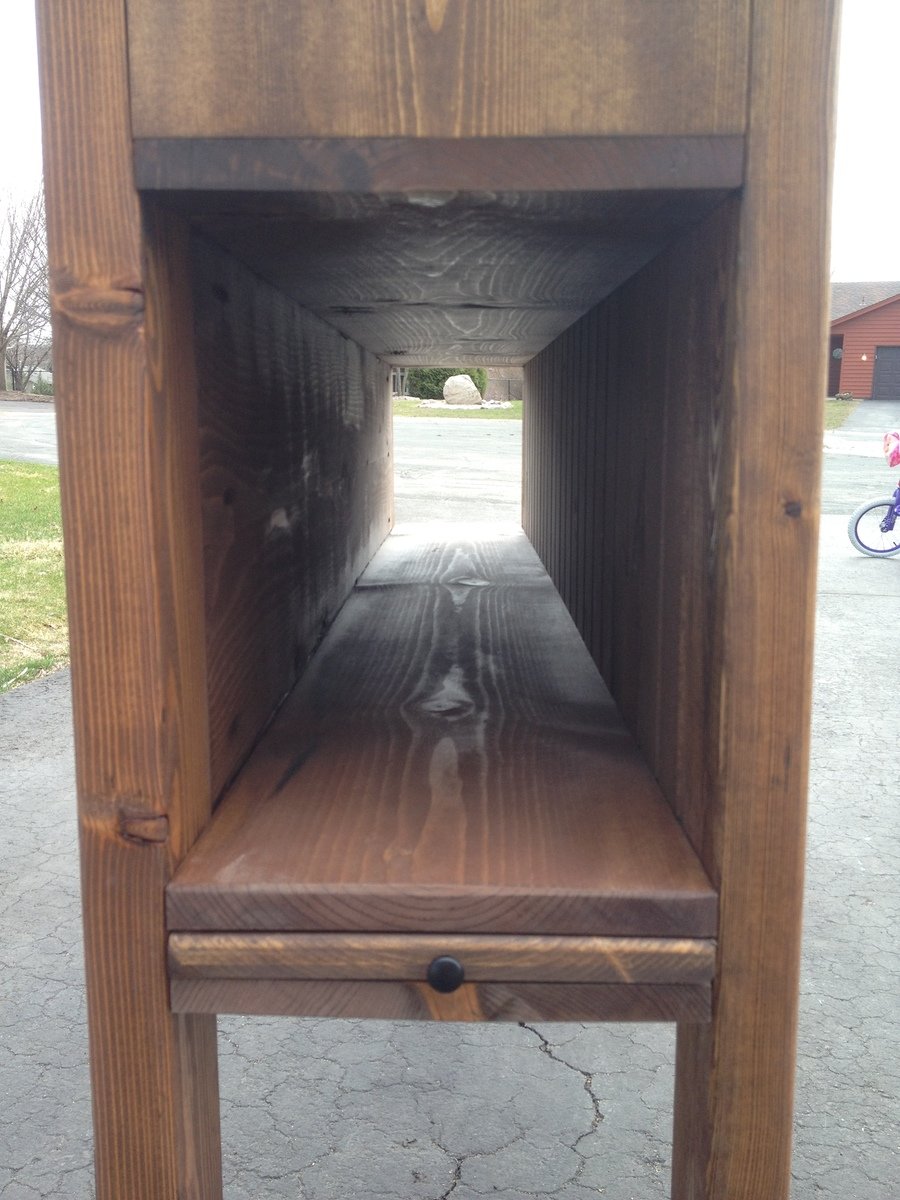
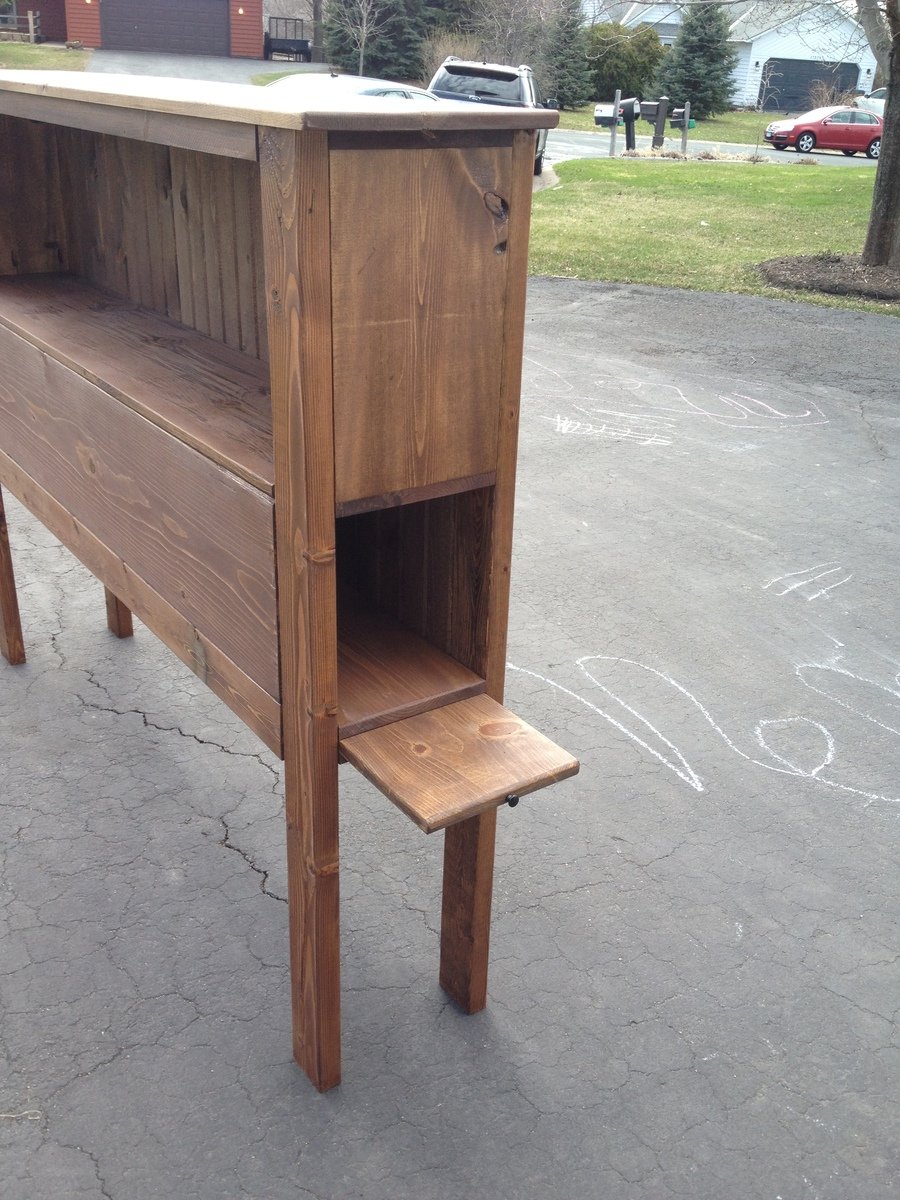
My in-laws were just updated their lake cabin and wanted a storage headboard as space is a premium and it will be the only furniture in the guest rooms. It is unique as it has shelves on either side which can pull out to function as a small night stand, perfect for cell phones, books etc. The back of the piece is tongue and groove knotty pine which for the more rustic look they wanted.
I will probably do things a little different when I build the next headboard but overall I am satisfied with the end result. I chose not to do a lower storage area, mainly to keep the cost down. It could be done very easily but this piece is already very heavy and that there is plenty of storage.
Sun, 01/17/2021 - 15:15
Is it possible to get the plans for this headboard. My teenage son really wants a head board with storage.
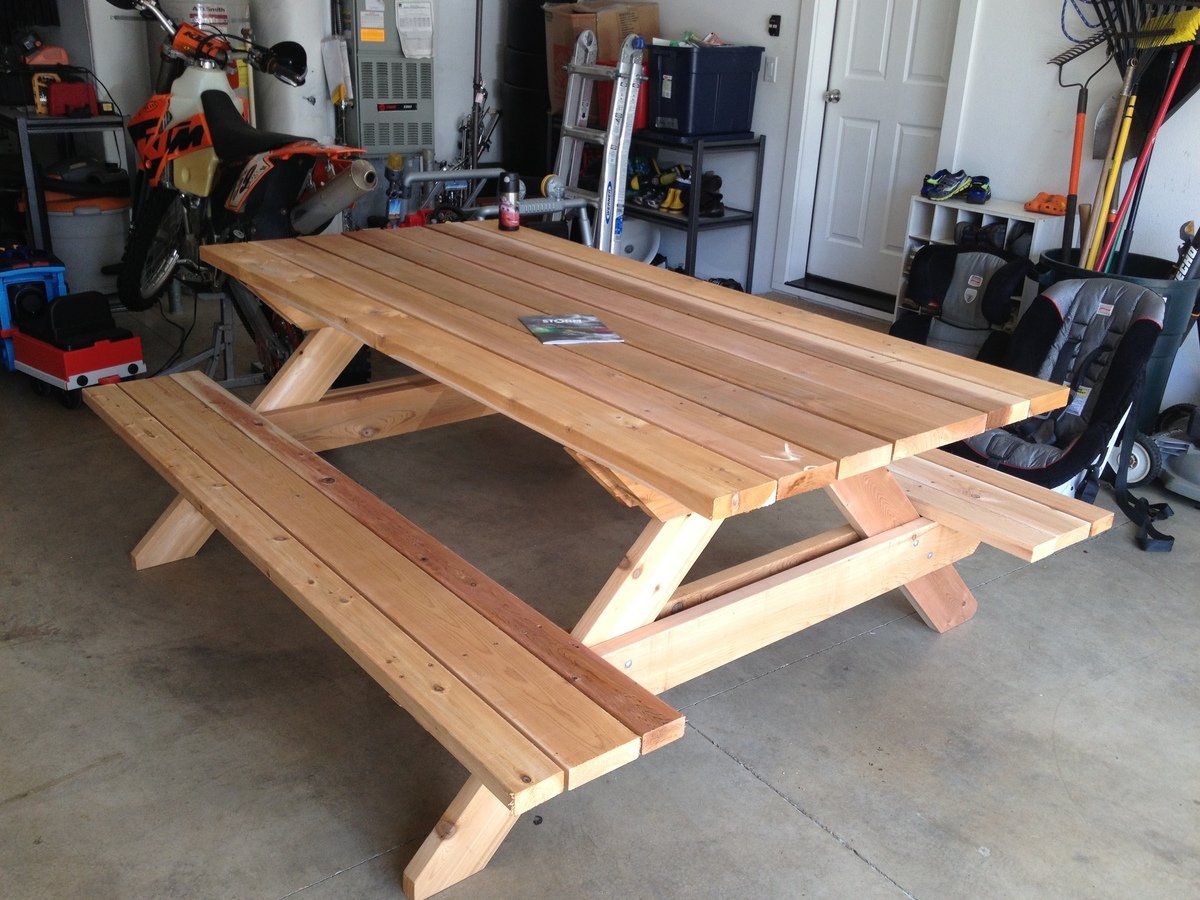
My wife started looking at expensive patio sets, which I thought were not worth the price, so I decided to build a picnic table. This is not the cheapest table out there, but it's built to last for years!! I used a high quality cedar as I got a price cut from a friend. I also used deck screws, so there would be no rusty screws!! The table top measures 7' long and looks like one you would see at a state park, notHome Depot!
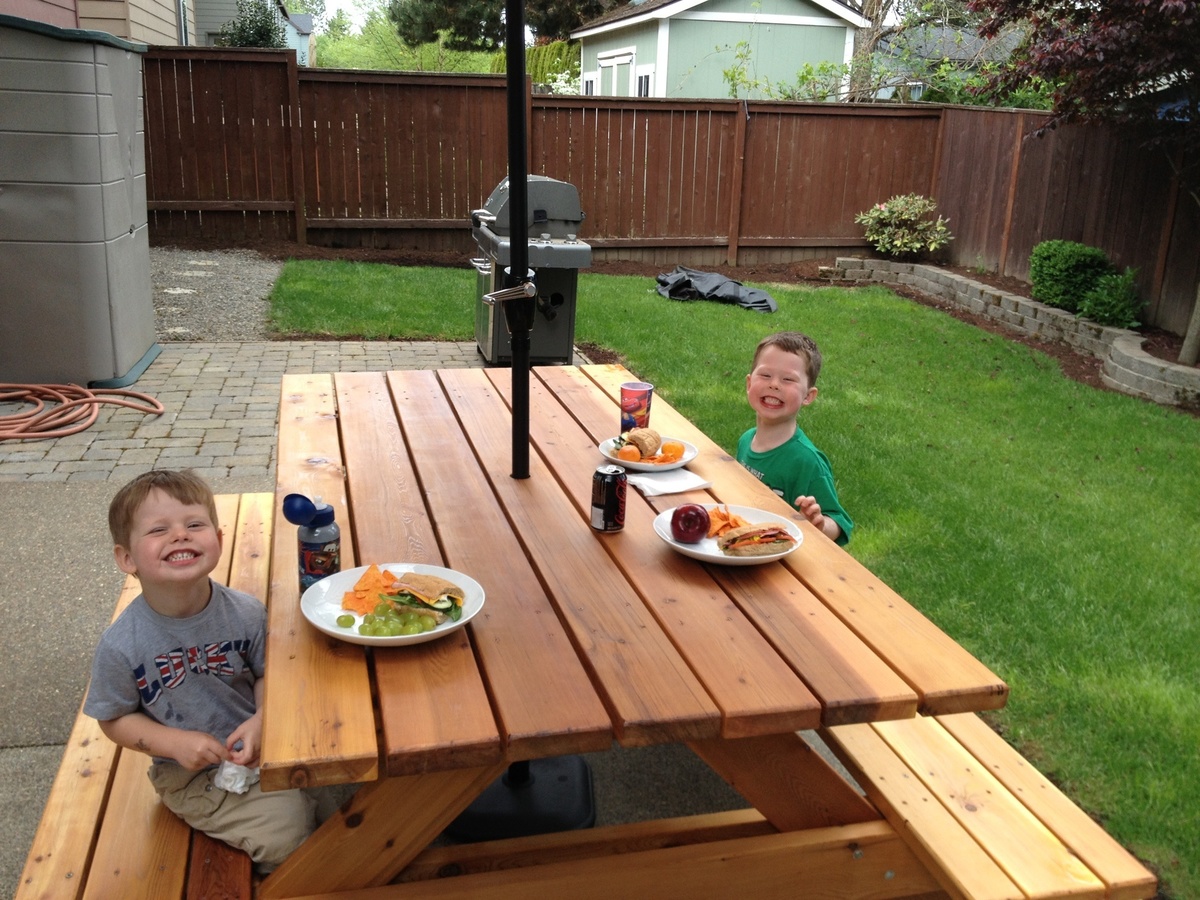
Thu, 08/25/2016 - 09:48
Really like the picnic table - do you have plans for this? (I'm new to this site so apologies if they are here but I just could not see where?).
best wishes
Gerry
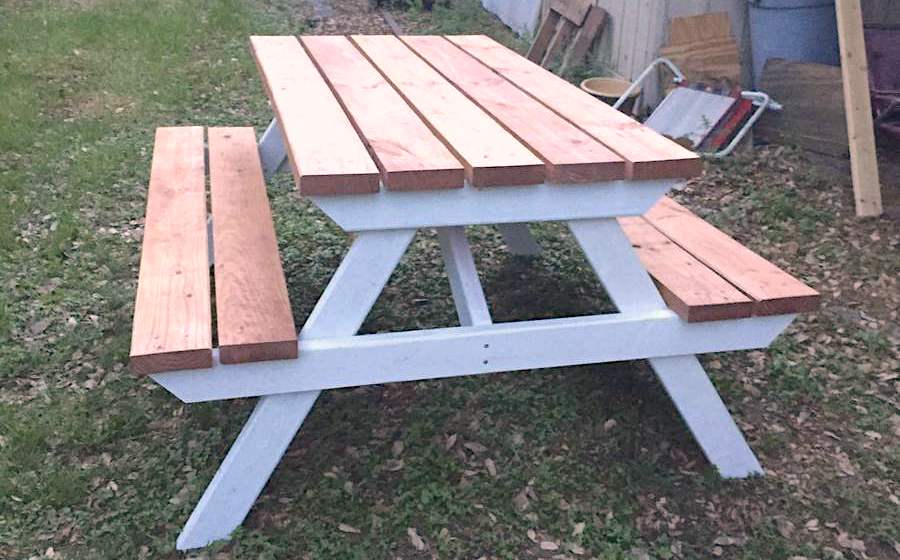
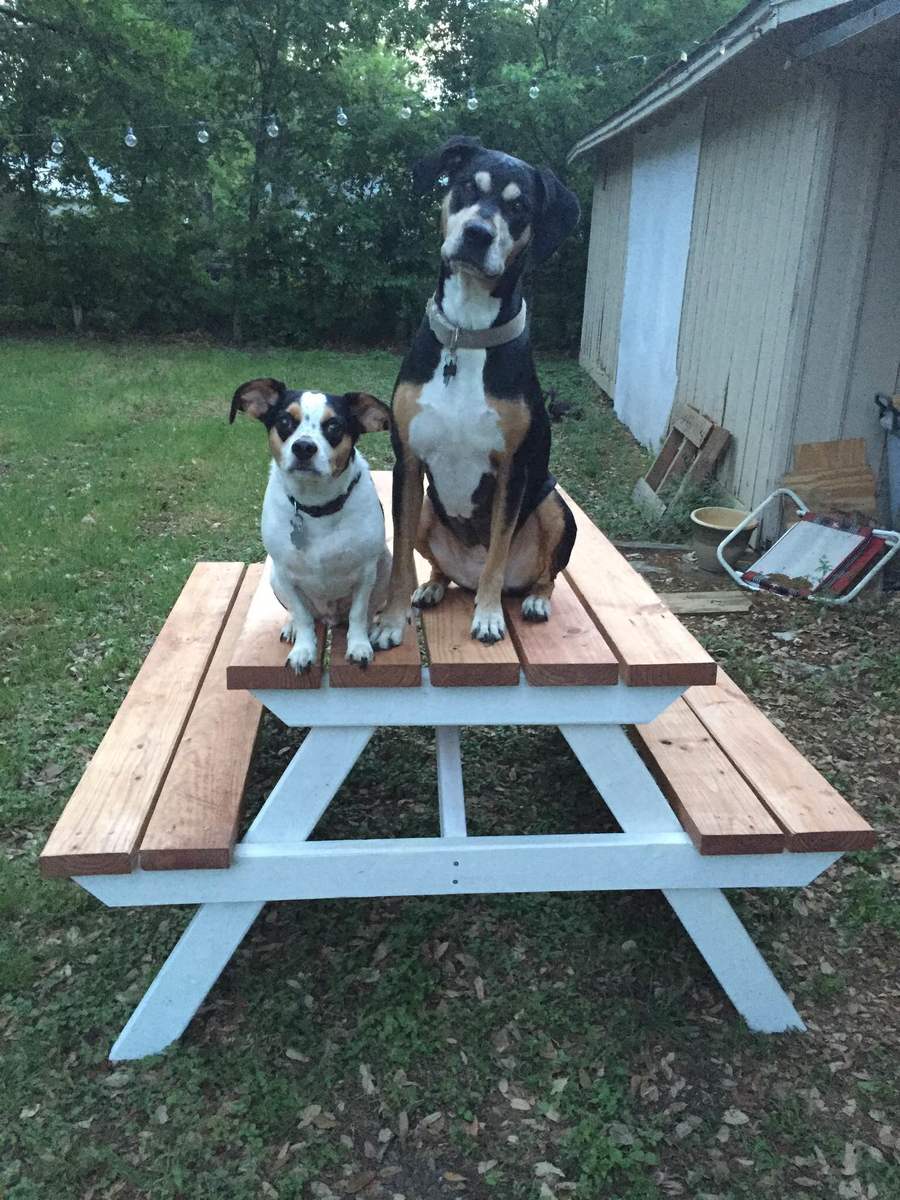
I made this picnic table for my upcoming wedding with the intent of using it as our guestbook. I'm hoping to have people sign, carve, and woodburn their names or a message on the table. I painted the legs and supports white and stained the top and seats with a cherry stain. I still need to put some finish on the whole thing, but overall I'm really happy with how it turned out. And so are my dogs.
Mon, 04/13/2015 - 09:46
I love your idea for a picnic table as a guest book! There are several brags showing benches used as guest books on this site, but no picnic tables. Not wanting to sound like a know-it-all, I would caution you to use paint pens rather than a permanent magic marker if you have guests who aren't comfortable using a woodburning pen (such as an elderly person). Magic marker ink smears when you apply a finish over it. (I read a comment from a mom who made her daughter a guestbook bench. They used permanent magic marker, then applied a poly finish over it, which then ruined all of the signatures.)
Mon, 04/13/2015 - 11:08
Thank you for your suggestion about the paint pens. I hadn't had much time to do research and was planning on just using sharpies. But now I can avoid making that mistake. :)
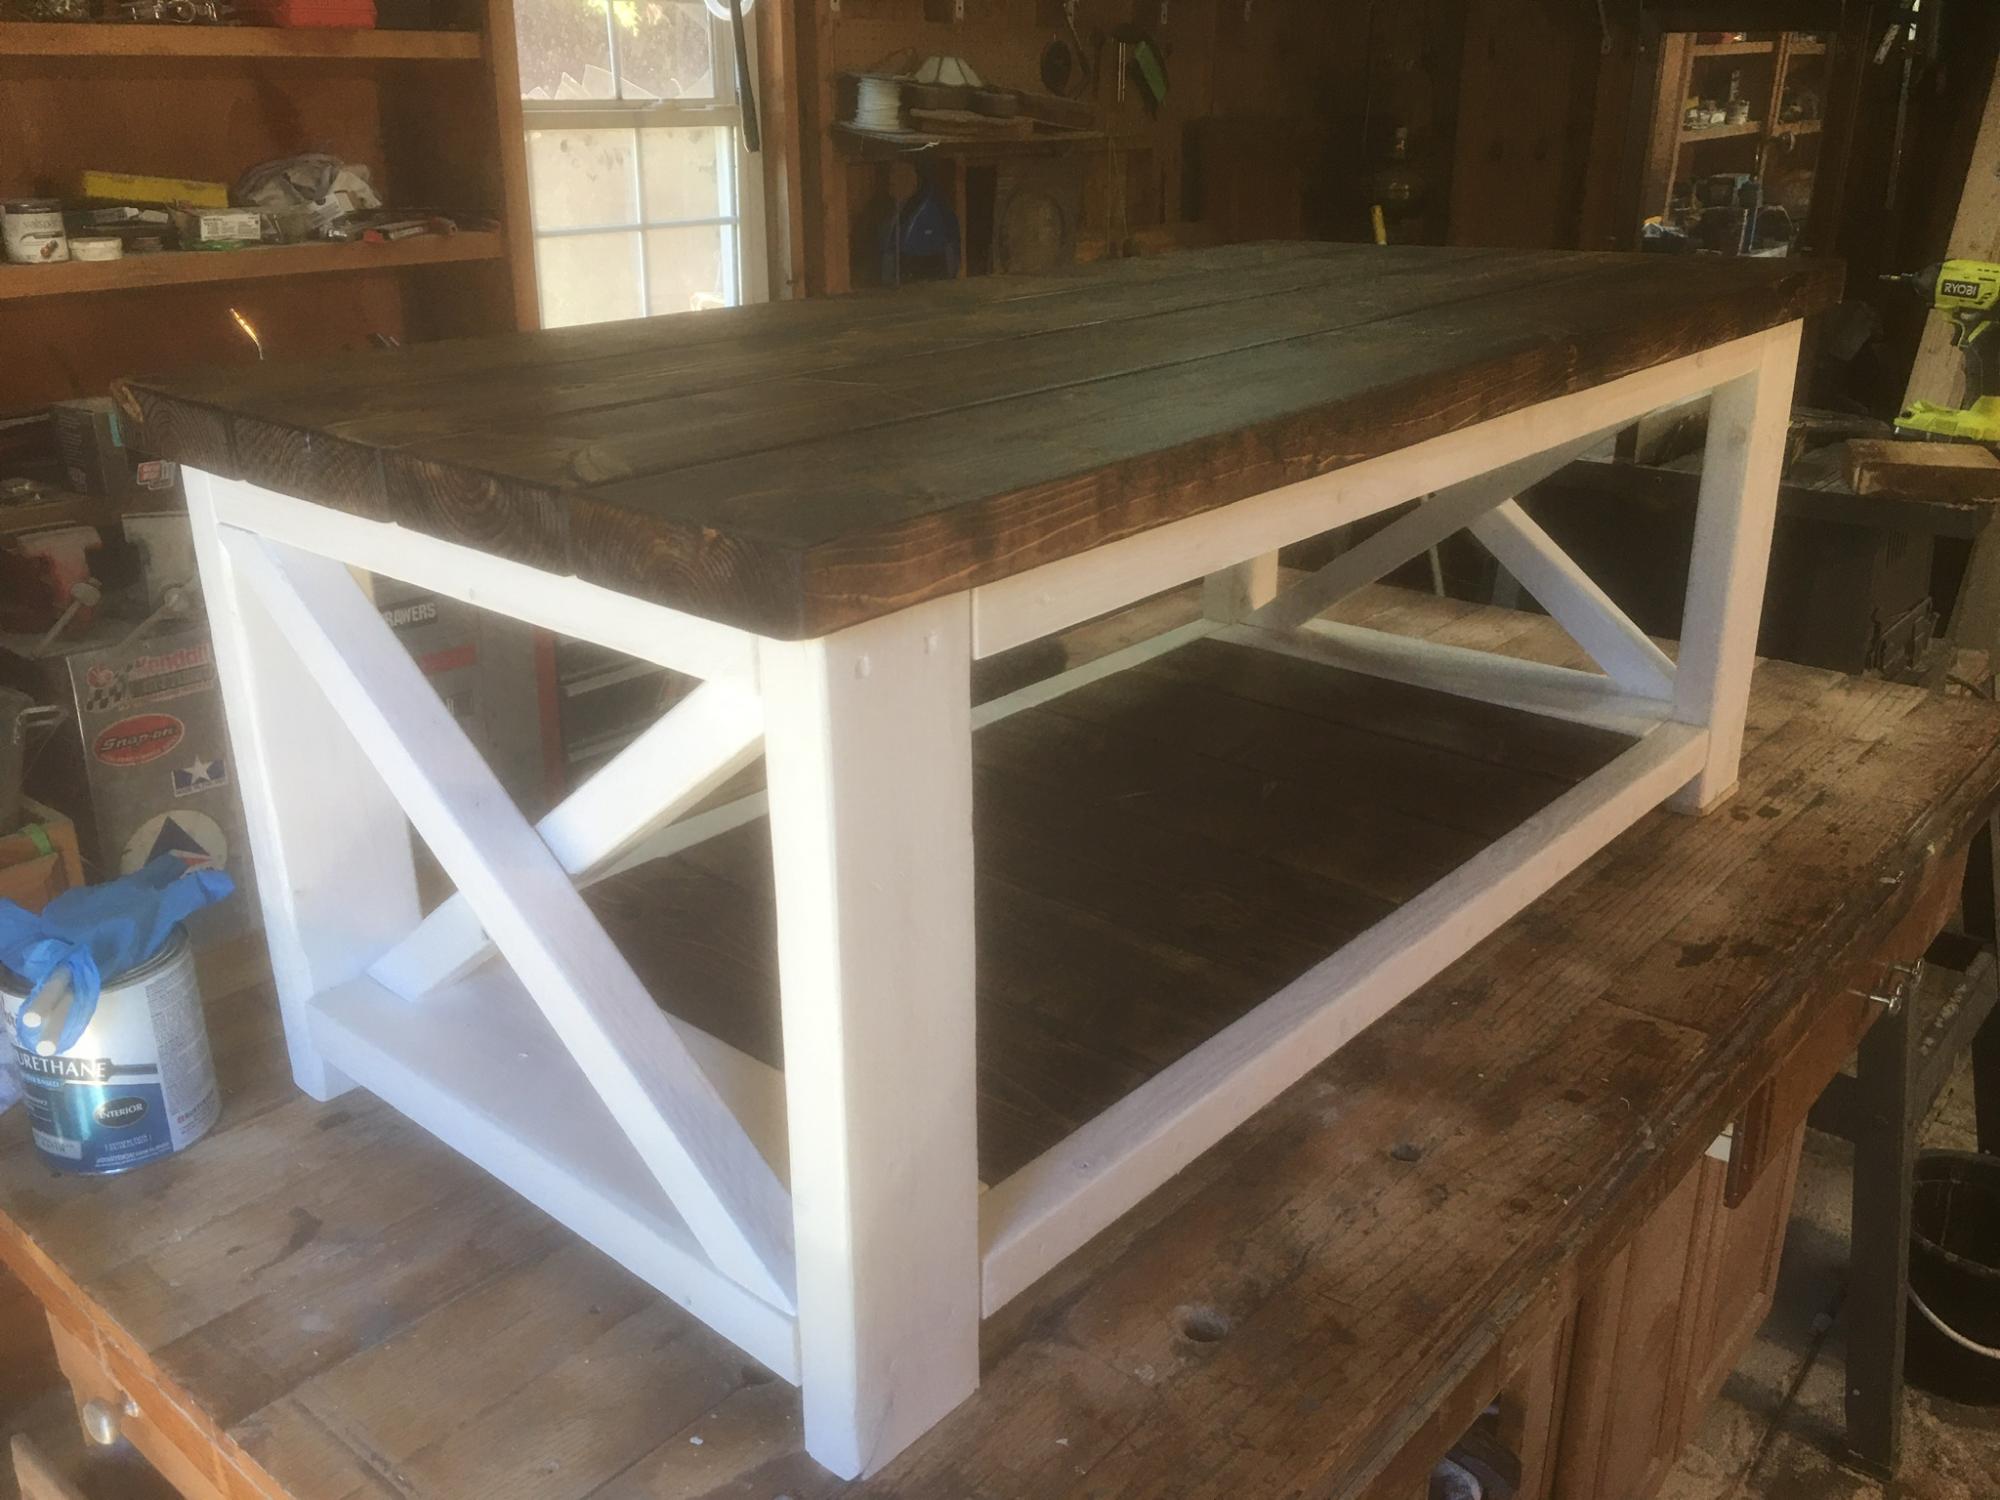
The first pic is the rustic x with 2x6. These plans are easily modified. The second is the rustic x with 1x material. Both projects were fun to complete!
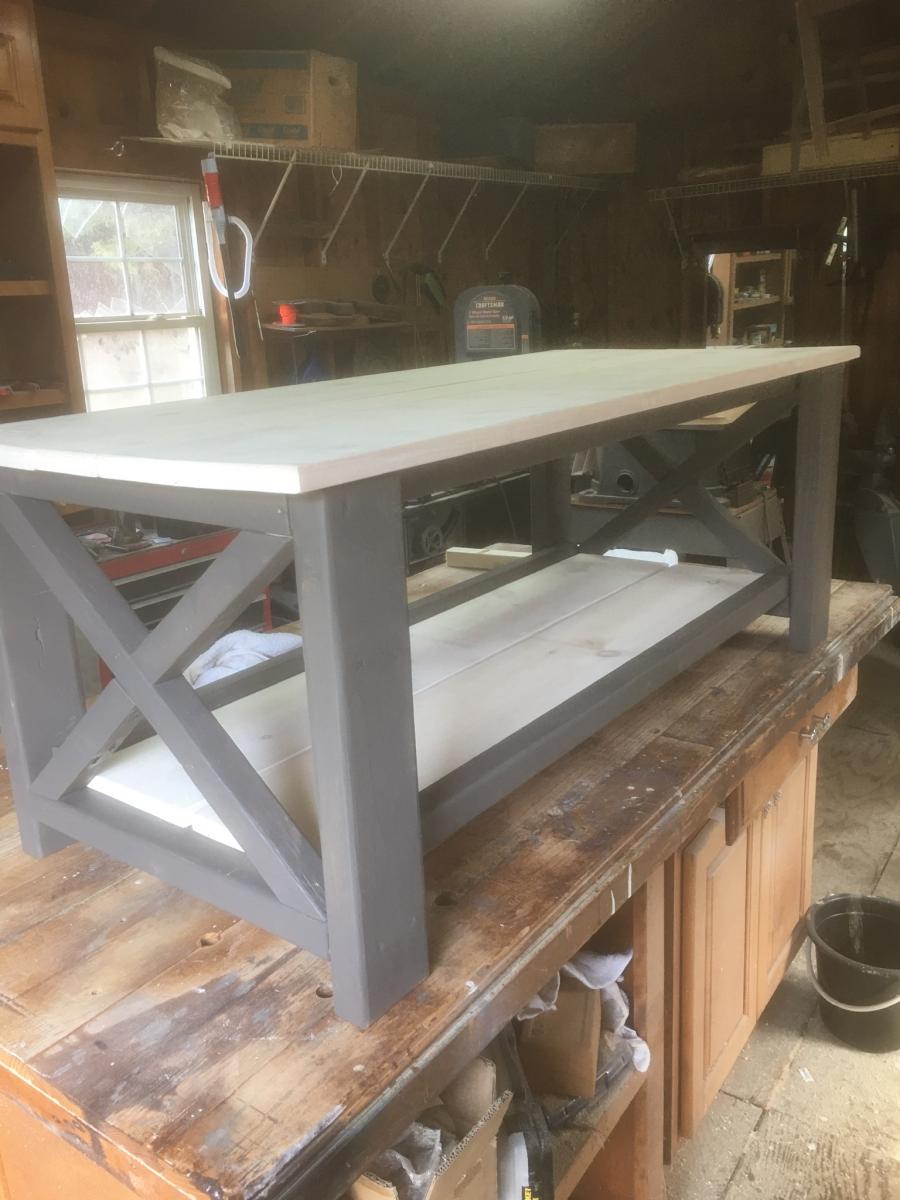
Wed, 10/06/2021 - 09:37
Thanks for sharing, love the finish choices and the different tops!
My wife saw the examples of the Providence Bench on this website and thought we could use one on our front porch. We had some heavy lumber from a huge pin oak tree that we had taken out of our yard, and that was used in the construction. In one of the attached photos, you can see the cross-section dimensions of the two top boards are 6-3/4" x 3-1/4". The legs, main beam, and angle braces are rough cut, full dimension 2 x 4's. Due to the lumber dimensions not being the same as standard commercial lumber, I had to vary the dimensions slightly. Because of the dense, thicker lumber, construction took longer than it would of had I used pine or other softer wood. I used a Kreg jig attachment to drill the holes for the screws. We painted it with Sherwin-Williams 1021 Hi-Tech Black exterior grade acrylic paint. The final weight is about 105 pounds.
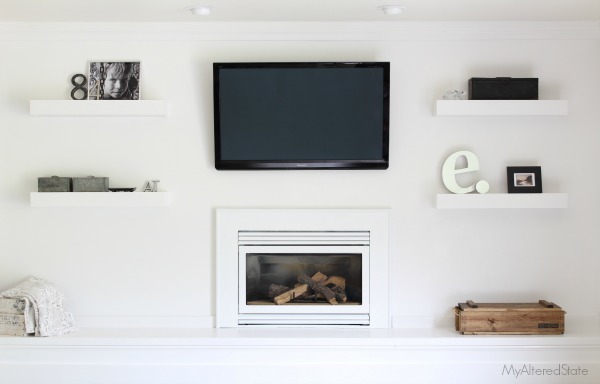
I needed a solution to my shelving problem. I wanted something clean looking, modern, and white to flank both sides of my fireplace. Count on Ana White to come up with a plan. Within seconds of sitting down to surf her site, I found that perfect plan to build four floating shelves.

Wanted a Patio table and when I saw the plans on this site I really liked it; I just changed the plan a bit. Everything was screwed from the underside of the table, also I attached the legs with 2" lag screws.
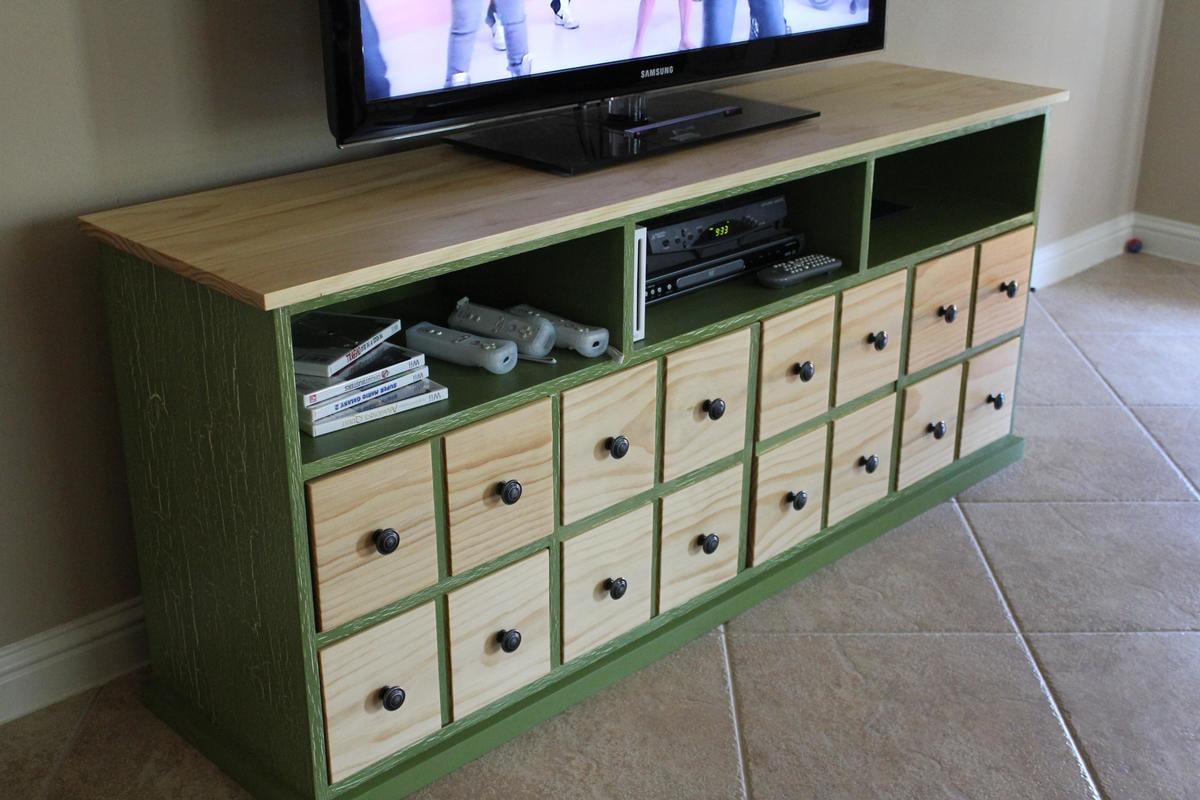
First Anna-White project...
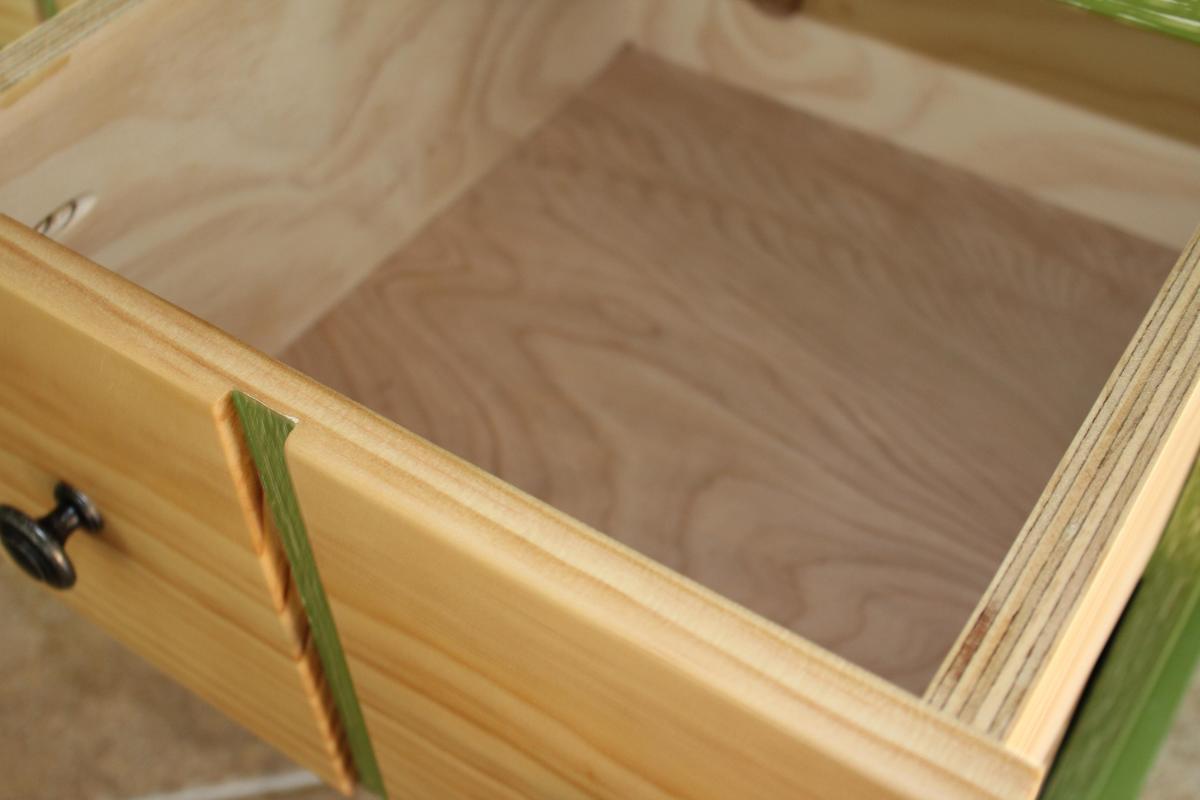
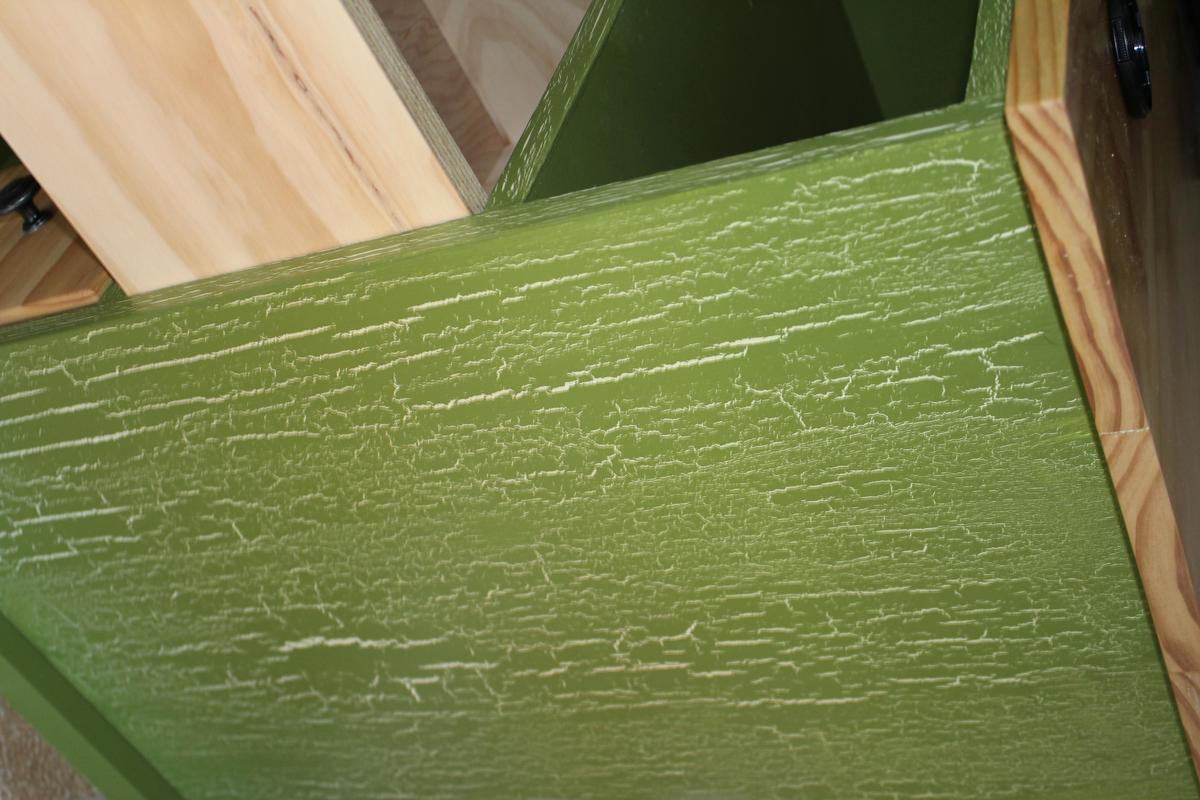
Would recommend using ply instead of MDF due to the total weight of the unit. The higher cost comes from more expensive materials, but still much more affordable than Pottery Barn's Andover Media Console.
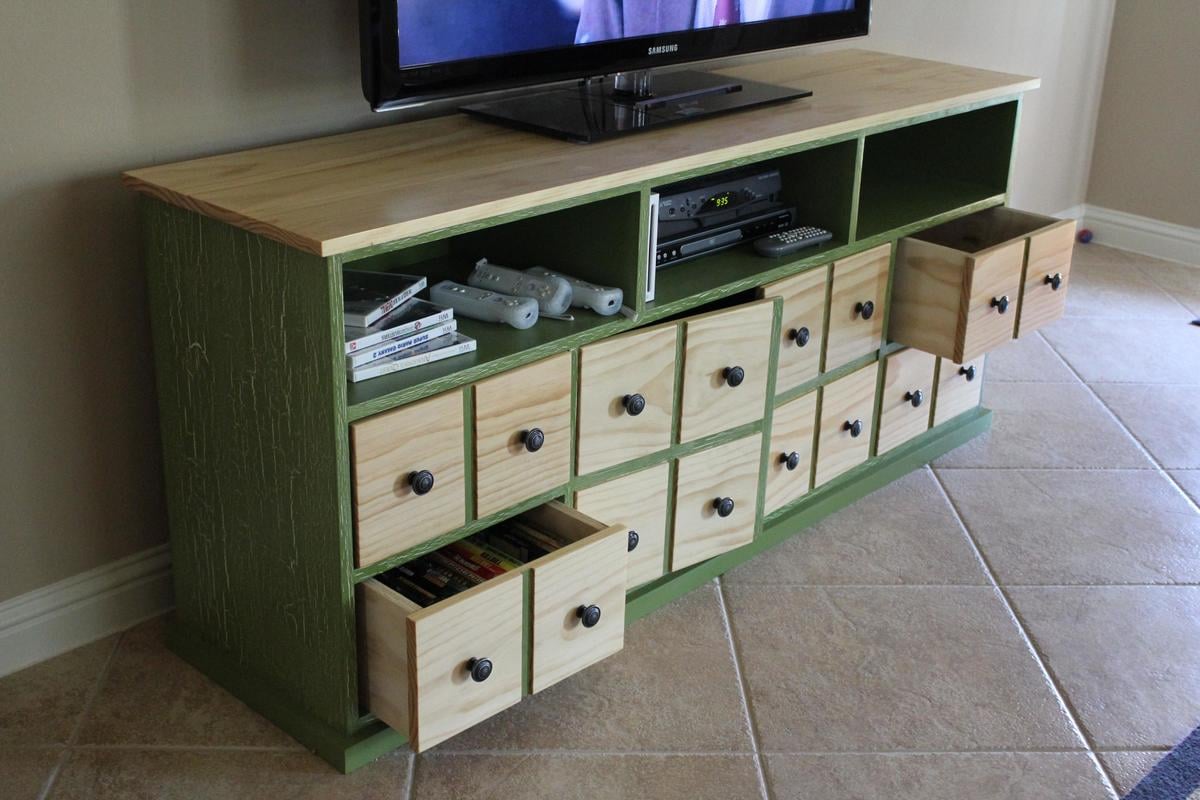
Sun, 06/05/2011 - 09:52
But yours looks amazing, perfect cuts!!!! i am almost too embarrased to post mine up. :)
Wed, 01/14/2015 - 23:02
Are your drawer fronts made from one solid piece of wood with a rabbet down the middle? If so, how did you do the doors?
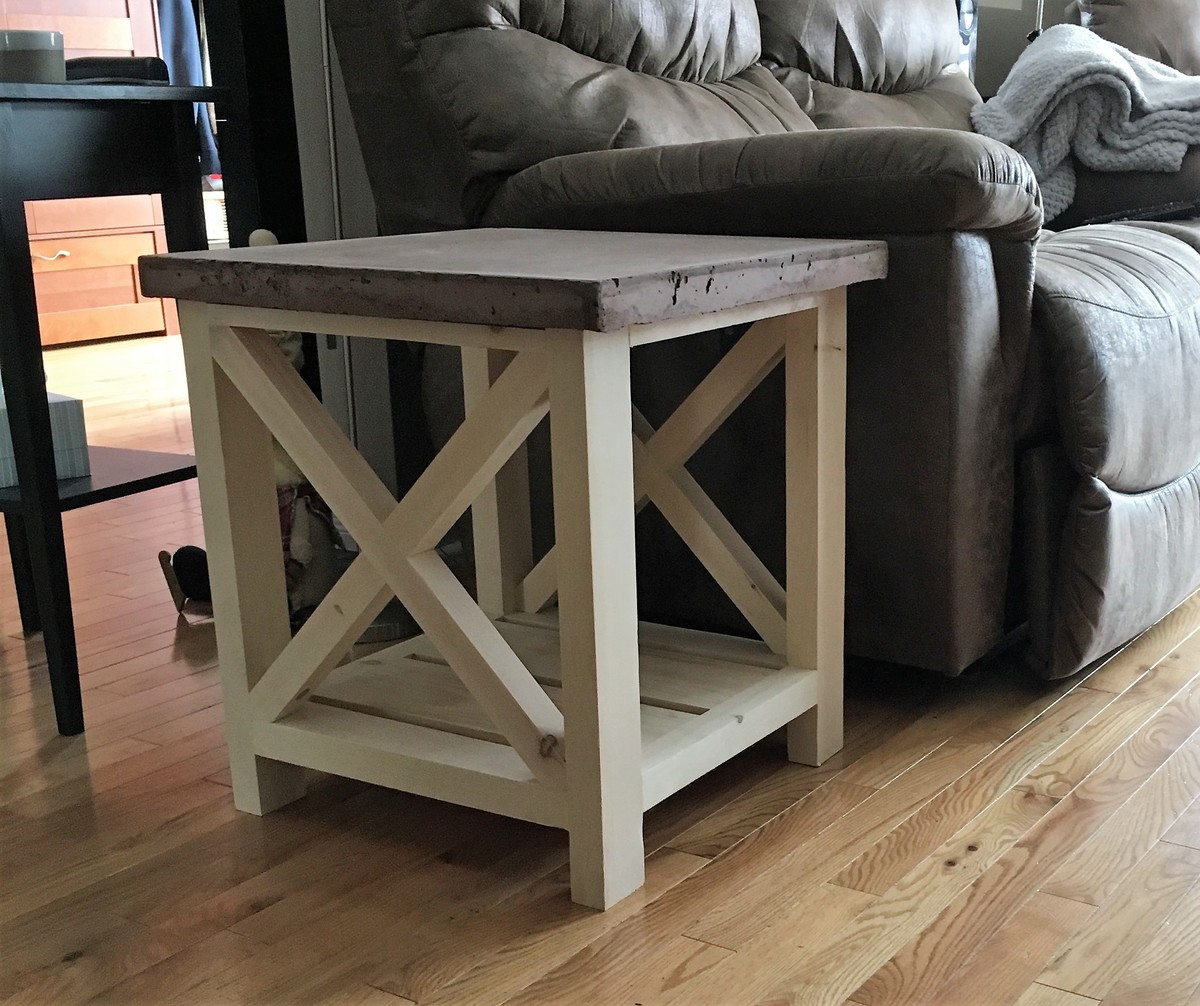
I decided to go with with a concrete slab on the top this project was quite simple especially with the well formatted plans
the slab is 20x20 so I had to make adjustments in my sizes!

Instead of attaching the top to the coffee table base as done in the plans, the top is attached using a set of coffee table lift top hinges.

Fri, 08/21/2020 - 23:38
Looks wonderful, love the finish. What kind of stain did you use?
Wed, 09/30/2020 - 19:59
I love this table. It is just what l have been looking for. Is there any instructions. I would love to make this.
thanks
peggy
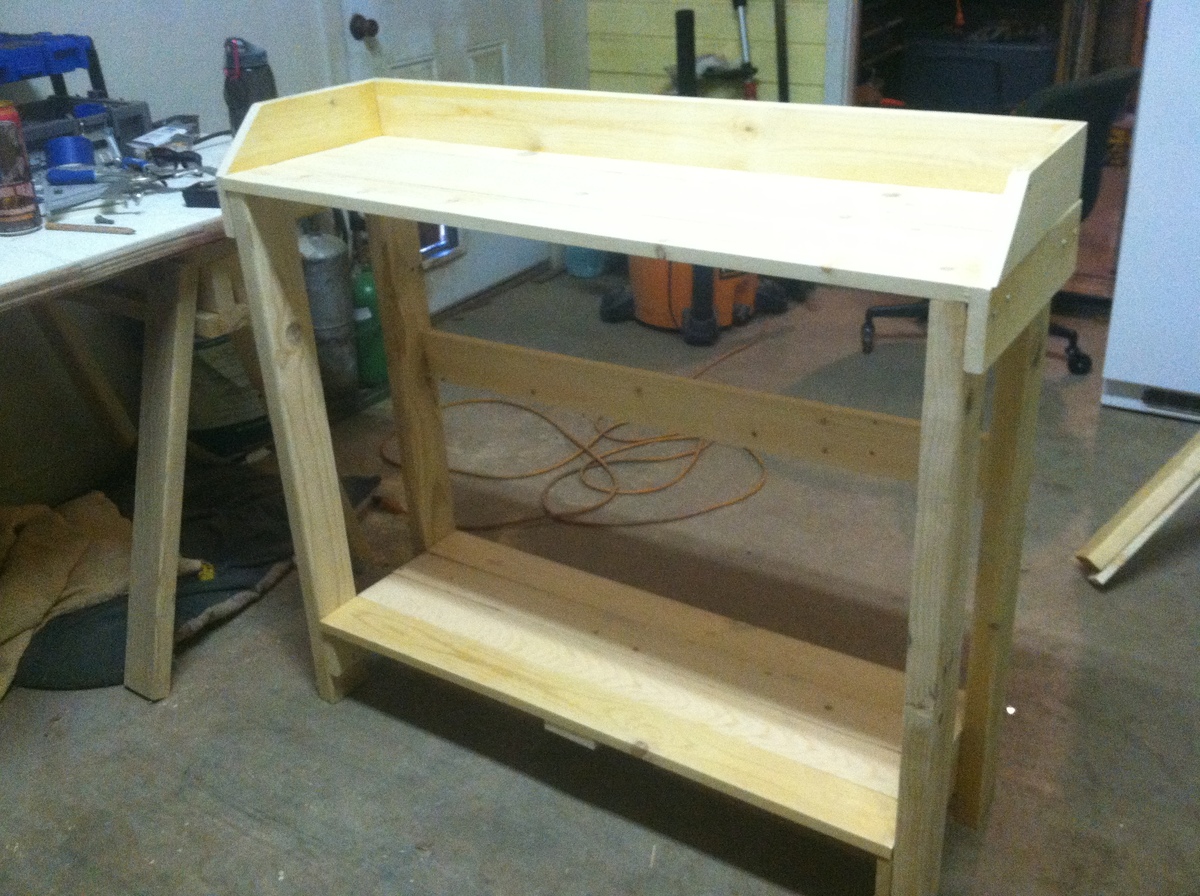
One afternoon and $0 spent!
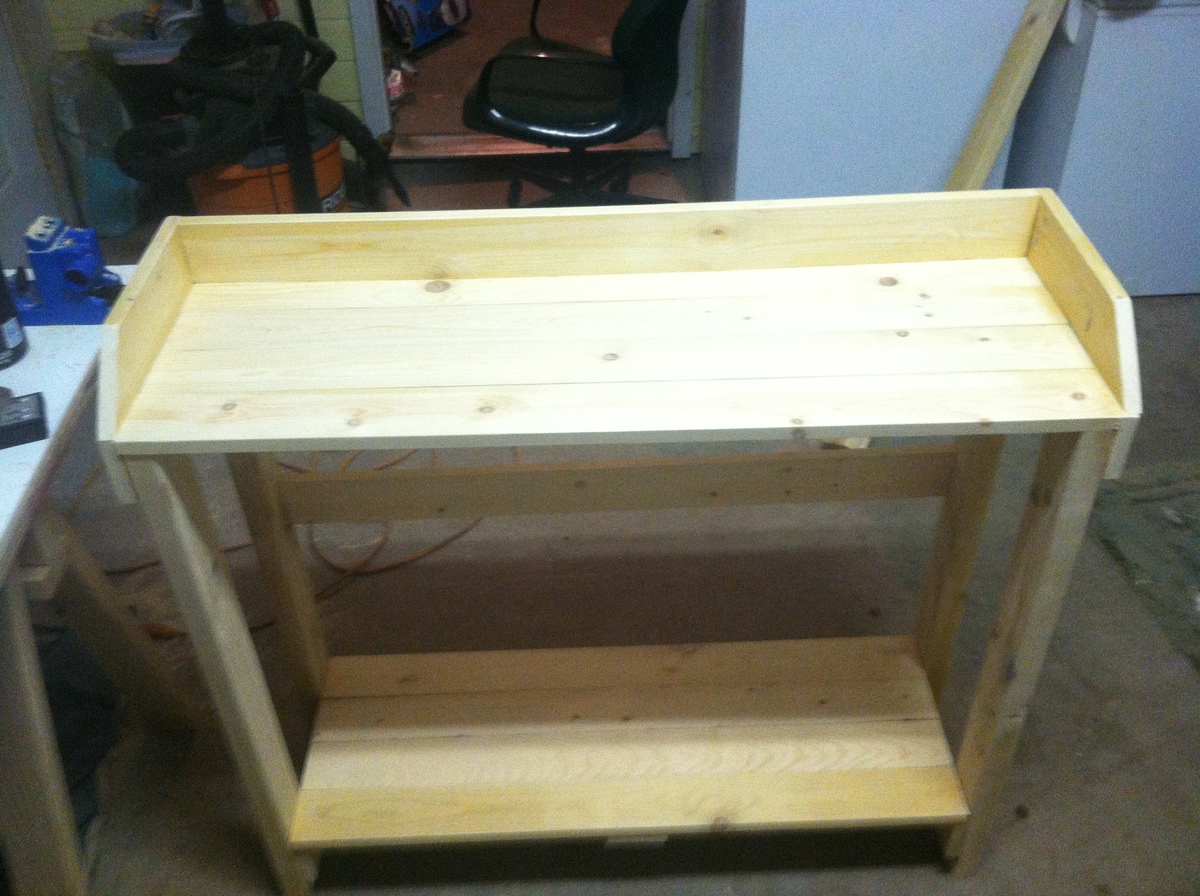
I had wanted a potting table for my front porch, and finally got it done one afternoon while my son was napping! I wanted a table that was functional but pretty enough to be front and center.
My table is a combination of Ana's and the one I found on 2 Crafty 4 My Skirt (http://2crafty4myskirt.blogspot.com/2012/04/mothers-day-potting-table.h…). I combined and modified the plans so that I could use scraps (could easily be built with pallet wood, too), so my dimension are a little weird, I know. My table is 39 1/2" from bottom to top (the top shelf sits at 36") x 44" wide. It's on the tall side, but it works well for our space.
Tools Used:
Compound miter saw
Kreg Jig system
Ryobi driver
Kreg screws
Wed, 10/09/2013 - 21:28
I love the use of the window and the color contrast is fantastic!!!
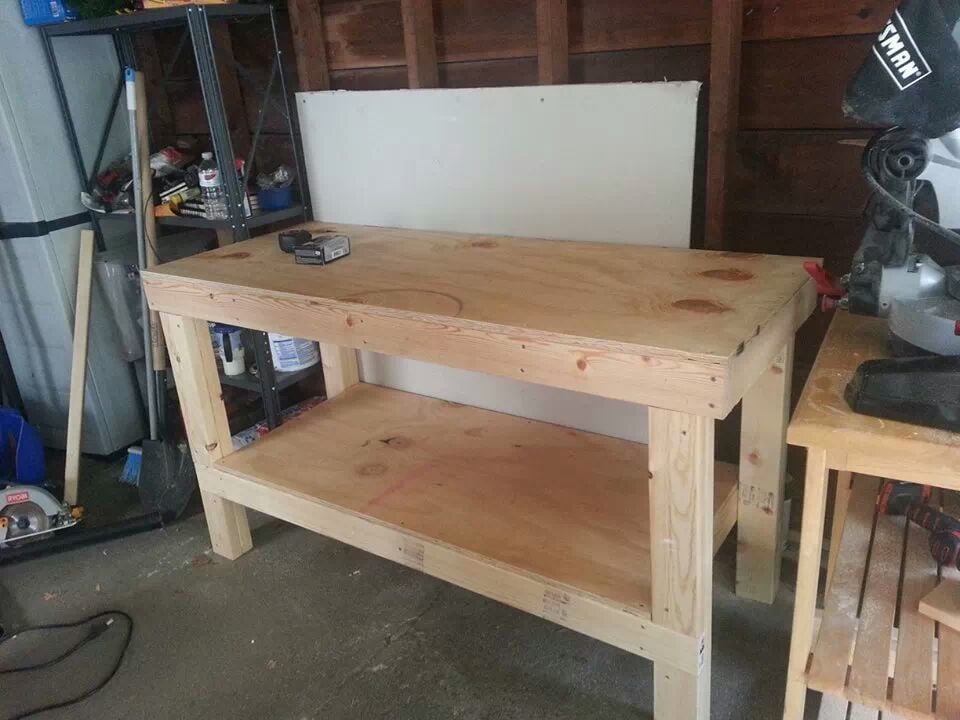
This bench was made from the plans for the Workbench to Get the Job Done....and we did get it done. About $50 in lumber and a few hours work. The only change we made is we used 3/4" plywood for both shelves to only use one piece of ply. Next to paint it turquoise! Thanks to my friend Richard Ramirez...he did most of the work! Next I'm going to make 2 more not as wide and without the bottom shelf so I can roll my shop vac under one and my trash can under the other.
Sun, 09/01/2013 - 06:45
If I may make a suggestion, you could screw a 2x4 flat to the back, which willow you yo drills holes across it for screwdrivers, chisels punches and what not!
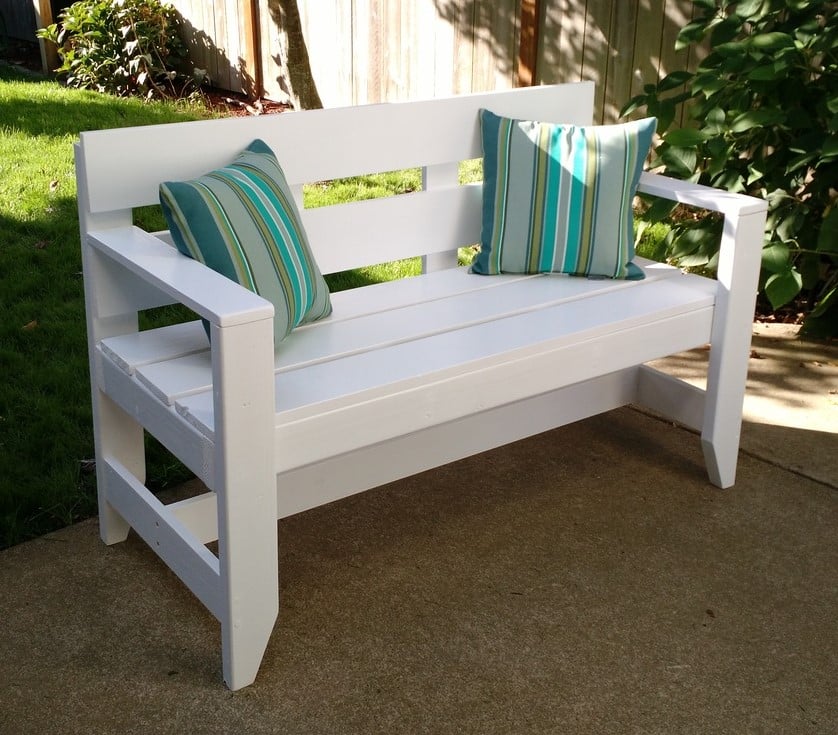
I used a mix of 2x4's and 1x4's for this project. It is only 4 feet long so I thought 2x4's would make it too bulky. It goes together very quickly and it looks great!
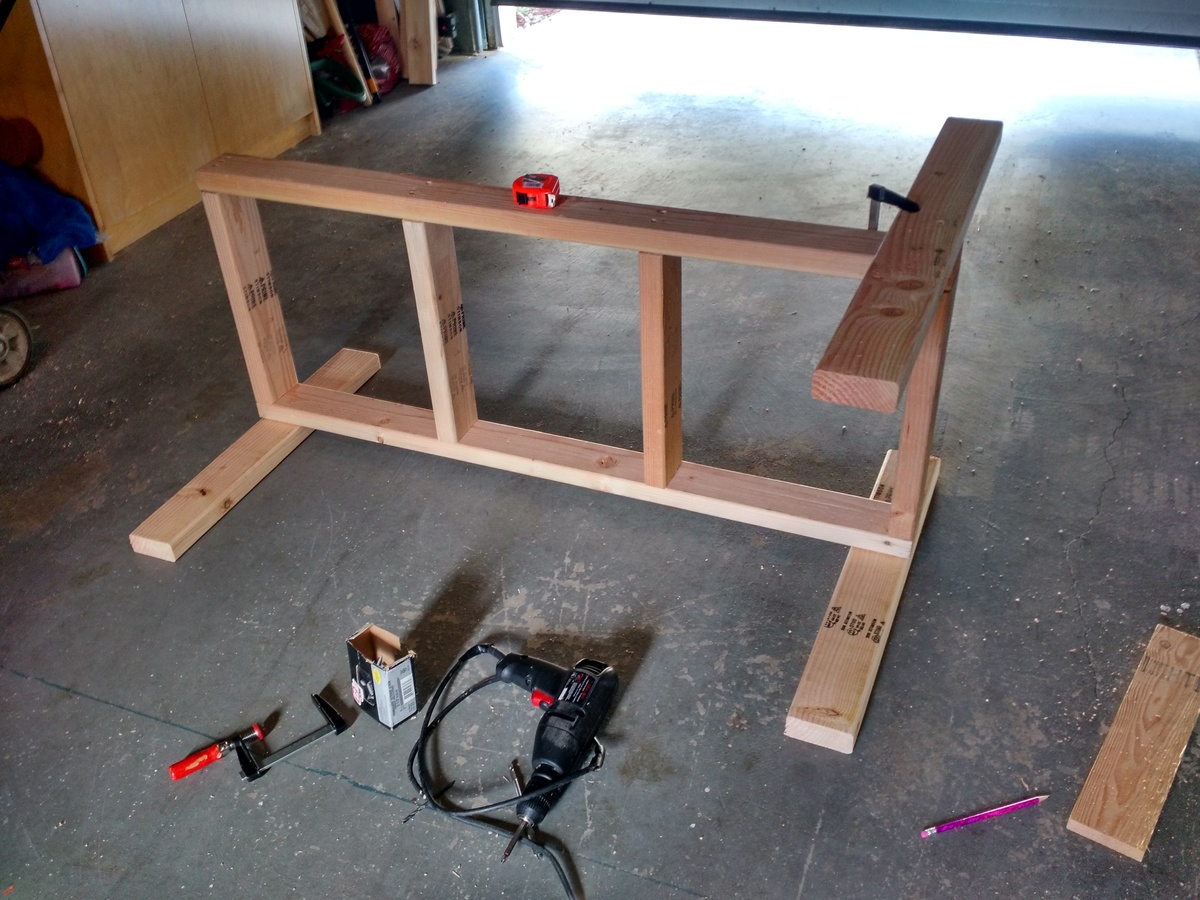
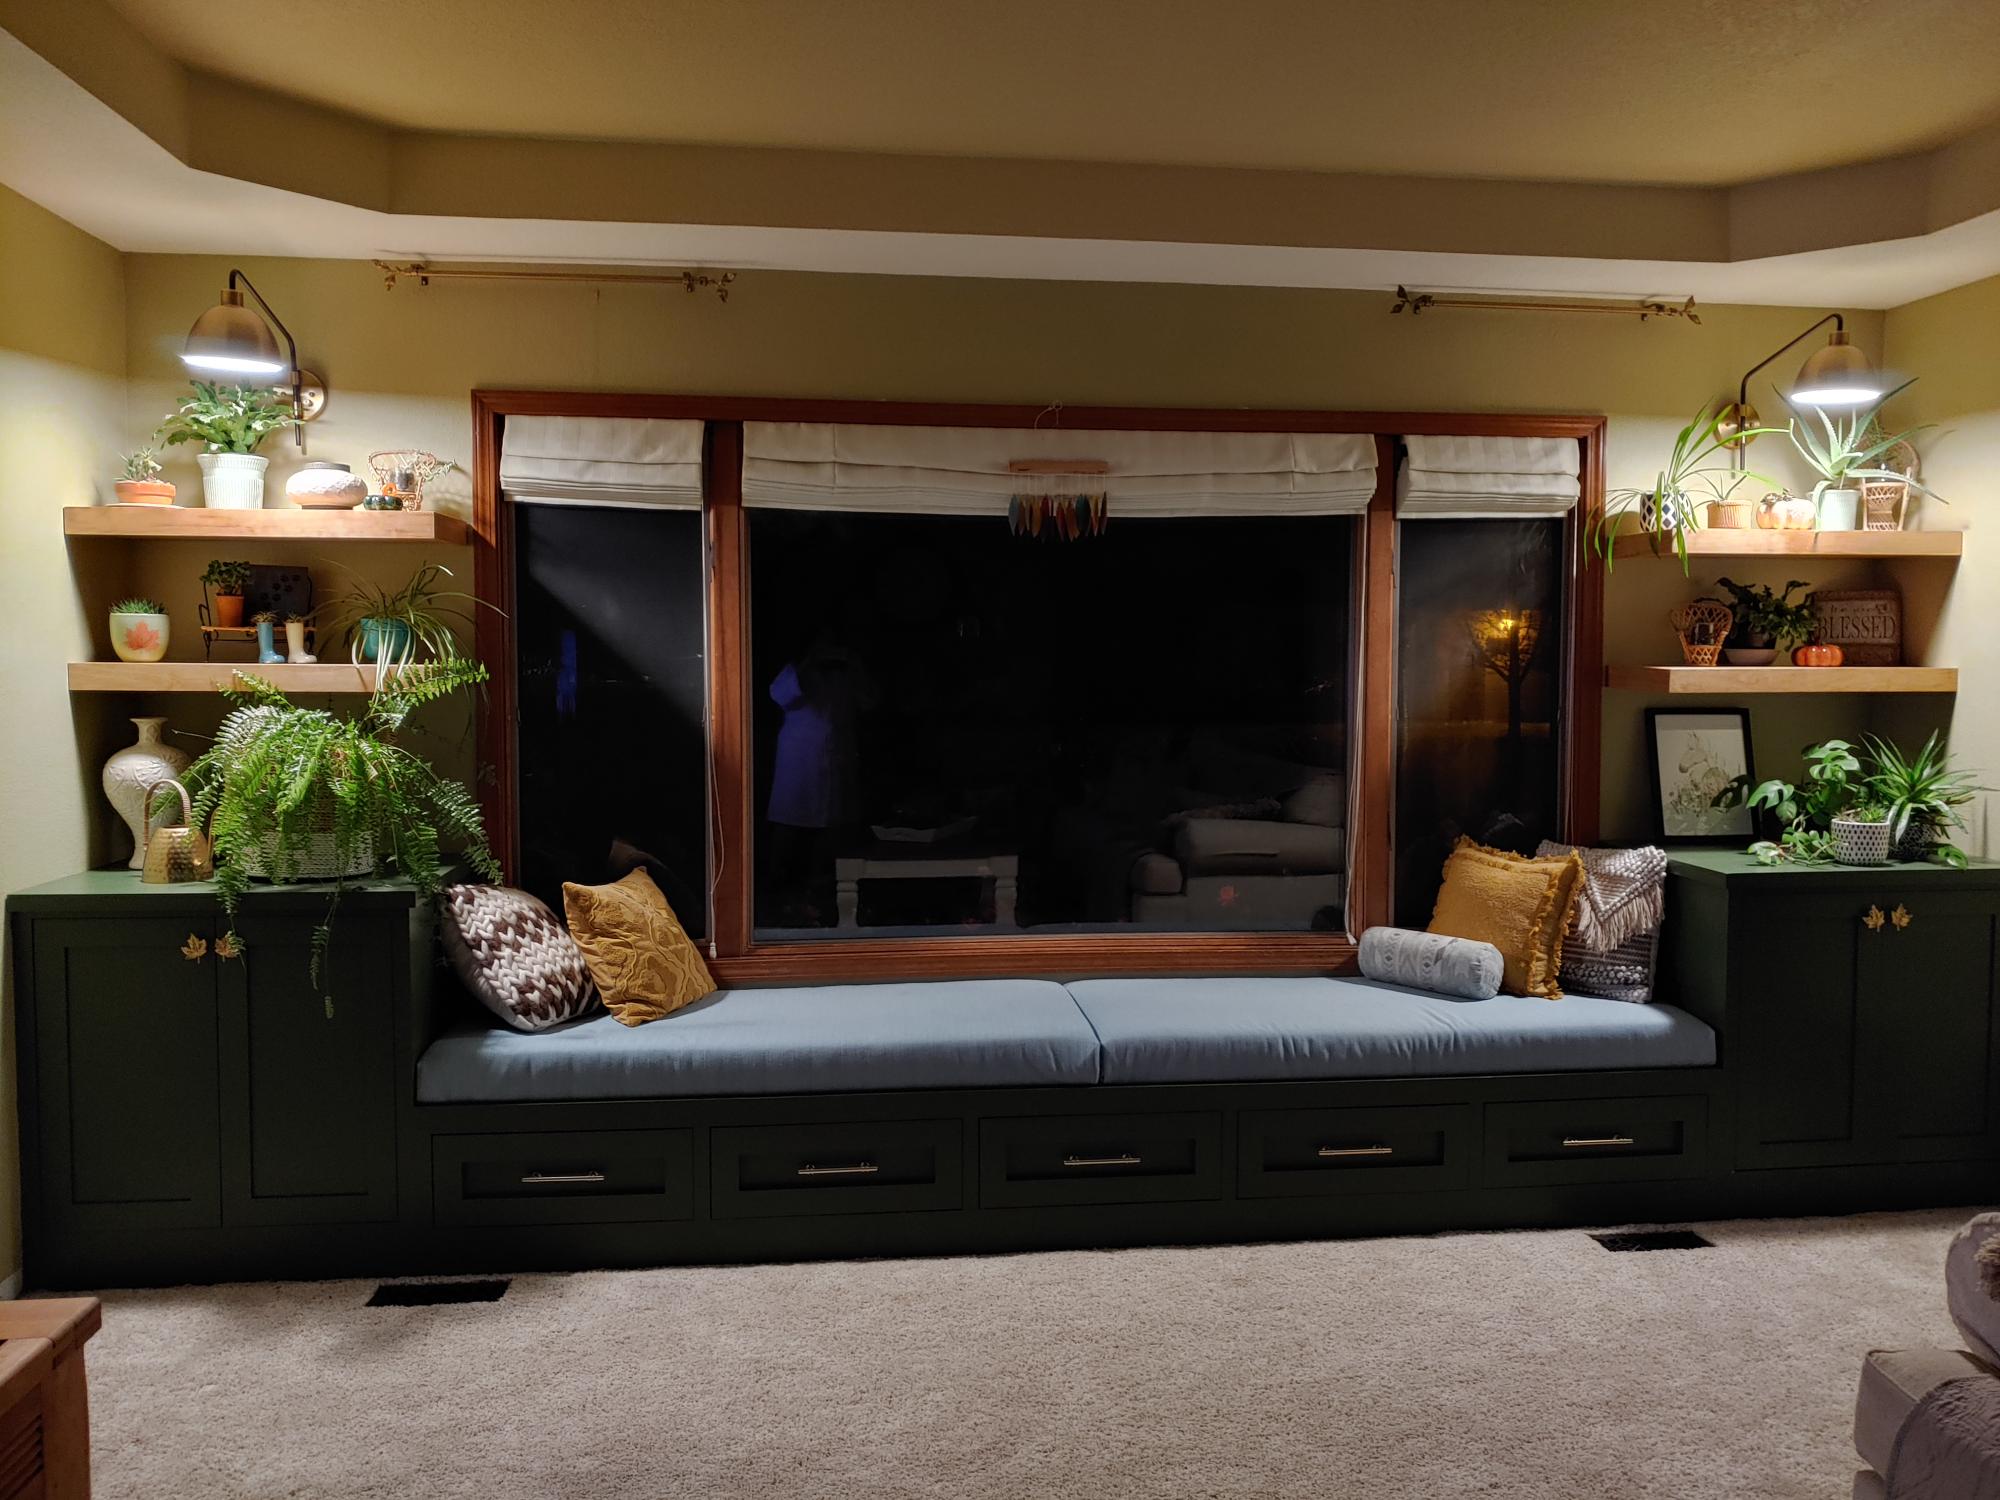
I have wanted a built-in window seat on this wall for a very long time. My hubby and I finally tackled this project. Definitely not perfect and lotsa challenges and mistakes made but we are happy with outcome.
Sat, 11/26/2022 - 14:47
This looks fantastic, great solution for the space! Thank you so much for sharing.
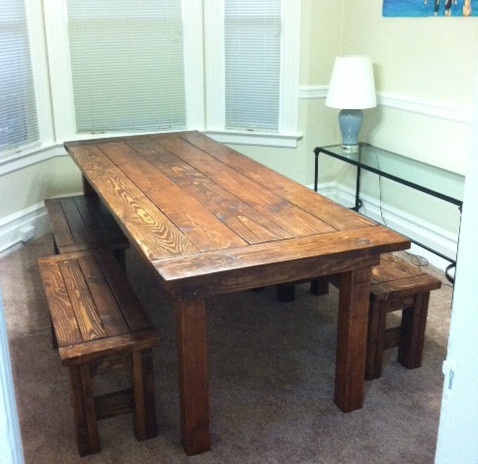
I wanted a big rustic farm table, didn't want to drop thousands on one from a store, so I decided to make my own!
I built it in the (formerly empty) dining room, with tarp on the floor and plastic to seal the doorways.
Was a big project and my first project so I started with the benches as this site and users recommended.
I used the farm house bench plan - just shortened the dimensions so that I could have two benches on either side of the table. Then I merged the two table plans so that I could have the top with the bread boards but legs that attached underneath (like the rustic table) so that they could be removed when we move. I'll work to upload my plans too.
Used Minwax Wood Stain in "english chestnut" and Deft Satin Wood Brushing Lacquer (instead of a Polyurethane).
Sun, 09/25/2011 - 12:18
Your use of short benches makes the set more family and guest friendly. I usually hand rub my finish, I think i want to build this and probably use 0ak 2X12's (know it will be heavy).
Suggestions?
I will use it on a Florida roofed concrete deck for an outdoor dining area. Typically more formal dinners. Deck overlooks beautiful cove.
Thu, 10/13/2011 - 11:00
Can you explain how you merged the plans to add the bread boards? I would love to do the same!
Tue, 03/06/2012 - 01:30
Would love to see the plans for this!
Looks amazing!!
Are the table legs 4"x4"?
Fri, 06/01/2012 - 09:09
This is exactly what I am looking for in a table to build. We want bread boards on the end and we don't want stretchers on the bottom. How did you combine the two to do this. Can you send me a copy of your plan? [email protected]
Fri, 06/08/2012 - 12:59
i would the plans for that table my daughter loves and wants me to build her one
send to [email protected]
Mon, 06/11/2012 - 13:19
We love this table! Could you please send plans to [email protected]
Thanks so much!
Mon, 06/11/2012 - 13:21
We love this table. Please send plans to [email protected]
Thanks!
Fri, 06/15/2012 - 10:00
Your table turned out awesome!
I already have old boards waiting on plans to be turned into a table. Any chance you could send the plans for your table to [email protected]?
Sat, 08/04/2012 - 13:35
Could you please send me the plans for this table? I love it and would love to attempy making it. Thanks so much!
Sun, 09/23/2012 - 14:37
Hi, Can you please send me the plans to make this table?
Thanks!!
Alex ([email protected])
Sun, 09/30/2012 - 18:34
I love this table. Can you please send the plans to [email protected]
Sun, 11/04/2012 - 11:07
I would love to attempt this!Would you please share your plans?
[email protected]
Thanks so much
Sun, 11/04/2012 - 17:17
This table is exactly what I've been looking for!! Could you please share your plans? [email protected] Thank you.
Sun, 11/04/2012 - 17:25
This table is exactly what I have been looking for! Could you please share your plans? [email protected]
Tue, 01/01/2013 - 06:09
Can you send plans for this table build to [email protected] thanks.
Wed, 01/02/2013 - 15:53
Your farm table and benches were exactly what I was looking for. Please send me the plans if they are available. Thanks
Wed, 01/02/2013 - 19:18
I would love your table plan. This is absolutely gorgeous!! Please forward table plans to [email protected]
Wed, 01/02/2013 - 19:23
I would love a copy of the plans for this gorgeous table you made. I am inspired.
Fri, 01/18/2013 - 18:01
Could you please send plans? I love the look of your table!
[email protected]
Sat, 03/16/2013 - 20:12
Can I please please please have the plans? I have a very narrow dining area and this table is PERFECT. Thanks
Sun, 05/12/2013 - 14:30
I would REALLY like the plans for his version as well. I am going to combine them. Can someone ask him to post or his he sending via email? If so, [email protected]
Thank you SO much!!!
Wed, 06/26/2013 - 13:09
Thu, 06/27/2013 - 13:34
Fri, 06/28/2013 - 10:49
Great table! I too would like plans - please send to [email protected]
Thanks!!
Mon, 07/15/2013 - 09:48
just bought a cabin and need all sorts of furniture. I love what you did and would sure love to have your plans and how you merged the two----both for the table and especially for the benches. Trying to do a 10' table for huge family gatherings. Thanks so much! You rock!
Tue, 07/23/2013 - 14:28
This table and bench set is exactly what I am looking for. You did such a great job!
Do you have plans that you wouldnt mind sending to my email? [email protected]
Mon, 08/26/2013 - 13:09
Hi! I noticed MANY requests for the merged plans. Did you post them somewhere or can you please email the plans to me at [email protected]?
BIG THANK YOU! Tina
Fri, 09/06/2013 - 13:49
I would love the plans for this table... could you please email them to [email protected]?
Thank you so much!
Beth :D
Fri, 01/09/2015 - 19:54
Hi everyone,
Well I didn't see all these comments! Sorry to have ignored your requests for plans!
This is the bench I made (I did four of these, and adjusted the measurements so they were each about 40" long)
http://ana-white.com/2011/01/farmhouse-bench
I was going to do this table, because it matches the benches, but decided I wanted a table with removable legs so it would be more maneuverable when we move!
http://ana-white.com/2009/12/plans-farmhouse-table-knock-off-of.html
I ended up using more of this plan in terms of how I assembled it, but adjusted the plans to have the tabletop include breadboards (the plank on top perpendicular to the long tabletop planks) and I used 4x4s for legs, plus the top was from 2x8s not 1x10s. I put in the optional cross supports too, and additional supports under the breadboard to connect it to the table frame and table top slats.. this is more info than you need, all to say, plans are flexible and you can do what you want!
http://ana-white.com/2010/03/plans-very-rustic-table-and-cool.html
Sorry I don't have detailed notes. I was very picky about the dimensions (based on space) and how high I wanted the table (about 1.5" taller than a normal table). I also measure the distance between the underside of the table and the tops of the benches so I could cross my legs under the table (an odd requirement).
Happy Building!
Sat, 03/21/2015 - 17:34
could you send me the plan for this rustic table that was made from the farm house and rustic table if they are available? Email to [email protected]
Sat, 03/28/2015 - 12:45
can you please send me the plans [email protected]
i love it!!!
Wed, 04/01/2015 - 15:10
I like the english chestnut stain. That works so well with this type of lumber. Great job. I plan to use the same stain on the Tryde coffee table I am building. Thanks for sharing your work!!!
Sat, 08/08/2015 - 12:30
Thu, 08/13/2015 - 19:17
Sorry! I accidentally hit the spam button but I really would like the plans for the table. Sorry for the confusion!
Thu, 08/13/2015 - 19:23
Ok, now I feel really silly. Obviously, this is my first time leaving a comment. I love the table. It is exactly what I've been looking for. Could you email the plans to [email protected]?
Thanks!
Fri, 01/08/2016 - 17:38
Fri, 01/08/2016 - 17:40
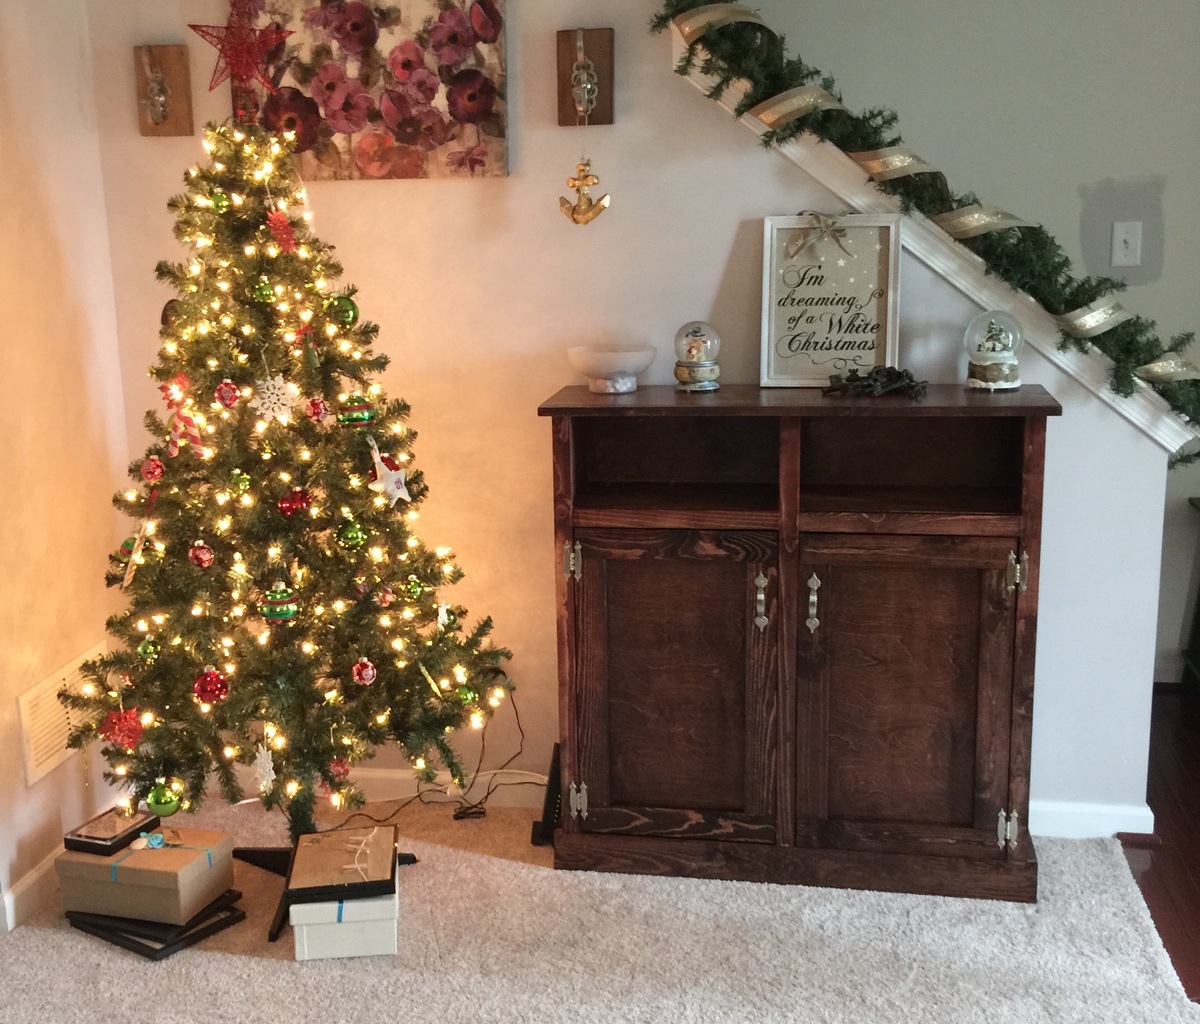
This was my first project with doors. I made it for my daughter's new house and she just loves it! I had a little trouble with the doors wanting to swing inside the console, so I added very small wood blocks on each inside top corner to stop them.