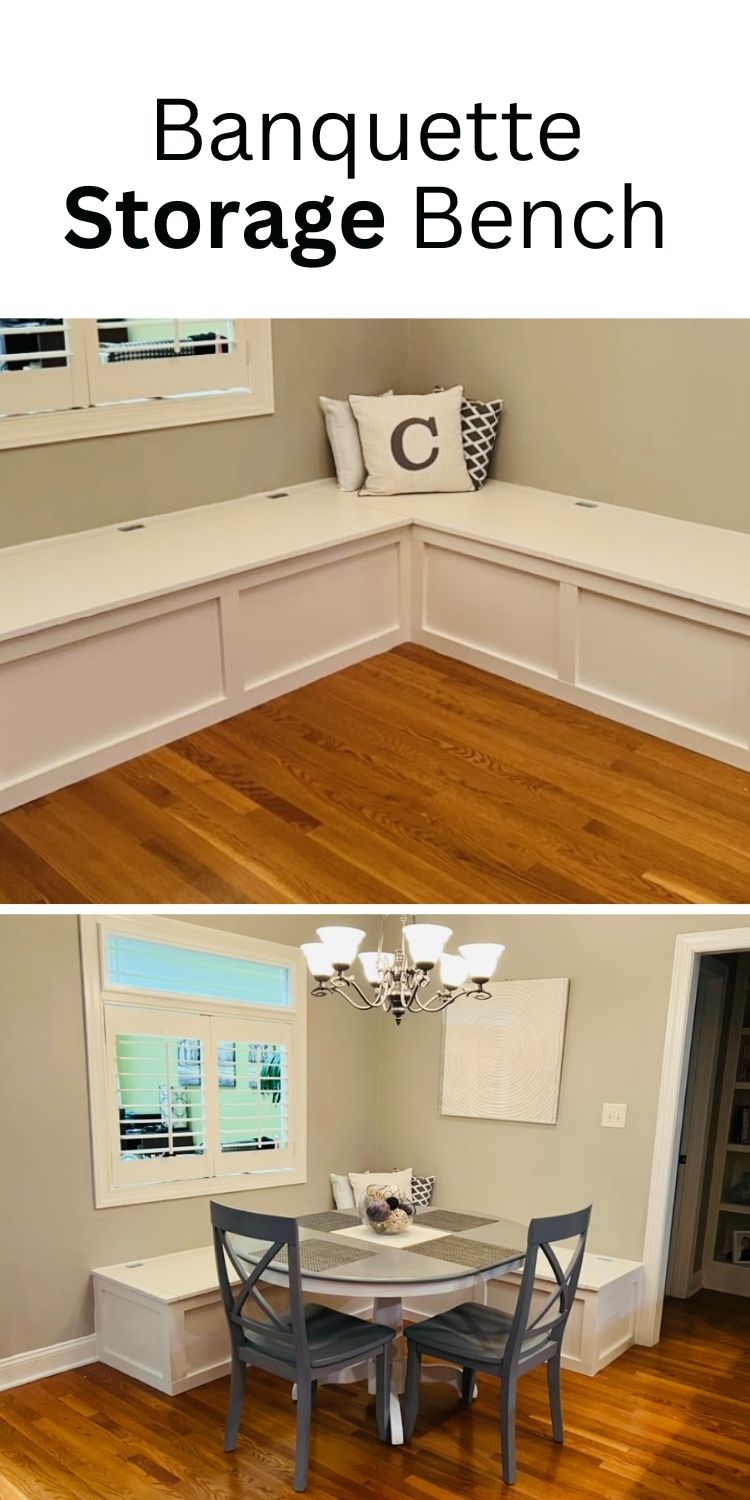
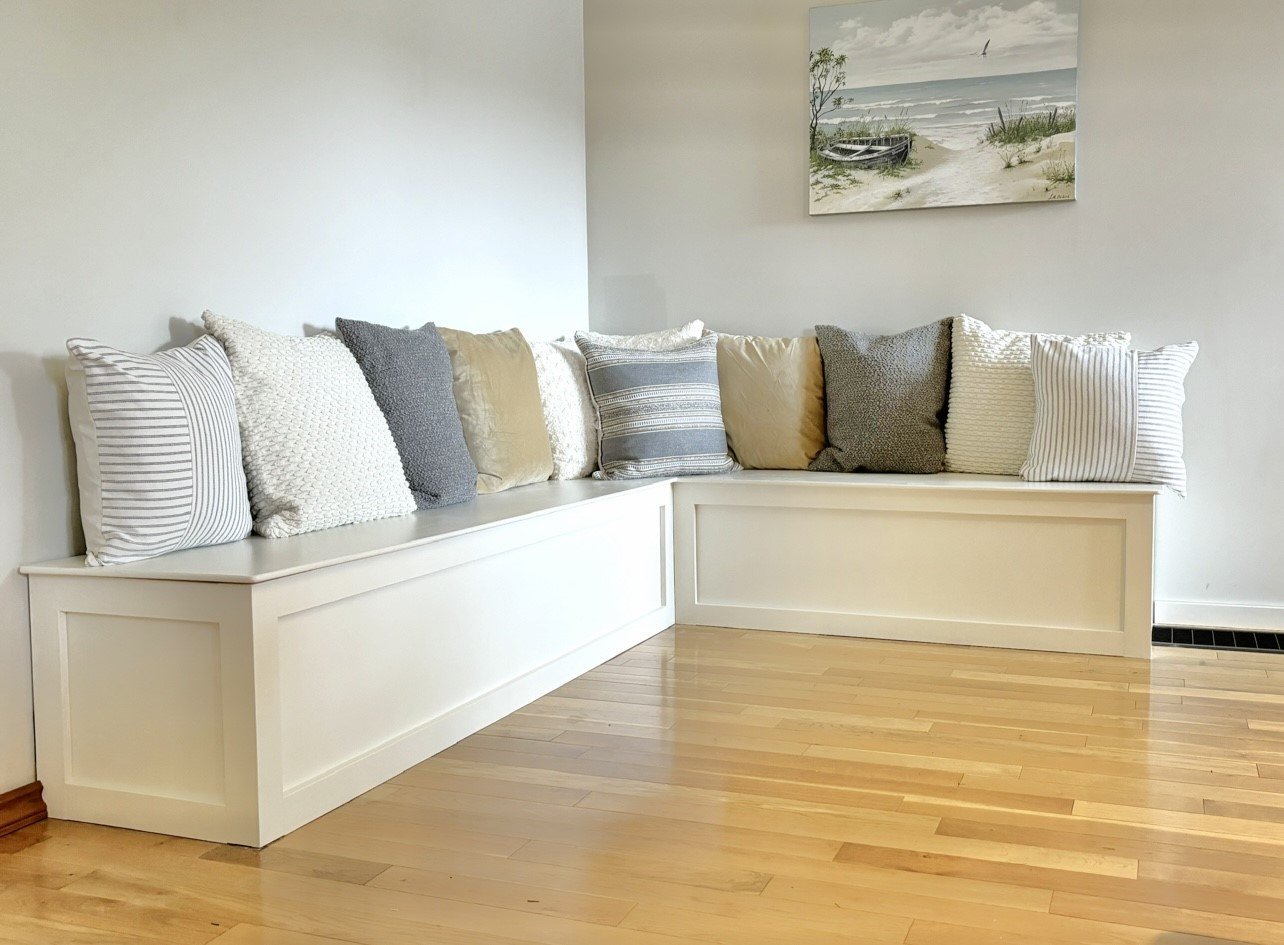
Banquette Storage Bench
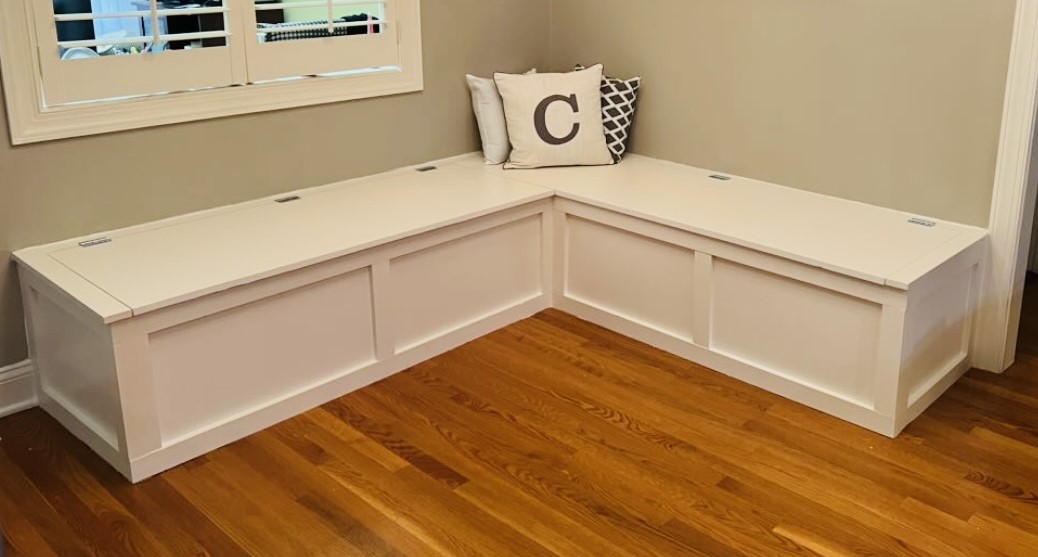
Beautiful banquette storage bench by Catherine Caputo
Pin for Later!

Built from Plan(s)
Beautiful banquette storage bench by Catherine Caputo
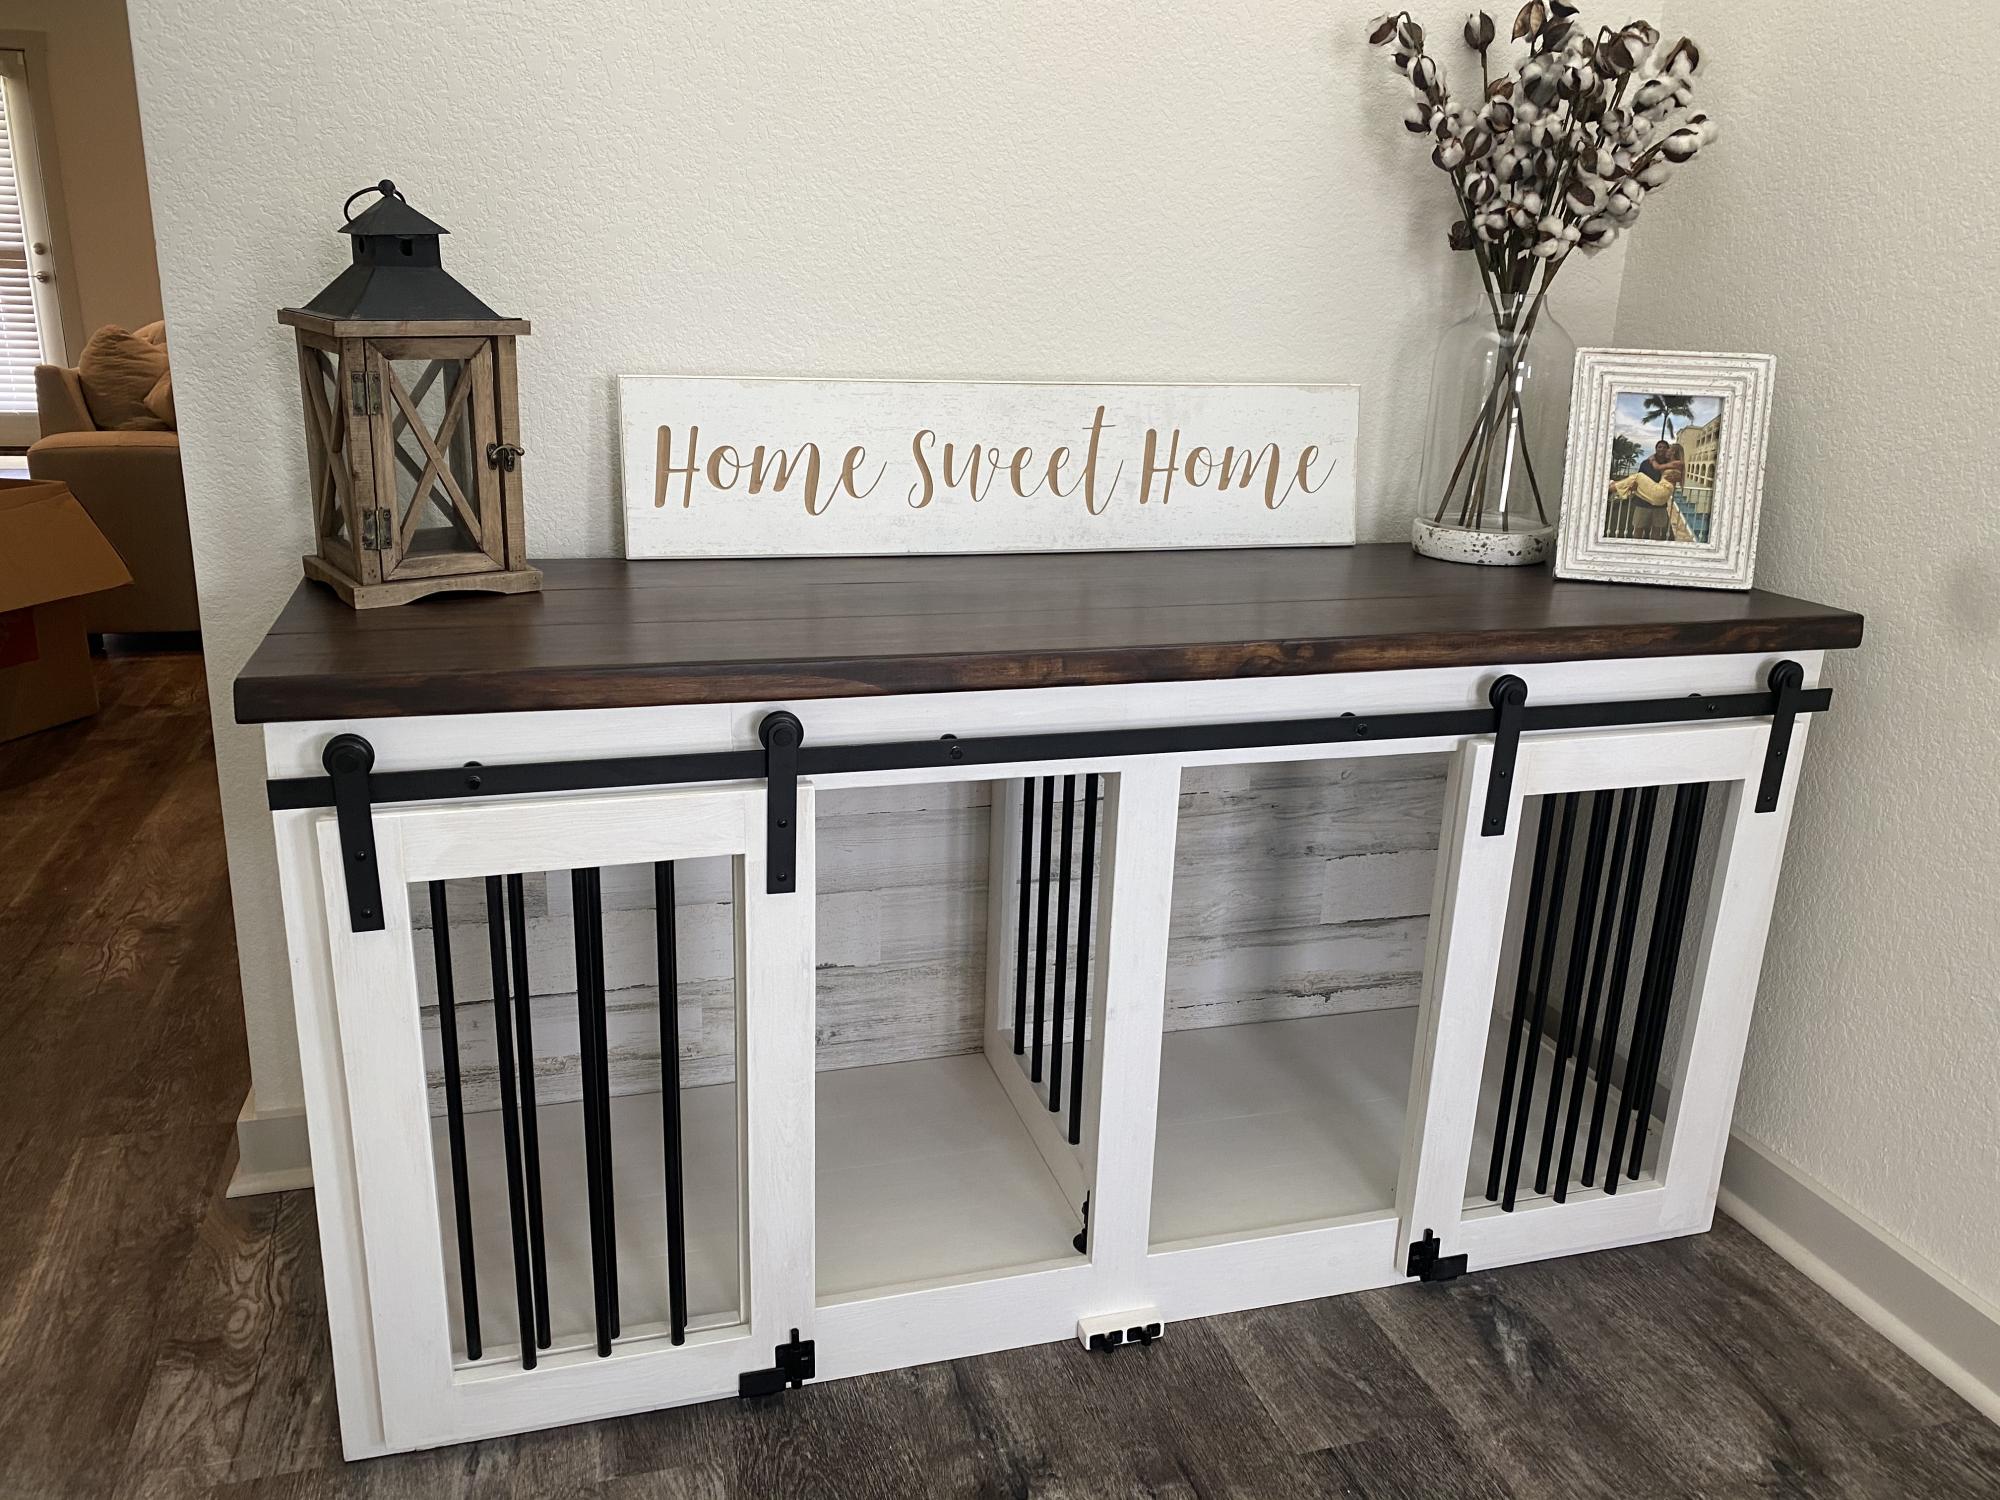
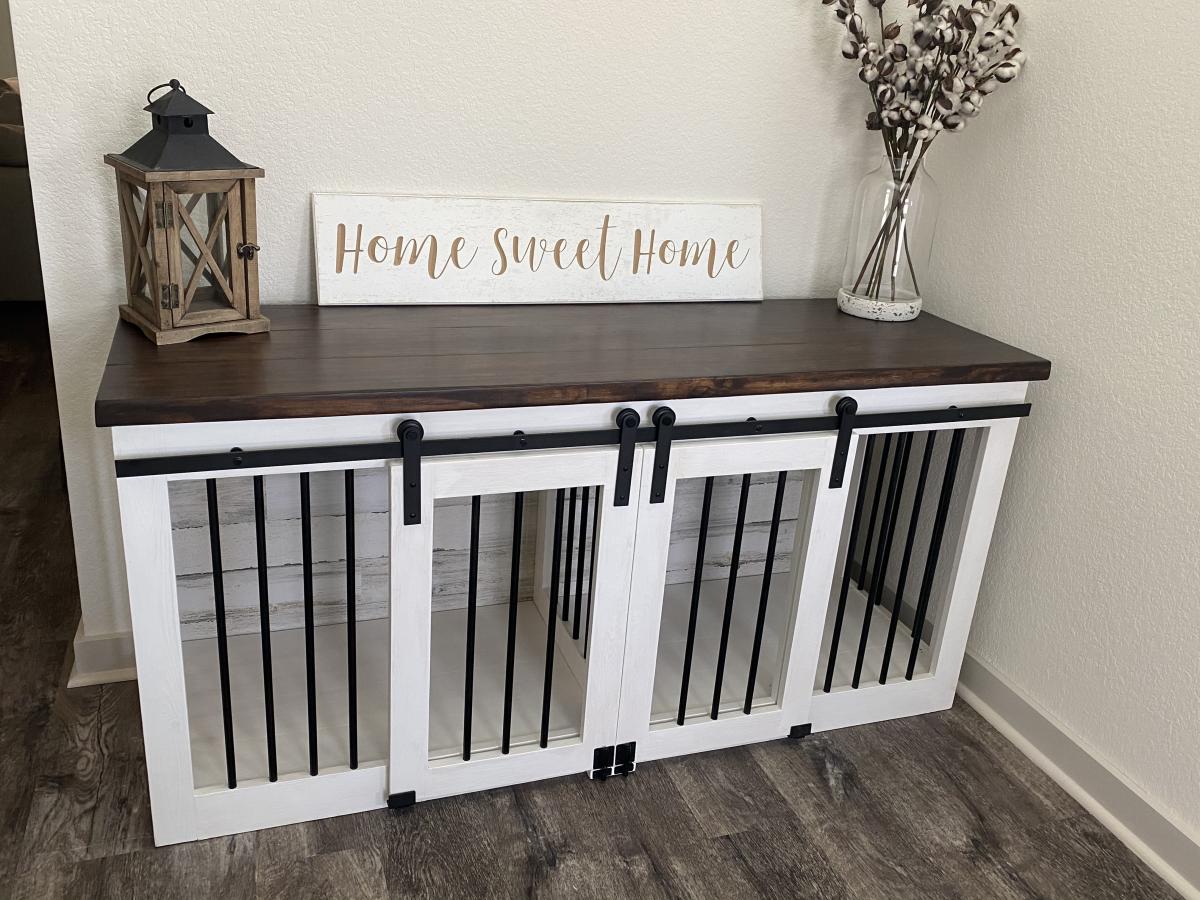
I modified the Grandy Console to be dog crates for my Grand Pups so we didn’t have to have crates set up in the house. Middle divider can be raised to make one big crate.

Built this modern bench to put in my prarie.
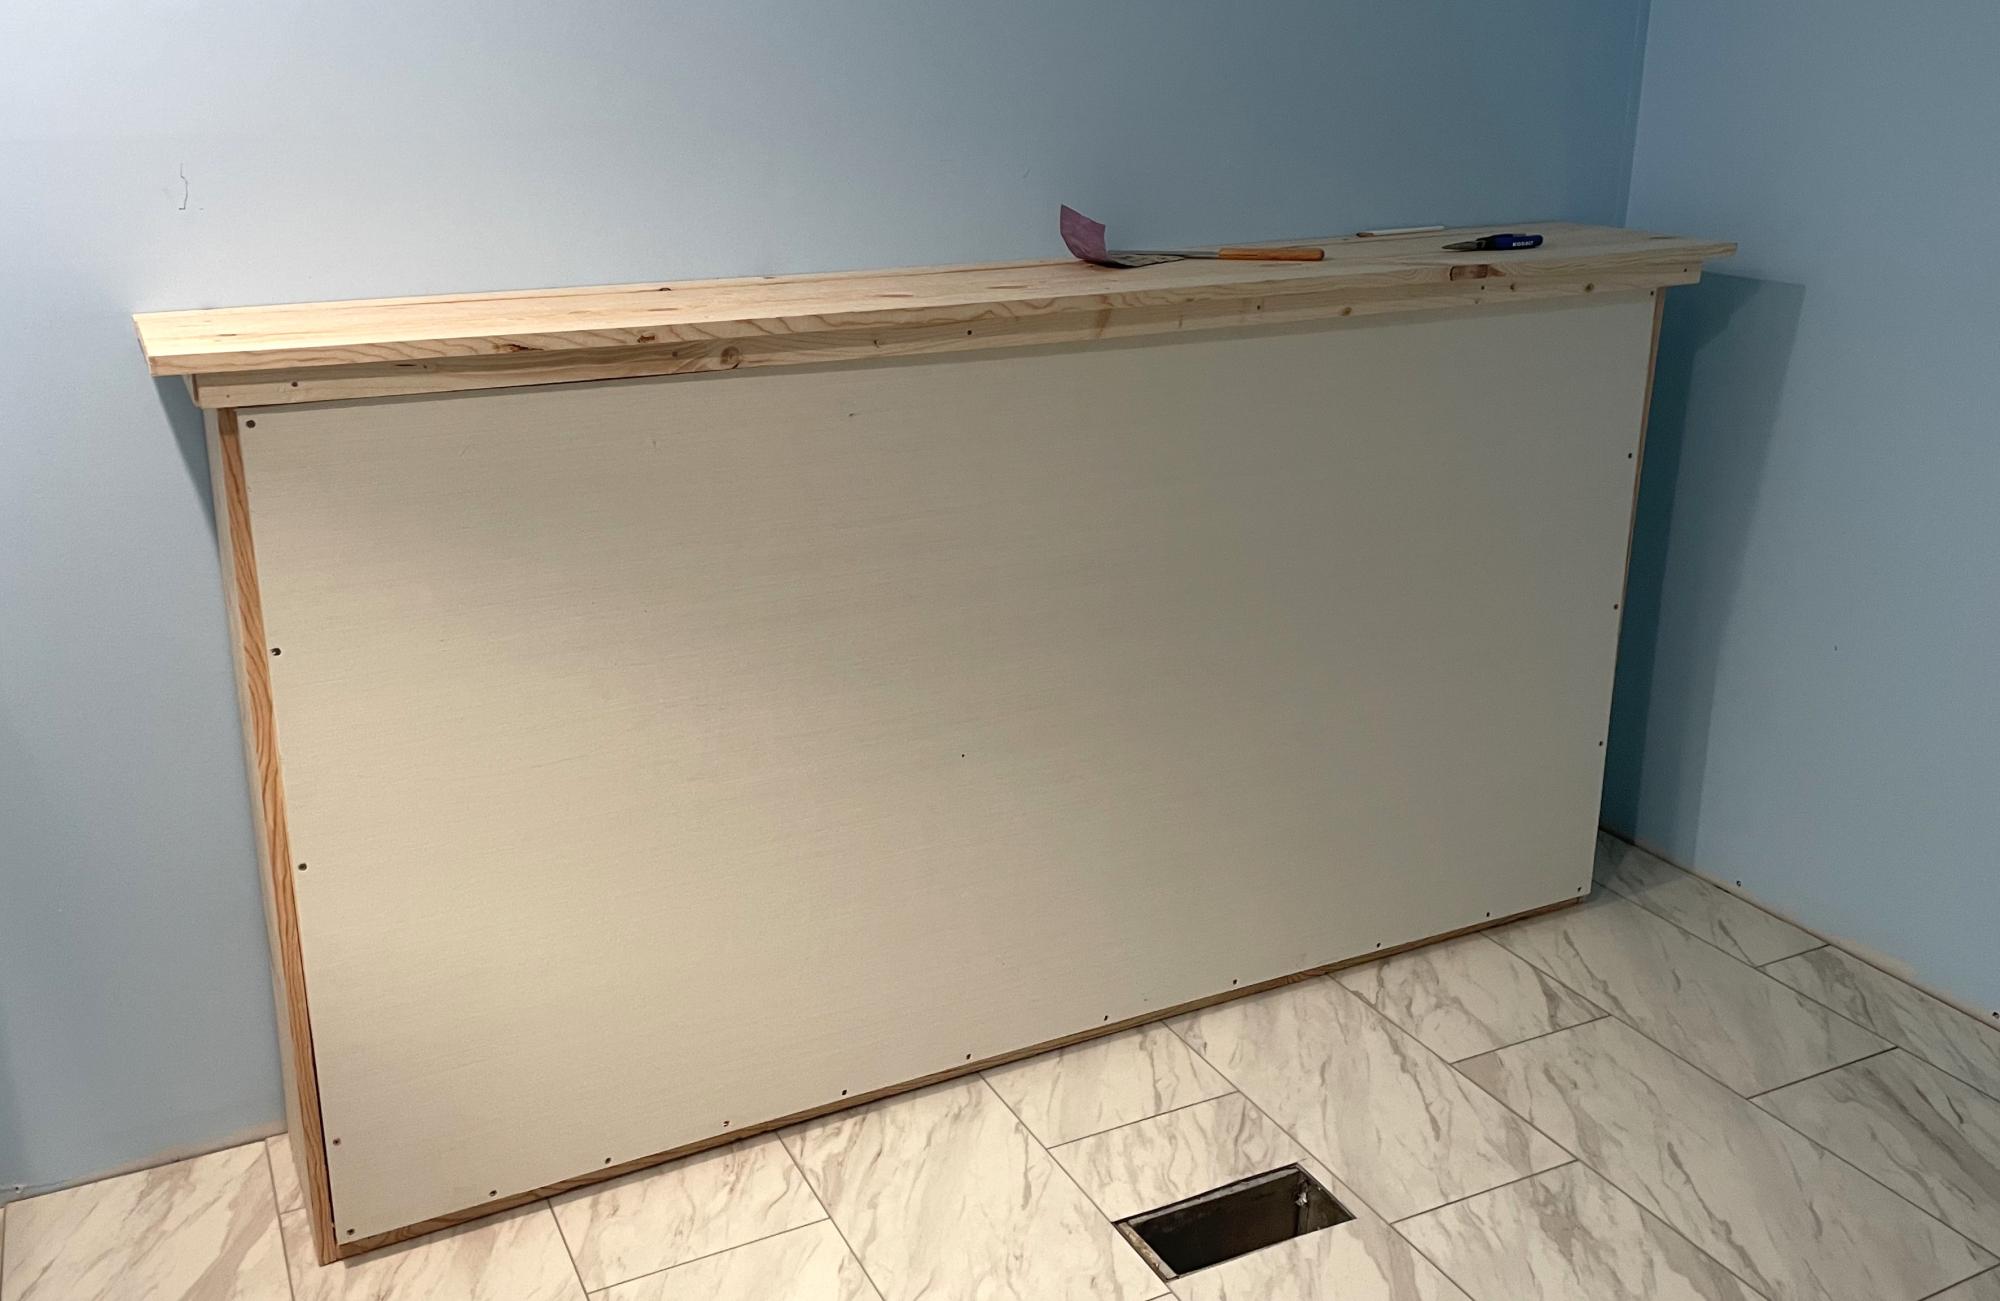
We are remodeling our 3 bedroom house into a 4 bedroom. In doing so, my youngest is getting the smaller room. We decided to go with a Murphy bed to allow more play time space. I do not particularly like the fact that this bed doesn’t sit off the ground but overall love the simplicity of making it. We turned it horizontal and just love the overall product. I can mot wait to make something else from this site!
Tams
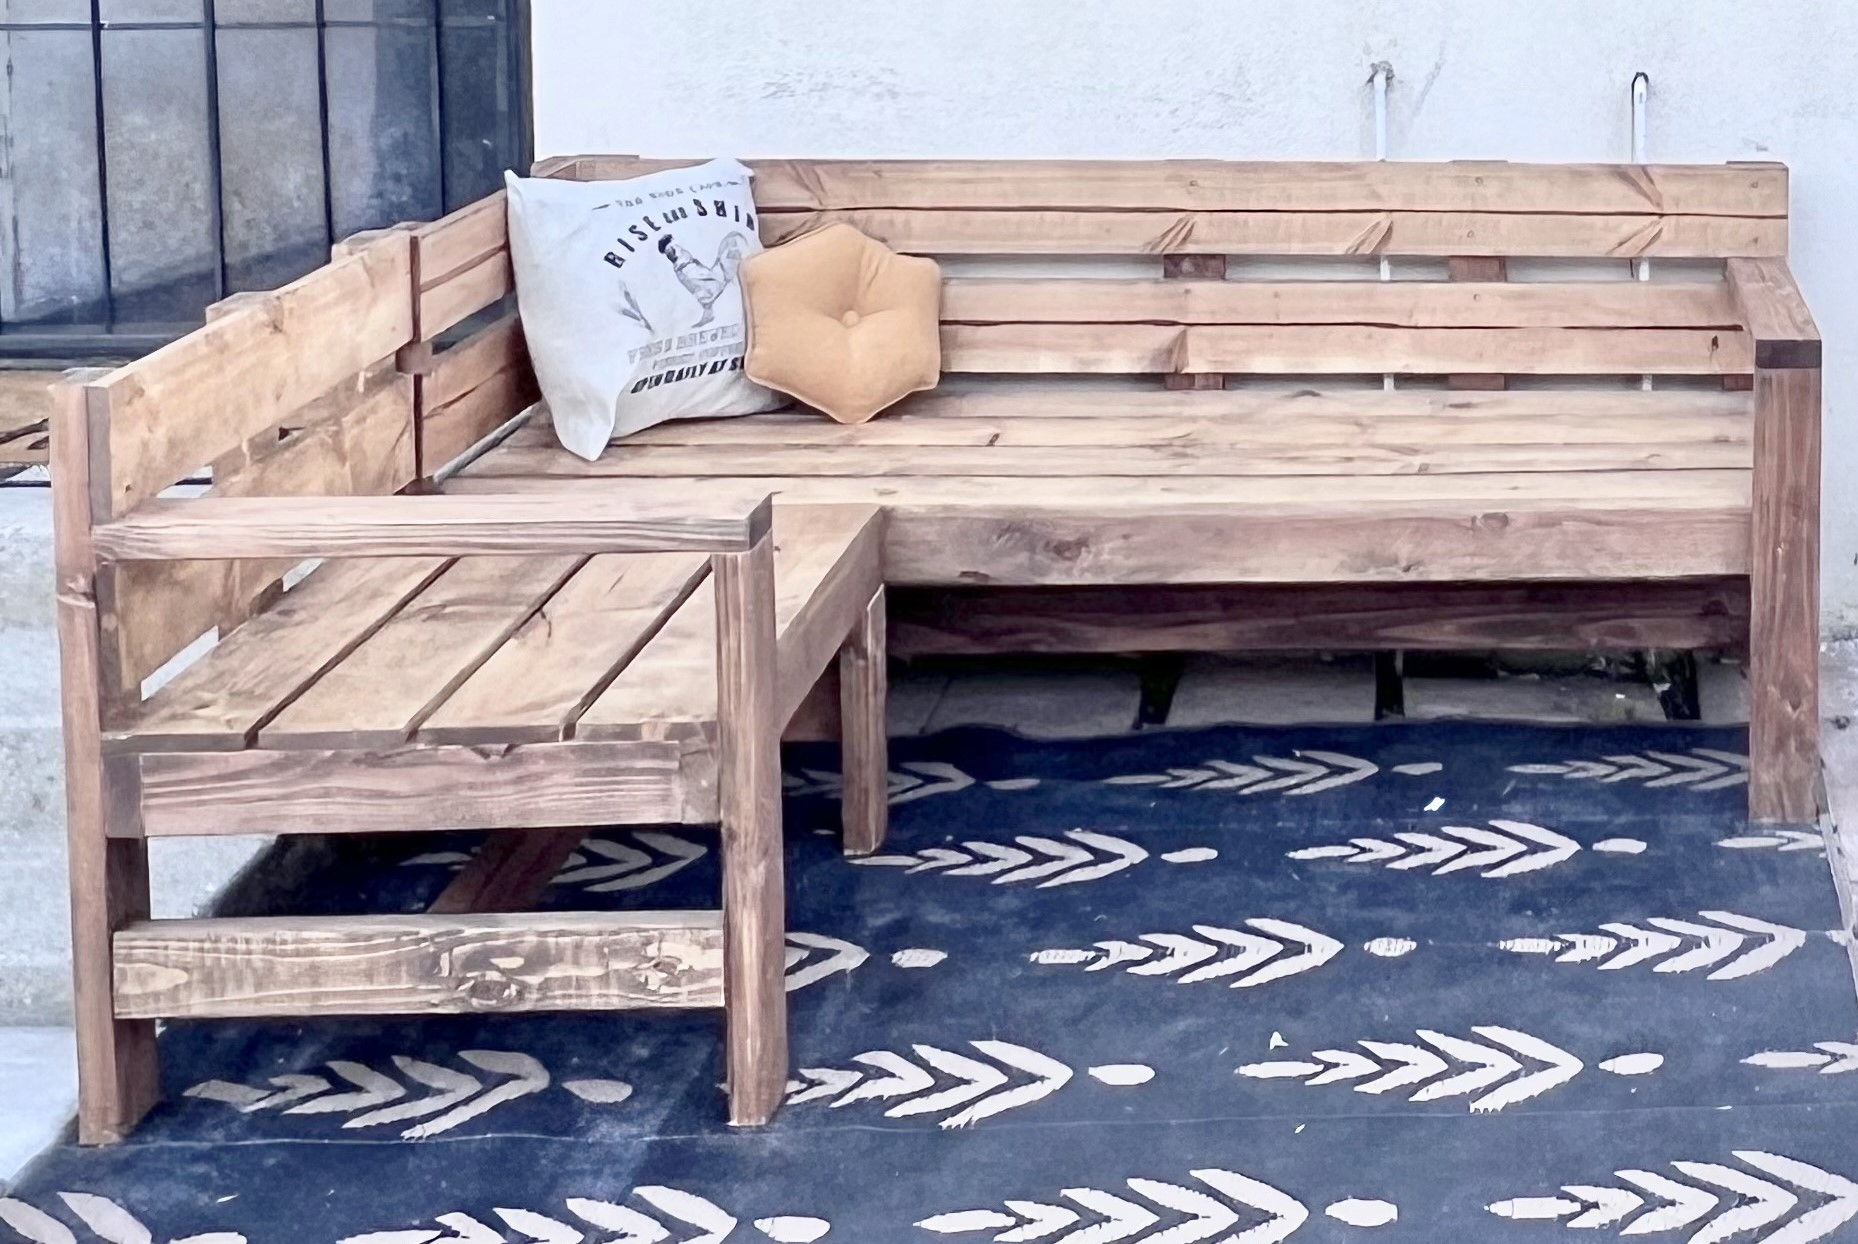
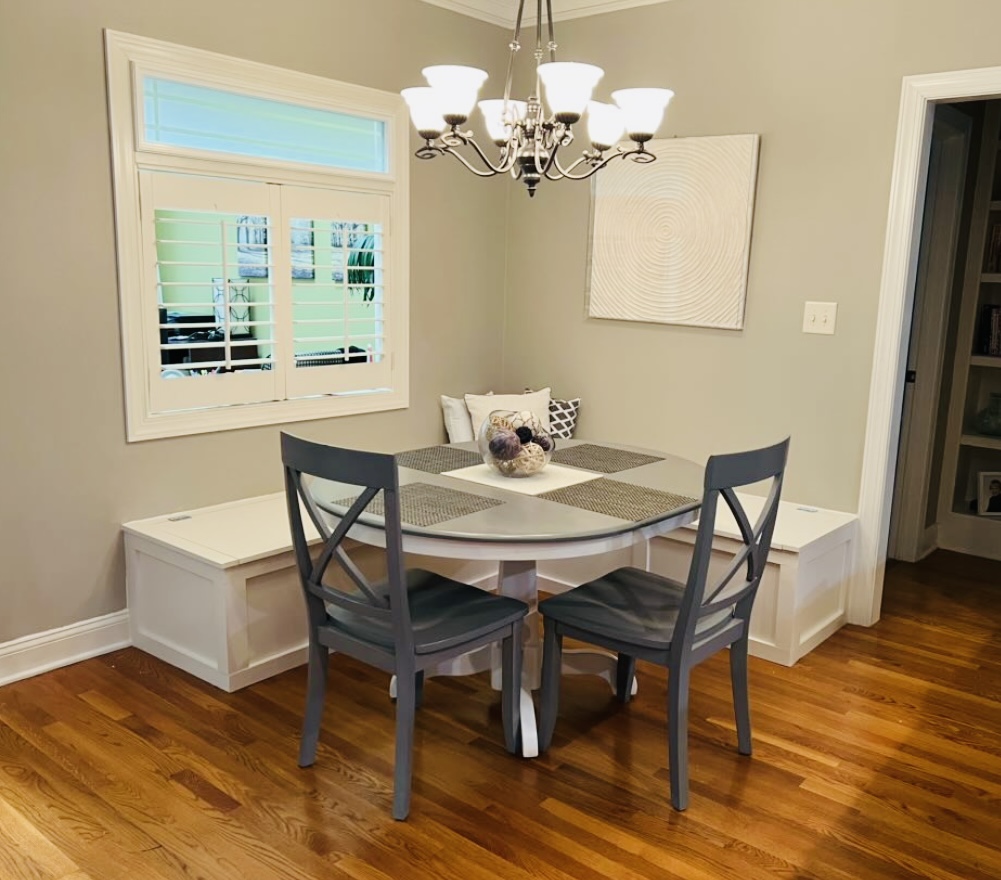
Modified to make an L shaped bench . Absolutely love it! Thank you!
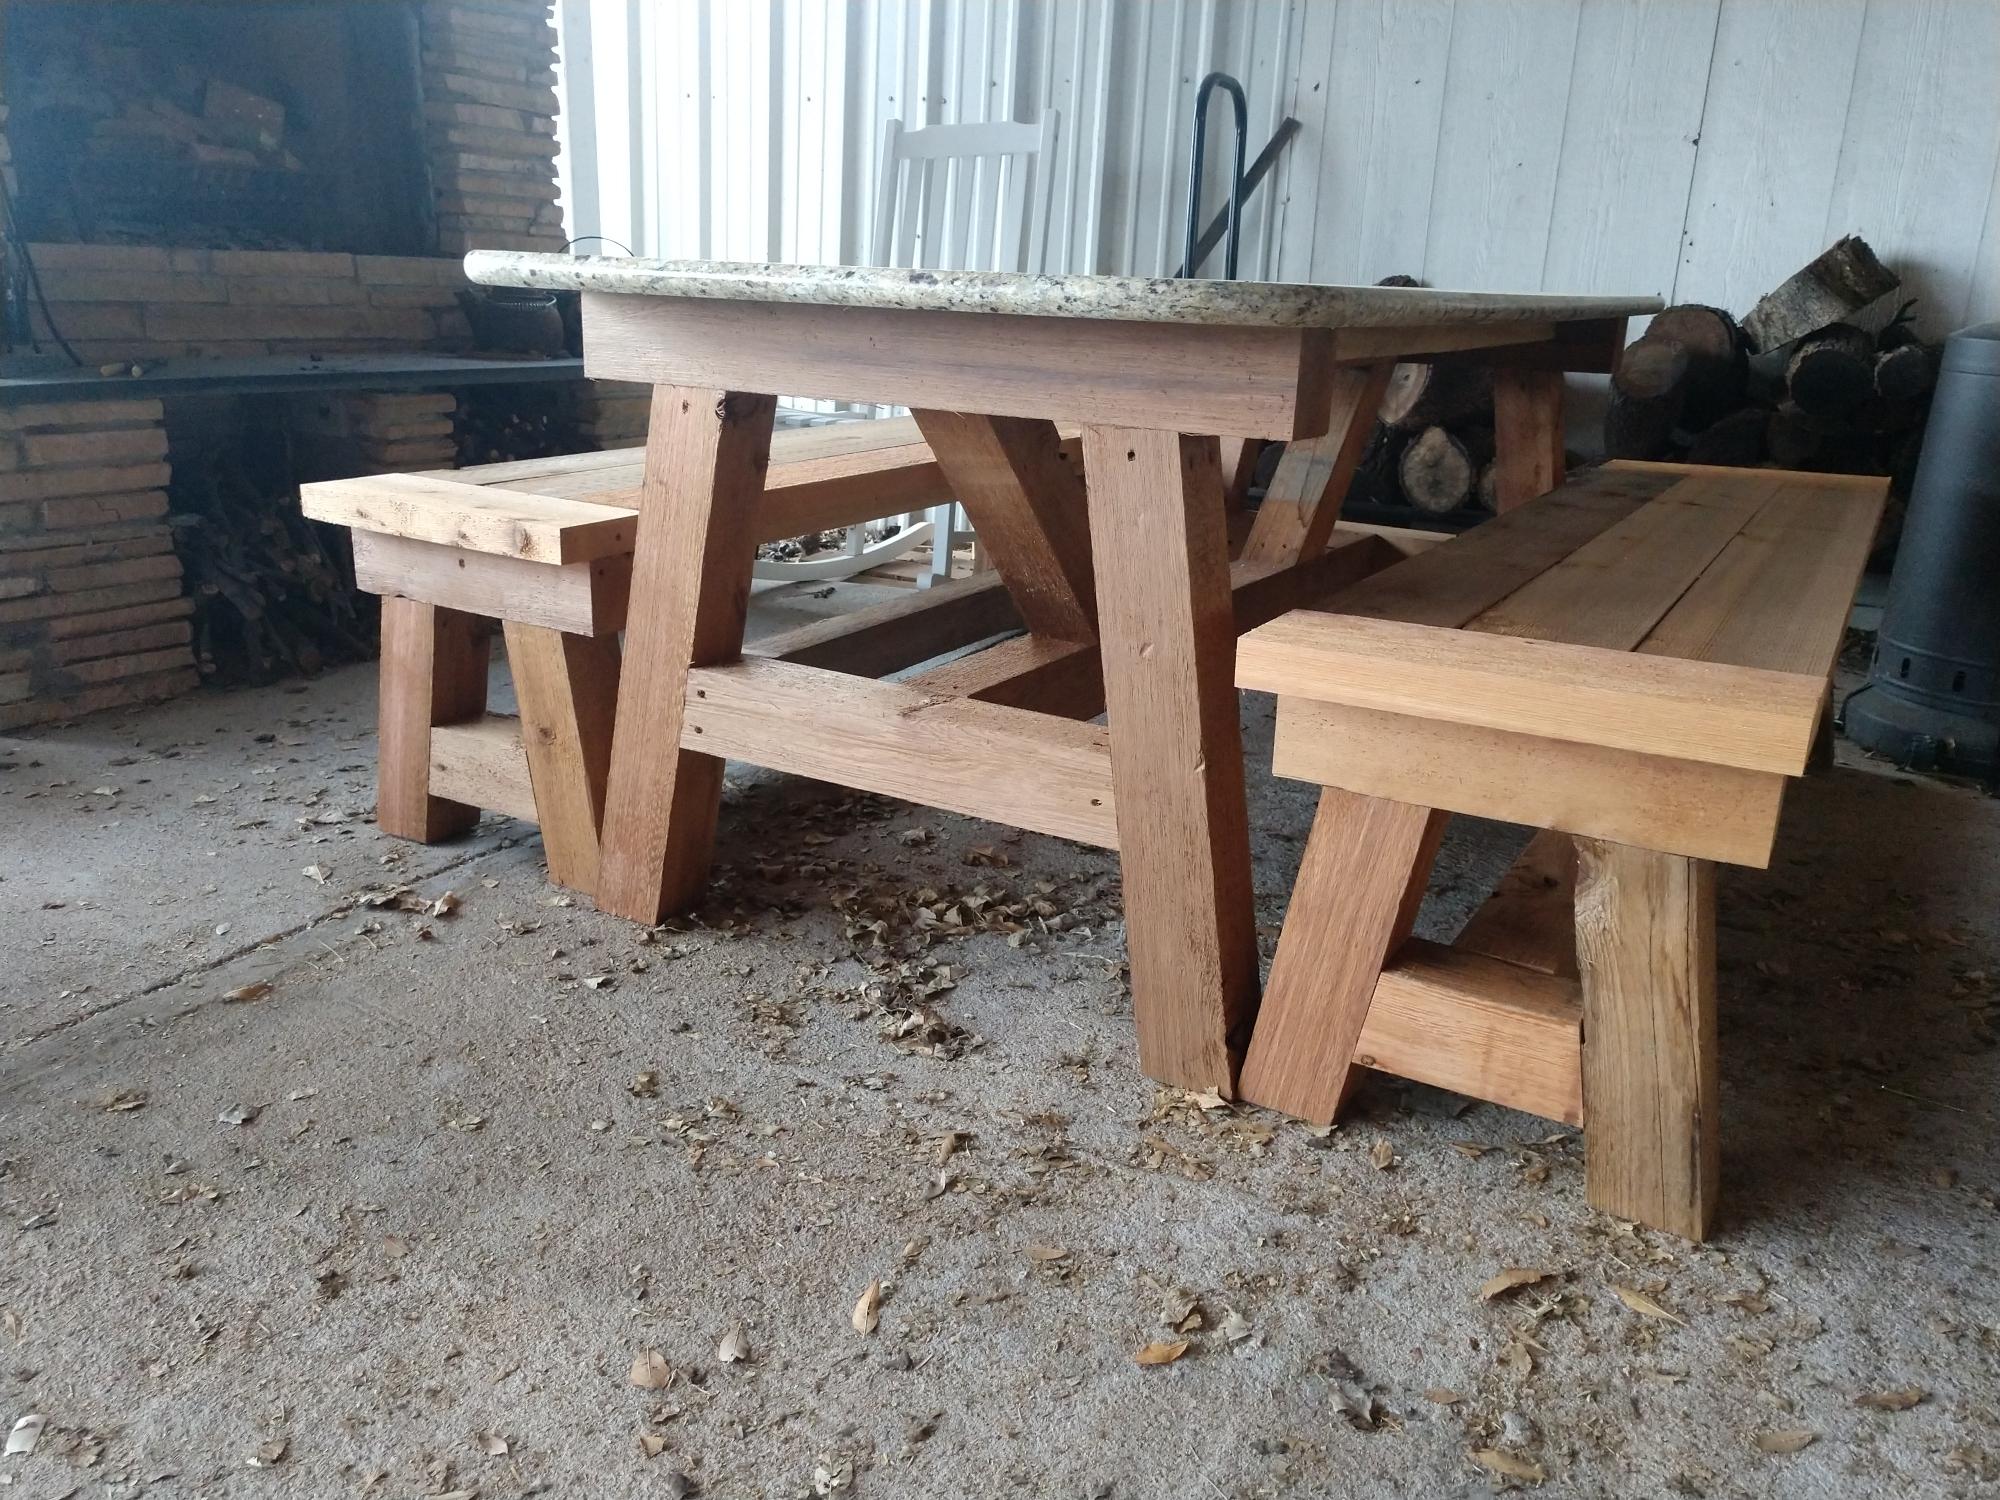
We had gotten a piece of granite for free, so my husband modified the plans to fit the slab. We made one in pressure treated lumber and loved the look so we decided to make a nicer one in cedar. The benches are a little wider because of the size boards available. We could have ripped them down, but we prefer the wider seat. I will sand the seats and seal the wood to keep it looking fresh longer. We look forward to many great memories at our new table by our outside fireplace. Thank you for the great plans!

We modified this table to make it larger for our growing family. It measures 42" (10 inches larger than the original plan). We added 10 inches to the length of the 2X6's and added 5 2X2's to increase the width of the width of the table. We love the interest it added to the table. 3 coasts of minwax cherry and three coats of minwax helmsman poly.

I was wanting a work bench for my outside shed to work on occasionally and help keep organized. This is the first piece of furniture I have built totally on my own! The plan was easy. I sized it down a little with no problem. I'm a little off on a couple of the cuts but will practice more! Overall, thrilled and extremely proud of it!
Lori B
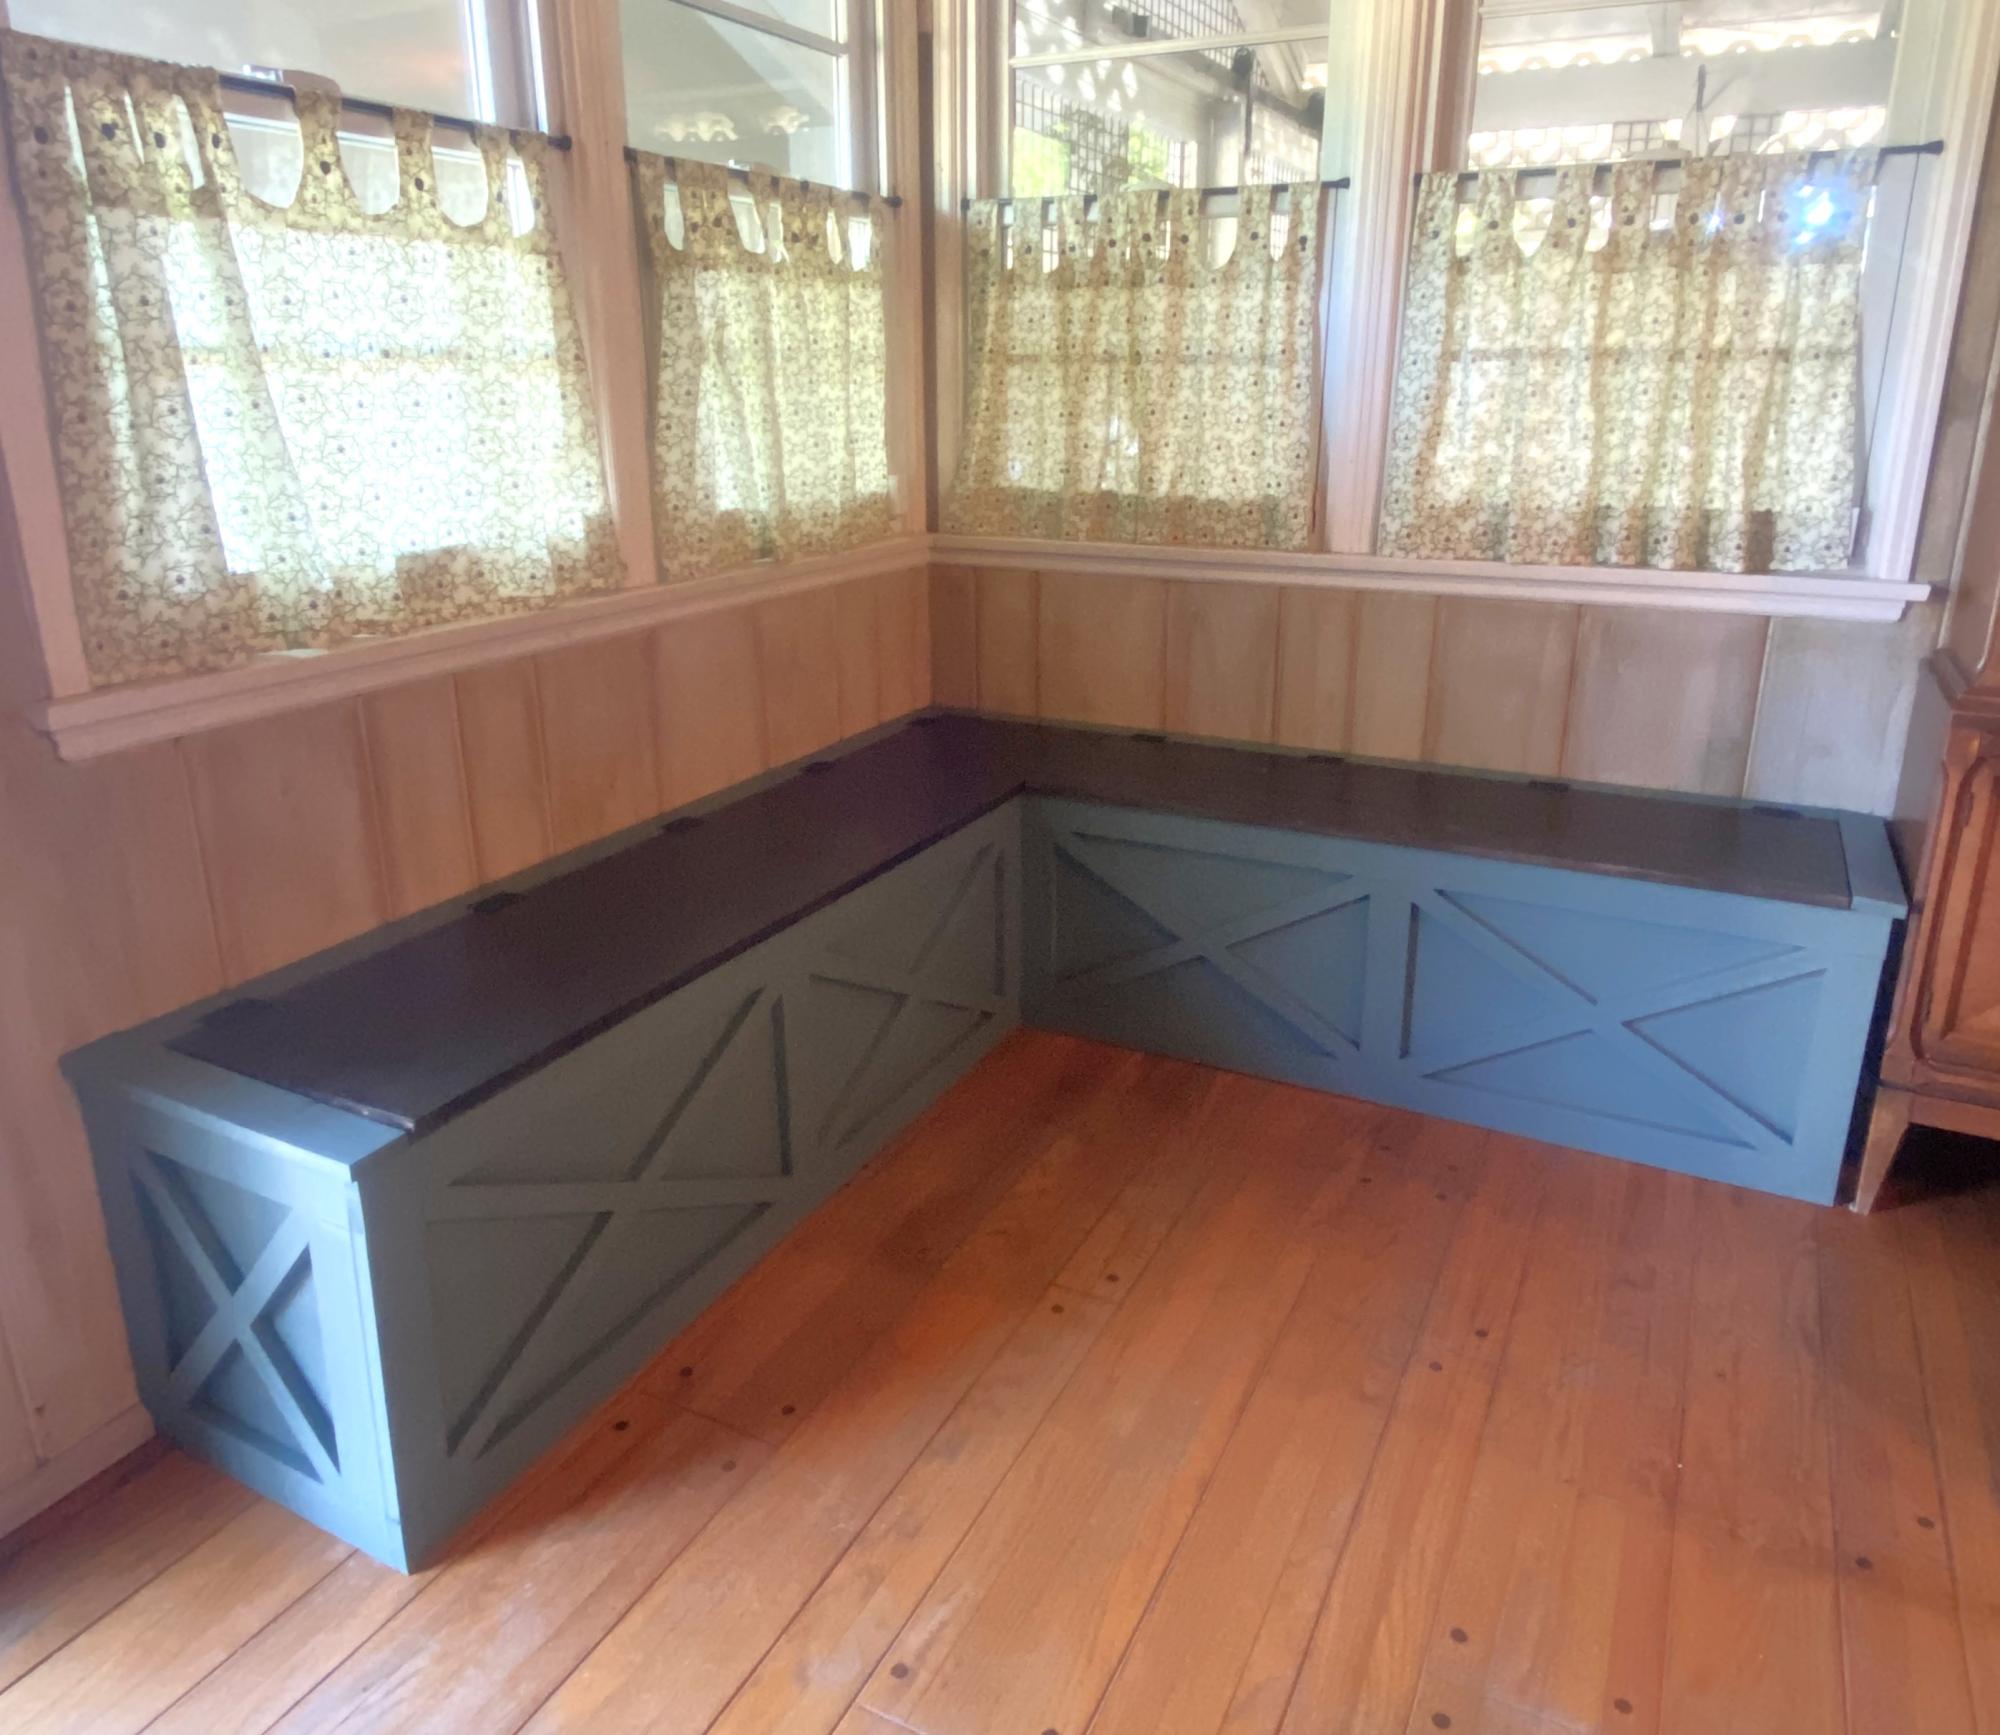
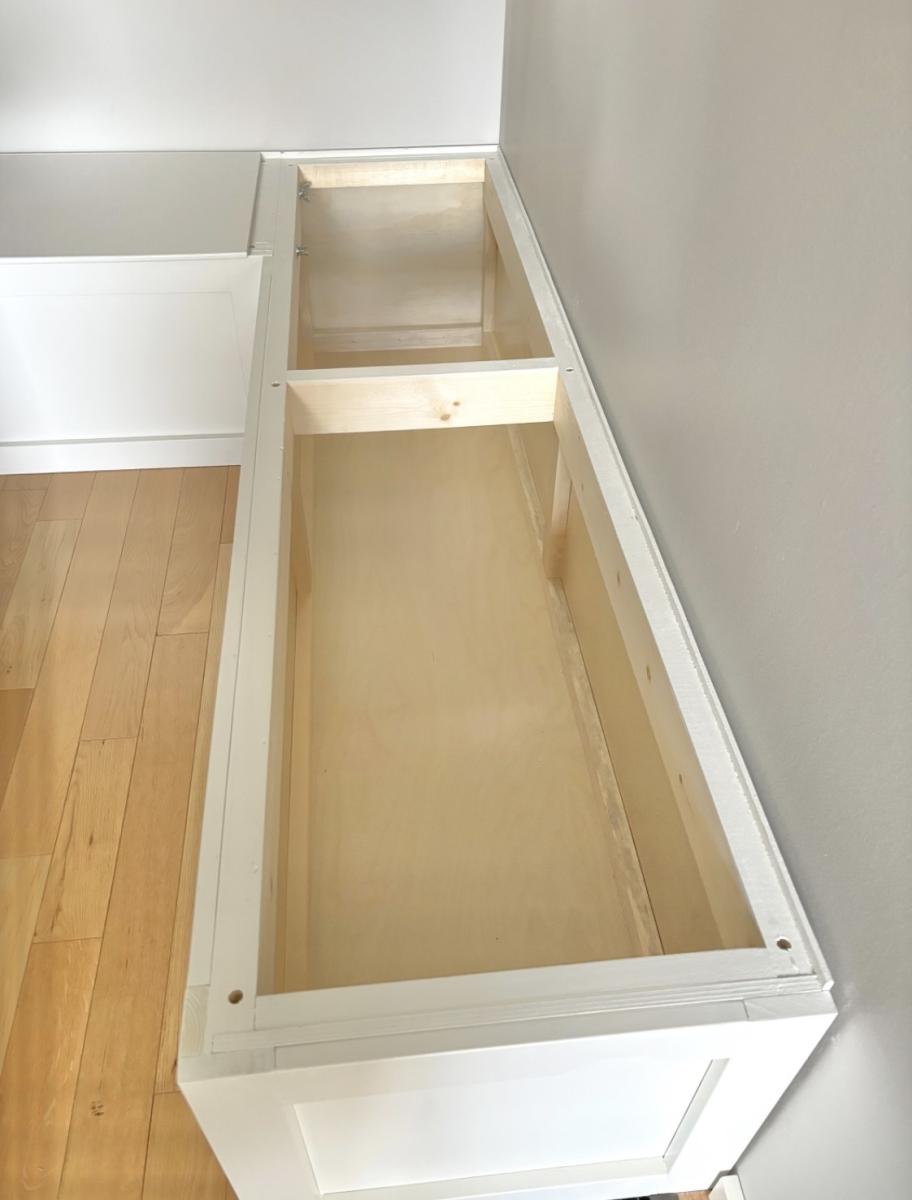
I needed some extra storage space and have always wanted a storage bench in this corner of my dining room. It took me a week to build from start to finish. I’ve never done any woodworking before, so this plan was good for me, as it was easy to follow with the color coding. The only thing that was “off plan” were the X’s on the face of the bench. I had some leftover 1x1 trim, from a handyman project a few years back, that I was happy to use up. It fit perfectly and I had just enough for all X’s. My biggest challenge with this project were the lids. They have a very minor bow, so one of the corners isn’t flush. But, it’s not enough to bother me or need to re-do the lid. All-in-all, I’m super happy with this banquette and may have caught the woodworking bug!
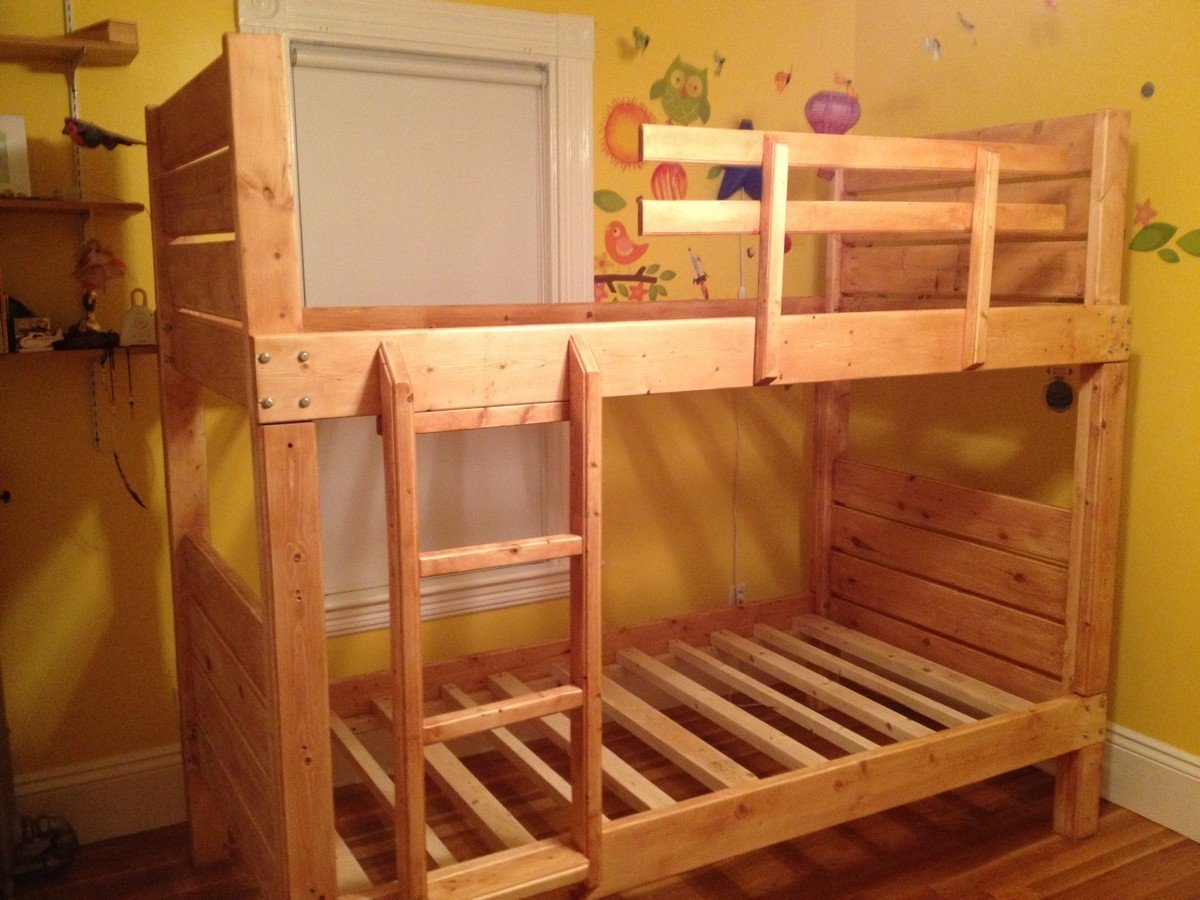
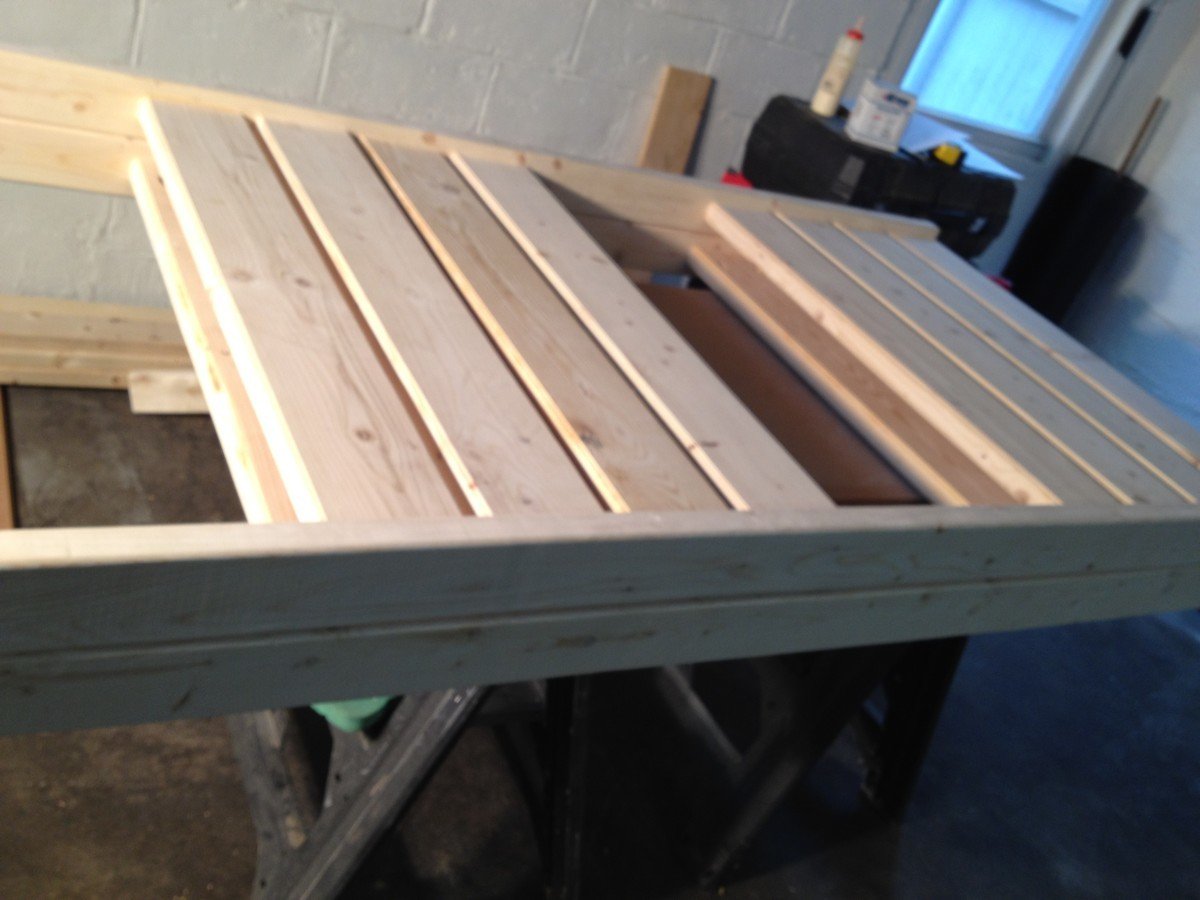
We were shopping for bunk beds for our 5 and 3-year-old kids, and everything I saw was overpriced, mass produced junk. I'm not kidding - we were looking at $800-$2000 for anything that appeared to be remotely stable, let alone well-designed.
Naturally, I started searching for plans (it's the right thing to do), and naturally, I found my way to Ana White. This project began in earnest when I found the Side Street Bunk Bed plans here:
http://ana-white.com/2012/03/plans/side-street-bunk-beds
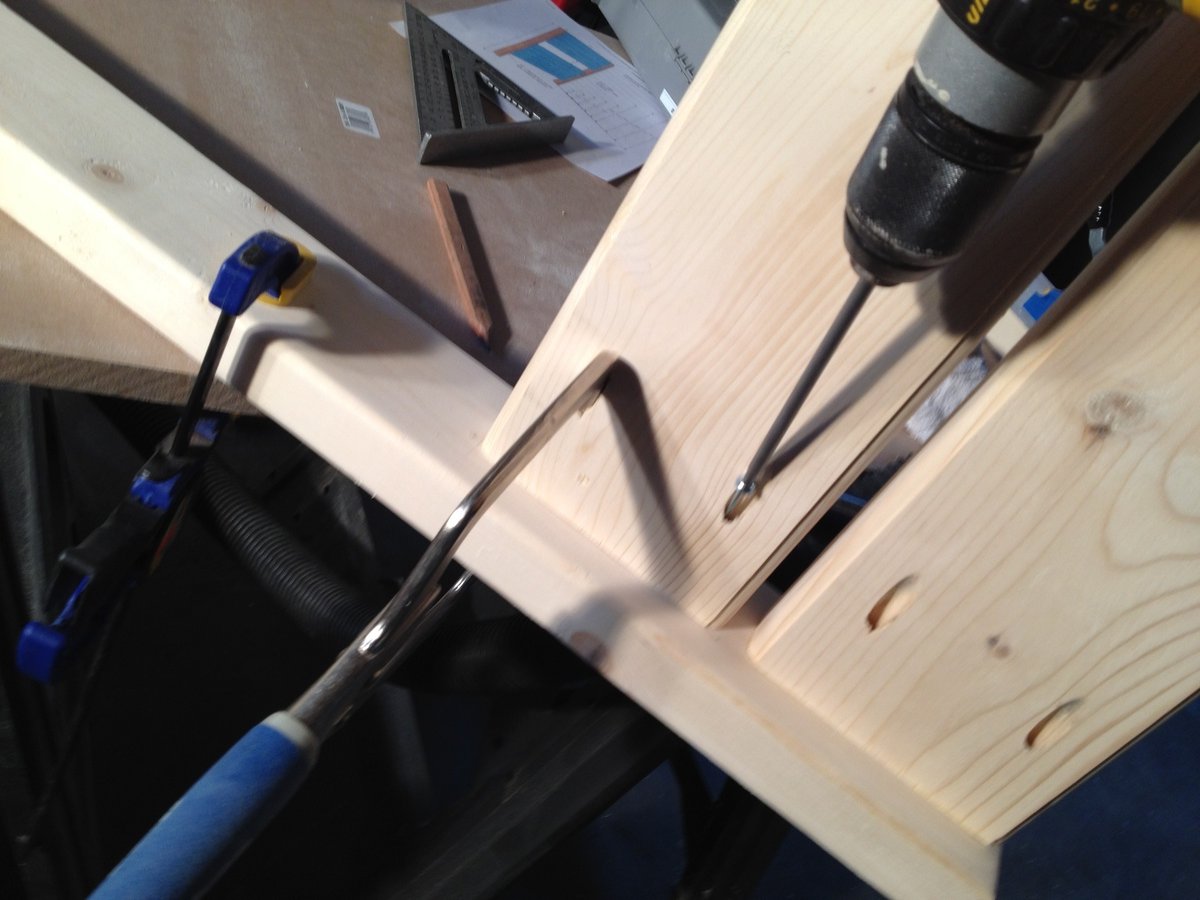
I figured I'd give it my own twist. I needed to practice using my DeWalt compact router (and the new trim router table my wife had given me months before), and any excuse to bust out my Kreg Jig is fine by me. I also had different ideas for the ladder and guard rails...so I printed out the plans, sketched out my variations, and proceeded to suffer through the indignity of lumber shopping at Home Depot.
I know what you're thinking - WHY would anyone even bother trying to find a straight board in THAT place? Well believe me, I suffered for the convenience of driving to the HD two miles from my house. I had to work each and every board like crazy, but eventually I got em all into fine shape. Wood wants to be good, even the crap they sell at HD.
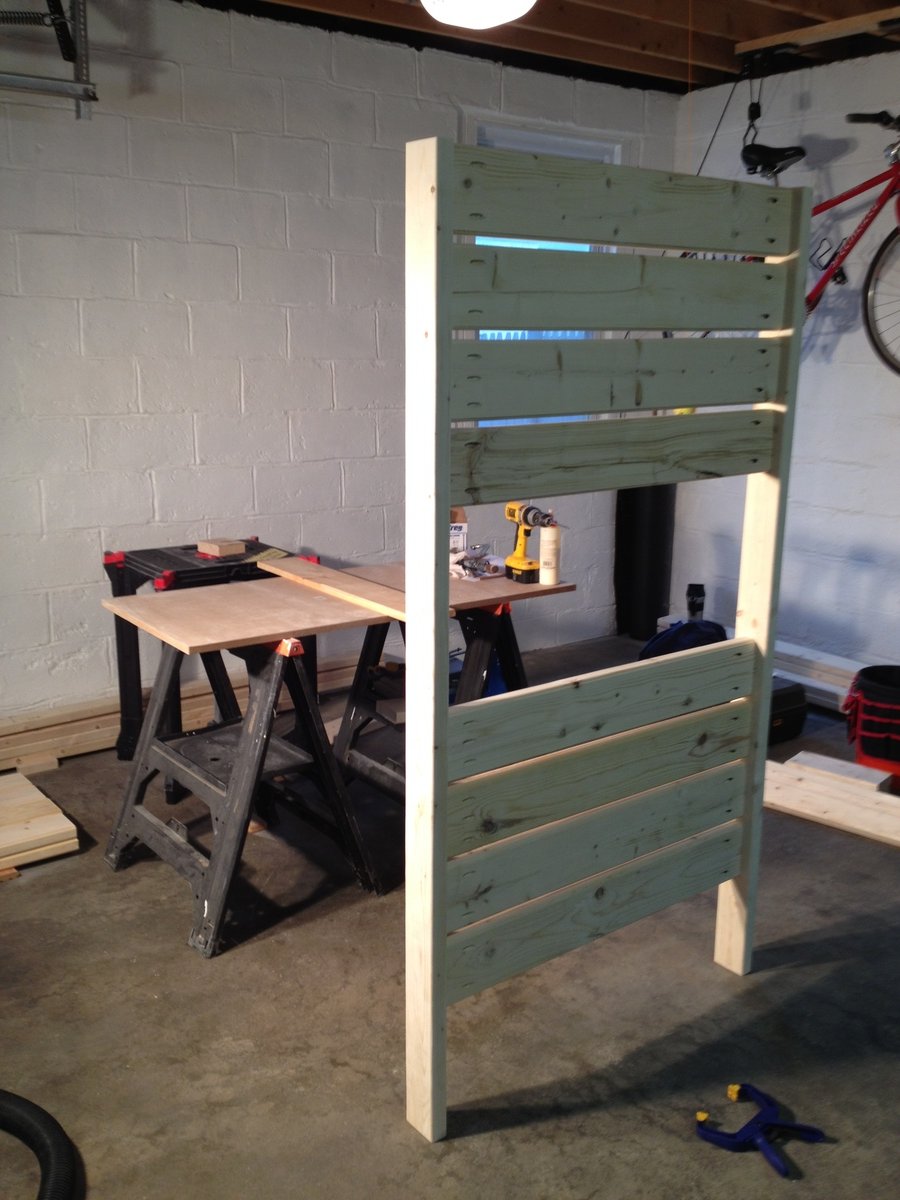
About halfway through the build, I started to worry that what i was building was TOO sturdy - total overkill. But now that it's in use, I can tell you I'm glad I built with these plans. I can still climb up on top of the bed with both my kids if I want to and this thing doesn't budge. Not an inch. Not a creak. SOLID. Exactly what any parent wants.
Not a lot of complex tools involved here; my trusty Delta chop saw, my DeWalt 18v cordless drill, a DeWalt palm sander ( I spent hours with this), the Kreg Jig and a couple of clamps (of course), and the DeWalt Compact Router and table. The router really made a difference in the overall design – and I wasn't afraid of screwing up the lousy lumber I was working with. In the end, it all finished rather nicely.
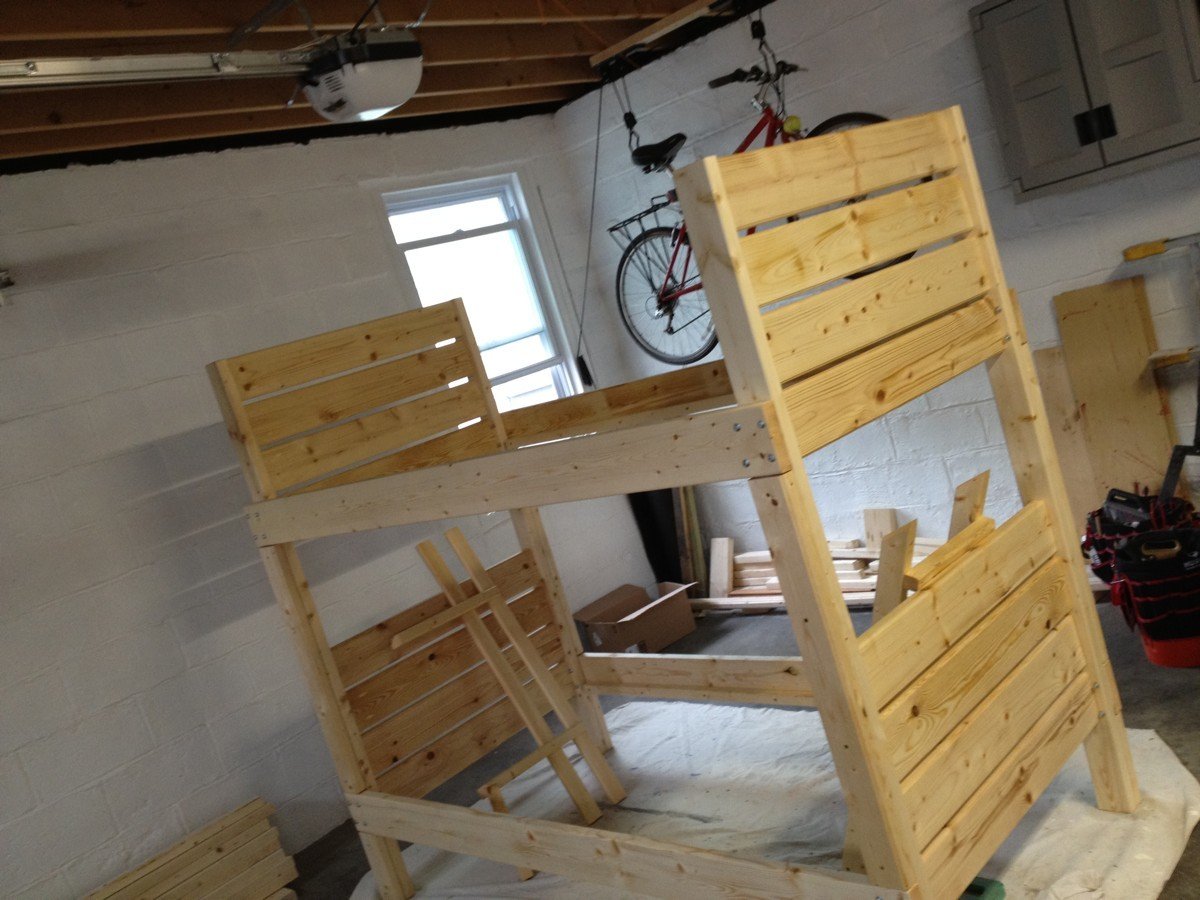
I treated every piece with Minwax wood conditioner, then a single coat of Minway Polyshade in Pecan. Nothing fancy, but after sanding it down and giving it a polish, I gotta say it looks just as good as your average IKEA finish. Not bad at all.
This is the largest piece of functional furniture I've ever built, and my kids LOVE it. They talked about it for days after, and you can't buy that on Amazon. It was a real confidence builder, and I'm PSYCHED to move on to some nicer lumber and more complex projects!

Thu, 05/24/2012 - 09:42
That is really lovely. You should be proud and how wonderful that you created this experience for your boys instead. No doubt you have inspired and impressed them. Way to go.
Sat, 07/14/2012 - 16:01
Great job. We just bought the wood to make the same bunk bed. Would you mind sharing your dimensions/cut list for the ladder on your bunk bed? We would like to build the same ladder instead of the one that goes out to the floor.
Thanks.
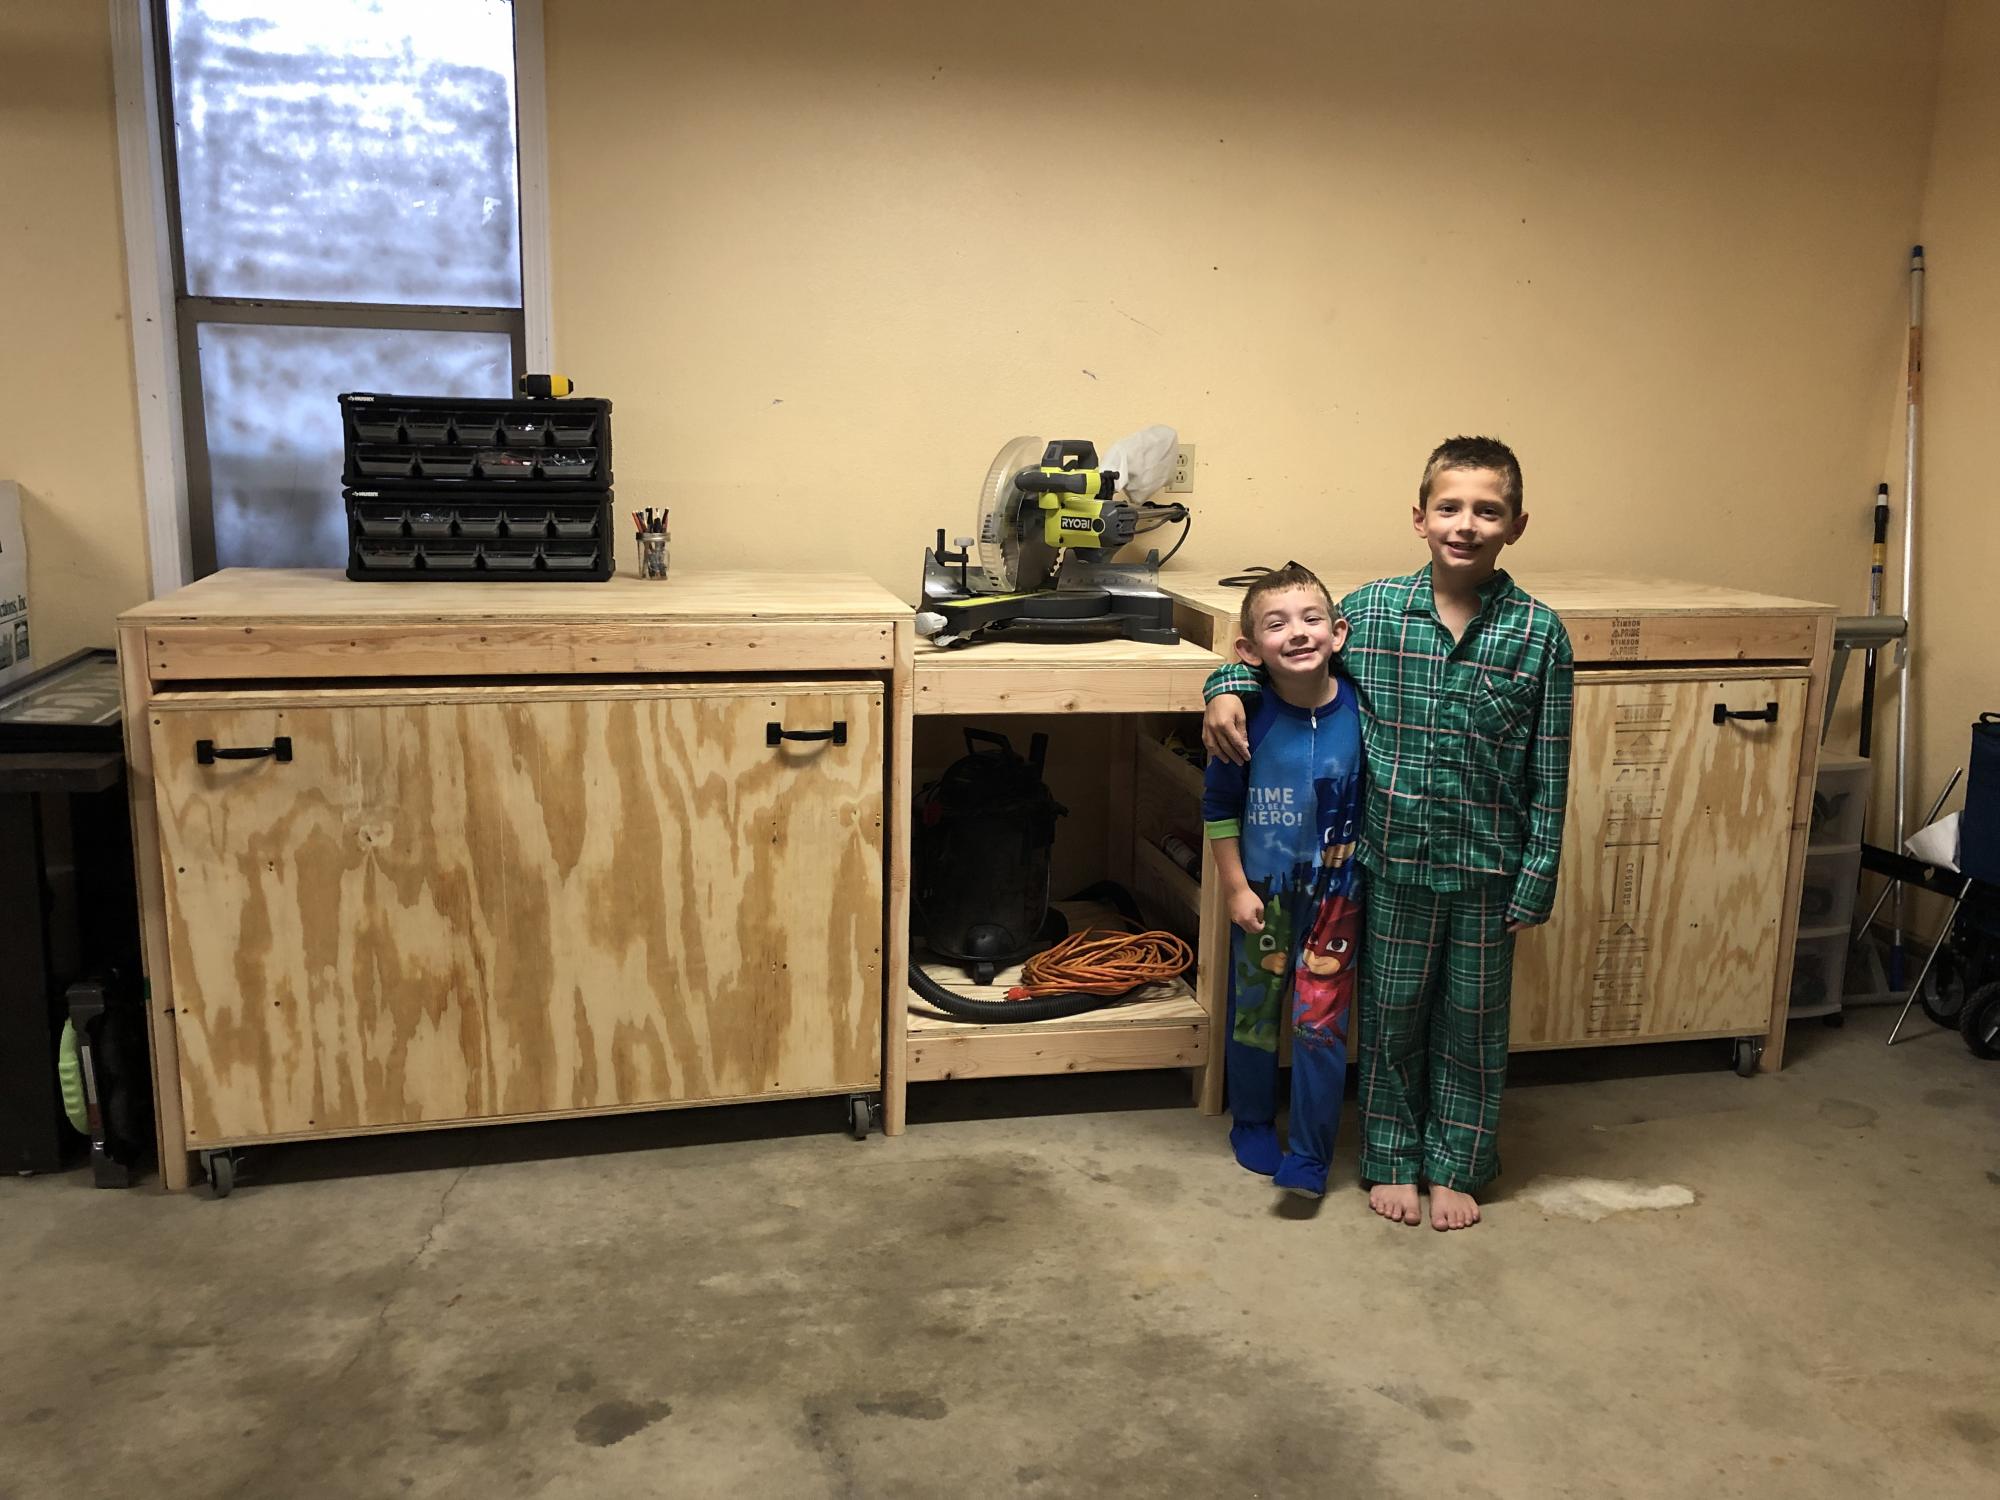
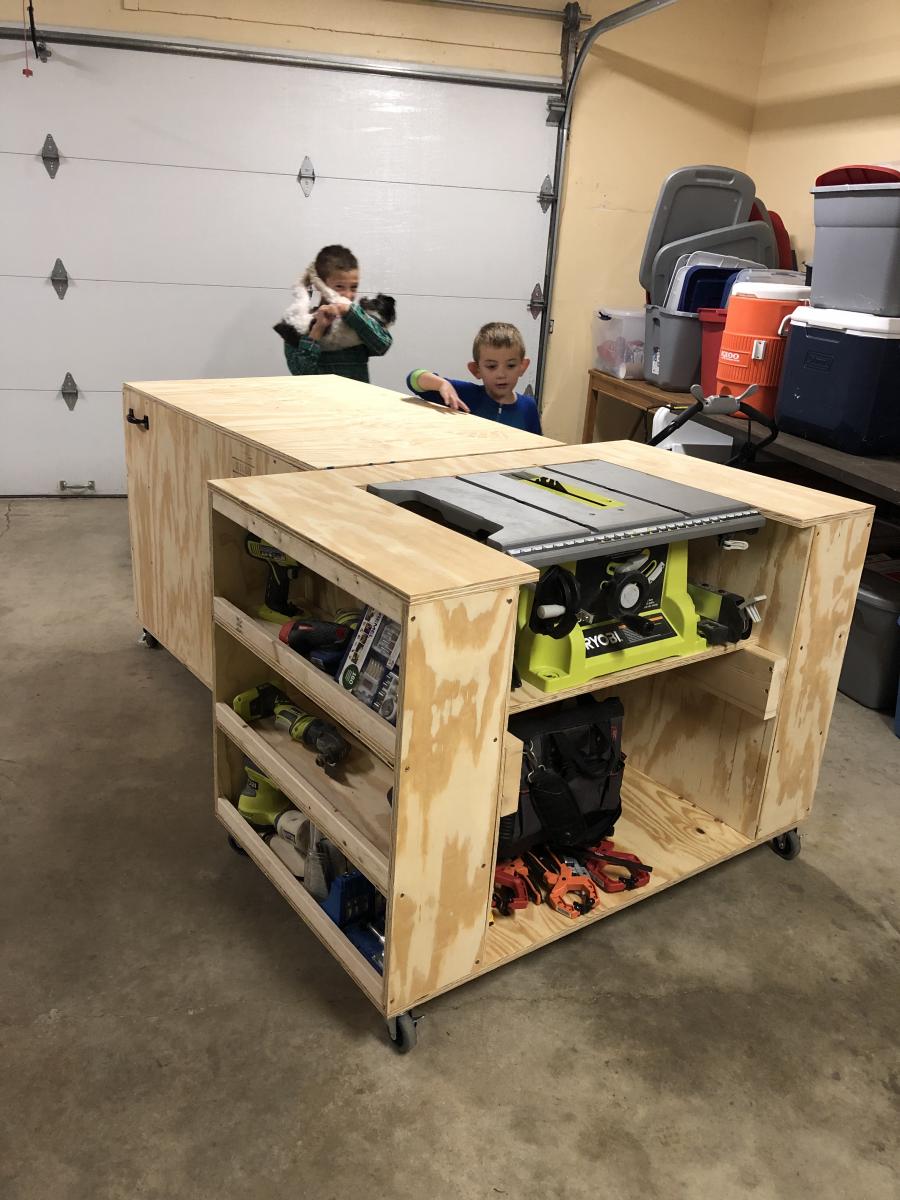
After collecting my tools, I needed a place to store them that would protect them. I had already had two jigsaws break because I was storing them in a rubbermaid tote. When I saw this plan I knew it was going to be perfect for my shop. My husband was supper happy because I would finally have a central spot for my workshop. My boys were happy to help when they could.

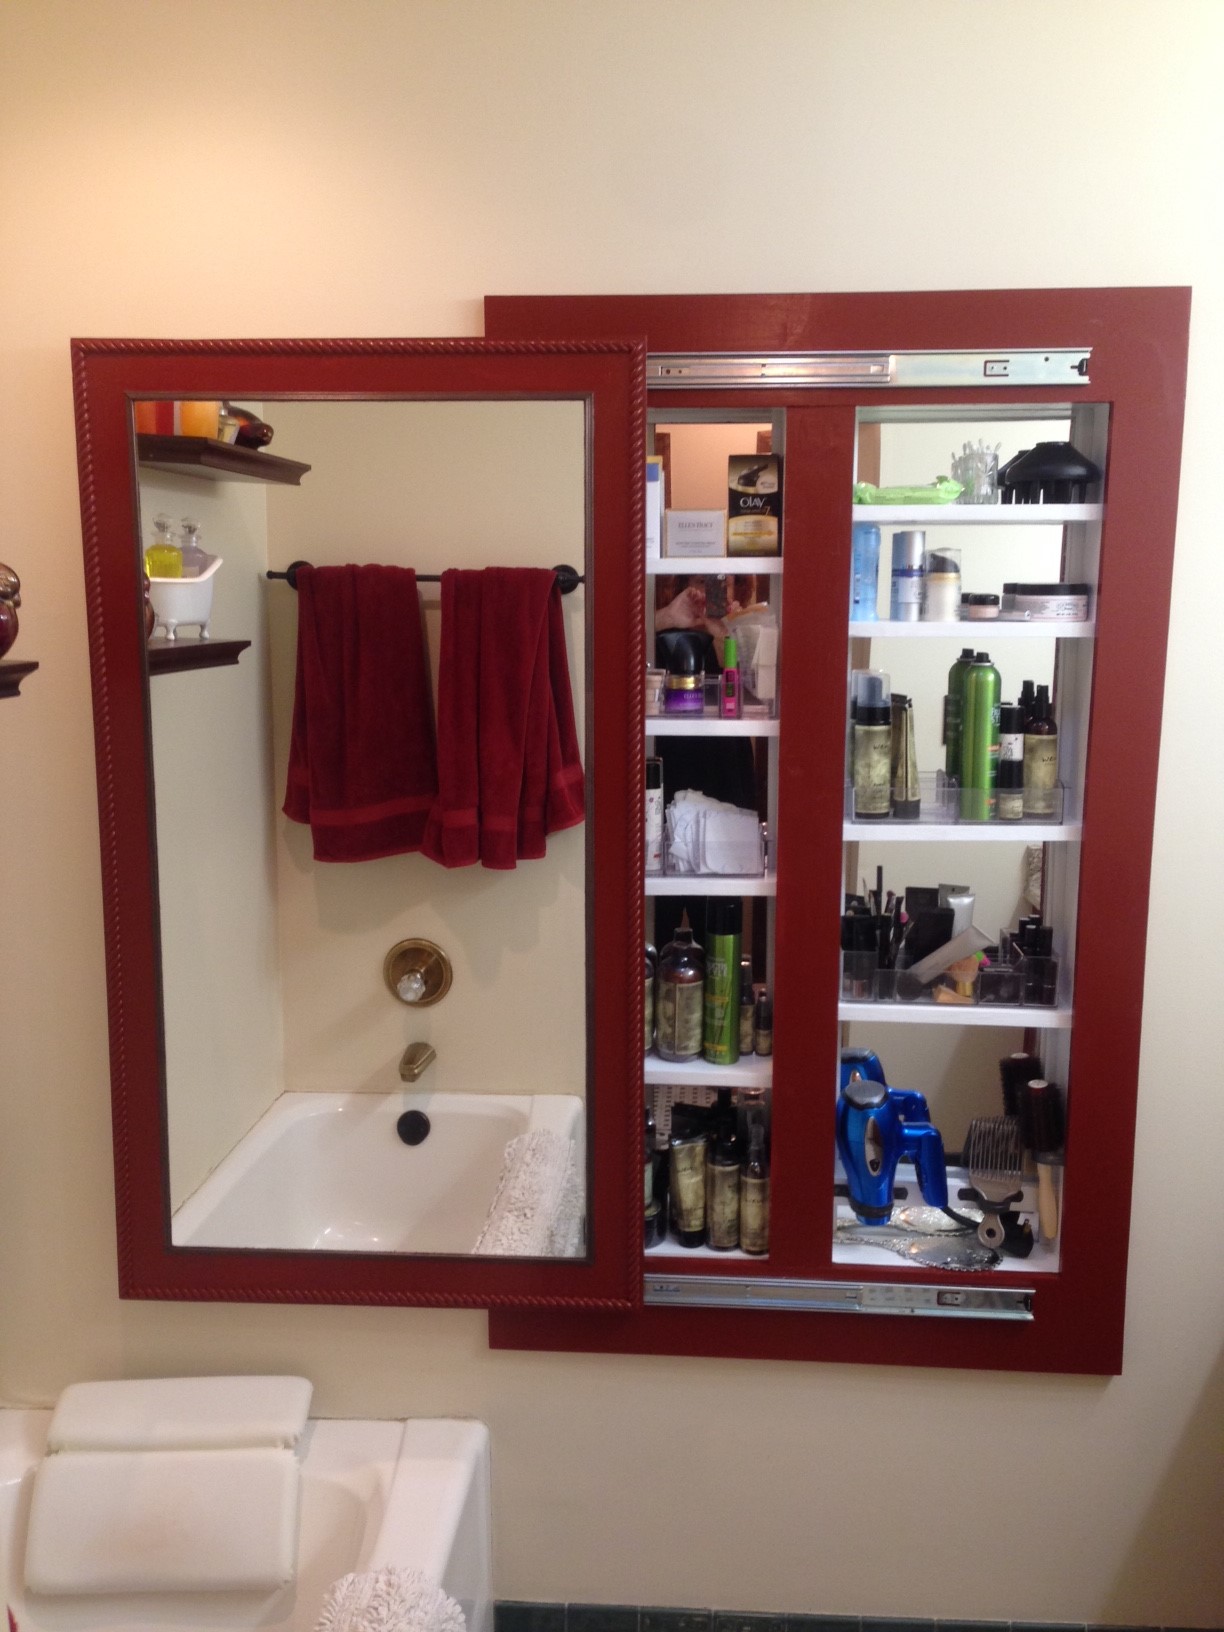
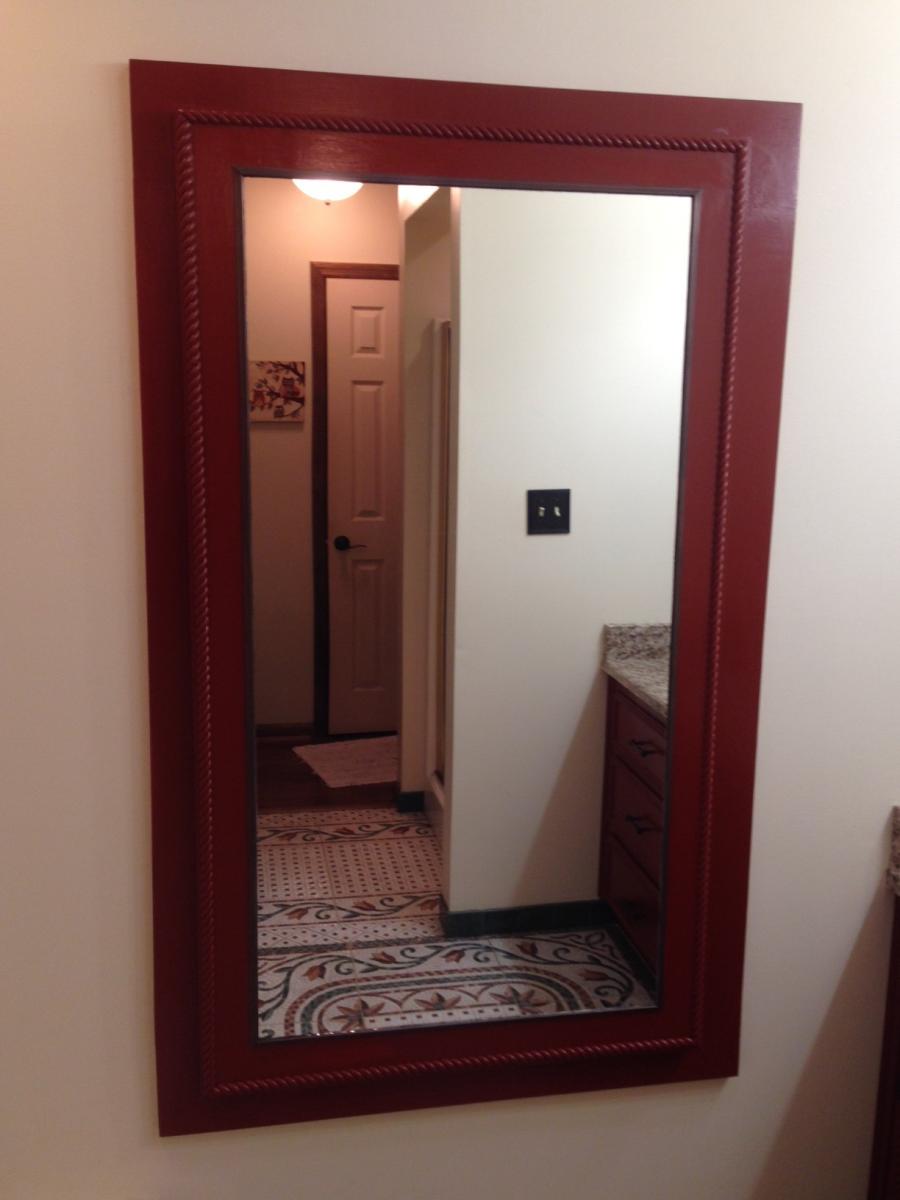
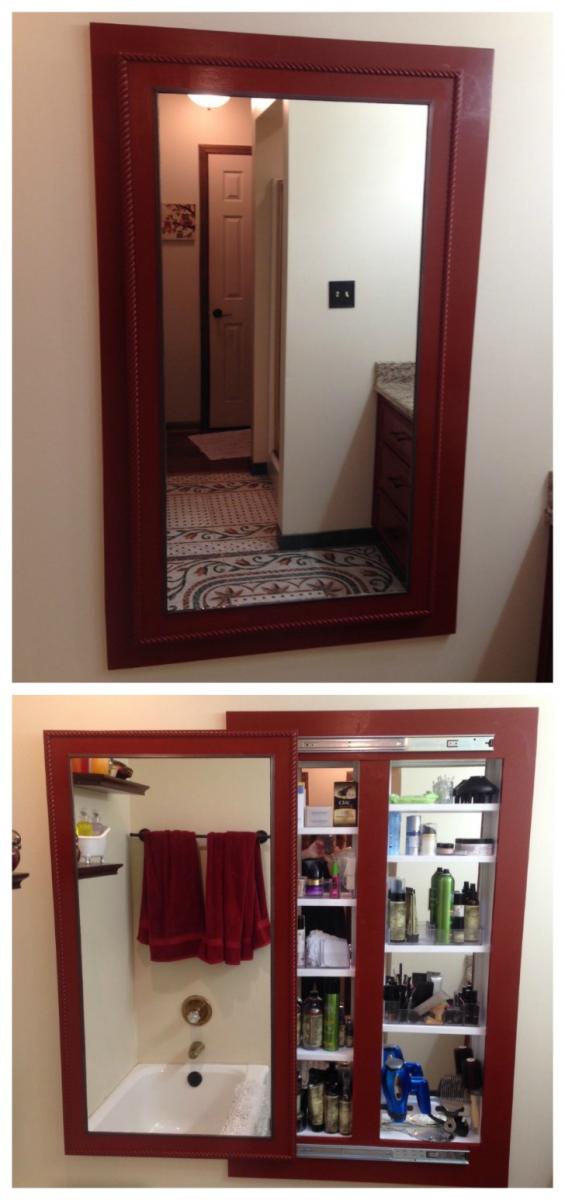
Adapted Ana's full length mirror storage idea. I needed to recess the cabinet into the stud cavity to save needed floor space. Opened two cavities and made the interior the same length as the cheap $6 behind the door mirror. Was able to just sit them on a ledger board and the shelves hold them from falling forward.
The cabinet looks wonderful and holds a TON of things. Thanks Ana for the inspiration!

Thu, 07/25/2019 - 18:20
I love this!! So smart to make it recessed. Thanks so much for sharing the photos!
Sun, 02/27/2022 - 15:58
I am wanting to build a thin or recessed cabinet for an incredibly small area in my bathroom and knew to go right to Ana White! The combination of these two projects is perfect and exactly what I was looking for! Now here’s to praying I can pull it off!! 😬
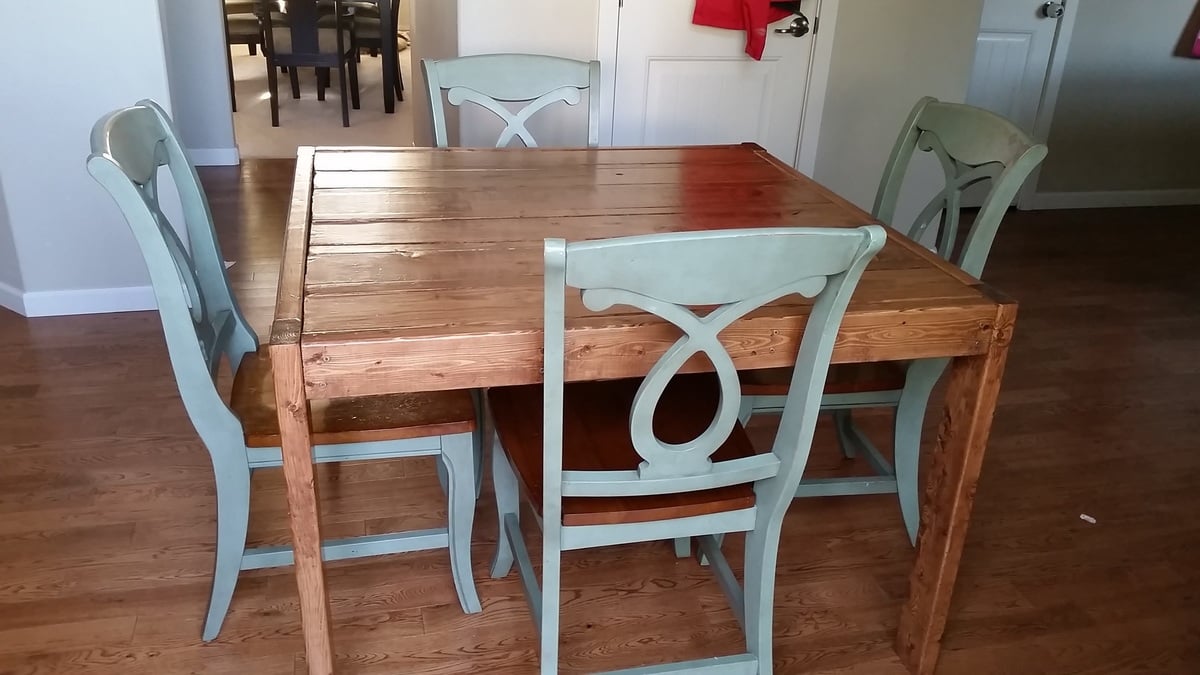
This is my banquette bench I made over the past few weeks after I saw your pictures and plans on your website. I absolutely love it. I am refinishing a table and chairs to use with it. Now I have room for lots of guest. Thank you for your great ideas.
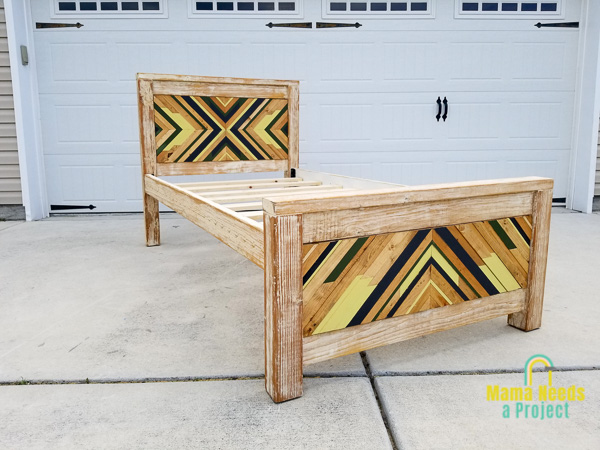
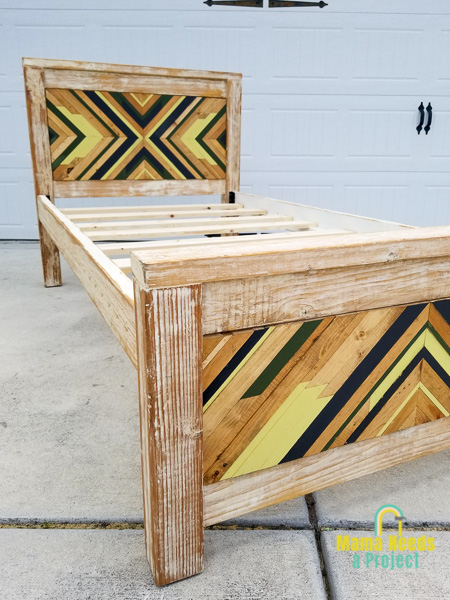
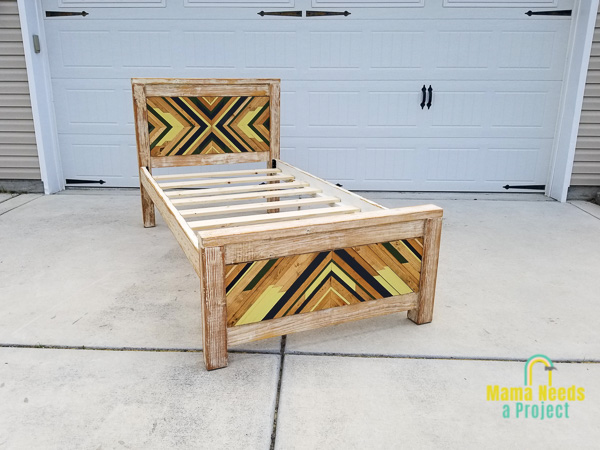
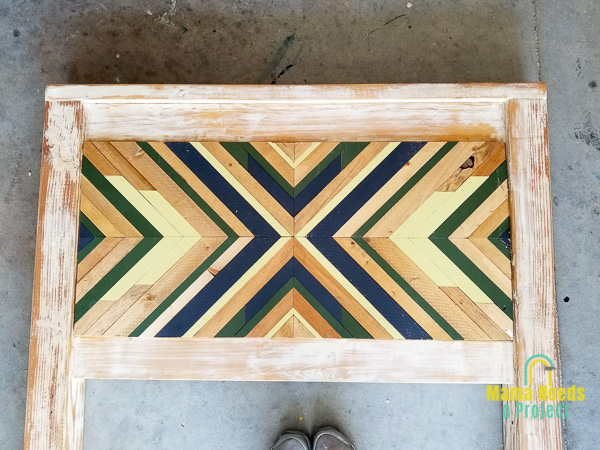
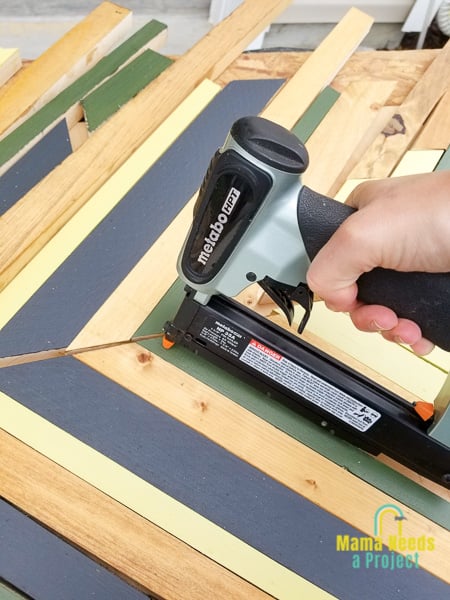
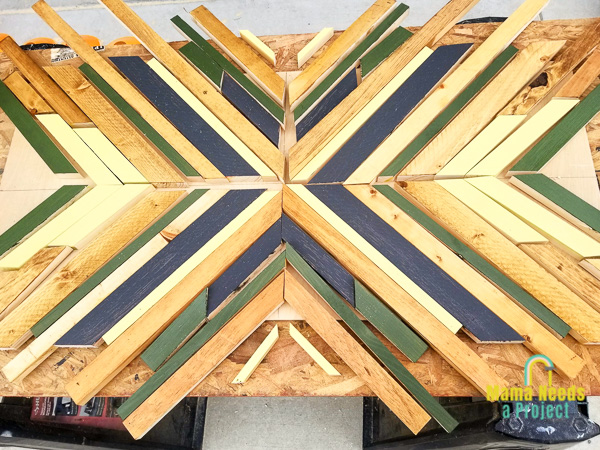
I was given this bed frame by a neighbor whose children had outgrown it and wanted to make a few changes before putting it in my son's room. I took the original frame (built from Ana's Farmhouse Bed woodworking plans) and stripped most of the existing finish. Then, I stained over the stripped paint to give it the distressed look. Next I created the DIY geometric wood art to fit in both the headboard and the footboard. To do this I cut down scrap 1" thick lumber to varying widths and arranged it into a geometric pattern. This was such a fun project and I absolutely LOVE how it turned out! I wrote out every step of the process in this blog post: https://mamaneedsaproject.com/diy-twin-bed-frame-with-geometric-wood-ar… Thanks!
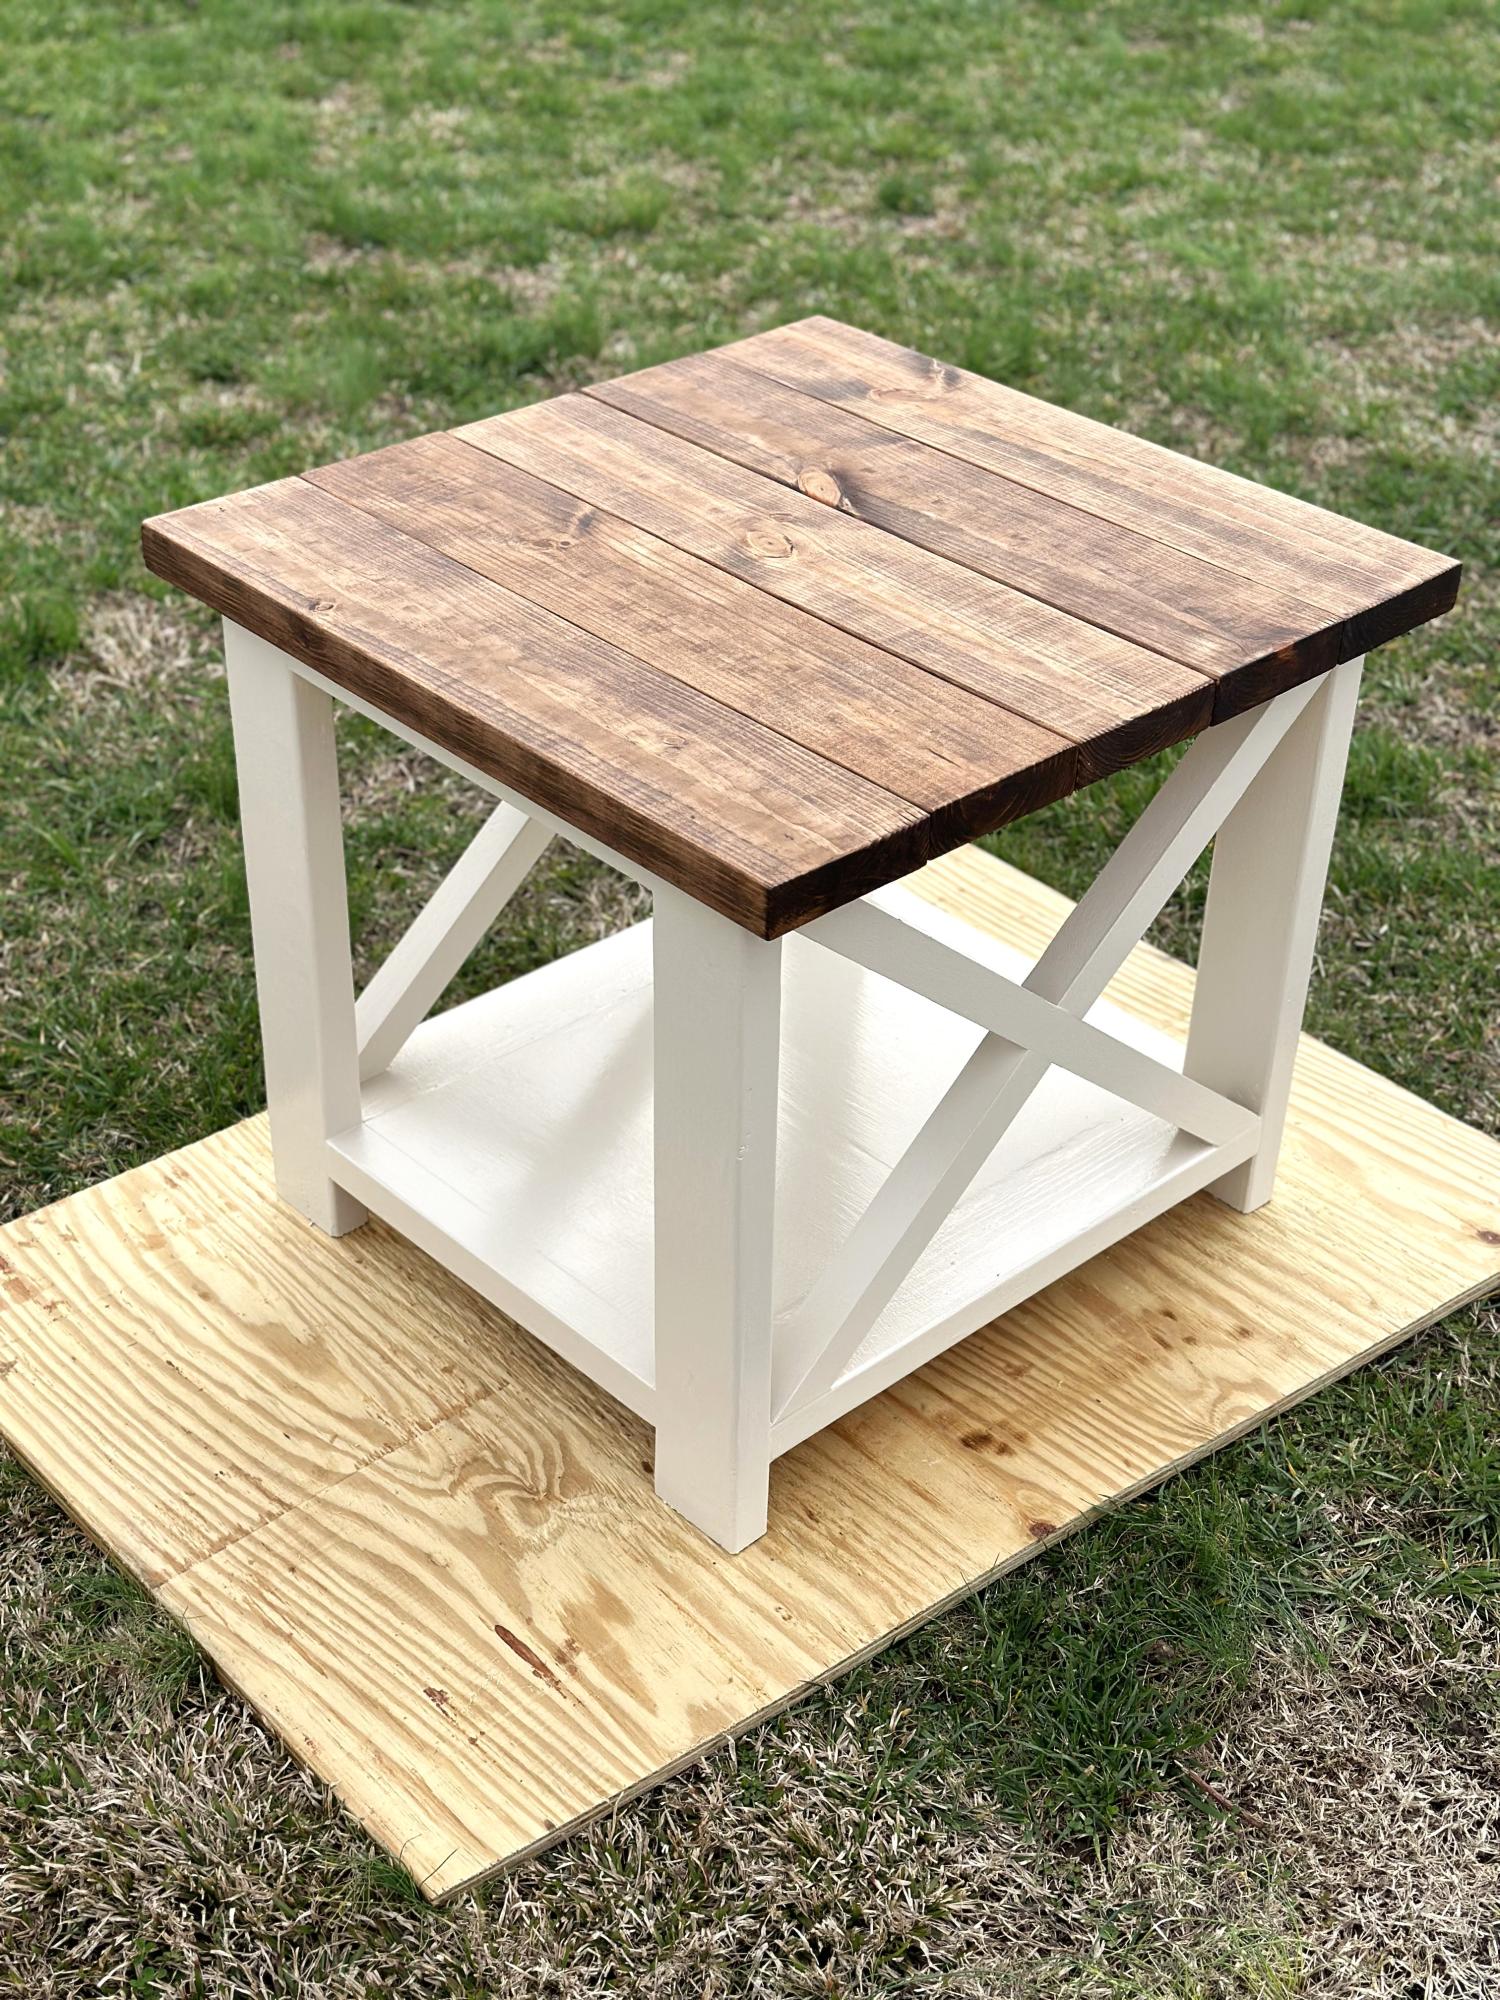
Wife wanted a new end table for our living room. After searching for a month and not finding one I ran across this plan and decided to just build it. Definitely saved a ton of money and she got to custom her own colors. Went with a Honey stain top and beige bottom. She is very excited about it. Built it in just 2 days with only a drill, palm sander and 10” miter saw.
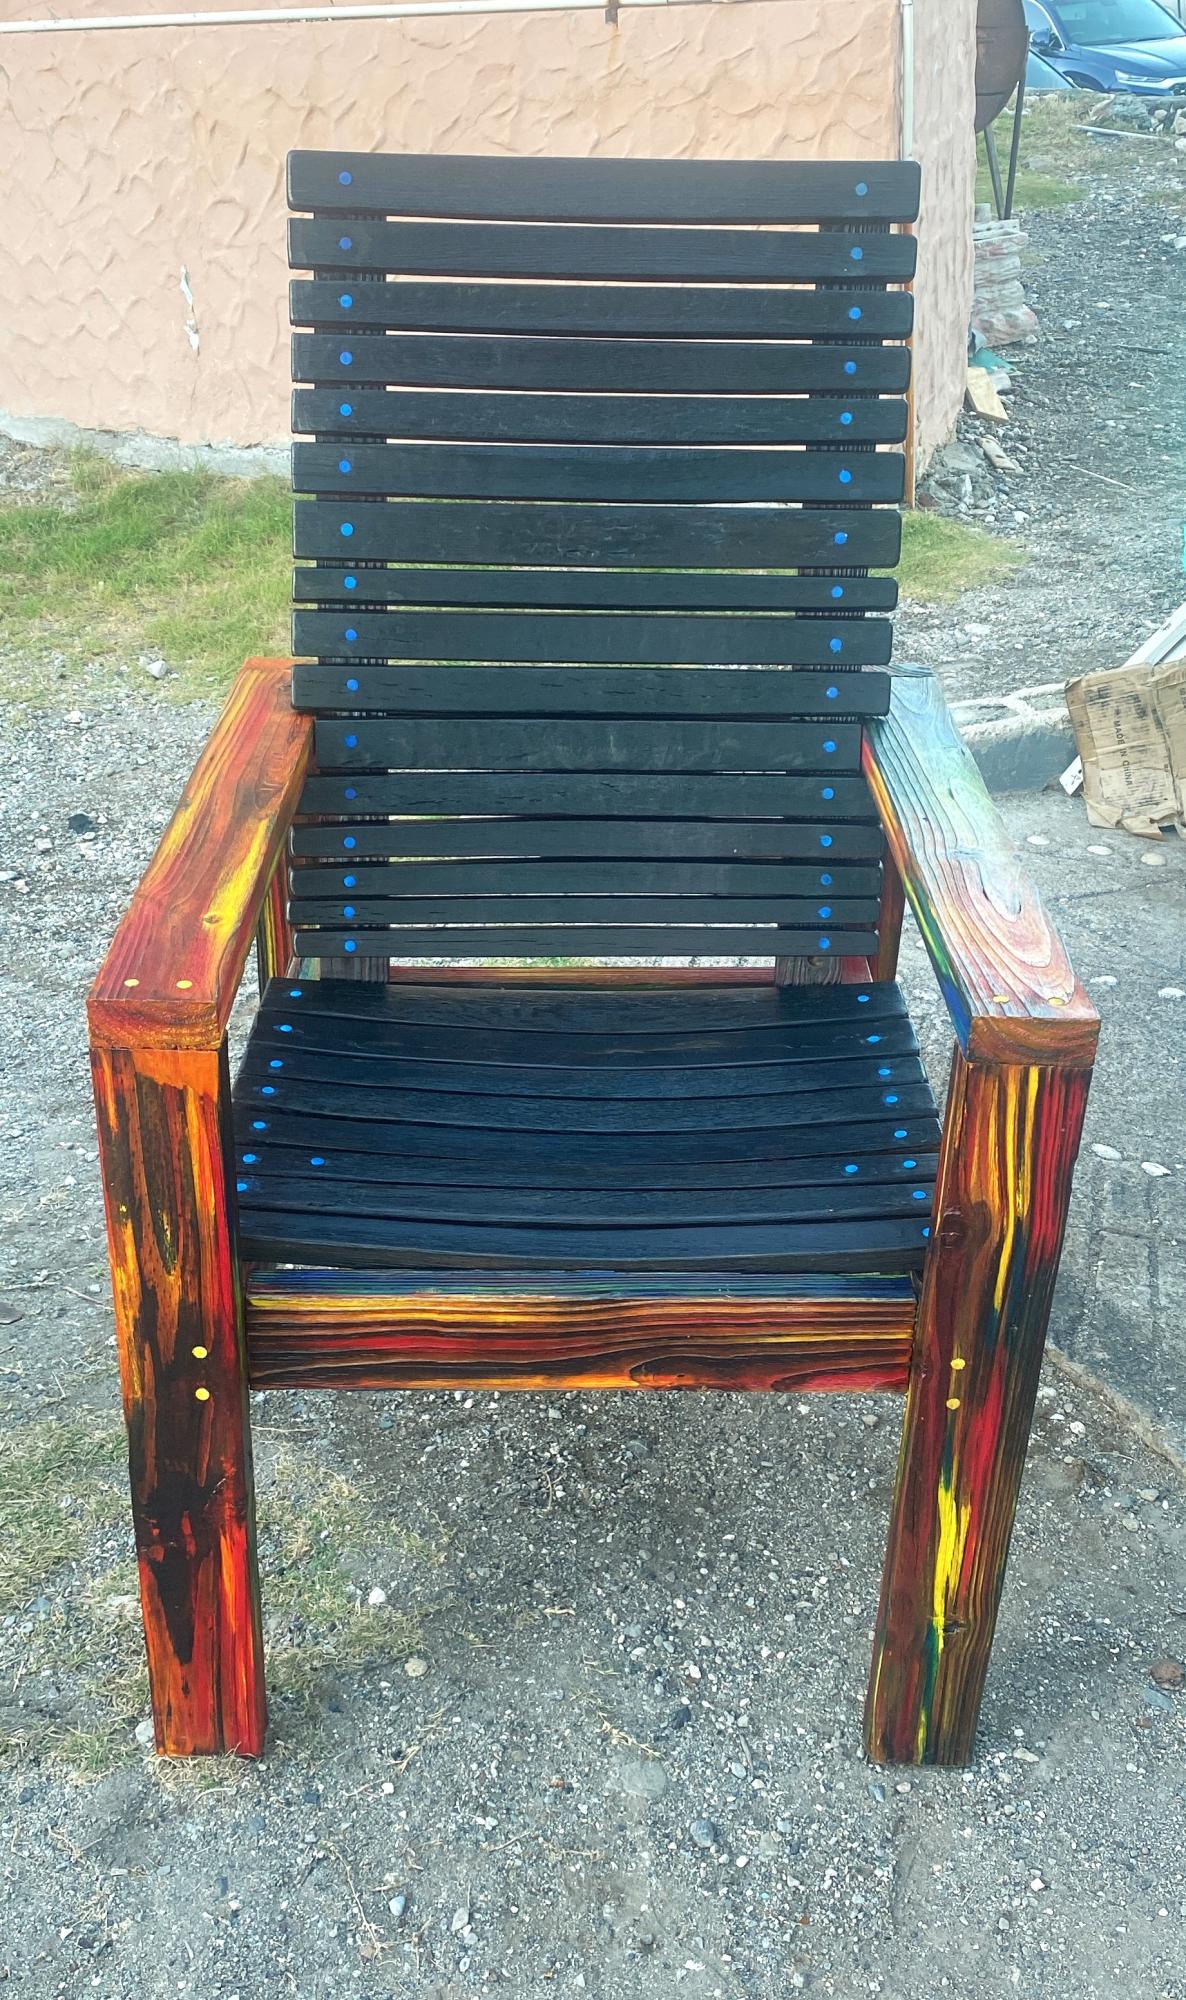
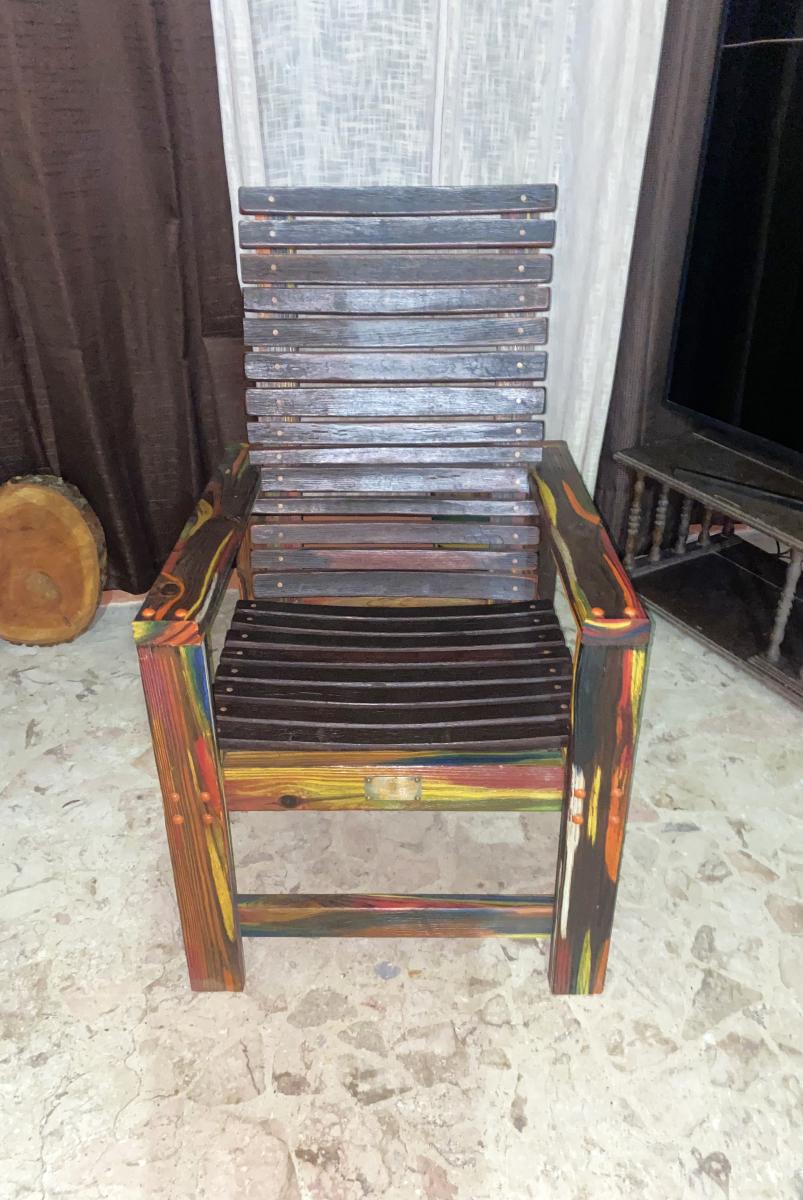
A modified version of one of Ana’s chairs. I widened it by a few inches and used the staves from a retired whiskey barrel for the seat and back. I then added a Sho Sugi Ban effect to the frame and then stained it using Unicorn Spit.
mcglashanpatrick
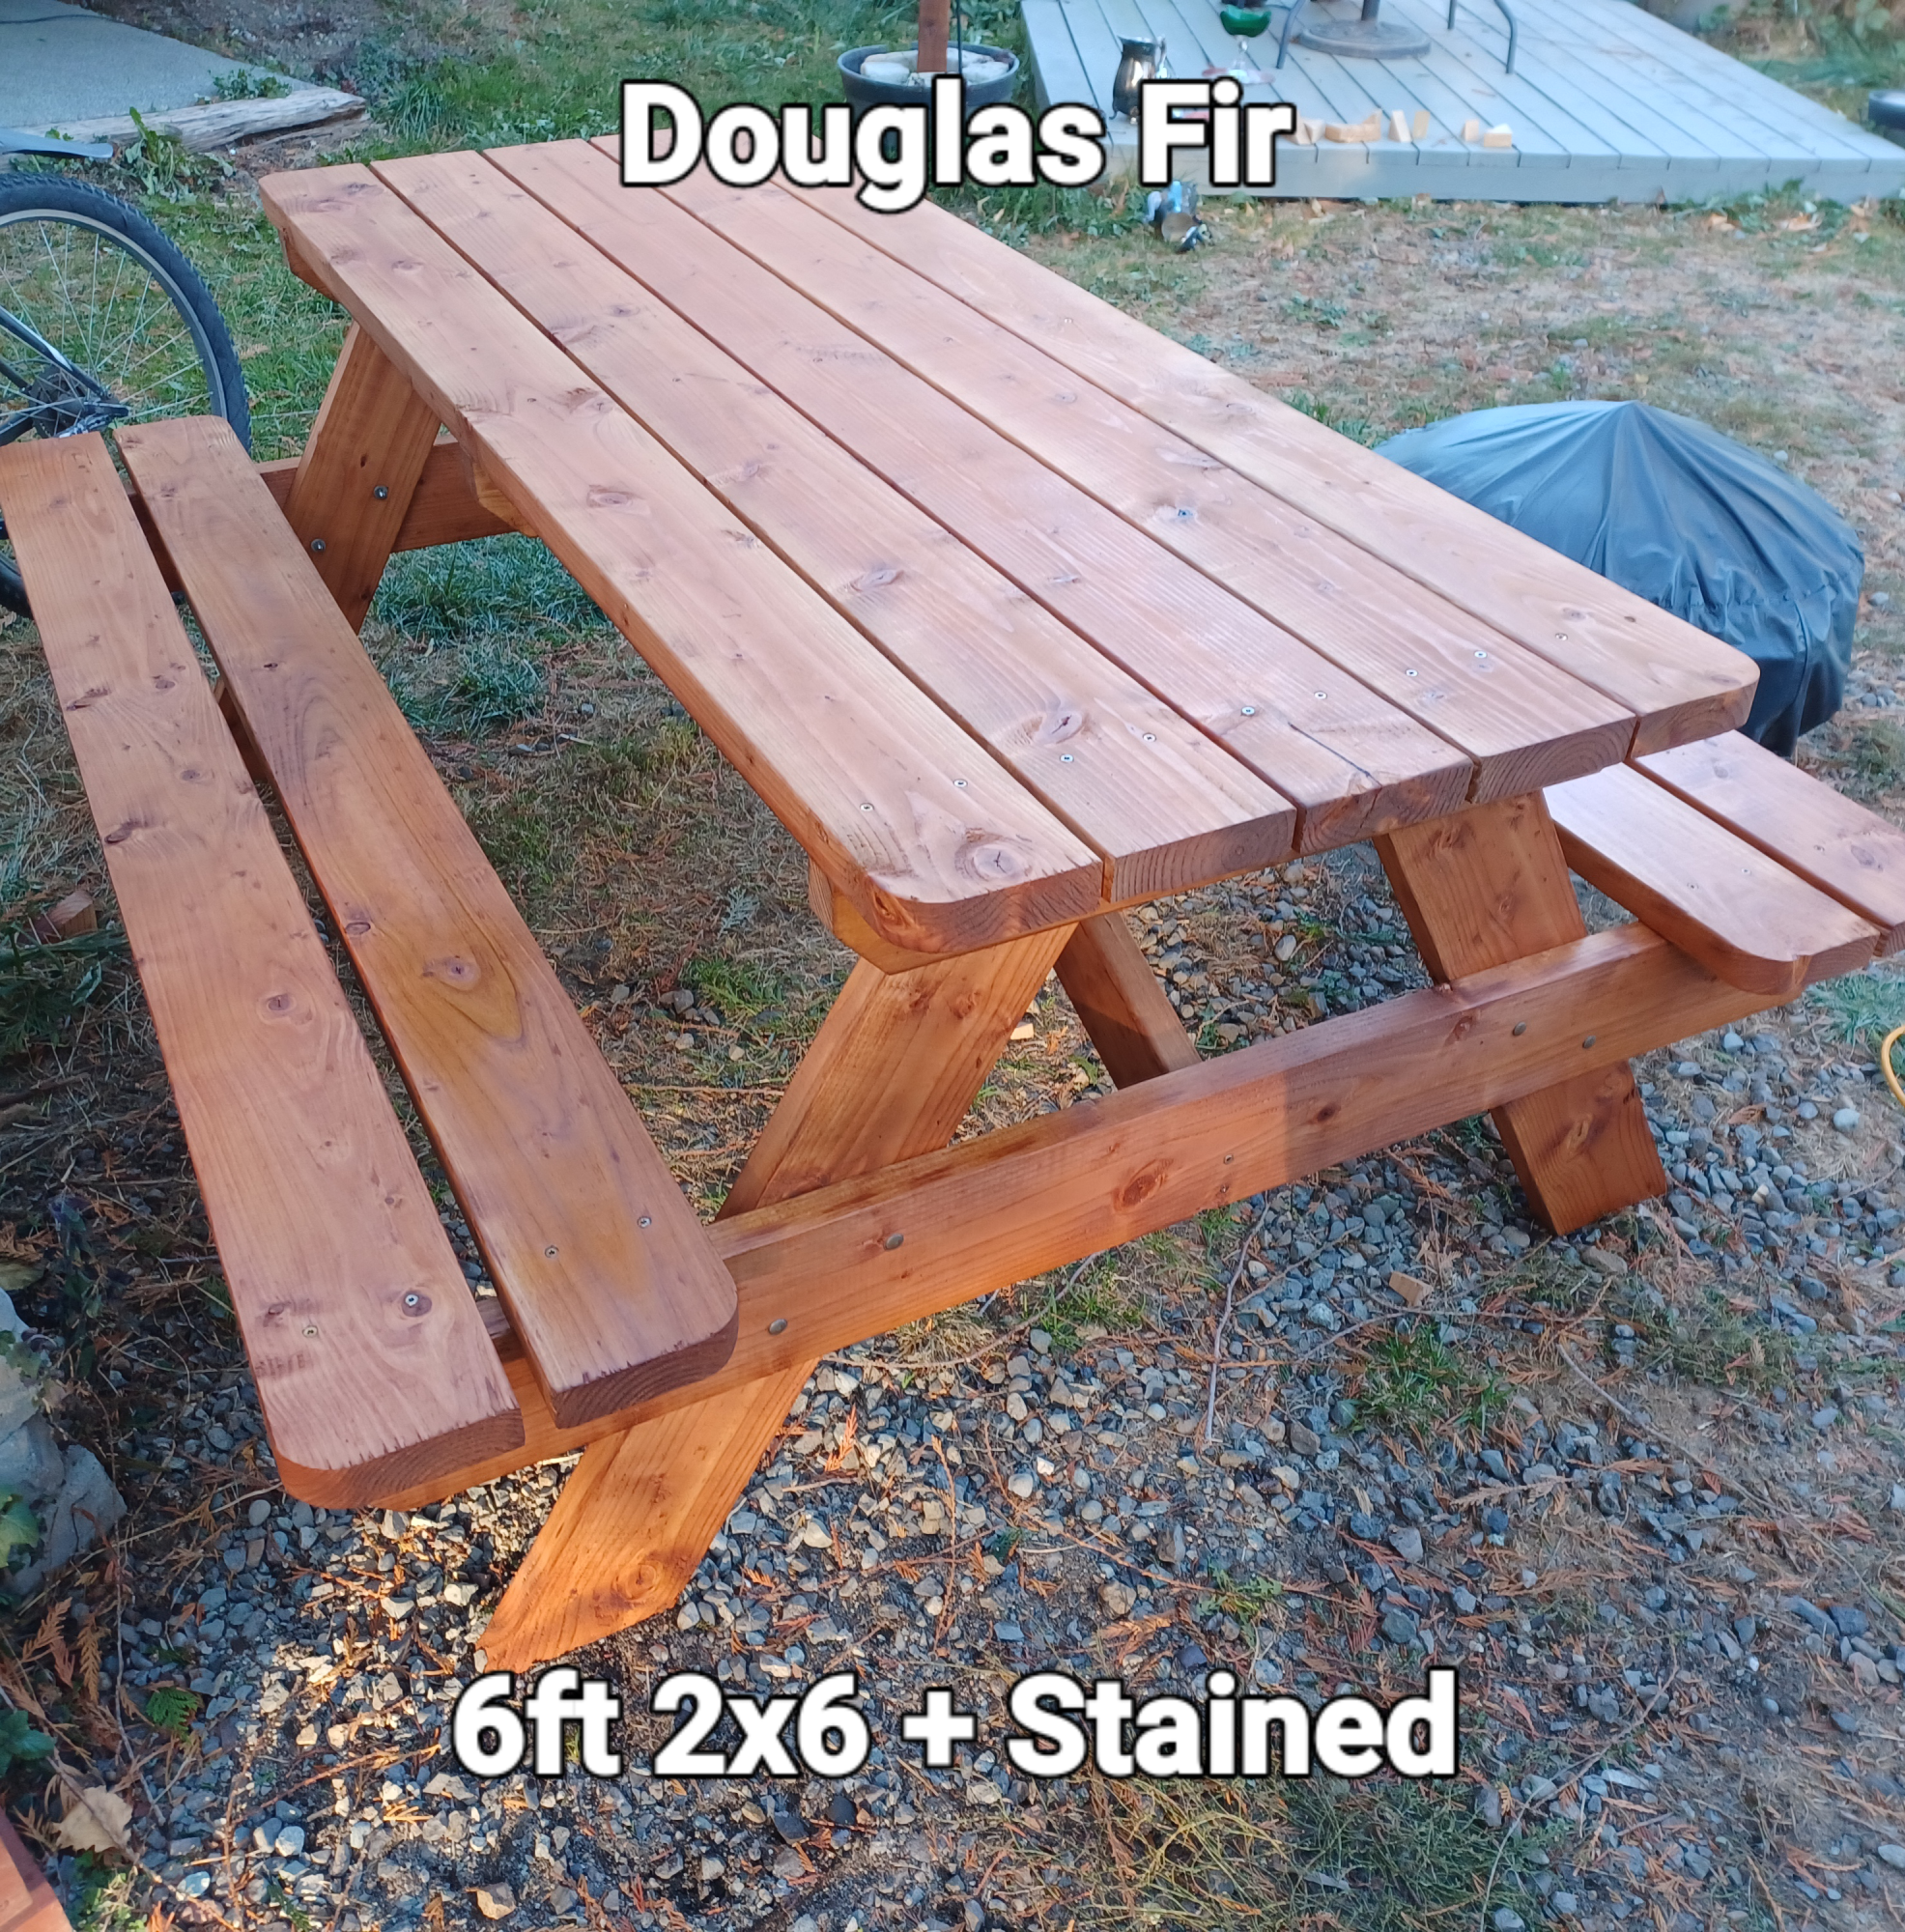
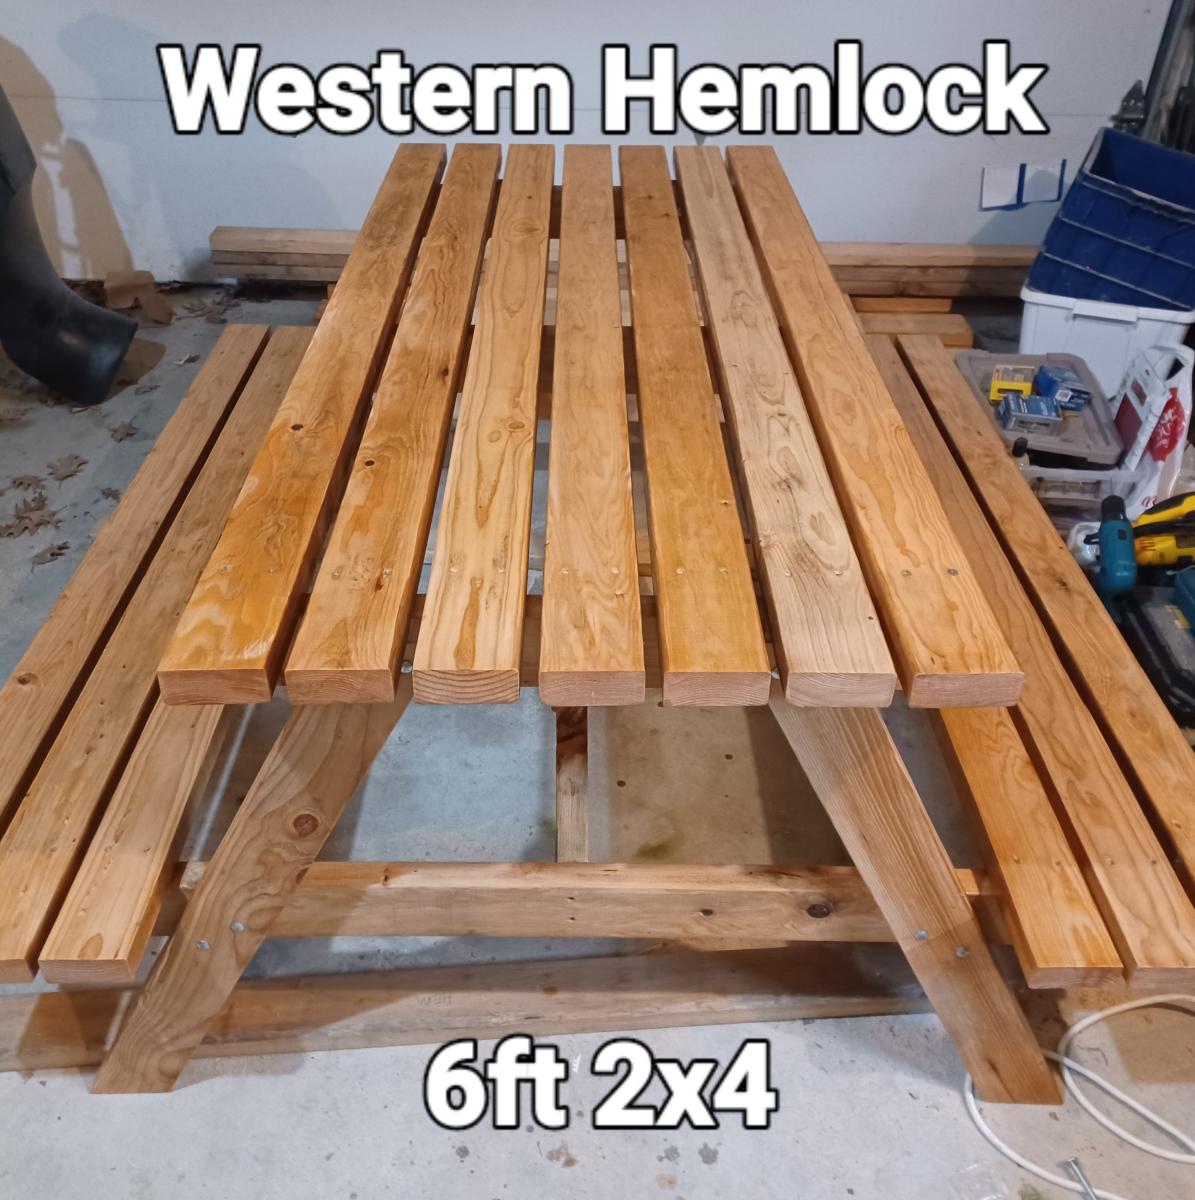
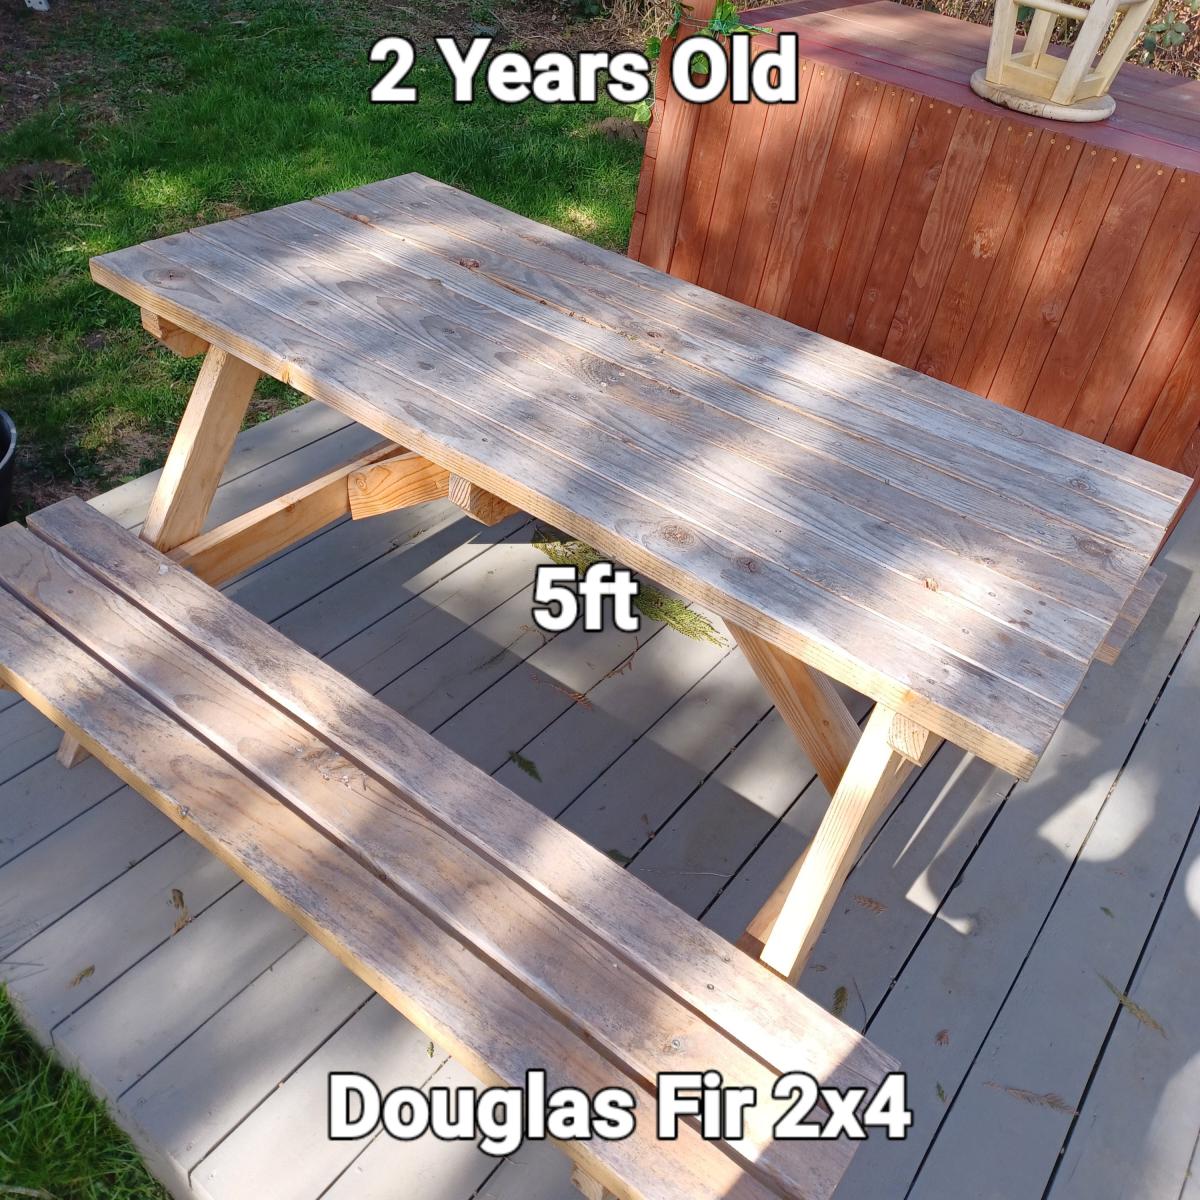
Using some of your different picnic table plans, I have been building, casually, picnic tables that are made using handpicked wood of similar grain orientation, same species, etc, creating a unique piece every time. I'm turning into a real wood nerd! They are all sanded and sealed for greater weather resistance and to accentuate the natural look of the wood.
Sam Warburton Productions
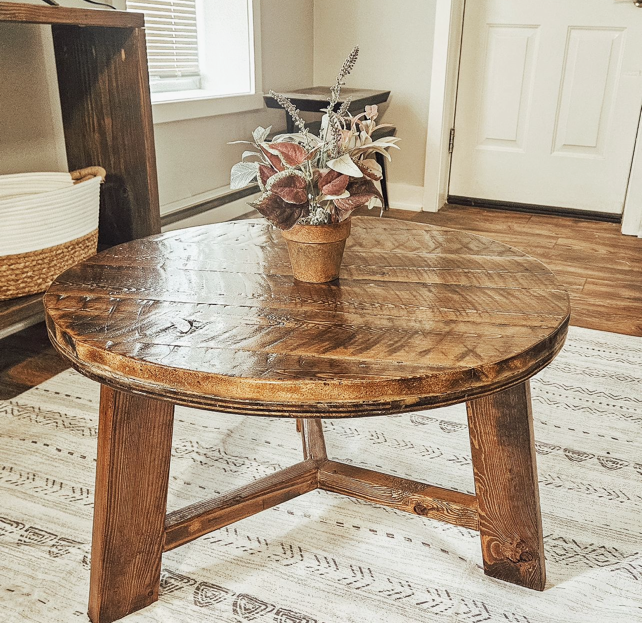
Rustic Round Wood Coffee Table by Three Tulips Woodshop on Instagram
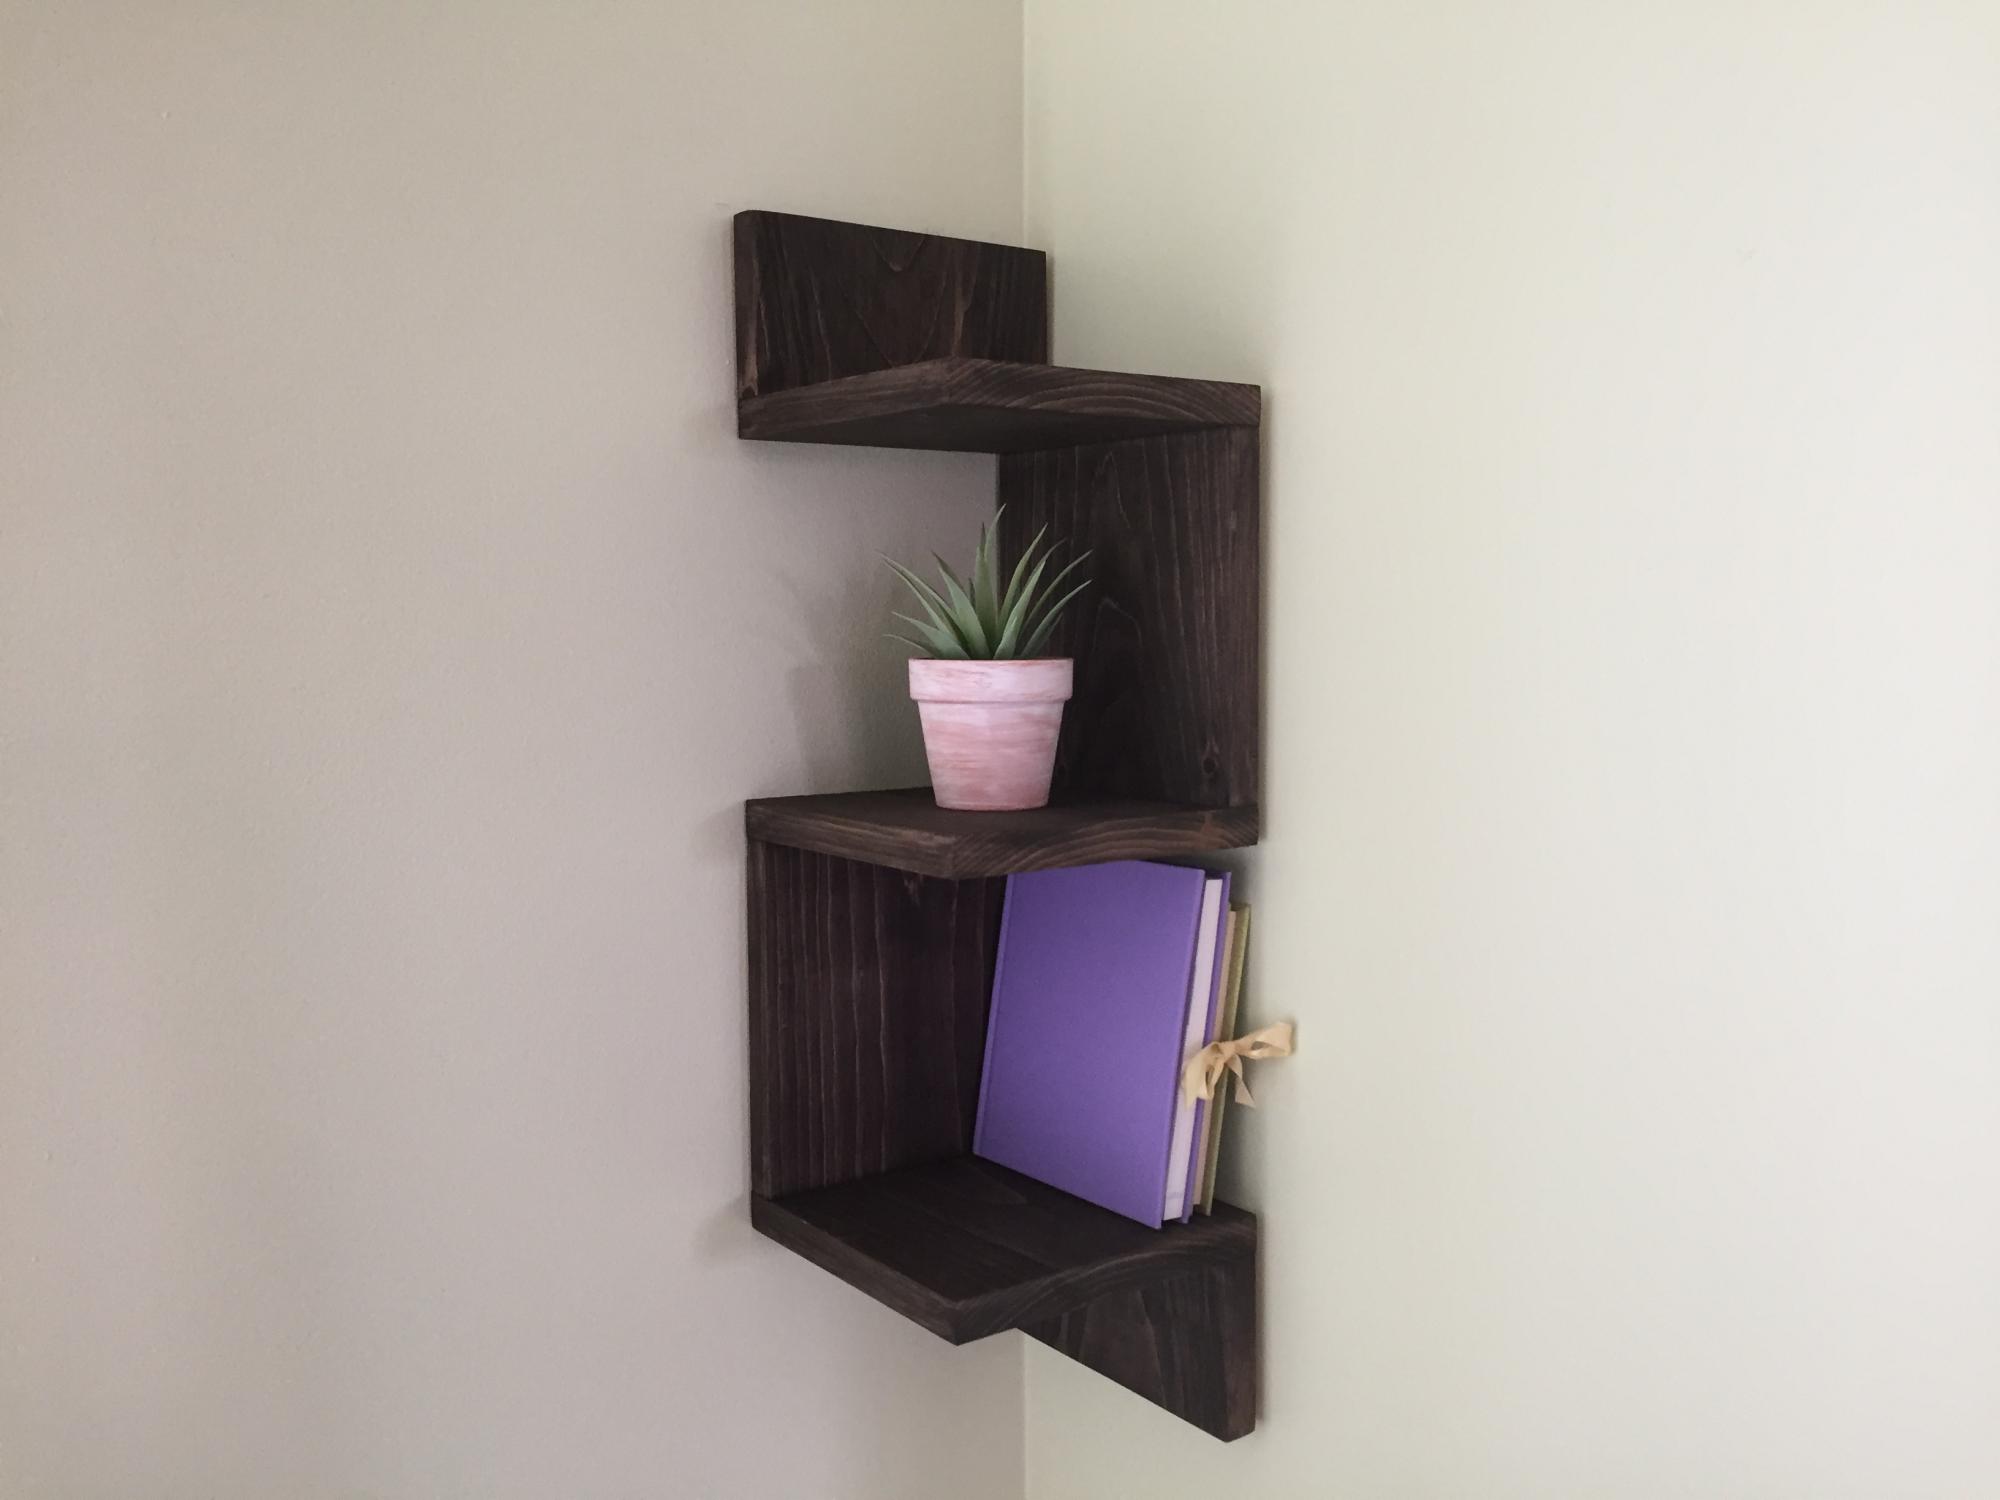
I built these beautiful corner shelves for a friend. It is a great beginner project. I used a 1x8 board but you could also use a 1x10 board. You could also build 5 shelves instead of 3. I used pocket hole joinery.
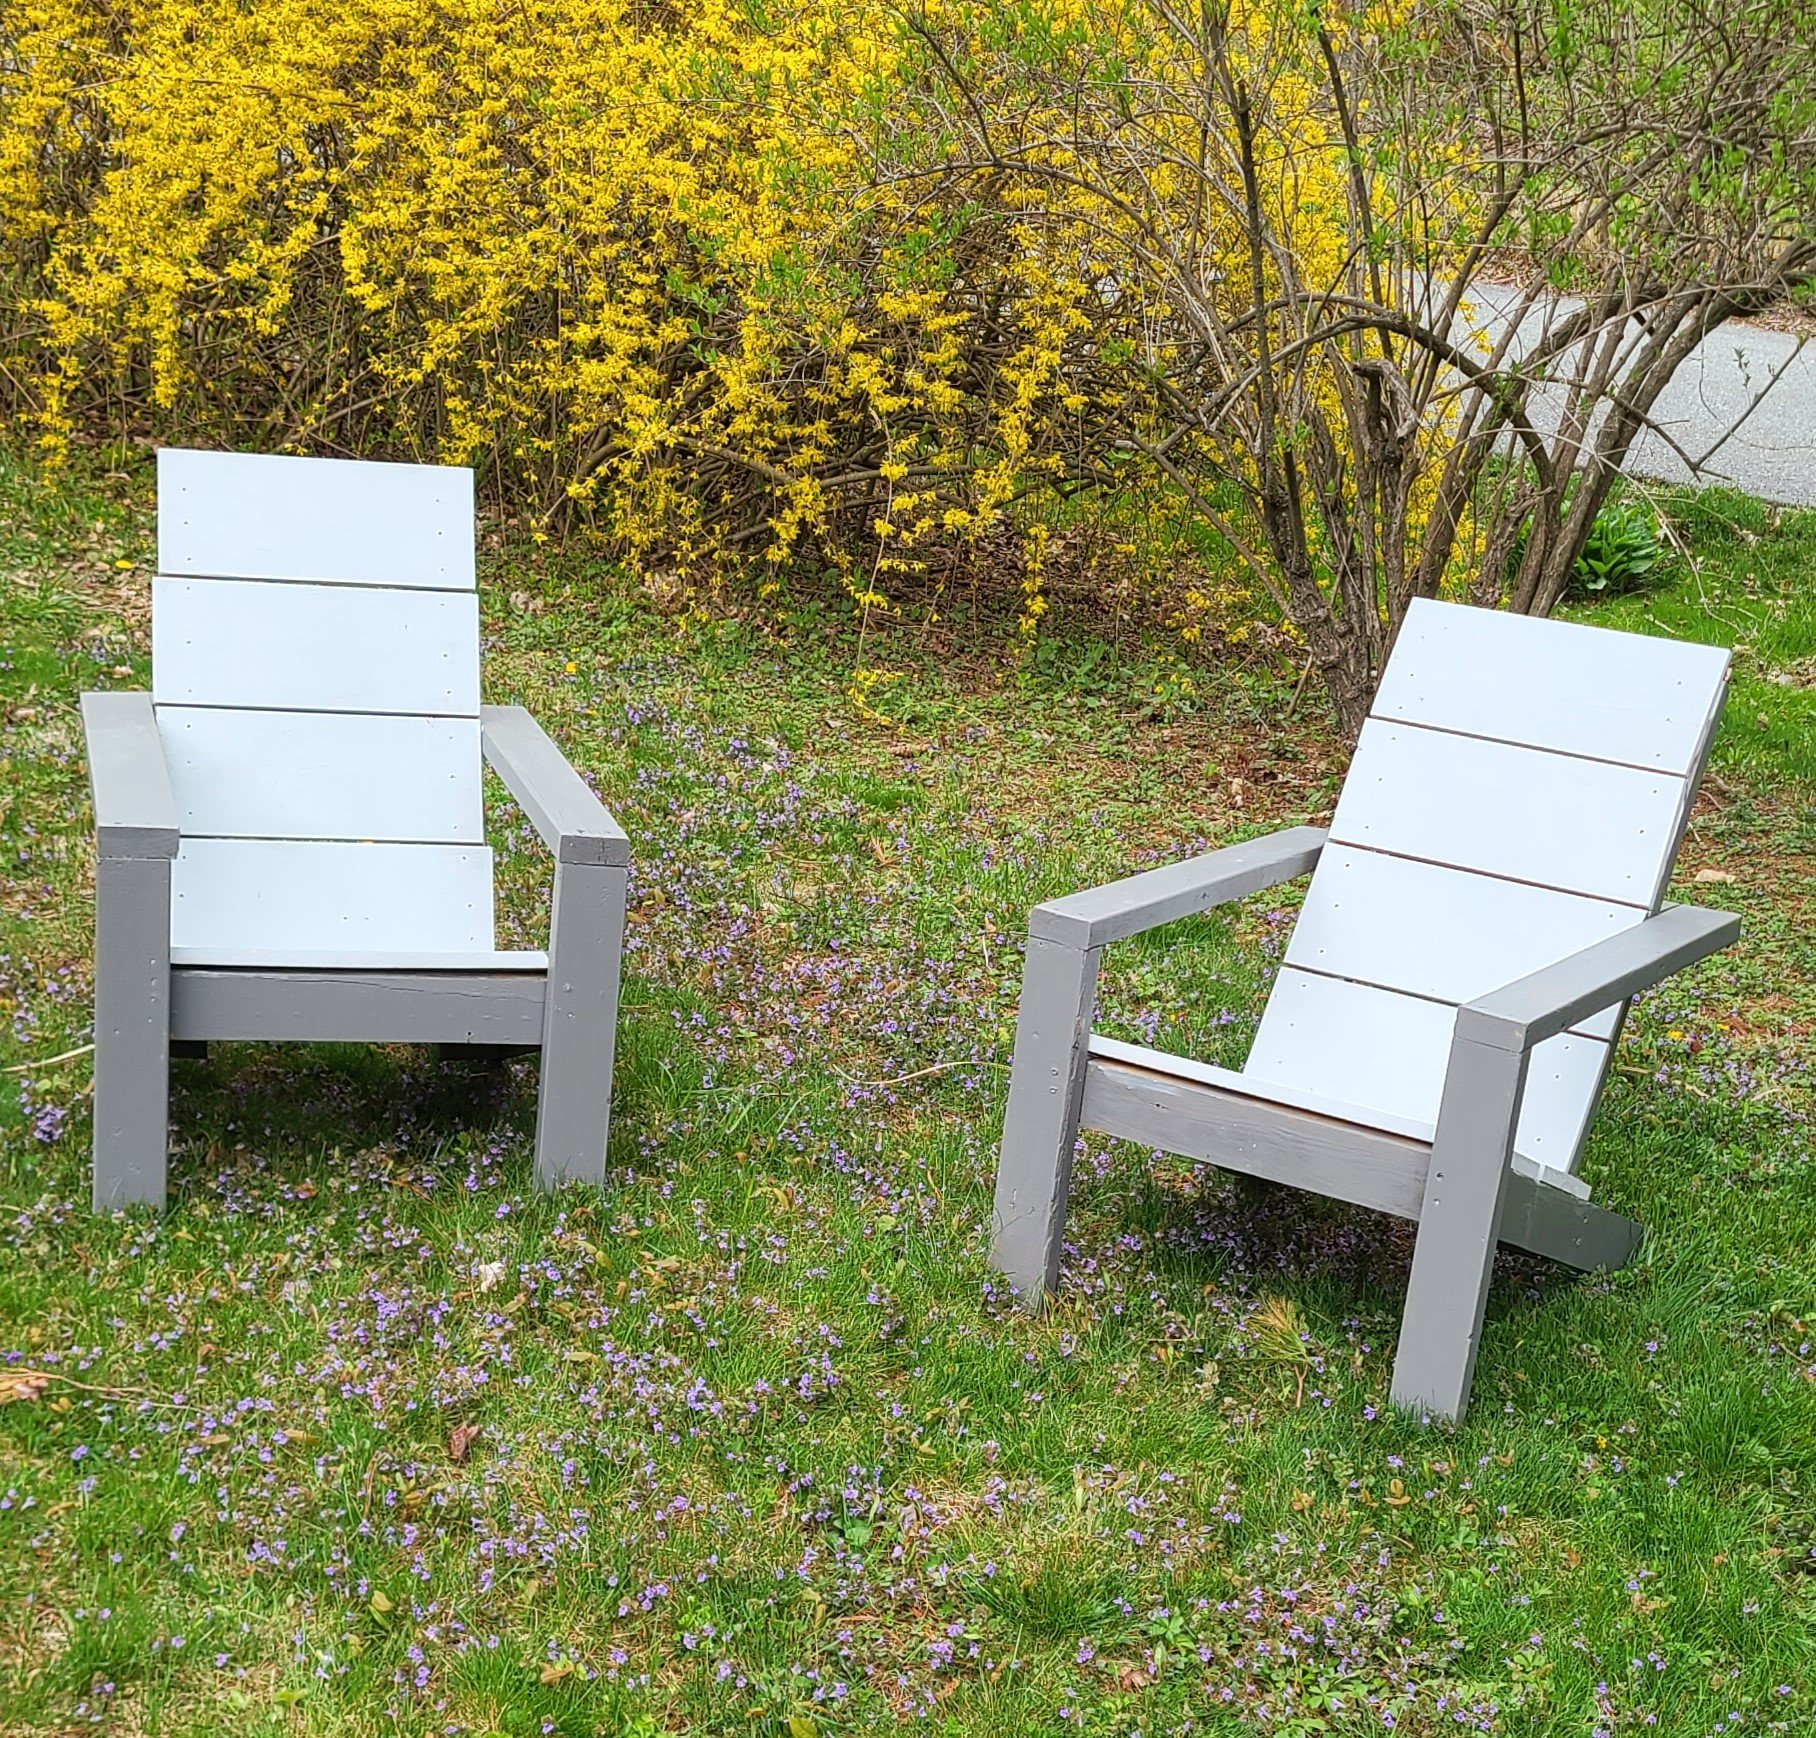
I made these two Adirondack chairs. I decided to put a deck stain on them (Cape Cod Gray and Pewter)
Greg Porpora
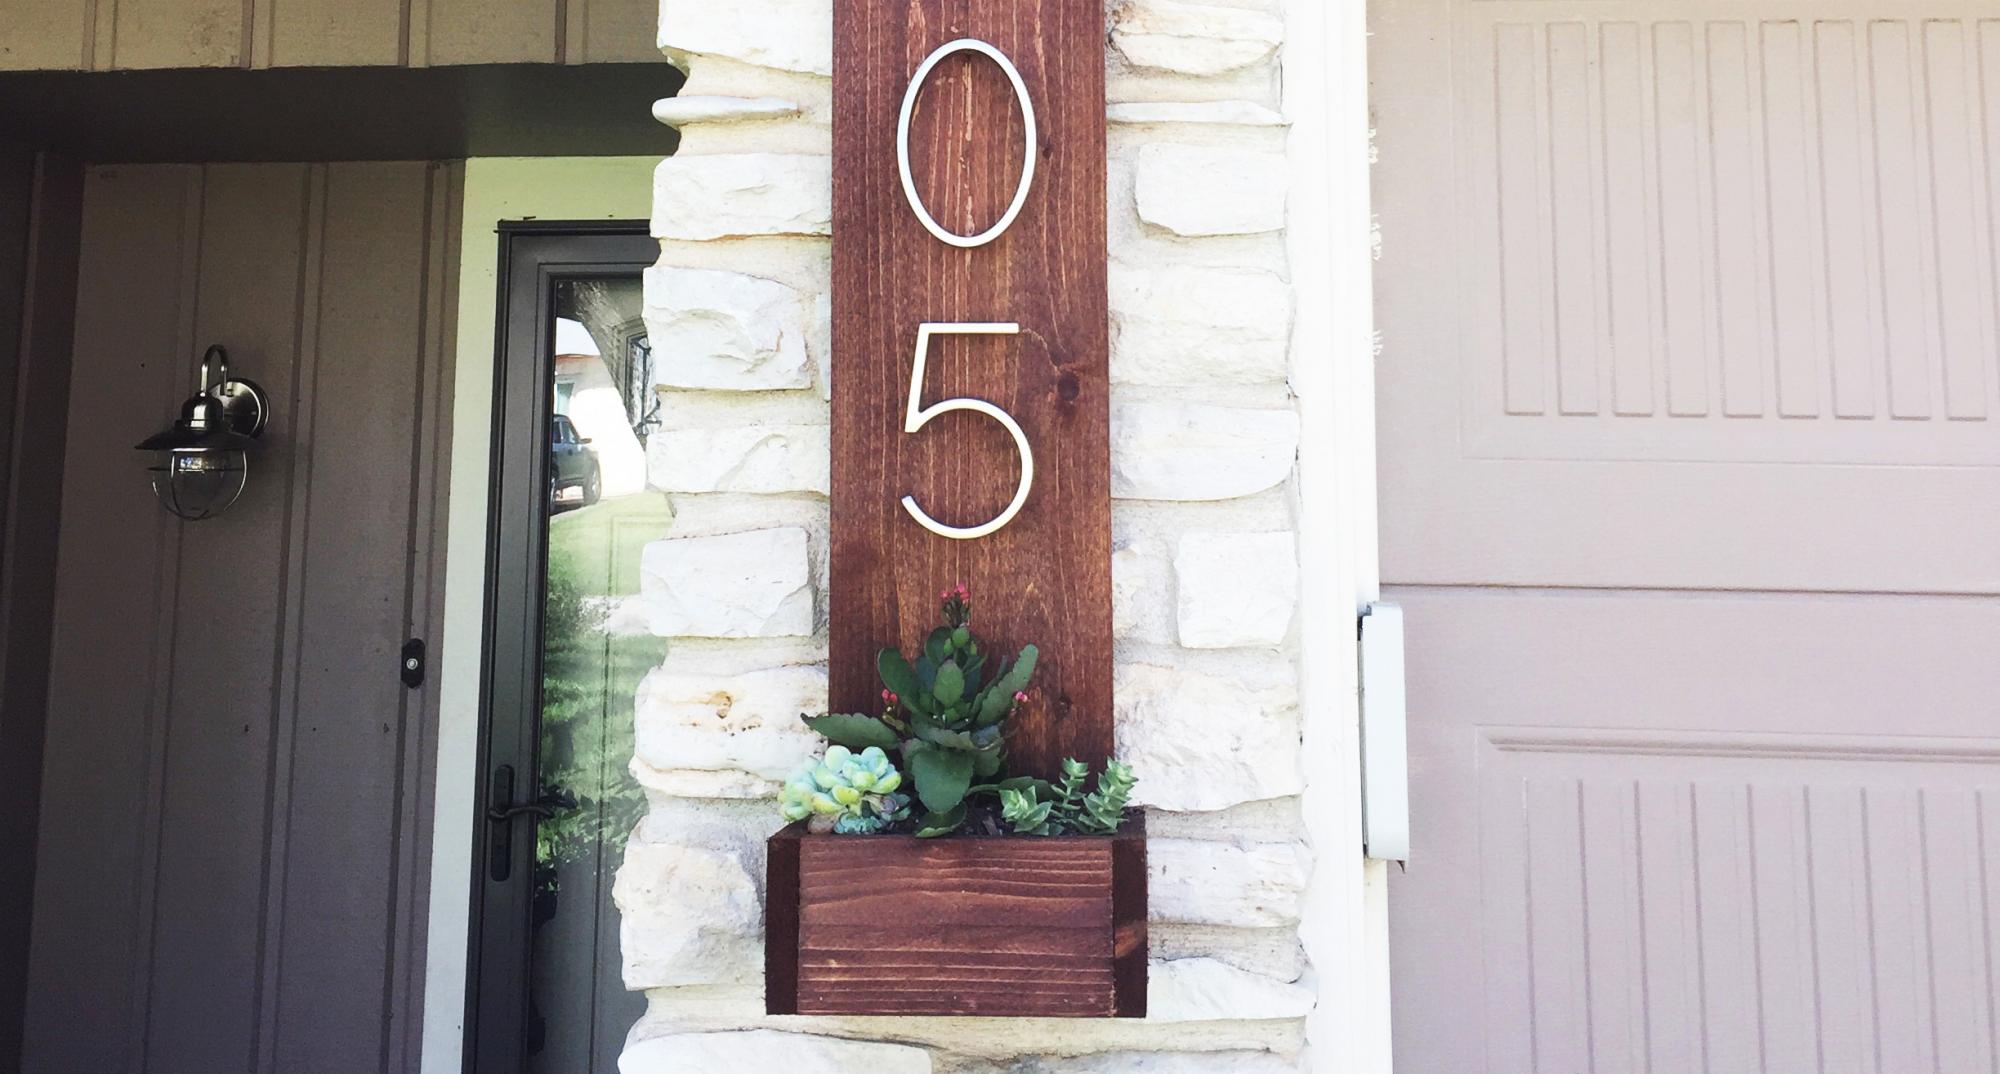
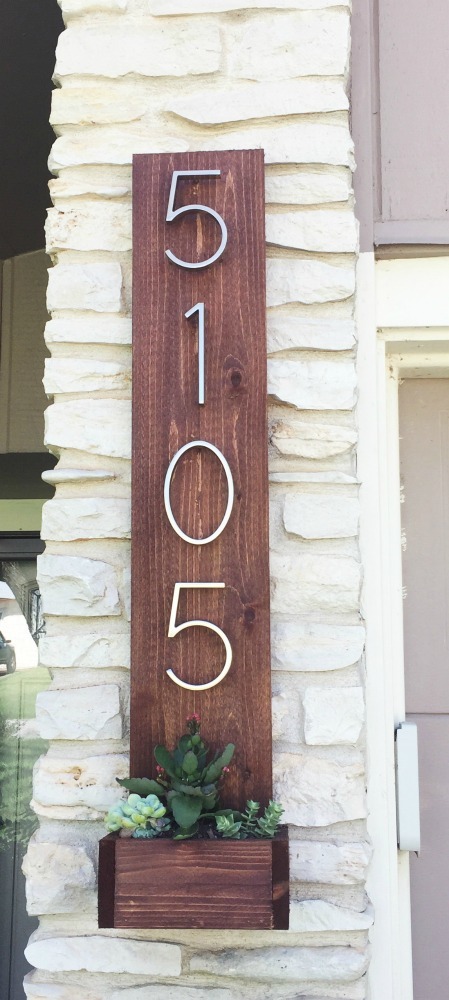
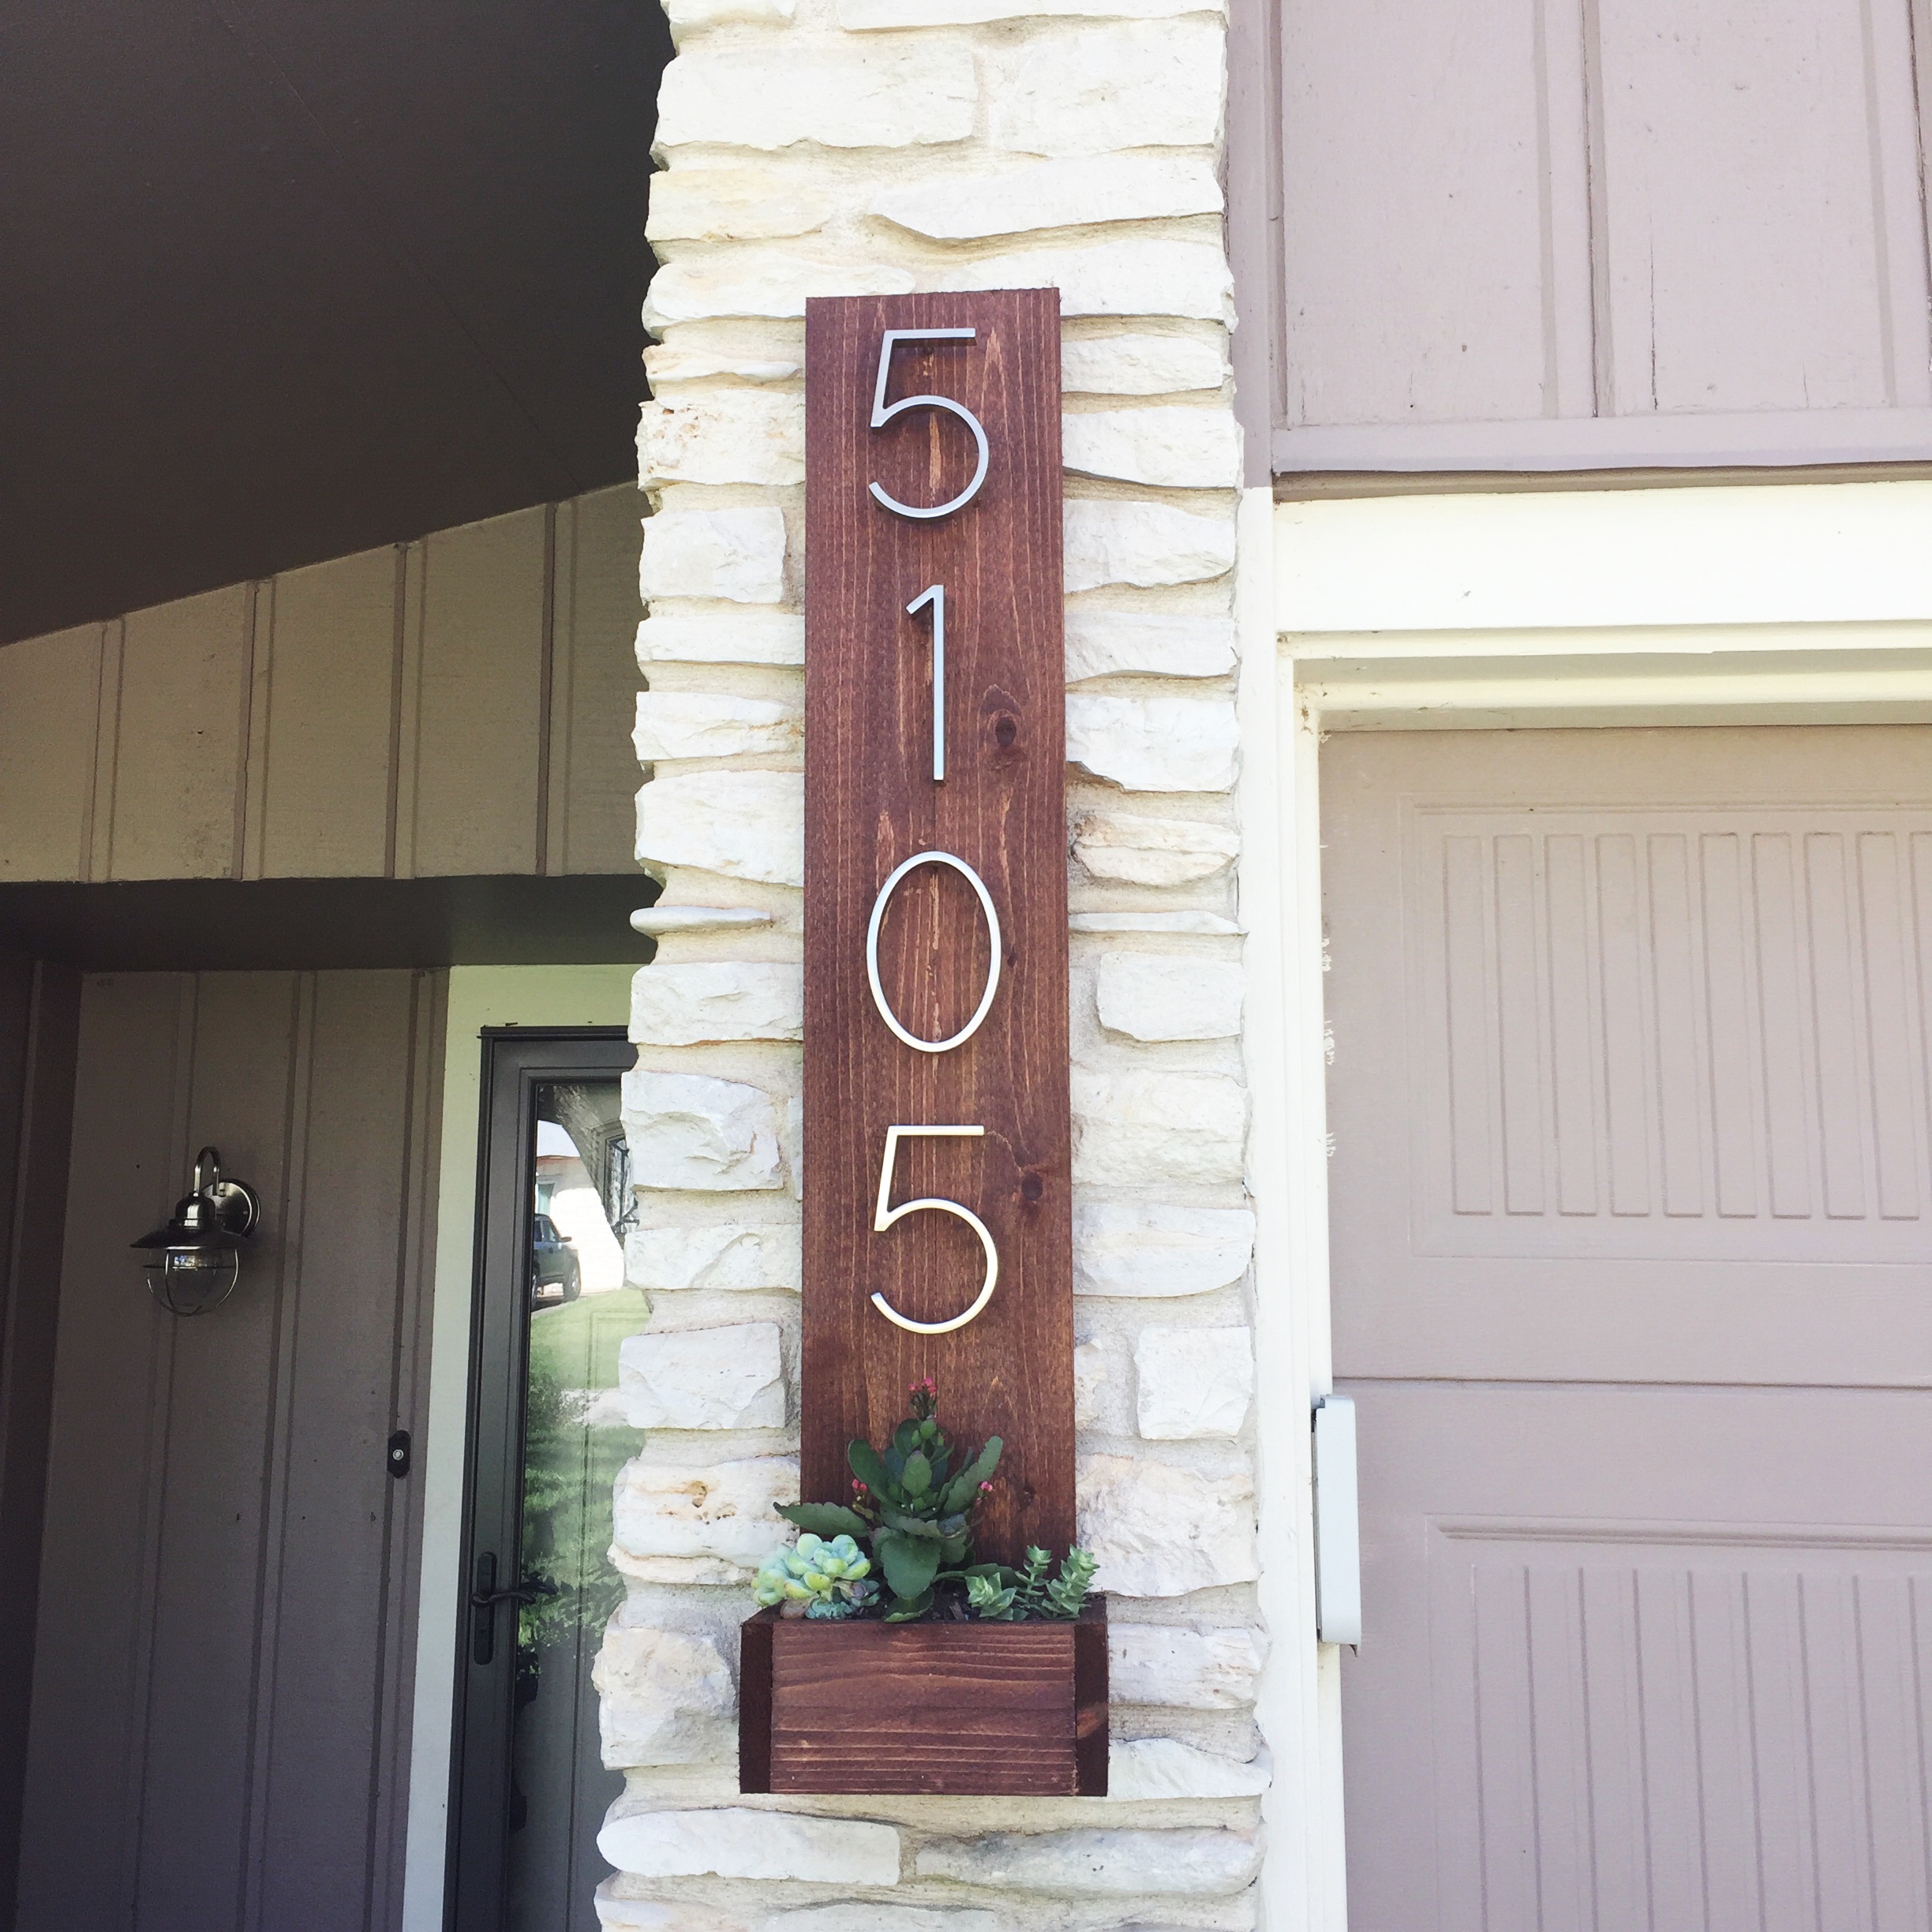
I was looking for a way to give our house some better curb appeal and decided our stree numbers could use a facelift. The majority of money spent on this project was for the numbers since I had enough spare cedar laying around.
In reply to Numbers by jesseamber
Mon, 10/10/2016 - 09:02
I got them from Home Depot. I think you can also probably find them online through Amazon.
In reply to Numbers by jesseamber
Mon, 10/10/2016 - 09:03
I got the numbers at Home Depot. I'm pretty sure you can also find them online through Amazon.
Mon, 10/24/2016 - 15:34
So pretty! What are the measurements. Did you use real plants ?