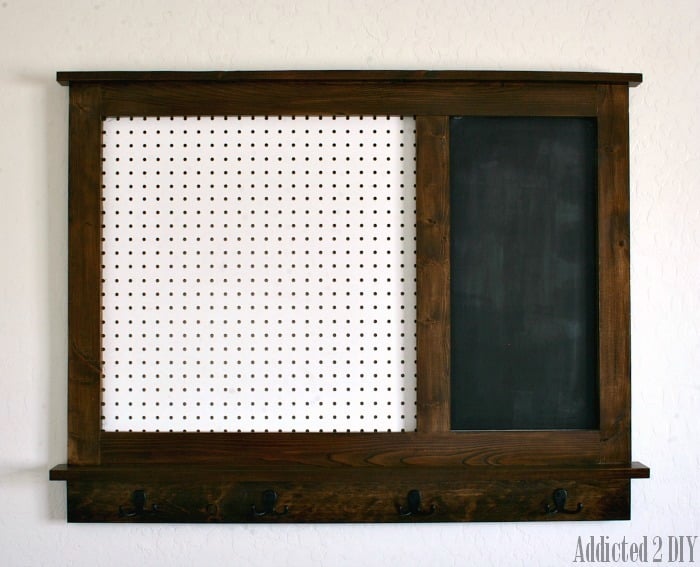
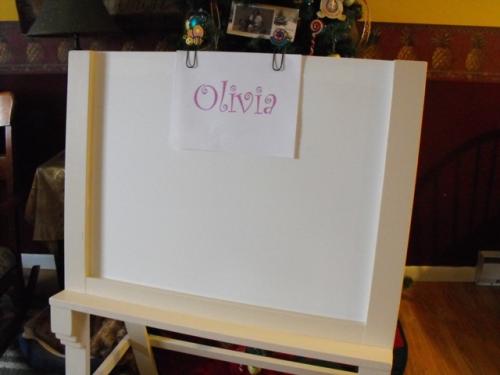
Pegboard Organizer with Magnetic Chalkboard
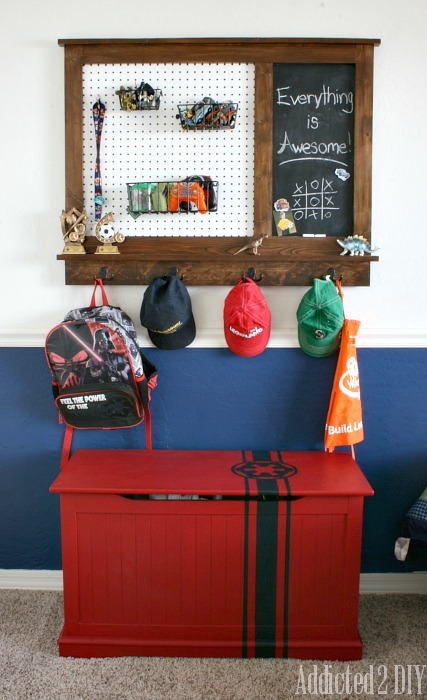
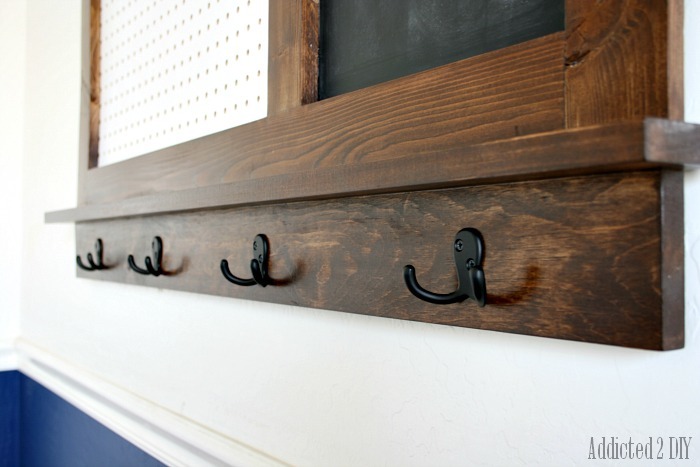
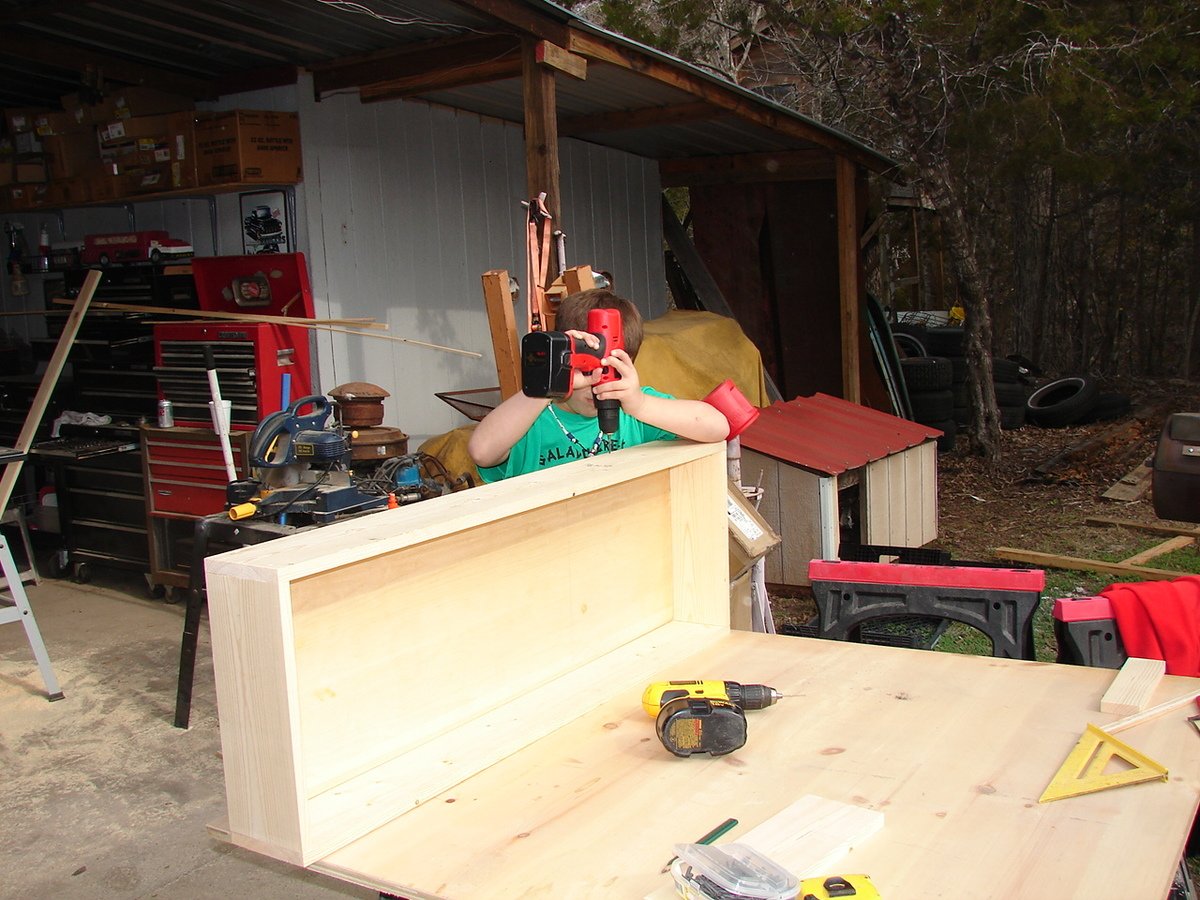
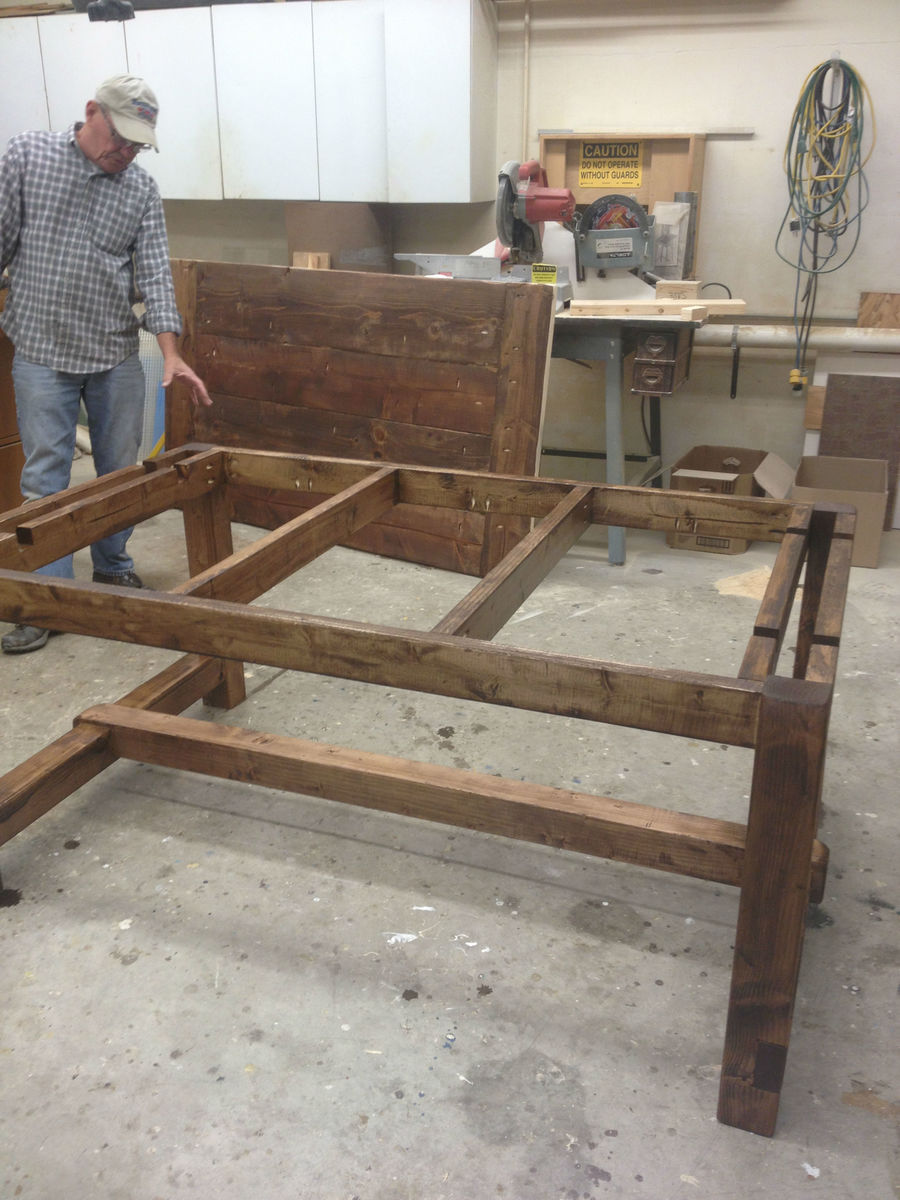
I built two of these pegboard organizers for my boys to hang in their rooms. The magnetic chalkboard allows them to write fun messages or doodle, plus they can hang pictures on it with magnets. The pegboard helps keep their smaller toys organized and the hooks keep their hats from being scattered all over the house.
Estimated Time Investment
Weekend Project (10-20 Hours)
Finish Used
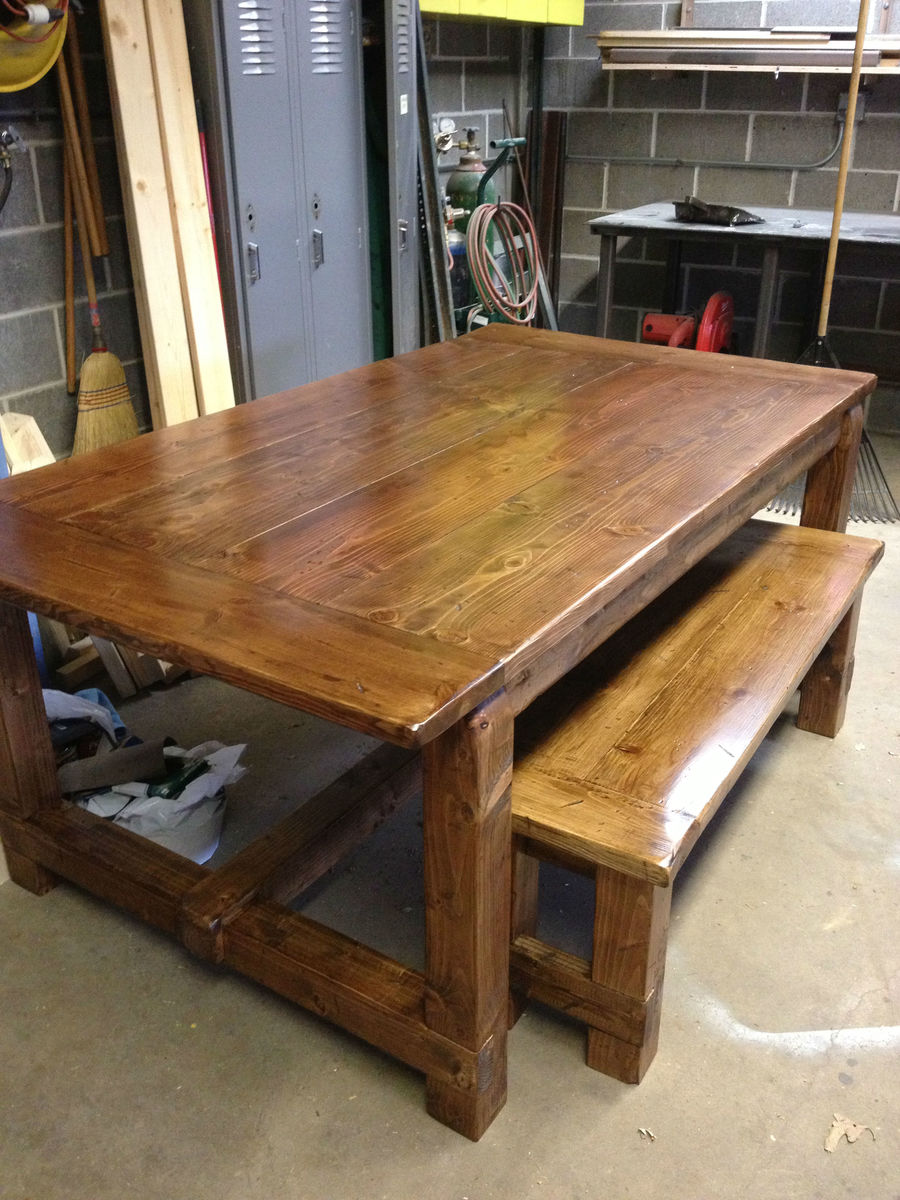
Minwax special walnut
Minwax fast-drying polyurethane
Minwax fast-drying polyurethane
Recommended Skill Level
Beginner


Comments
ehays216
Mon, 07/28/2014 - 06:35
great job!
This is so cute, great job!
ehays216
Mon, 07/28/2014 - 06:35
great job!
This is so cute, great job!