Large 6 X 8 Sandbox
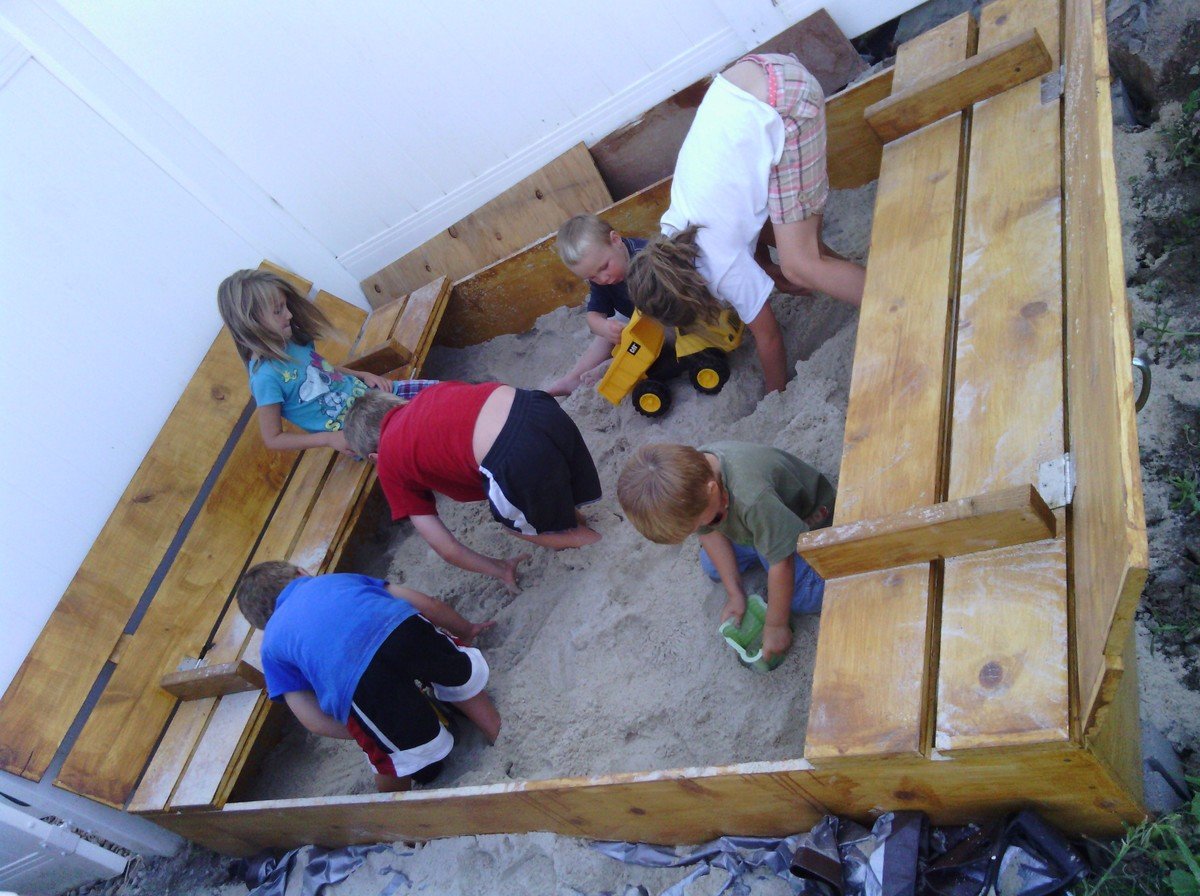
We wanted to make a large sandbox for lots of kids. We love that it has an easy cover and two large benches to sit.
Supplies and Steps are shared at http://myhomedonemyway.blogspot.com/2013/07/building-6-x-8-sandbox.html
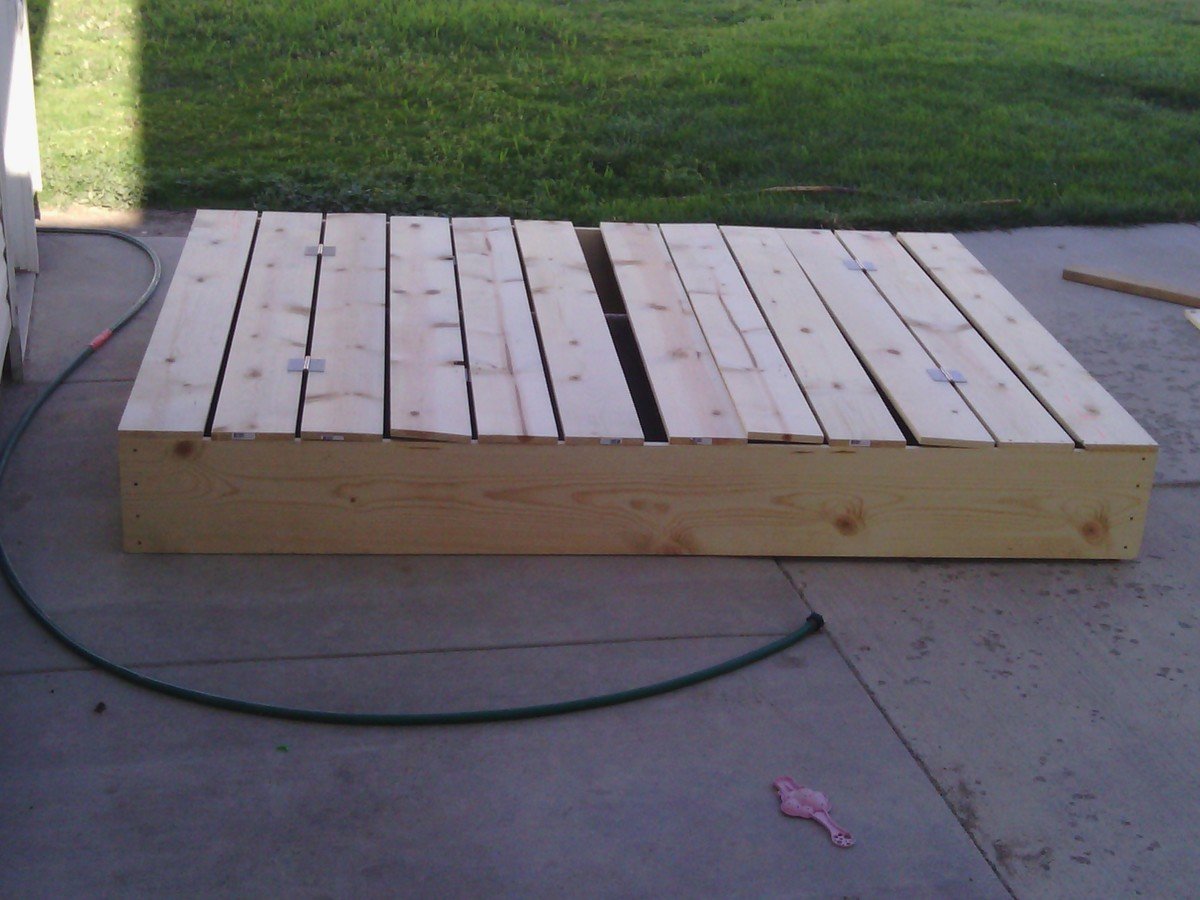
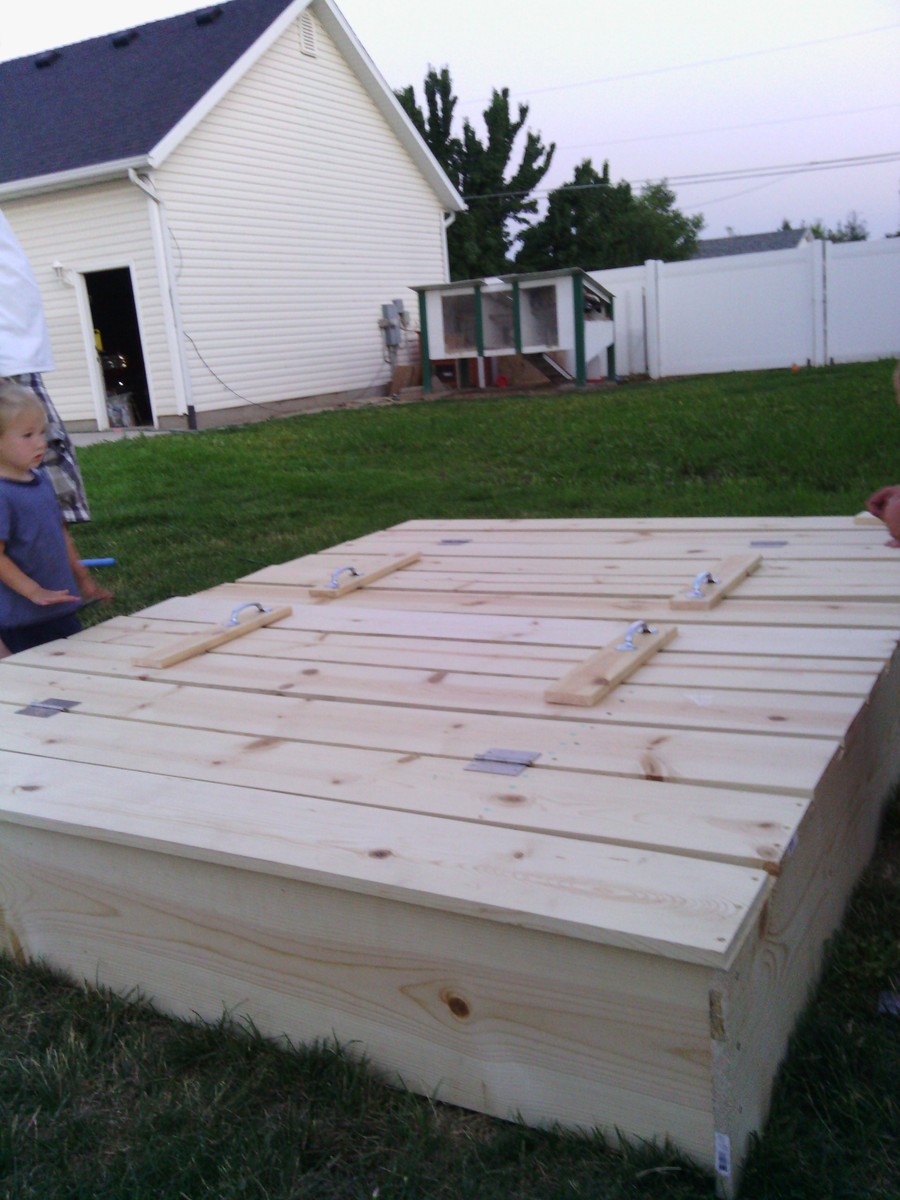
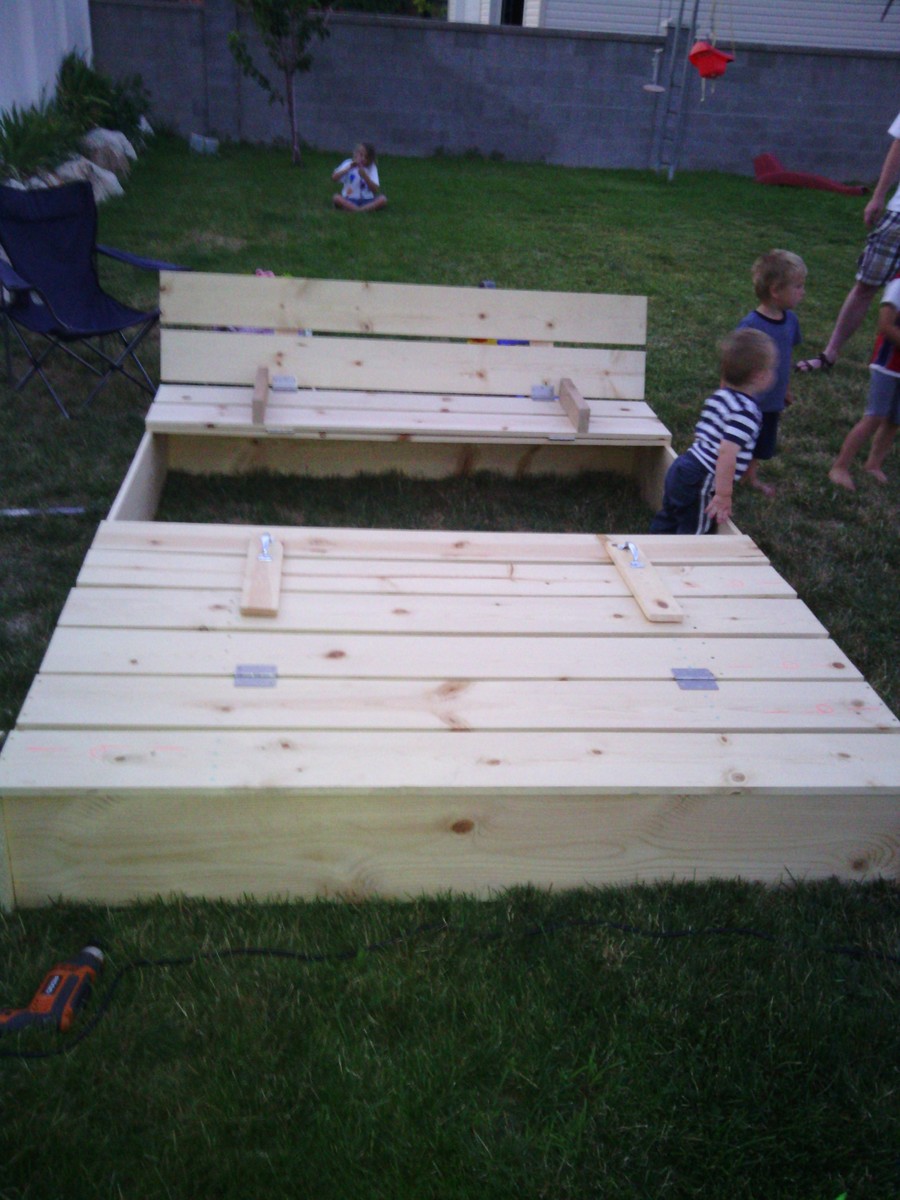
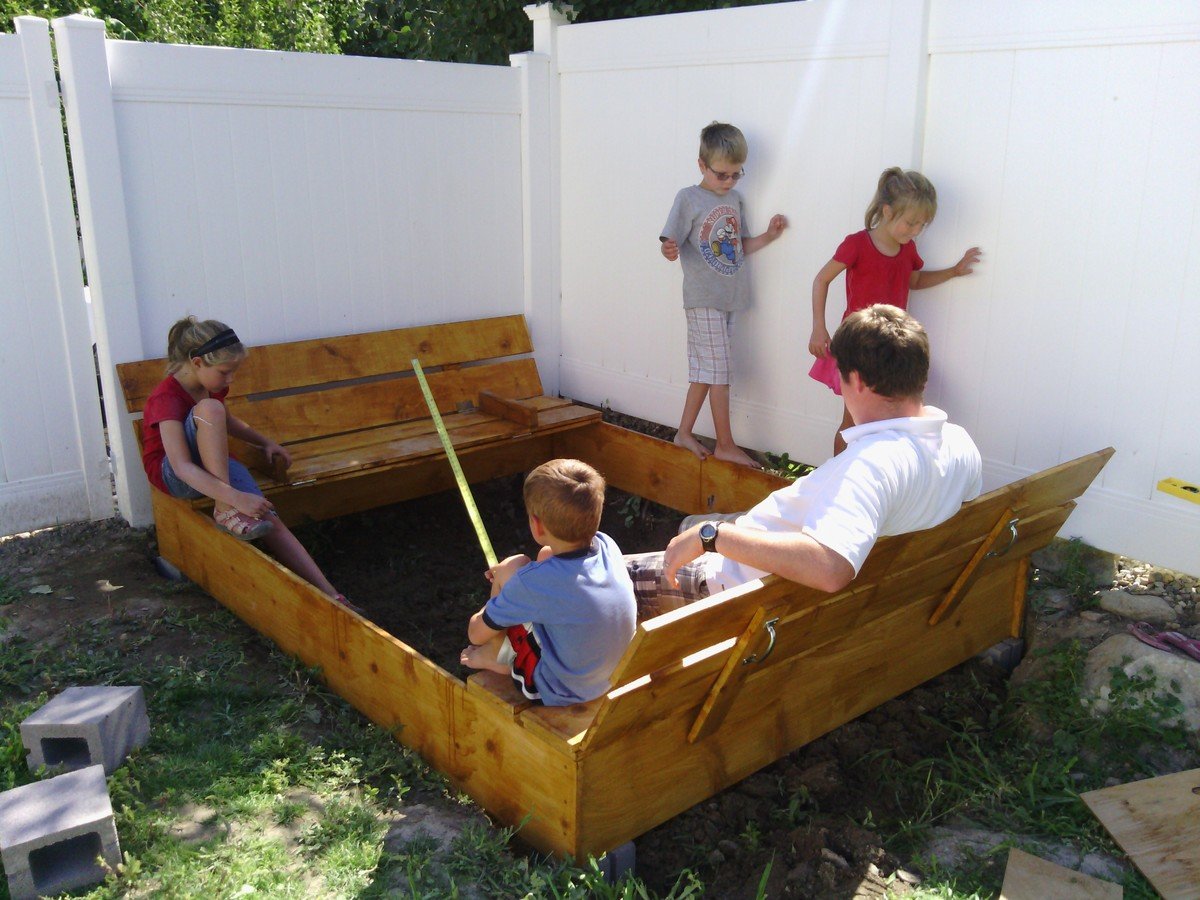
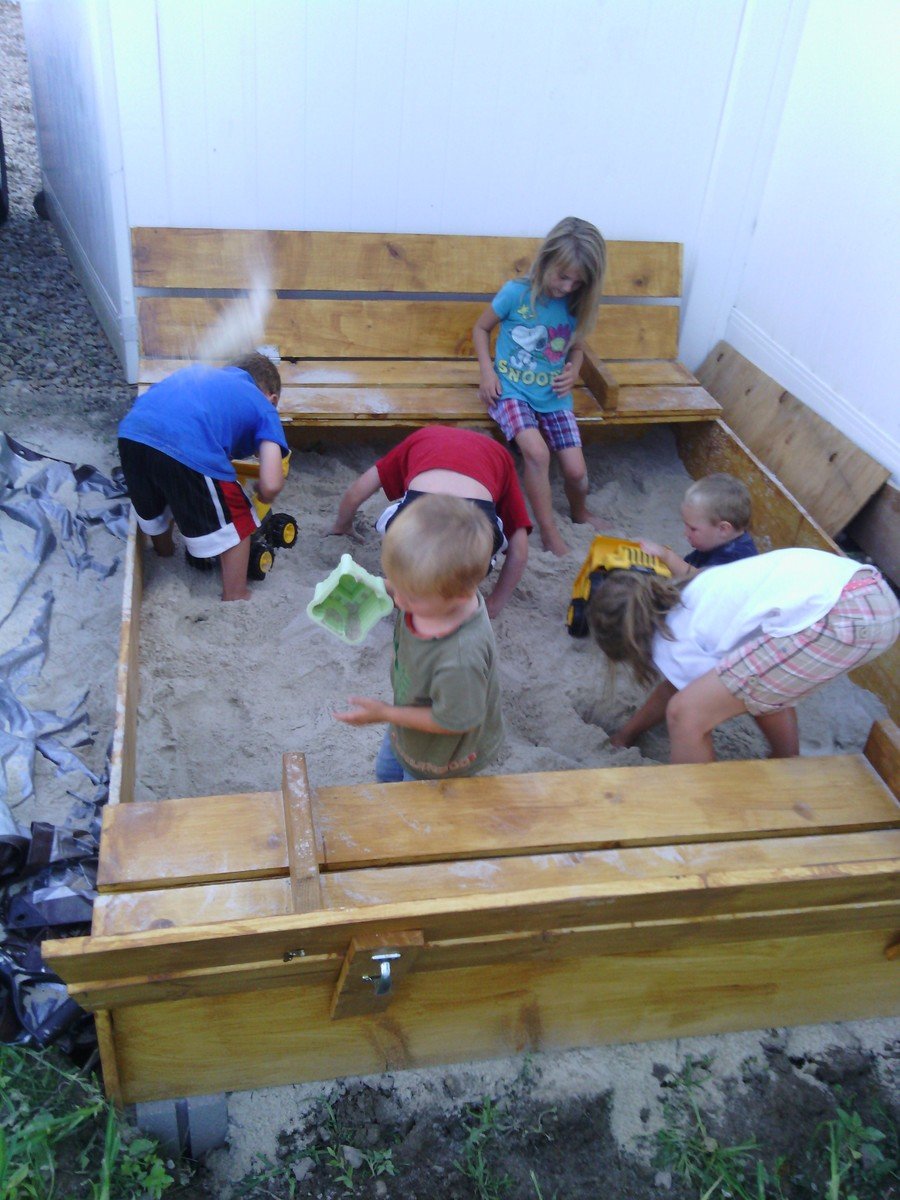

We wanted to make a large sandbox for lots of kids. We love that it has an easy cover and two large benches to sit.
Supplies and Steps are shared at http://myhomedonemyway.blogspot.com/2013/07/building-6-x-8-sandbox.html


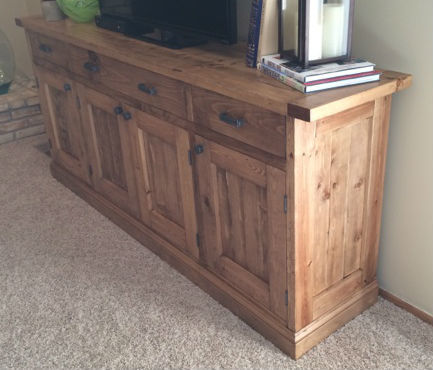
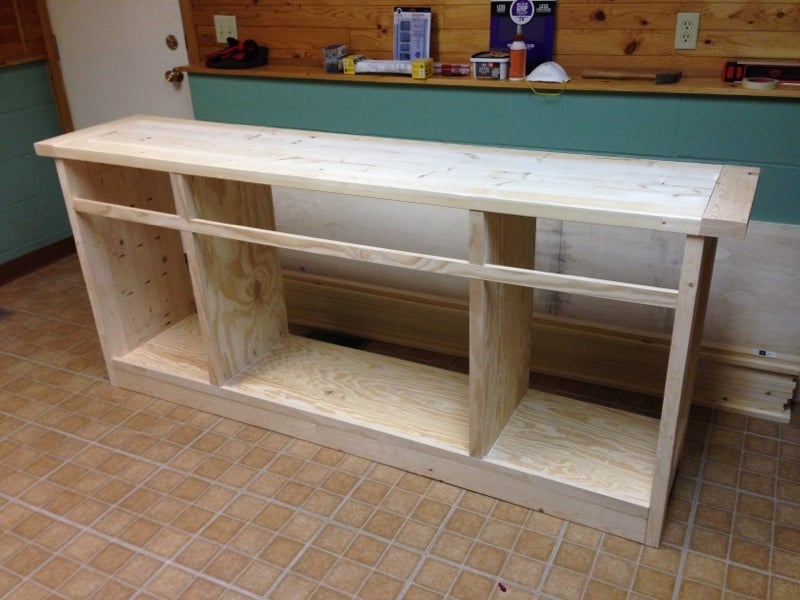
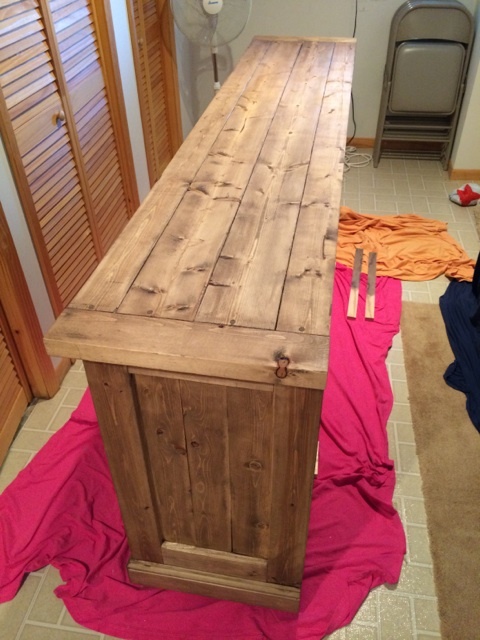
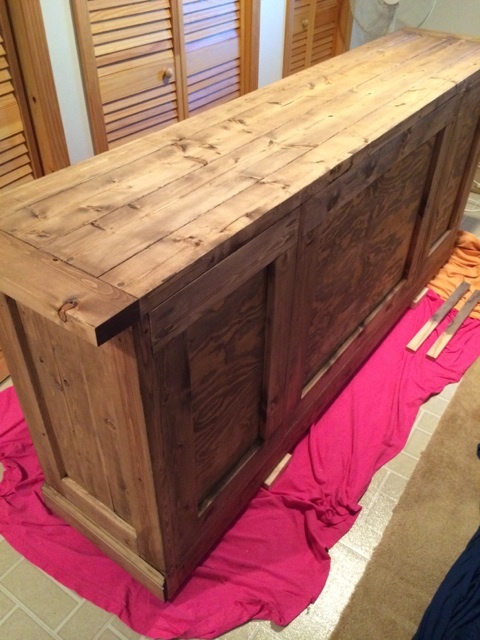
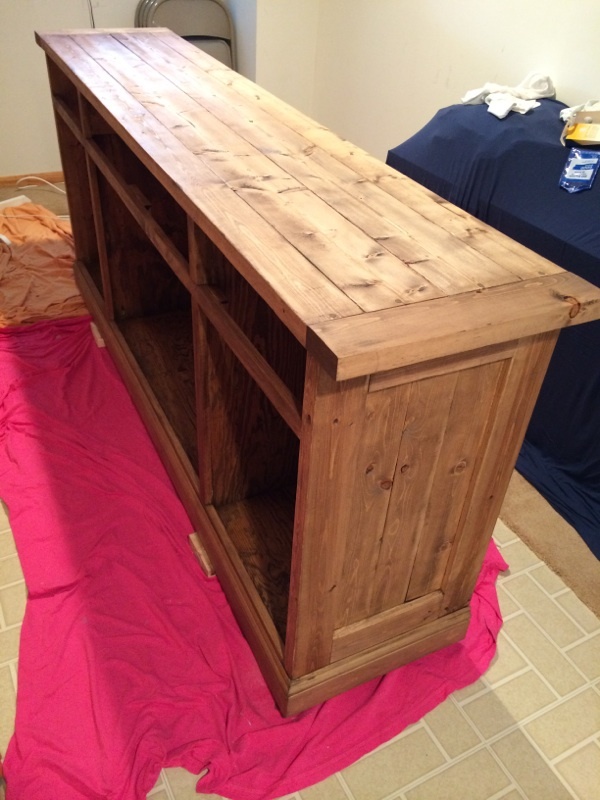
This was my first finished project using plans from Ana's site, and I am very pleased with the finished product. Every aspect of the finished sideboard is based on something from the site. I started with the plans for the Planked Wood Sideboard, and made no modifications as the dimensions were perfect for our basement family room. I decided to inset the back (http://www.friendly-home.net/2012/02/gigantic-rustic-sideboard.html) as Ana explained that Hillary had done, and love the final result. This will allow us to use this to potentially divide a room in an open concept space at some point in the future.
For the finishing process, I decided to follow the "Rustic Yet Refined" finish tutorial highlighted on both the Ana-White site (http://ana-white.com/2013/08/rustic-yet-refined-wood-finish) and Jen Woodhouse House of Wood (http://jenwoodhouse.com/blog/2013/06/07/diy-dining-table/). I fully intended to complete the 9 step process, but found that after we applied the Minwax pre-stain wood conditioner, followed by Minwax special walnut stain and wiped it off within 15-30 seconds, the finish mirrored the restoration hardware finish that we were going for. We decided not to proceed with layering on the weathered oak or applying the whitewash, and went straight to the spar urethane satin coats.
Overall, the project was a success, but was difficult to finish during the Minnesota winter as it was unbelievably cold and was forced to complete the finishing process in our basement/laundry room, which extended the length of the project. I am very excited to begin building other pieces from Ana's plans.

Mon, 03/03/2014 - 10:01
Absolutely beautiful! Thank you for all the details on how you did this!
In reply to Absolutely beautiful! Thank by moosmani
Thu, 03/13/2014 - 07:09
Thank you so much for your kind words. I am extremely impressed with your brag posts as well, and you may have been inspired to take on the picket storage shed project as soon as the snow melts.
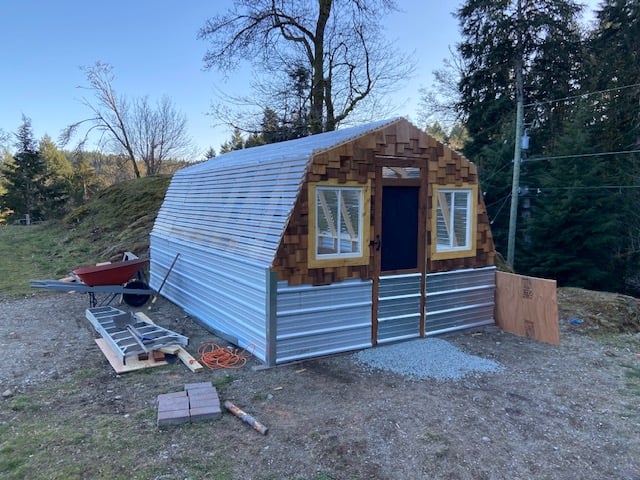
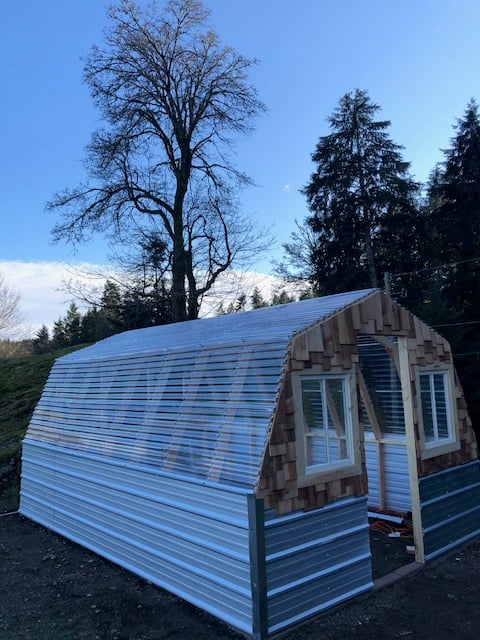
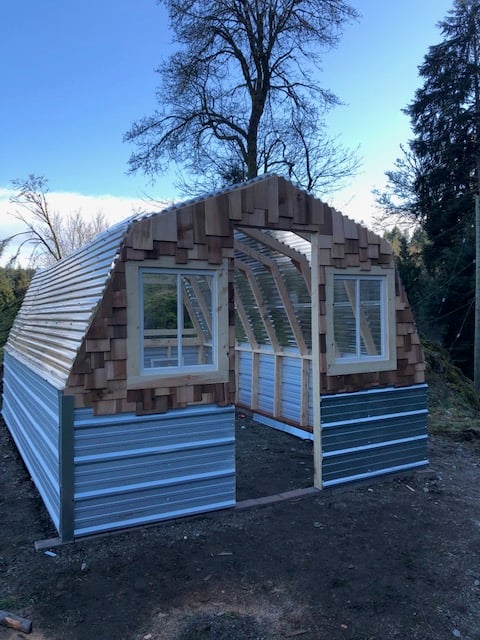
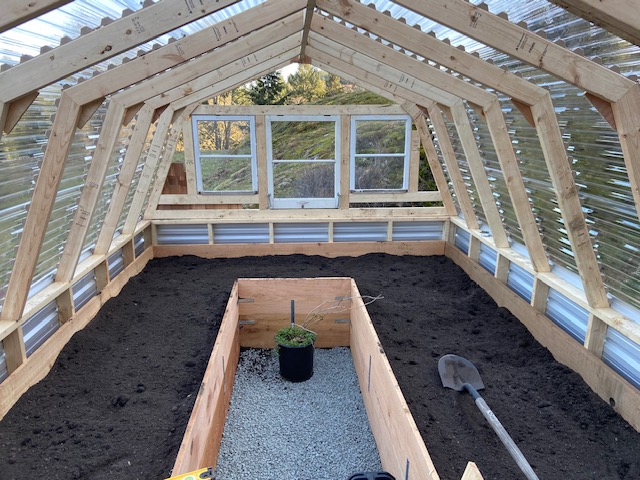
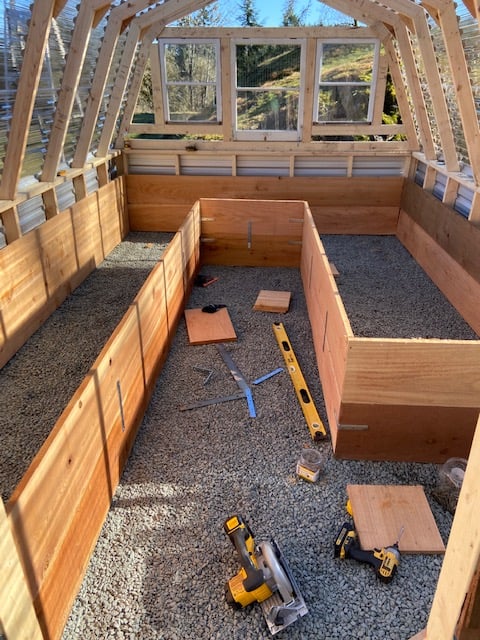
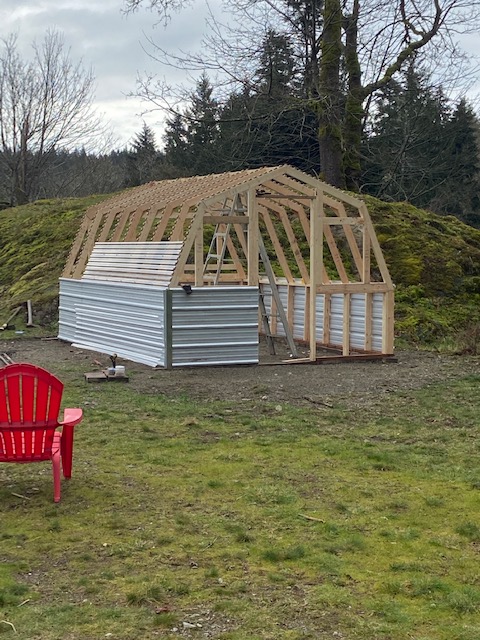
*NOT SURE MY PICTURES ARE UPSIDE DOWN??* This is the second time i've built this greenhouse. We recently moved to a bigger property so I built it 4ft longer at 16ft. I had some old windows to I modified the front and rear so I could incorporate them into the design. The cedar shake really adds to the appeal of the greenhouse as well. I still have to flash it off, but we are very happy with this greenhouse.
Wed, 03/25/2020 - 10:13
Got the photos straightened out, thank you for posting!
This is amazing, thank you so much for using our plans and sharing photos, it is much appreciated!
Tue, 05/05/2020 - 12:35
Great greenhouse, I'm just starting to build one the same. What height are your beds?
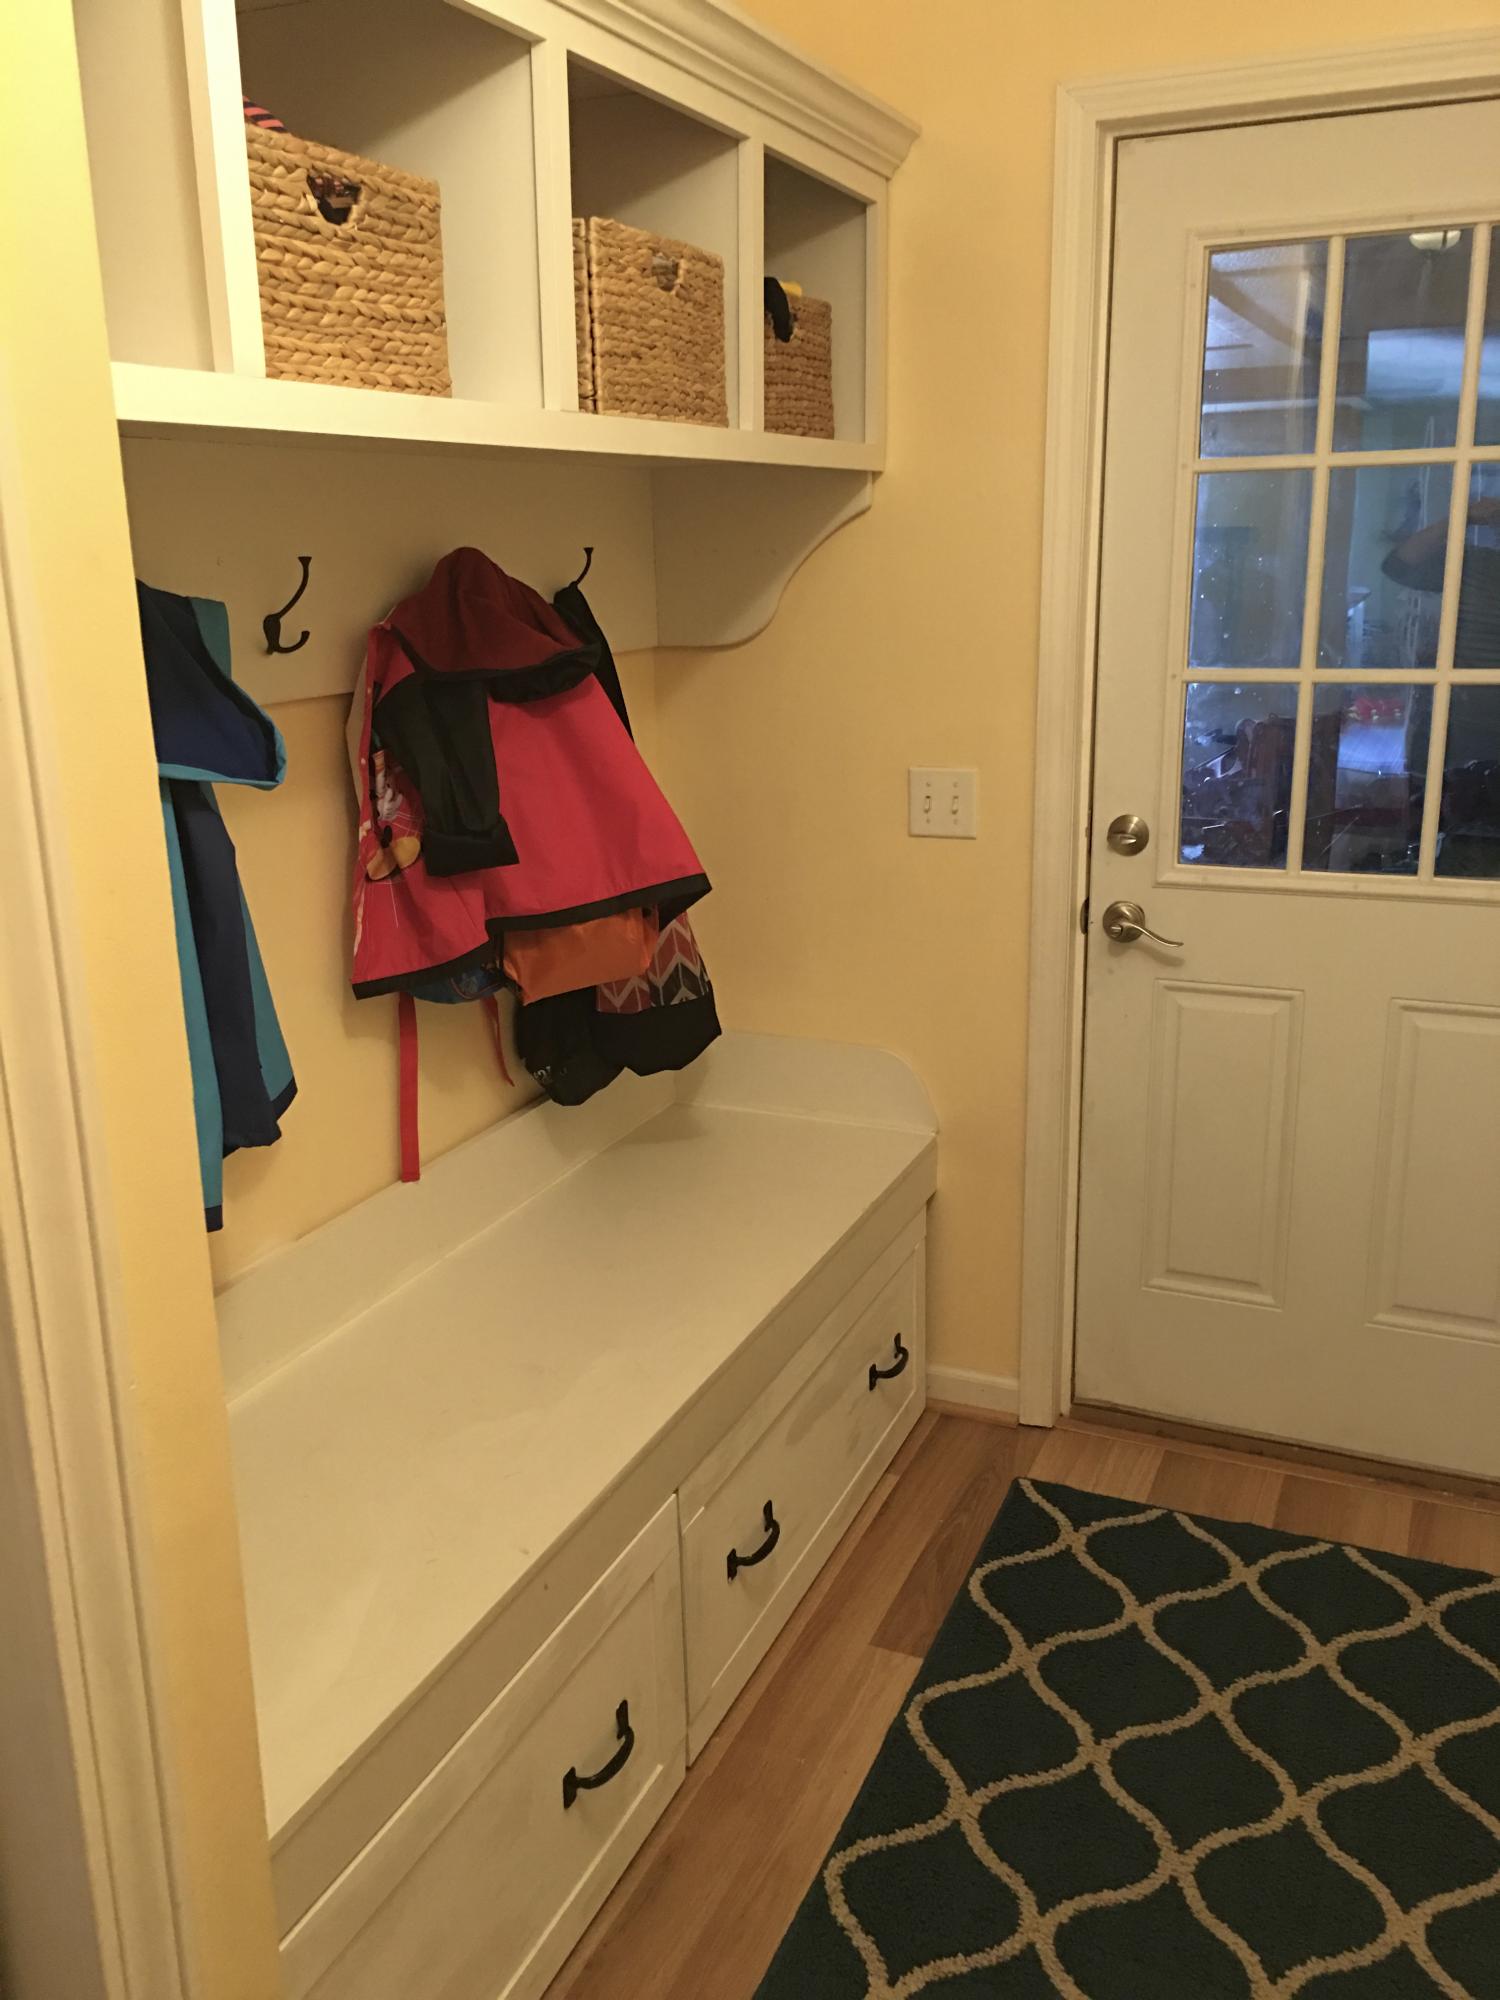
When we moved into our home, this whole area was empty. I don't remember seeing anything in this spot during our walkthrough. But I knew it would be a perfect spot for a mudroom. We were also getting a puppy and I did not want my shoes to be torn to bits. This was my very first build. I will forever be proud of this.
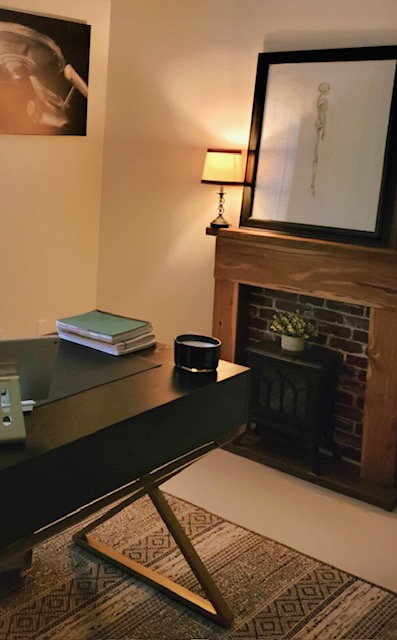
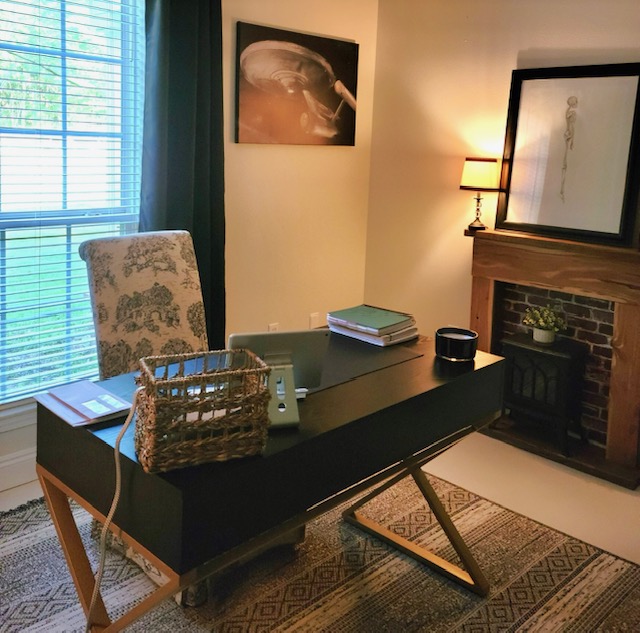
Great additon to the office - easy diy faux mantle
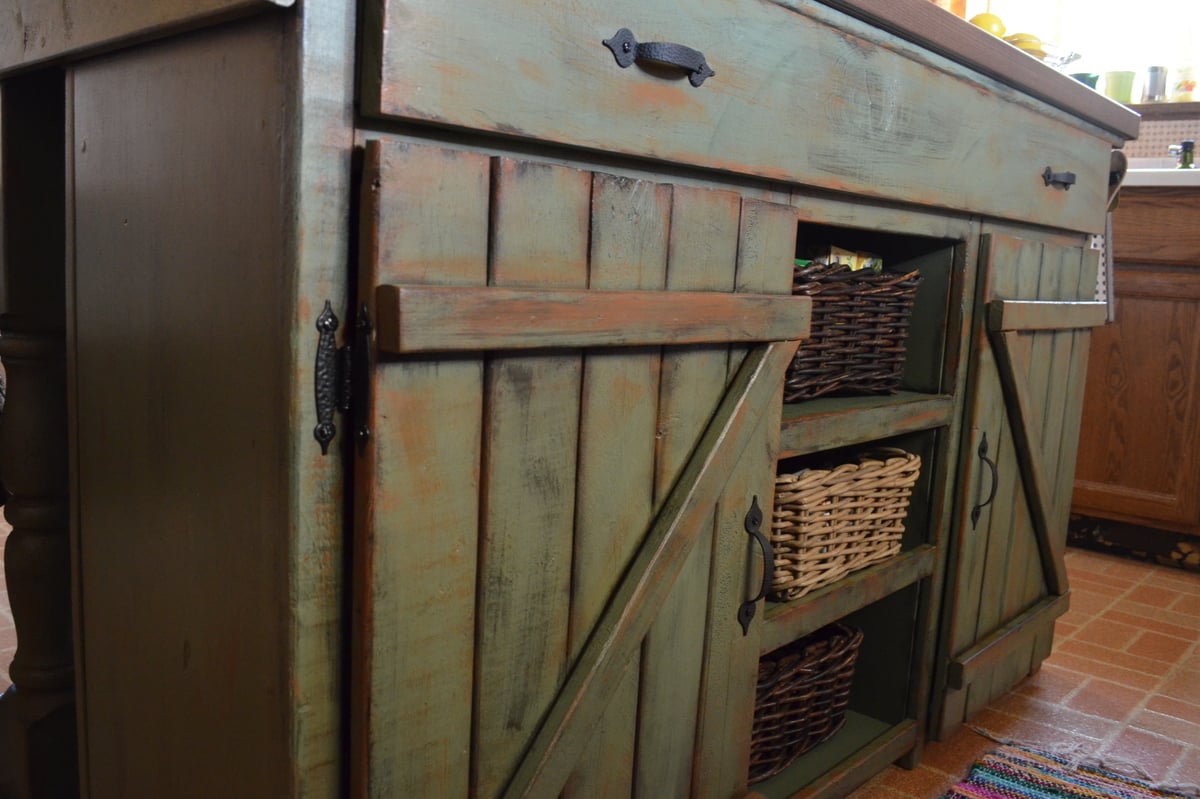
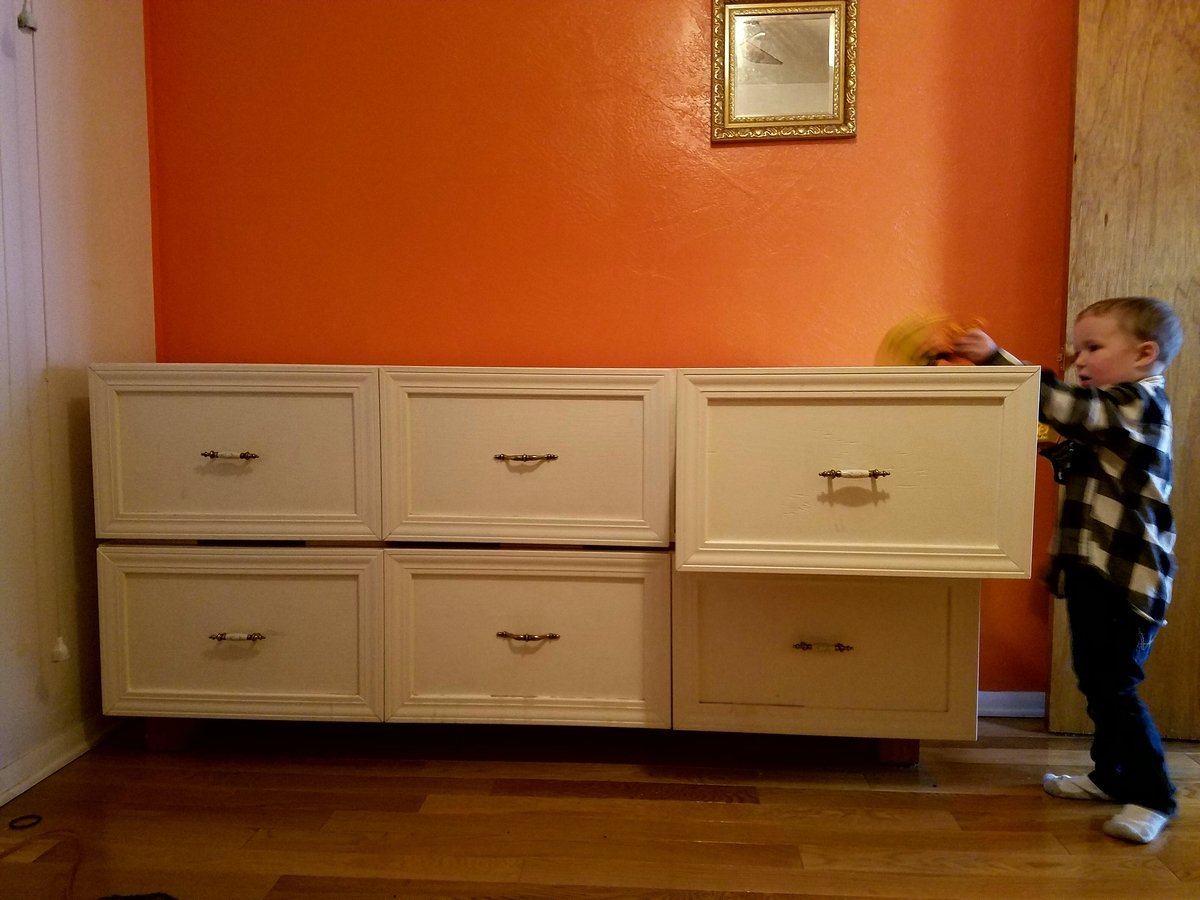
Grabbed some cheap whiteboard for my first project. My wife was looking at buying an island and I decided to surprise her by trying my hand at building one. Turned out to be an enjoyable new hobby that I hope to continue (plus, Laura now says I am her "favorite husband!").
Materials breakdown:
The lumber is white board from Lowe's for $115
The countertop is laminate Pragel from Ikea for $59 (cut to size)
Paint, polyurethane and drawer hinges were $50
I had another $75 in tools, glue, wood filler, nails, etc, because this was my first project.
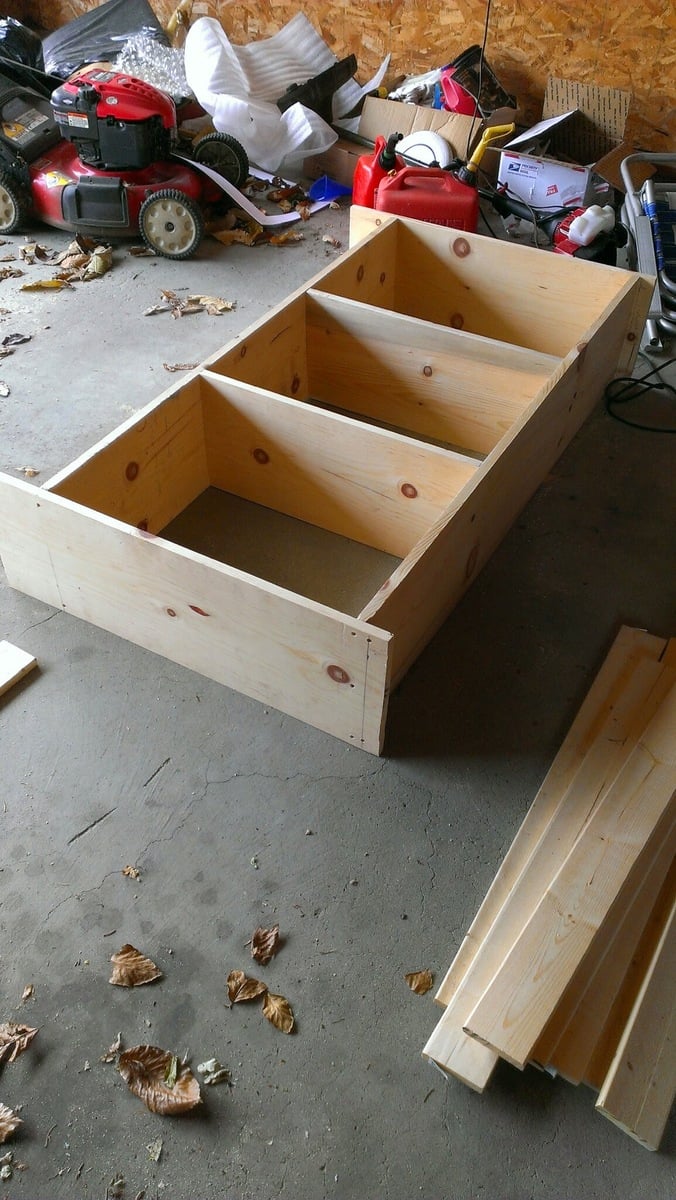
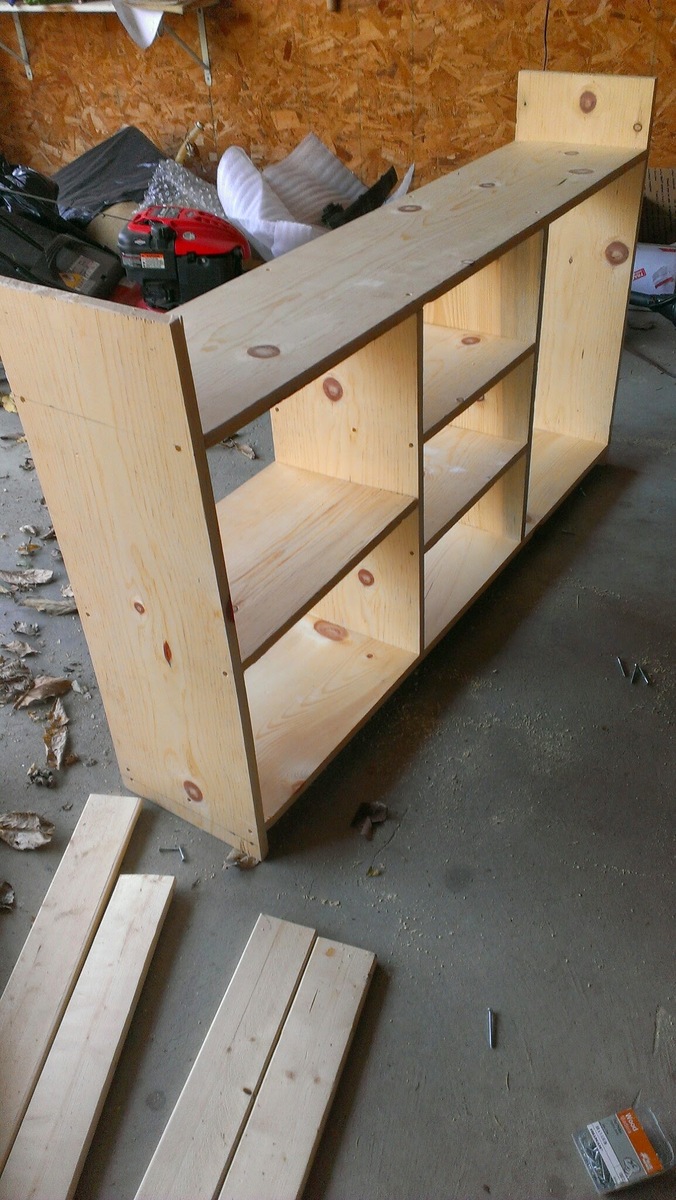
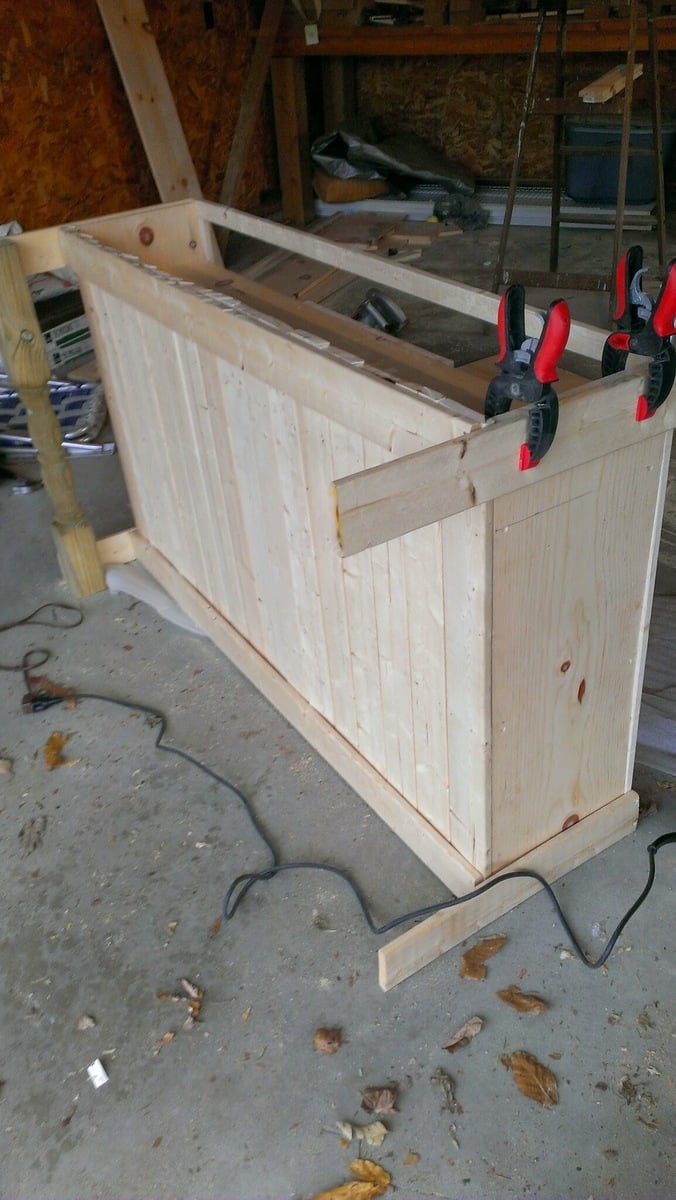
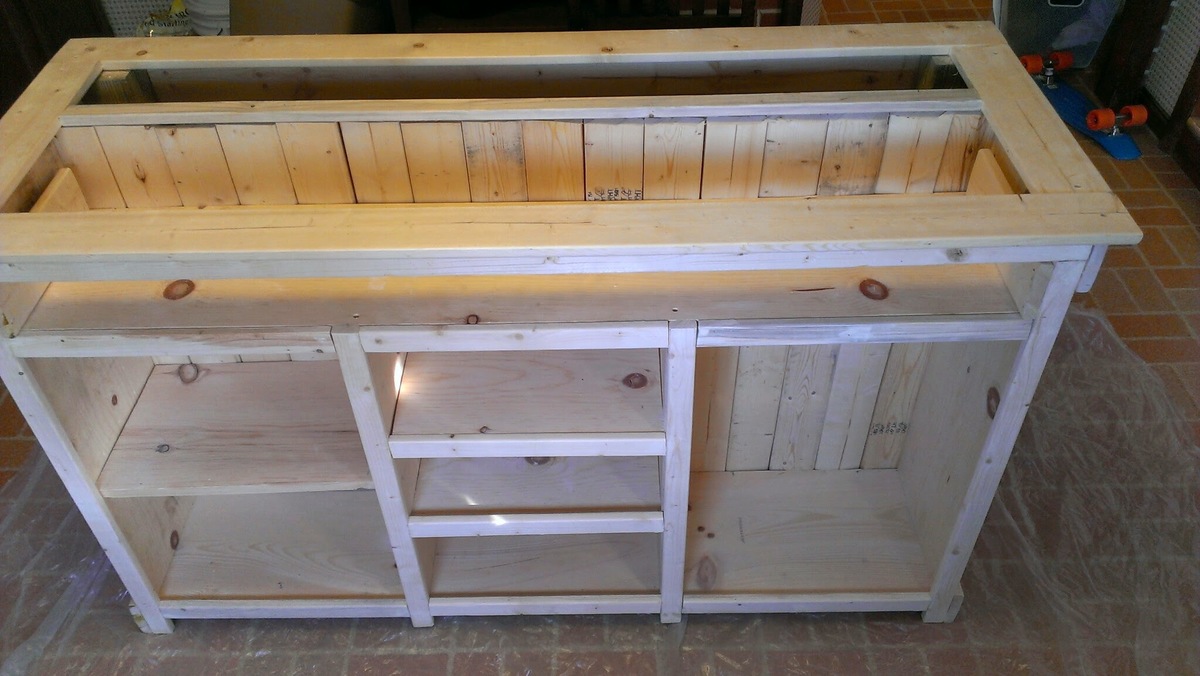
In reply to Love the color by NimbleShopper
Wed, 04/02/2014 - 17:38
My wife, Laura, helped with the paint and came up with the dry-brush distressing technique.
In reply to Impressive by Ana White Admin
Wed, 04/02/2014 - 17:42
We just moved into an old house with a garage and the previous owners left a work table and an ancient Craftsman jig-saw, circular saw, and scroll saw (all from 1956). They were a bit sketch, but they got the job done!
Fri, 04/04/2014 - 21:42
wow. very impressed. love the finish! it turned fantastic for your first project; looks like you have a new hobby!
In reply to wow. very impressed. love the by birdsandsoap
Tue, 11/15/2016 - 00:15
I love that. It have a nice design. ین درها دارای تکنولوژی مدرن و پیشرفته بوده و استفاده از آن سهل و آسان می باشد. وجود موتور توبولار و مرکز کنترل پیشرفته الکتروند فرانسه در آن باعث ایجاد امنیت، آرامش خیال و سهولت کارکرد آن بصورت دستی و اتوماتیک شده است. این مدل درب اتوماتیک به دلیل کم حجم بودن و جمع شدن در زیر سقف فروشگاه ها و یا مراکز تجاری و یا به صورت عمودی در سوله ها و کارخانه ها، هم باعث کارآیی بیشتر و هم دارای زیبایی مضاعف می باشد و کاربرد آن در مراکز تجاری، فروشگاه ها و صنعتی باعث ایجاد امنیت، راحتی و سهولت در استفاده از آن شده است .
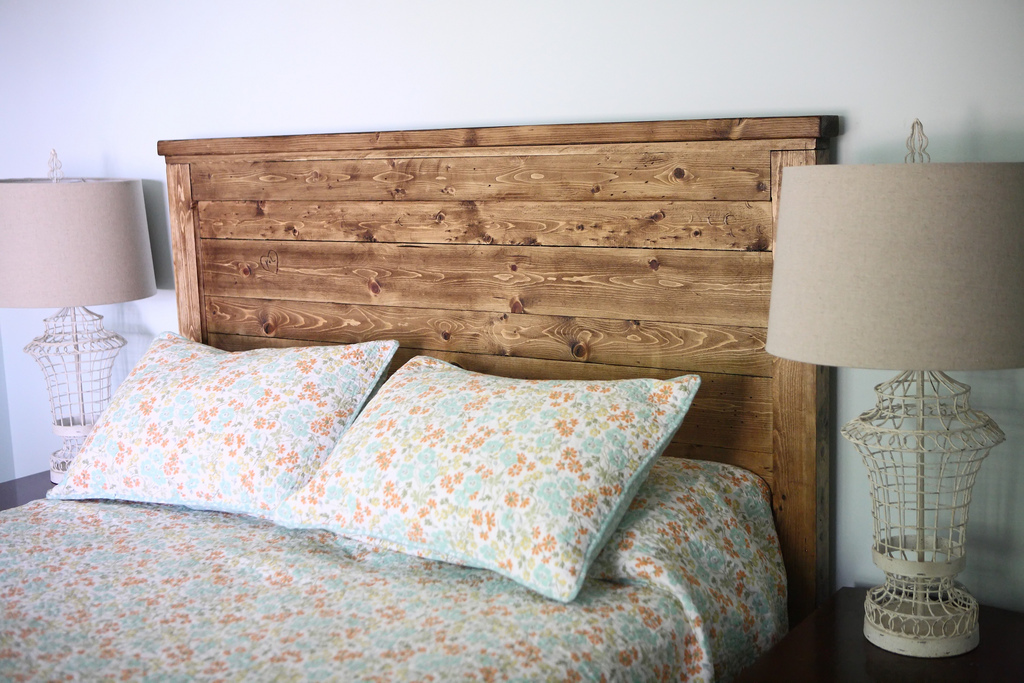
Reclaimed-wood headboard from pine boards with minwax aged oak gel stain and stain finish wipe-on polyacrylic. I distressed some of the board with a screwdriver, a pipe, and whatever else I found in the garage, and etched my and my wife's initials in a heart on one side. Aww!

Fri, 07/06/2012 - 19:44
I was going to carve mine and my hubby's initials in a heart on our reclaimed headboard, too!!!!! I didn't end up doing it because I think we'll eventually sell it and build a headboard with padding on it since my husband likes something padded to lean against while watching tv at night.
The toy room needed some attractive storage for the books and puzzles instead of the floor! Enter this plan. I shortened the shelves to 36" and fastened the shelves to 1x2 stretchers that I fastened to the inside of the sides. I hid them by nailing a face frame to it made of 1x2s. I used beadboard for the back, which I painted before attaching it.
I had a hiccup when I forgot to use my square and had to backtrack some, which made this project longer than I anticipated.
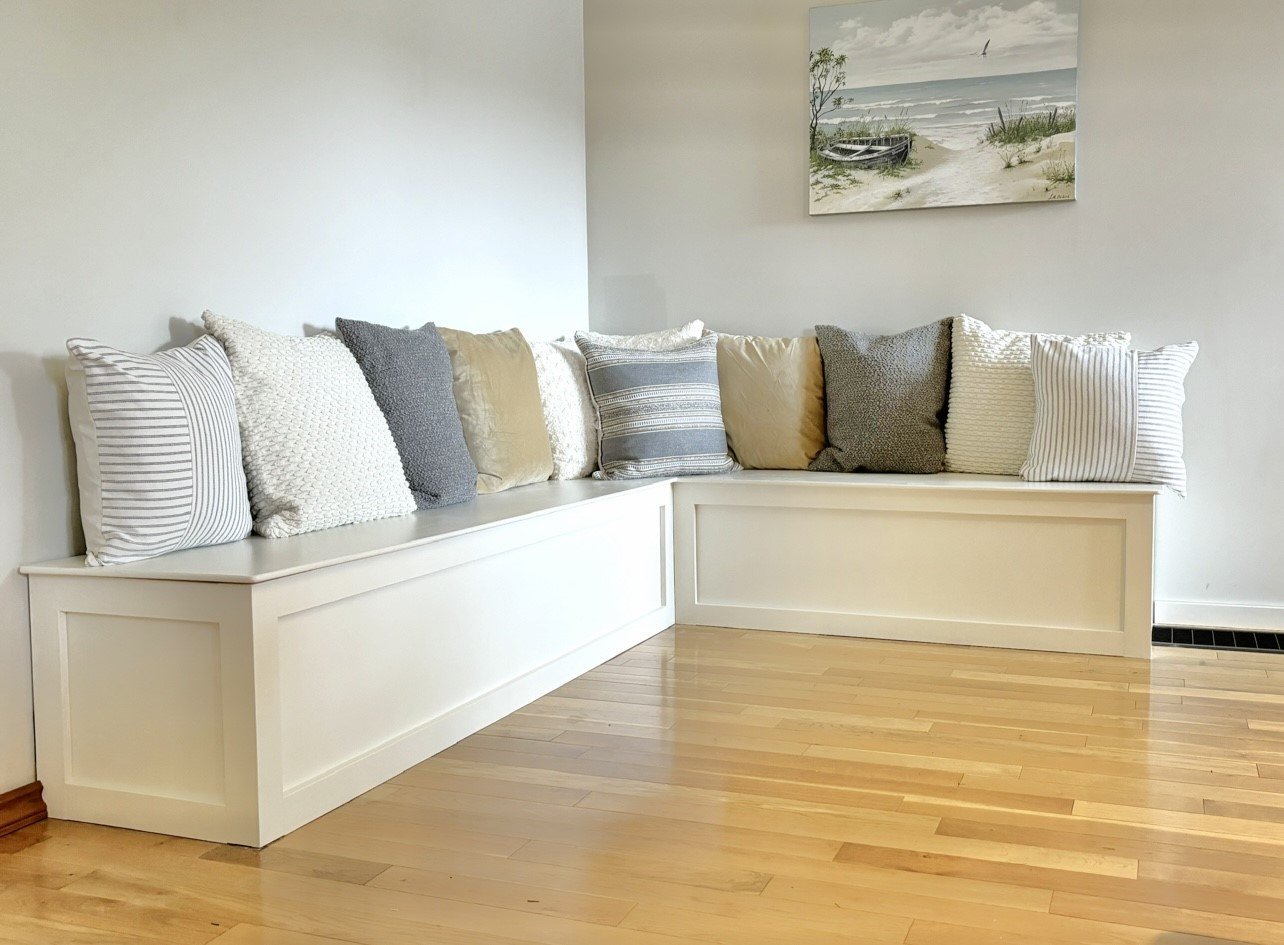
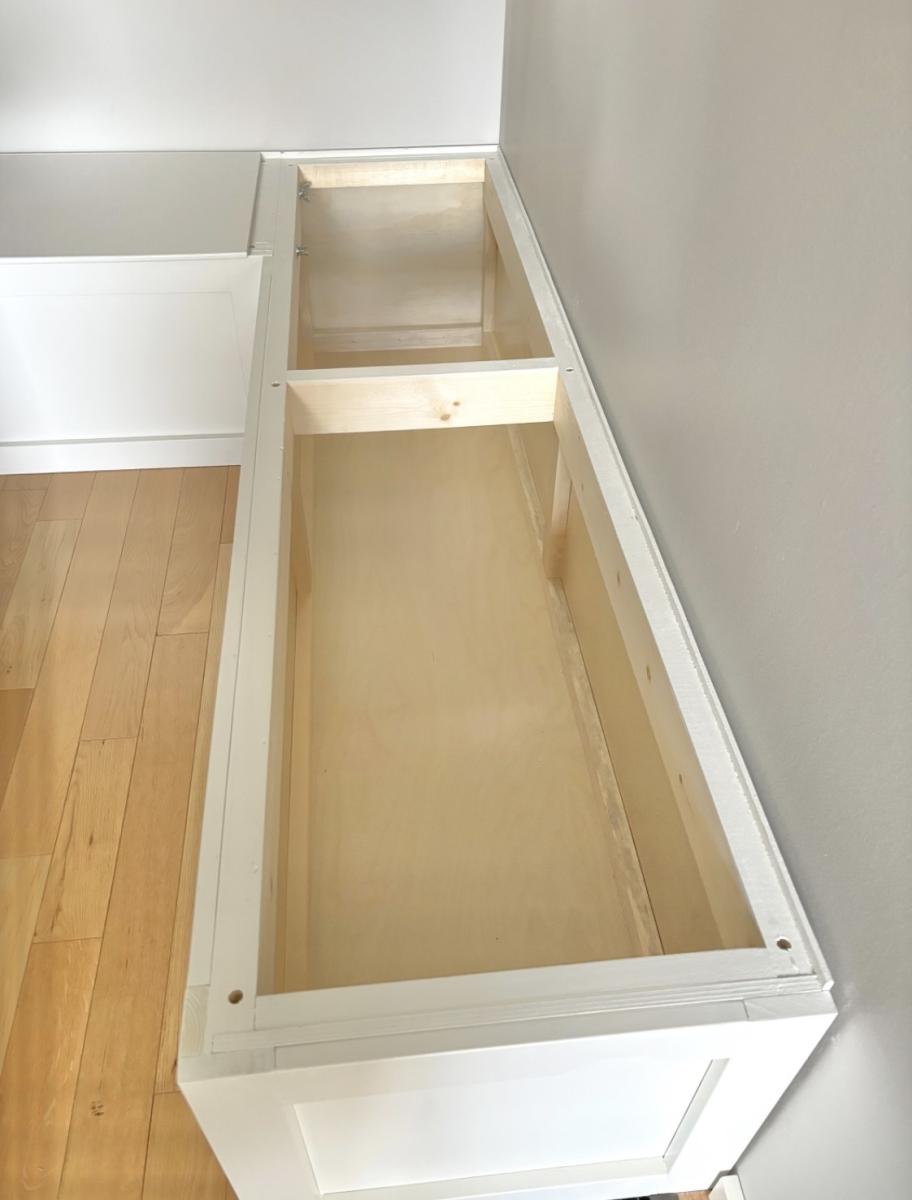
This is my banquette bench I made over the past few weeks after I saw your pictures and plans on your website. I absolutely love it. I am refinishing a table and chairs to use with it. Now I have room for lots of guest. Thank you for your great ideas.
We had a pile of old wood and an old fence in the backyard that I wanted to repurpose. I had a spot along my house in the back yard that was empty, that really needed something. Thanks to Ana's "Farmhouse Potting Bench" tutorial and plans, we got inspired. We changed the measurements to make sure we could incorporate an old stained glass window that I've had, just waiting for a purpose. We also changed the measurements to accommodate the different sizes of wood that we had on hand. Our project took a much longer time, because of all the measurement changes and wrapping our head around how to mount the window, but it was worth it. We're really happy with how it turned out.
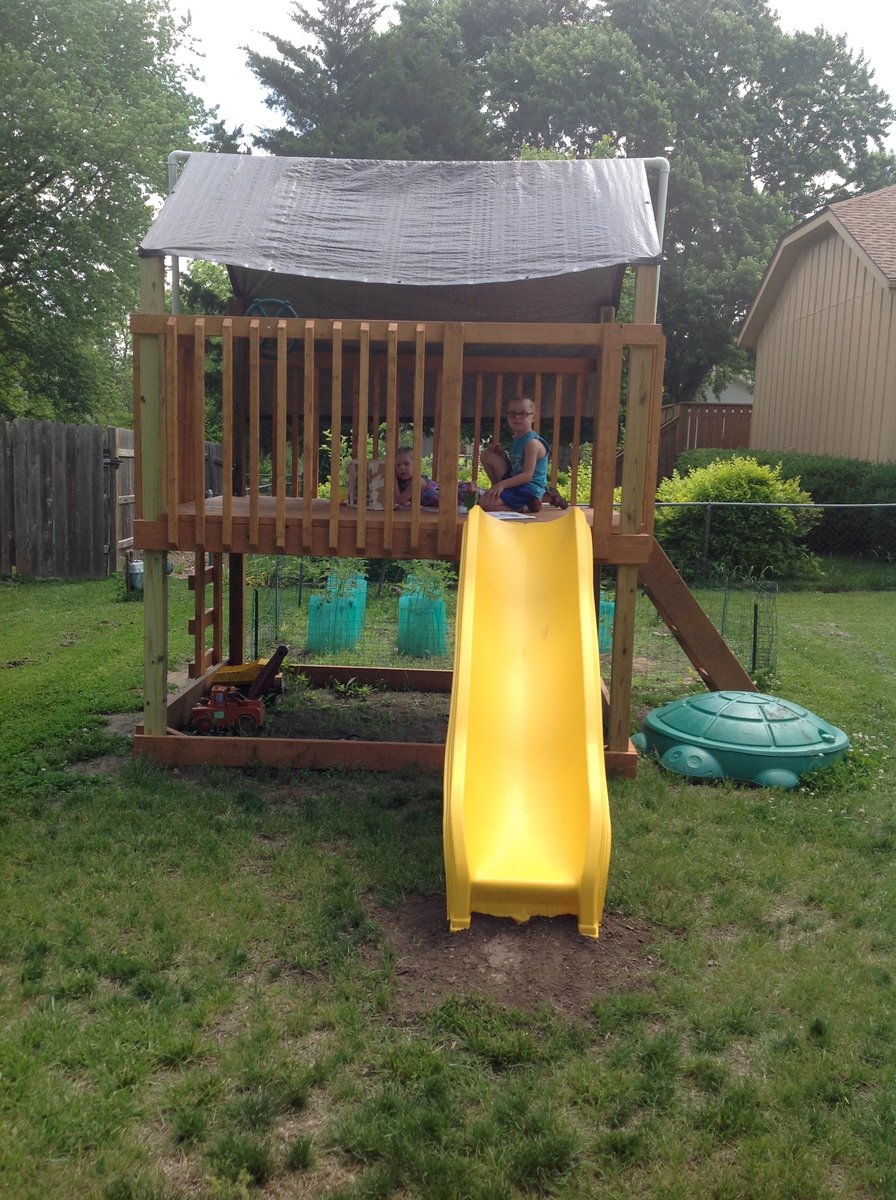
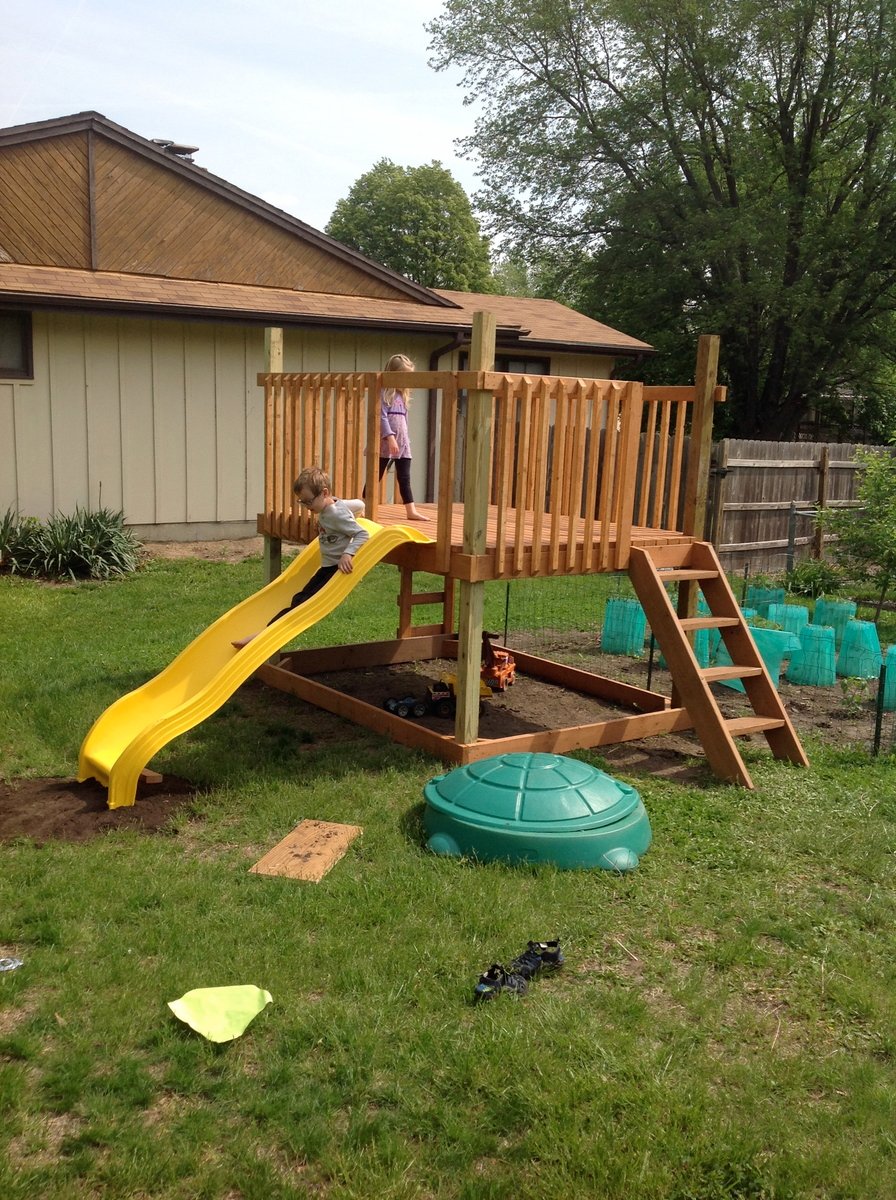
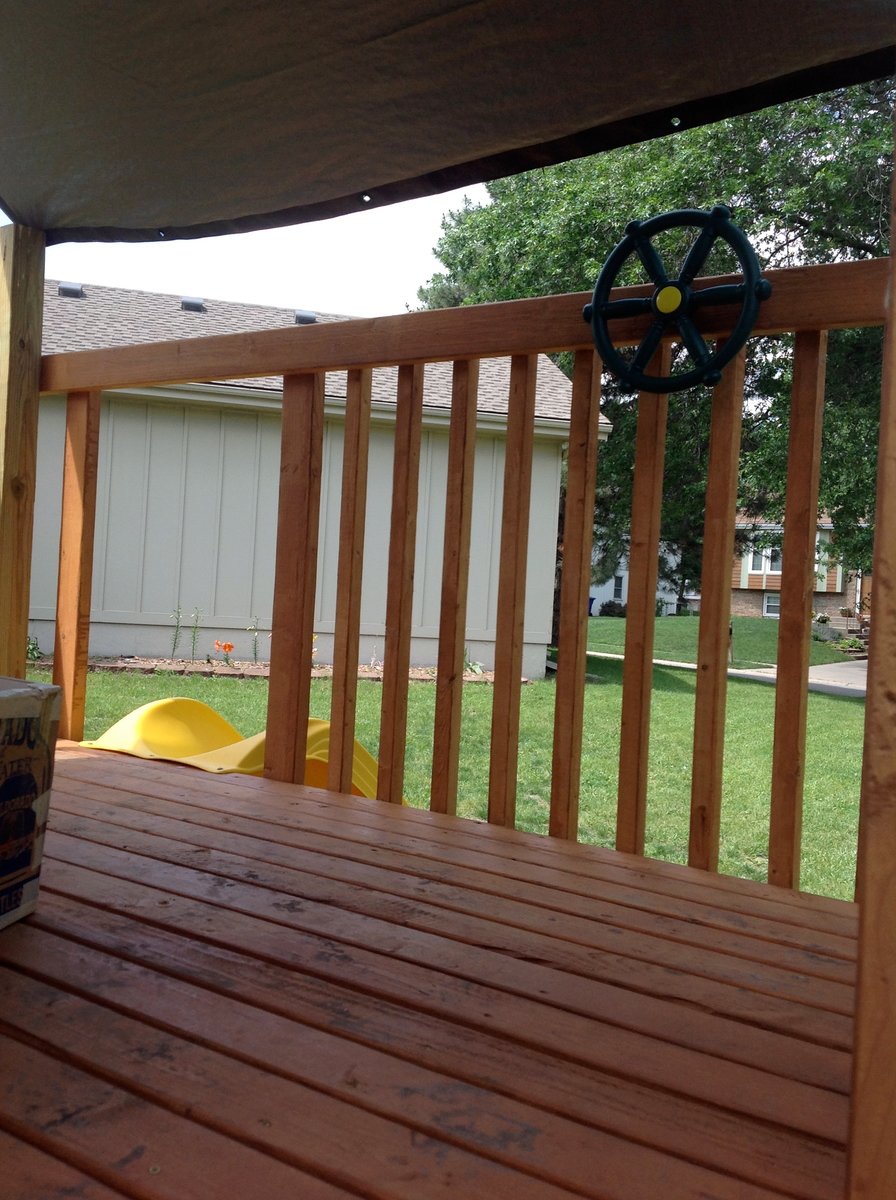
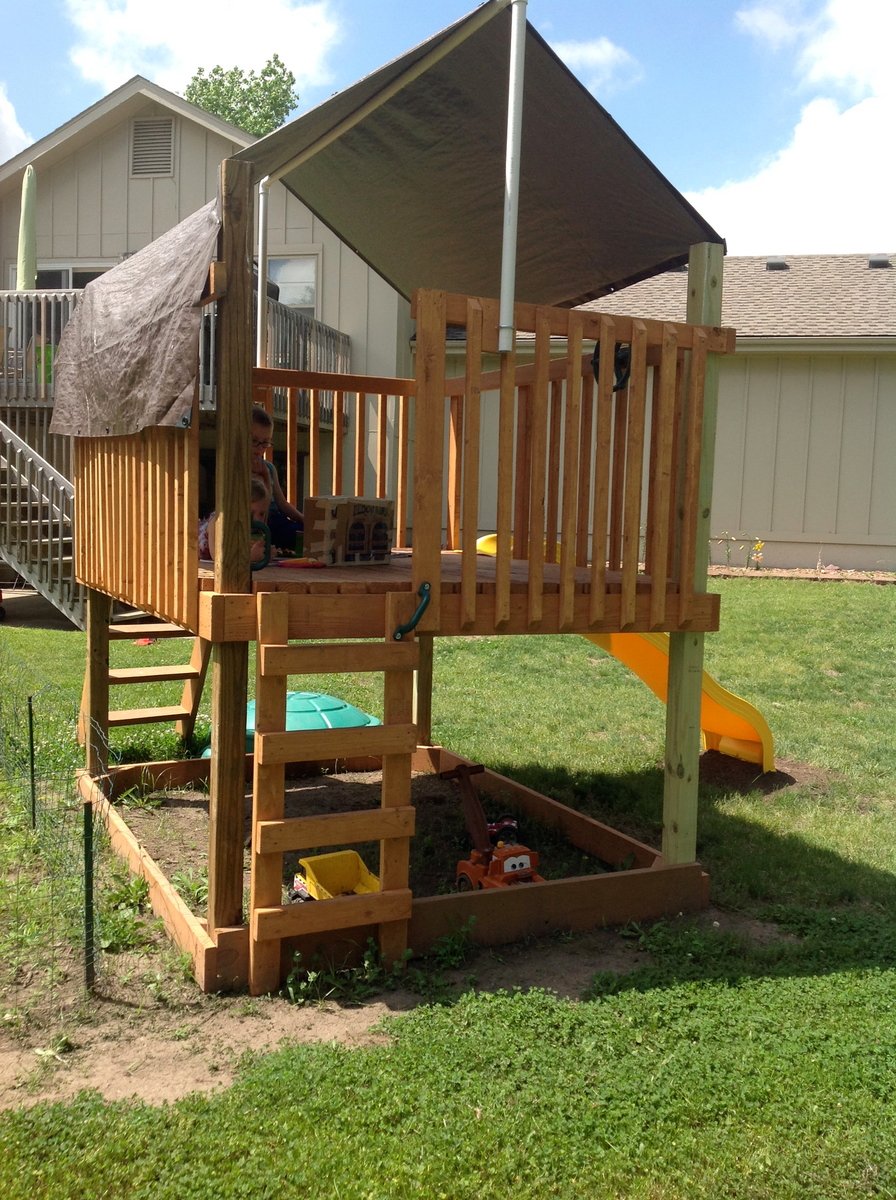
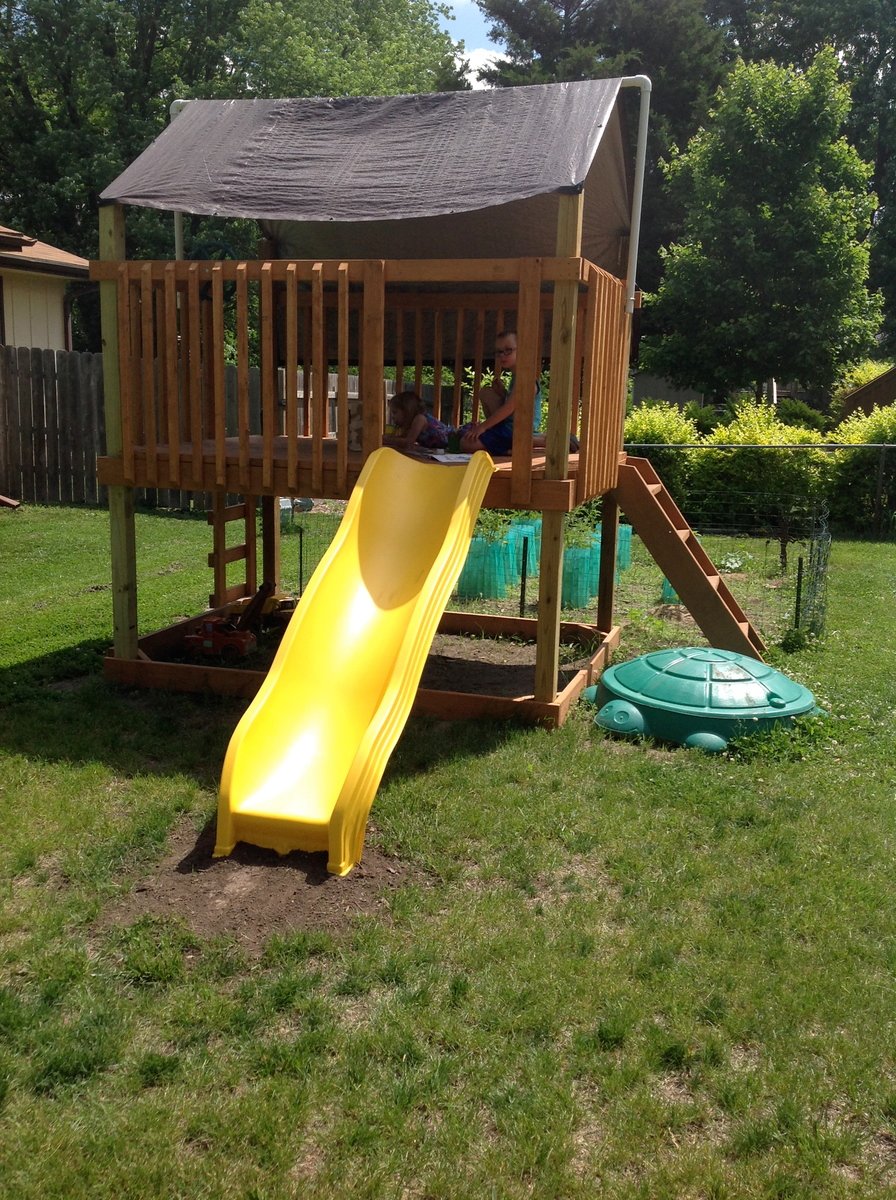
I wanted to build a structure for the kids to play in, but not include a playhouse. I used the playhouse deck design and made it slightly smaller (6 feet by 8 feet). The "roof" is removable to provide shade when it's sunny. It's just PVC and a tarp - pretty simple, but it does the job. I used treated posts and untreated lumber for the rest of it. I painted everything in my garage before assembling it. Once all of the wood at been painted, but came together pretty quickly!
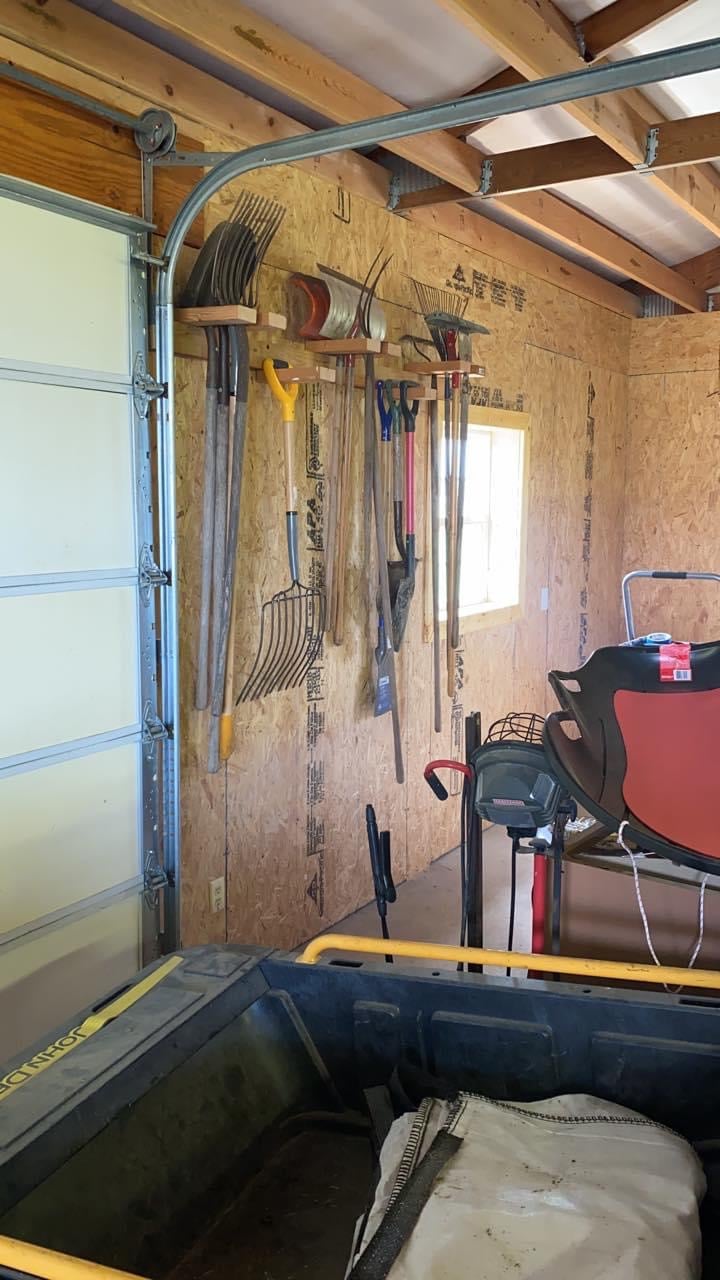
Had all my tools leaning up in the corner of my shed until I saw your post. Thanks
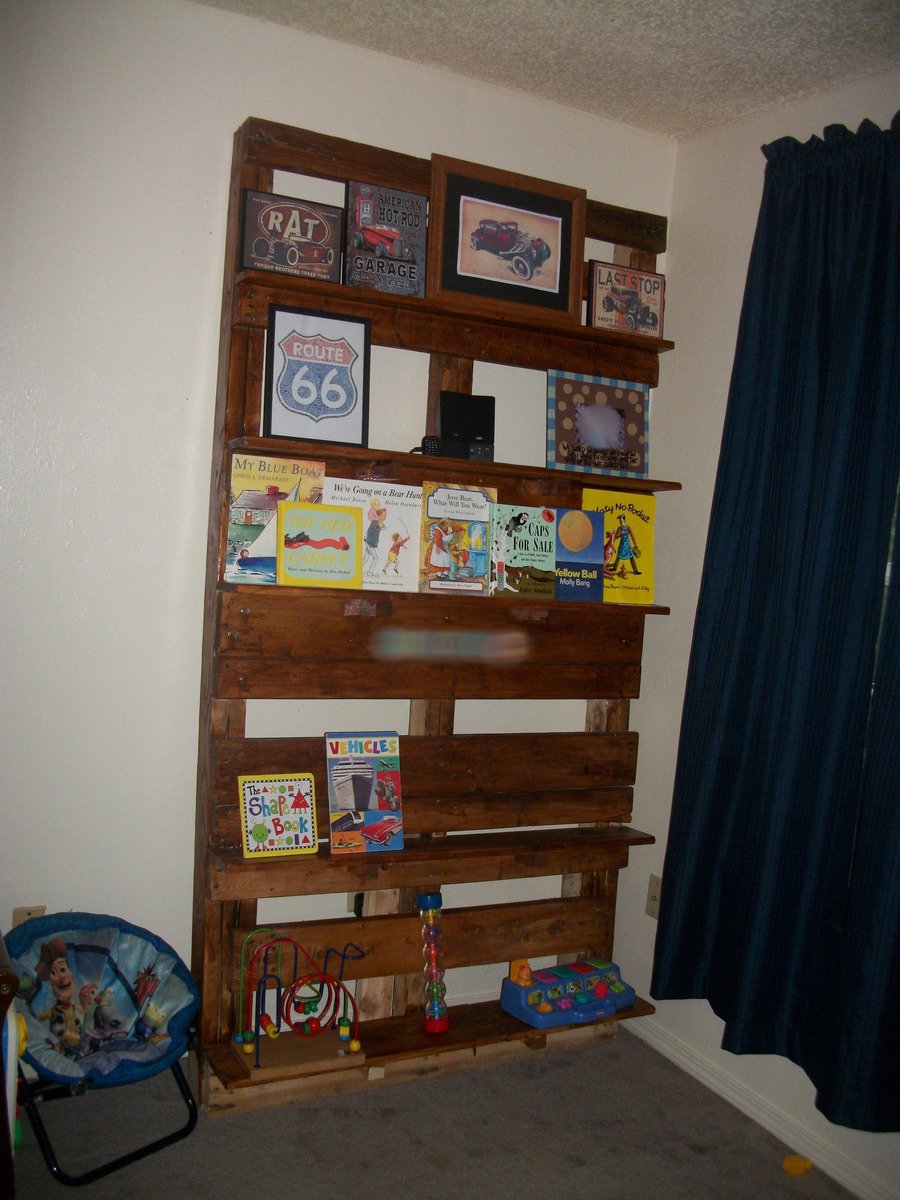
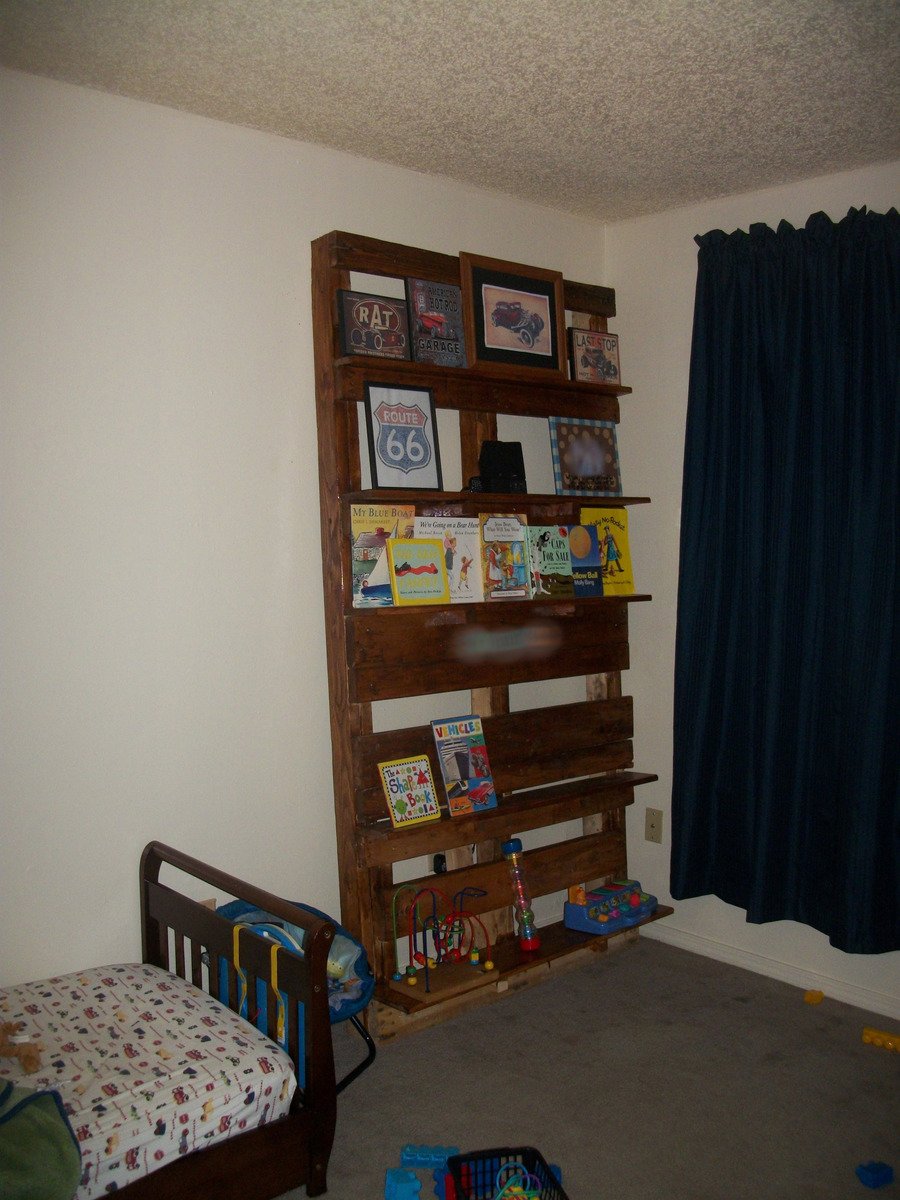
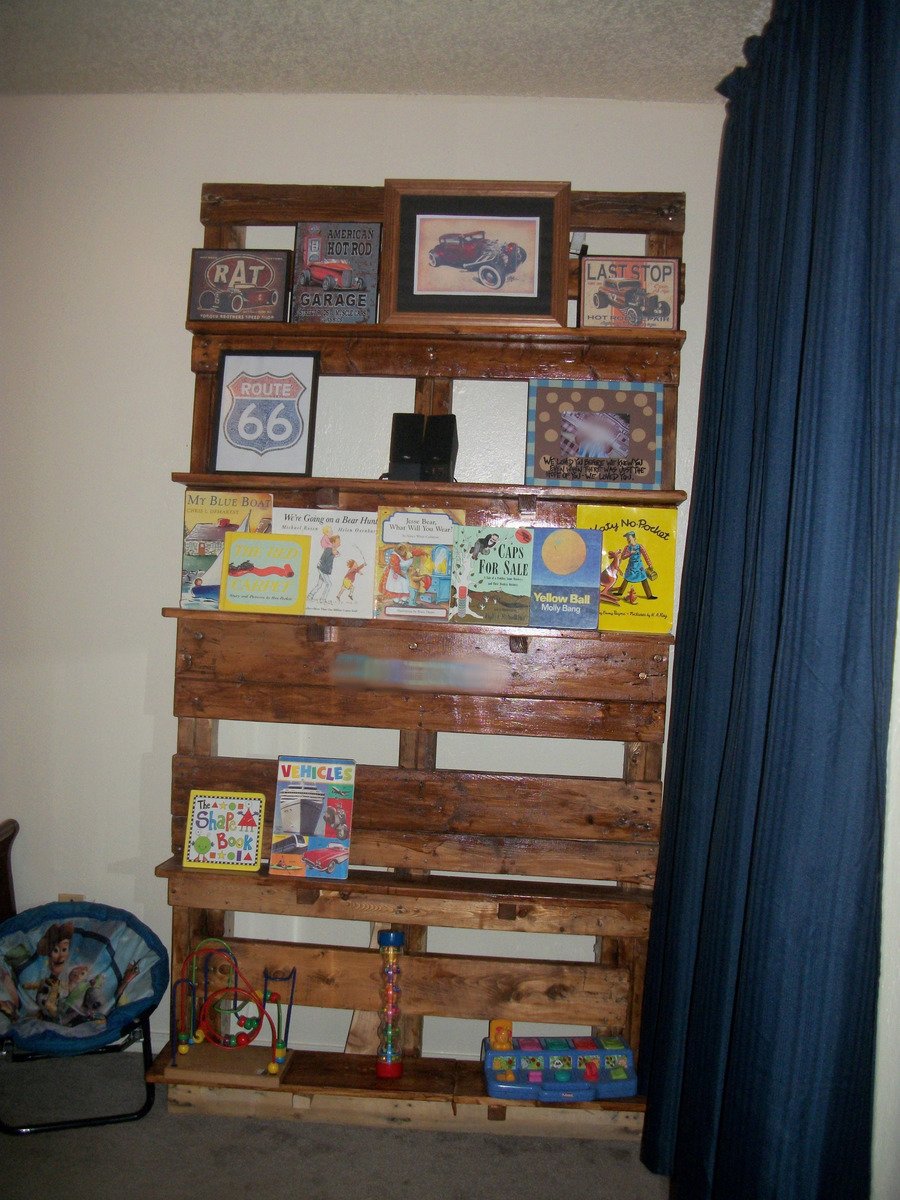
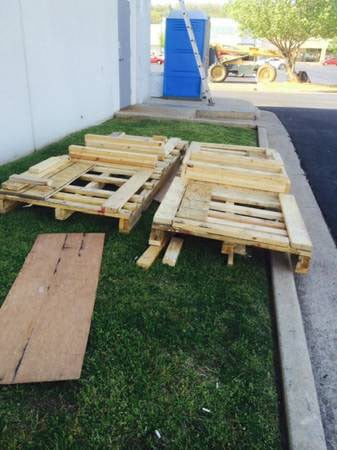
I found an ad in the Craig's List free section advertising two pallets on a first come, first serve basis behind the new pizza place near our apartment. I talked my dh into going a checking it out and there was one left when we got there. These pallets were HUGE! Nine feet long! It hung a good 3 feet over the end of the tailgate on my husband's truck! The manager of the pizza place wandered out while we were loading up and told us that their new pizza ovens had been delivered on the pallets. Cool story to tell our son about his bookshelves!
We got the pallet home after a quick stop at Lowe's for a crow bar. Dh taught me how to use a crow bar to remove the excess wood used to stablize the pizza oven on the pallet during shipment. I also learned that they use an insane amount of nails to put these things together! After pulling off about 40 pounds of useless scrap wood (literally, 40 pounds, these suckers were HEAVY!) I used some of our own scrap boards from other projects to make the shelves. We live in an apartment complex. People wandering by all day asked what I was doing. Even dh didn't understand exactly what I was trying to do but he went along with it and helped when I needed extra hands.
After getting it all put together, I used some left over poly-and-stain-in-one that we had left over. I got most of it stained with that but then I ran out. I haven't gotten around yet to getting some more. That will be the only cost associated with this project, the rest was free. Oh and the letters used for my son's name on the shelves. I blurred it out in the picture but I used dollar store vinyl letters to put his name on the shelf.
We anchored the shelf to the wall, it's stable and sturdy but I never doubt the ingenuity of a small child and even with the 40 pounds of wood we removed from this sucker, it is still H-E-A-V-Y!!!! Since it's going in a toddler's room I figured better safe than sorry. I went to Lowe's and asked for earthquake straps and I was told that we don't get earthquakes around here so they don't carry them.... I had to explain to her that earthquake straps also keep small children from toppling heavy furniture and she said they might have something in the childproofing area. They did have furniture straps as they called them in the childproofing area. Note to self: we no longer live in an earthquake prone area, people look at you like you've lost your mind if you want to strap your furniture down in case of earthquakes or curious small children.
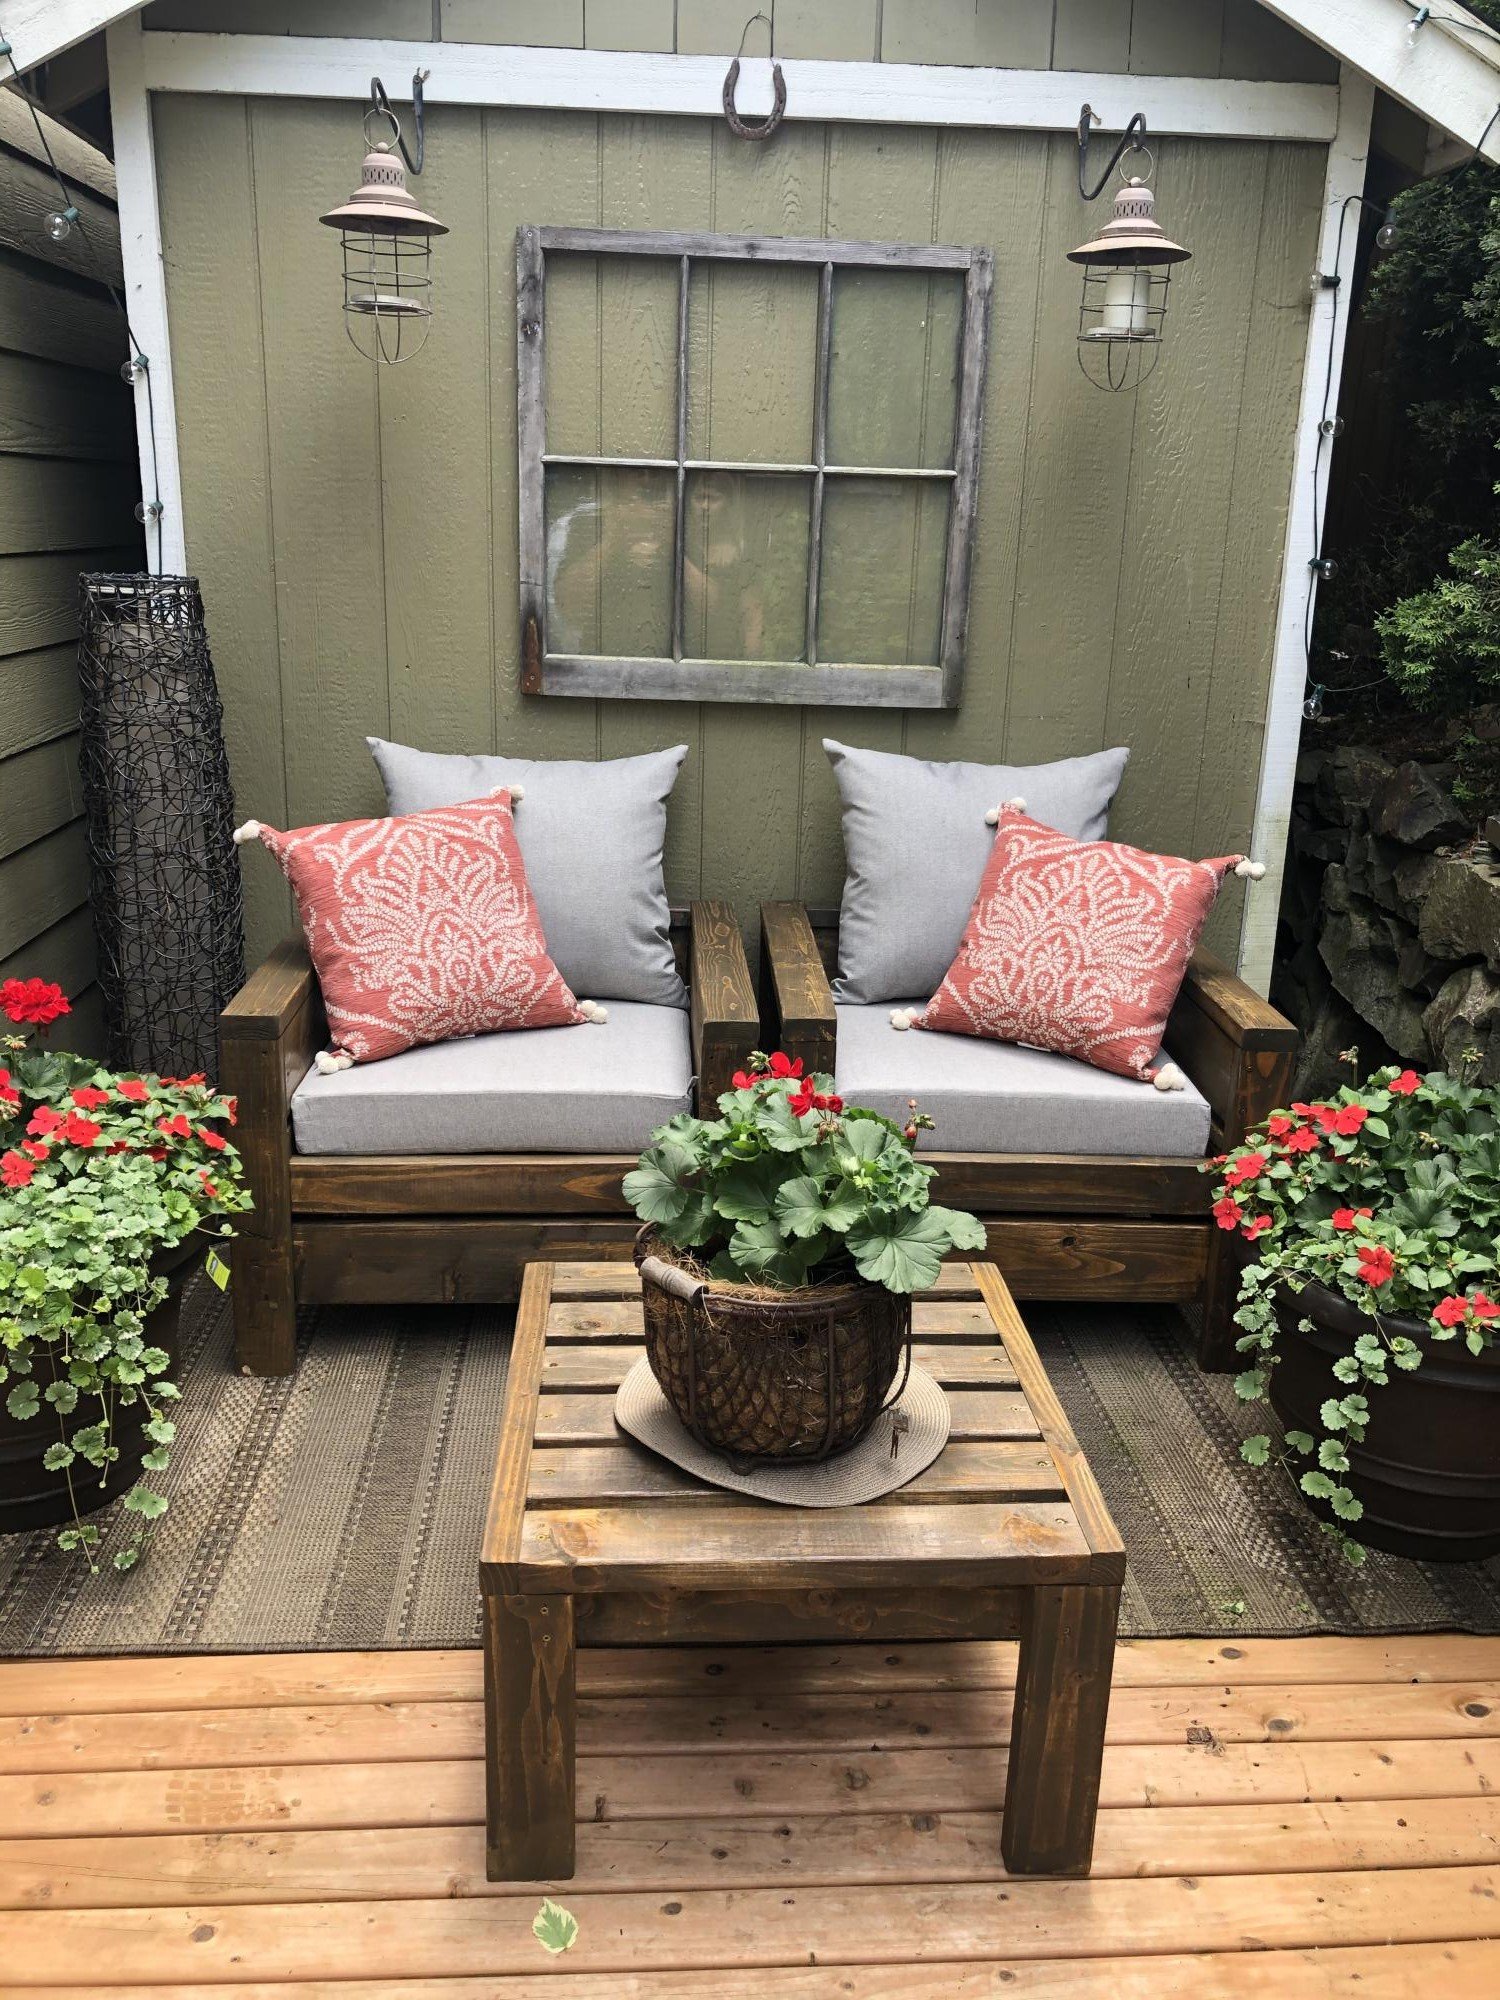
My husband built these for our little deck!!! They turned out AMAZING!! The plans were so easy to follow! I am so happy with how they turned out and can't wait to build our next Ana White design!! THANK YOU!!!
Thu, 06/18/2020 - 07:35
Hi there! We got the cushions and pillows at Walmart! Super inexpensive!
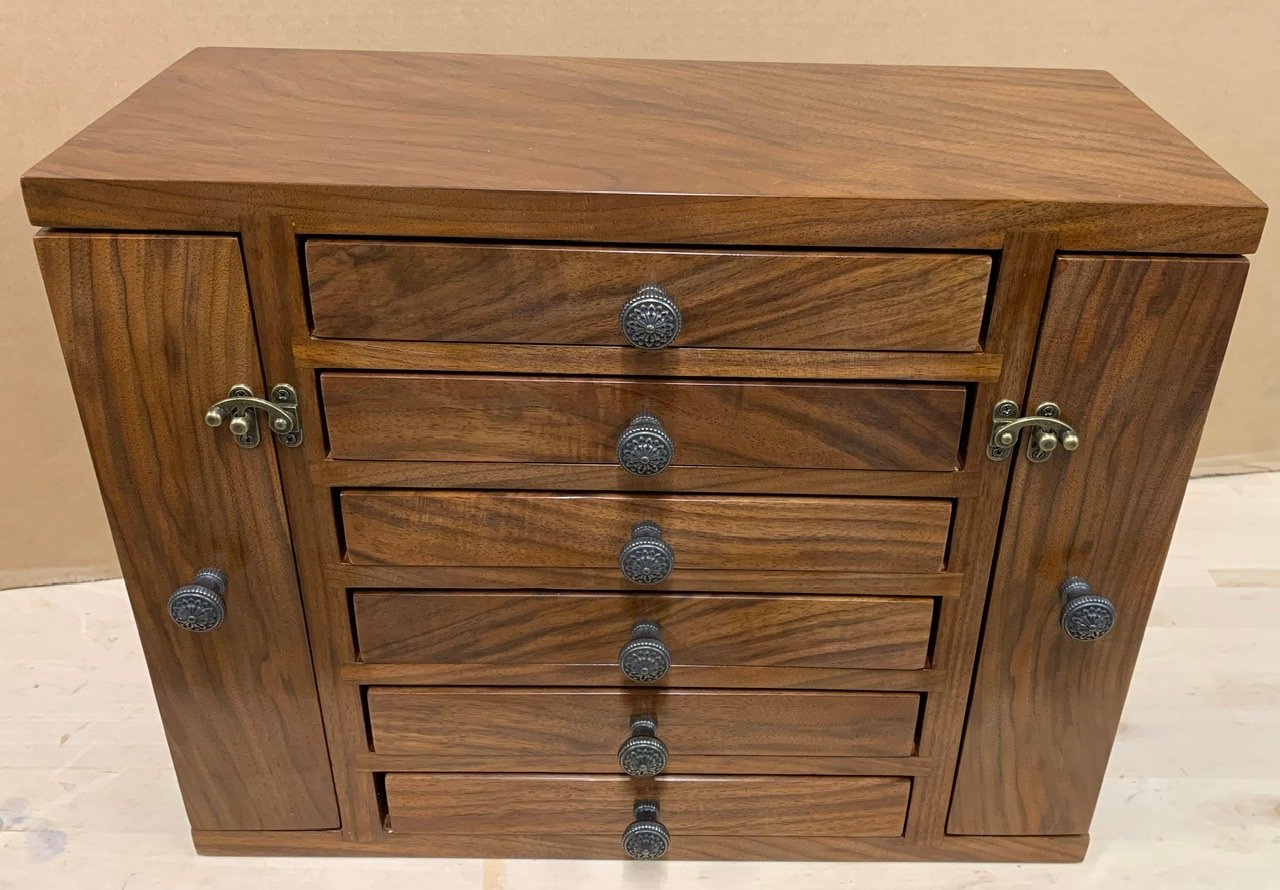
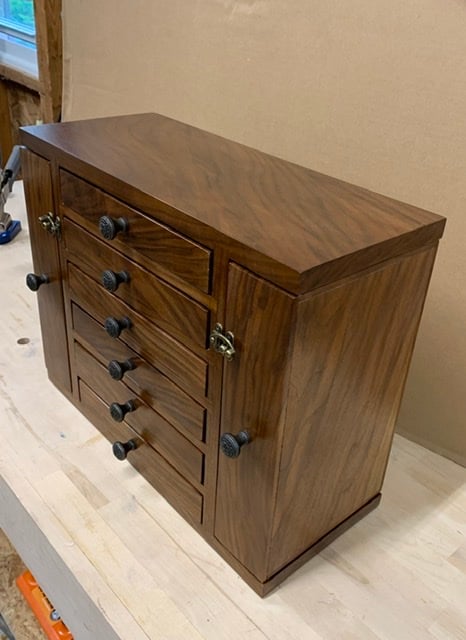
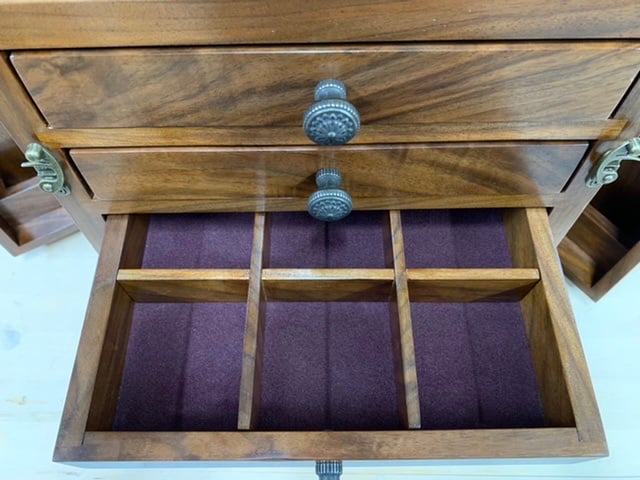
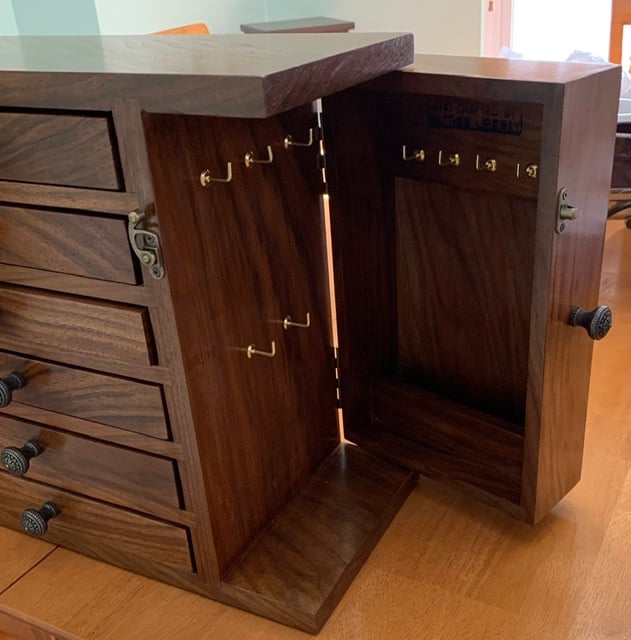
Great plans and a fun build. I made some modifications. My drawers are 1.5” high and 10” long. It allowed for 6 drawers. Overall height is 13.75” and length is 17.5”.
I used rabbits and dados rather than butt joints. There is flocking in the drawers.
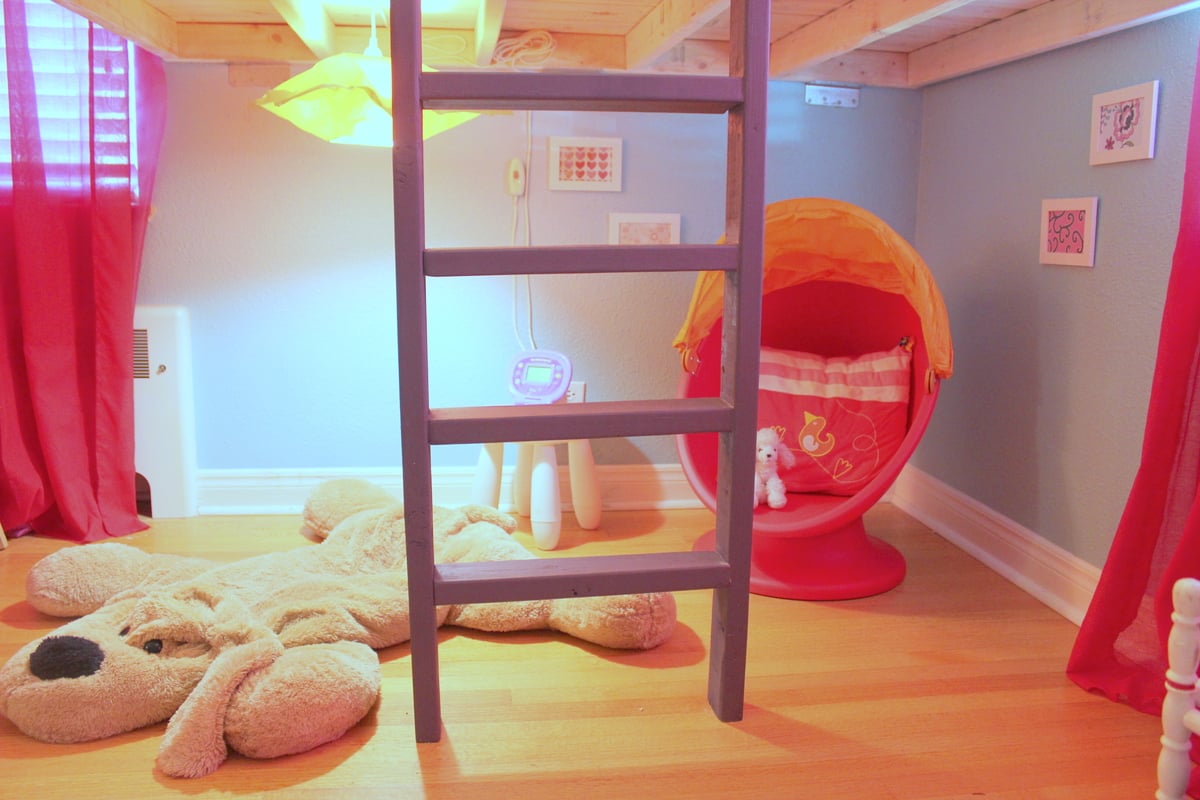
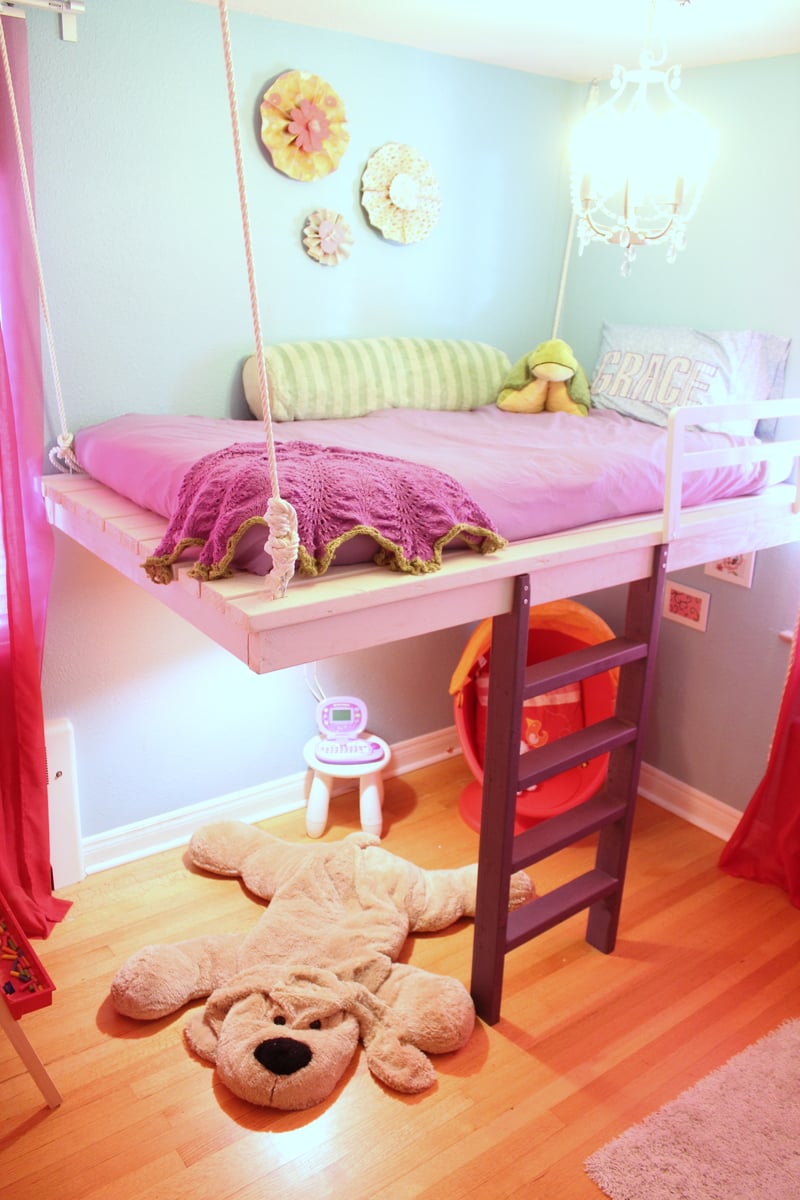
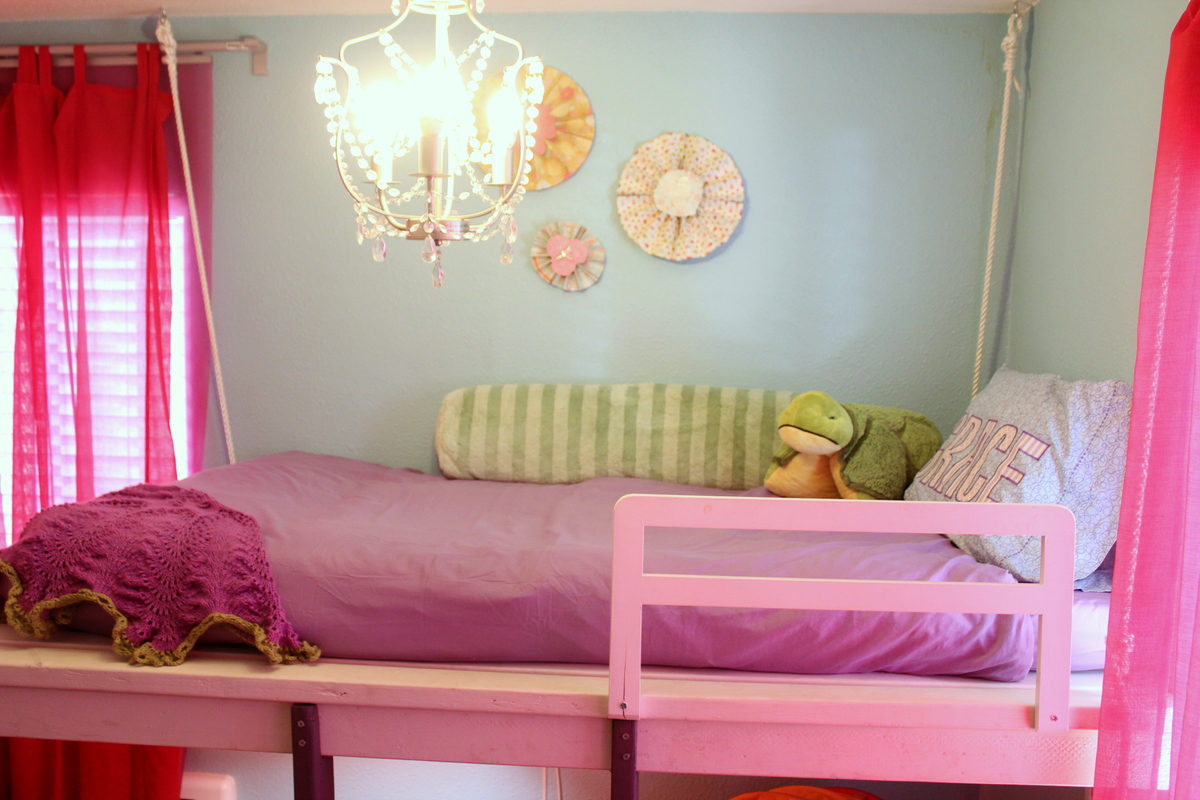
When it was time for a big girl bed for my daughter I was so excited because I had been WANTING to make the Hanging Loft Bed since first spying it on The Bumper Crop and Ana White. I'm a novice so this was the perfect first project for me and my daughter LOVES it. If you have unique space challenges in any of your bedrooms this is the bed for you.
Wed, 09/12/2012 - 23:10
That turned out great! Very well done first project.
Tue, 12/18/2012 - 17:17
What a great idea! I can't wait to make one for my little girl next weekend. Can I ask a few questions? How did you affix it to the ceiling? I will not be able to get on top of the ceiling so I will be finding he joists with a stud-finder. I assume you screwed in eye-bolts?
How did you make the rail and ladder? Any help is GREATLY appreciated. Thanks so much for the idea, my Daughter is going to love it!
Thanks,
Rob
Tue, 12/18/2012 - 20:48
Thanks Rob!
I replied to you on the blog...
Jennifer
Thu, 08/01/2013 - 06:03
I just wanted to say that I just came across this and absolutely love it! My daughter and our new baby will be sharing a room and now I have inspiration on how to make it work! Can't wait to try this out! Love the ladder...how did you make the ladder?
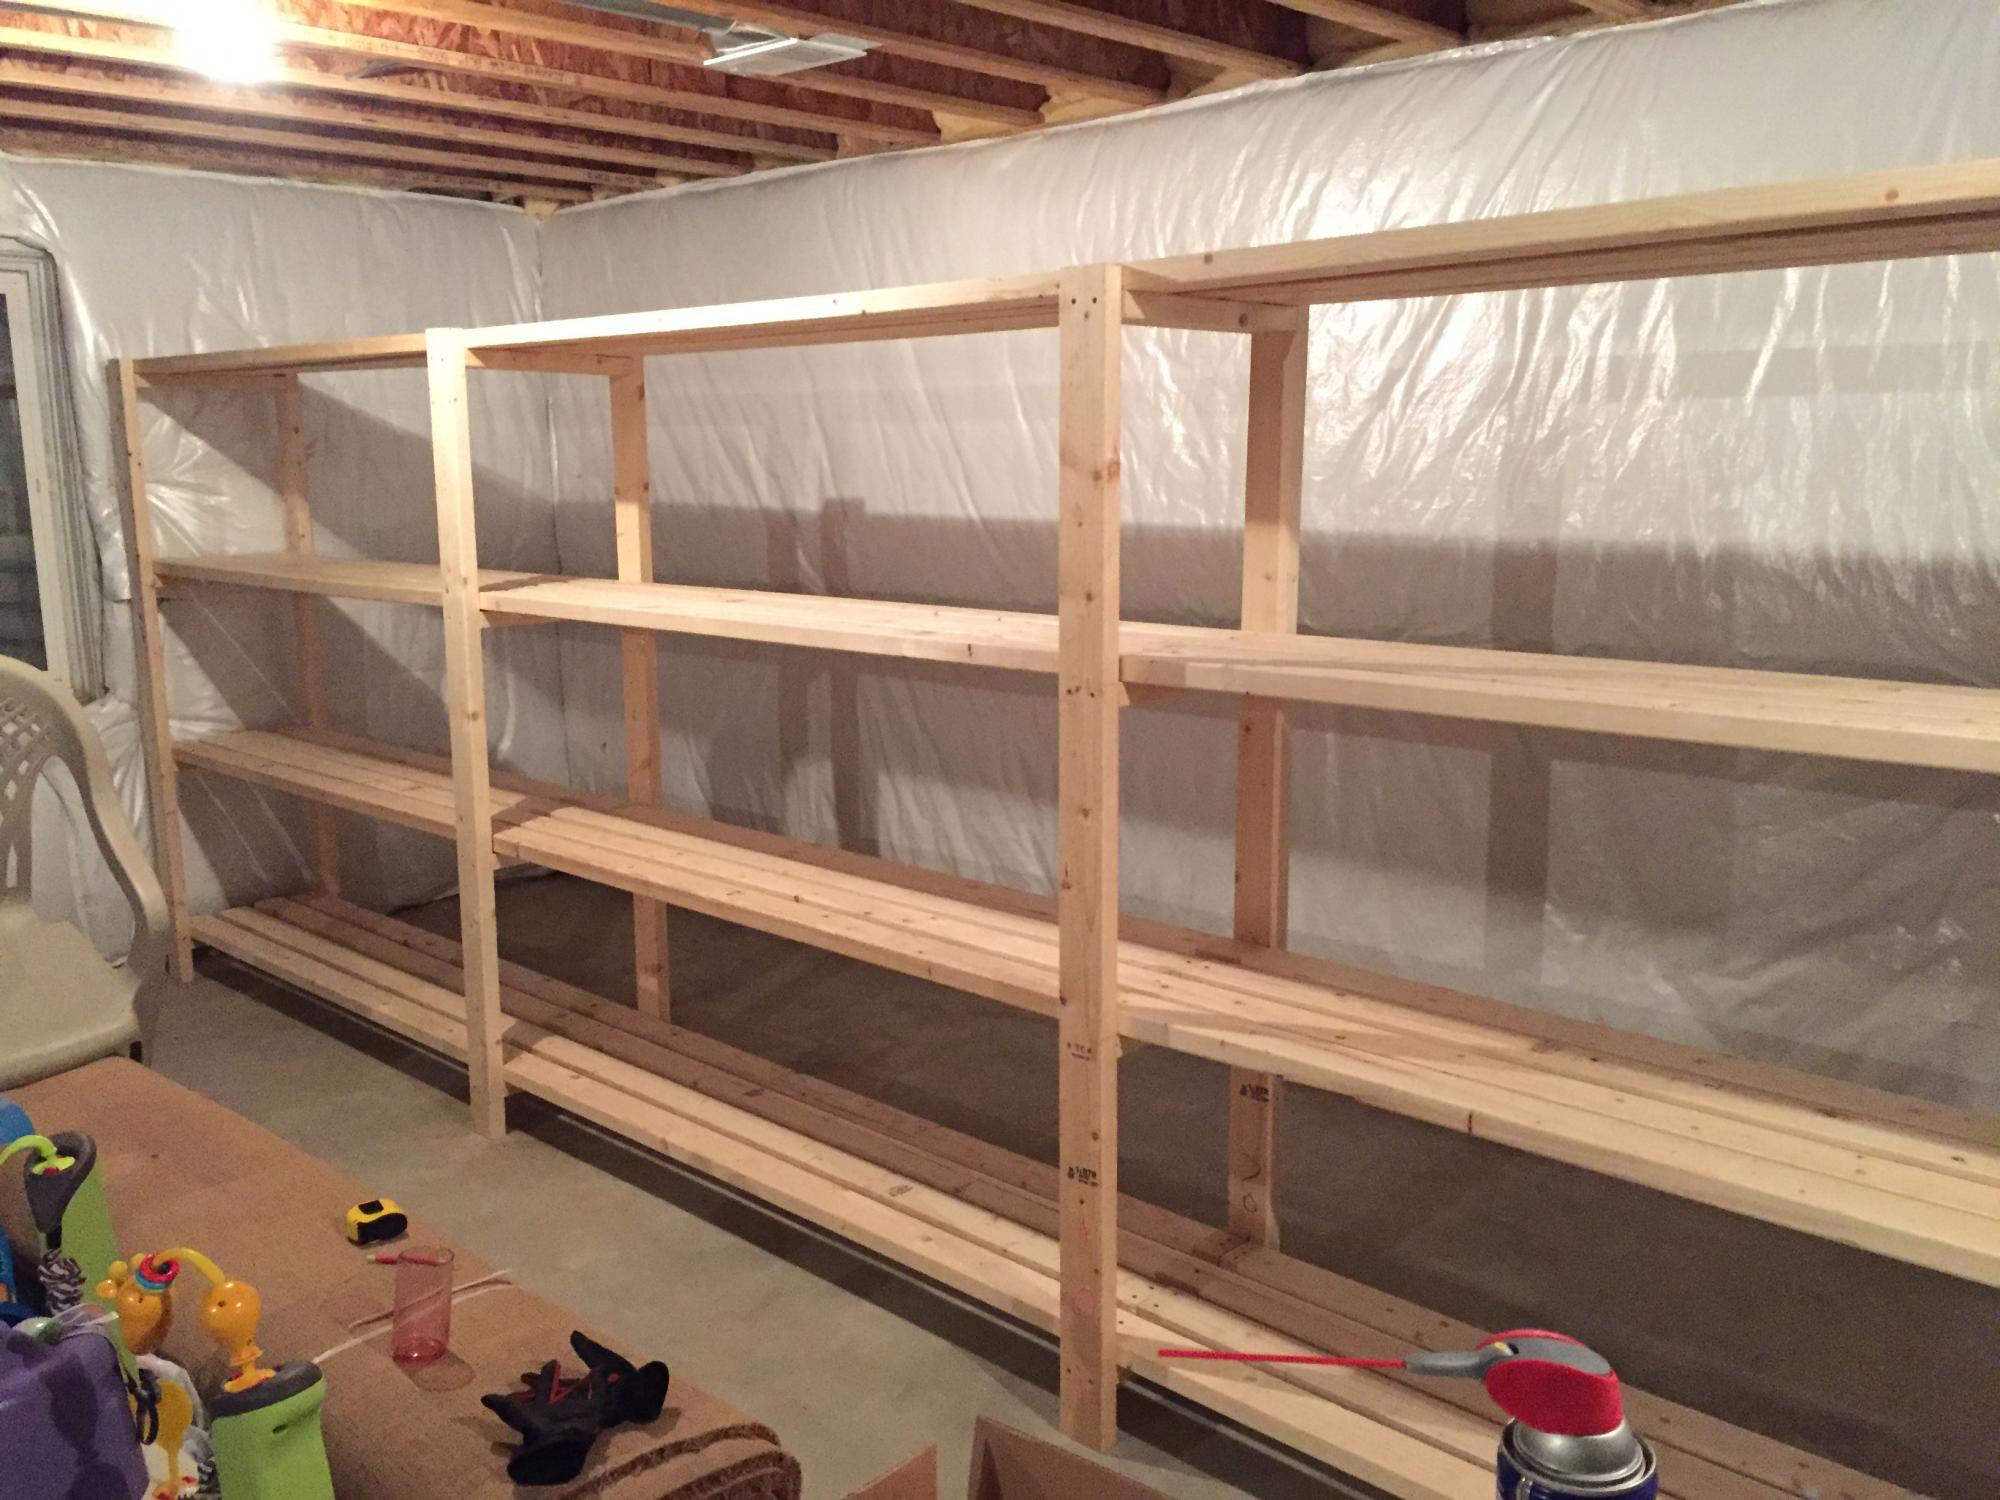
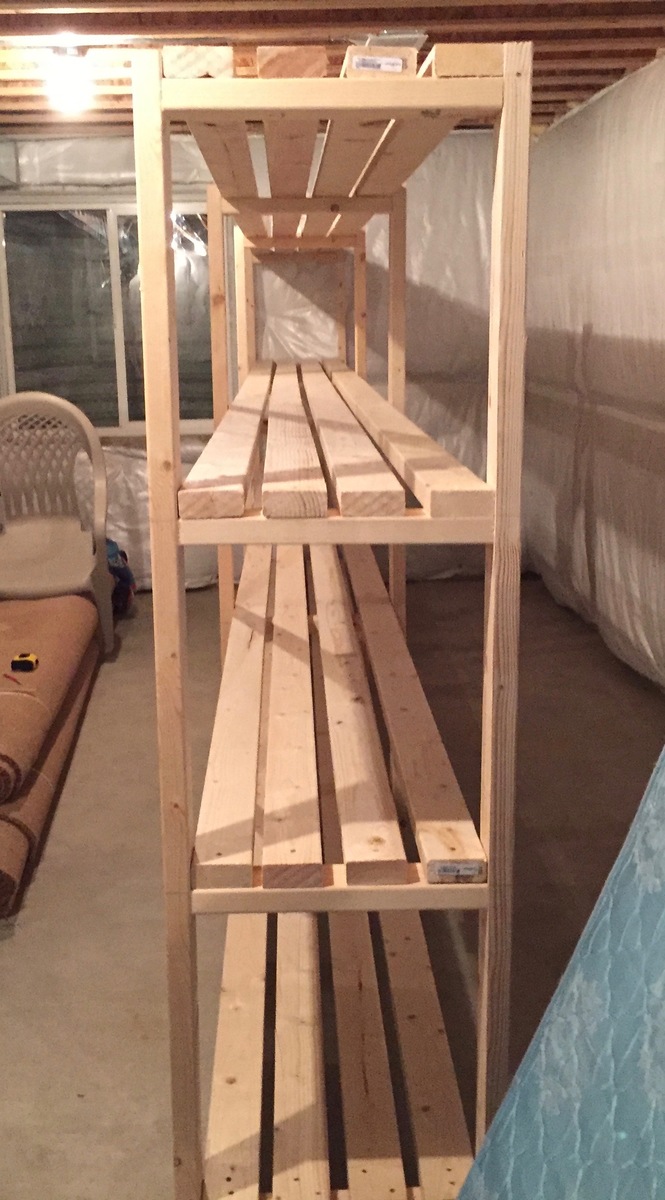
Thanks for the instructions! Here's my version. I haven't built much of anything before, but I needed it in my basement to handle kids' stuff. My version is 18 feet long. I combined a 12-foot and 6-foot 2x4 to get that length, which meant less cutting, which I had done at Lowe's (for free). I used the 6-foot 2x4s throughout the shelf to ensure it was strong (in other words, I didn't want a 12-foot "section" and a weaker 6-foot "section" added on).
I was able to get everything in my car but the ride home was slow. I also had to use my egress window to get the 12-foot boards in the basement.
Total cost for me was about $170 including a couple boxes of screws and wood glue. I could've easily spent double the cost on store-bought shelving. Thanks for the plans!
We started with the basic chicken shed coop plans and modified it some. We wanted the peak to be in the front for ease of access and to allow leaves from tree overhead and rain and snow to fall to the back away from the entrance. The windows raise from the inside using 1/8" wire secured on the inside with a rope cleat hook.
We added Dutch doors. We added latches for the pop door to keep it iopen or closed as needed. Dutch doors also have decorative latches and eyehook latches to secure them when they are fully open. I rested the shed on 12 in. x 8 in. x 12 in. concrete patio pier blocks to allow drainage. we extended the roof about 6 " to allow for extra protection and avoid dripping whe it rains.
On the inside I have a roost and a poop deck. Hanging from the poopdeck I have their feed to keep it off the floor and keep shavings, etc. from getting into the food. The poop deck and the floor are covered with comercial grade tile to facilitate easier cleaning.
Sat, 03/14/2015 - 02:50
Hi!
I love your coop and the modifications you made - I was planning on doing the same thing with the placement of the door. I was wondering if you could post a couple of photo of the inside of the coop? I'm especially interested in where you placed the roost.
Thank you so much for sharing!
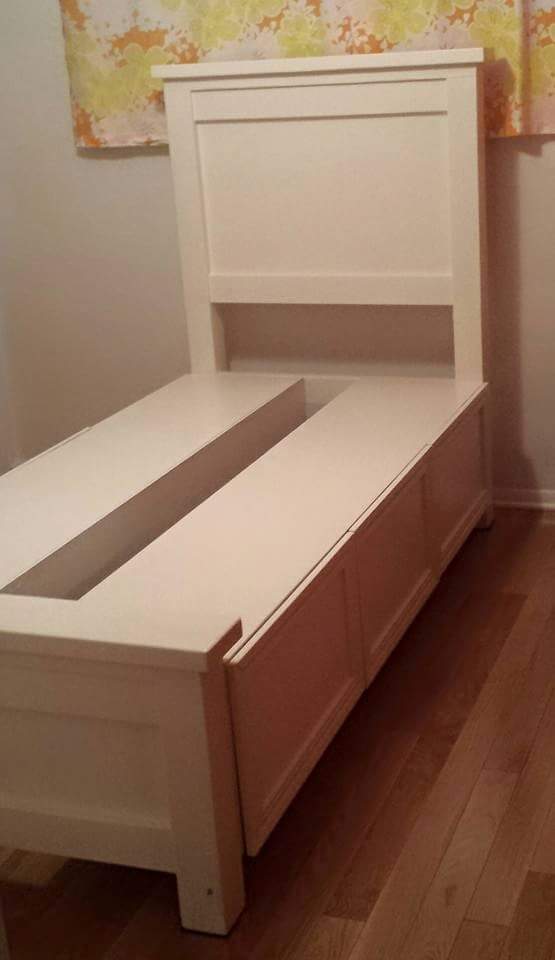
A few years back, I built a twin version of Ana's Farmhouse Storage Bed for my step-daughter. After she moved out, I converted it to a huge toychest for my three-year-old.
I would have left it as a bed, but with a quality mattress it was so high I was afraid he could get hurt if he fell out.
The conversion is simple. Remove 24 screws, reconfigure, add back the screws in different places. The support blocks become feet for the chest, and the slats become spacers under the top part.
He loves being able to get his toys out himself, and I love that he can put them away by himself. A big upgrade over plastic storage boxes on high clost shelves!
Once he's a bit older, I'll probably turn it into a bad again.

This was my second project that I completed to go along with the Daybed With Three Trundle Drawers For Storage that I made for my son.
The original plans for this bed state that you need three 1 x 12 x 8's, but you actually need 4. The two middle 42 3/4" boards on the inside are missing from the cut list, but you can see them in the diagram.
I am so happy with the way this turned out! It was a little more challenging with the wider width boards--I had to force them on the line because they weren't perfectly straight. But overall, I am very happy with this.
When I drilled the holes for the shelf pins using the Kreg shelf pin jig, I used the 1" inset on the outside 2 columns, and the 2" inset on the center column. This way I avoided have holes that were drilled all the way through the board.
Between this and the storage daybed, I have really freed up so much space in my son's small bedroom! Happy building!
Tue, 01/01/2013 - 18:13
Your first two projects are very professionally done. KUDOS for such a great job. Keep it up and your kids will soon be in the shop with you and it will become a family affair.
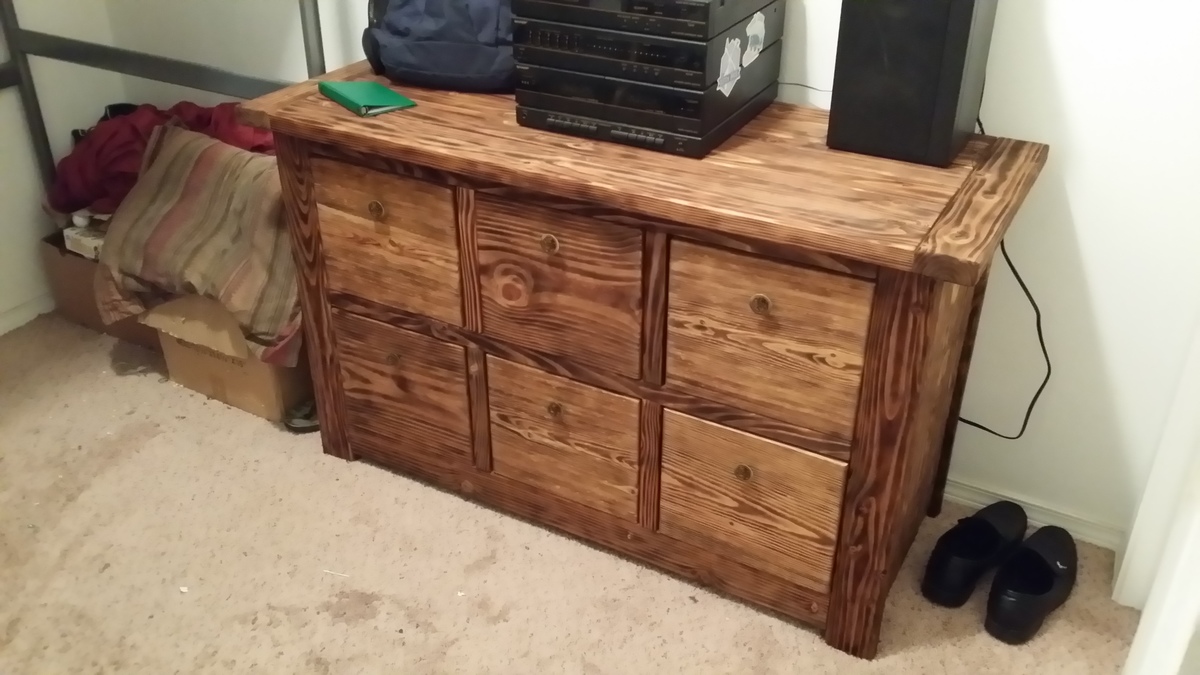
Honestly think it needs a new name, because when all said and done works and looks great.
Going to be making another one at some point, and make some alterations to it to fit a need, and suggestions.
It took me longer then it probably would for some, but then again I am disabled and can only work for short bursts.
Hard to see in the photos, but i used brass knobs on the drawers. I also used briwax on the parts that slide, (the rail, and bottom of drawer edges.. works nicely..
Comments
myhomedonemyway
Wed, 02/26/2014 - 13:37
8 X 10 foot Sandbox
I hope sharing this will inspire others of things that they can make. Check out my blog for other DIY projects: http://myhomedonemyway.blogspot.com