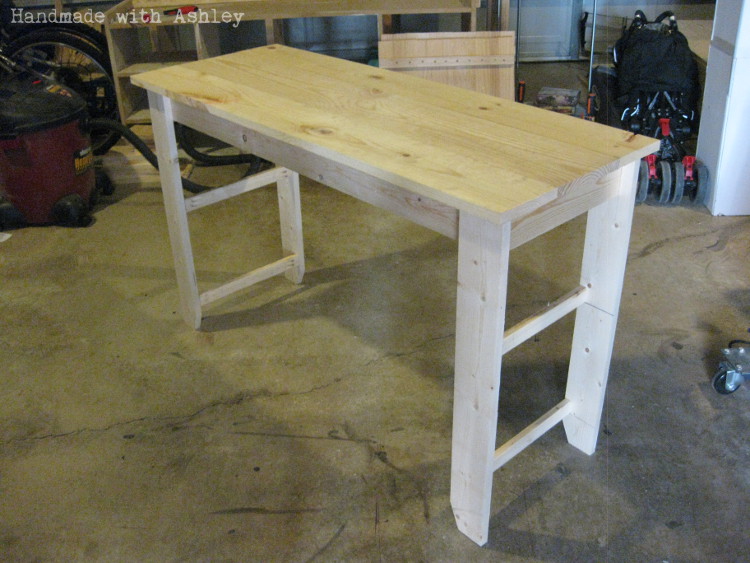
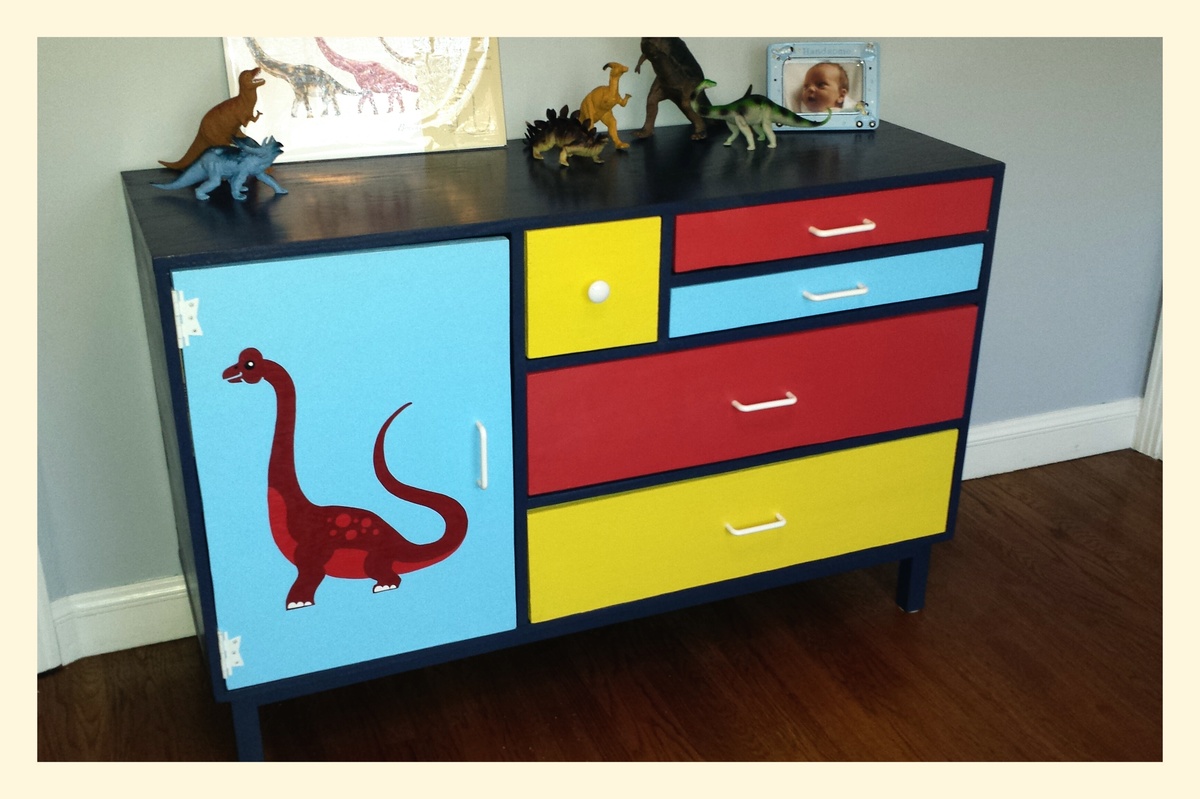
Shanty 2 Chic Cabinet
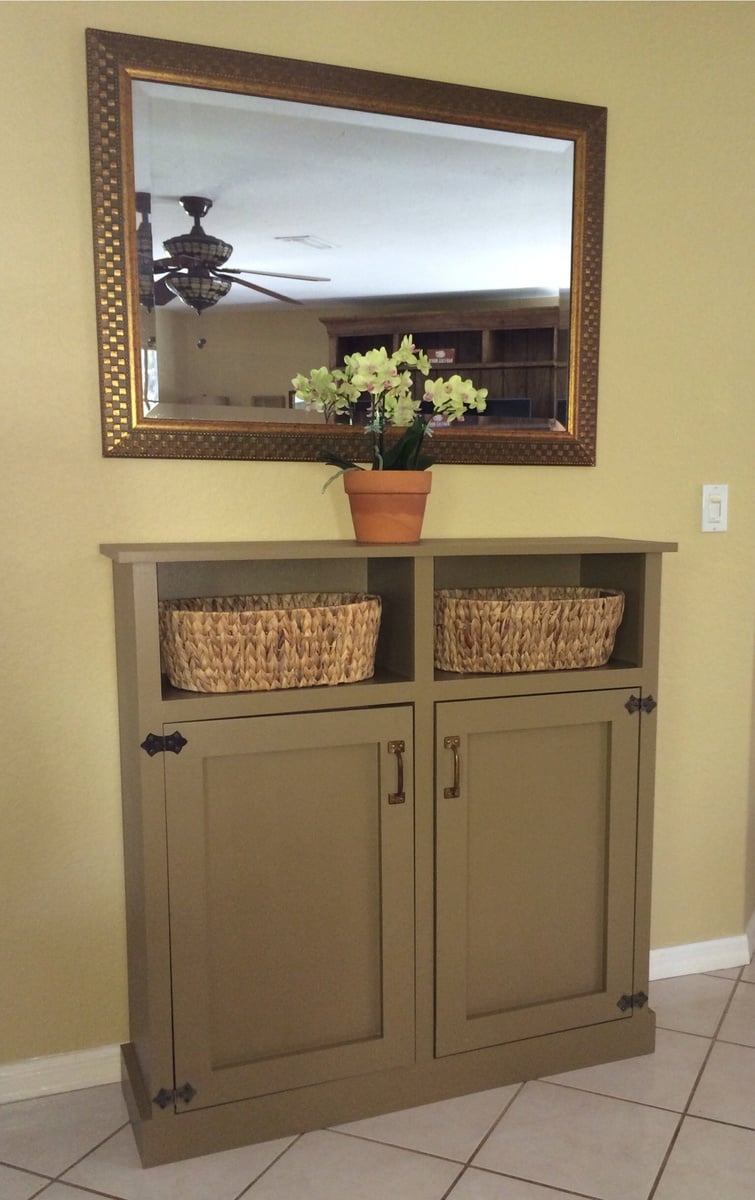
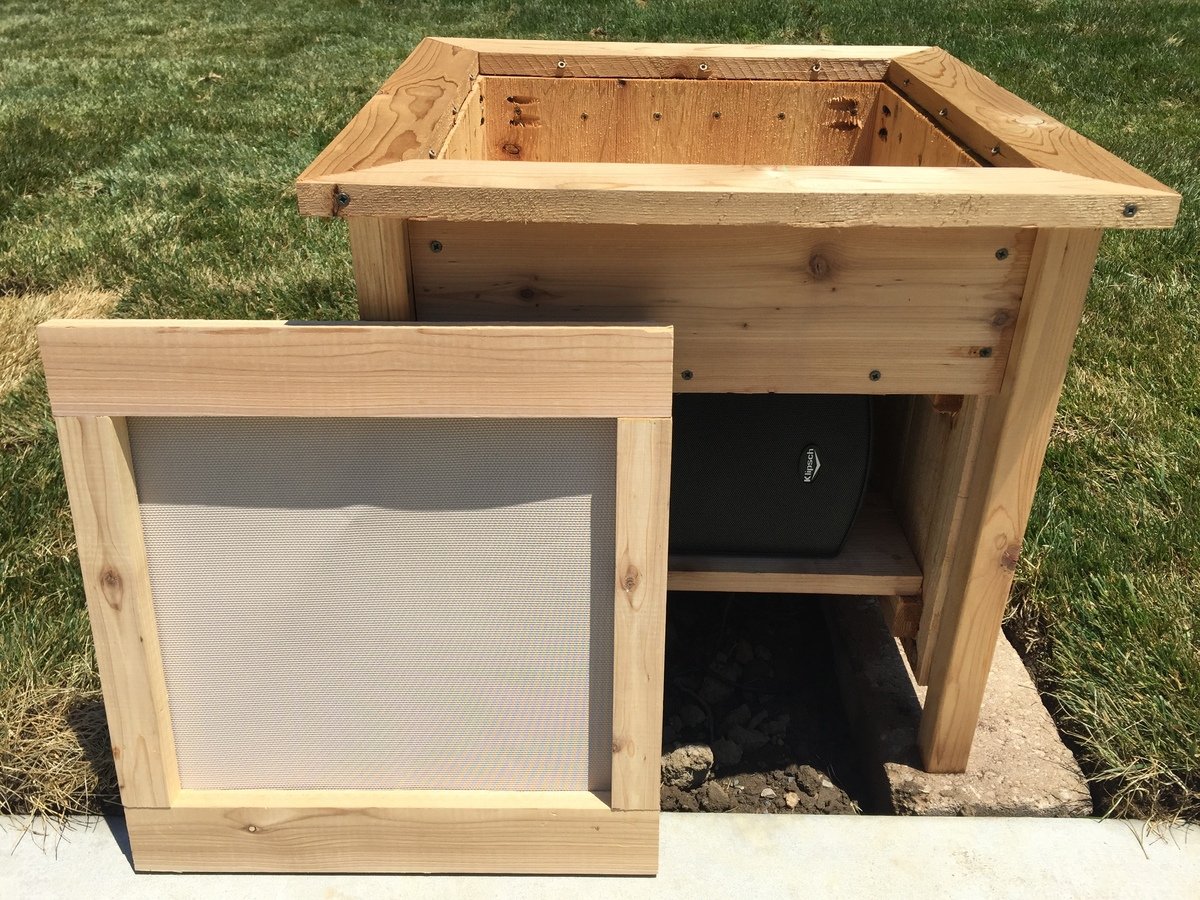
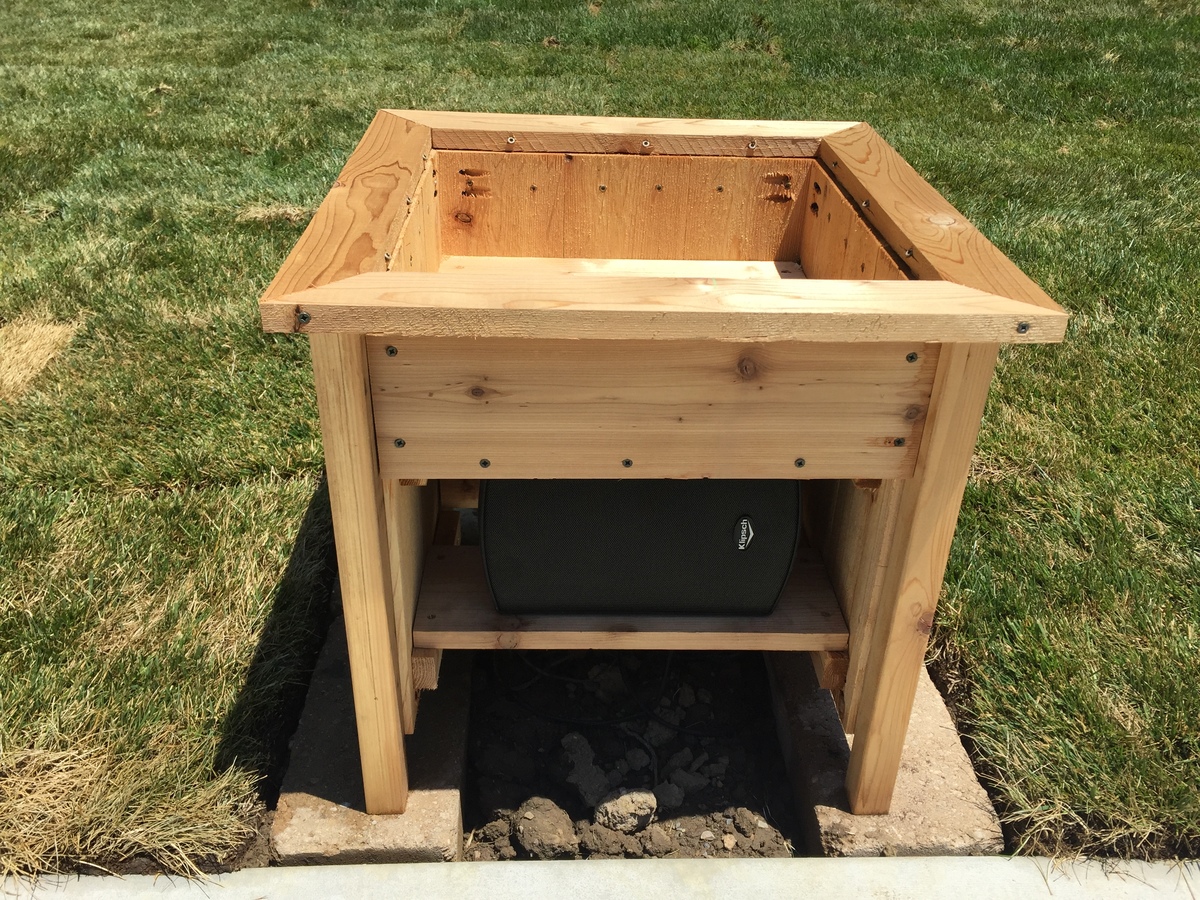
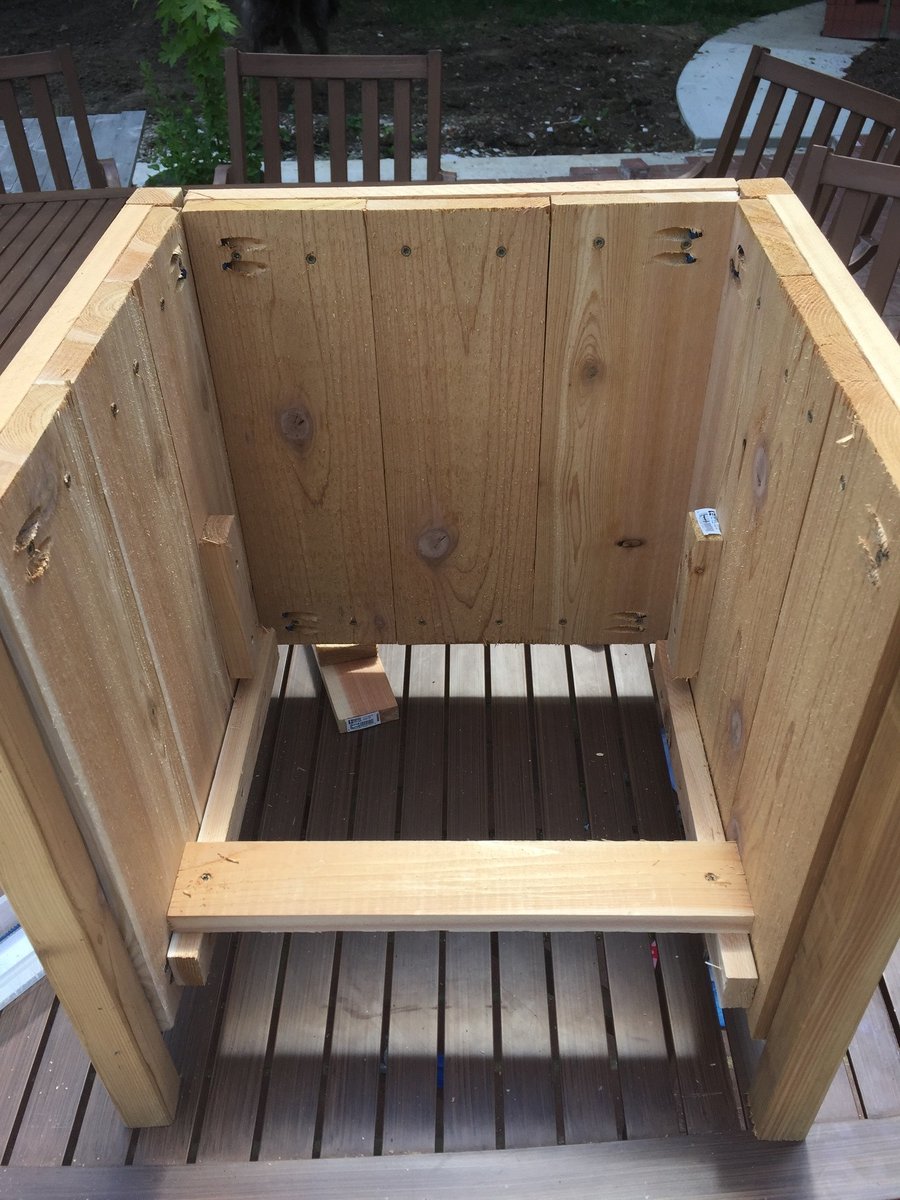
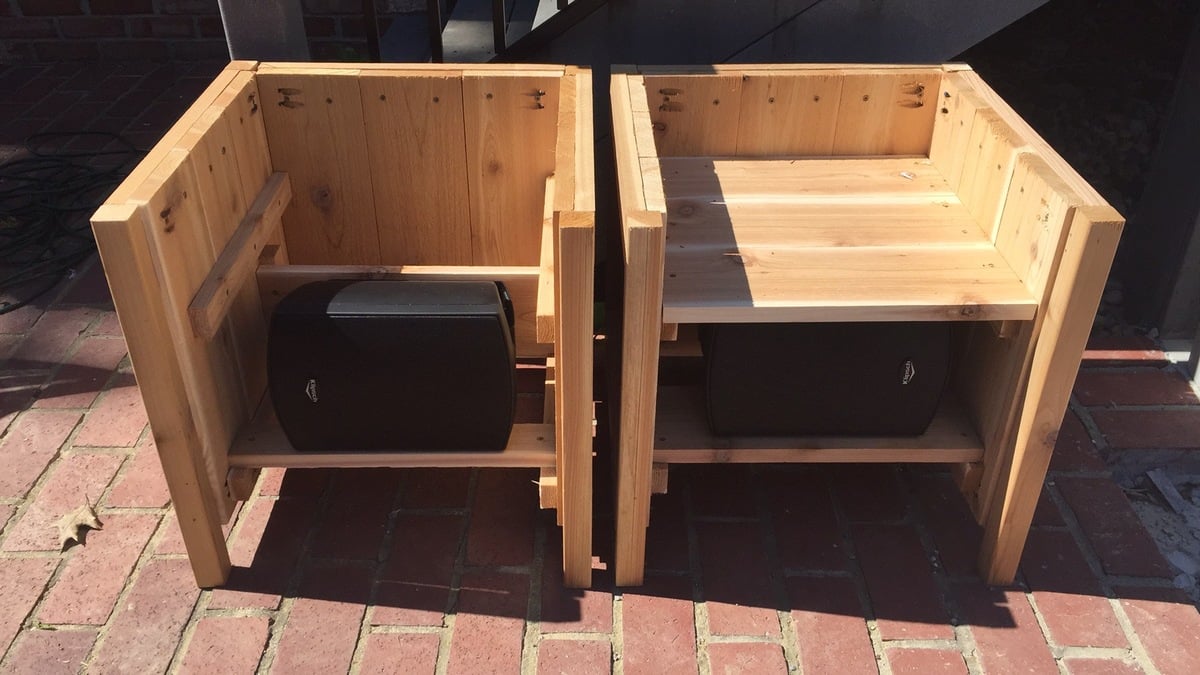
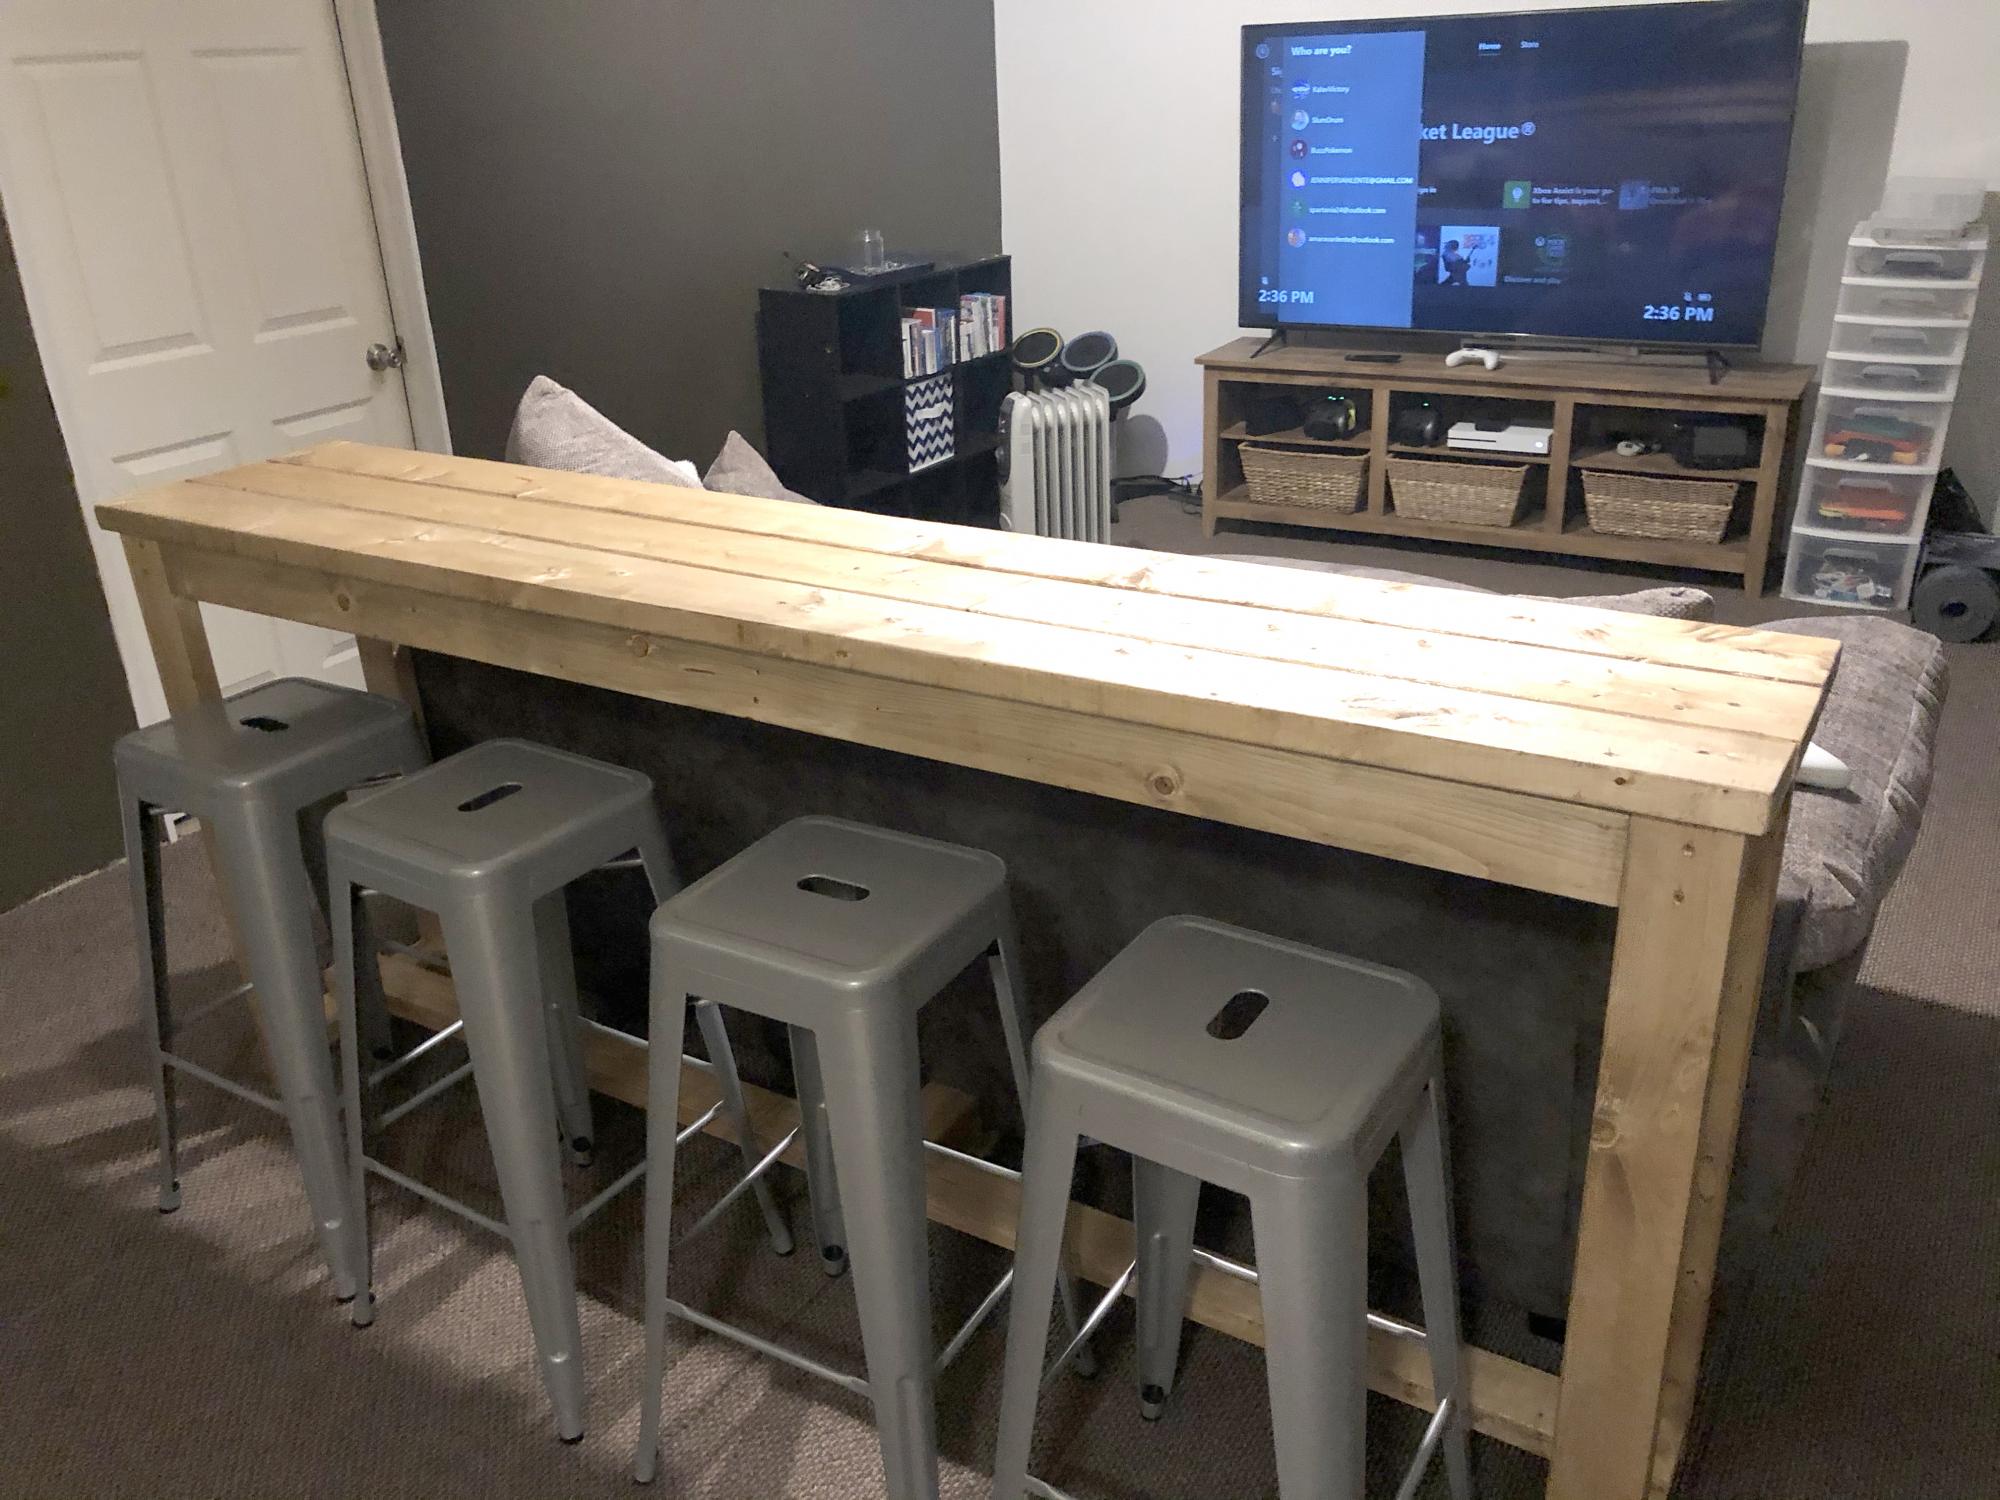
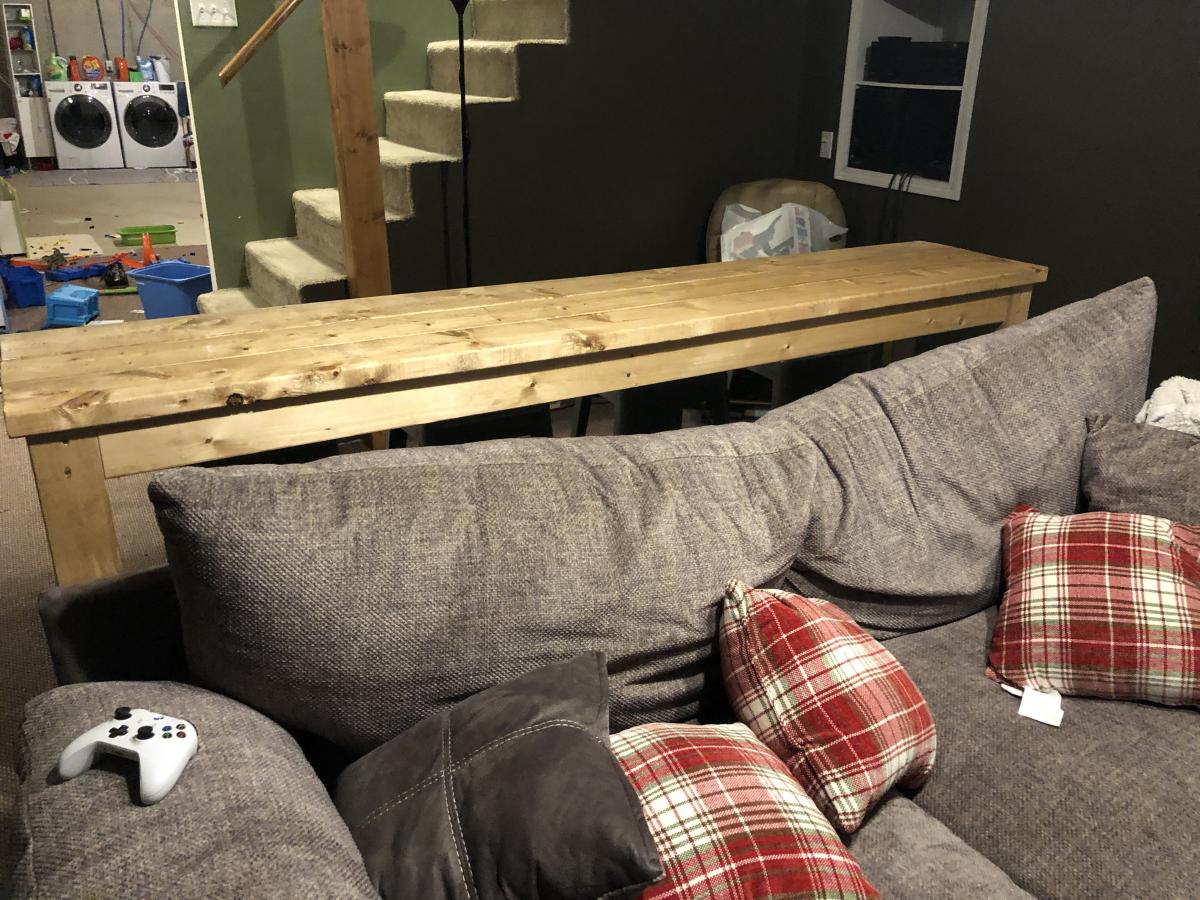
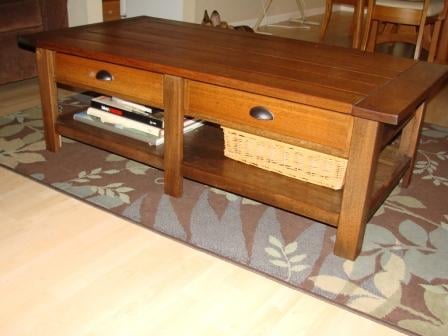
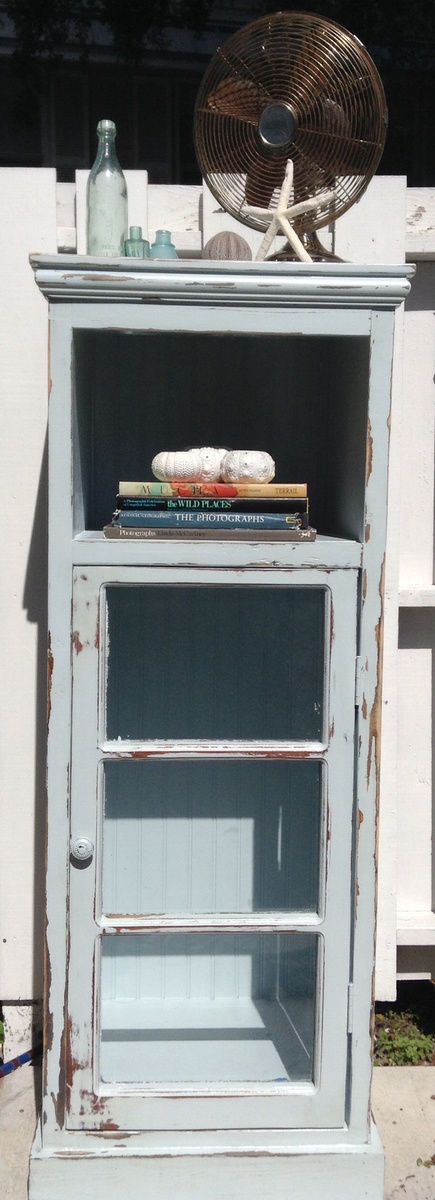
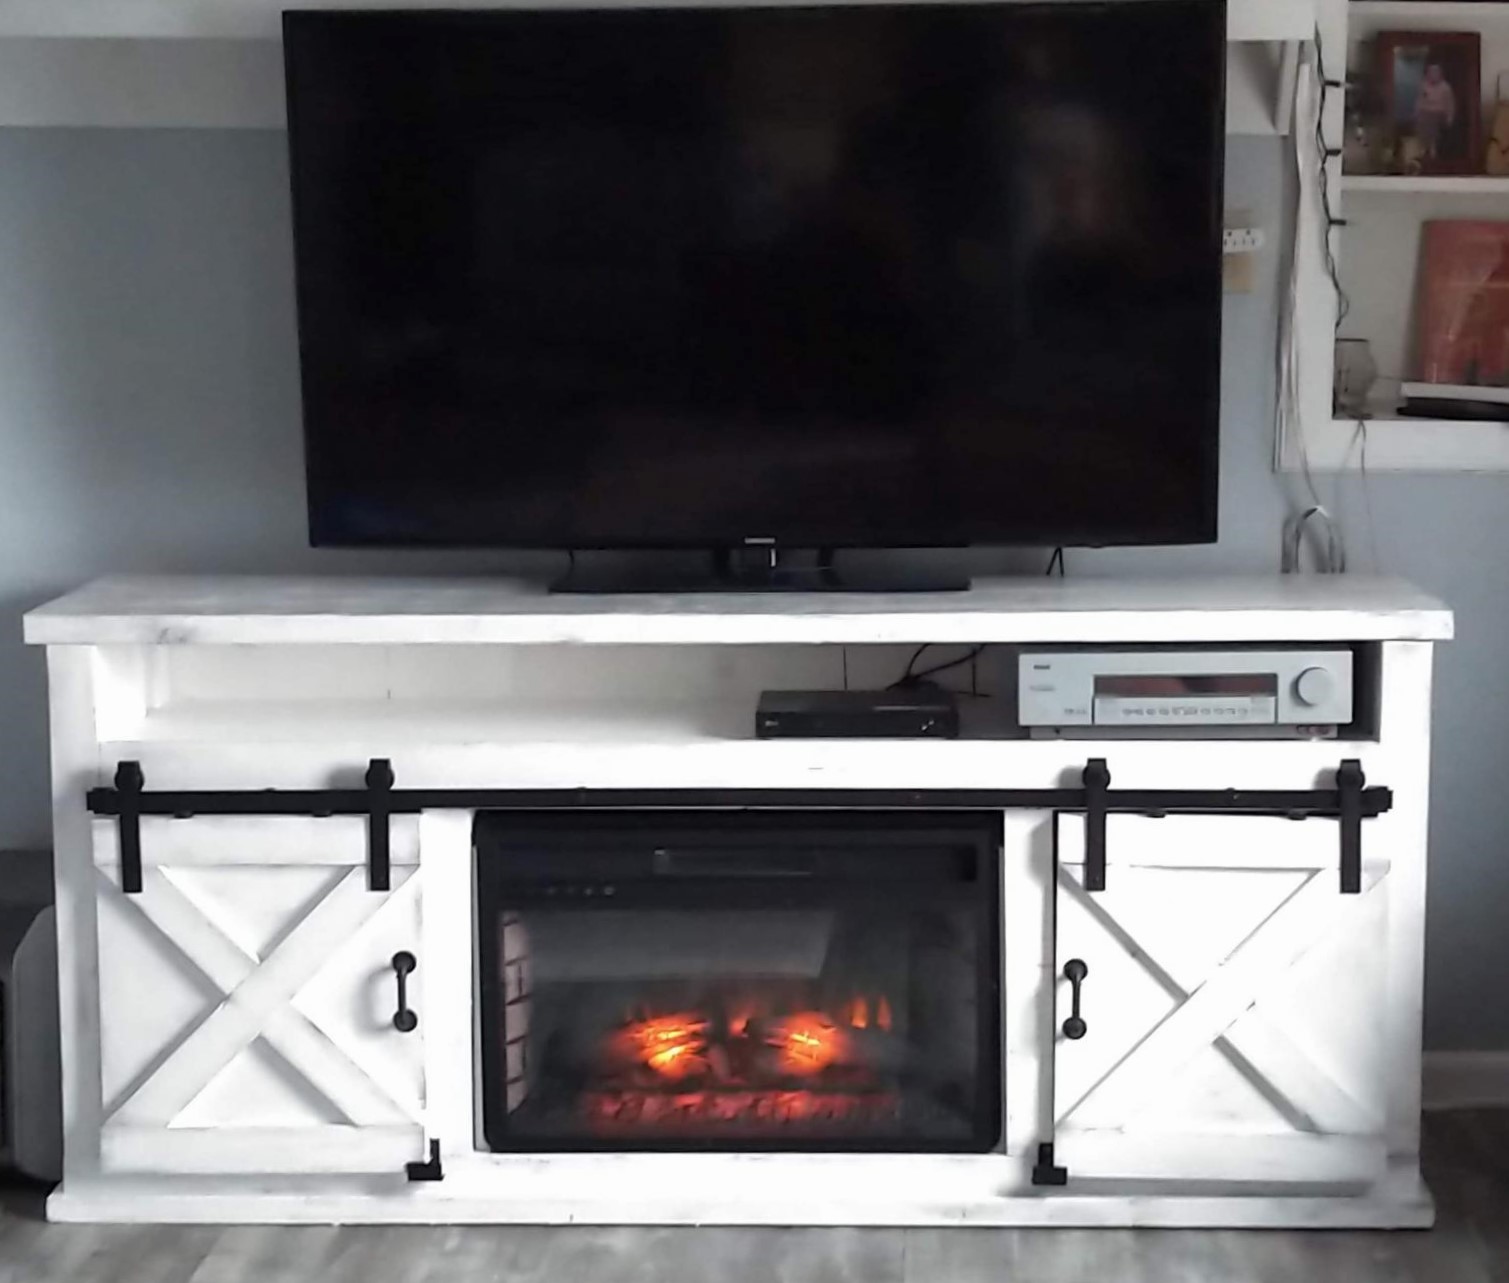
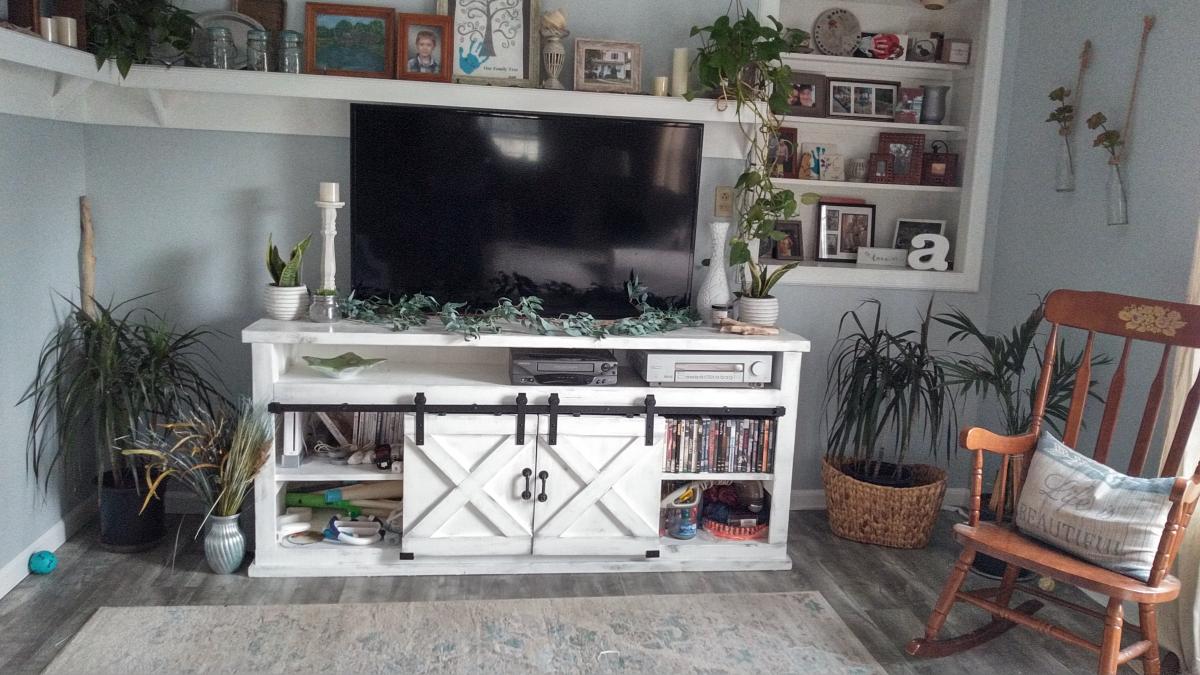
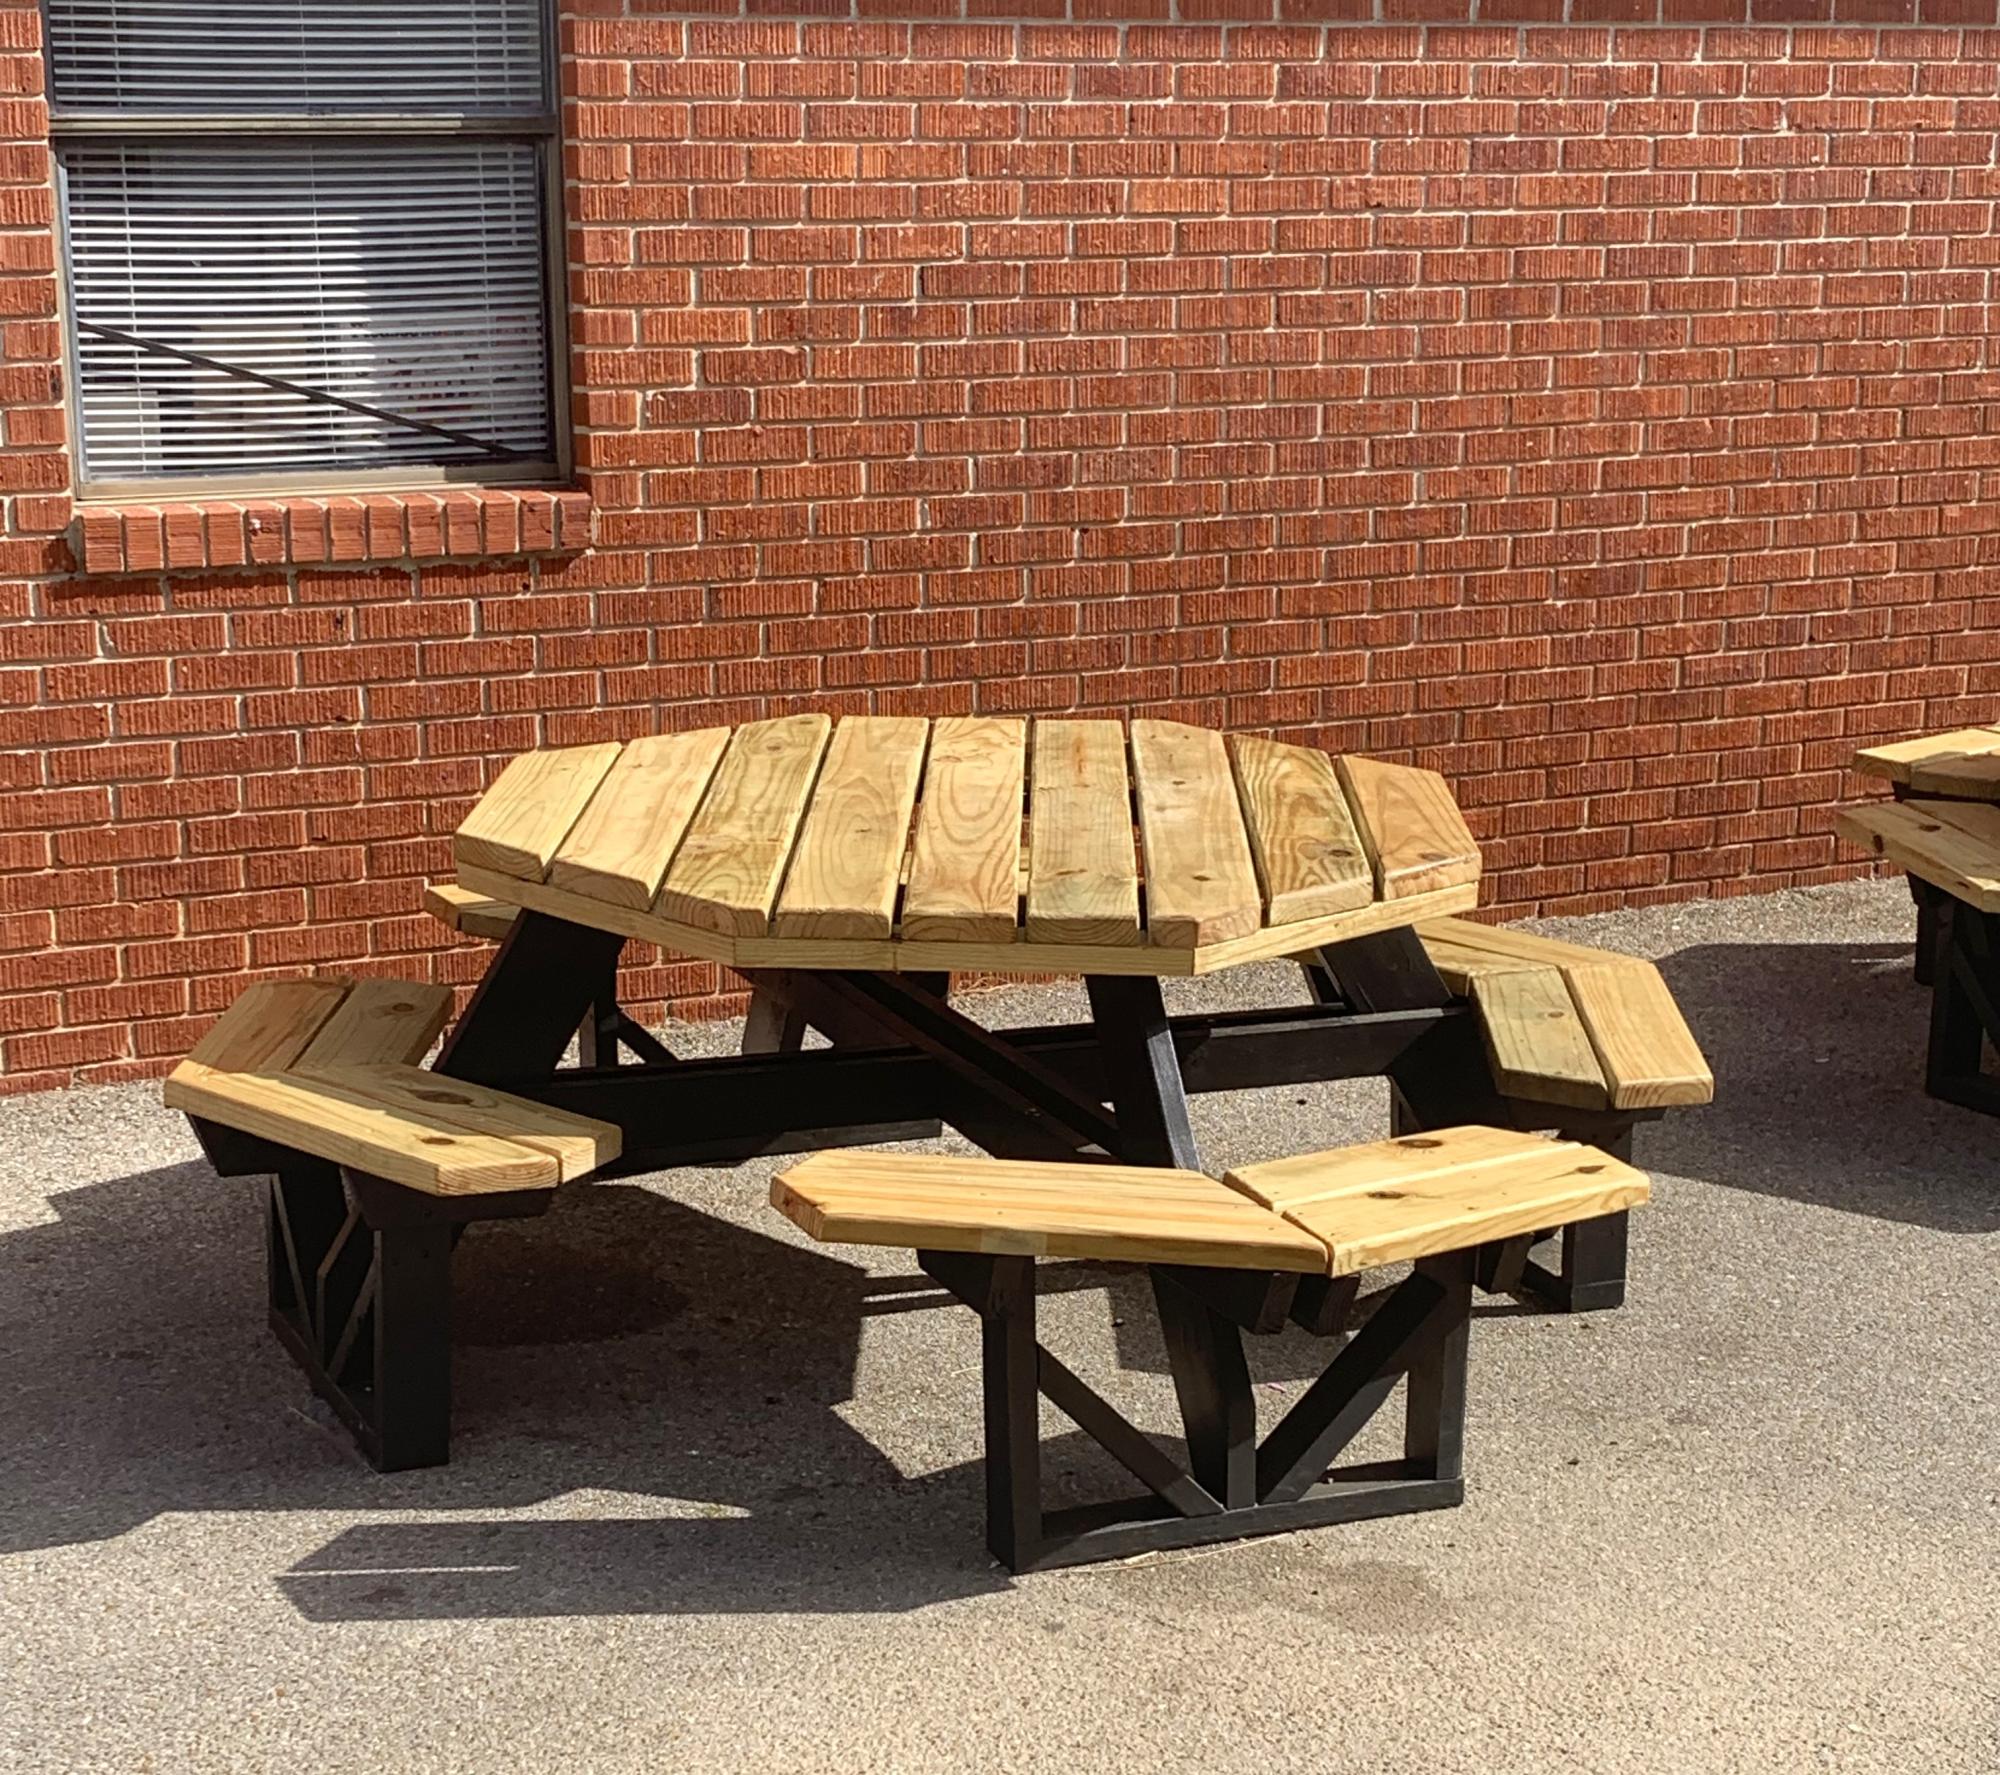
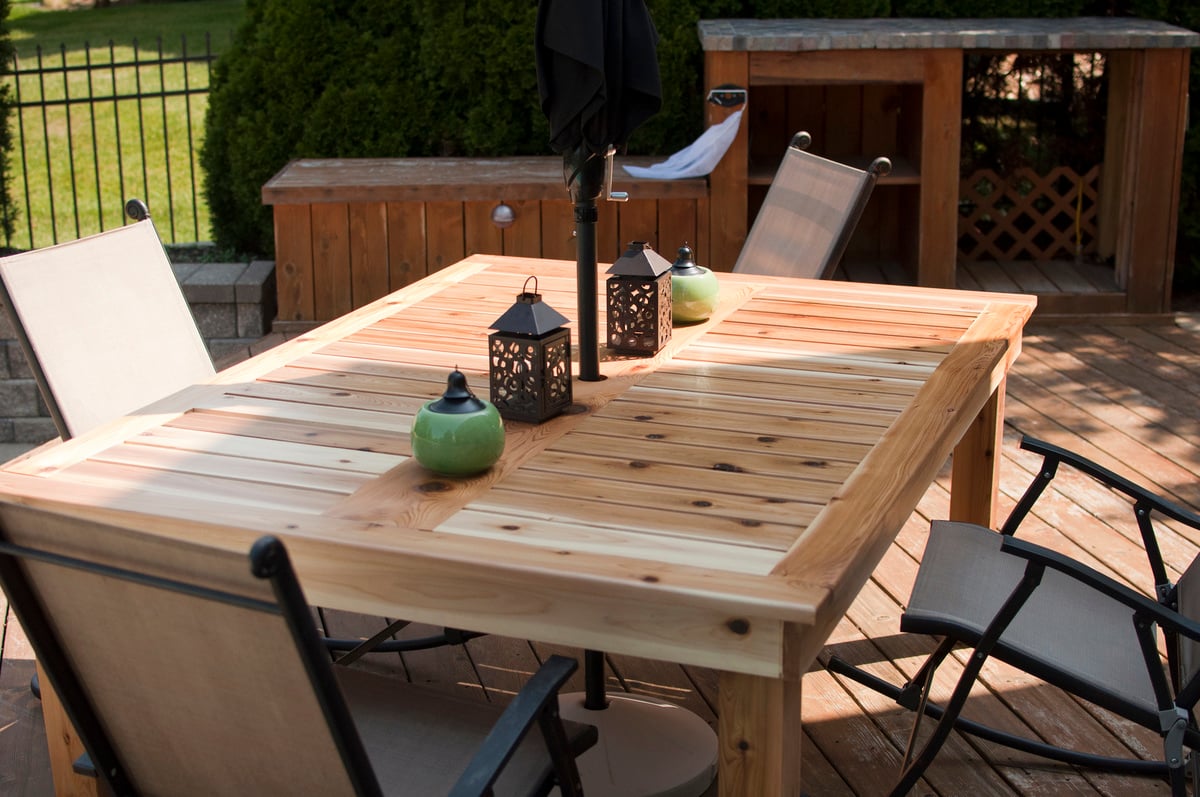
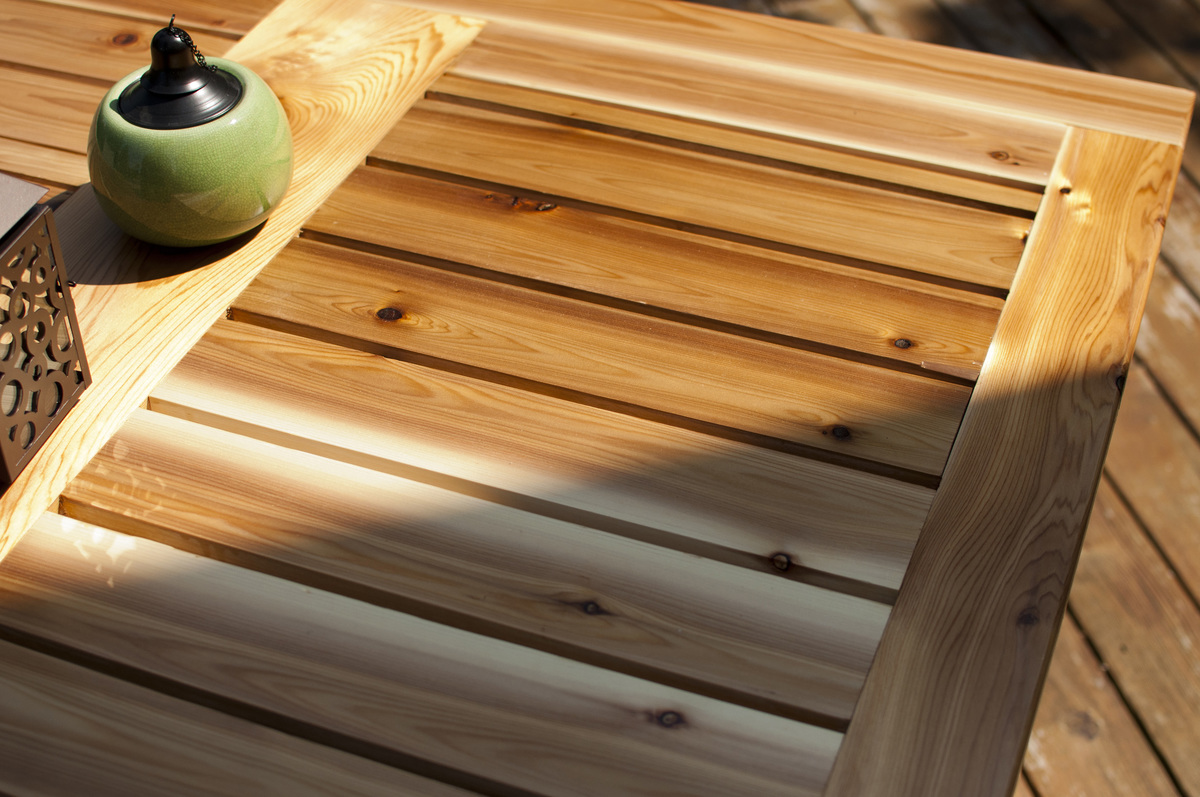
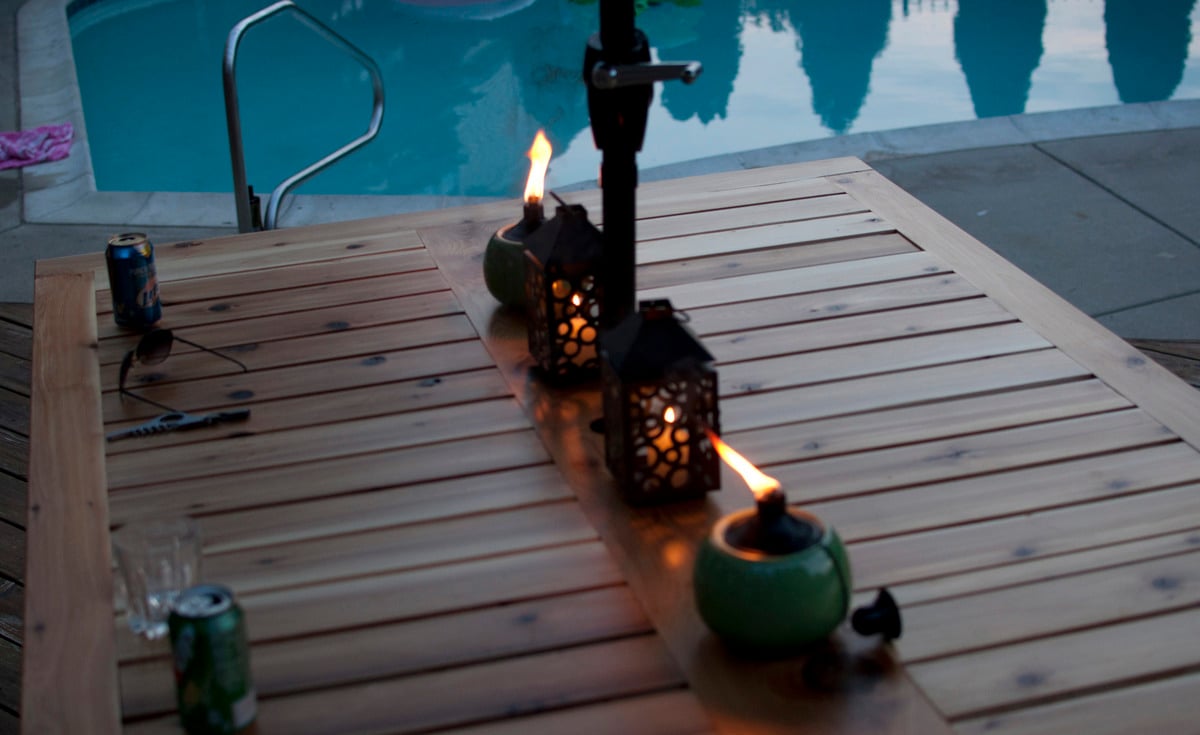
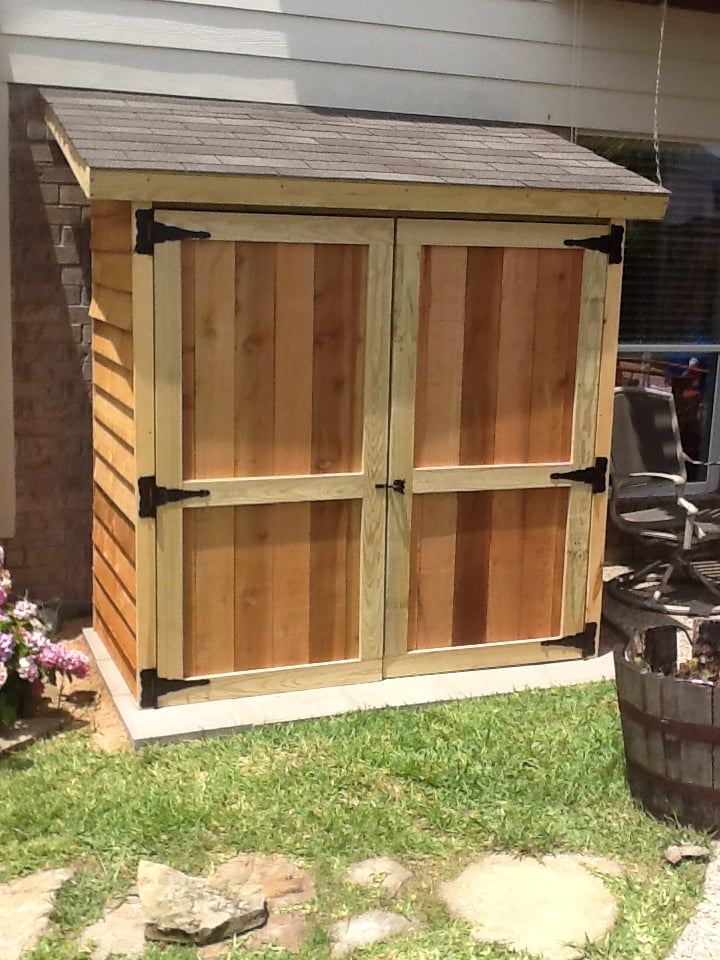
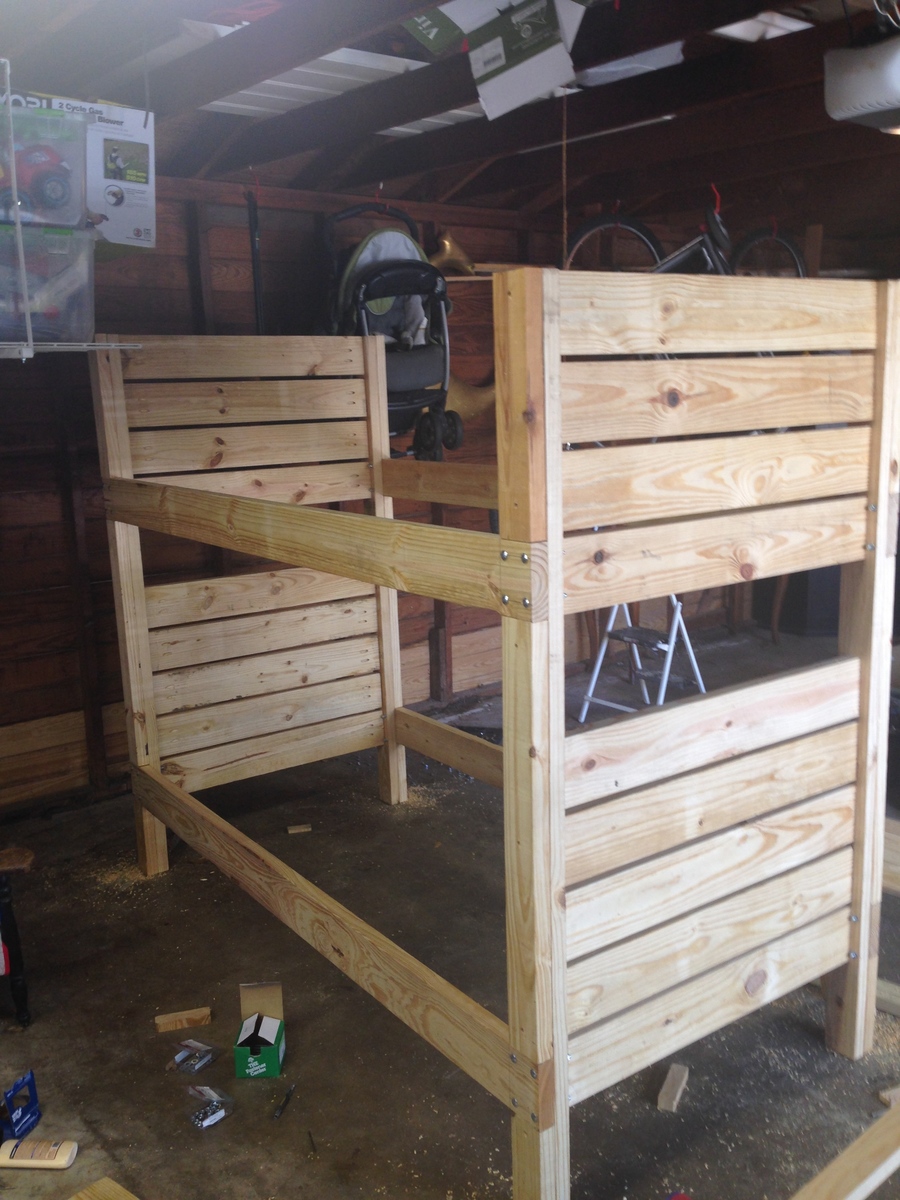
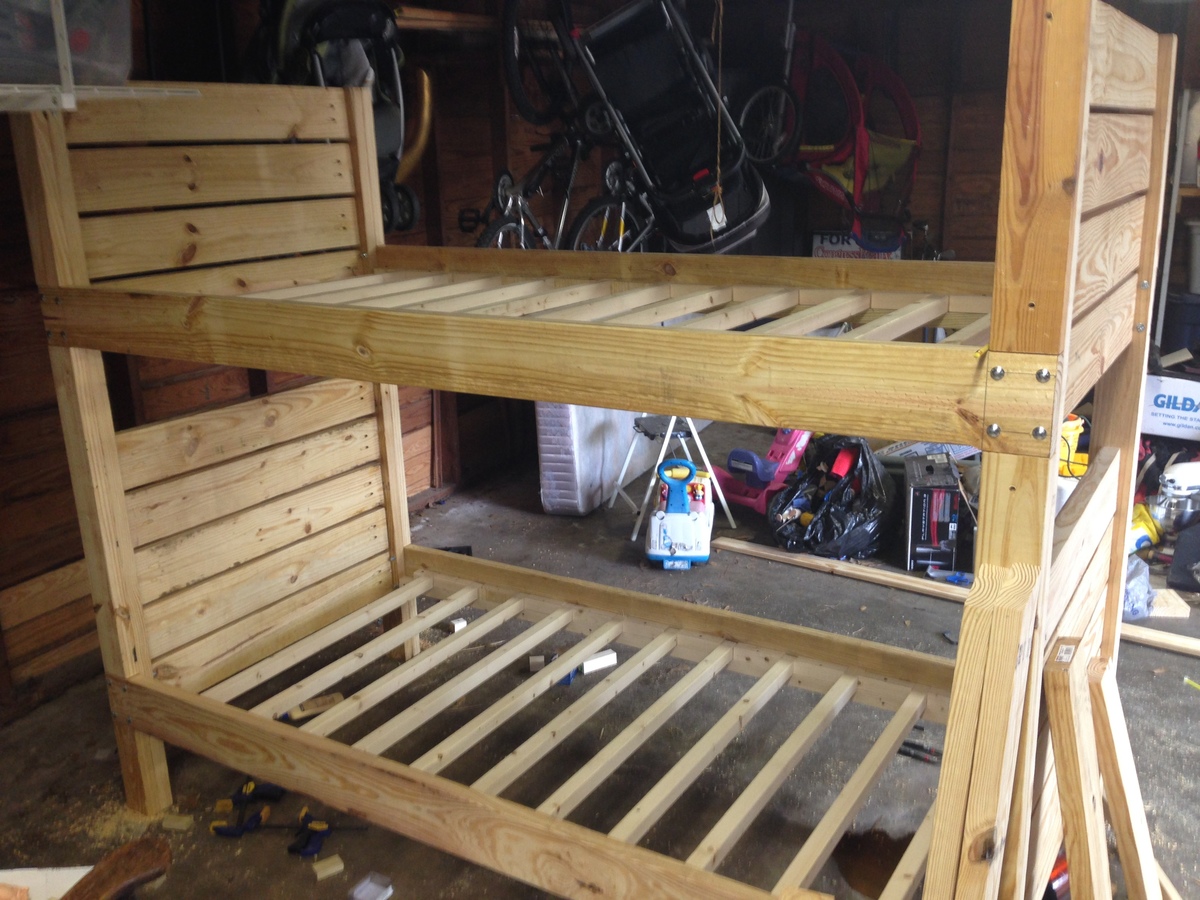
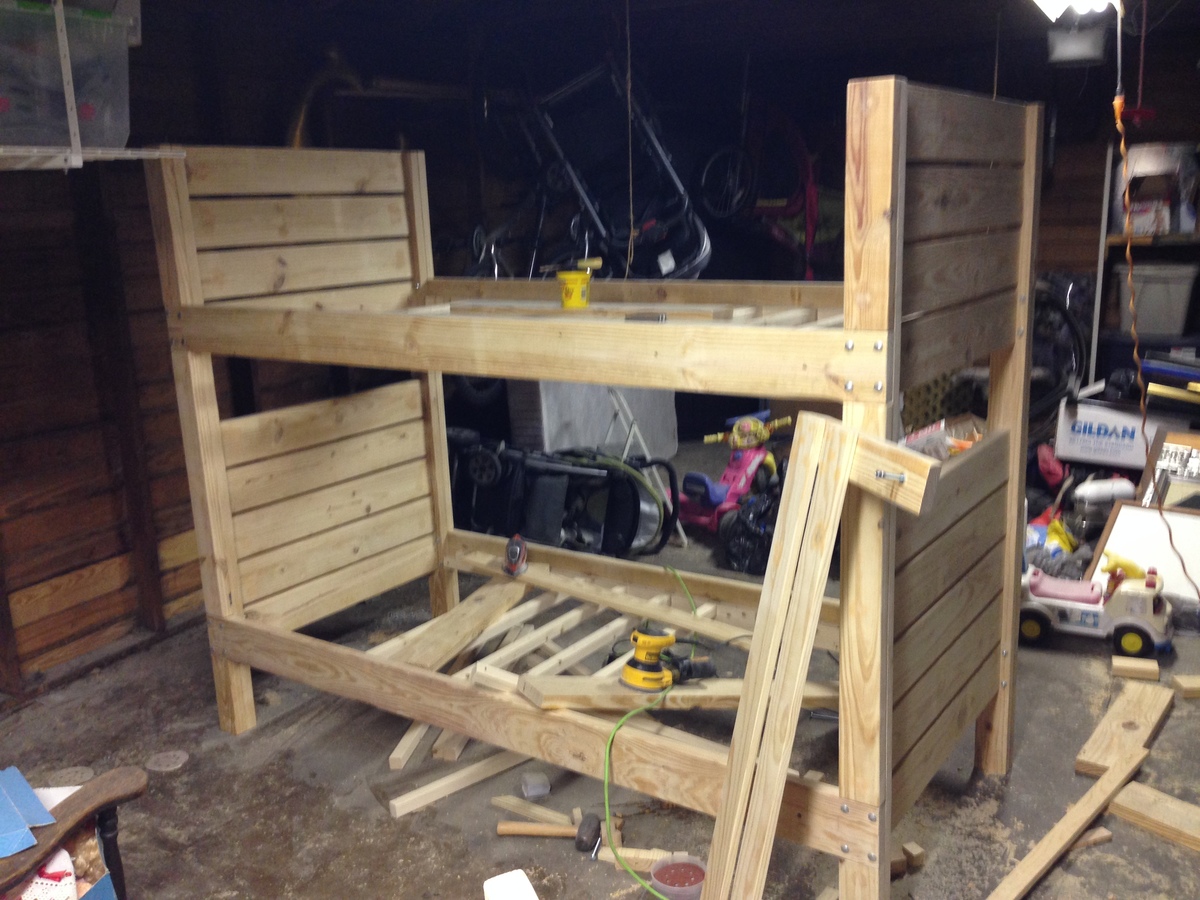
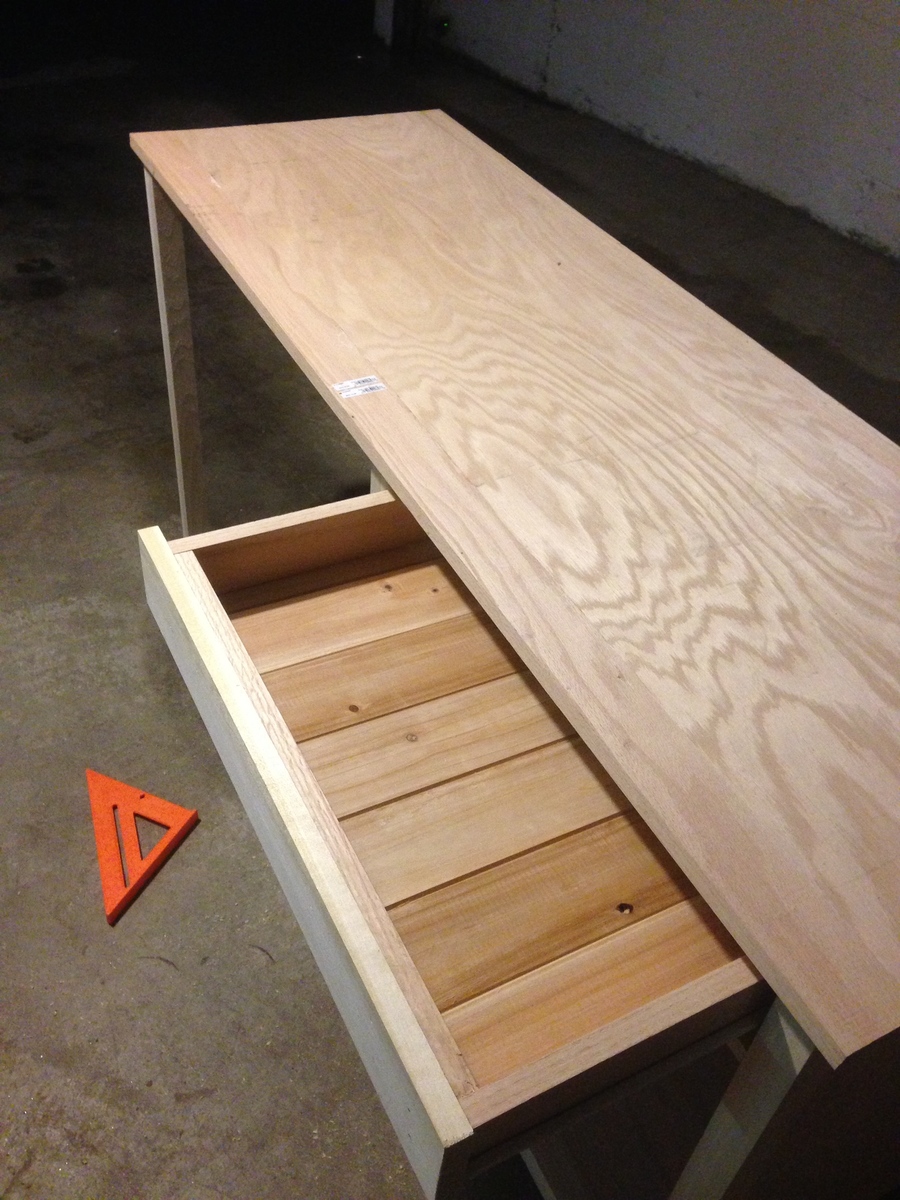
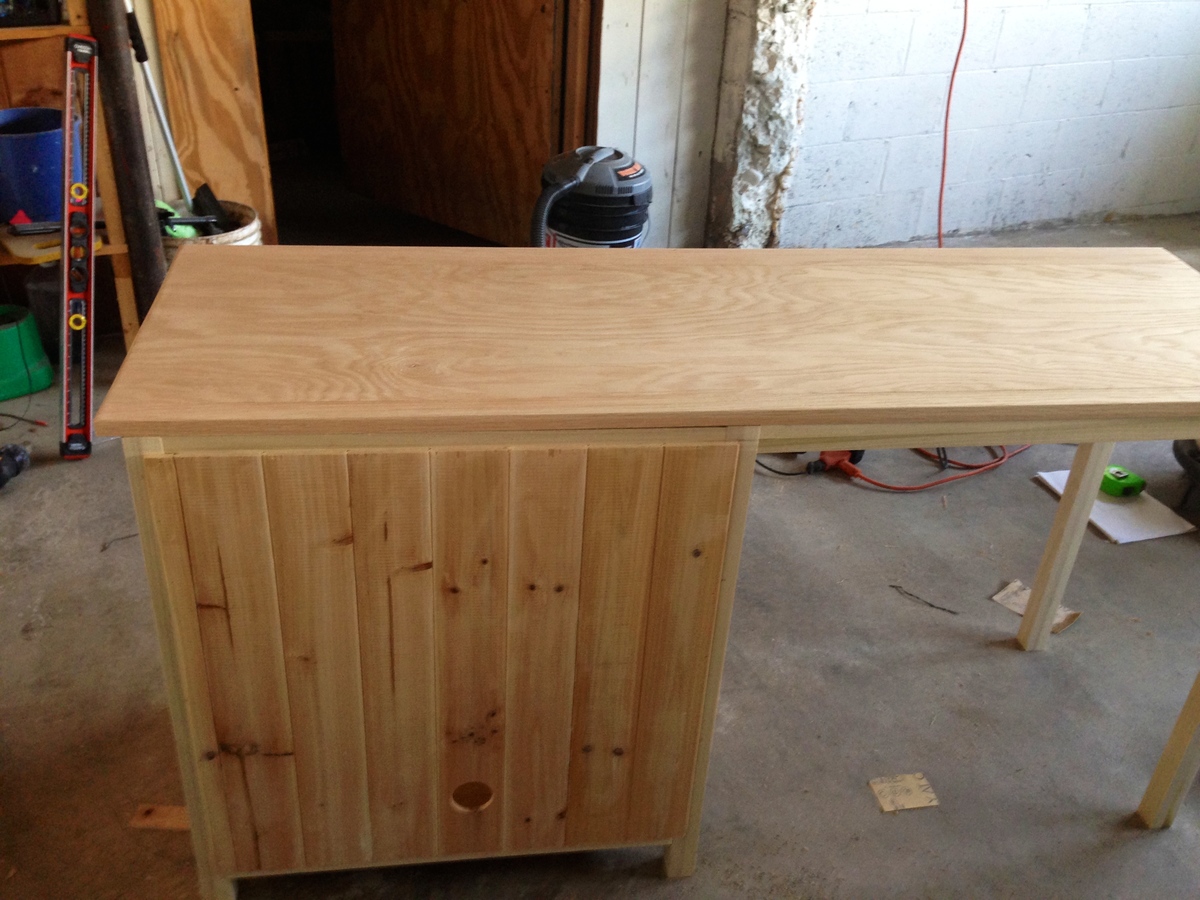
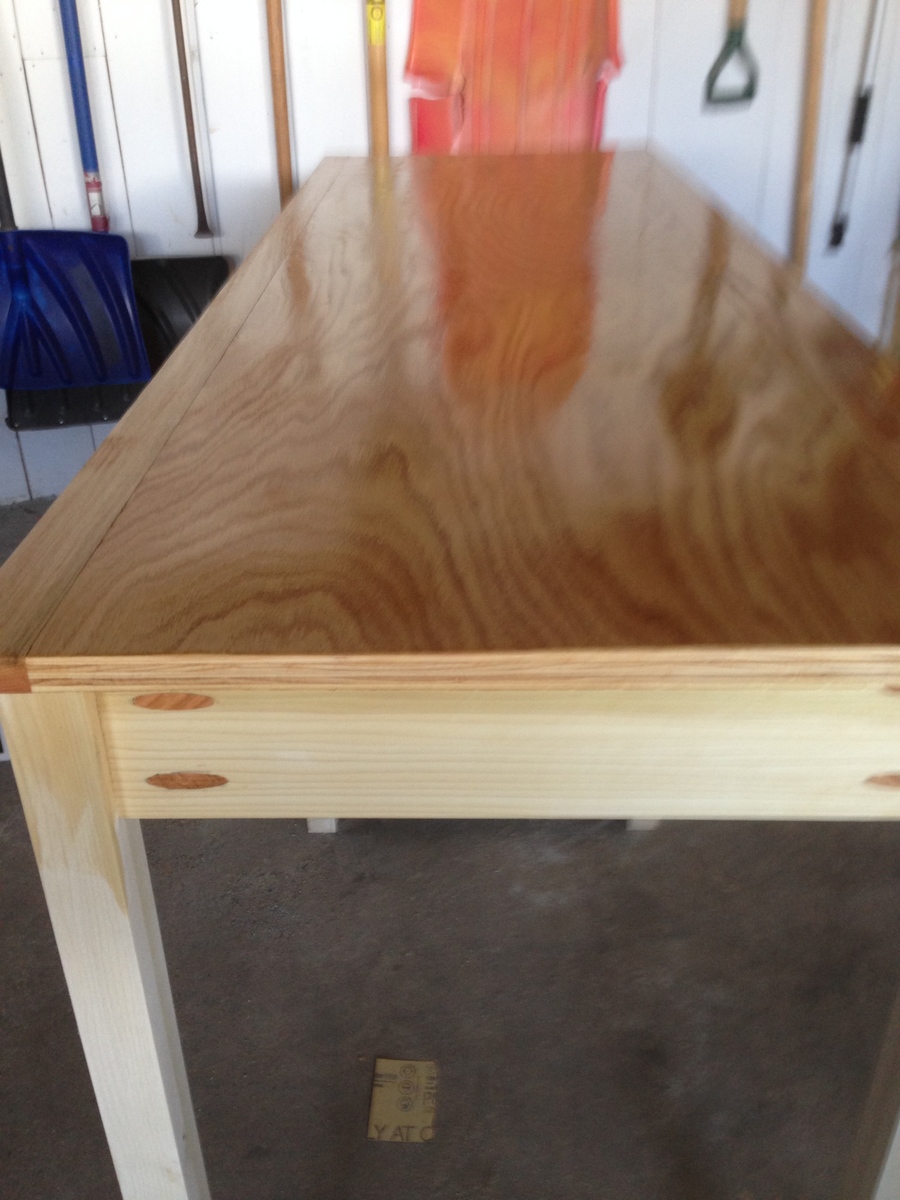
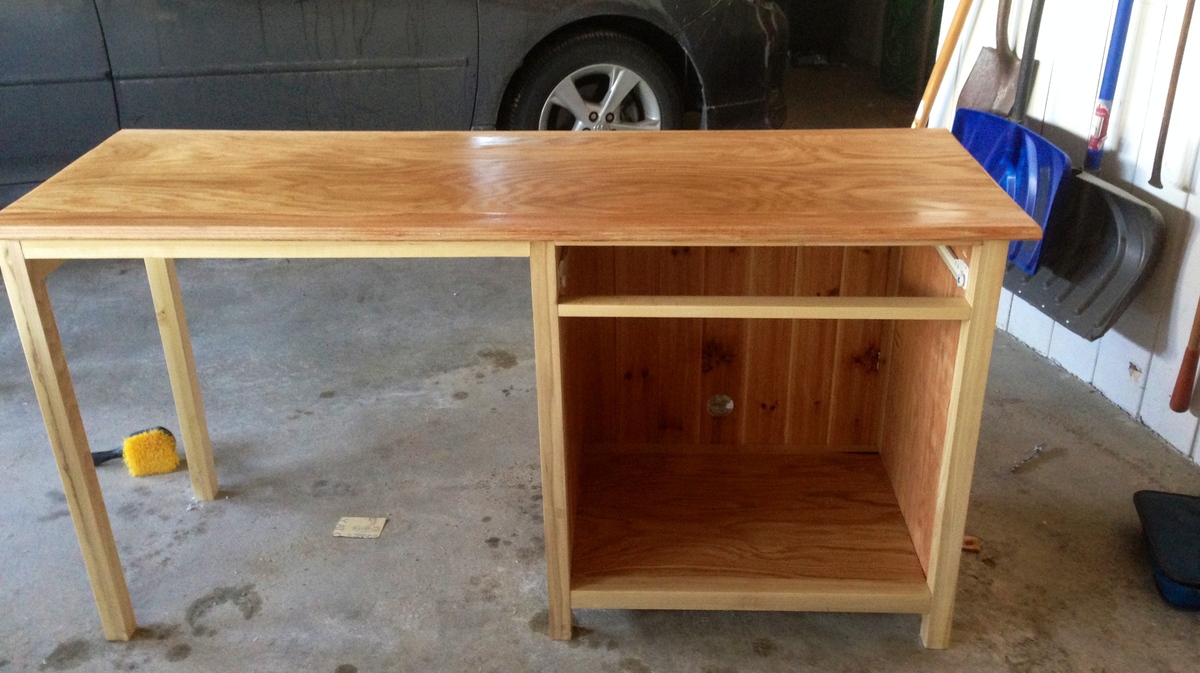
This is my first furniture build!!! I needed a narrow cabinet (from the wall) and found the plans on your site from Shanty2Chic. I LOVE this cabinet and I LOVE the Shanty girls along with you Ana! I finally put the doors on after I found the handles at a restoration store. I needed to make something 42.5" wide to fit under the mirror so I adjusted the length & height measurements of the original cabinet. This cabinet is 42.5W x 43H x 13D.
Built from Plan(s)
Estimated Cost
Less than $100
Estimated Time Investment
Weekend Project (10-20 Hours)
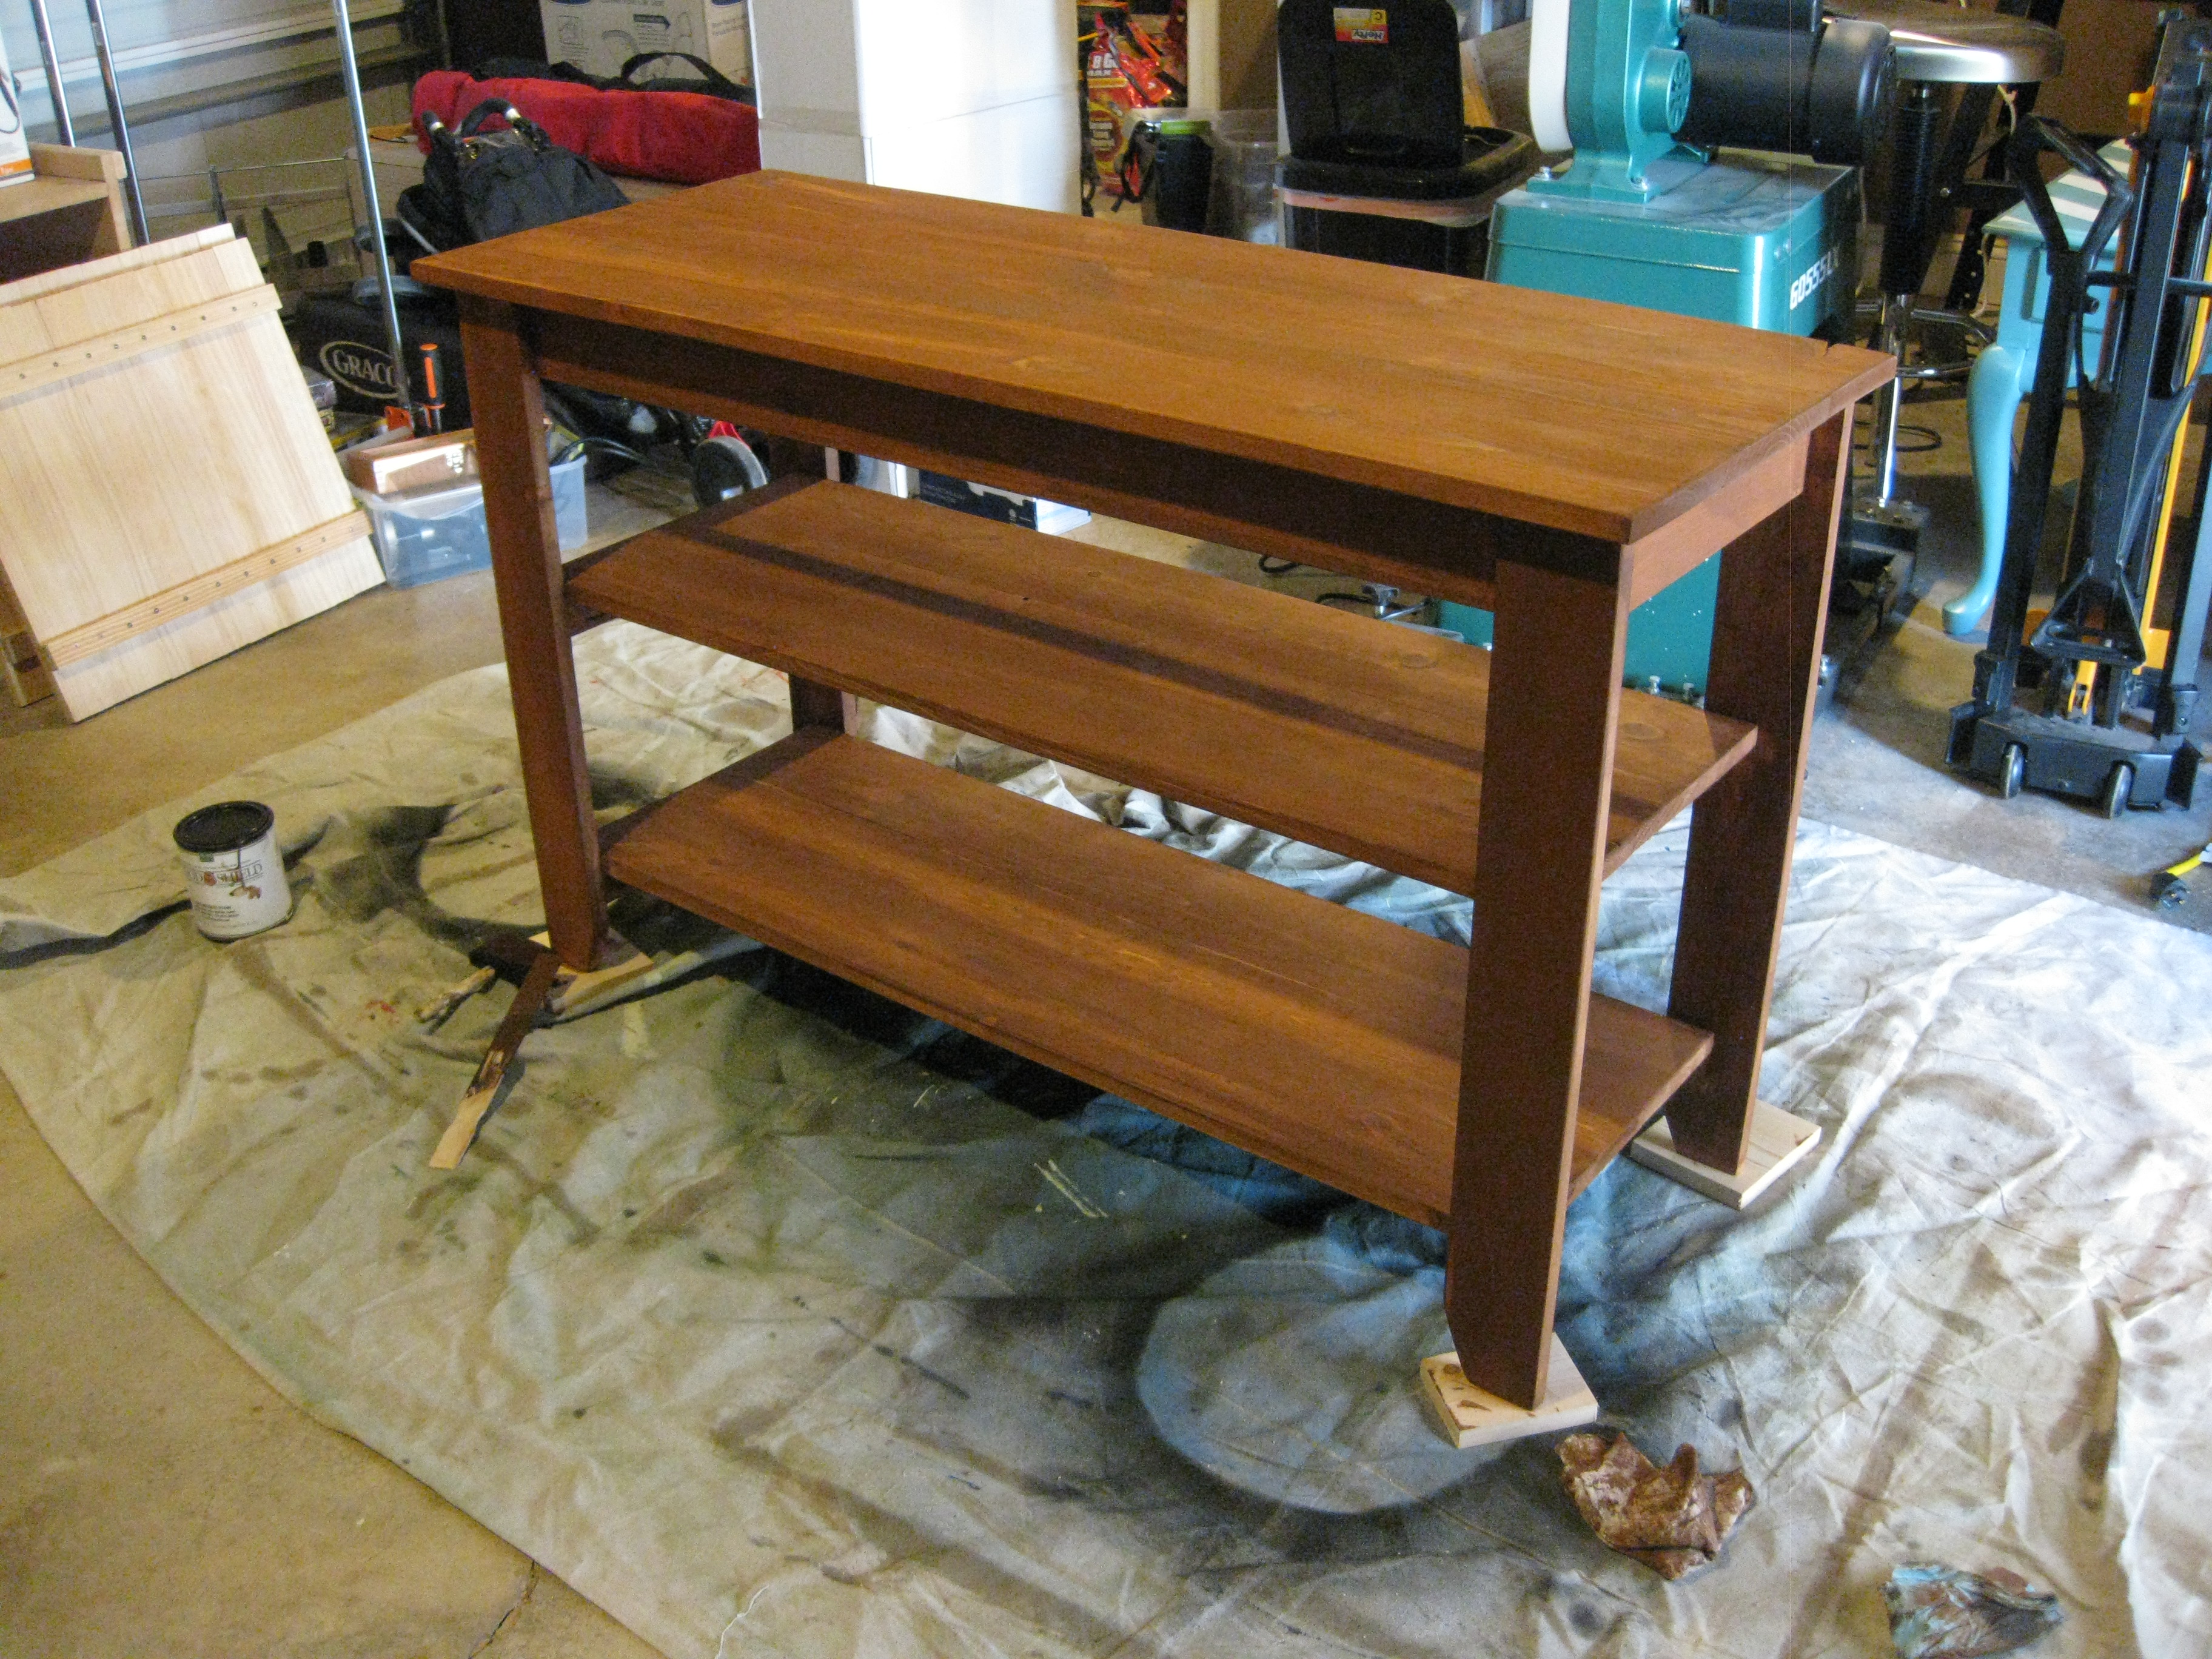
Finish Used
This cabinet was primed then painted with a Martha Stewart color called Spud (Glidden, satin finish) then I put a few coats of Polycrylic over the paint. I lightly sanded between the polycrylic coats.
Recommended Skill Level
Beginner