Community Brag Posts

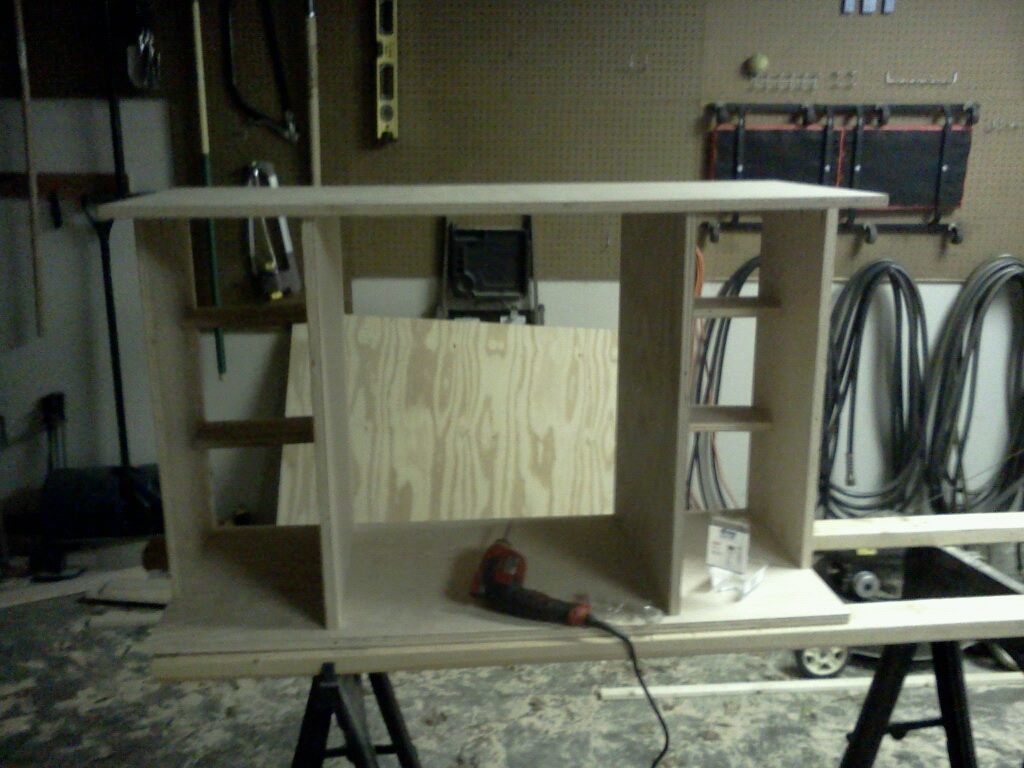
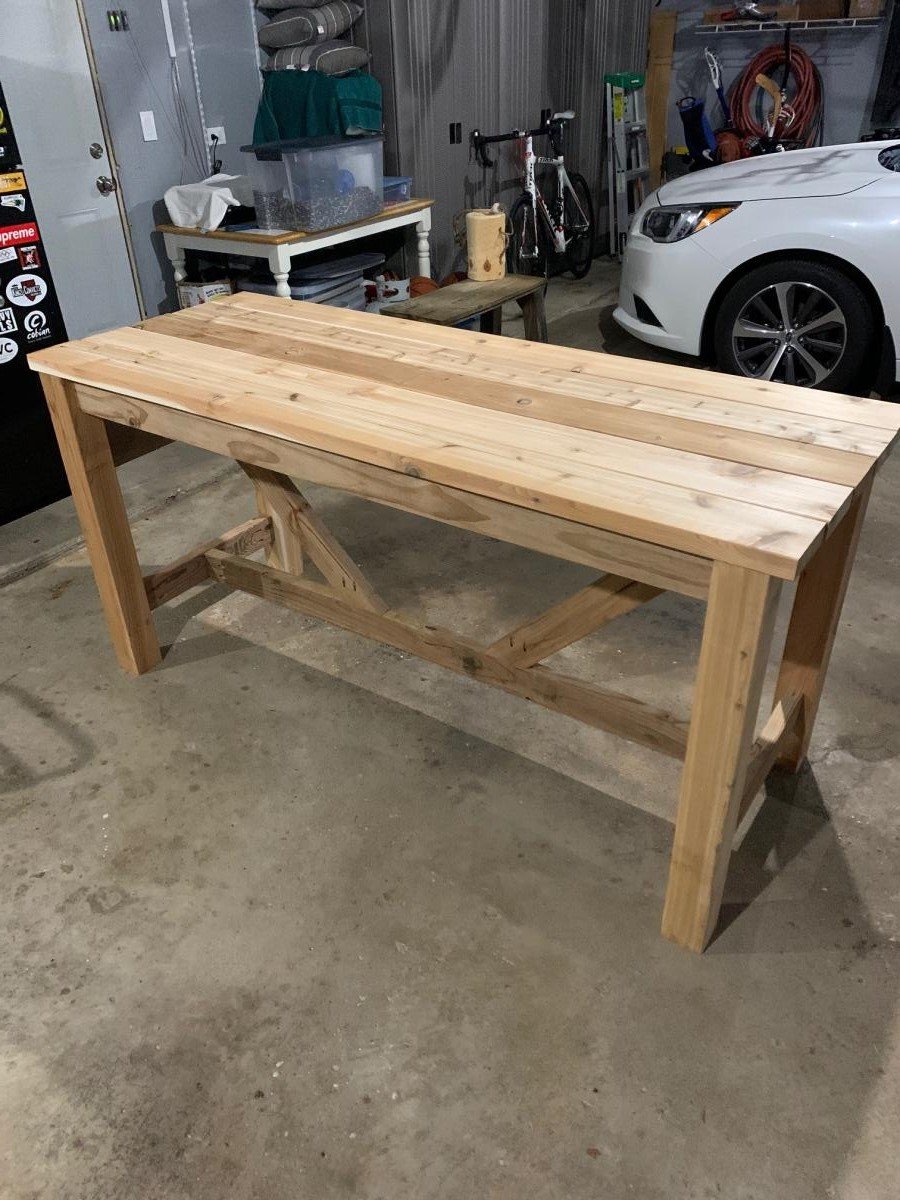
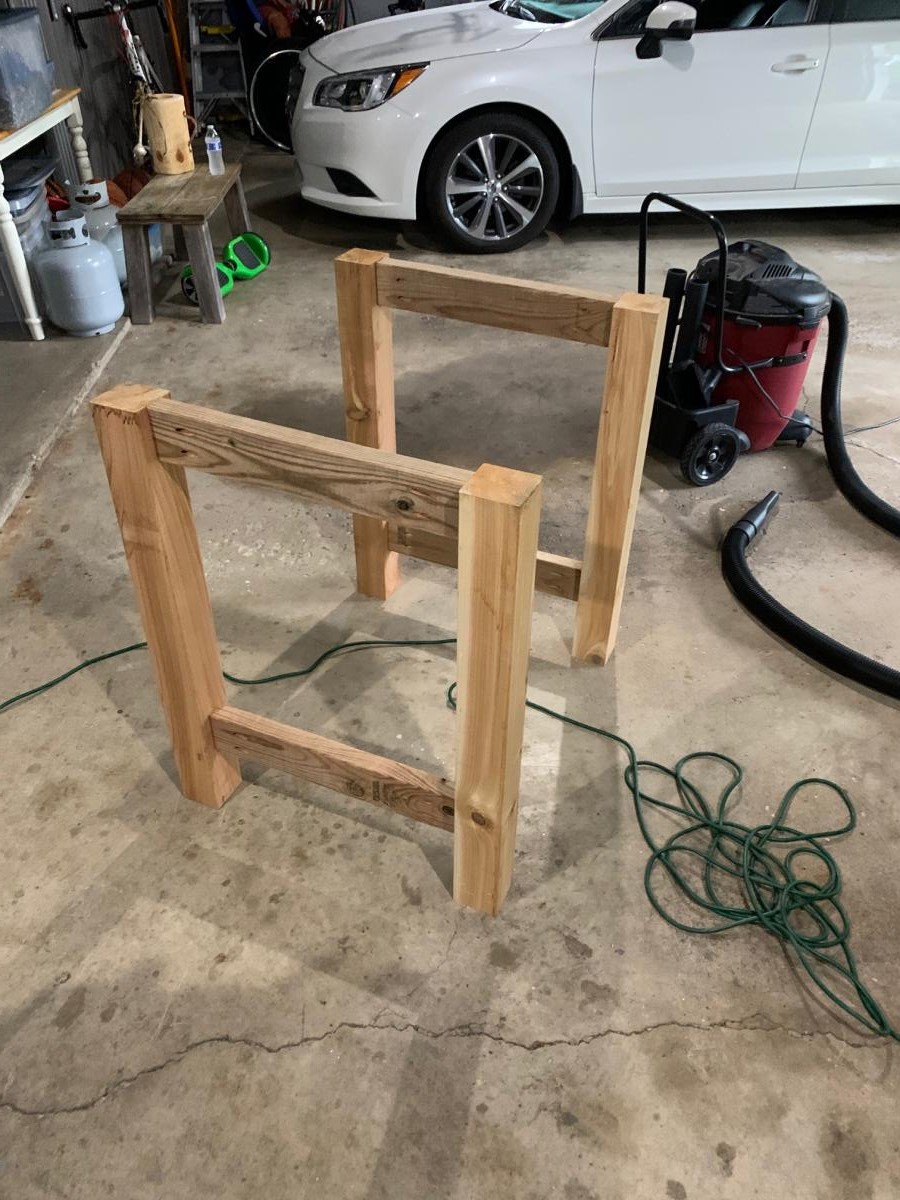
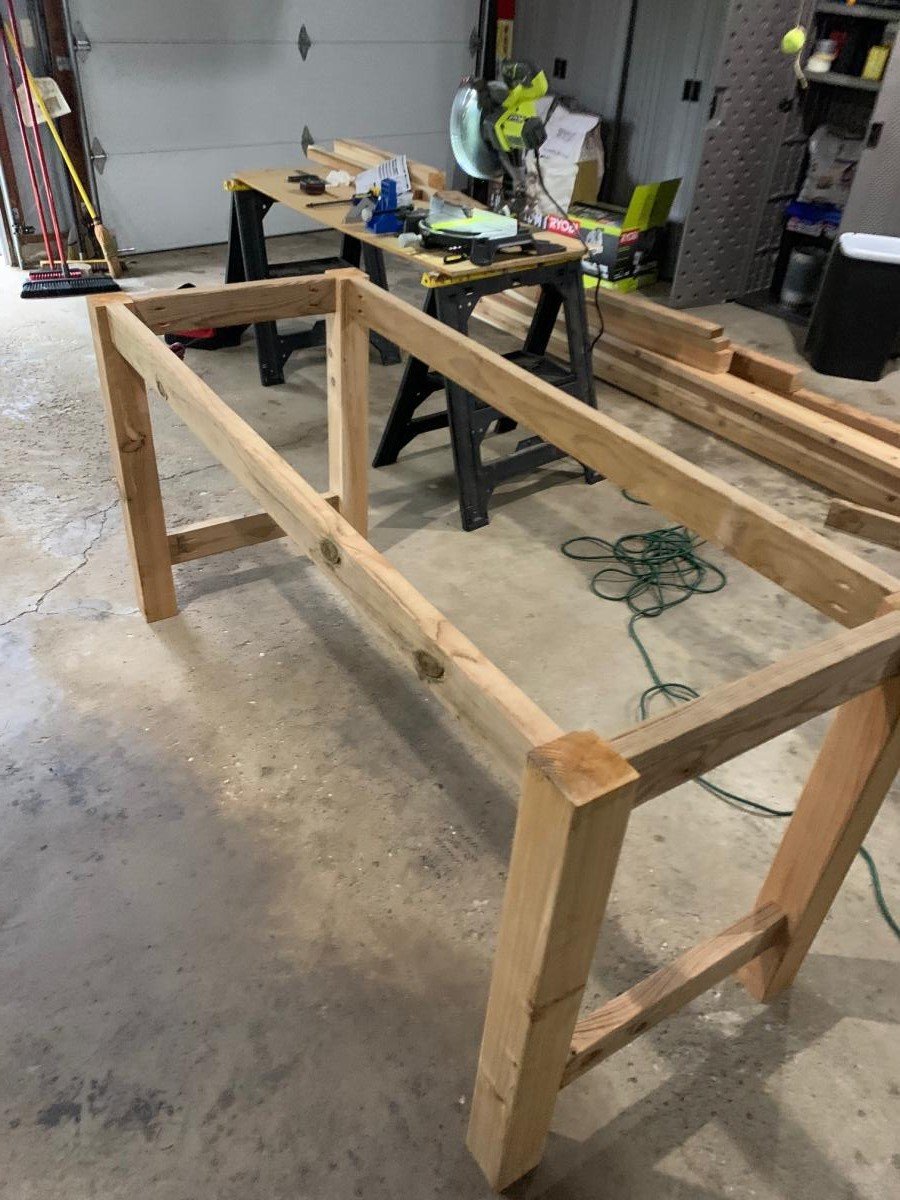
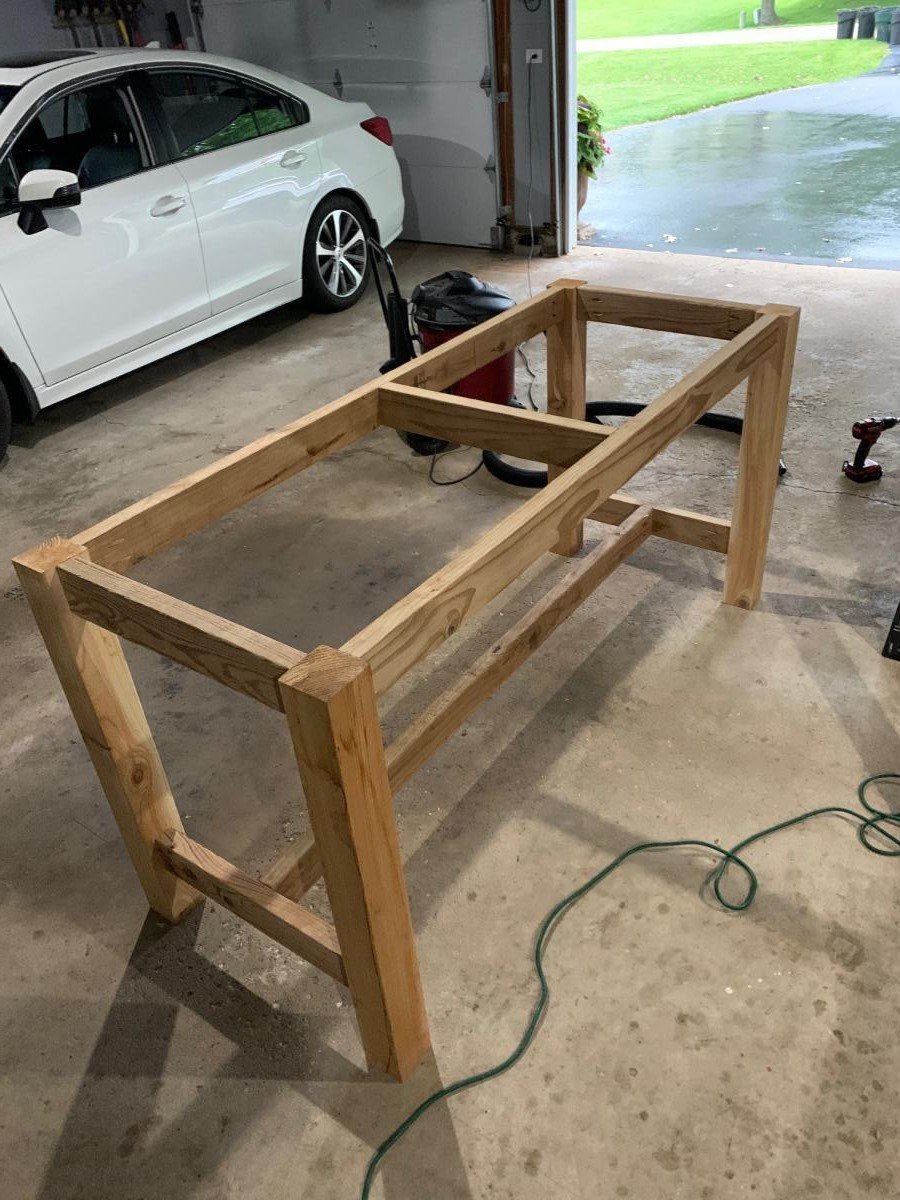
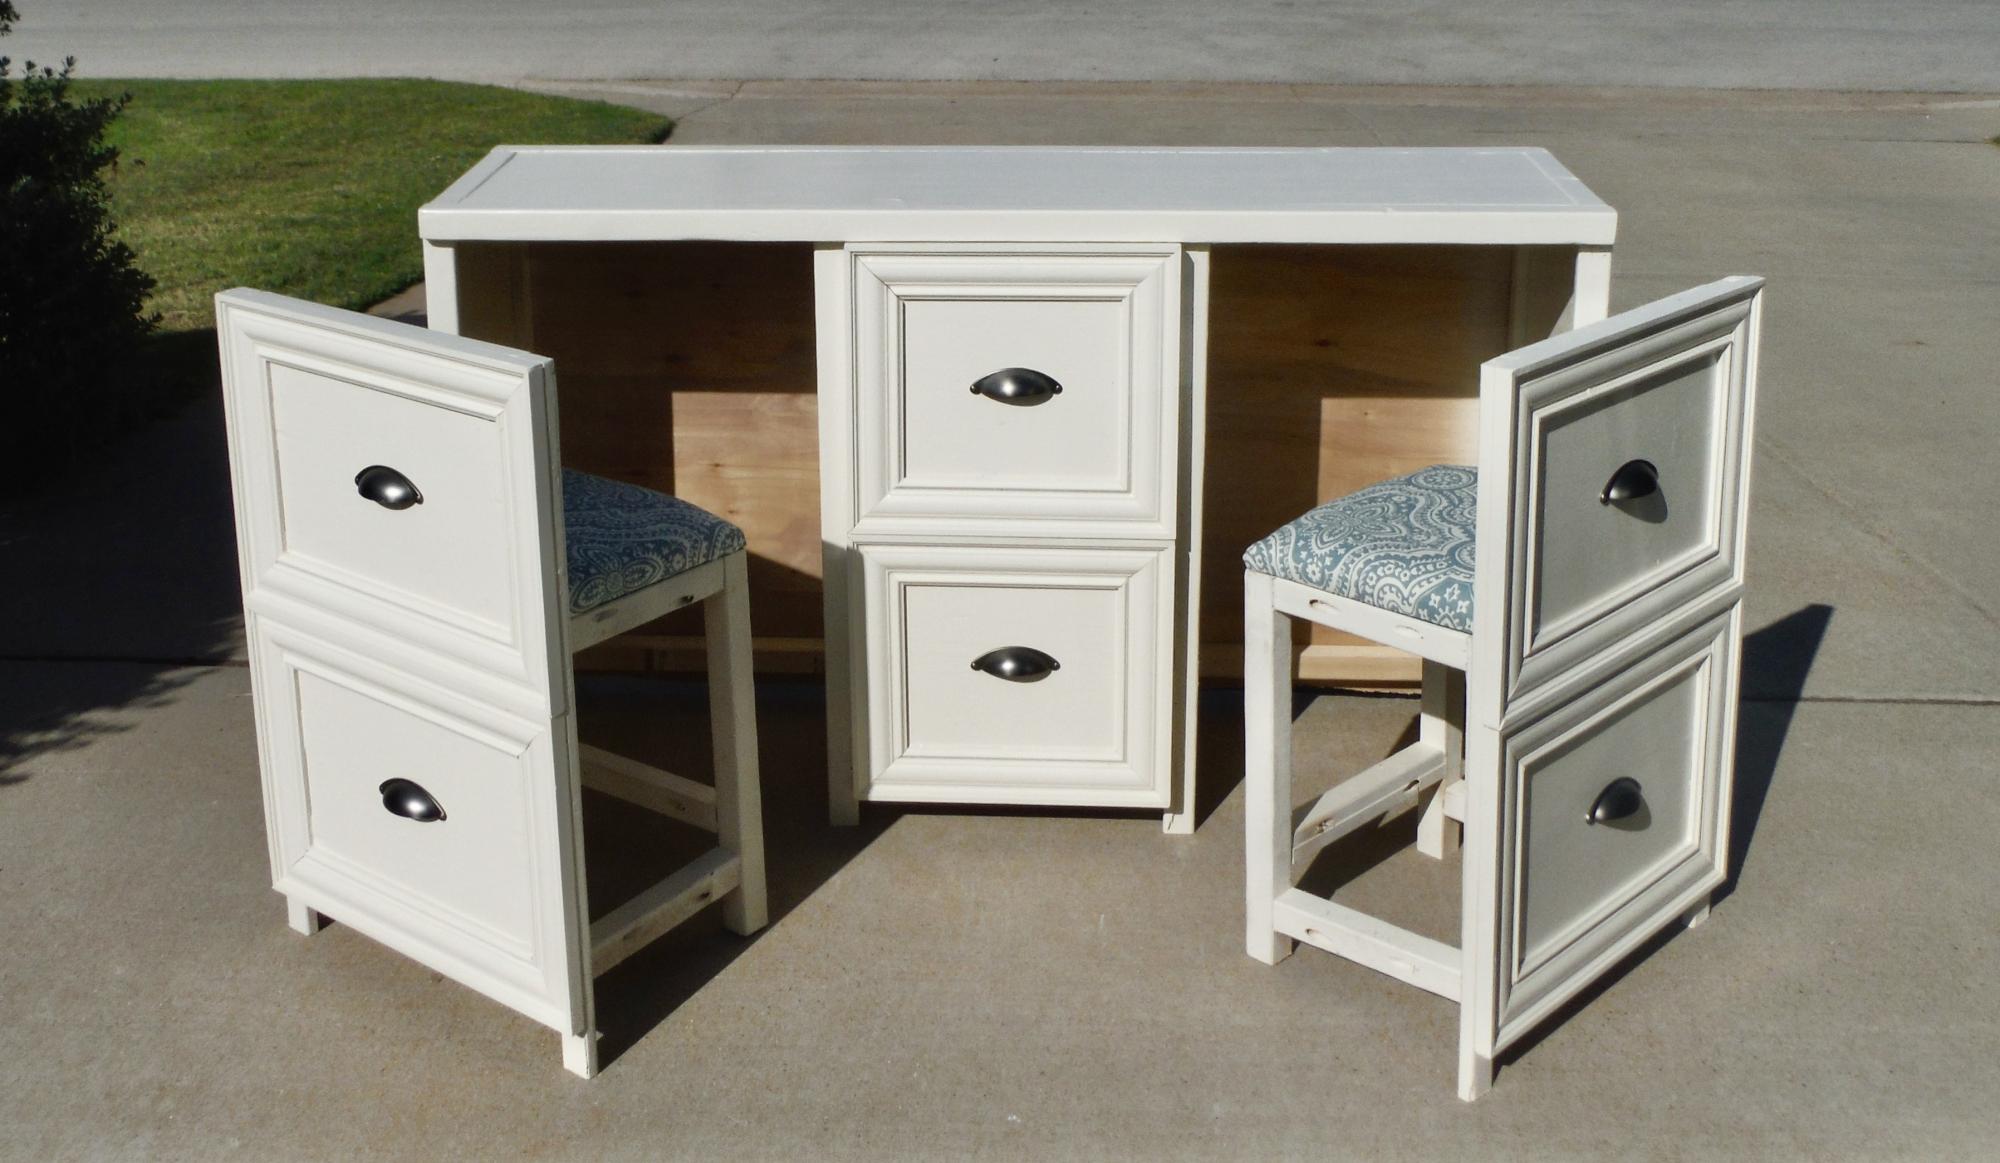
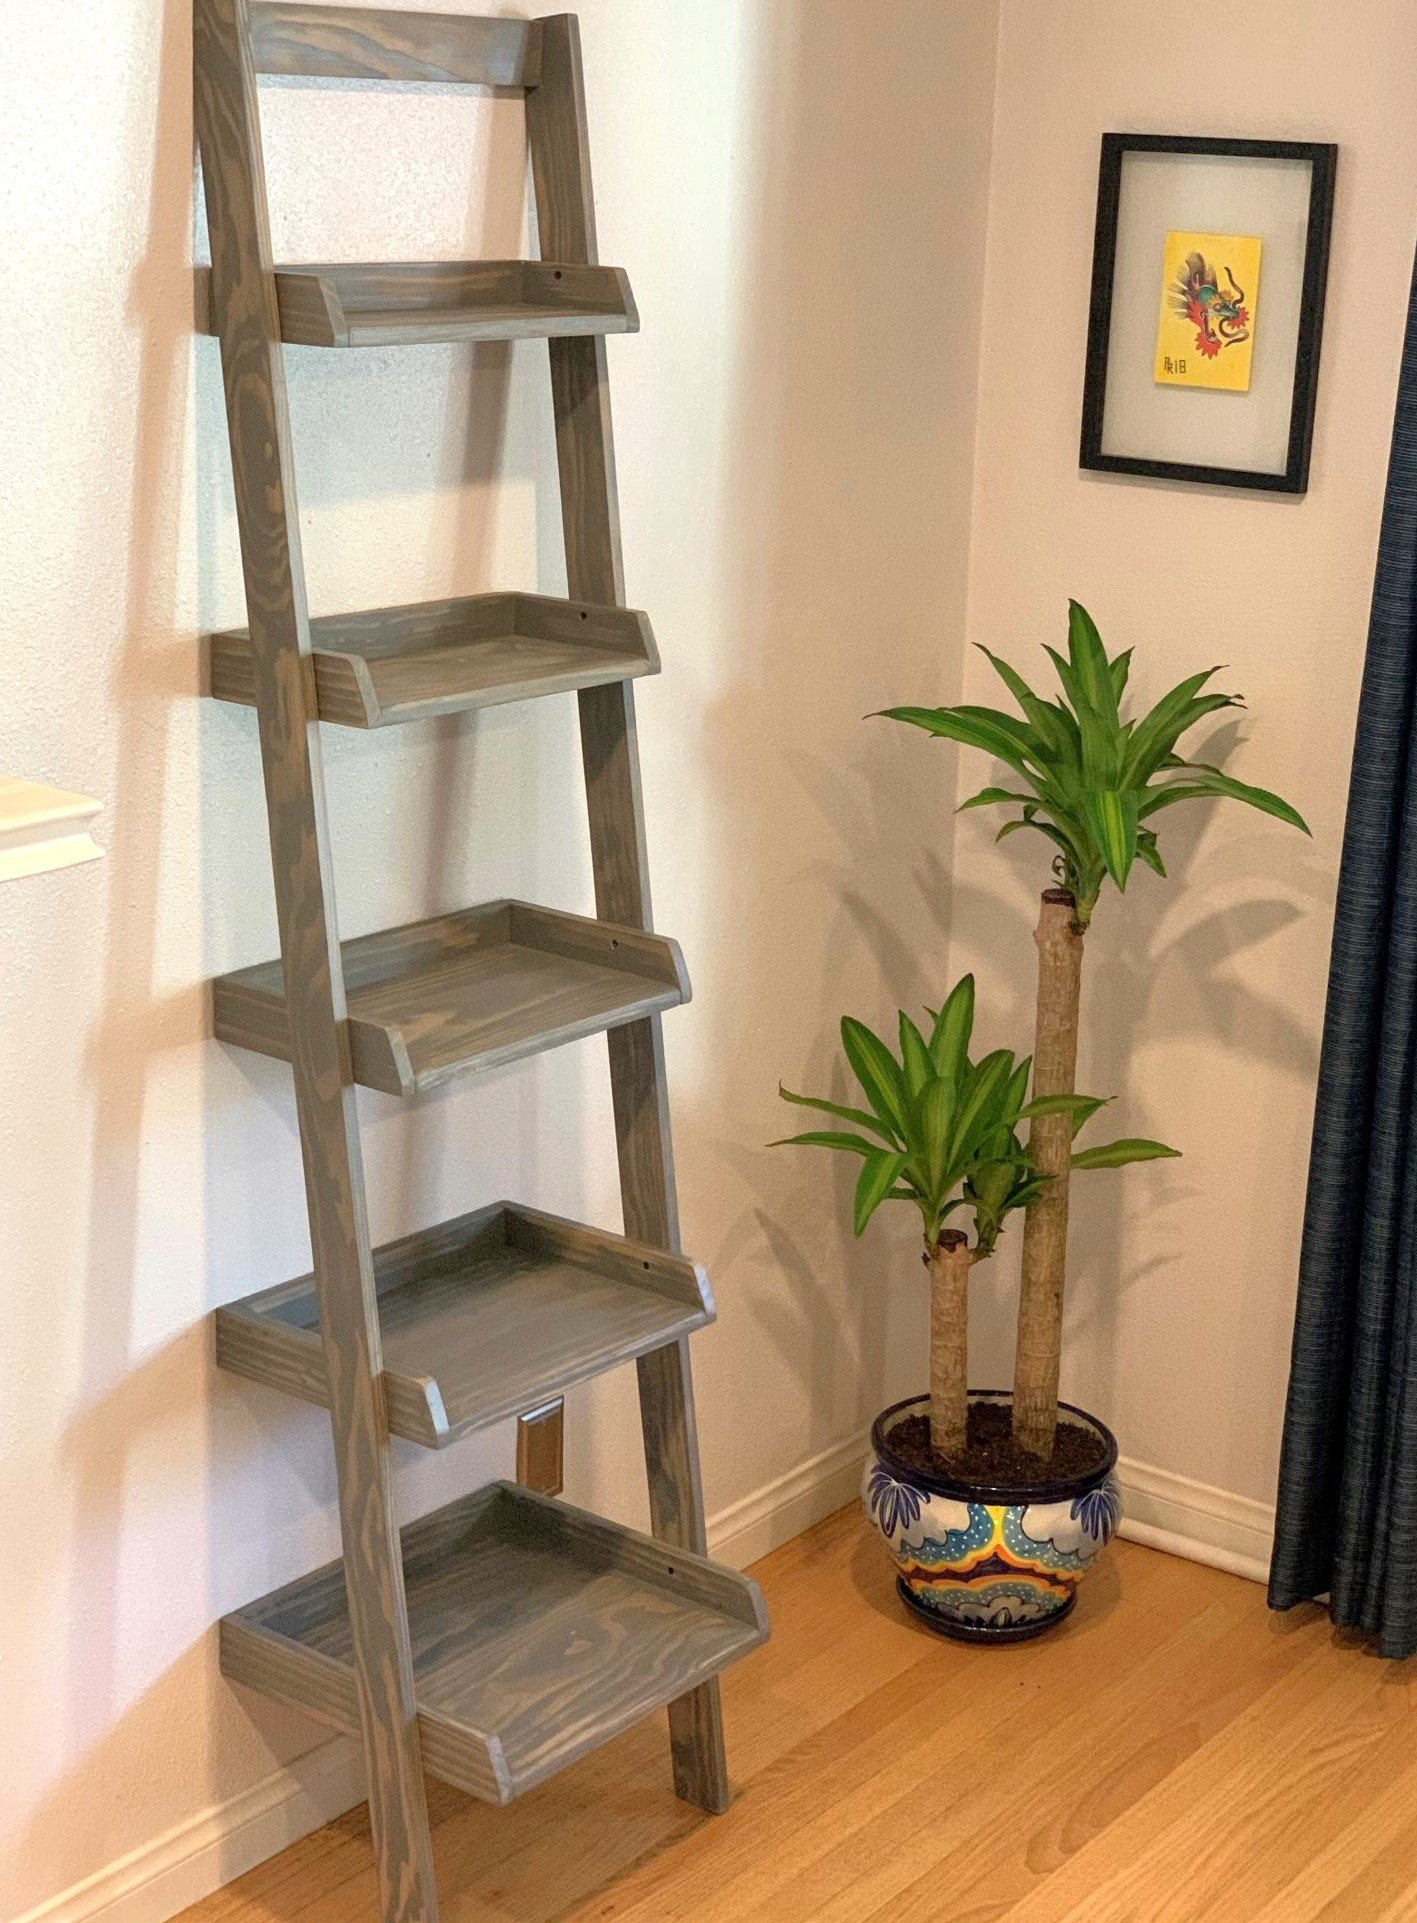
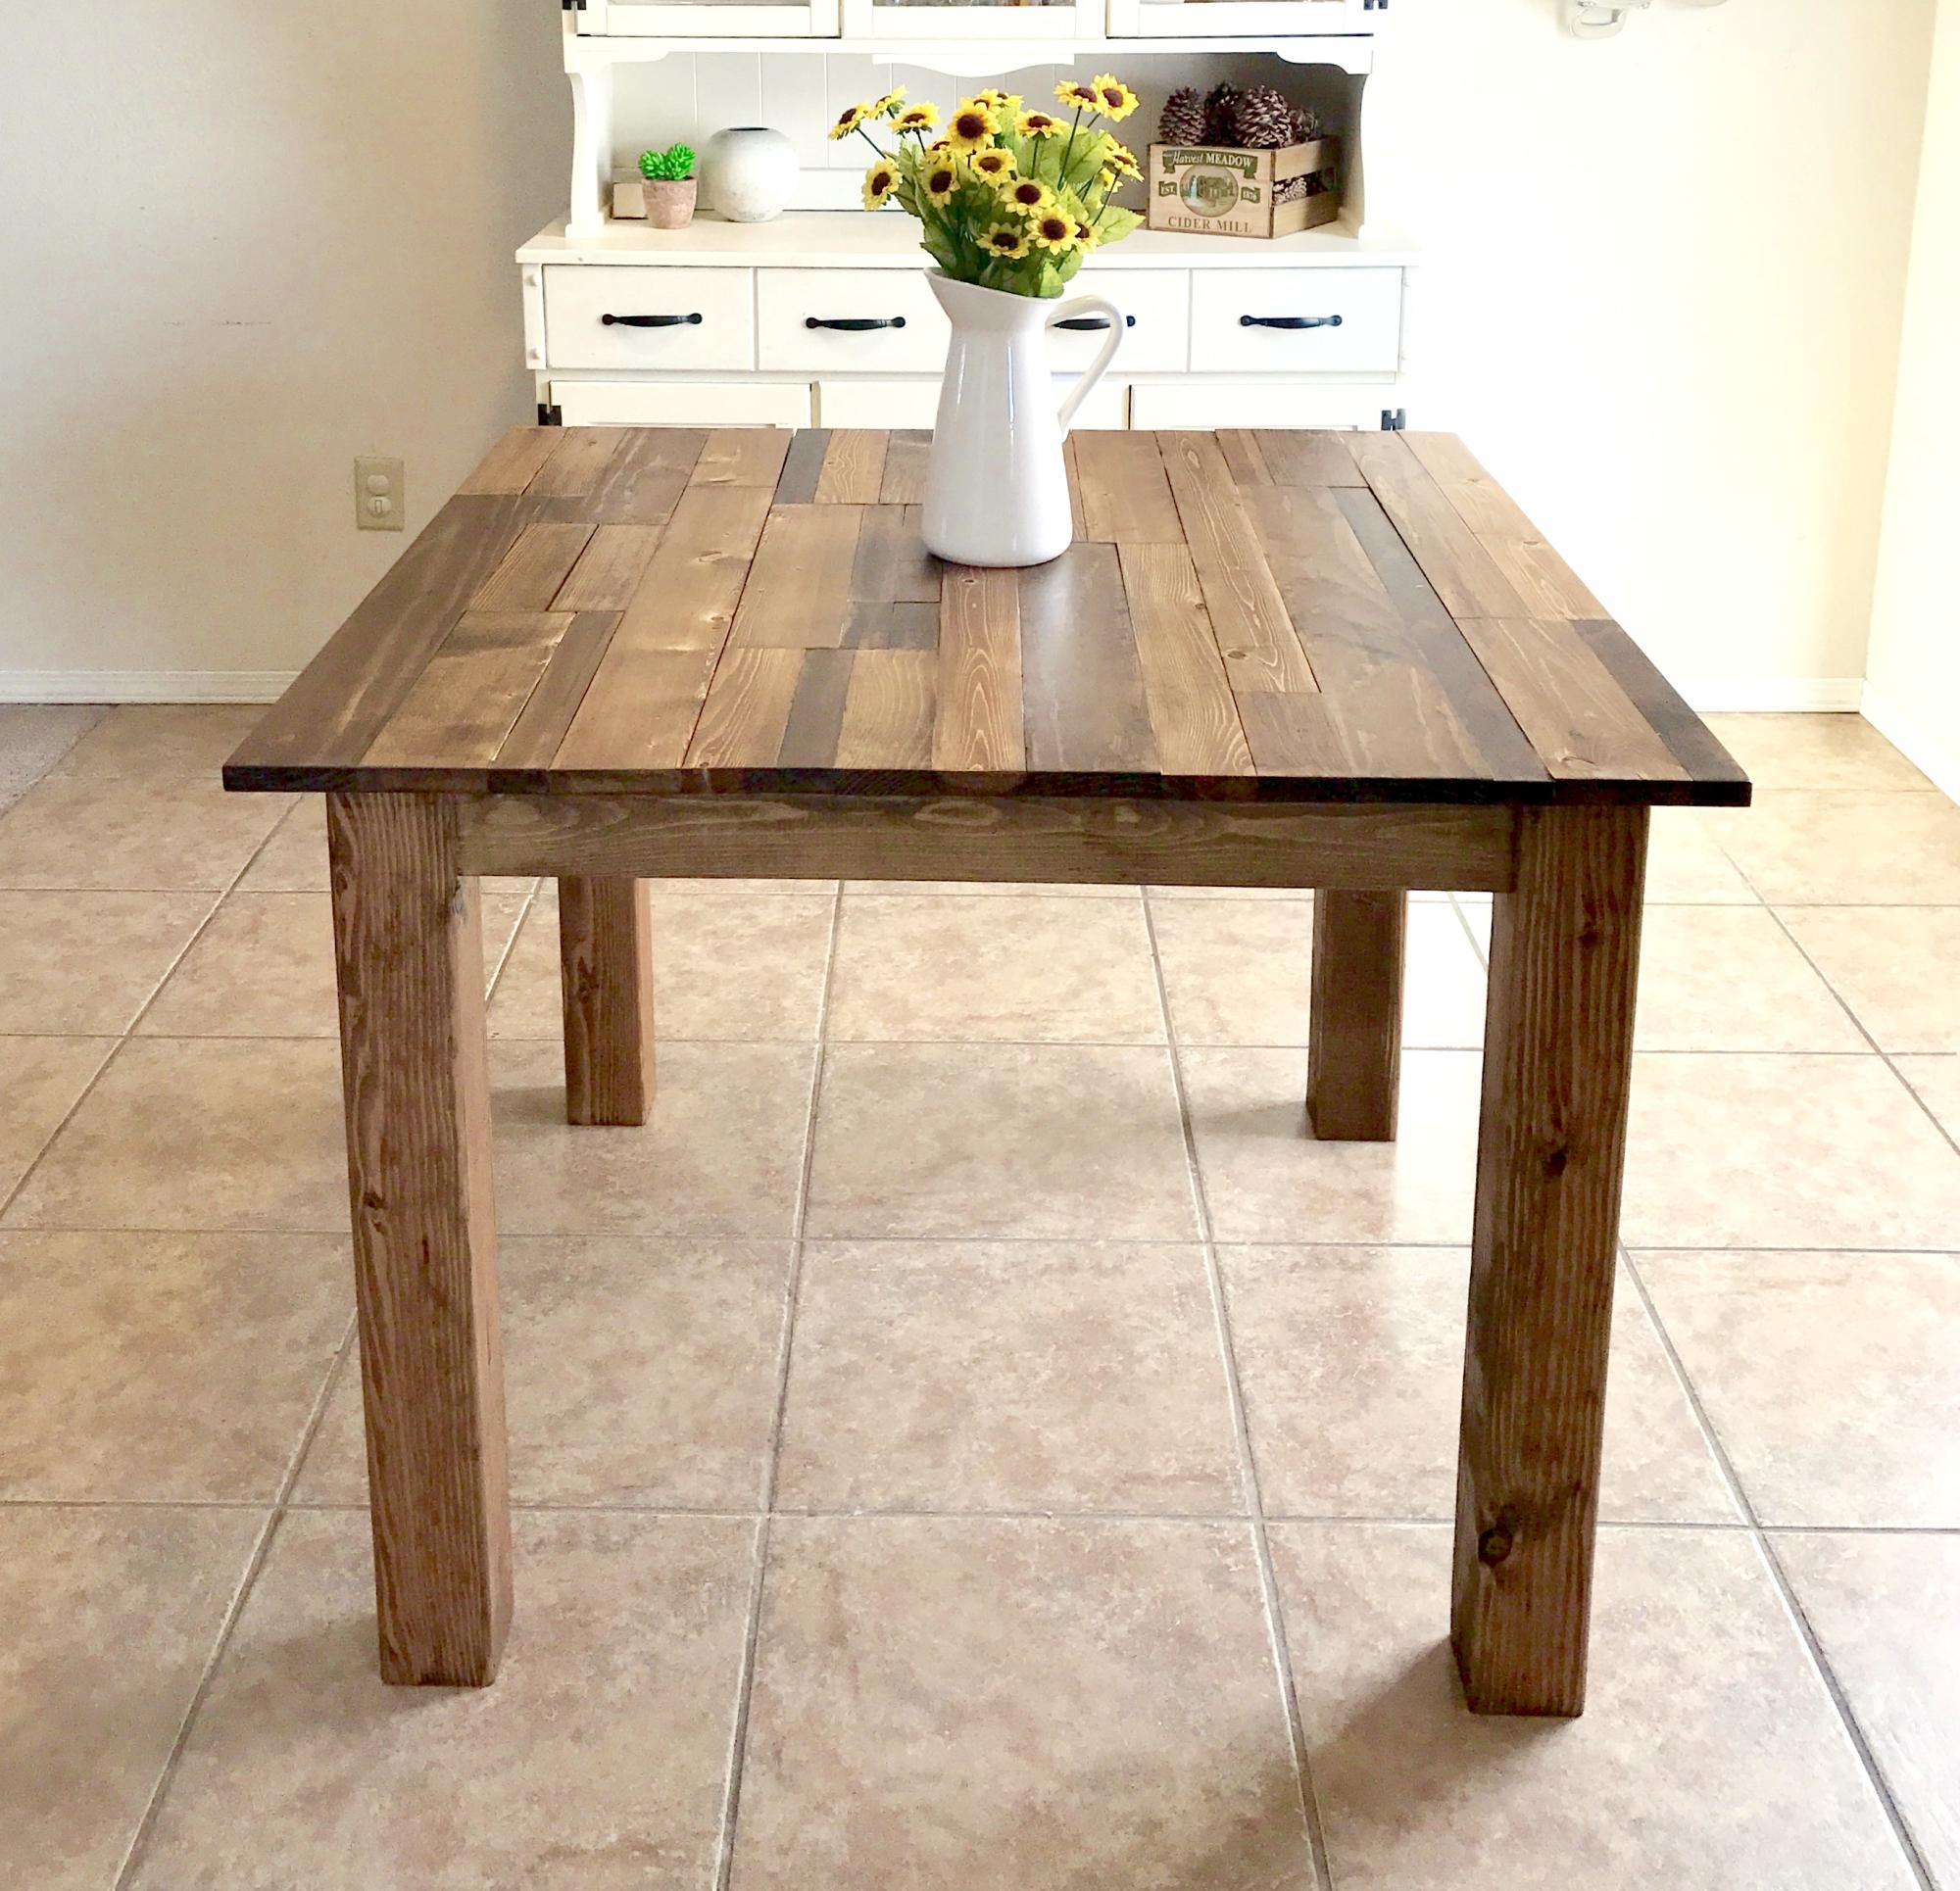
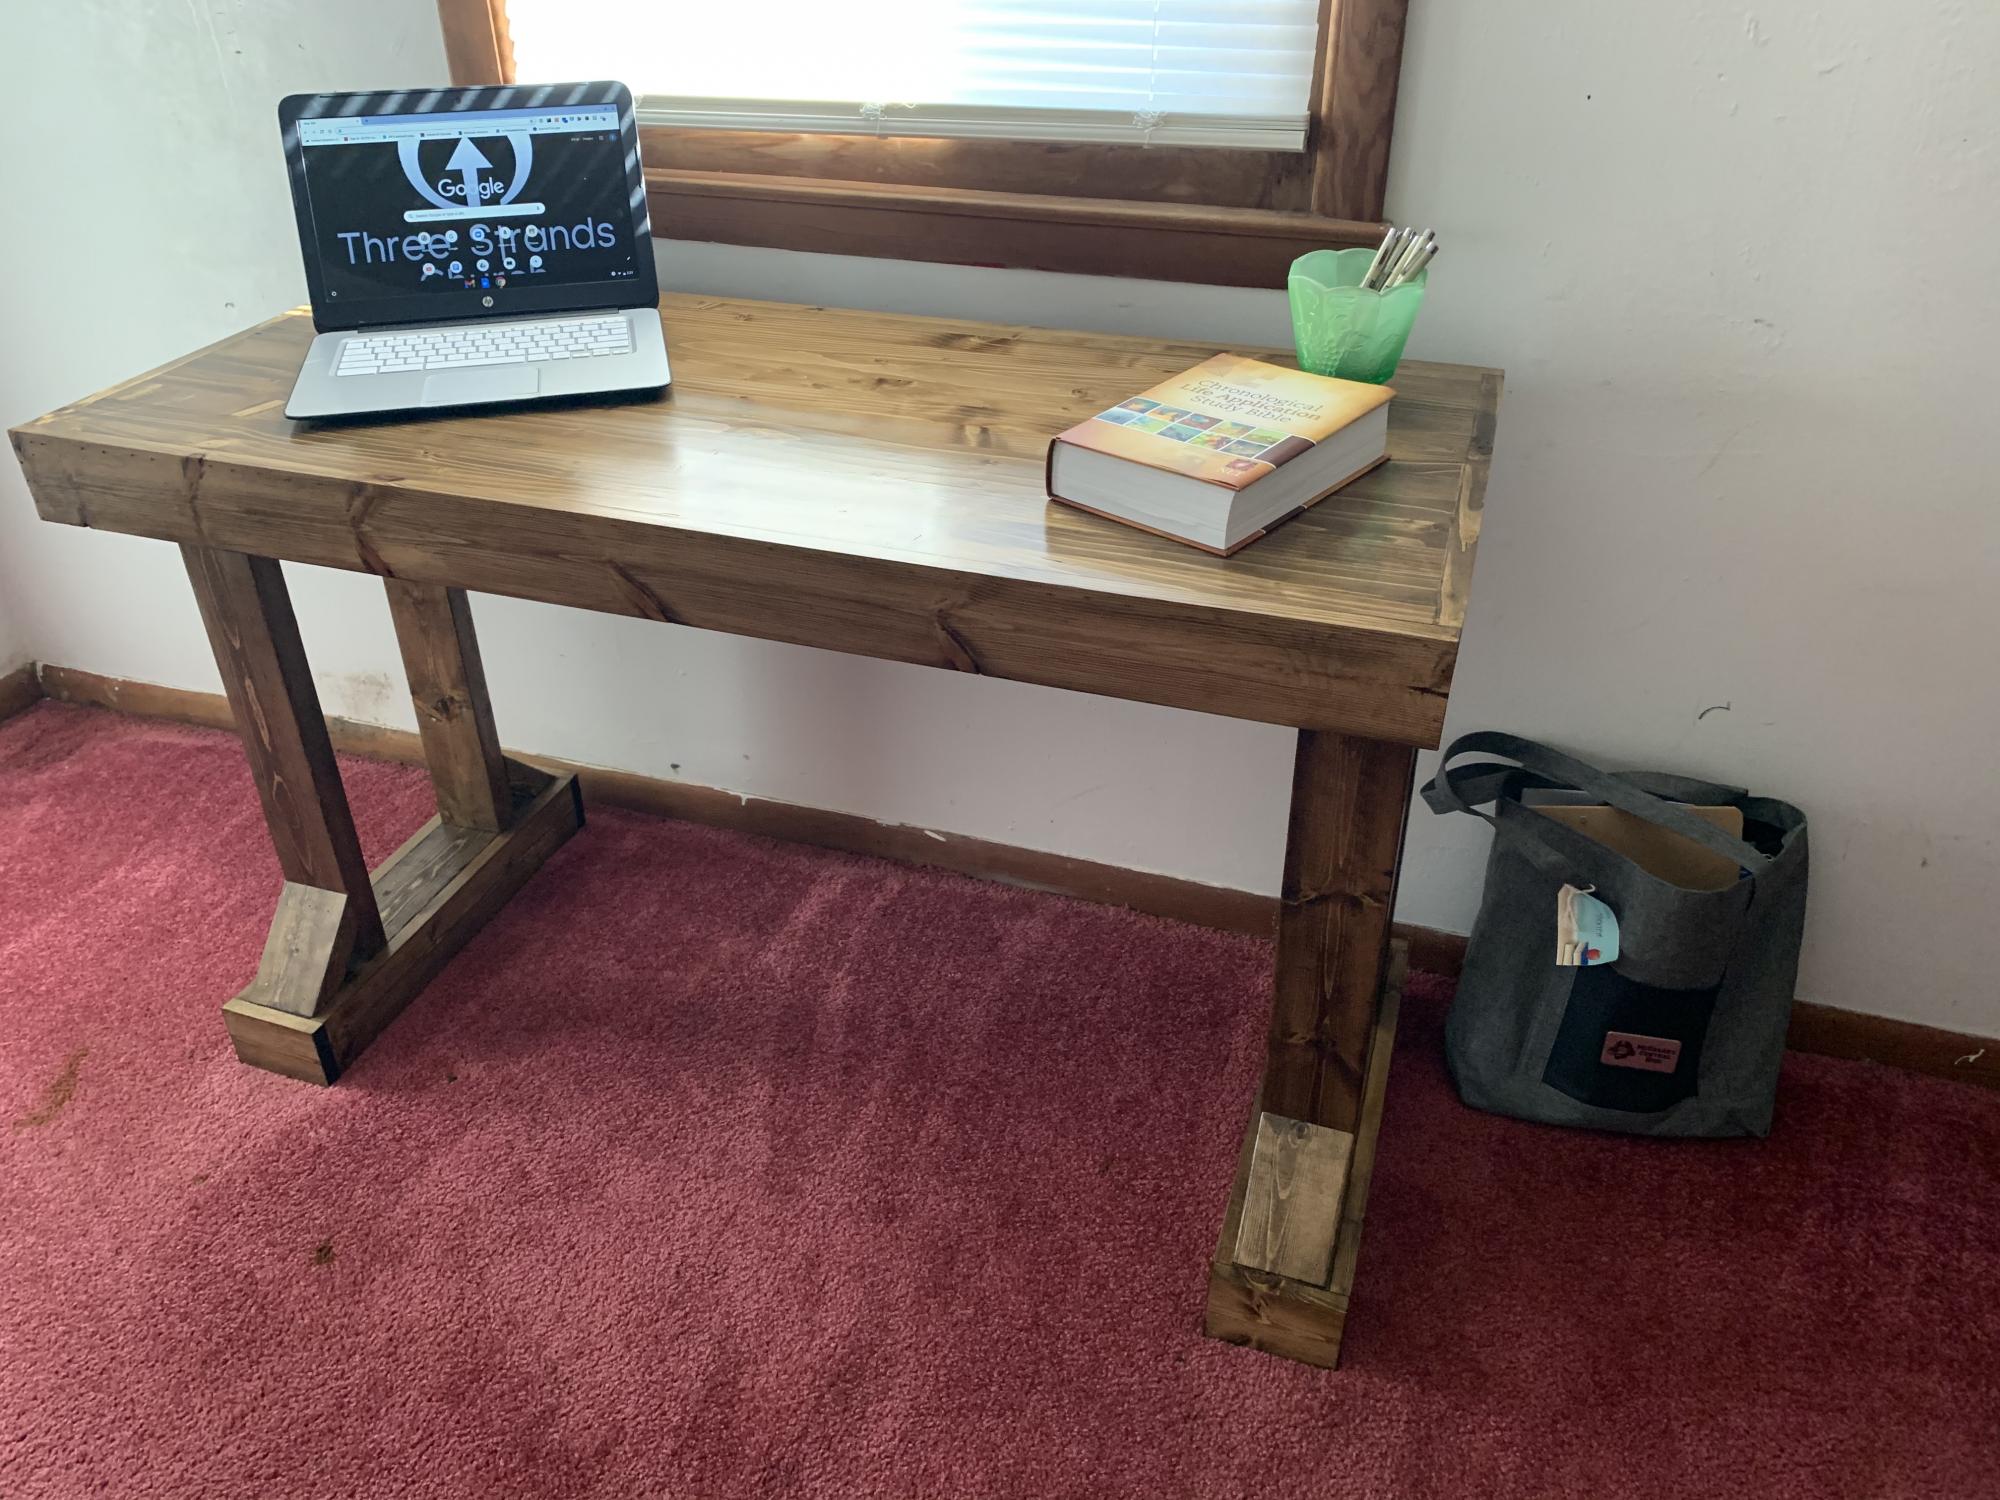
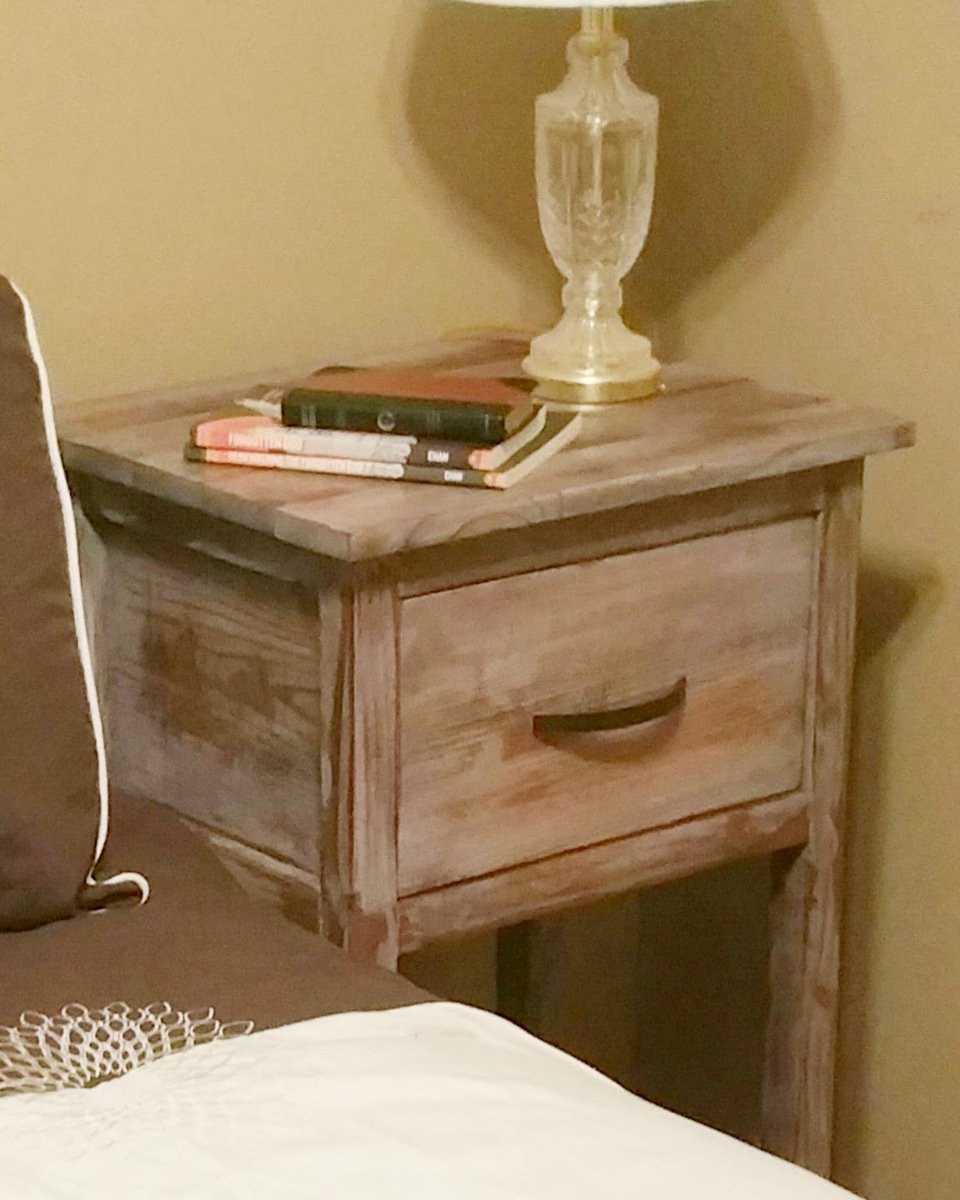
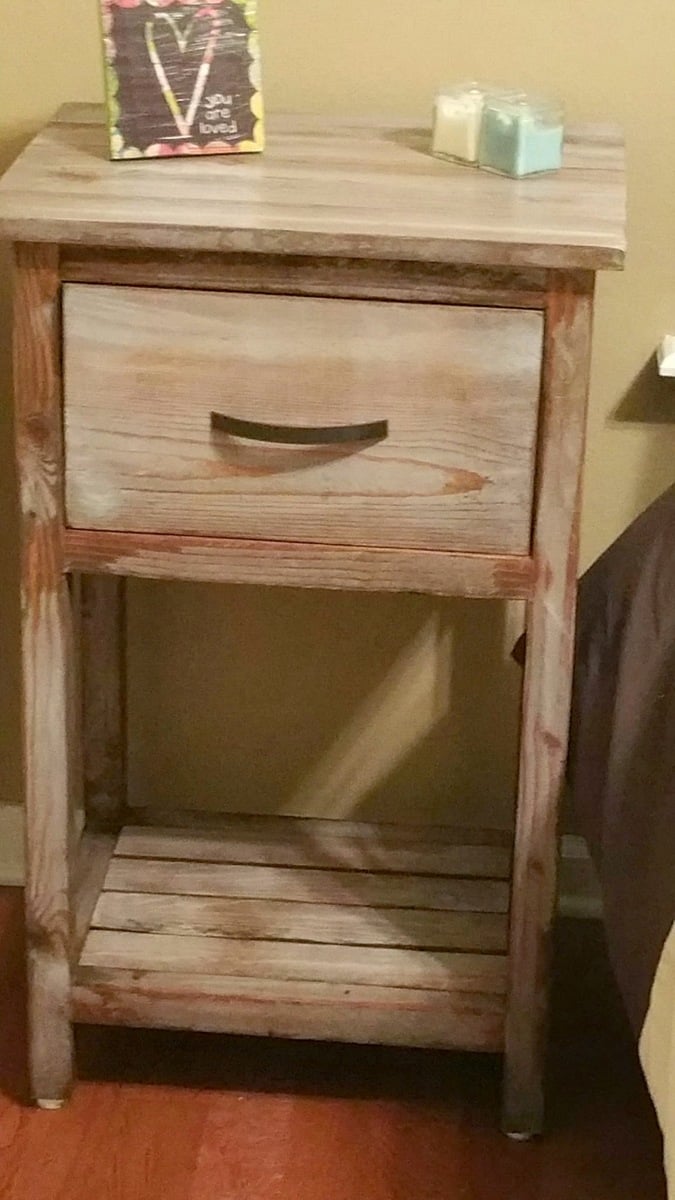
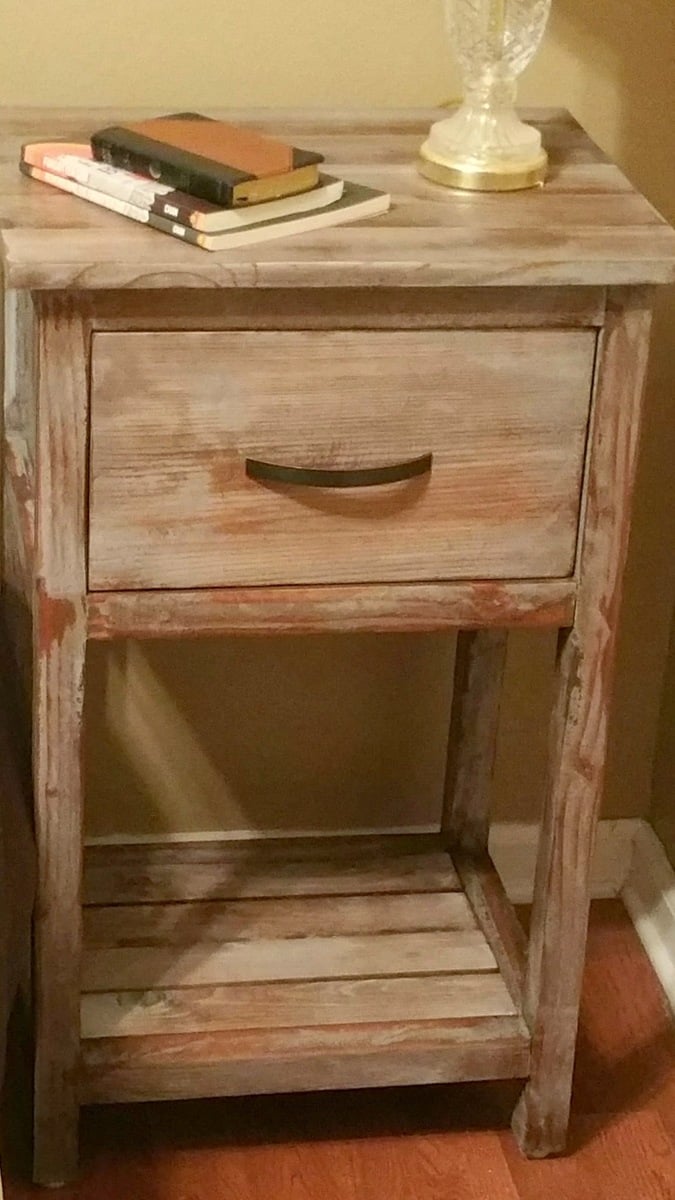
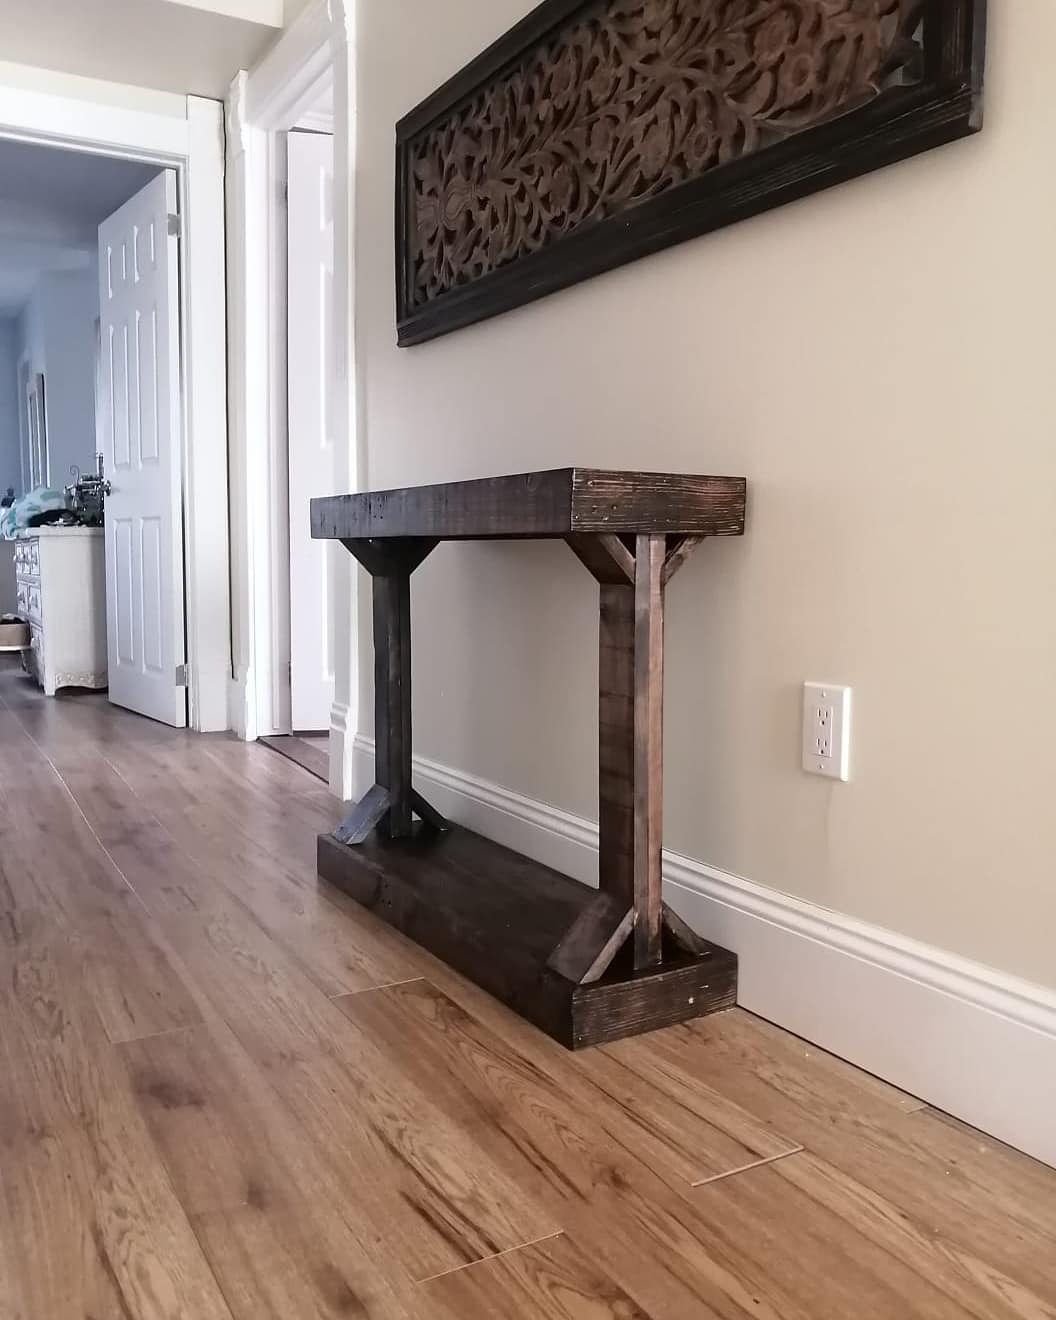
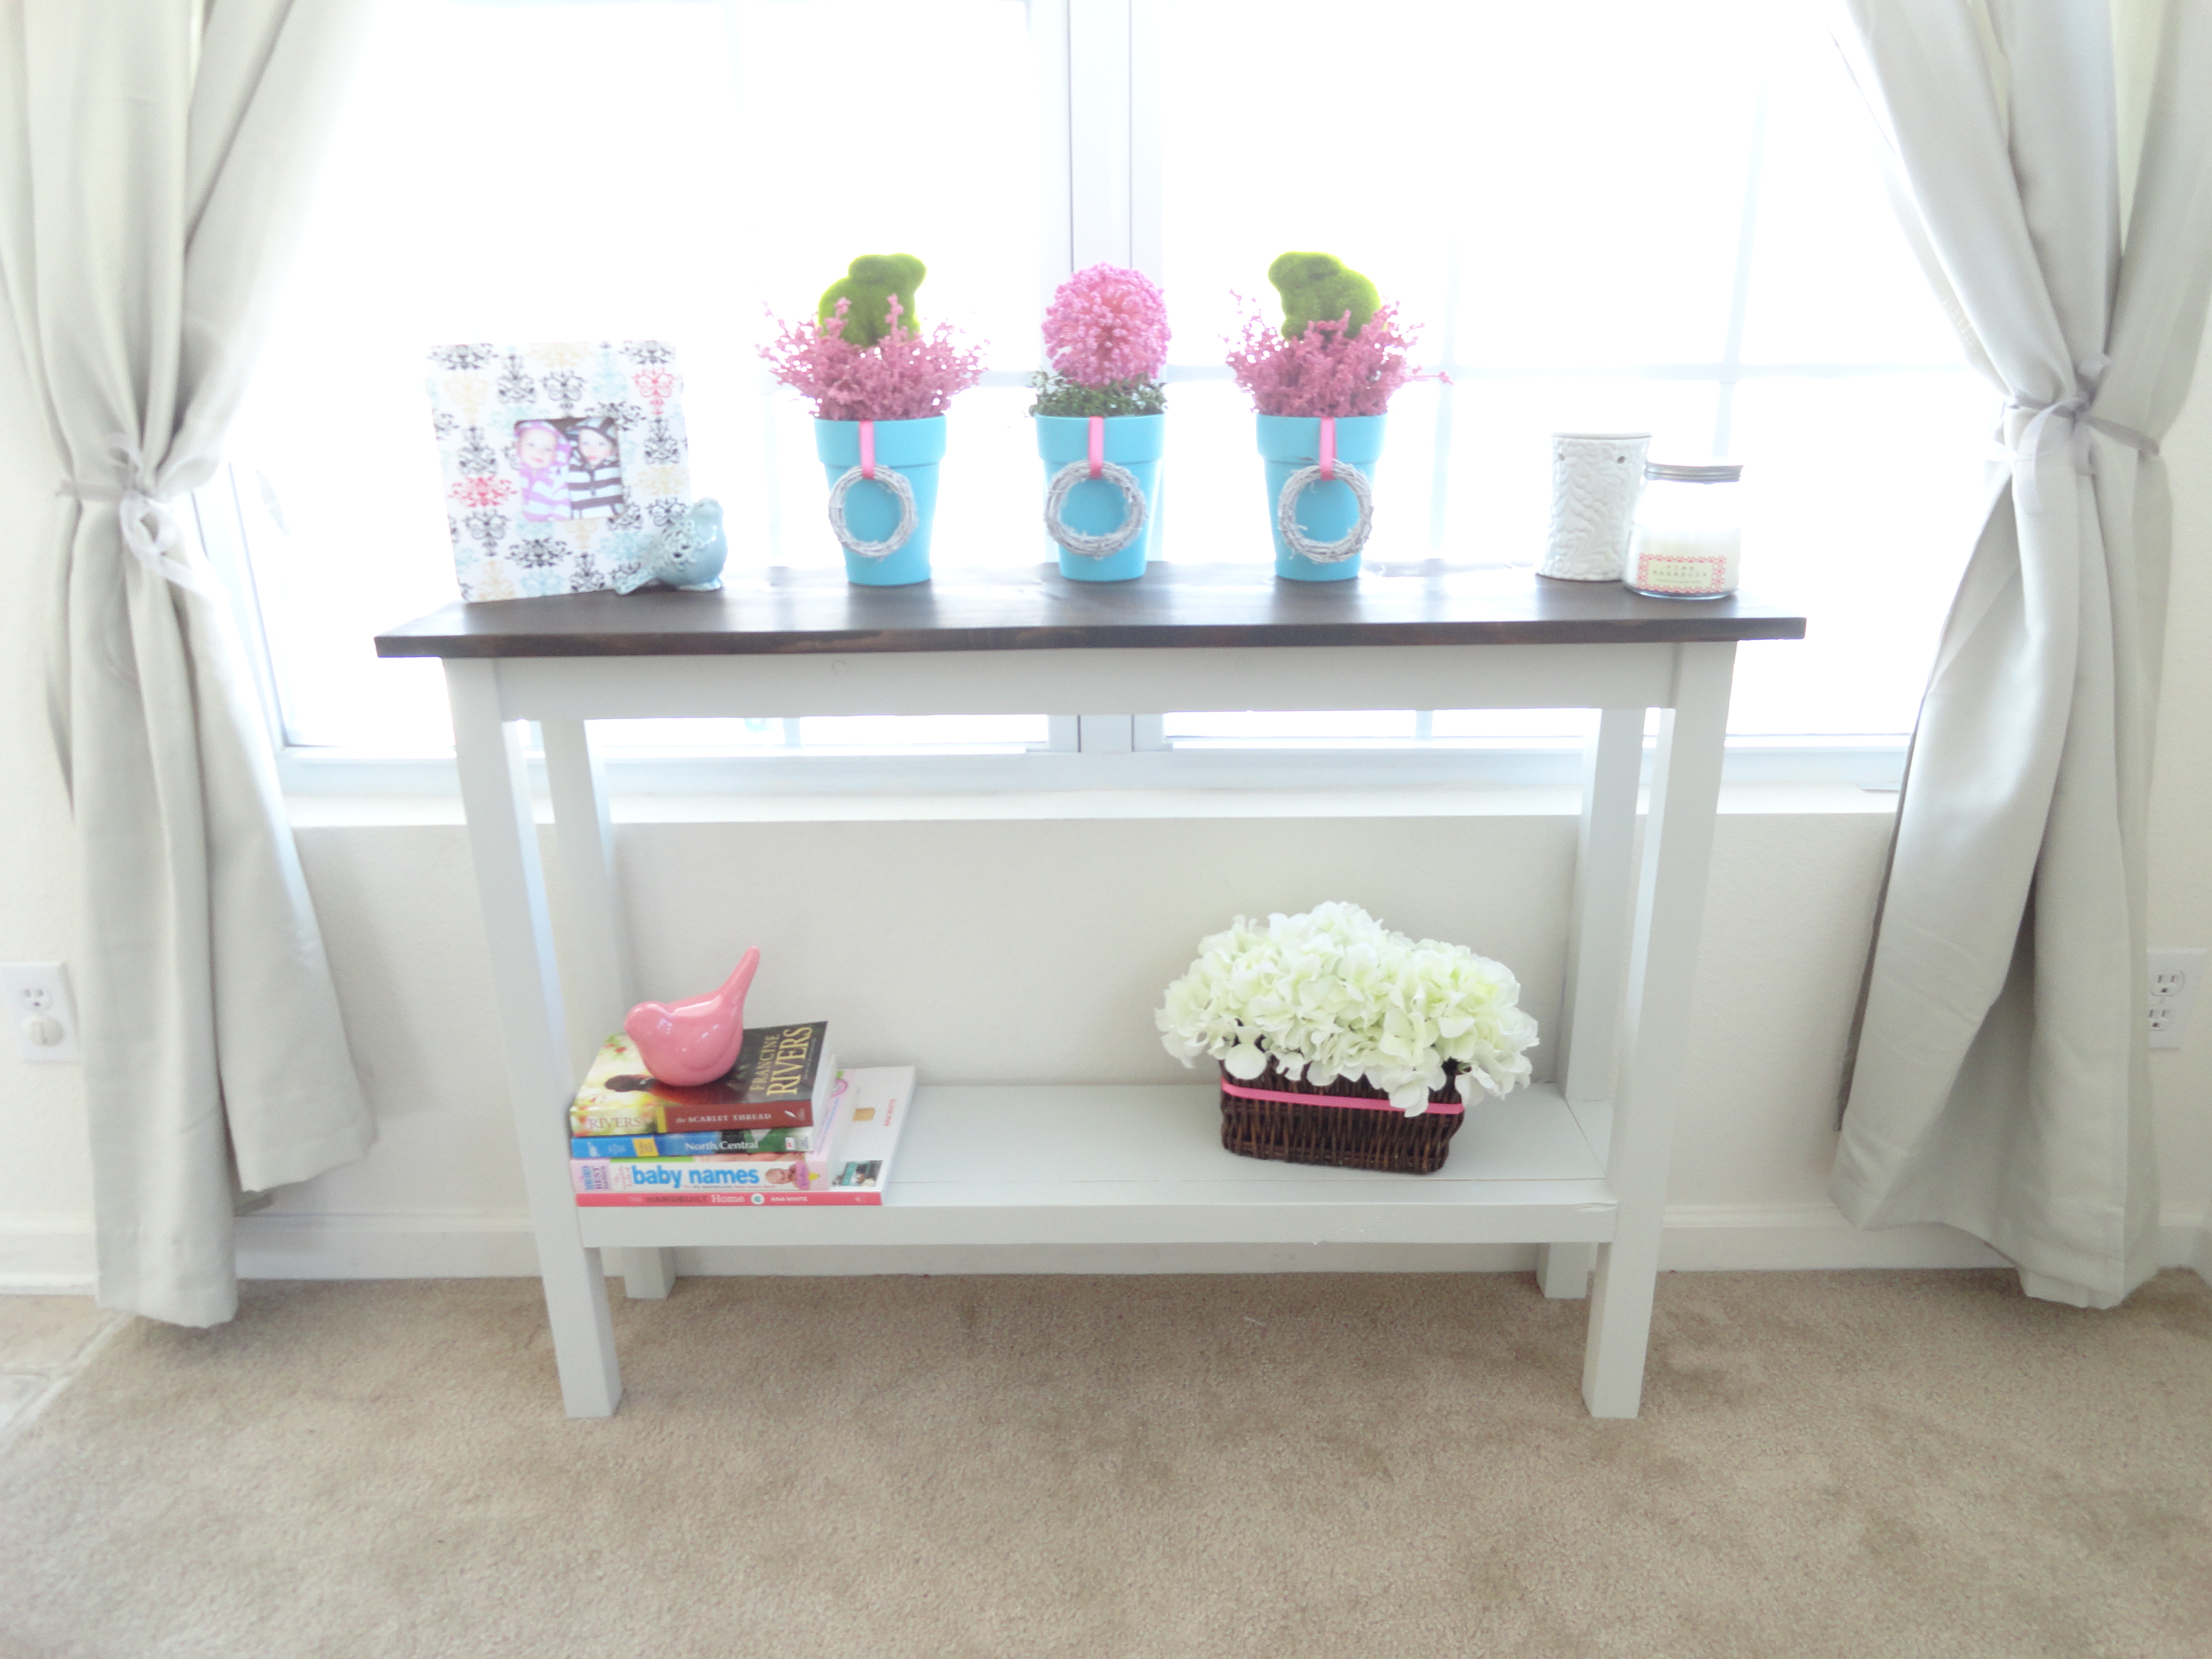
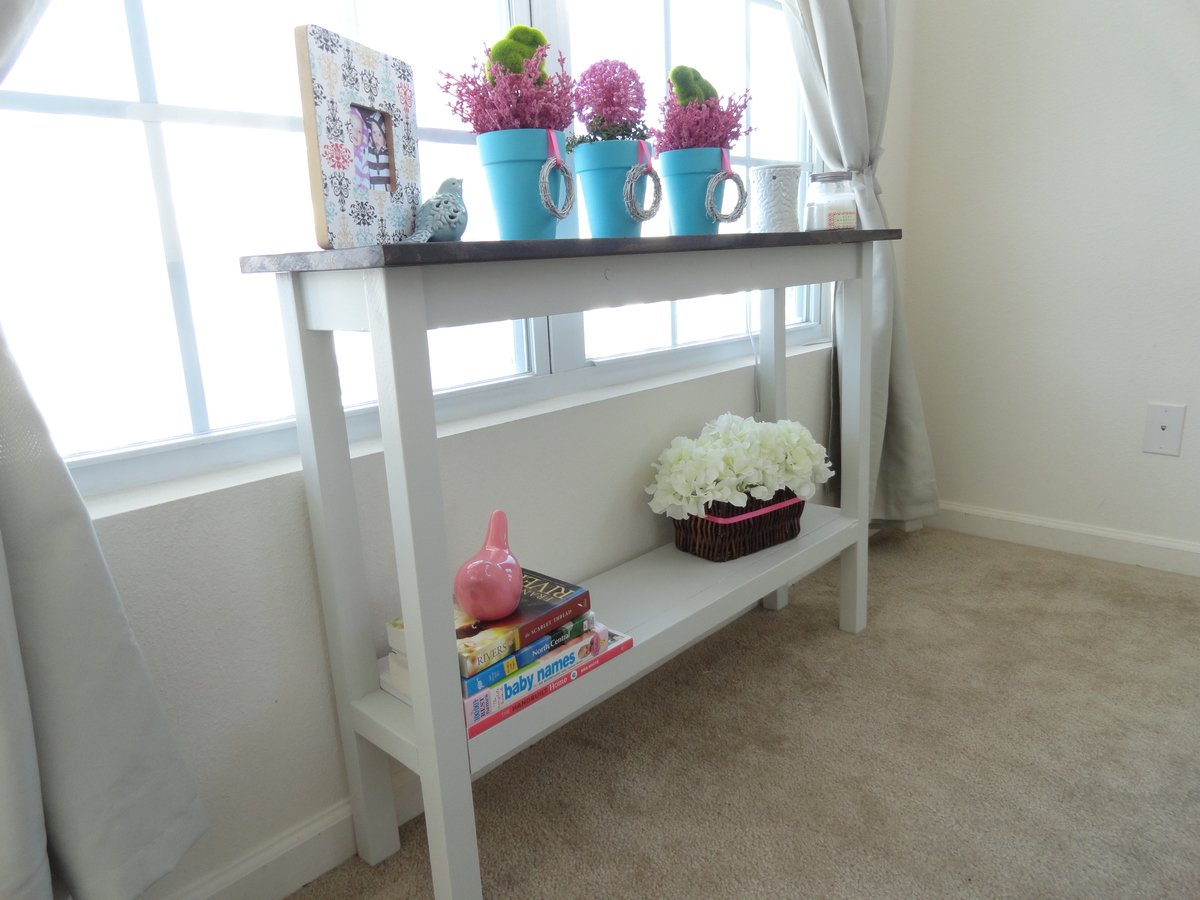
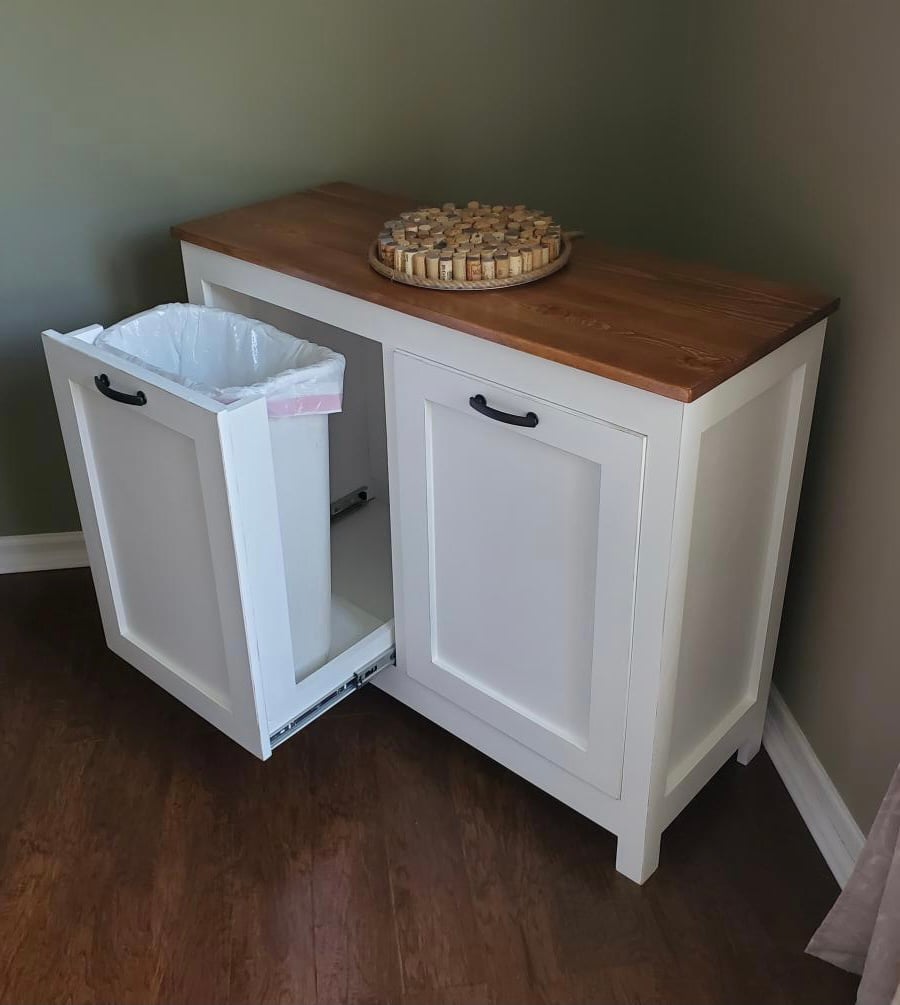
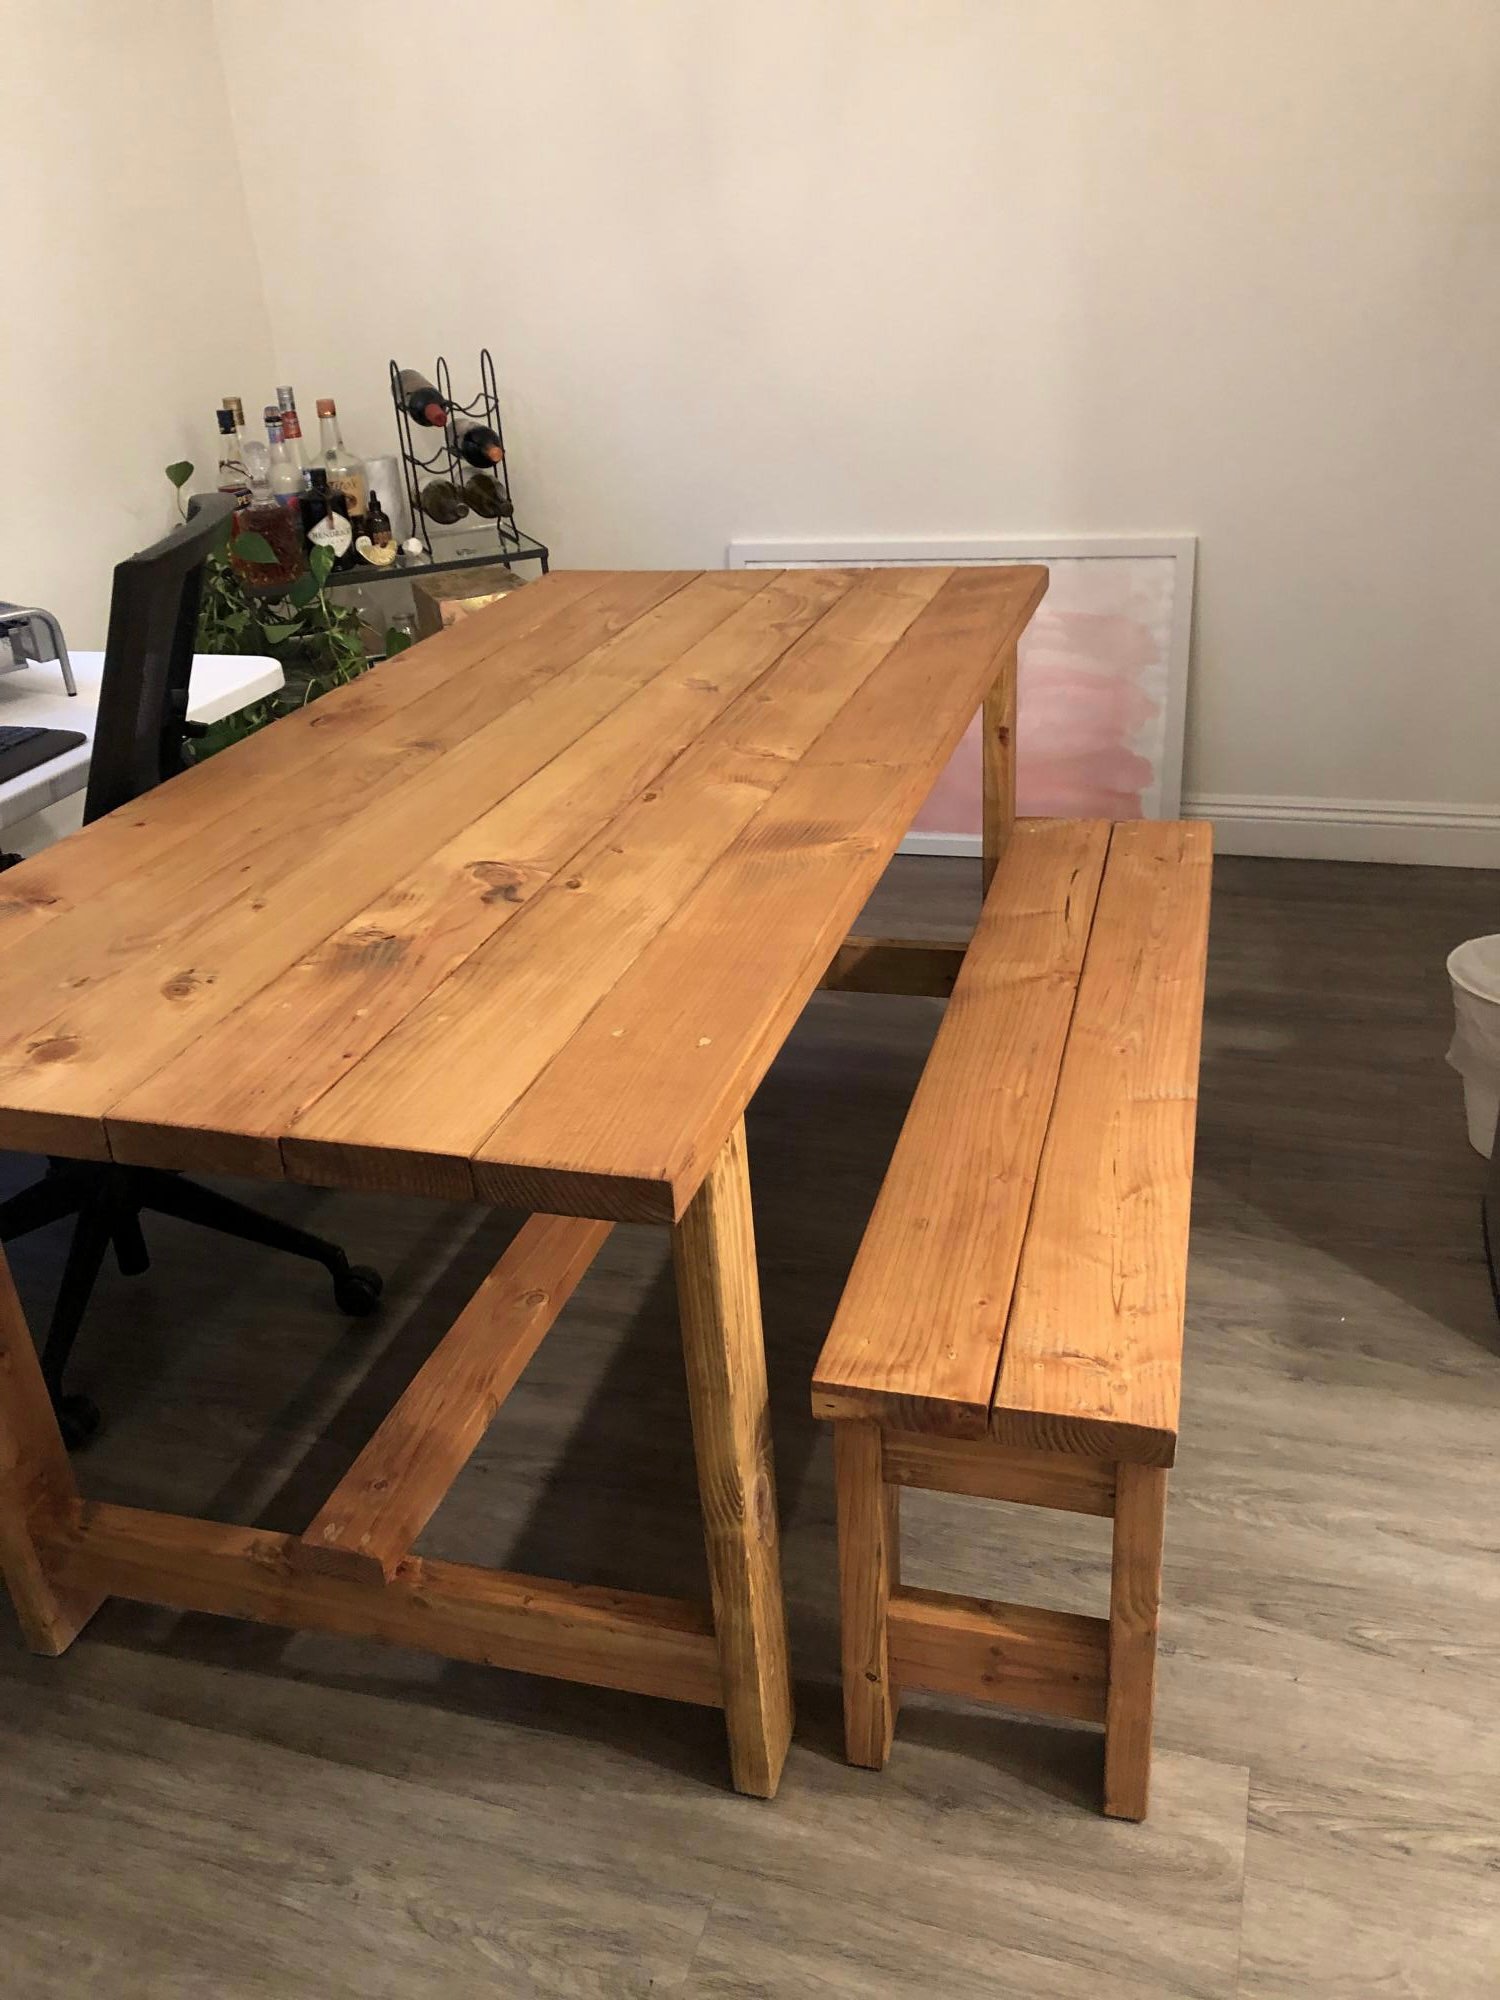
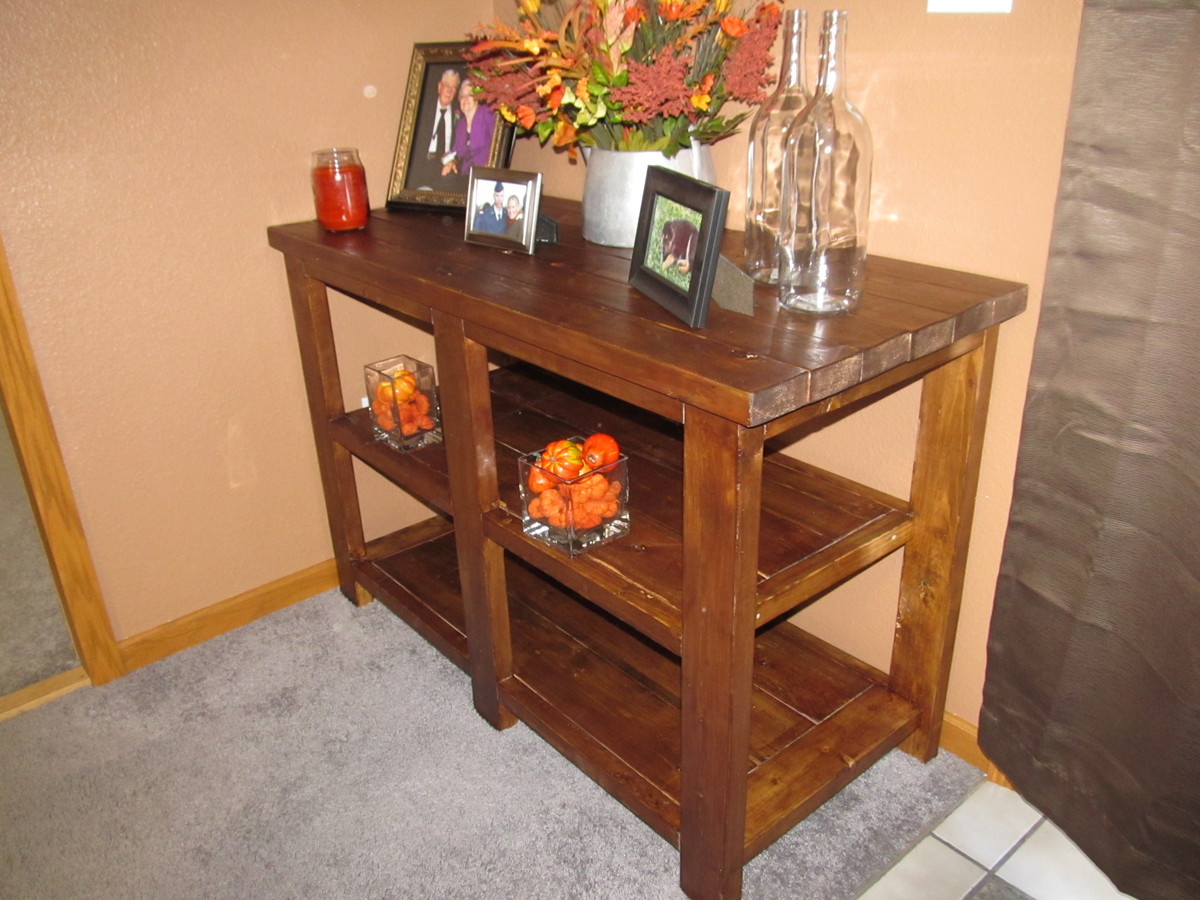
Rustic X Console Table

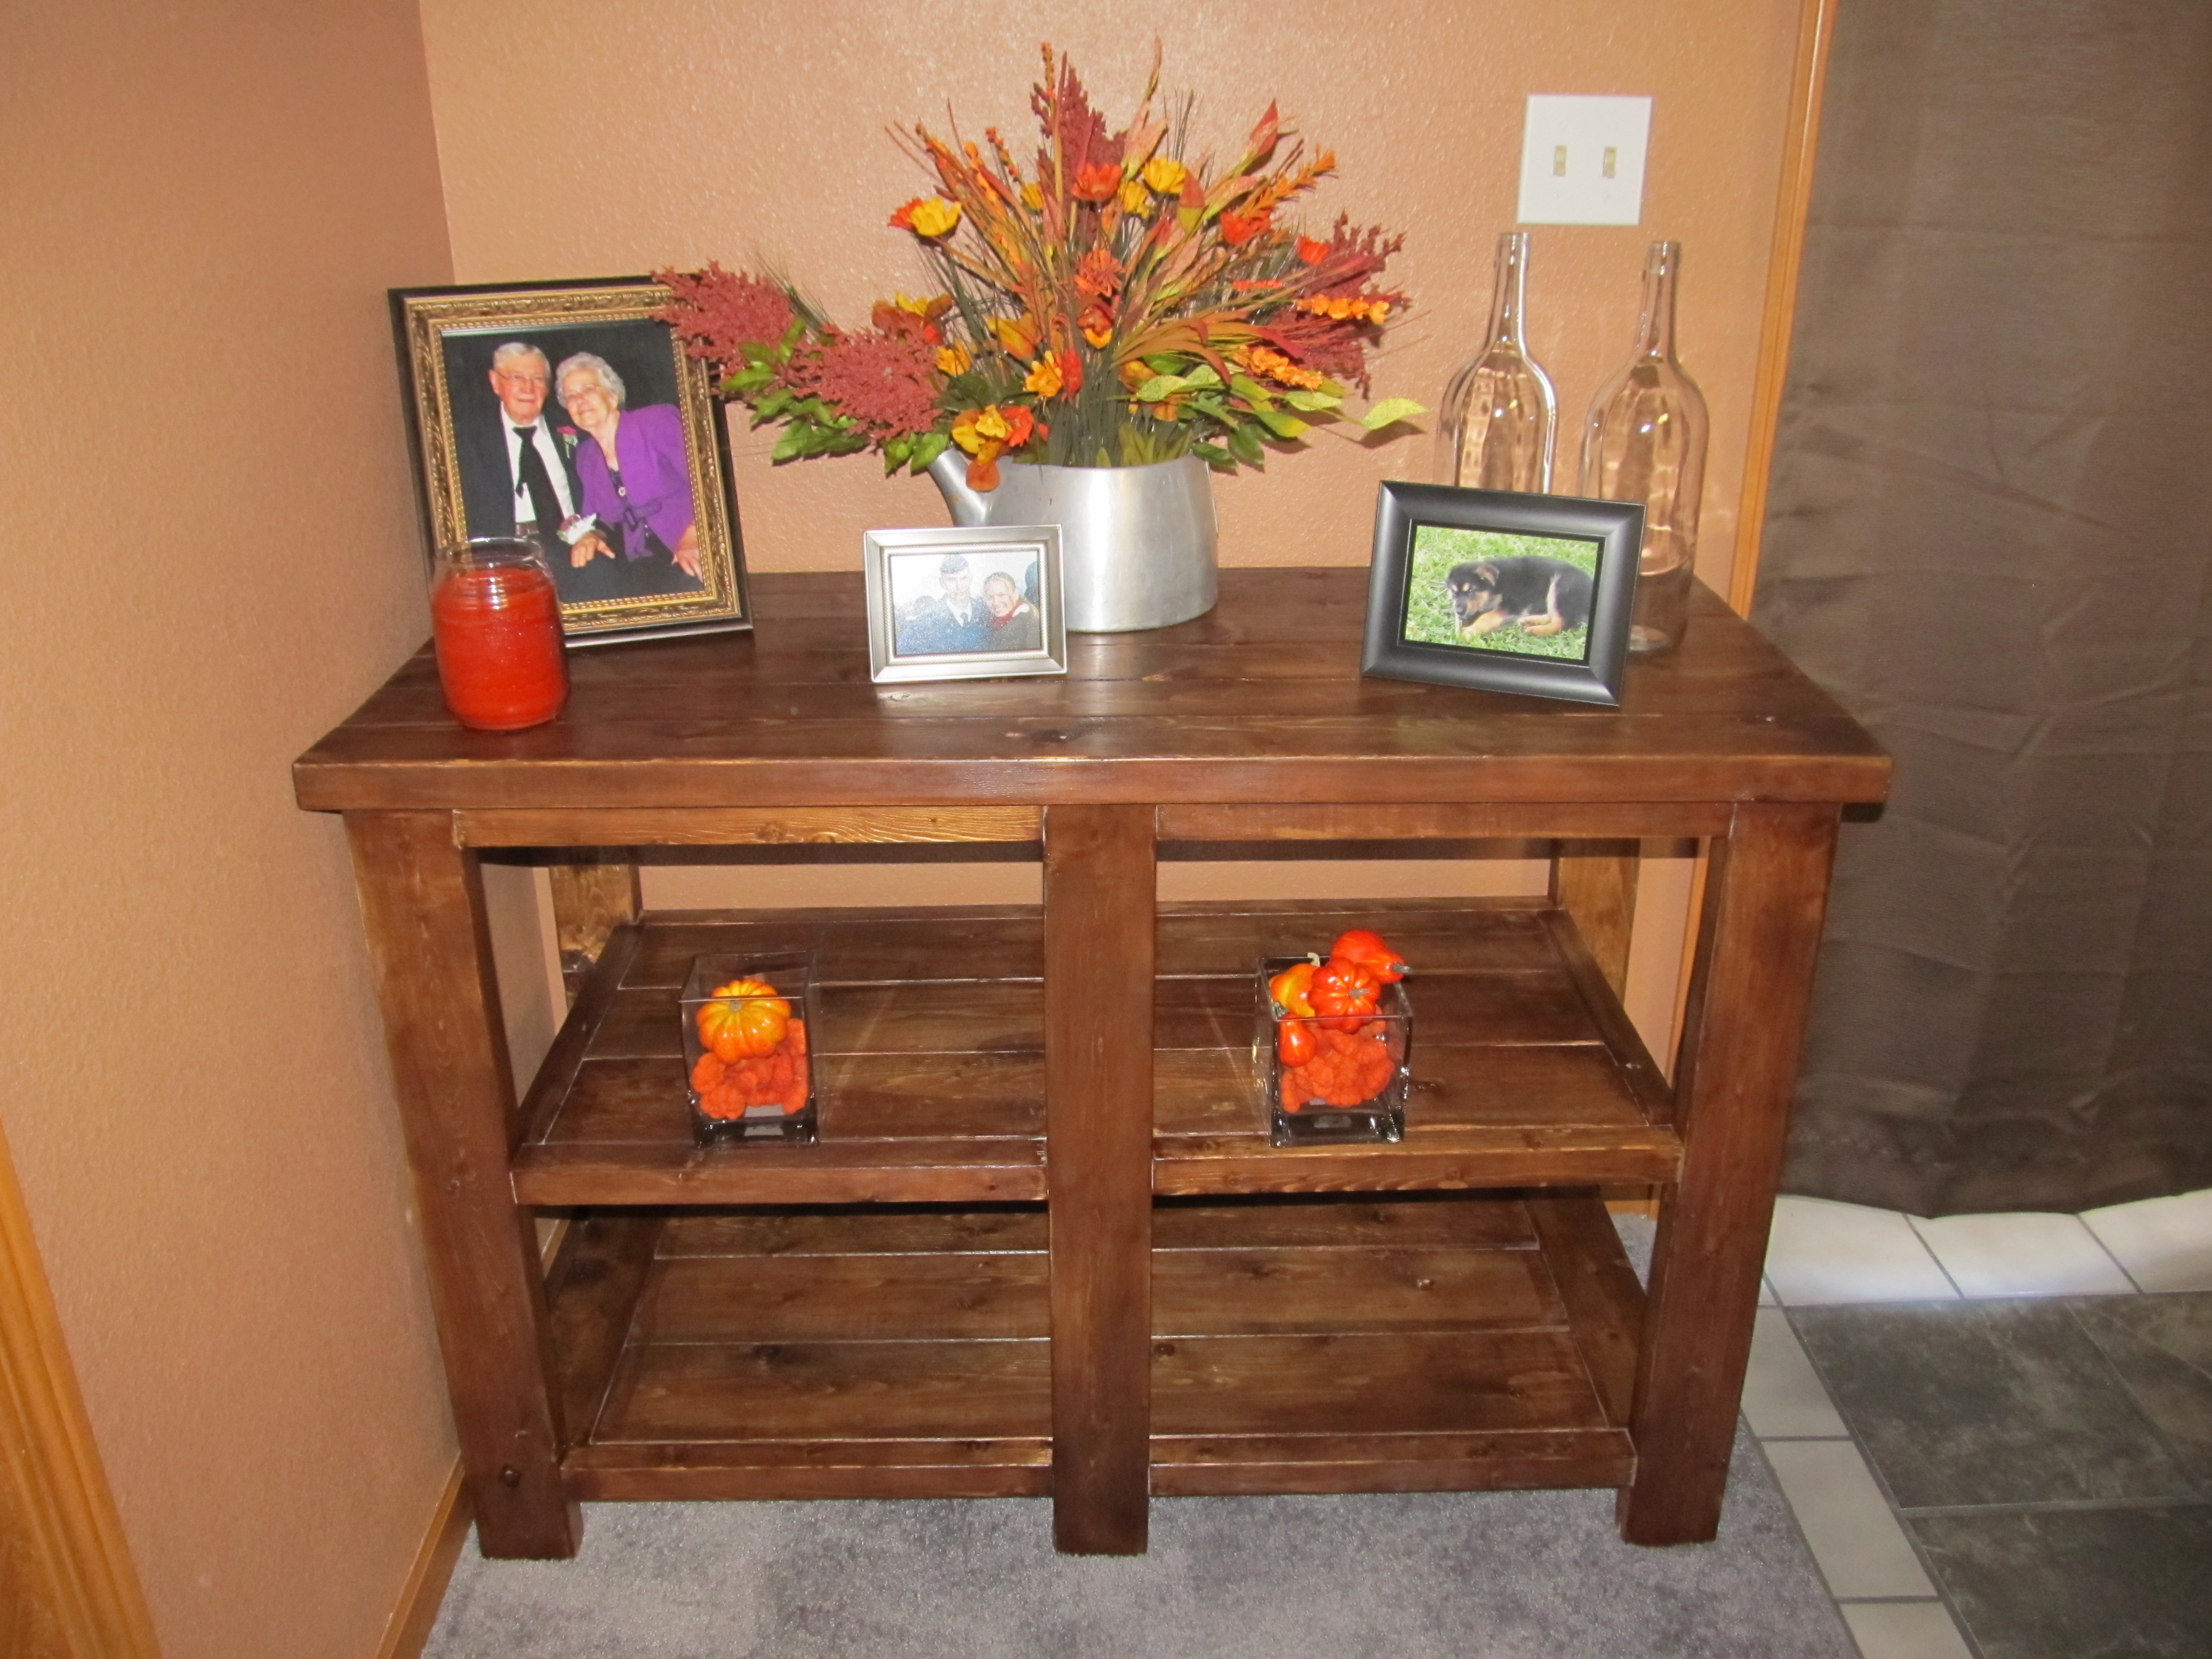
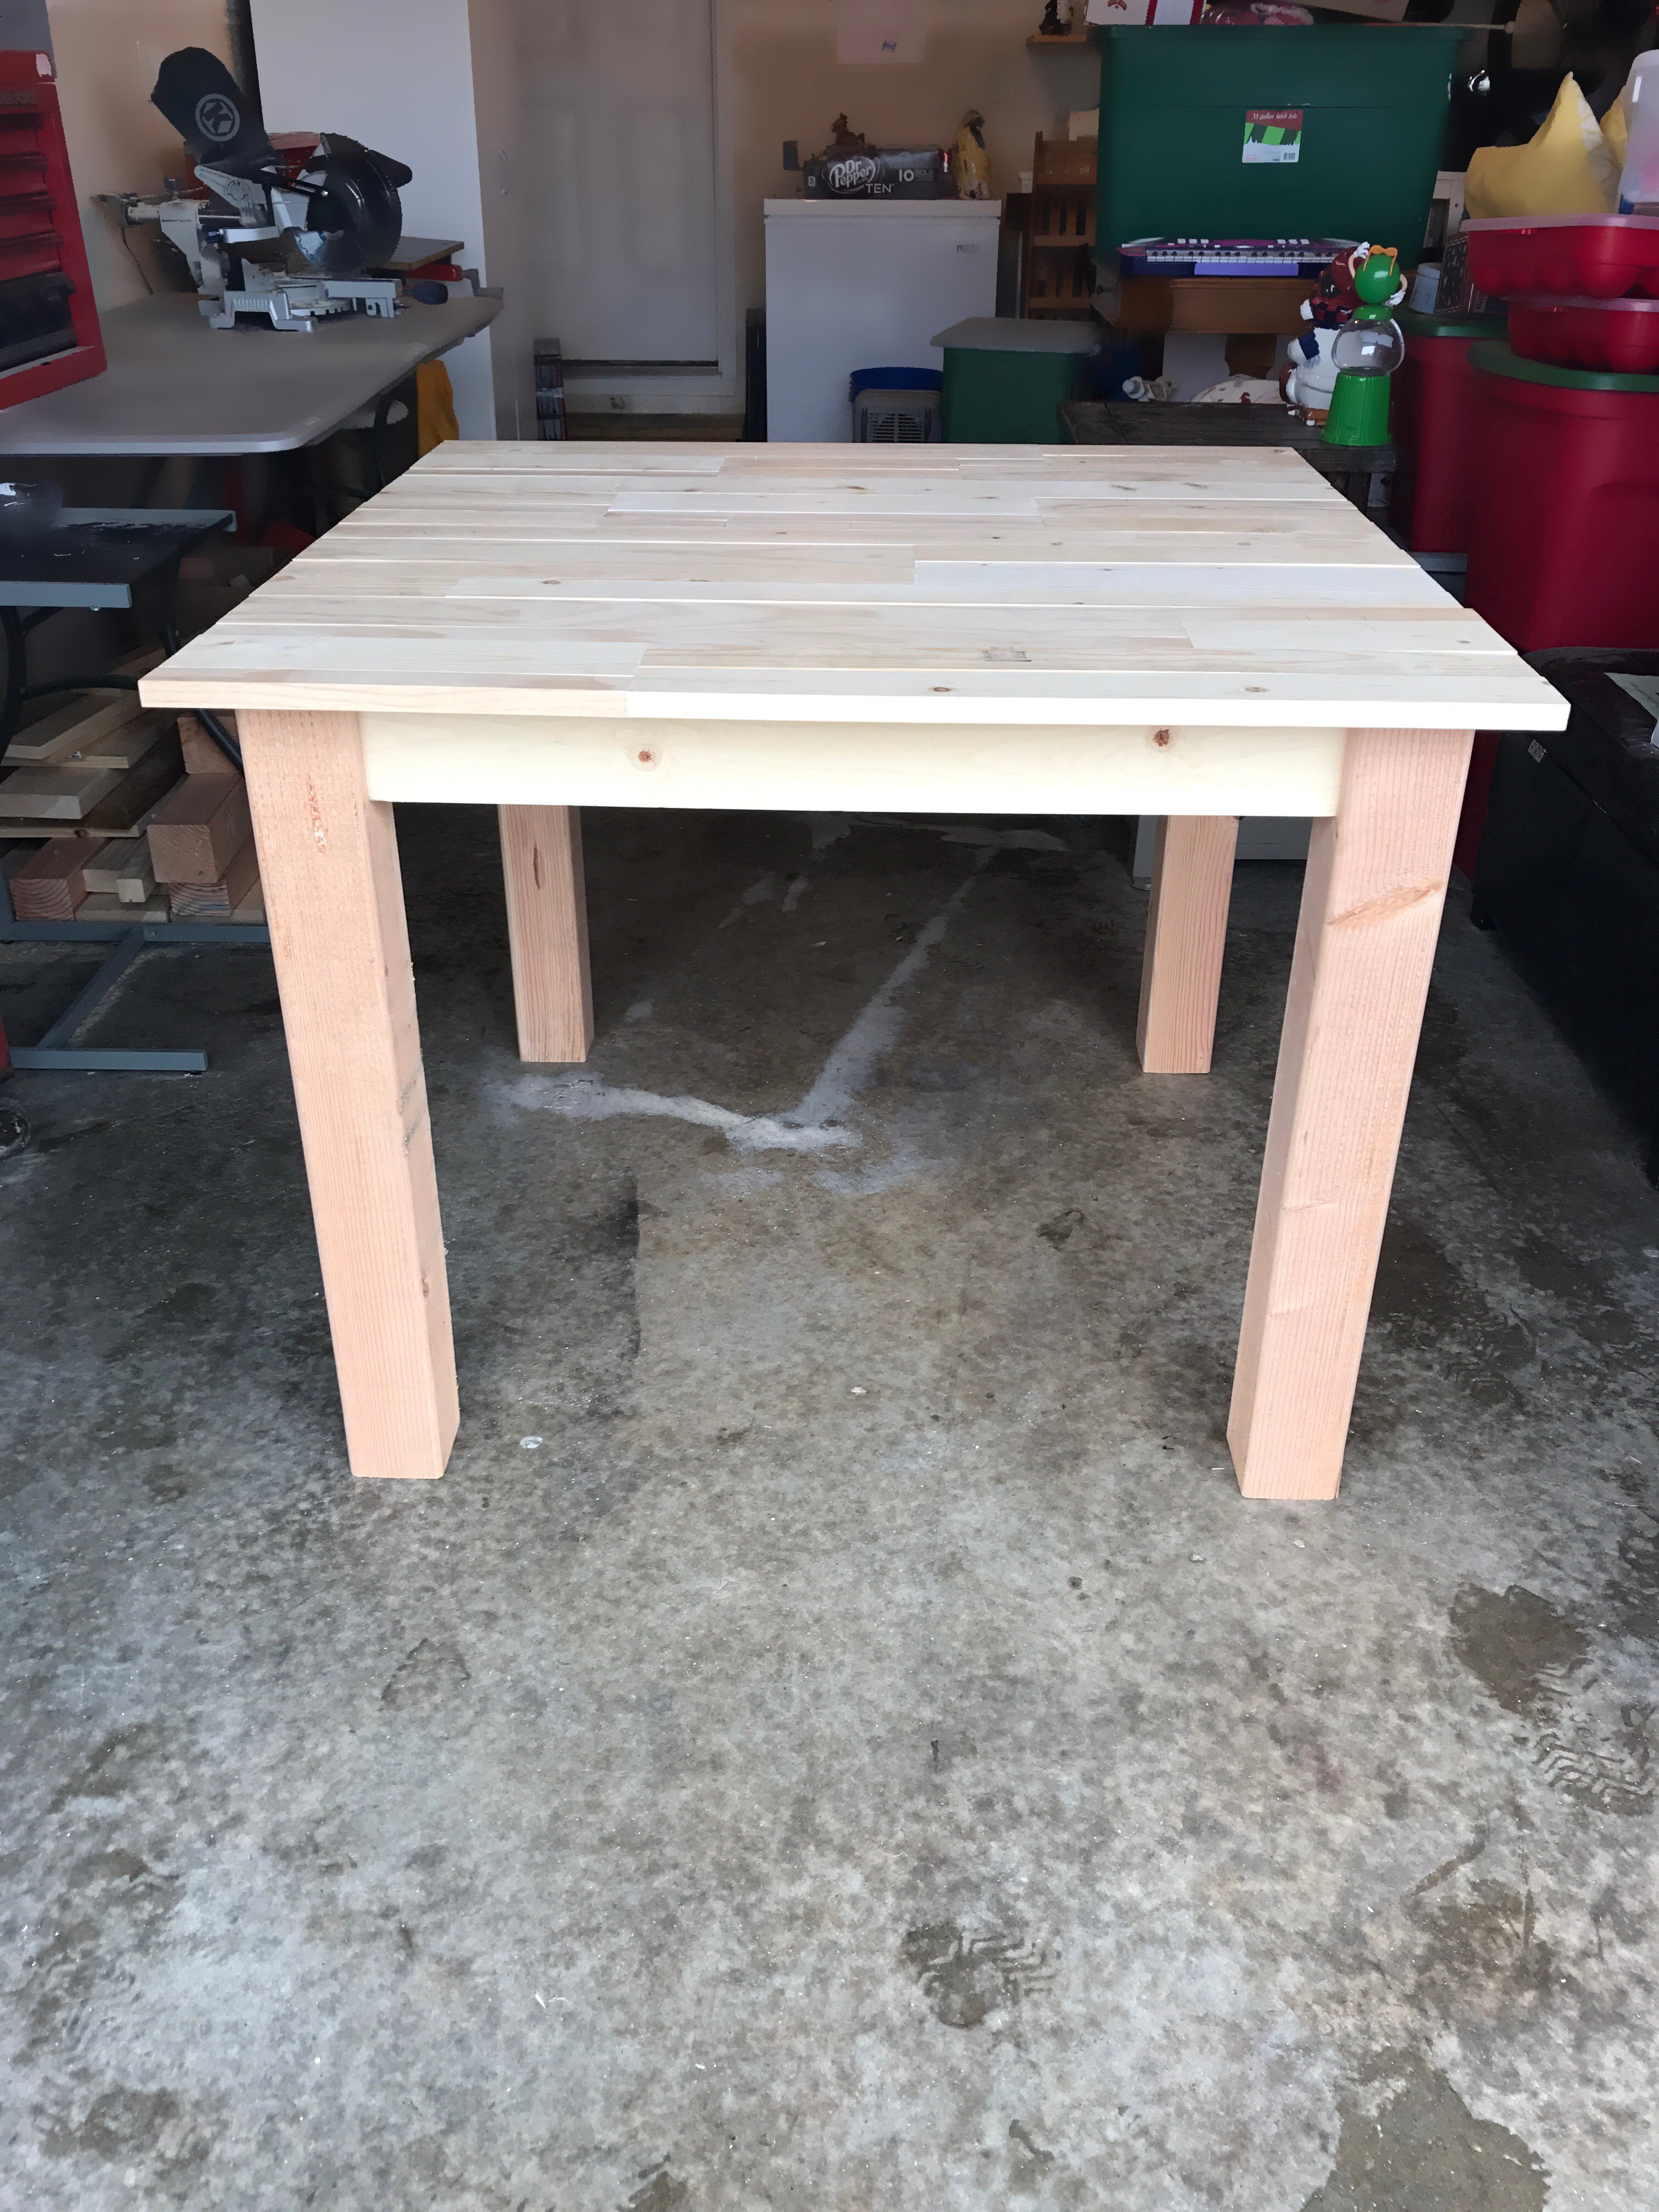
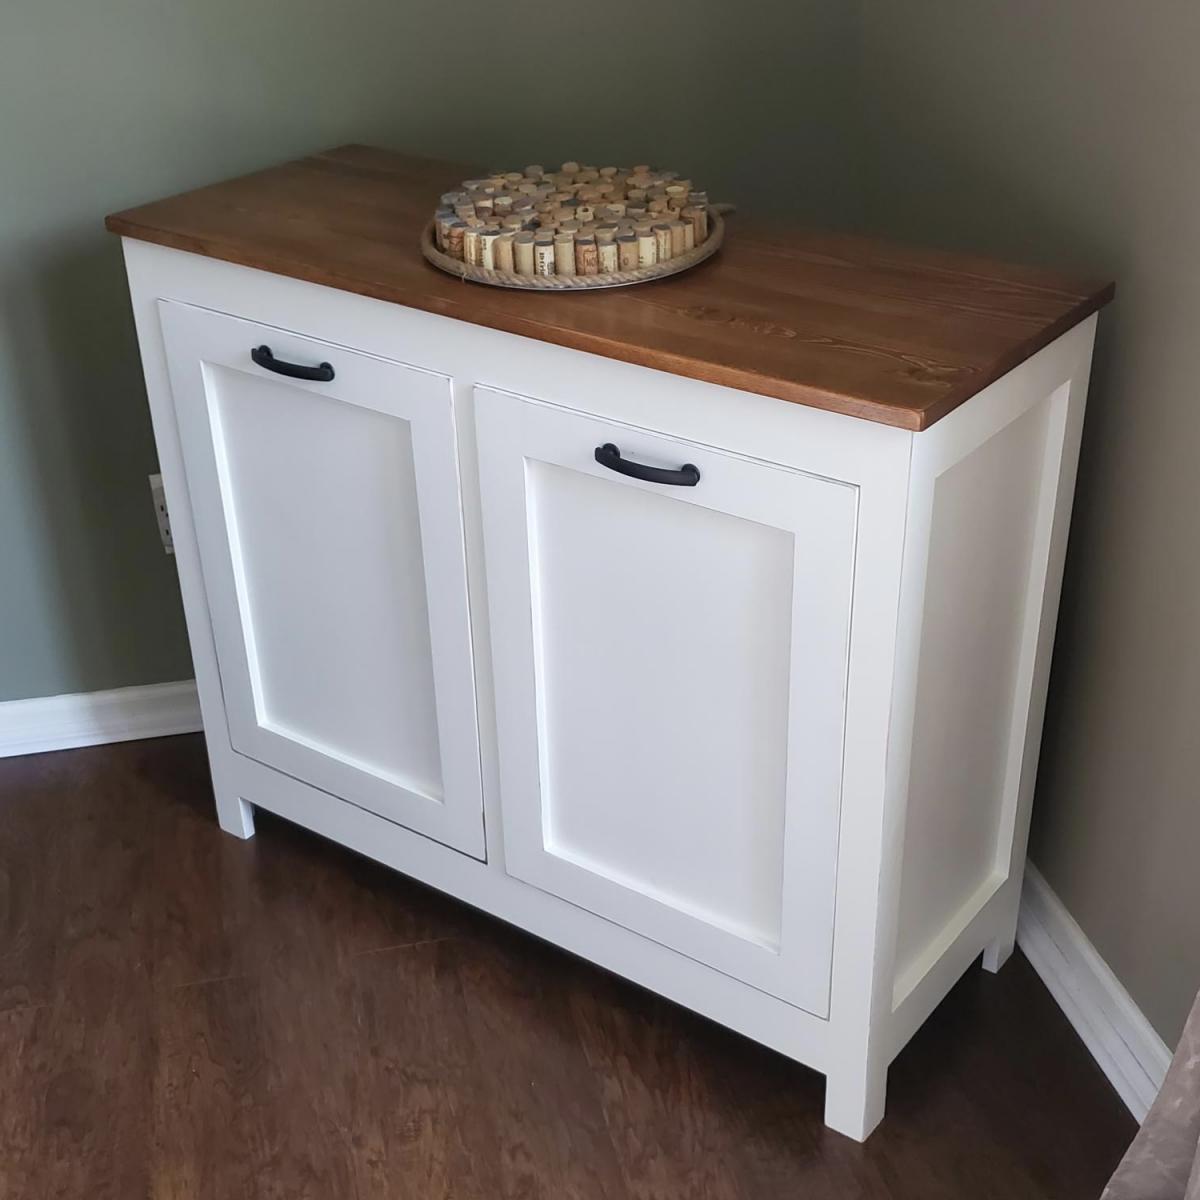
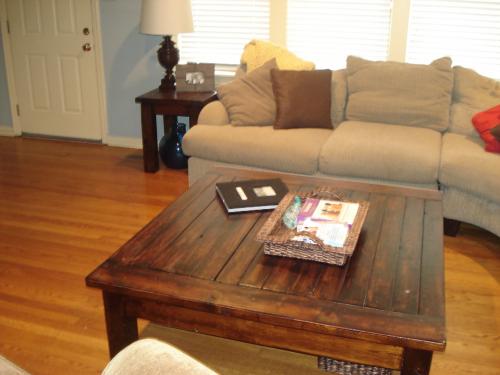
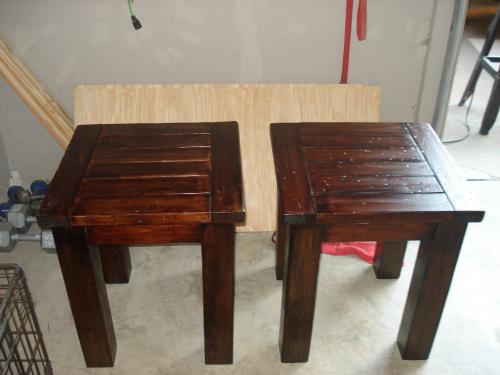
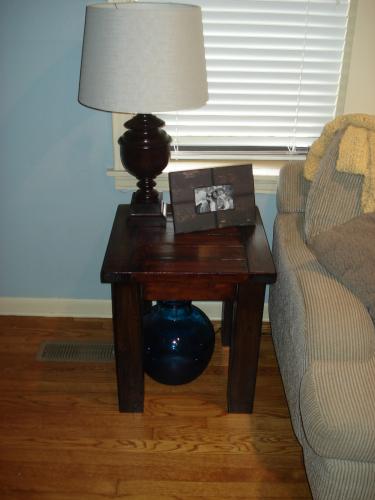
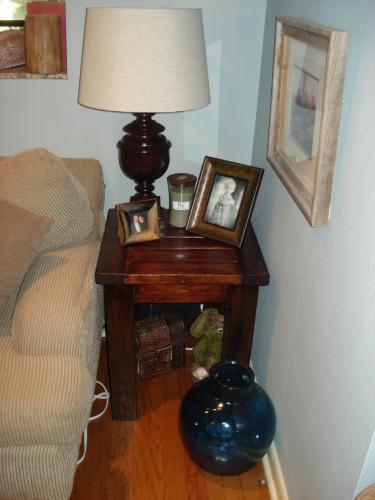
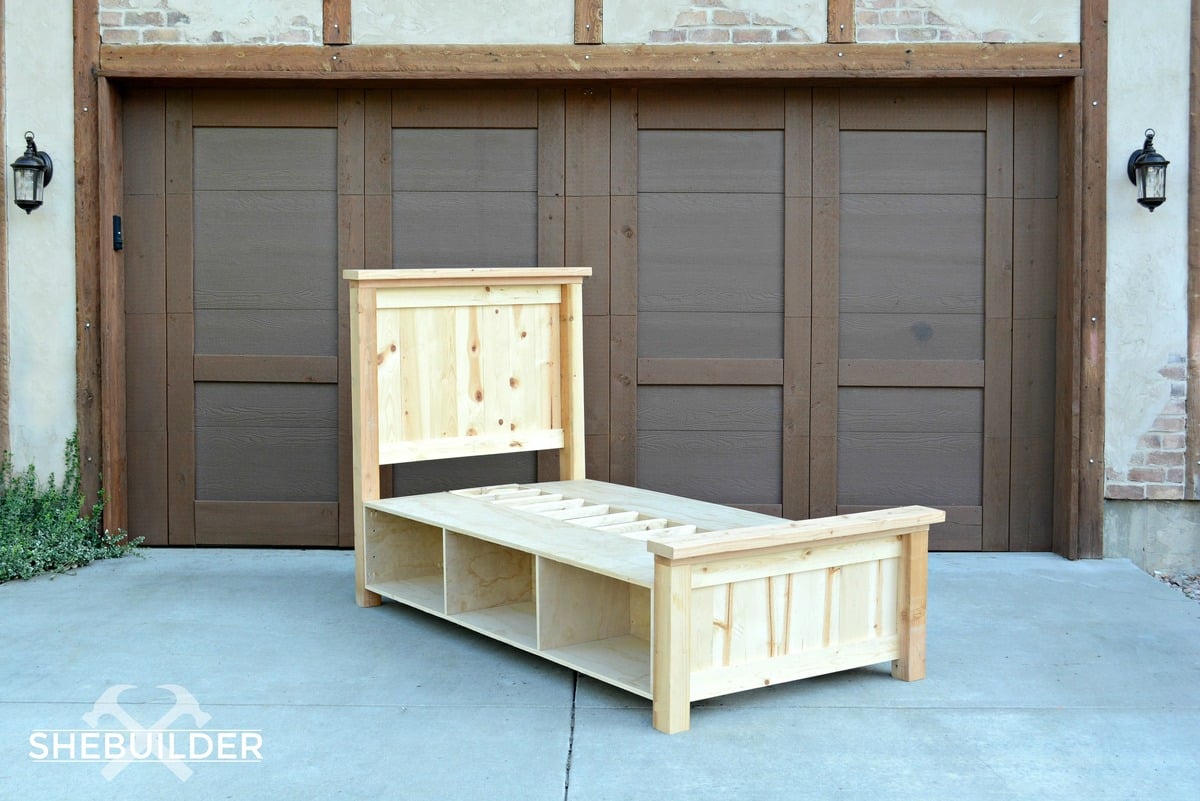
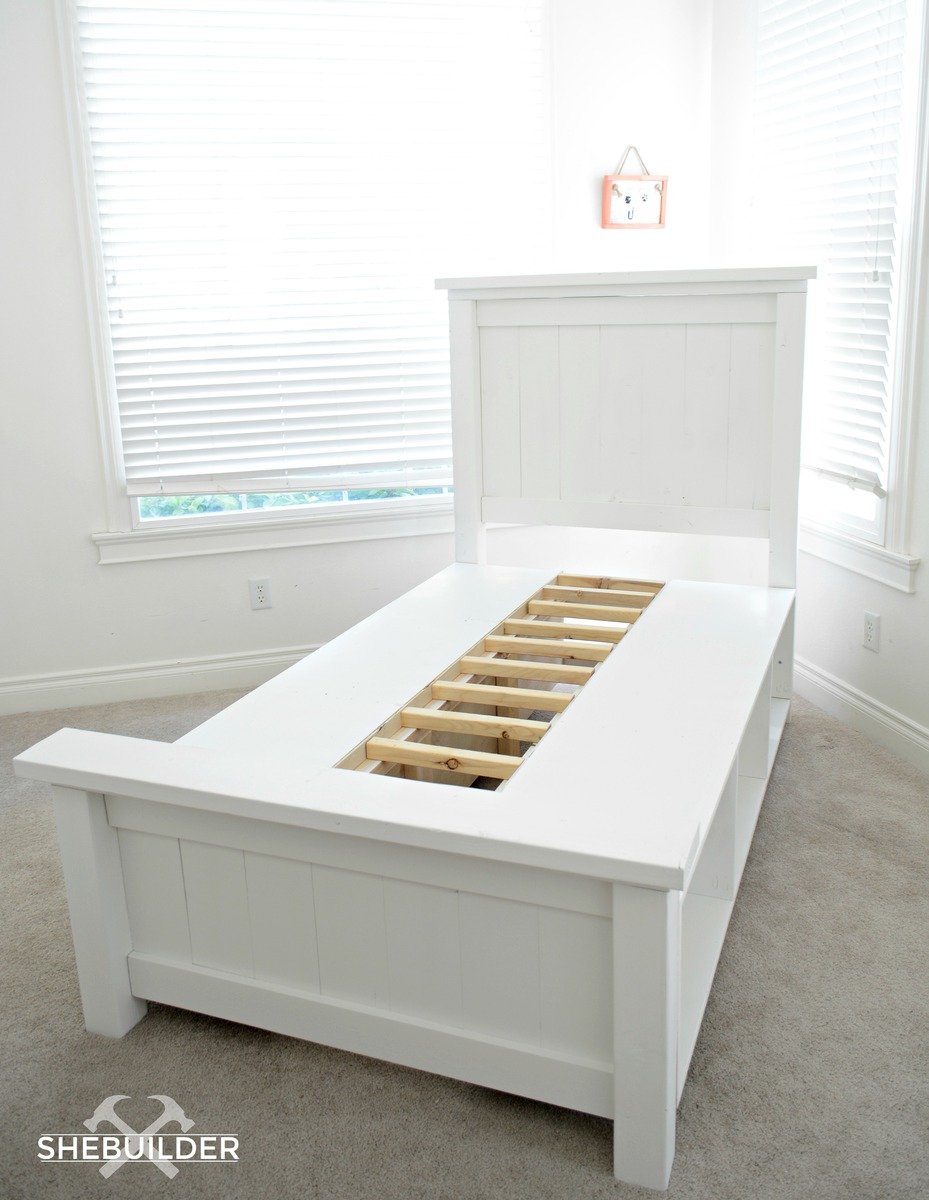
I built it for this specific space,so I ended up shortening the length of it but also made it wider from front to back. The original plans would have run into into the door that's to the right. My old coffee table sat here, so I went off those dimensions.

What I learned:
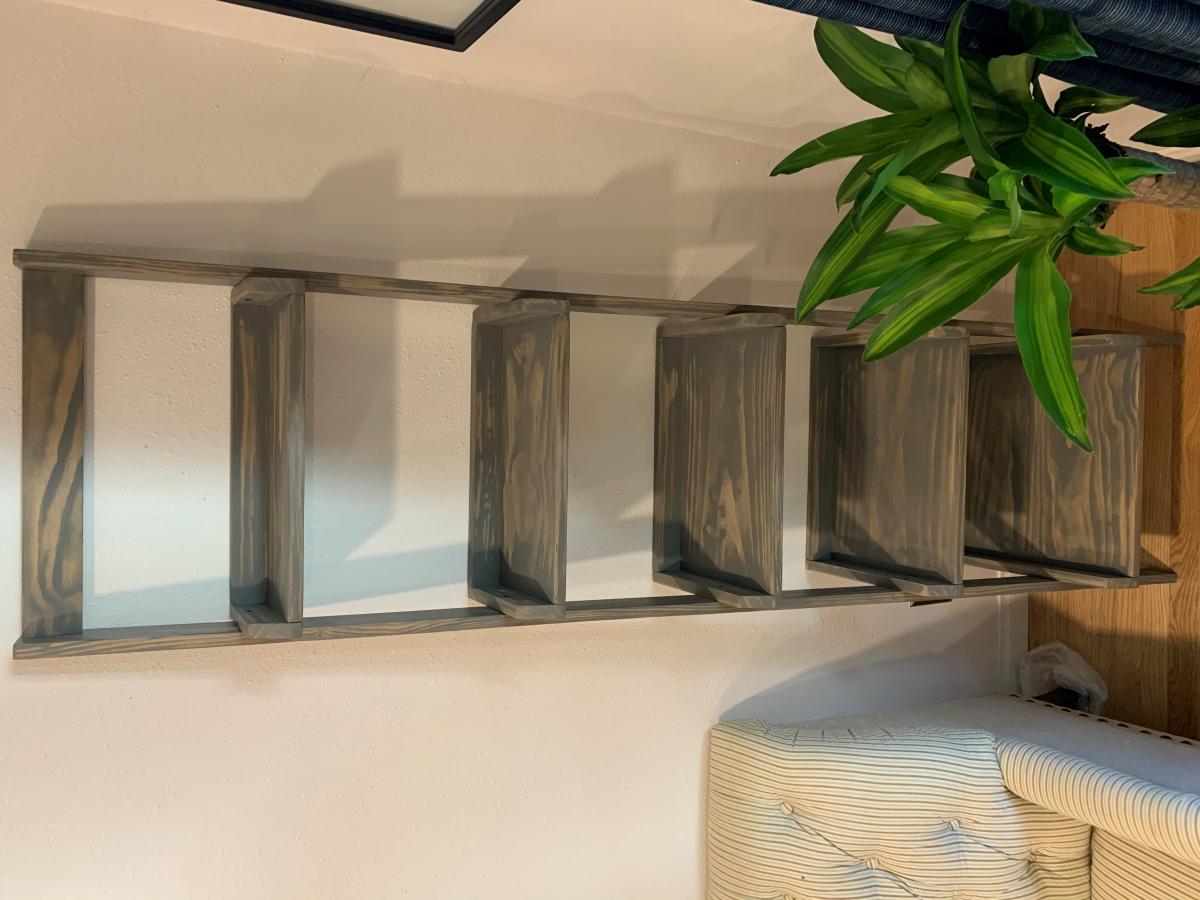
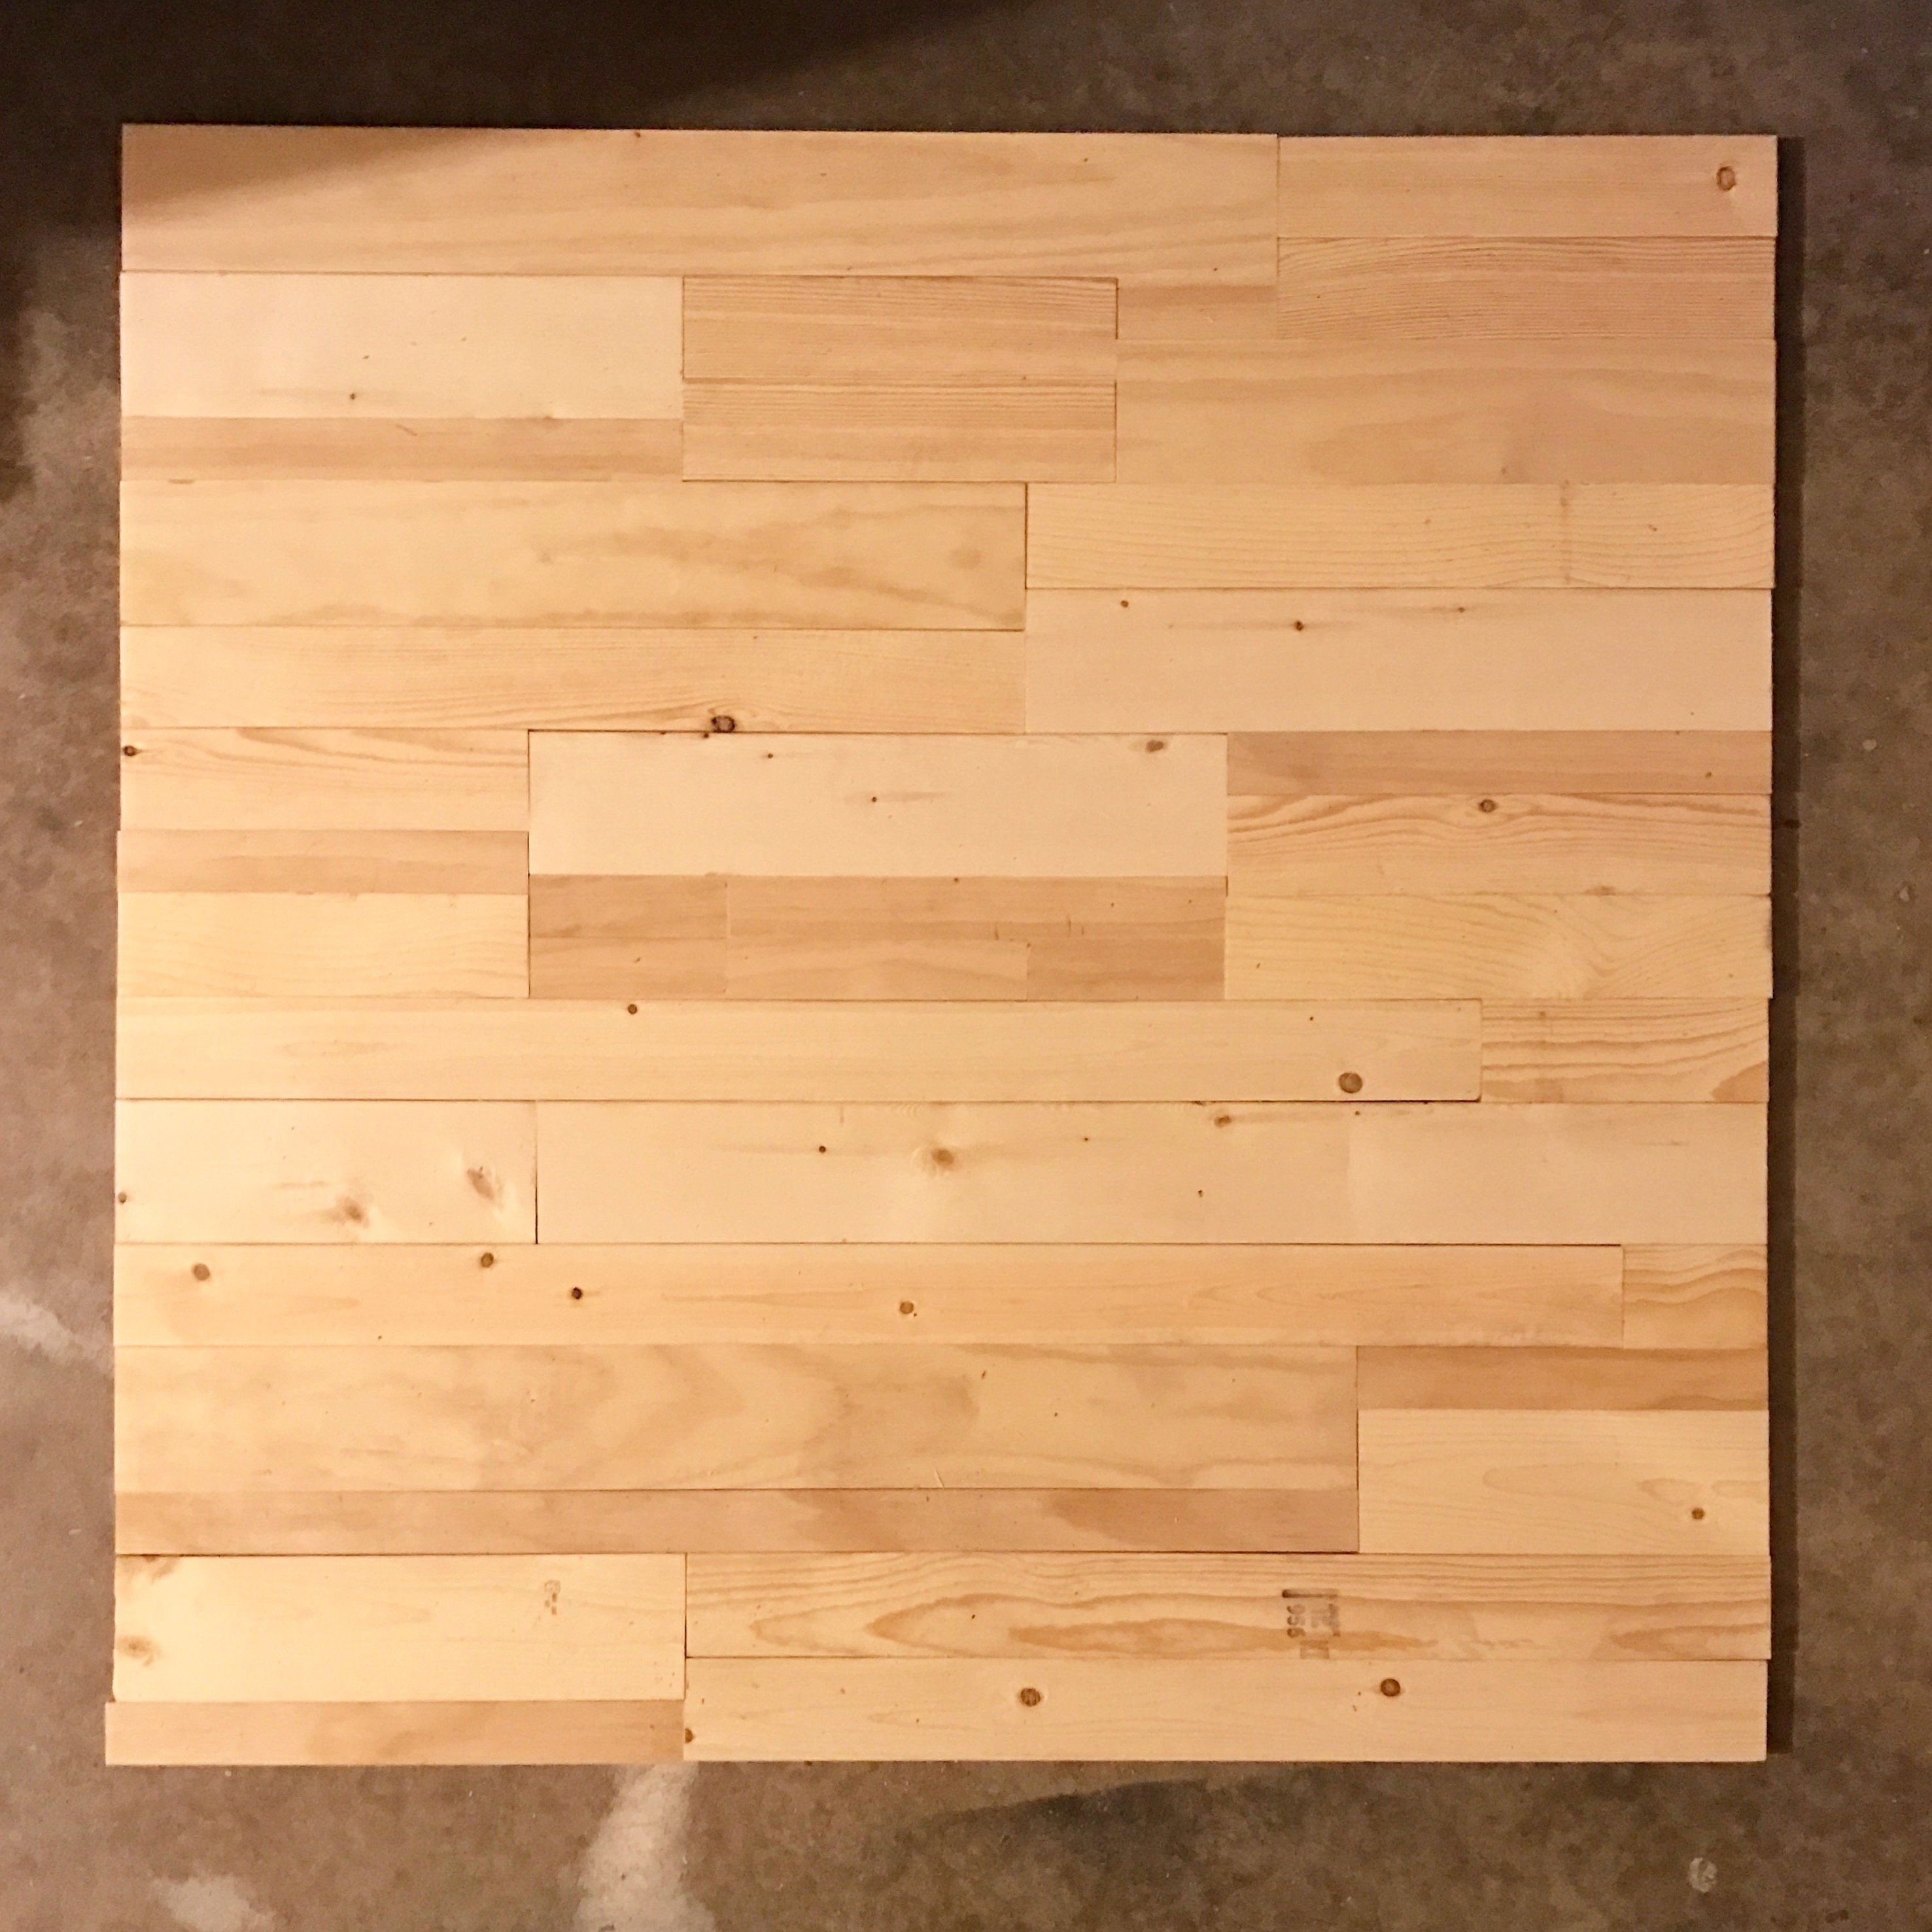
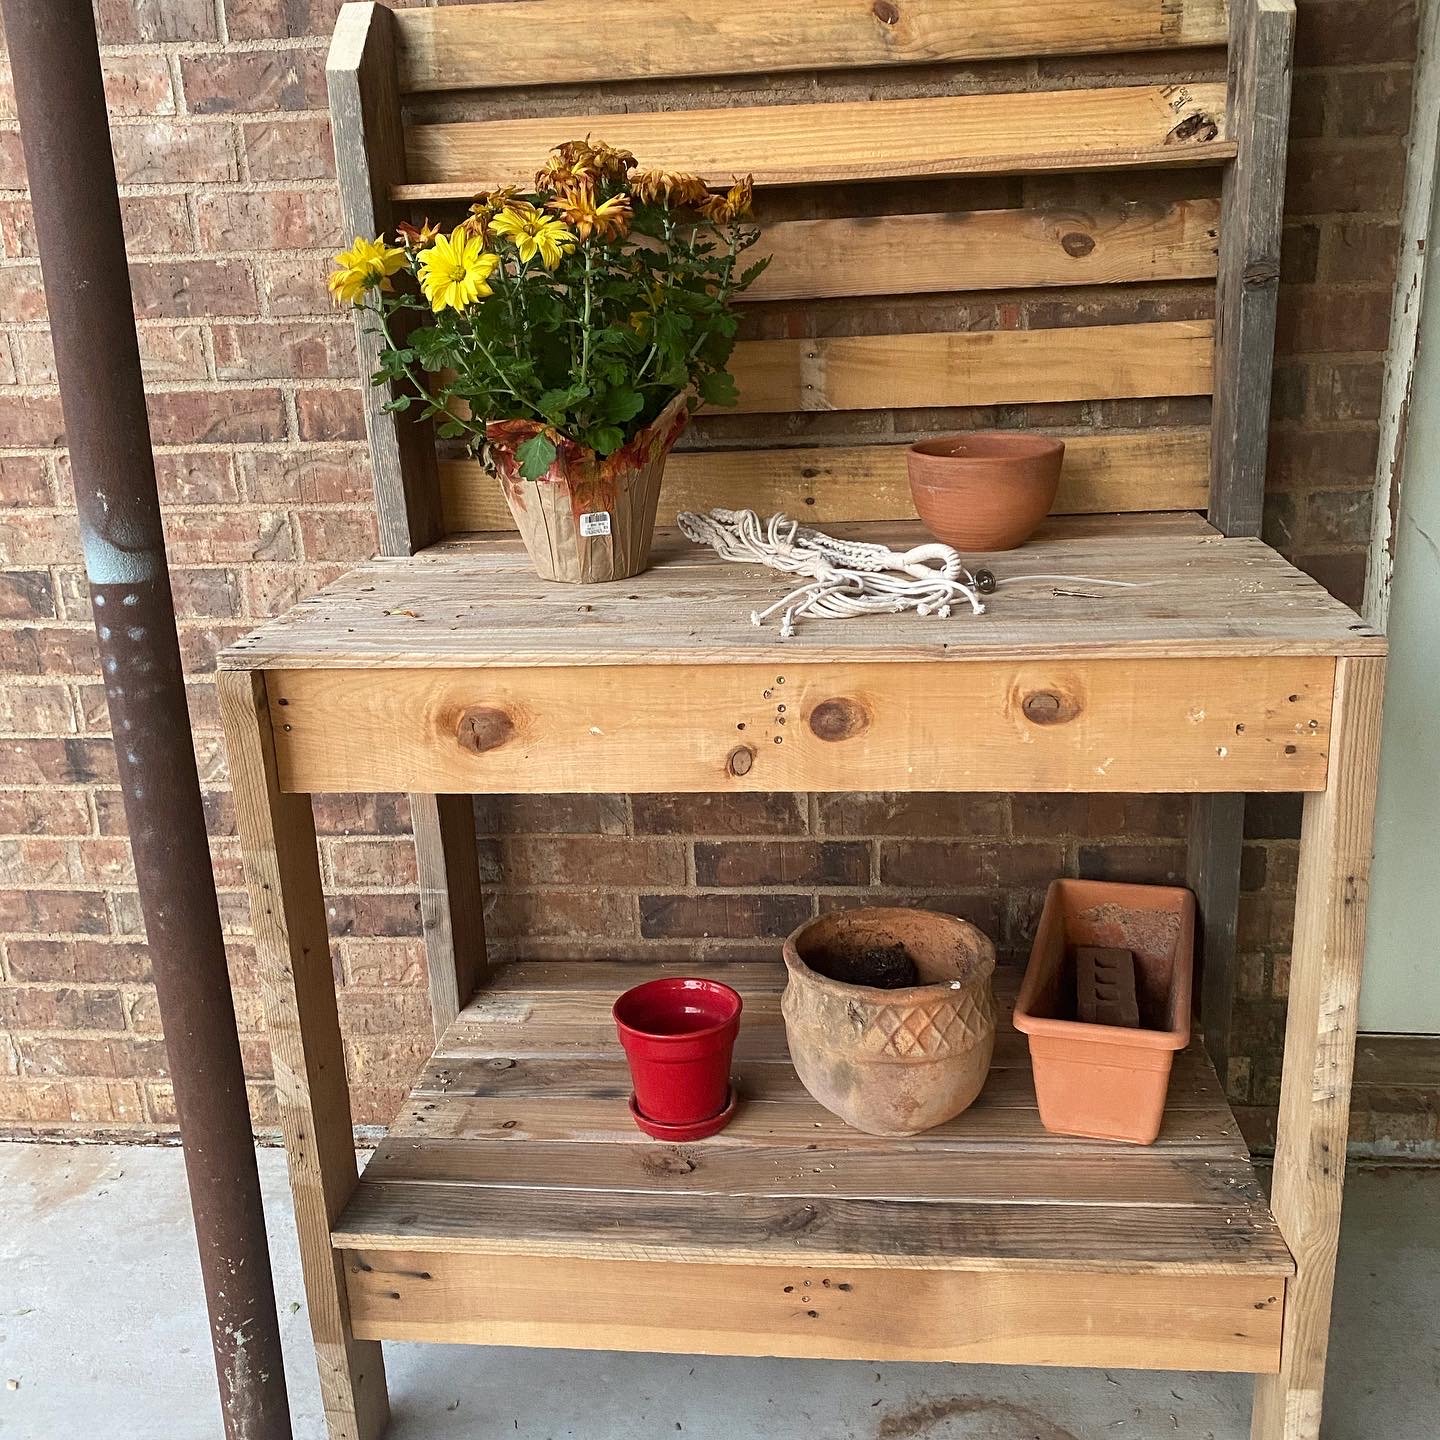
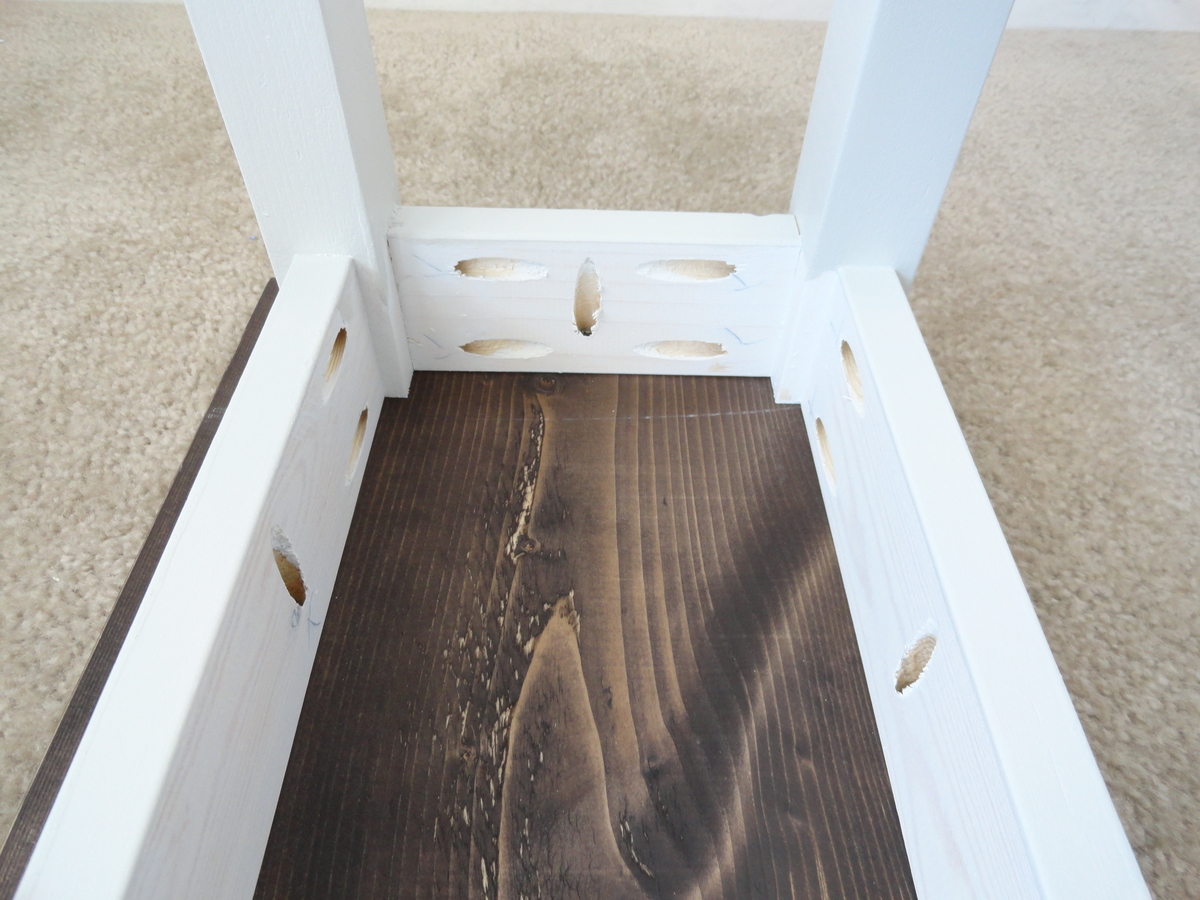
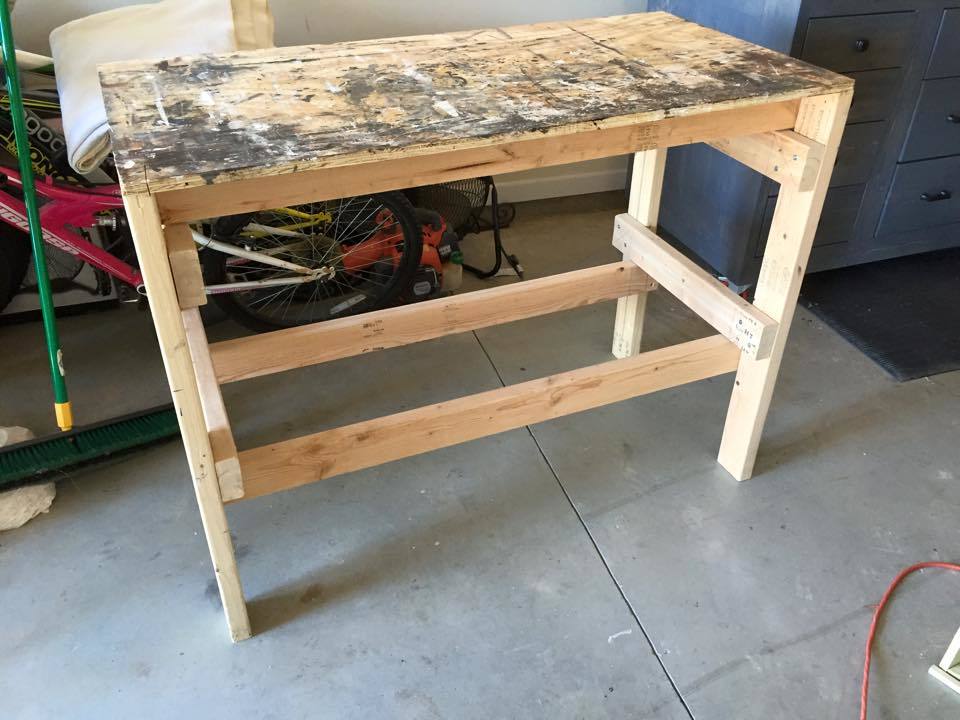
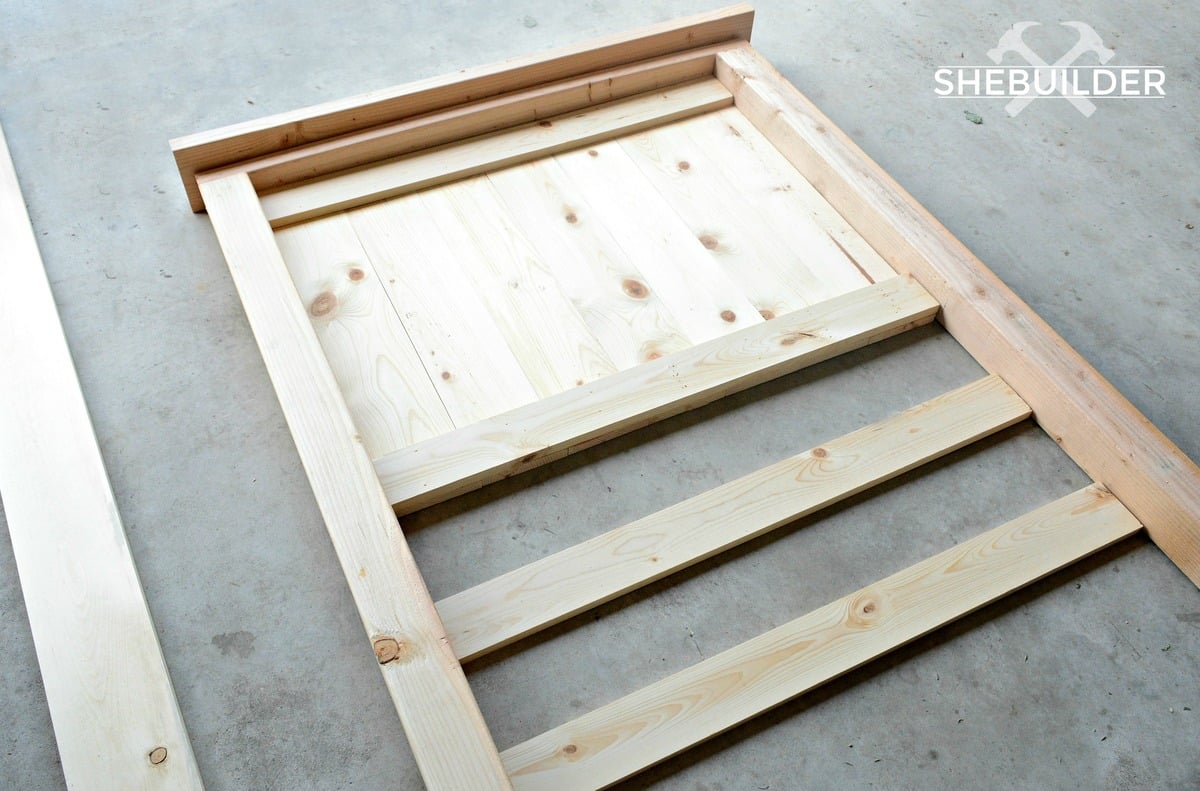
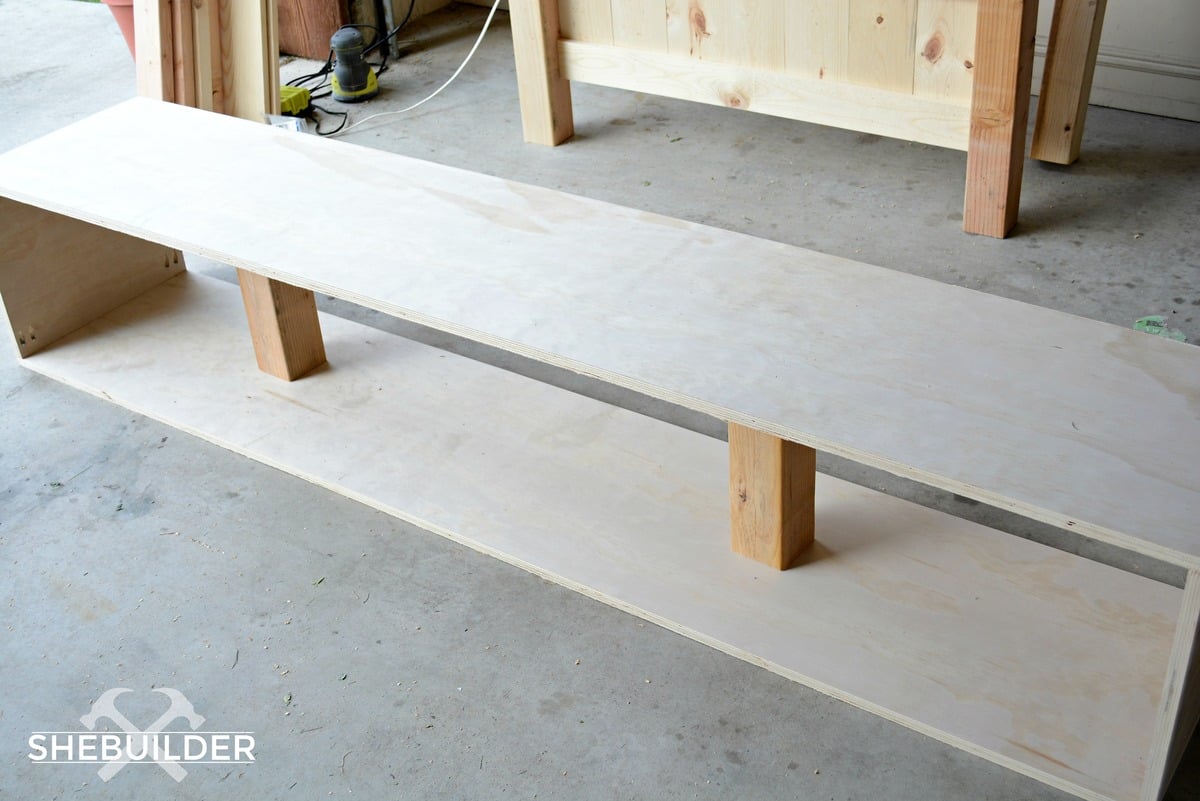
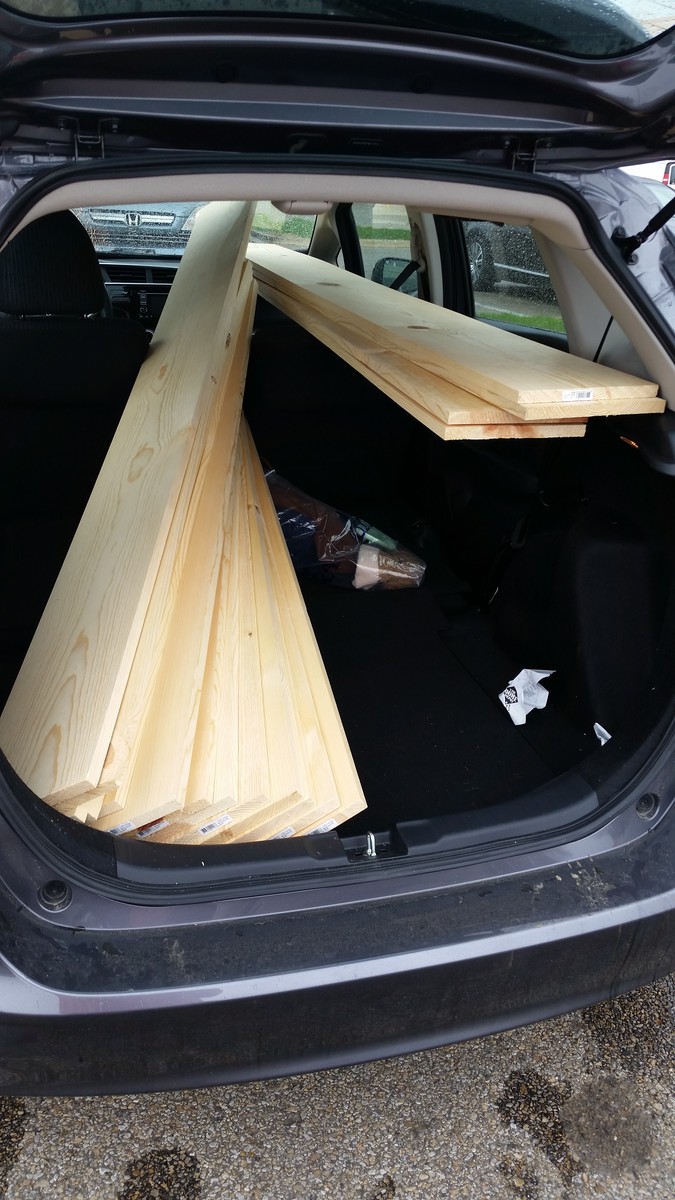
If you do decide to tweak the plan, be sure to take into consideration that a 2x4 isn't actually 4 inches wide. The same goes for 2x6's (the bottom two shelves are made of 2x6 wood).

Built from Plan(s)
Estimated Cost
$35
Estimated Time Investment
Afternoon Project (3-6 Hours)
Finish Used
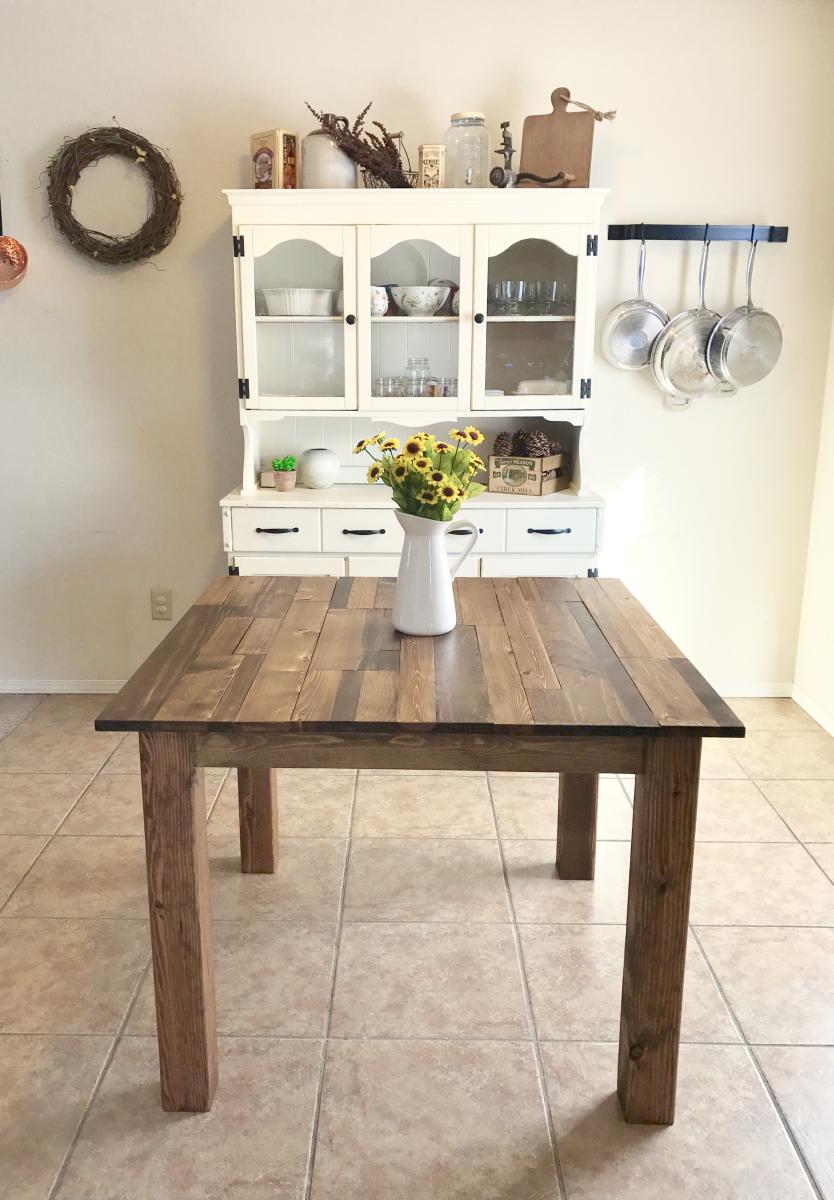
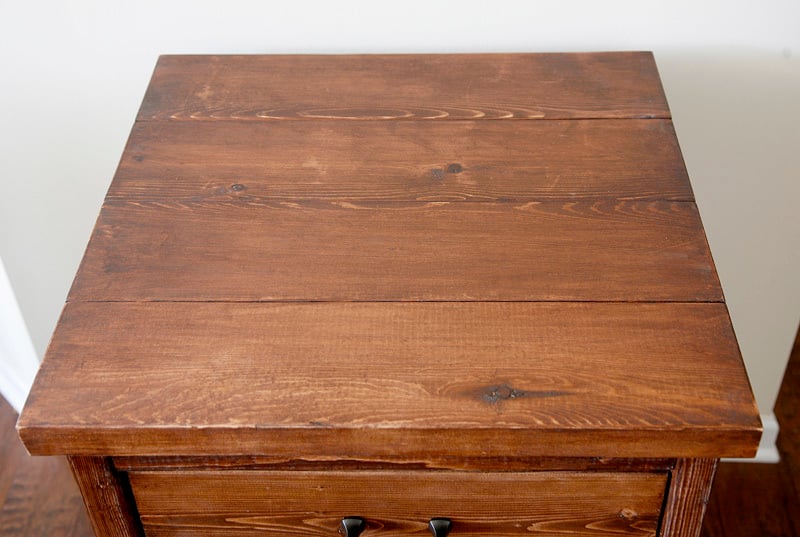
I made my own finish. Dissolved a pad of steel wool with vinegar
Recommended Skill Level
Intermediate

Media Storage Entertainment Center

Submitted by Beaker on Mon, 09/17/2012 - 15:21

Entertainment center with Bluray/DVD storage in the doors. Based on the Cynthia media stand by Pottery Barn. I drew it up to my personal preferences using Draftsight (free 2d cad software). Used 3/4" oak for everything except for a few trim boards. It came out great, we are very proud to call it our own.

Estimated Cost
$250
Estimated Time Investment
Weekend Project (10-20 Hours)
Finish Used
Minwax dark mahogany
Minwax clear gloss polyurethane (2 coats)

-assembled
-sanded
-wiped with mineral spirit dipped rag
-stained with a brush
-1st coat of urethane using a foam brush
-light sanding with 220 grit
-wiped with mineral spirit dipped rag
-2nd coat of urethane using a foam brush.

It has an almost mirror finish now.
Recommended Skill Level
Intermediate

Outdoor bar table

Submitted by hueybp on Tue, 07/21/2020 - 20:06

Not quite finished but love the table already. Trying to decide how to stain/paint it. The Kreg jig was a must for this project. It was my first of hopefully many! I used cedar for the 4x4s and 2x6 top pieces. The 2x4s are treated lumber (only because there were no more cedar ones....apparently lumber is getting hard to get lately!!!). Anyway....thanks for the great plans and motivation for this project.

Built from Plan(s)
Estimated Cost
Lumber was about $150 bucks (I bought mitre saw and kreg jig, too)
Estimated Time Investment
Afternoon Project (3-6 Hours)
Finish Used
Will probably use semi transparent stain
Recommended Skill Level
Beginner

Hidden Desk

Submitted by Sb1212 on Fri, 11/11/2016 - 12:46

This is my favorite build so far!! Mines measure 52Wx30Hx14D. I use 11 3/4(1x12) strip plywood boards instead to fit our space. 

Built from Plan(s)
Estimated Cost
$100
Estimated Time Investment
Week Long Project (20 Hours or More)
Finish Used
Rusteolum Heirloom white spray paint. Two coats of polyacrylic in satin.
Recommended Skill Level
Intermediate

Comments

Ladder Shelf DIY

Another one bites the dust. Made this out of Ana instructions for a ladder shelf. Like the way this turned out alot. Ana White knows whats up :)

Built from Plan(s)
Estimated Cost
$100
Estimated Time Investment
Day Project (6-9 Hours)
Finish Used
Minwax Wood Finsih; Classic Grey
Recommended Skill Level
Starter Project

Square Farmhouse Table

Submitted by eddingsr on Sun, 01/08/2017 - 13:17

I built this table for a friend who wanted a rustic, plank-top kitchen table. She wanted a square table with 4x4 legs. Since I don't have clamps, I used pocket holes and wood glue for the table top. Also, I only have a 7&1/4" miter saw, which means the 4x4s were too thick to cut. So I made one cut in the legs, then flipped them and made another. It worked! :) I sanded down the sides of the table top with 80 grit. They needed to be evened up since some of the planks were a little longer than others. I back braced underneathe the top with (3) 1x3s. Then, I sanded all over with 120, vacuumed, then wiped it down with a damp towel. Fun build!! 

Estimated Cost
~$100 for lumber, screws, wood glue, sandpaper, and finishing products.
Estimated Time Investment
Week Long Project (20 Hours or More)
Finish Used
For the finish I used Minwax wood conditioner, then a coat of Minwax stain in Provincial. I went back and put a second coat of stain on a few of the premium pine pieces, because they soaked up the first coat really well, and I wanted some darker pieces on top. I let those soak for about 15 minutes. Afterwards I did 2 coats of Polycrylic all over, then a third coat for the top only. I dry sanded between coats with 600 grit sandpaper.
Recommended Skill Level
Intermediate

Pallet wood potting bench.

Submitted by Anonymous (not verified) on Sun, 10/04/2020 - 19:34

Thank you Ana for the great plans! We adapted the project for wood we had on hand. It is only 40 inches wide instead of 42”. Our widest pallet board was only 40”.
Thank you for continuing to inspire us! We made two couches a couple of months ago. Great plans!

Estimated Cost
Box of screws!
Estimated Time Investment
Afternoon Project (3-6 Hours)
Finish Used
Potting bench.
Recommended Skill Level
Intermediate

Modern Farmhouse Writers Desk

Made this for my wife who is an English teacher. I renovated a spare room into her an office space. She loves the desk.

Estimated Cost
$65
Estimated Time Investment
Day Project (6-9 Hours)
Finish Used
Minwax dark walnut stain
Helmsman spar urethane
Recommended Skill Level
Beginner

Comments

LuckyGirl

Wed, 03/27/2024 - 03:27

Creating a cozy and functional workspace with the modern writers desk has transformed my writing experience. And with help of useful reviews from https://paper24.com/reviews I found the perfect tools to enhance my productivity and creativity. Now completing a difficult writing task no longer seems like a big problem to me.

Chevron simple 1x10 single step stool

Submitted by Eplunkert on Thu, 01/08/2015 - 12:22

I built this stool for my niece's first birthday! It was super easy to build. The painting process was another story. In hindsight I should have just stained it but I wanted something fun and bright. I'm happy with how it turned out and I will definitely be making one for my nephew for his first birthday! Overall it took me about 2 hours to cut and put it together.

Estimated Time Investment
An Hour or Two (0-2 Hours)
Finish Used
Spray paint and spray clear coat
Recommended Skill Level
Beginner

Comments

Night Stands custom sized and finished

Submitted by pondrider on Thu, 01/15/2015 - 07:50

Night Stands custom sized and finished per customer building new home based Ana White's Farm House collection  #‎anawhite‬  

Intentional distressing per customer request with guidance from Ana White plans.   Finish contains a mix of paint, removing of paint, staining and restraining.   Now to move to a purposeful Mud Room Locker for a new home suited for family. 

http://ana-white.com/users/pondrider/
#anawhite   #Stain   #CustomFurniture   #Paint 

Estimated Time Investment
Weekend Project (10-20 Hours)
Finish Used
Finish contains a mix of paint, removing of paint, staining and restraining.
Recommended Skill Level
Intermediate

Small Console Table

I made this table completely out of pallet wood. We have true 1x4 pallet wood which is hardwood. for the legs, I doubled up 2 pieces of pallet wood for strength. Every piece of wood is a 1x4. It turned out perfectly as I needed a narrow table for our 2nd-floor hallway. This took us a little longer than with cut lumber as there was a lot of planing and sanding since it was pallet wood. If we had used lumber it would have taken a few hours less.

Estimated Cost
20.00
Estimated Time Investment
Weekend Project (10-20 Hours)
Finish Used
We used Jacobean Mini Wax stain and the one coat satin polyurethane. It was the first time I had used the 1 coat but it is a lot thicker than the average polyurethane.
Recommended Skill Level
Intermediate

Comments

Narrow Console Table

Submitted by sraper2 on Thu, 03/14/2013 - 06:57

I built this table after seeing a similar one on your site. Mine is built with 2x2 legs, a shelf, and just one piece of 1x12 for the top. I was wanting something for in front of my window but this one is to small so I will eventually build a bigger one for in front of my window and move this one. Thanks for the inspiration!!

Estimated Time Investment
An Hour or Two (0-2 Hours)
Recommended Skill Level
Beginner

Comments

Garden Shed Douglas

Submitted by sambelg on Sat, 04/22/2017 - 07:45

Garden Shed out of douglas wood

i added wooden floor .

Built from Plan(s)
Estimated Cost
700 euro , wood is very expensive where i live
cedar would have made it very pricey
Estimated Time Investment
Week Long Project (20 Hours or More)
Finish Used
Pine stain Xyladecor
Recommended Skill Level
Intermediate

Comments

whitedog9

Thu, 06/15/2017 - 12:48

Greetings, I like your workmanship - It looks great! I have a couple questions if you would be so kind as to answer them. I like how you turned the studs sideways. How did you attach the studs to the 2x4 plate that you have turned on its 1 1/2" edge both top and bottom. I am thinking of toenailing or driving 3 1/4" GRK screws through the 1 1/2" sides of the 2x4's and into the 1 1/2" edge of the top and bottom plate. I know that Kreg has a jig out that uses oversize screws-it is specifically designed for 1 1/2" and larger (up to 3 1/2").


How did you secure the bottom plate to the wooden floor. I am thinking that you may have used 1/4" or 5/16" lag bolts down through the 2x4 and on into the frame of your wooden floor.


Thanks for your reply,

Cliveous (Reggie) Ogg

Wishing Well Planter

Submitted by RobKelly3 on Sat, 03/16/2013 - 16:57

This is a wishing well I made for my sister for her wedding. It will be used during the wedding for people to drop "wish you well" cards into and afterward she can use it as a planter in her yard.
I followed ideas from multiple plans here on Ana-White.com, but I didn't follow any specific plan. Mostly I followed tips and instructions for cutting angles, drilling pocket holes and some finishing tips. This is the first "big" project I've done and I"m quite proud of it.

With everything, it measures 44.5 inches high. The well measures 21 inches across and 15 inches high. The roof measures 22.75 inches by 23.75 inches.

I hope y'all like it. I worked hard on this! :)

Thank you, Ana and everyone who contributes to this site. It's been so much fun and I've got lots of ideas for more stuff. If I was any good at all at Google Sketchup I'd put up the plans but I'm not. If anyone could help me with that, that would great. :)

Have a great day!

Estimated Cost
about $100
Estimated Time Investment
Weekend Project (10-20 Hours)
Finish Used
Olympic Maximum Stain and Sealant in One, Semi-Transparent, in Oxford Brown. Use 2inch stain brush. Used 100, 150, and 220 grit sandpaper before staining.
Recommended Skill Level
Intermediate

Comments

bellows86

Mon, 07/21/2014 - 20:04

Anyway you can please tell me the angle for the boards ont the walls. I reallly like your well, and would like to build this for my wife but im not sure on what angles to use thank you

Trash / Recycling Cabinet

Submitted by Anonymous (not verified) on Tue, 07/27/2021 - 11:21

This was a build I was able to check off my Honey-do List. We use it as a Trash / Recycling Cabinet. Basic cabinet build with tray drawers for the trash cans.

Estimated Time Investment
Weekend Project (10-20 Hours)
Recommended Skill Level
Intermediate

Comments

Chest of Drawers from old work bench

Submitted by AndyH on Tue, 03/24/2015 - 11:06

I had an old workbench (pic shown) and reused the 2 by 4s, 2 by 6s (that were supports under the work surface) and the 3/4 inch ply to make a 3 drawer cabinet.

The bases of the drawers were made from the top of the work bench which took some hefty sanding but I actually put the underside of the worktop as the upfacing side for the drawers as that was cleaner even though has some nail holes in places.

The drawer sides and fronts were made from some left over 1 by 4, 1 by 6  and 1 by 8 from my recent work station build.

All I had to buy was the drawer slides and pulls.

Finished in  Varathane Carrington and 3 coats of Varathane Matte Poly.  The drawers were finished in Minwax Special Walnut.

Estimated Cost
$30 for slides and door pulls. Everything as recycled or leftovers from another project.
Estimated Time Investment
Weekend Project (10-20 Hours)
Finish Used
Varathane Carrington and Varathane Matte Poly
Recommended Skill Level
Beginner

Comments

Farm table for my sister

Submitted by Anonymous (not verified) on Mon, 10/04/2021 - 14:09

So my sister moved back to Southern California from New York. She found a great place but needed a table. I made one table and one bench. My sister then found two chairs for the other side. This is the second or third thing I have made/built from Ana’s site. Thank you for making me feel more manly with great instruction. I also built this pre Covid-19 when lumber was not so expensive.

Comments

Bigger Tryde Coffee Table

My sister put in request for bigger coffee table and 2 end tables, again, the building part was not that difficult, the time consuming portion was staining. But they turned out great!

Estimated Time Investment
Week Long Project (20 Hours or More)
Finish Used
I "distress" the wood by using a piece of chaing and just beat it until I get a desired, uniform look. I used 3 coats of stain on each piece and sealed it once complete. I did not sand between coats and I use the cheap foam brushes and just toss them after each coat.
Recommended Skill Level
Beginner

Traditional Farmhouse Bed with Storage

Hello, fellow makers! 

I really enjoyed this build - it was a challenge for me, but in the end, I'm thrilled with the results!

I modified two of Ana's plans to come up with this storage bed and I share more pictures of the process and how I finished this project over on my blog Tinsel + Wheat.

I used the Twin Bed Farmhouse plans to create the headboard and footboard, which turned out beautifully, but because of the storage base needing to be installed flush with the edges of the 4x4 posts - this made the bed a little wide for a standard twin size mattress. I don't mind the extra 2.5" of base on each side of the mattress but if you decide you would rather have the mattress edges match right up to the bed you will need to subtract one of your center 1x6 panels from both the headboard and footboard. This will give you the perfect size headboard and footboard for this build.

So grateful to Ana for these plans!  

Happy building!

Miranda


Estimated Cost
$200
Estimated Time Investment
Day Project (6-9 Hours)
Recommended Skill Level
Intermediate

Comments

vstroud

Sat, 03/02/2019 - 10:02

Might you have the lumber shopping list for the storage boxes to go with this modified Twin Farmhouse with storage bed? I looked at you personal website but you just have the cut list for them not lumber list. Desperate  need to purchase my wood Monday.Thank you so very much!

Coffee station

Submitted by Anonymous (not verified) on Wed, 10/20/2021 - 14:39

I was inspired by your coffee station plans to build this unit. I added an upper shelf with gas pipping, along with LED lights under the shelf. This station has been very popular in our house.

Comments

Bookcase wall unit

Submitted by kwhitt on Tue, 05/12/2015 - 08:38

This is the project that inspired me to start woodworking. I'm a bookaholic and have always used cheap, particle board bookcases from Walmart for storage. They're fine for the price, but over time the shelves bow and they NEVER survive a move. When I outgrew the three units I had, I balked at buying a fourth, which I didn't really have room for anyway. Enter Ana White! This is actually based off a brag project under the IKEA Lack Inspired Bookcase. What I love best about building my own is that I can customize to suit my needs. I was able to put almost twice as much shelving into about the same area. And if I outgrow these, I can just build another!

Built from Plan(s)
Estimated Cost
about $175
Estimated Time Investment
Week Long Project (20 Hours or More)
Finish Used
Miniwax Espresso Stain, Varathane Satin Triple Thick Polyurethane
Recommended Skill Level
Beginner

Comments