Rustic X end table

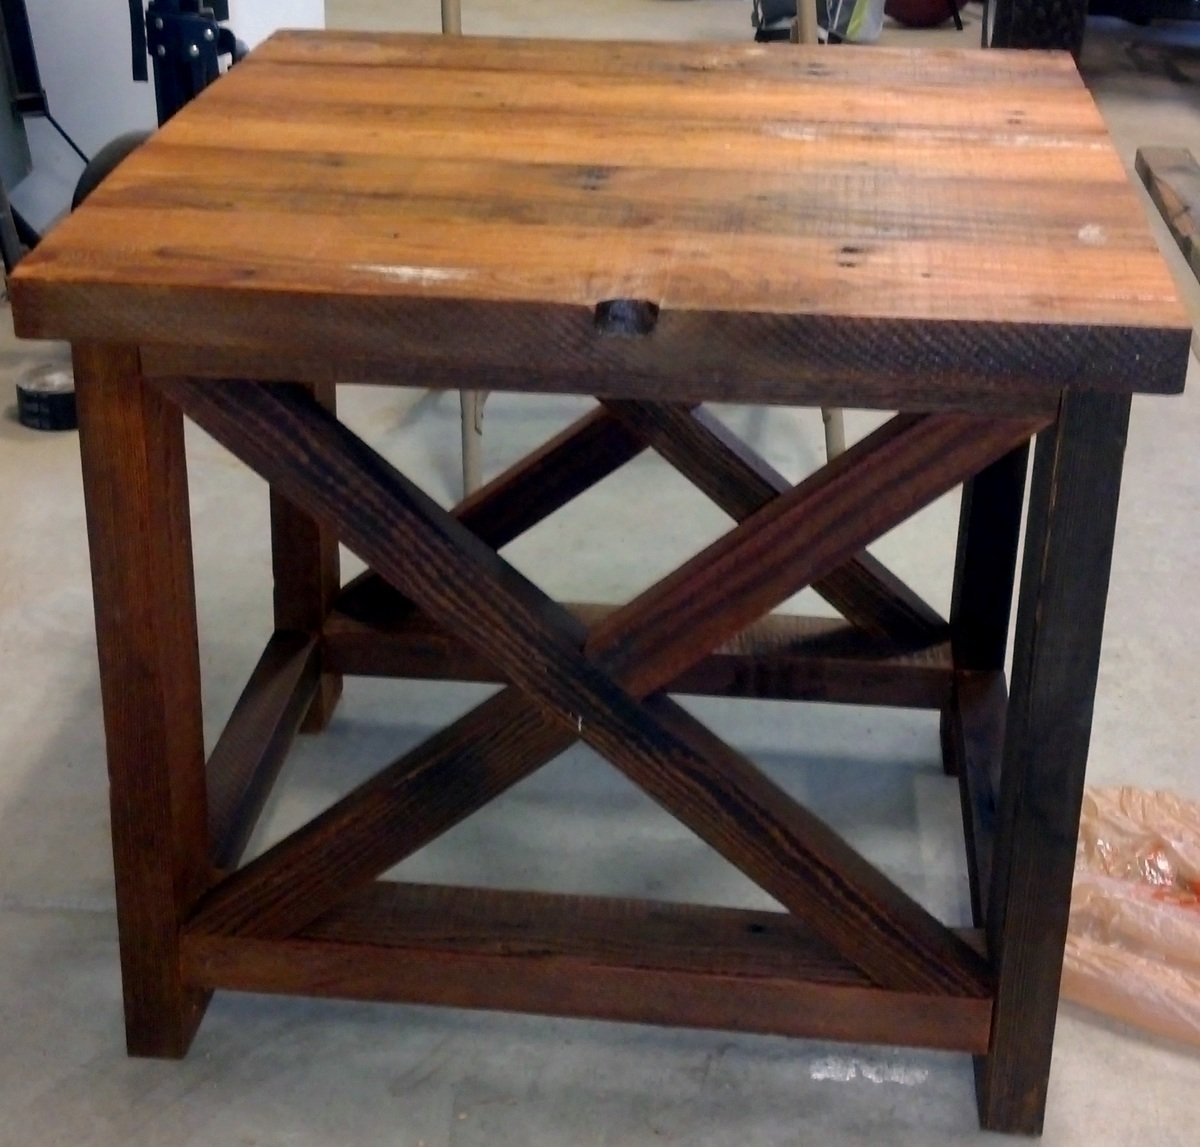
Modified the end table to fit my dimensions. This was project number two of three so $ estimate may not be accurate
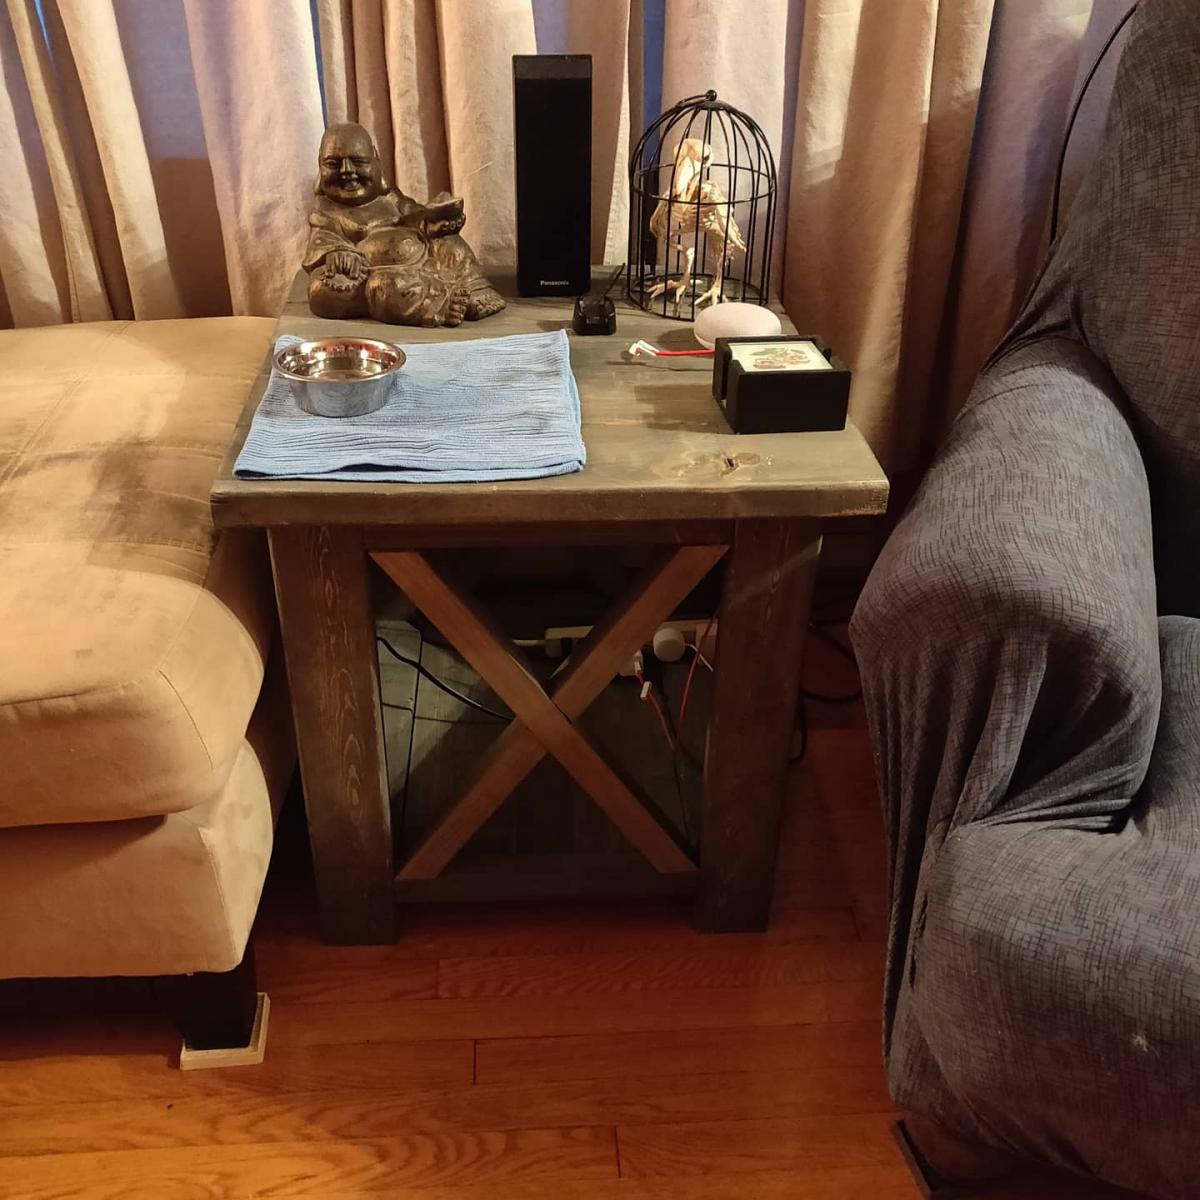

Modified the end table to fit my dimensions. This was project number two of three so $ estimate may not be accurate

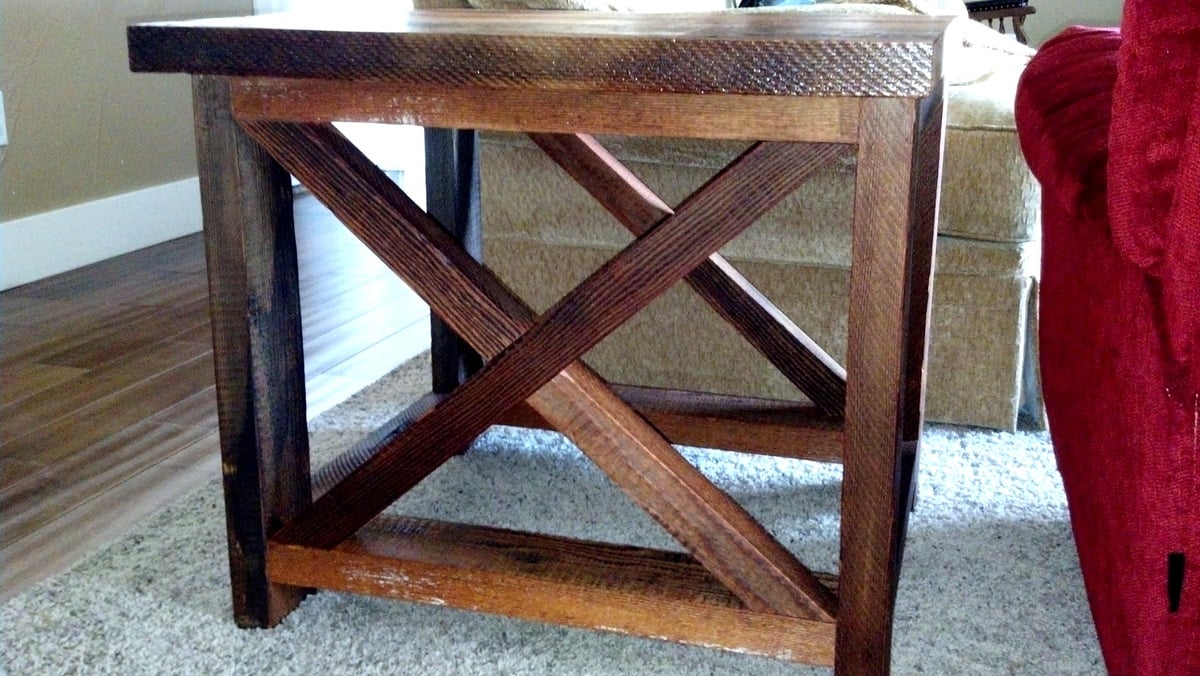
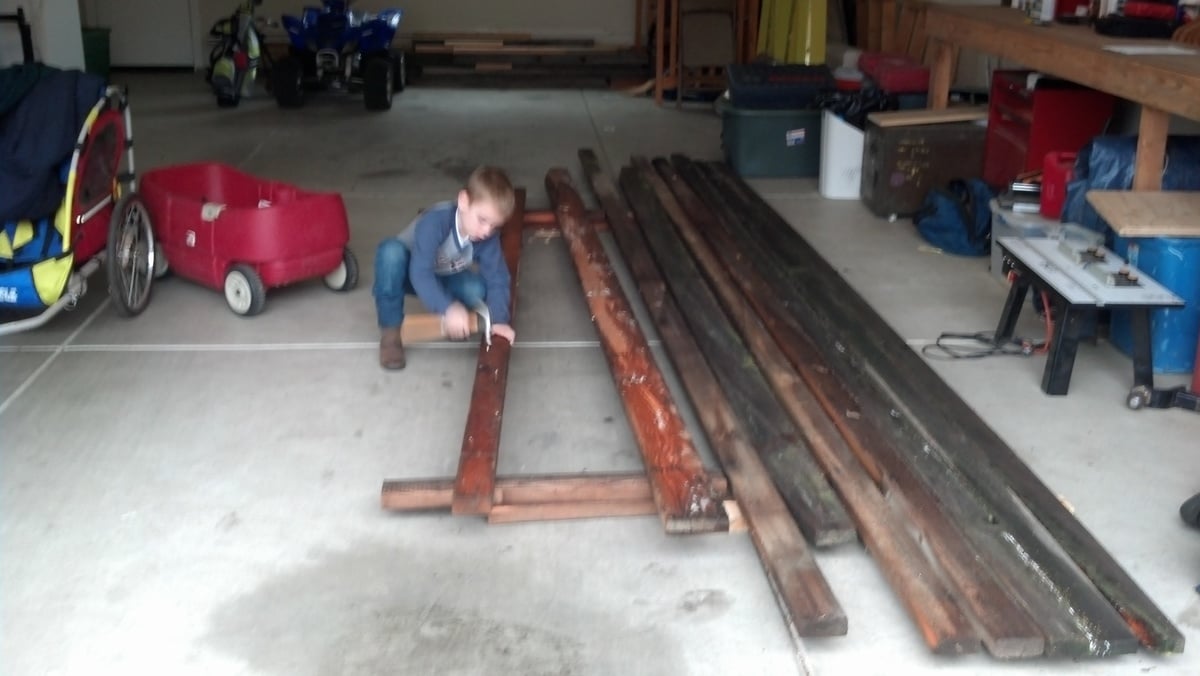
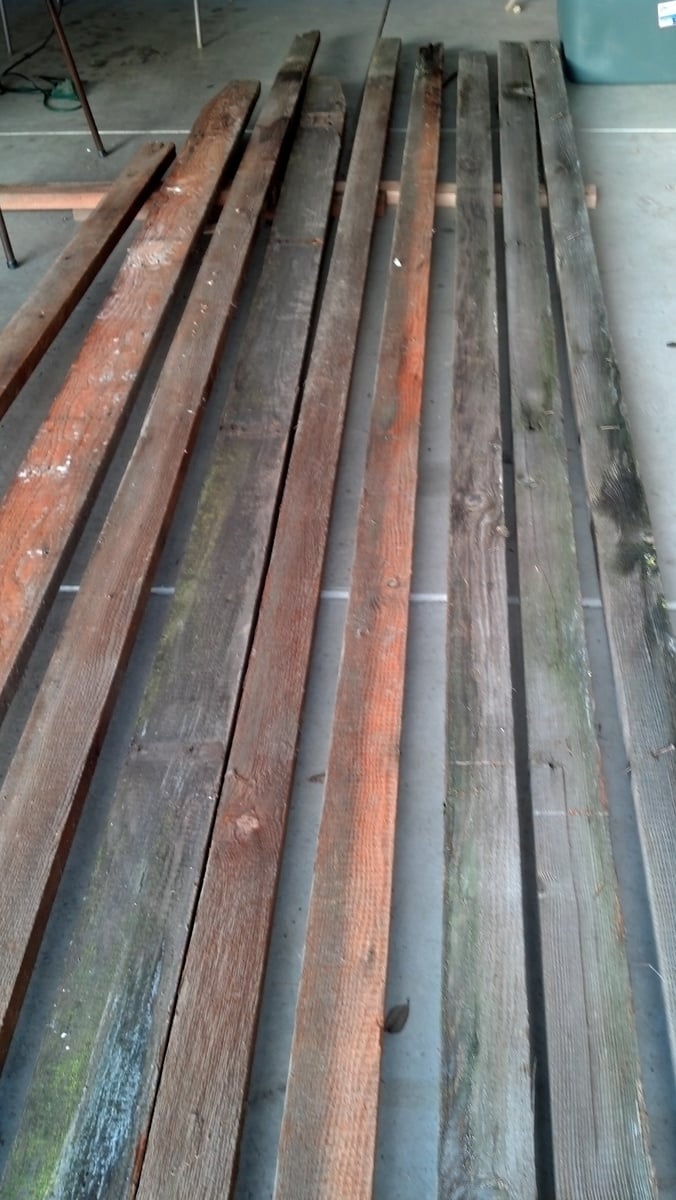
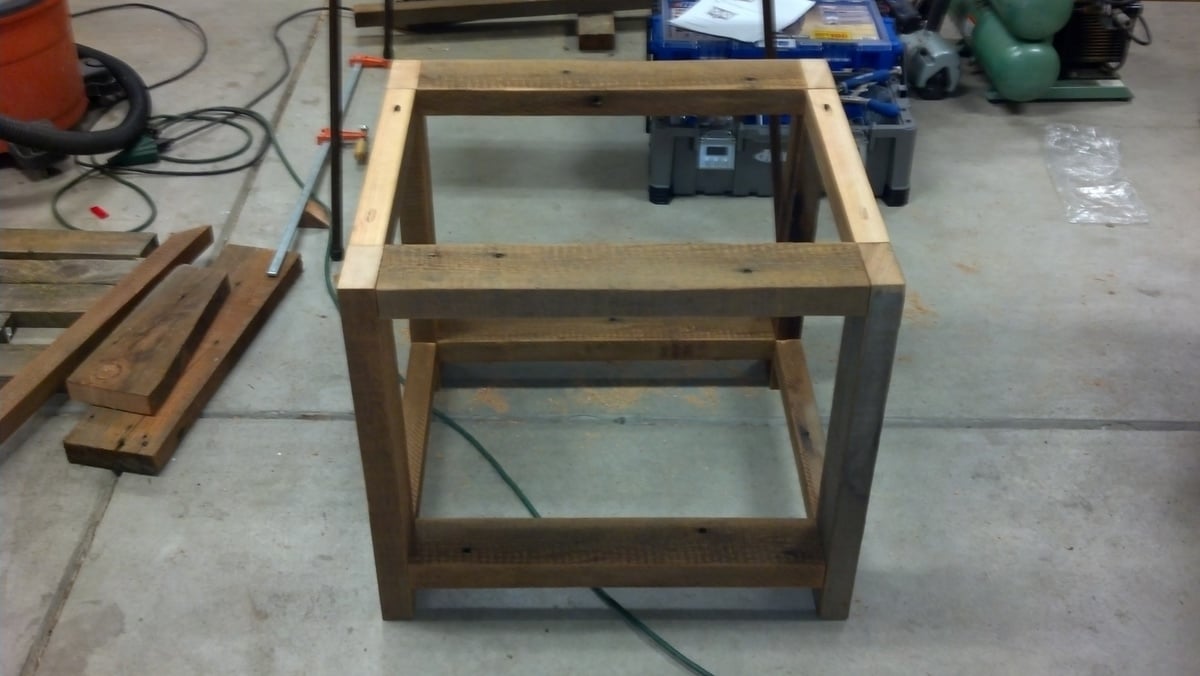
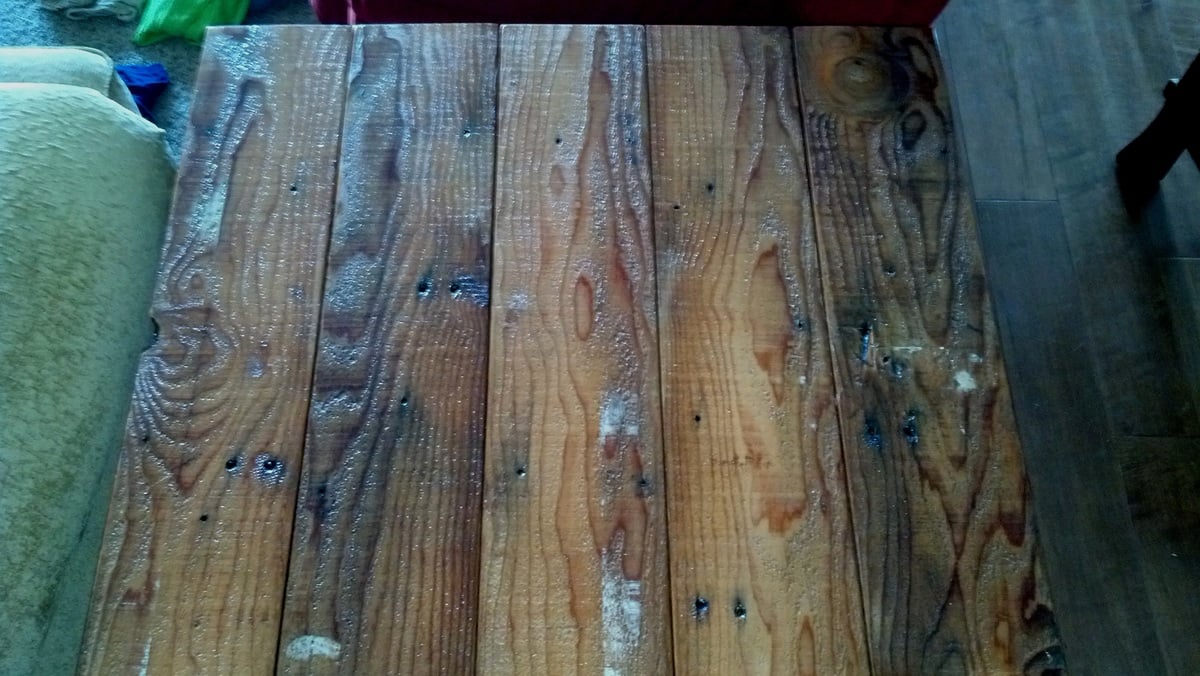
Thank you for the idea for the rustic x end table. My wife is extremely happy with her new end table. Happy wife = happy life!!! I constructed the end table of 2x4 douglas fir rough sawn material I salvaged from a project where we removed a trellis from the house. My son helped me remove all of the nails and we let the wood dry out from the rain. I cut the 2x4 to the lengths described in the directions (I had to modify the x braces in length), sanded the wood and applied natural finish stain. We also added 3 coats of polyurethane to the table top to give it a nice finish and hopefully help with wear and tear over the years.
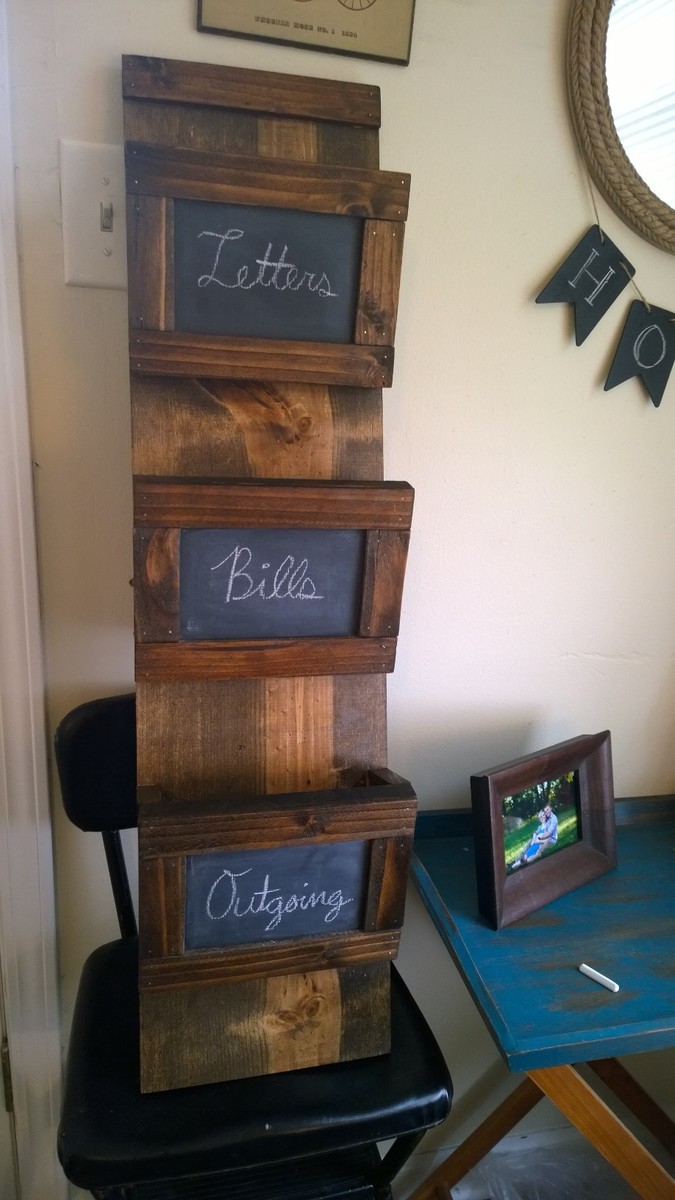
Built using the Wood Mail Holder w/ Key Hooks plan. Primed and painted the slot fronts with chalkboard paint before attaching. Stained the front lath pieces (frames around the chalkboard) before attaching. Stained with Minwax Dark Walnut. Hooks from Lowe's.
Wed, 09/24/2014 - 10:13
Oops, just realized I had not yet attached the hooks in this photo!
Adirondack chairs made from reclaimed pallets.
Mon, 01/09/2017 - 19:28
These plans were great! Have these as a Christmas gift....they loved it!
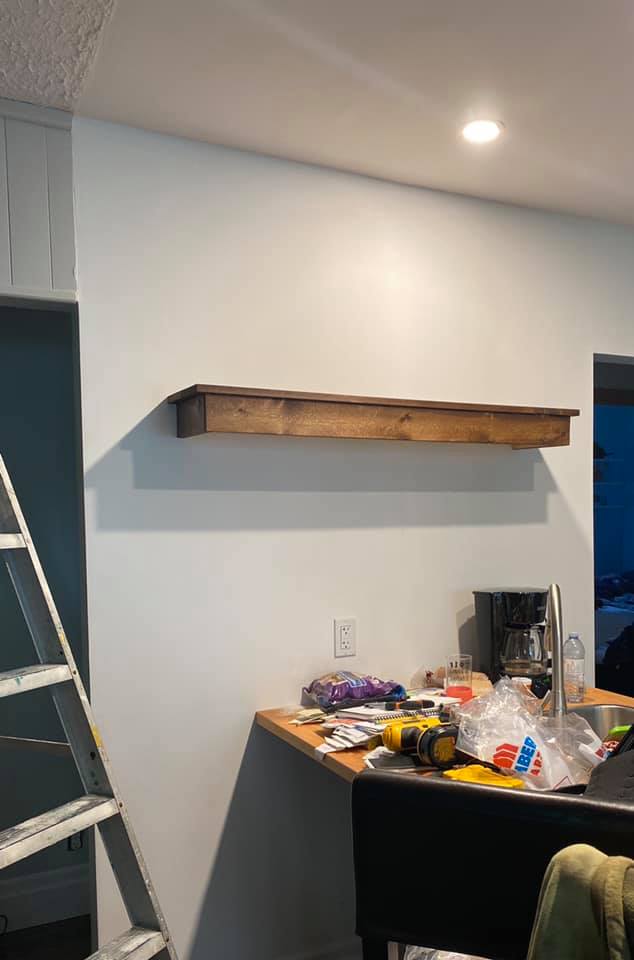
Use a combination of ideas for this floating shelf. Overhung the top to give it a lip. Finish is Minwax Provincial.
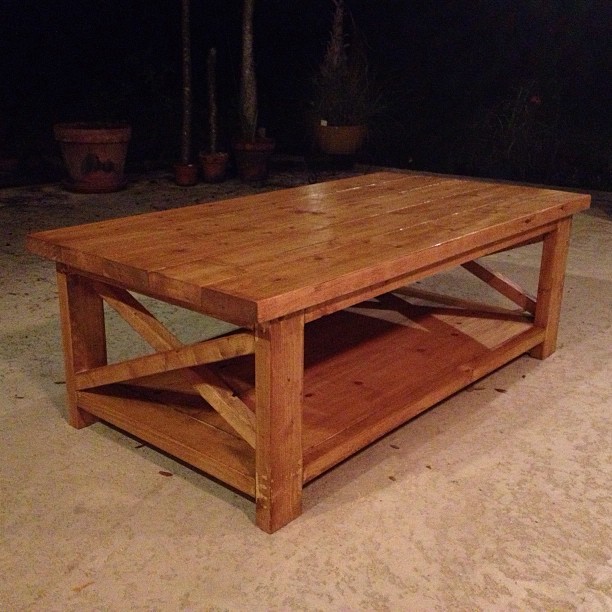
Rustic X Coffee Table. Stain is wet in the photo, so a bit glossier than I'm anticipating. Kept diagonal "X" cross-beams whole and staggered to create more depth in the look of the structure. One coat Minwax "Ipswitch Pine." Changed mind and went with 2-3 more of Minwax "Driftwood." Would have been more grey, less red had I gone with "Driftwood" from the start.
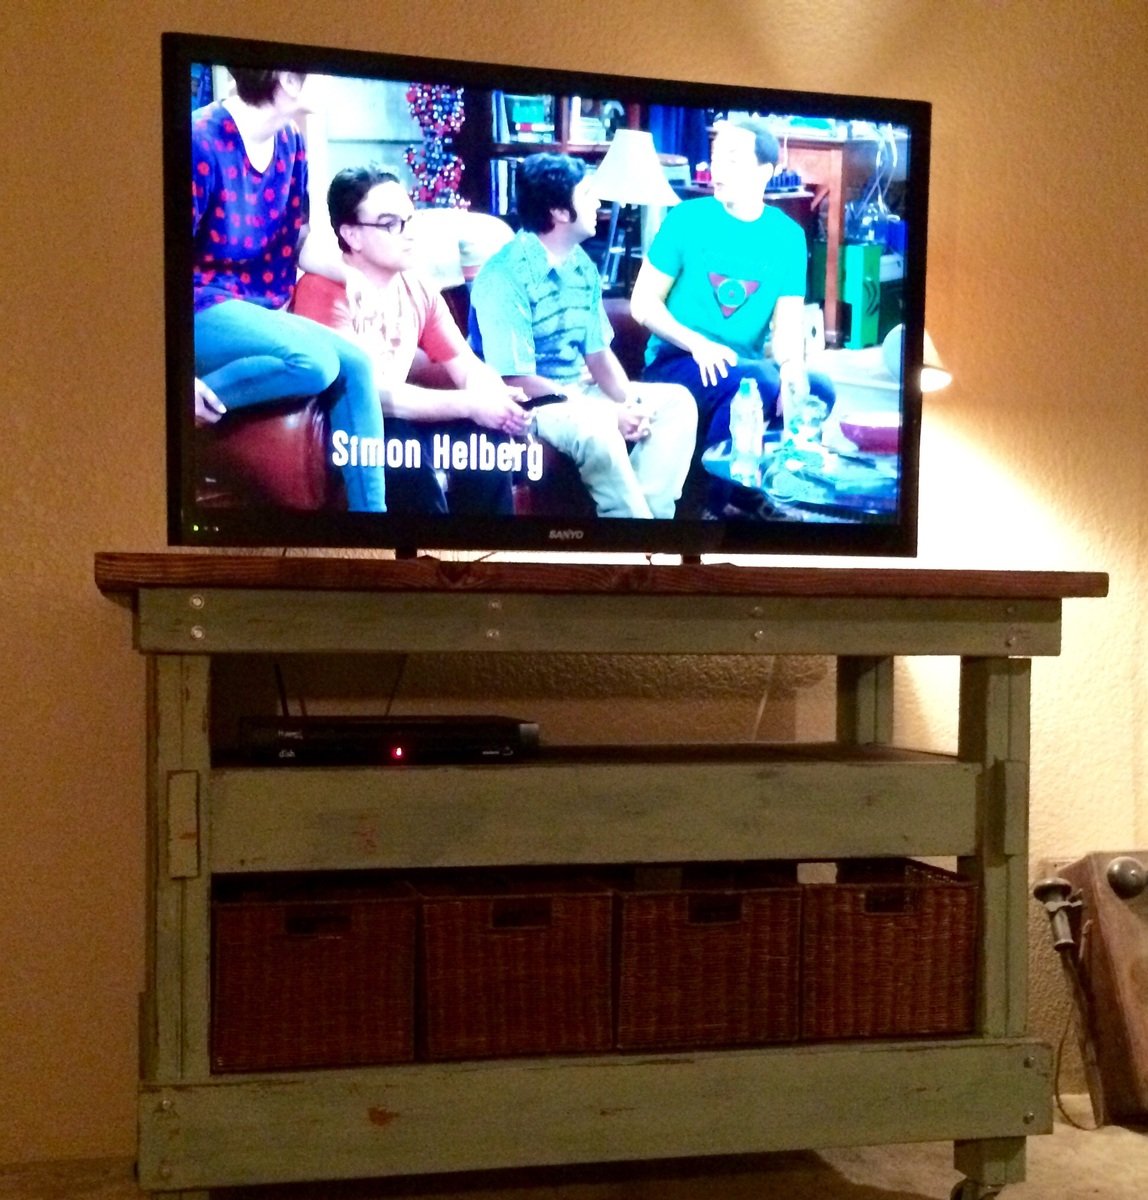
Building this was pretty fun. I've never done the type of carpentry where you would notch out a piece of wood before. I've seen it done, but never done it myself. I altered the size of this build and omitted the center divider piece as I just felt that with a 5' length, it was un-necessary and obstructed the view. Plus I wanted to use baskets underneath to have hidden storage. I also added a shelf for the TV components.
Sun, 09/28/2014 - 12:04
Tracy! This is beautiful!!!! Thanks so much for posting and also on the tip about the plan issue. Much appreciated! Ana
In reply to Beautiful Project by Ana White
Mon, 09/29/2014 - 12:52
Thank you Ana! I always geek out a little when you respond to my work. :-)
And thank you for posting the plans! I knew this was going to be perfect for my living room cause it just fits who I am. Funny thing is now my mom wants this as a vanity in her master bath! Thanks again for all you do!
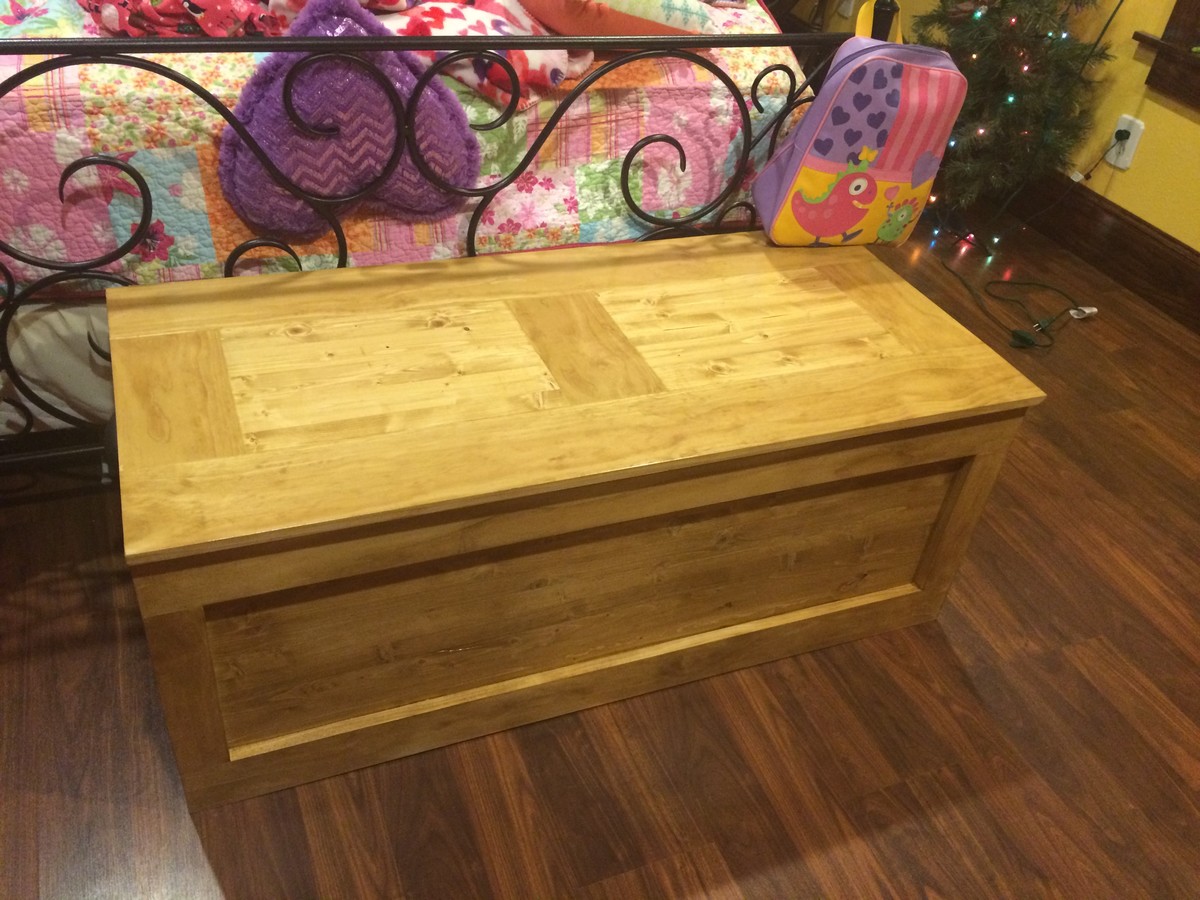
I made this Becca Trunk for my daughter for Christmas. I wanted it bigger so I made it 48" wide. I also lined it with cedar. It turned out pretty darn good!!
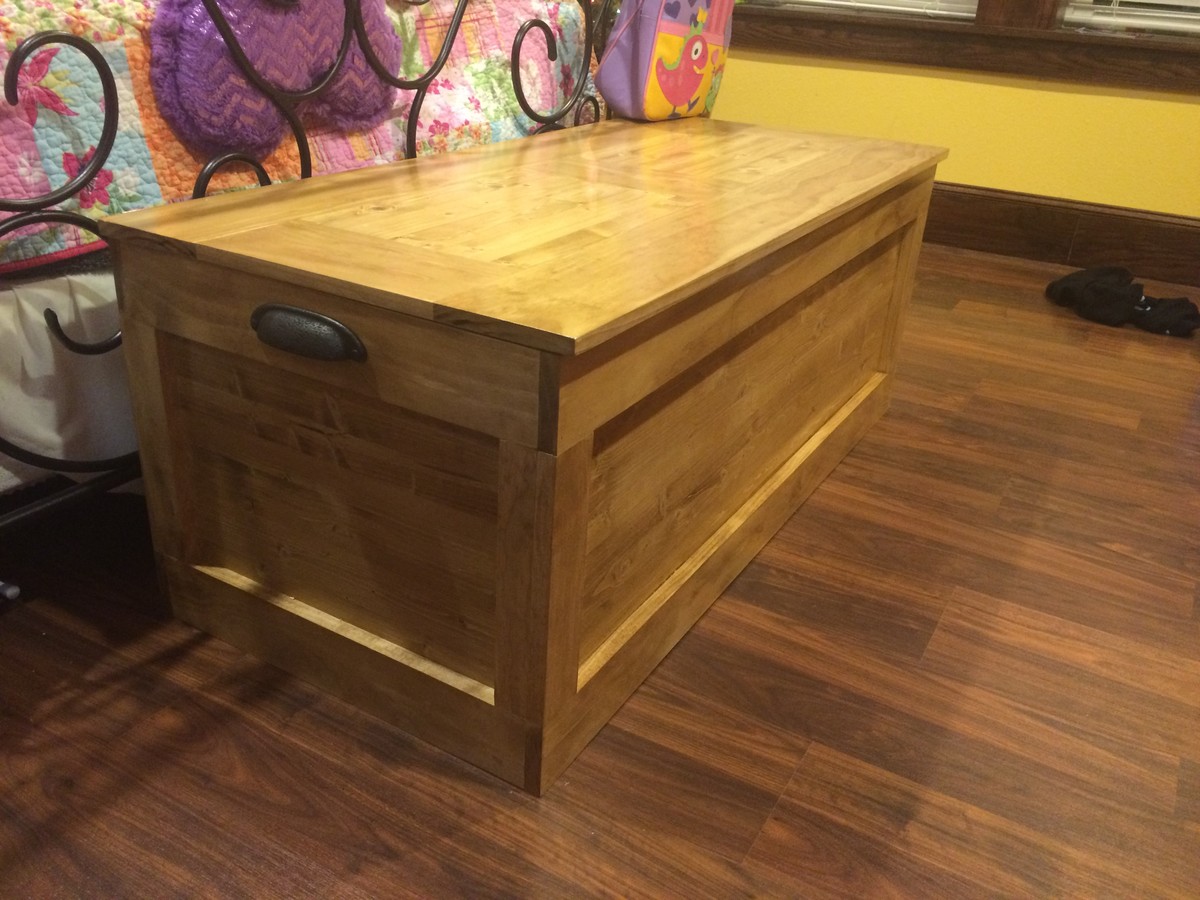
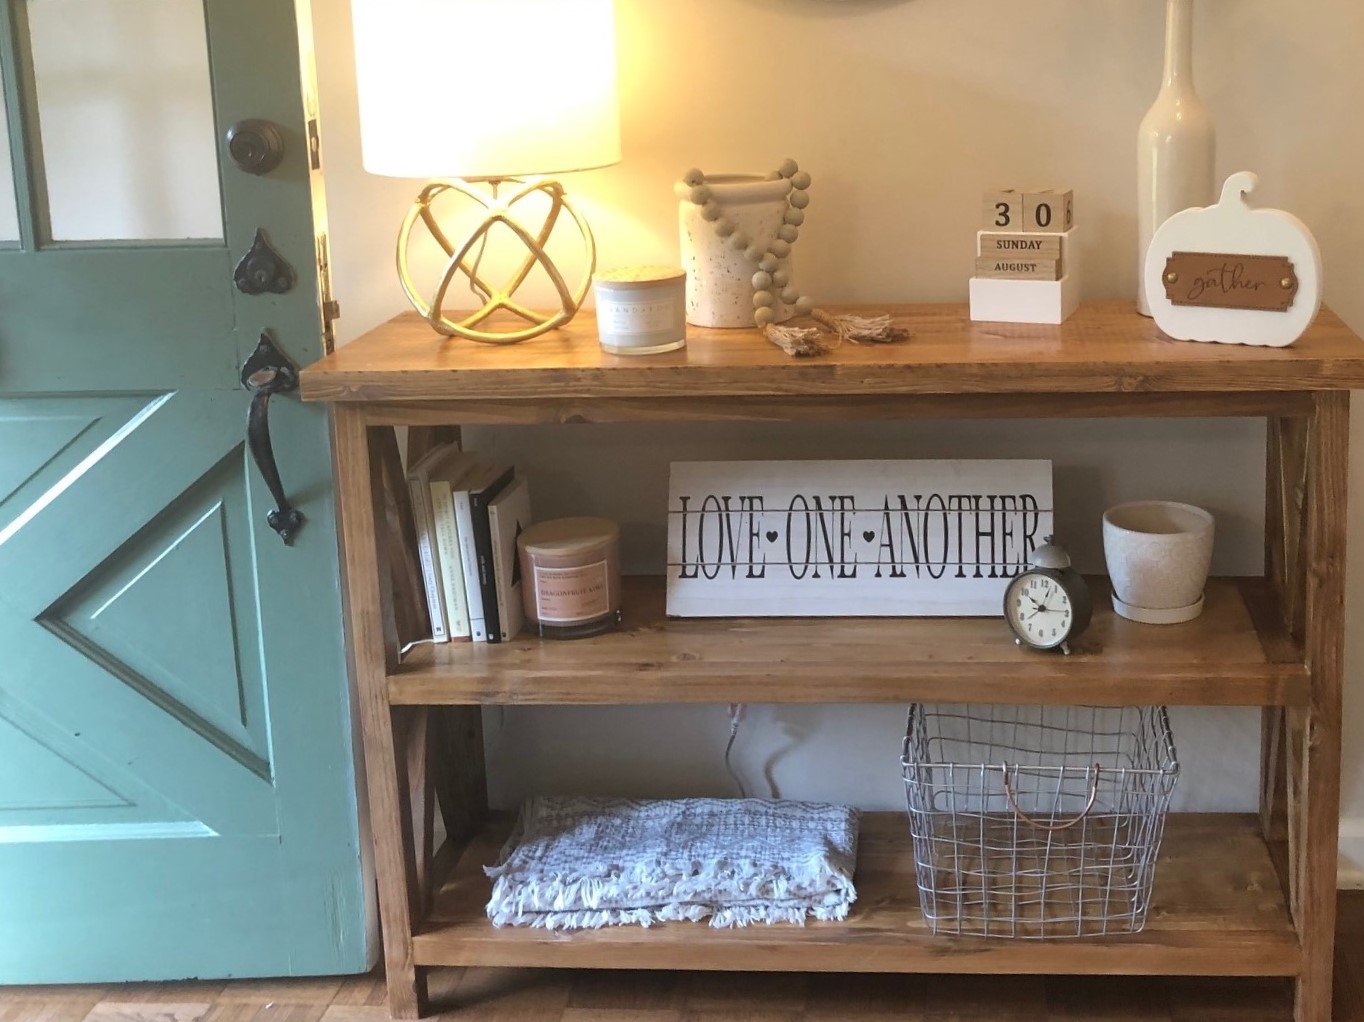
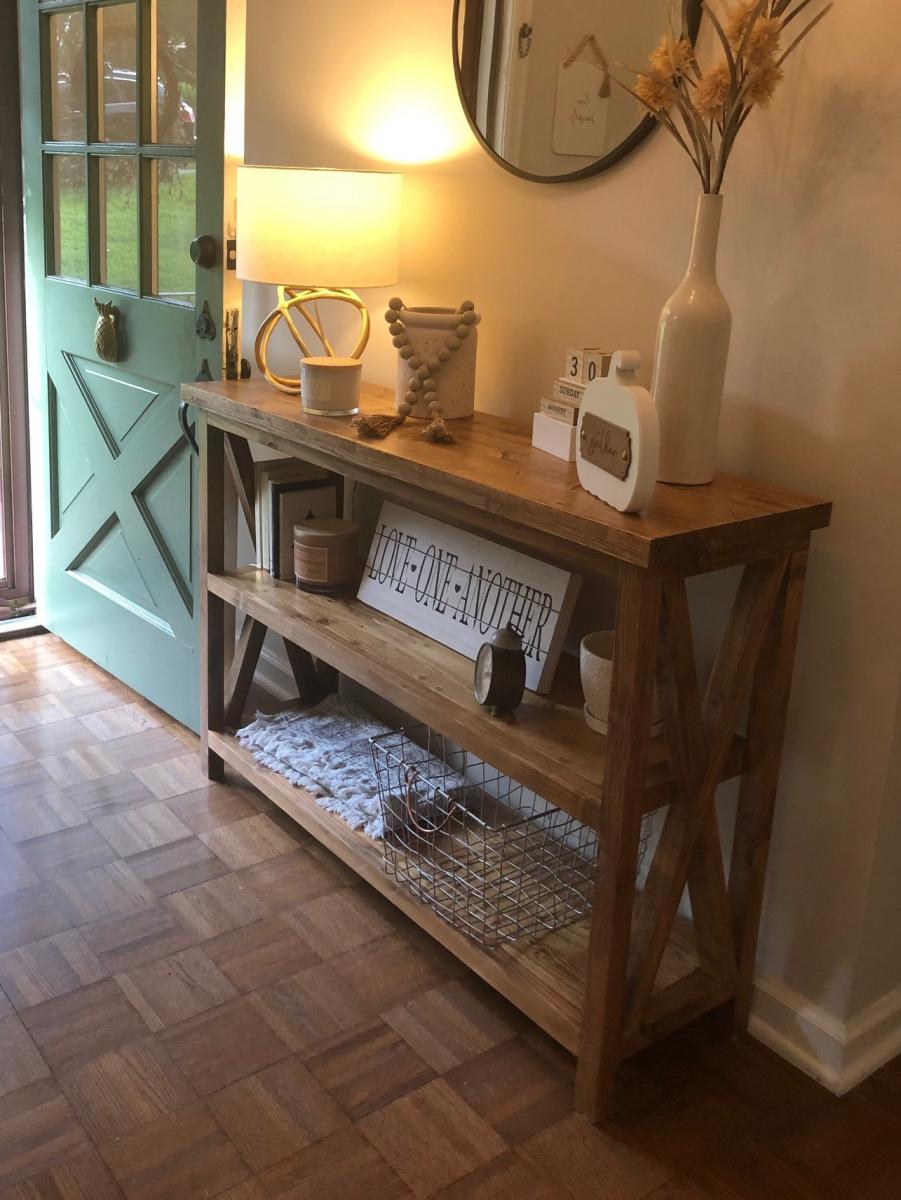
My daughter wanted a console table for her entry. I found this plan and adjusted slightly for depth (decreased to 14 inches) and length (decreased to 48 inches). This of course requires recalculating the angles for the x's. For the top, and shelves I found edge-glued panels at Lowe's and cut to size. The top is two of them laminated together. She was happy with the birthday present ... thanks for the great plans Ana!
Fri, 09/25/2020 - 14:49
Nothing says I love you, like building a custom piece for a loved one! Thanks for sharing:)
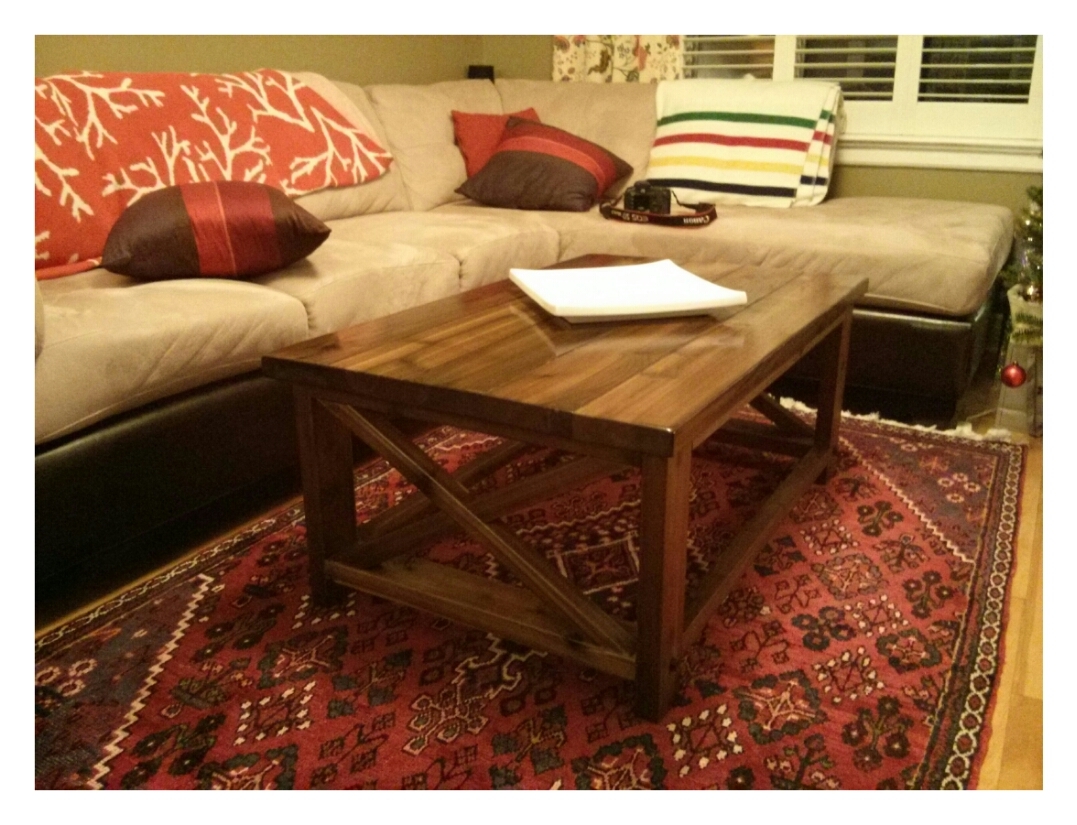
Used cedar wood so I applied a few costs of oil based polyurethane to compensate for the softness of the wood.
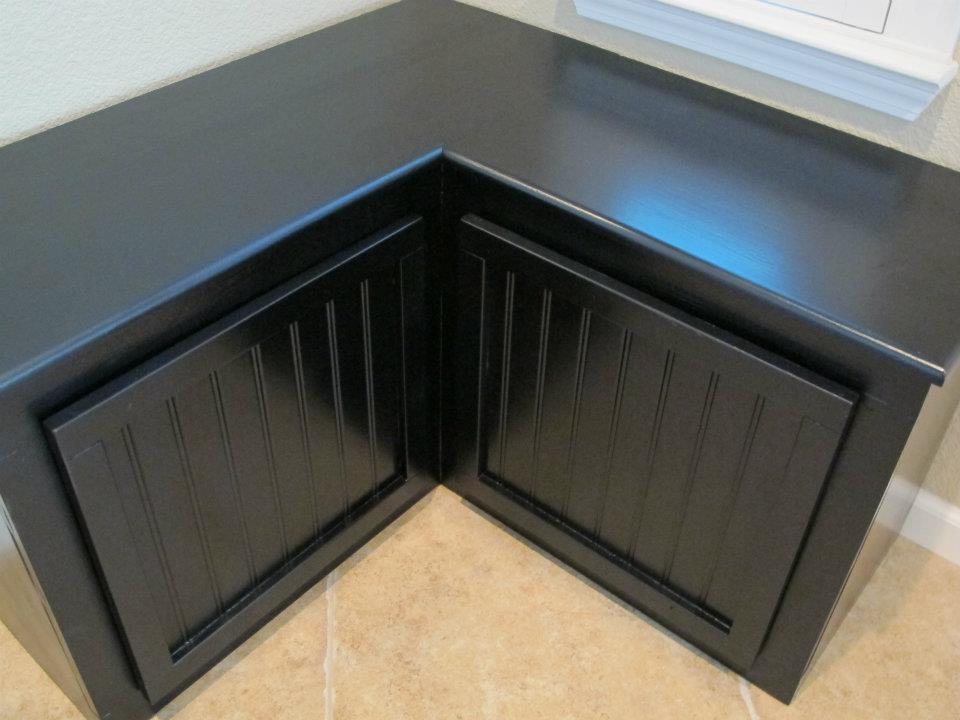
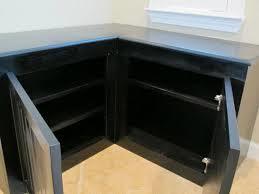
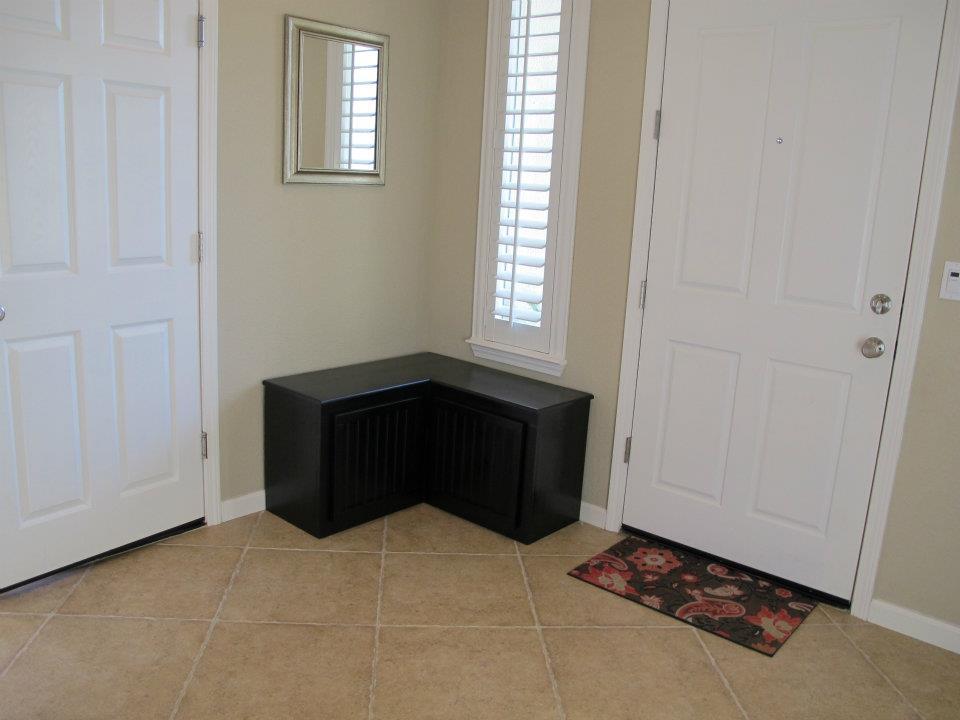
Custom shoe bench I built for a friend. See post on blog for more detail:
http://www.tools4moms.com/2012/06/build-corner-shoe-bench.html
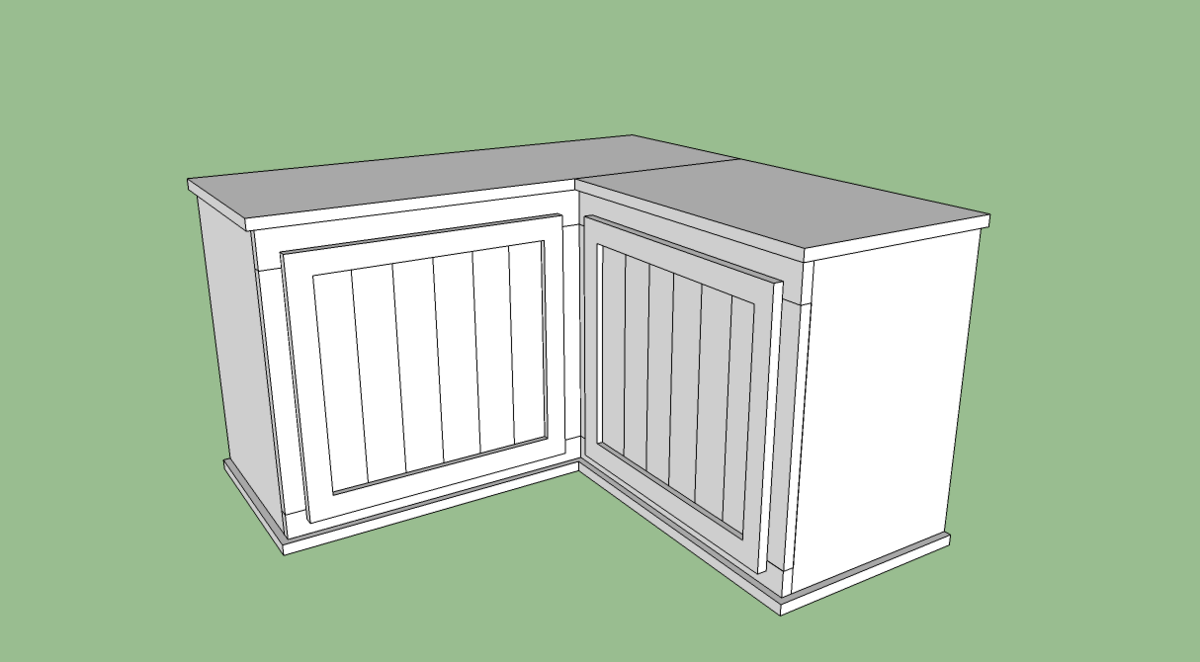

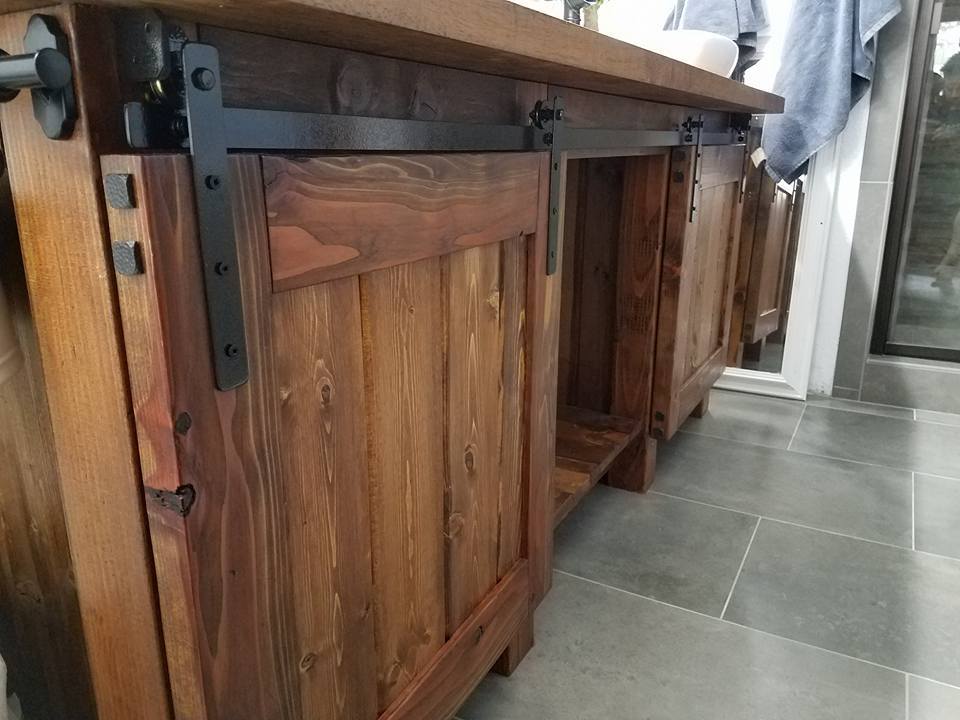
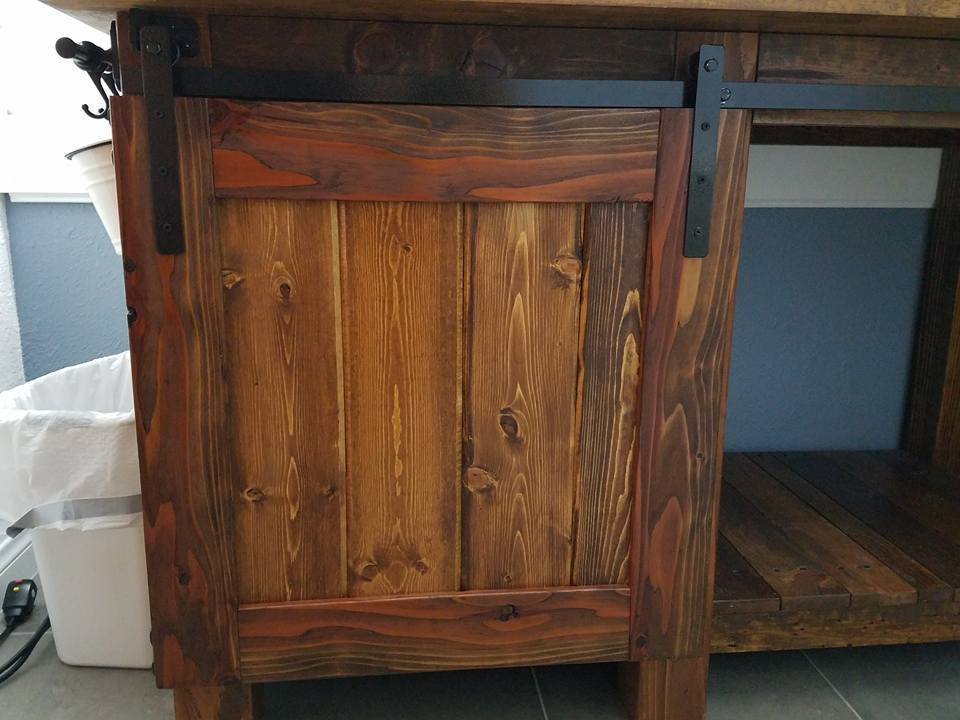
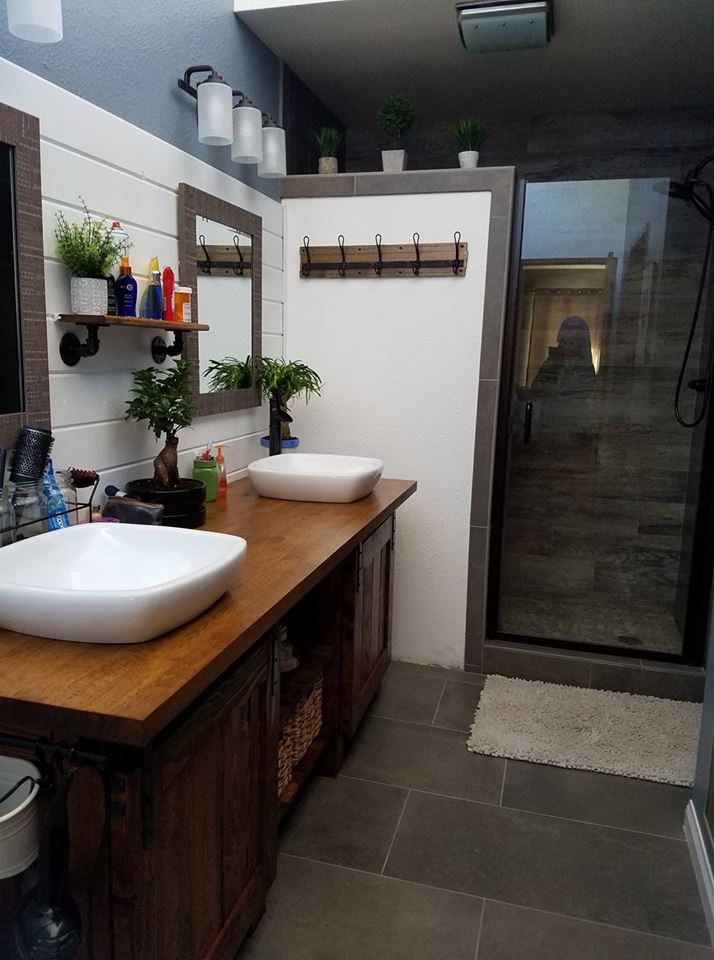
Ana, we saw your plans for the barn door cabinet that was pinned in pinterest and absolutely loved it and felt we had to build it but we had to completely modify the plans to have it custom fit our bathroom. It was a trial and error experience never having built anything before. Thank you for giving us the idea.
Sat, 05/18/2019 - 19:54
This is amazing! I can't believe I did not see it sooner. I'm so inspired! Ana
Fri, 01/01/2021 - 10:54
Where can I find these plans. It would be perfect for my master bath. Spectacular.
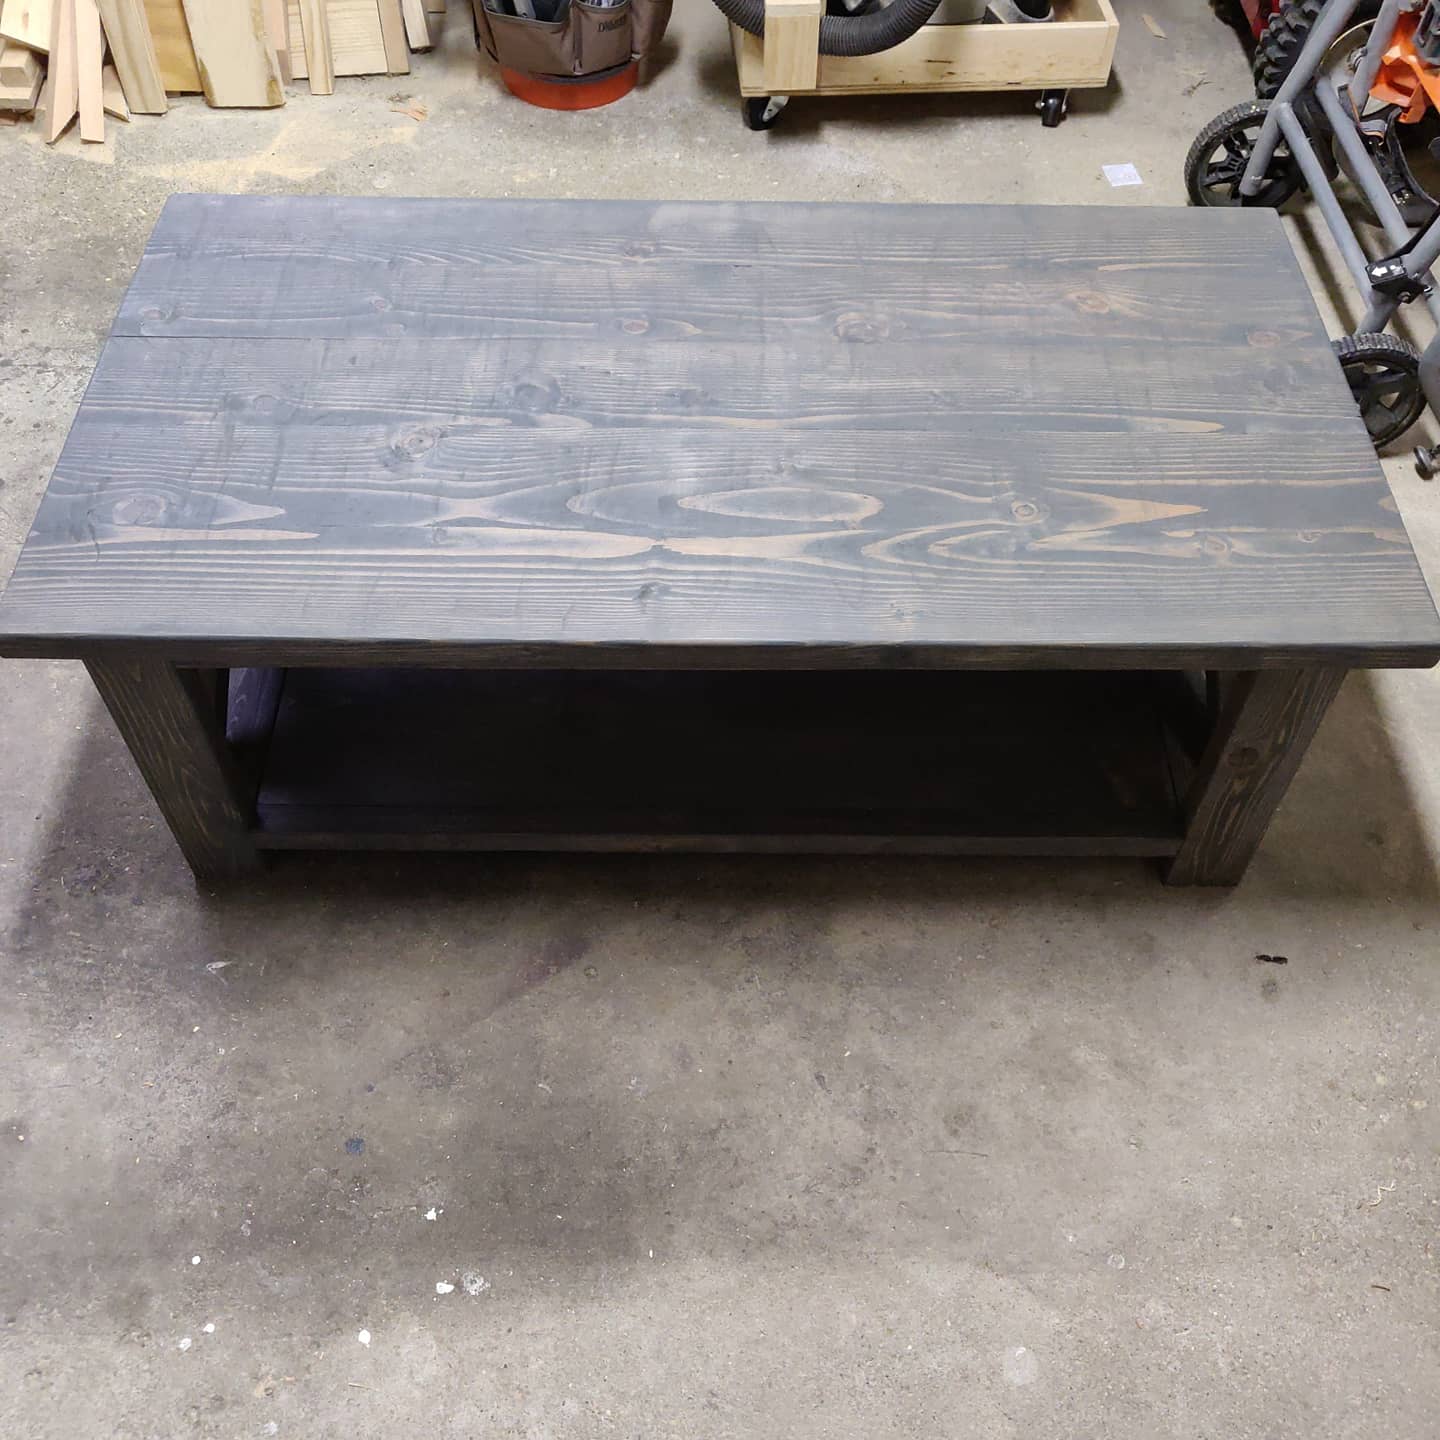
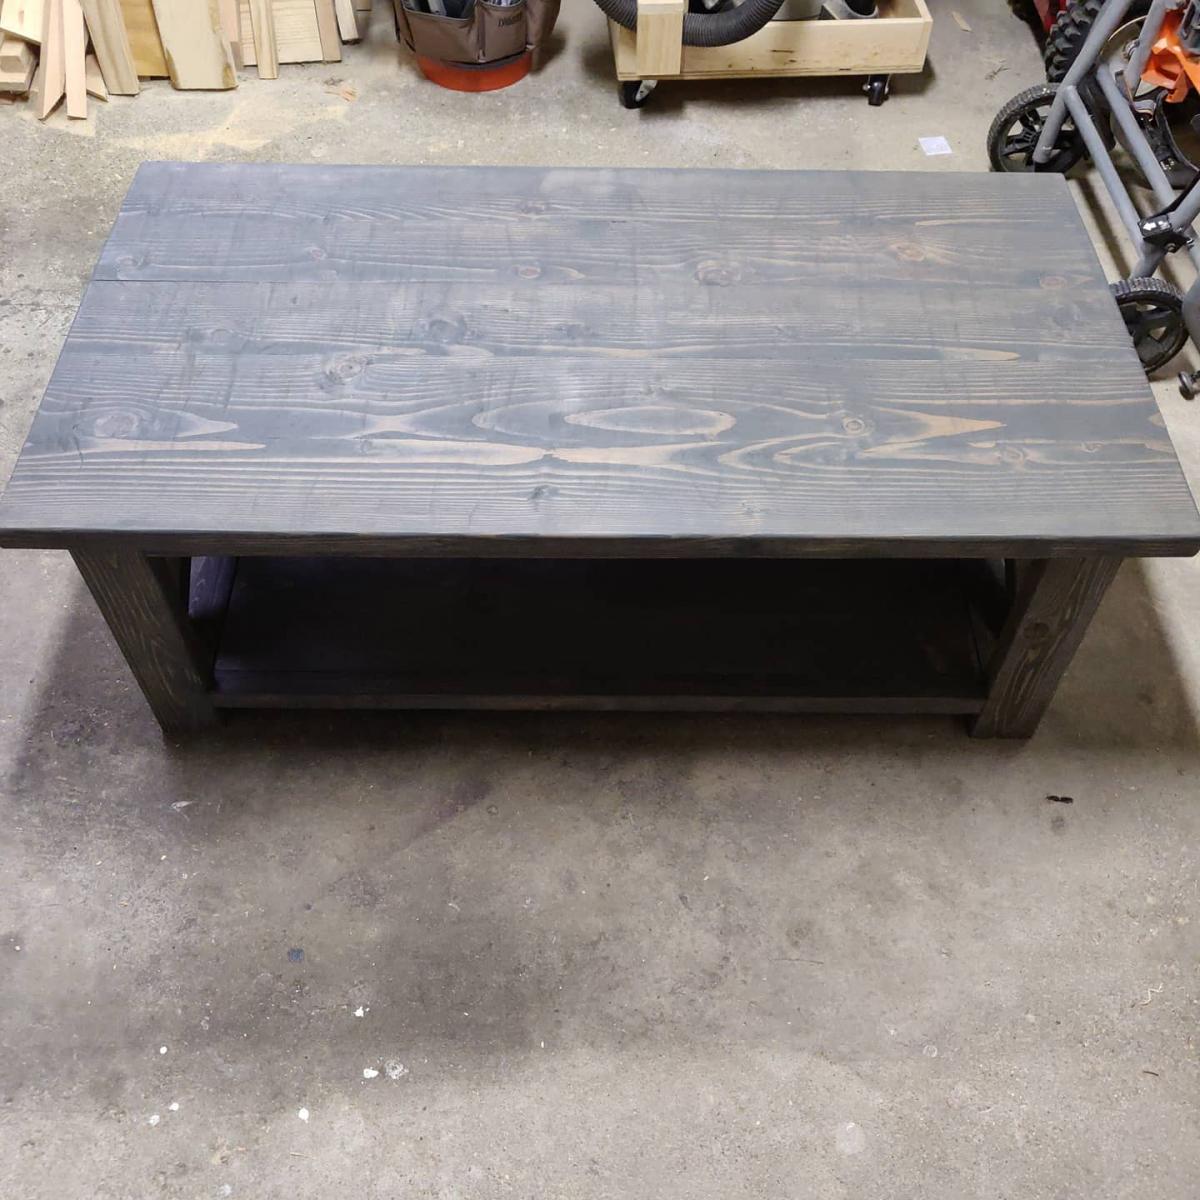
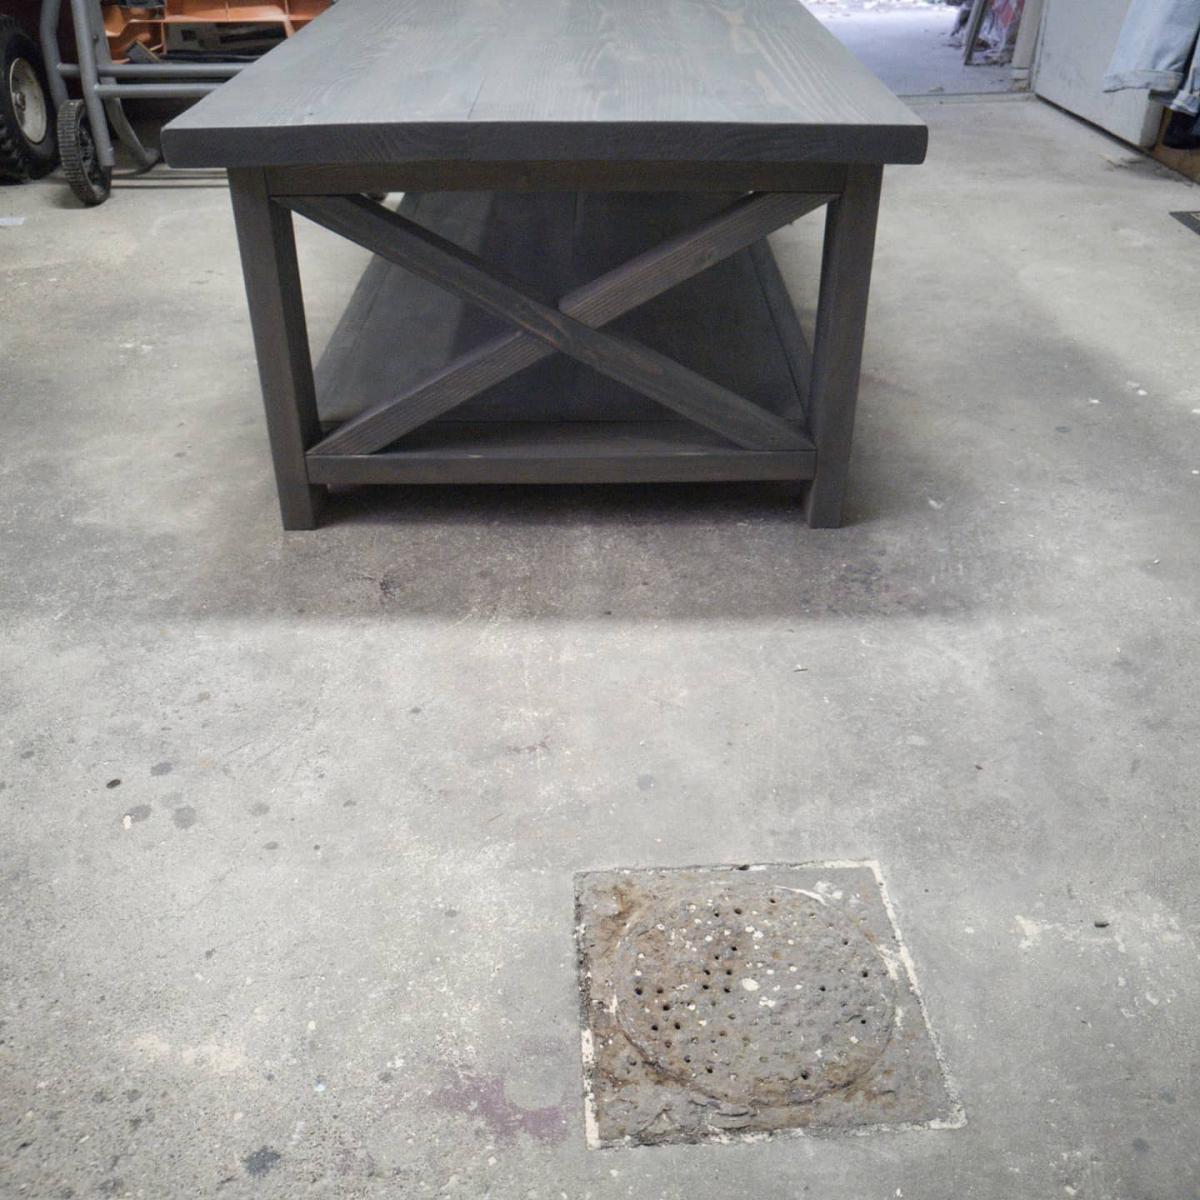
This completes our living room Rustic X collection. Made the top slightly longer (52.5") and dado'd the exes. I also used 2x12 boards and cut them down so the top is completely flush.
Tue, 09/29/2020 - 17:08
I'm sure it feels good to complete the collection! Thanks for sharing:)
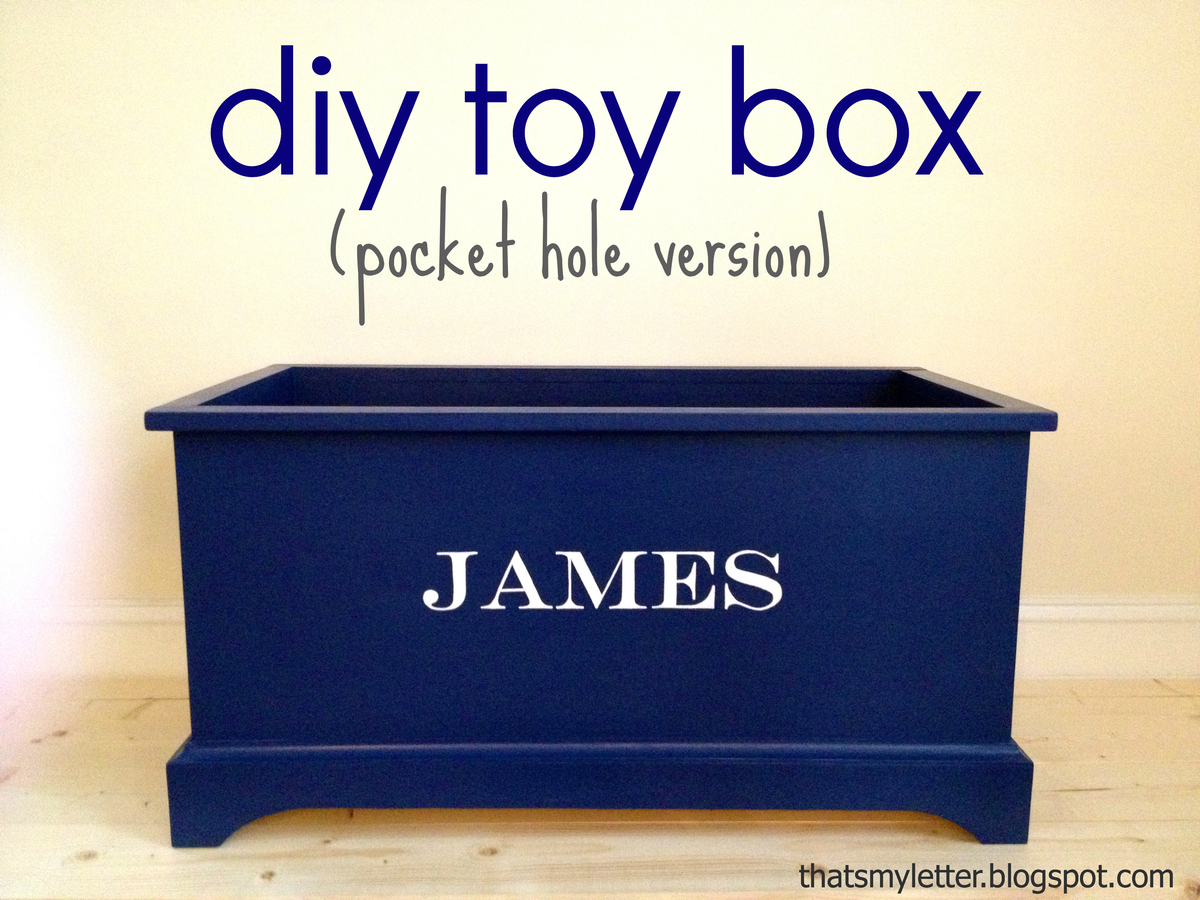
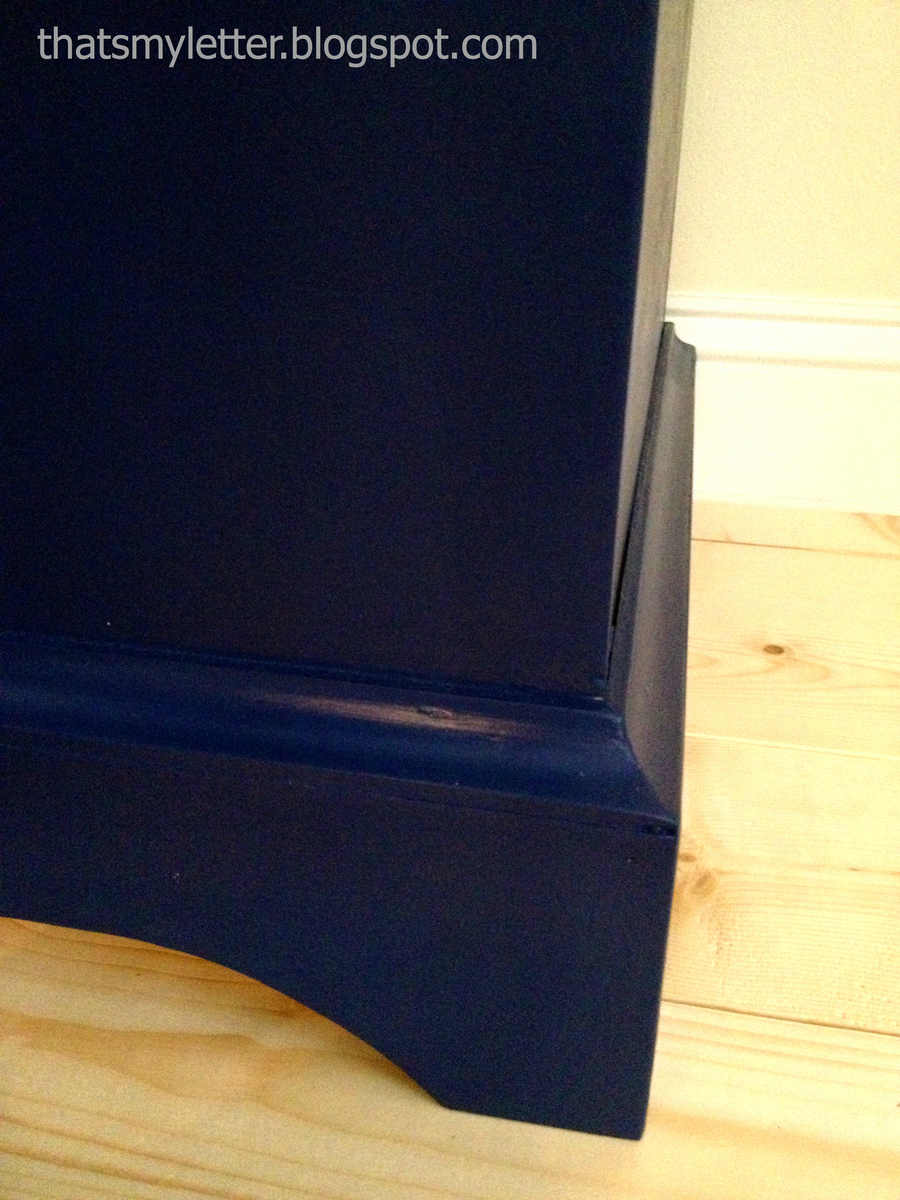
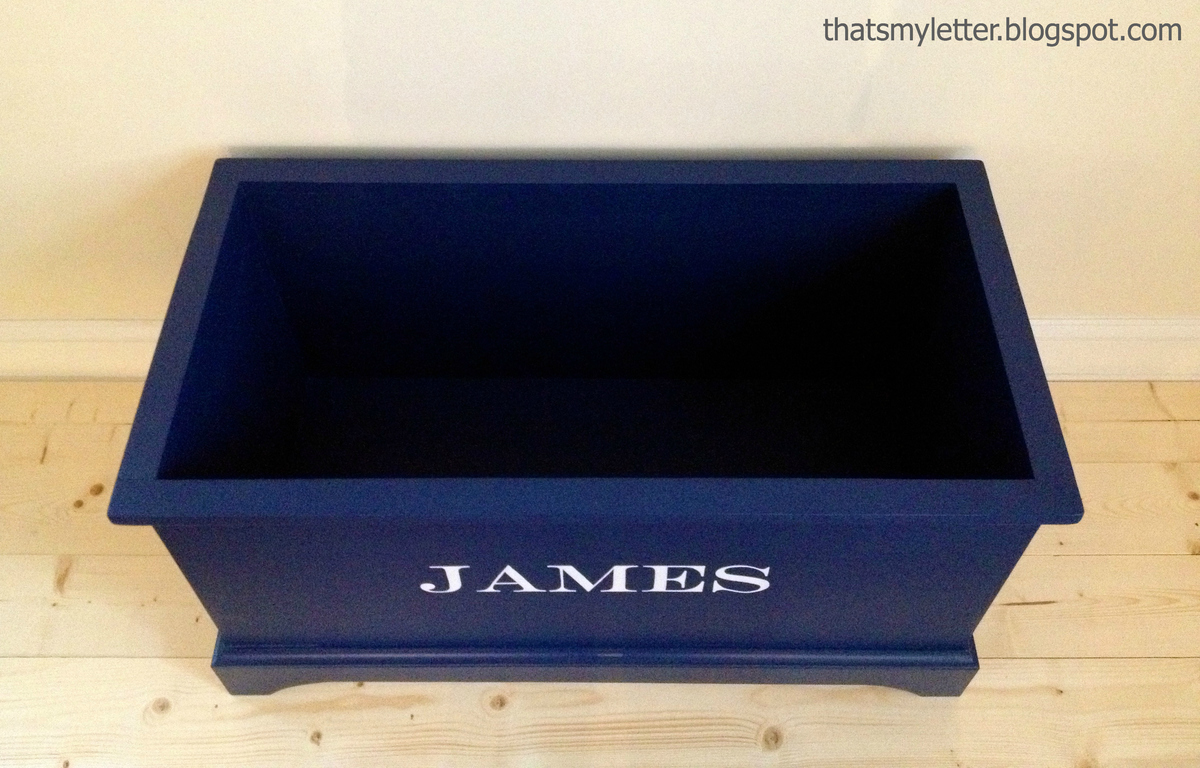
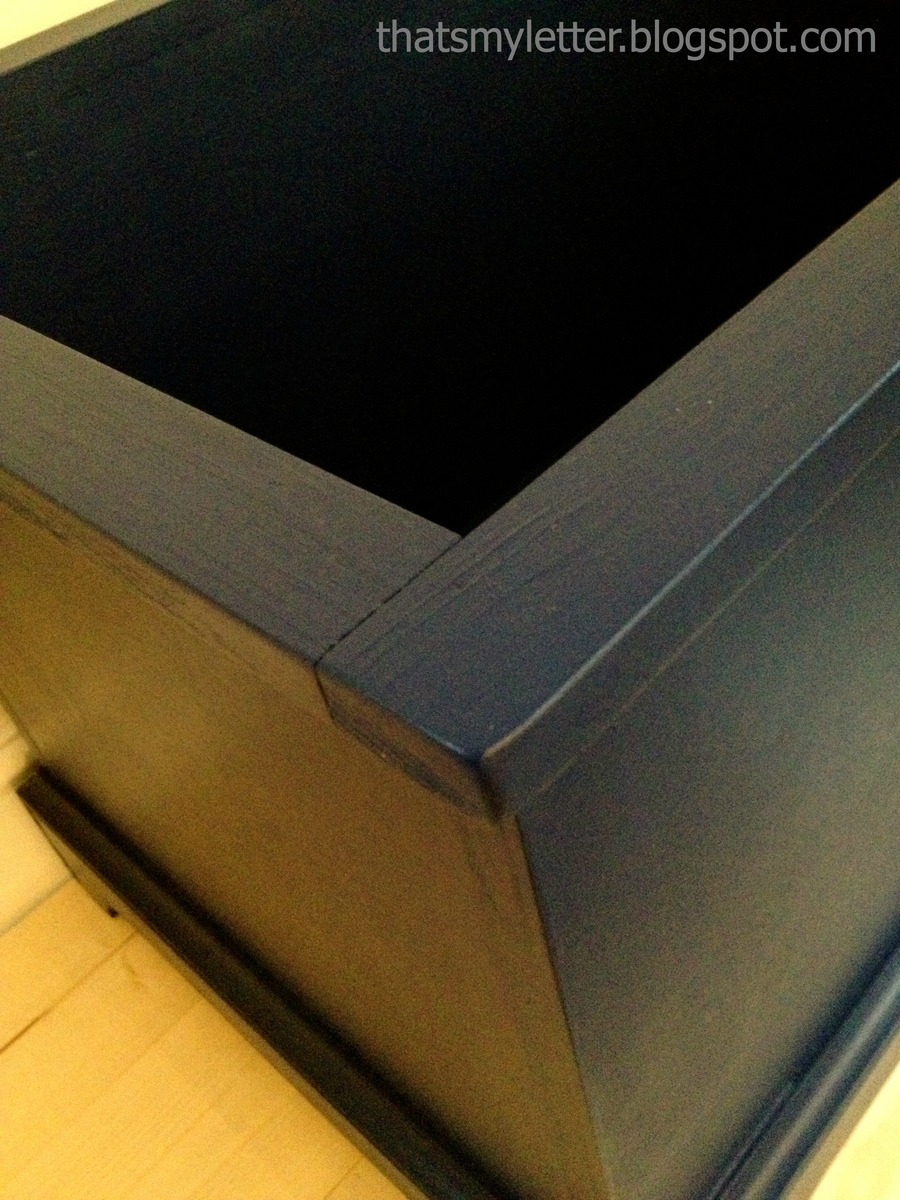
Build the open toy box using pocket holes for a smooth, secure and easy build.
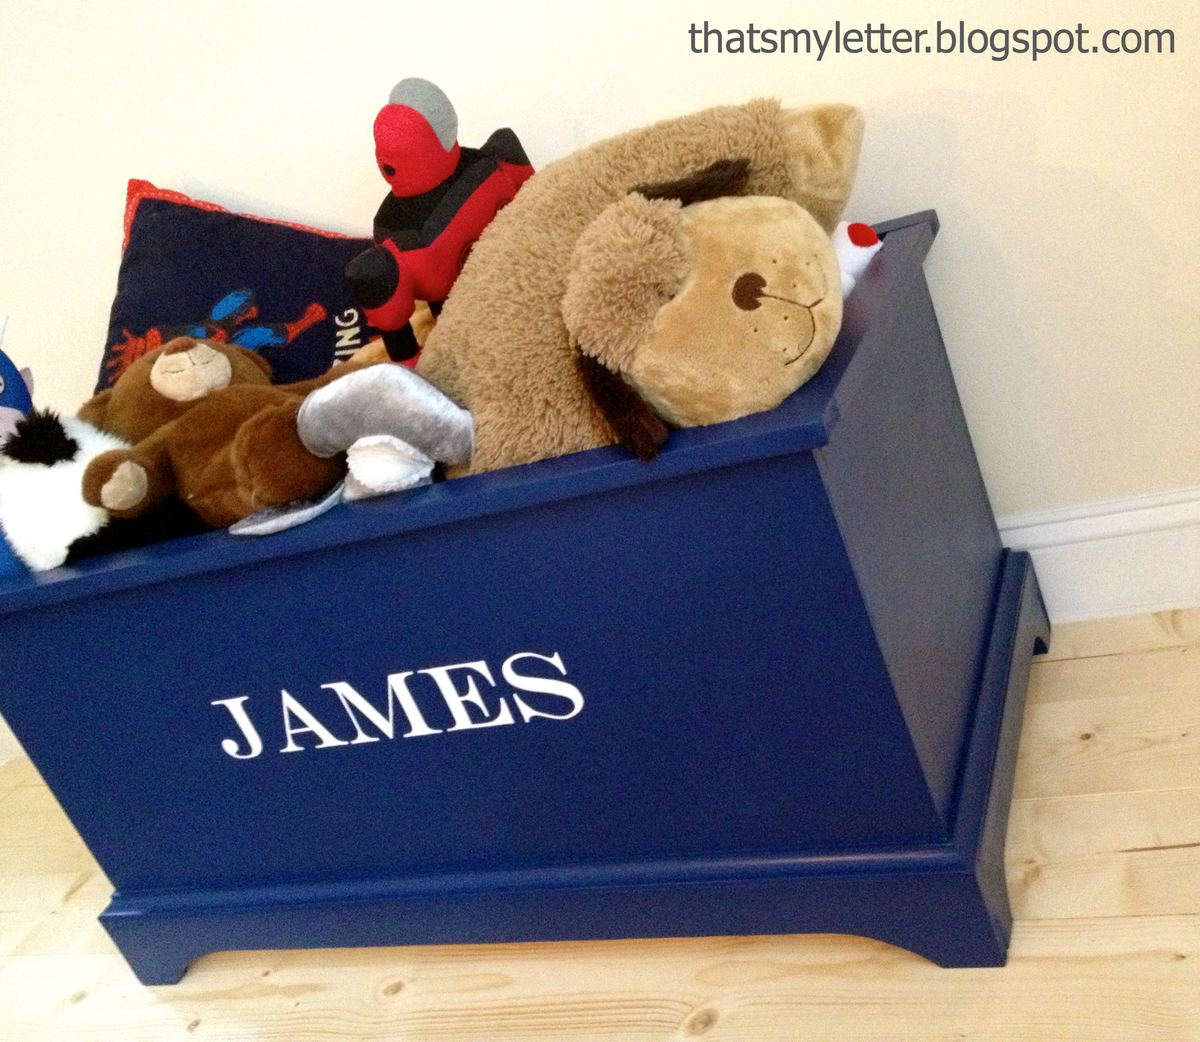
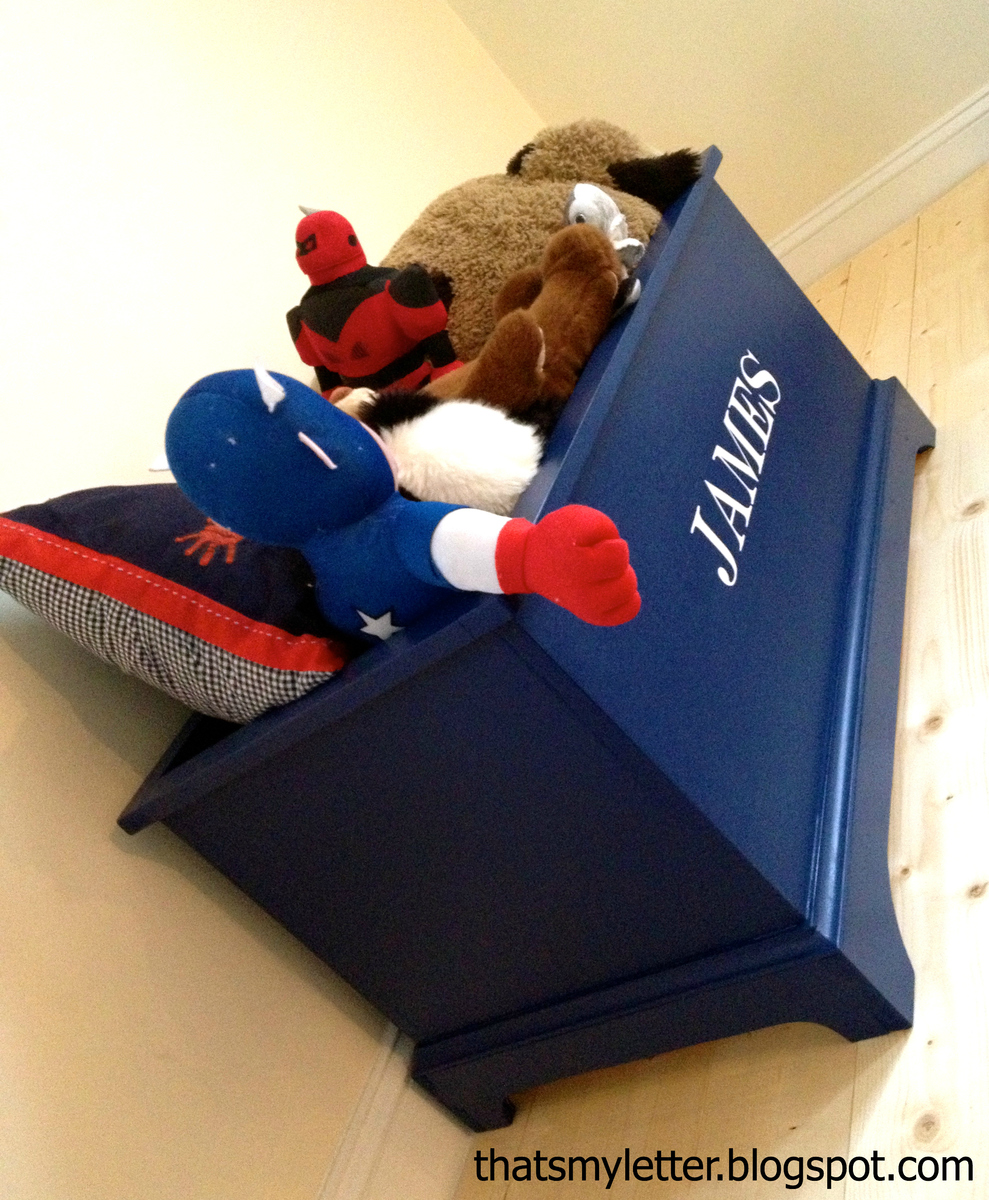
my daughter needed a new bedroom set... i refused to spend thousands of dollars on a new dresser and a bed. with a little hard work and help from Ana's plans... i was able to put these together and they turned out AWESOME!
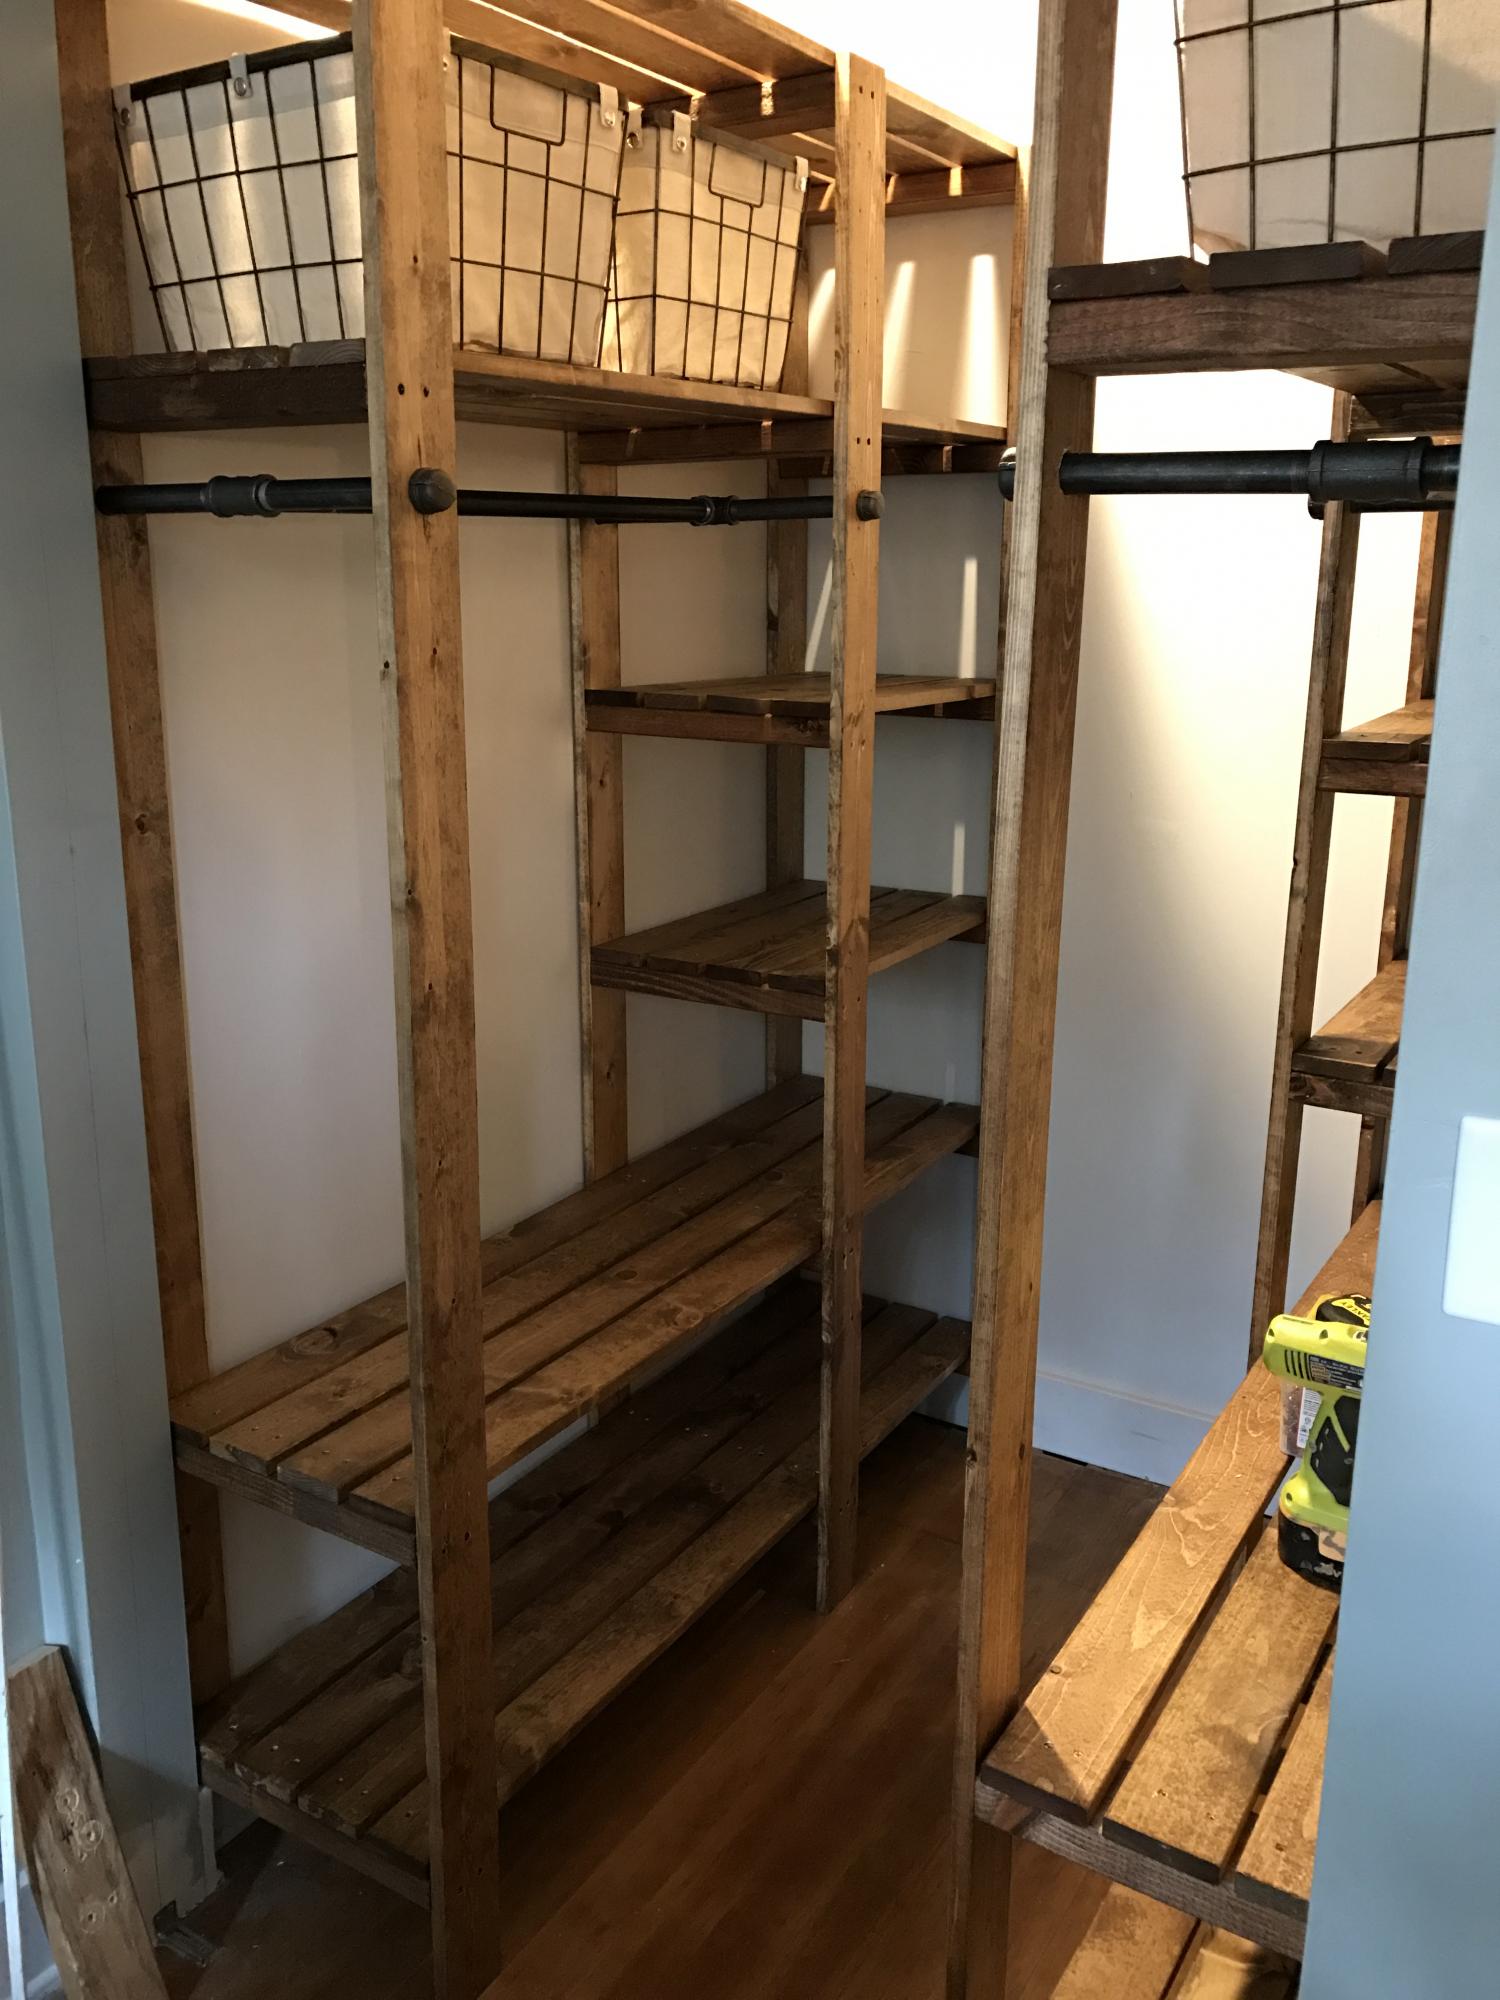
We made smaller ones for each side of the closet. Love it!
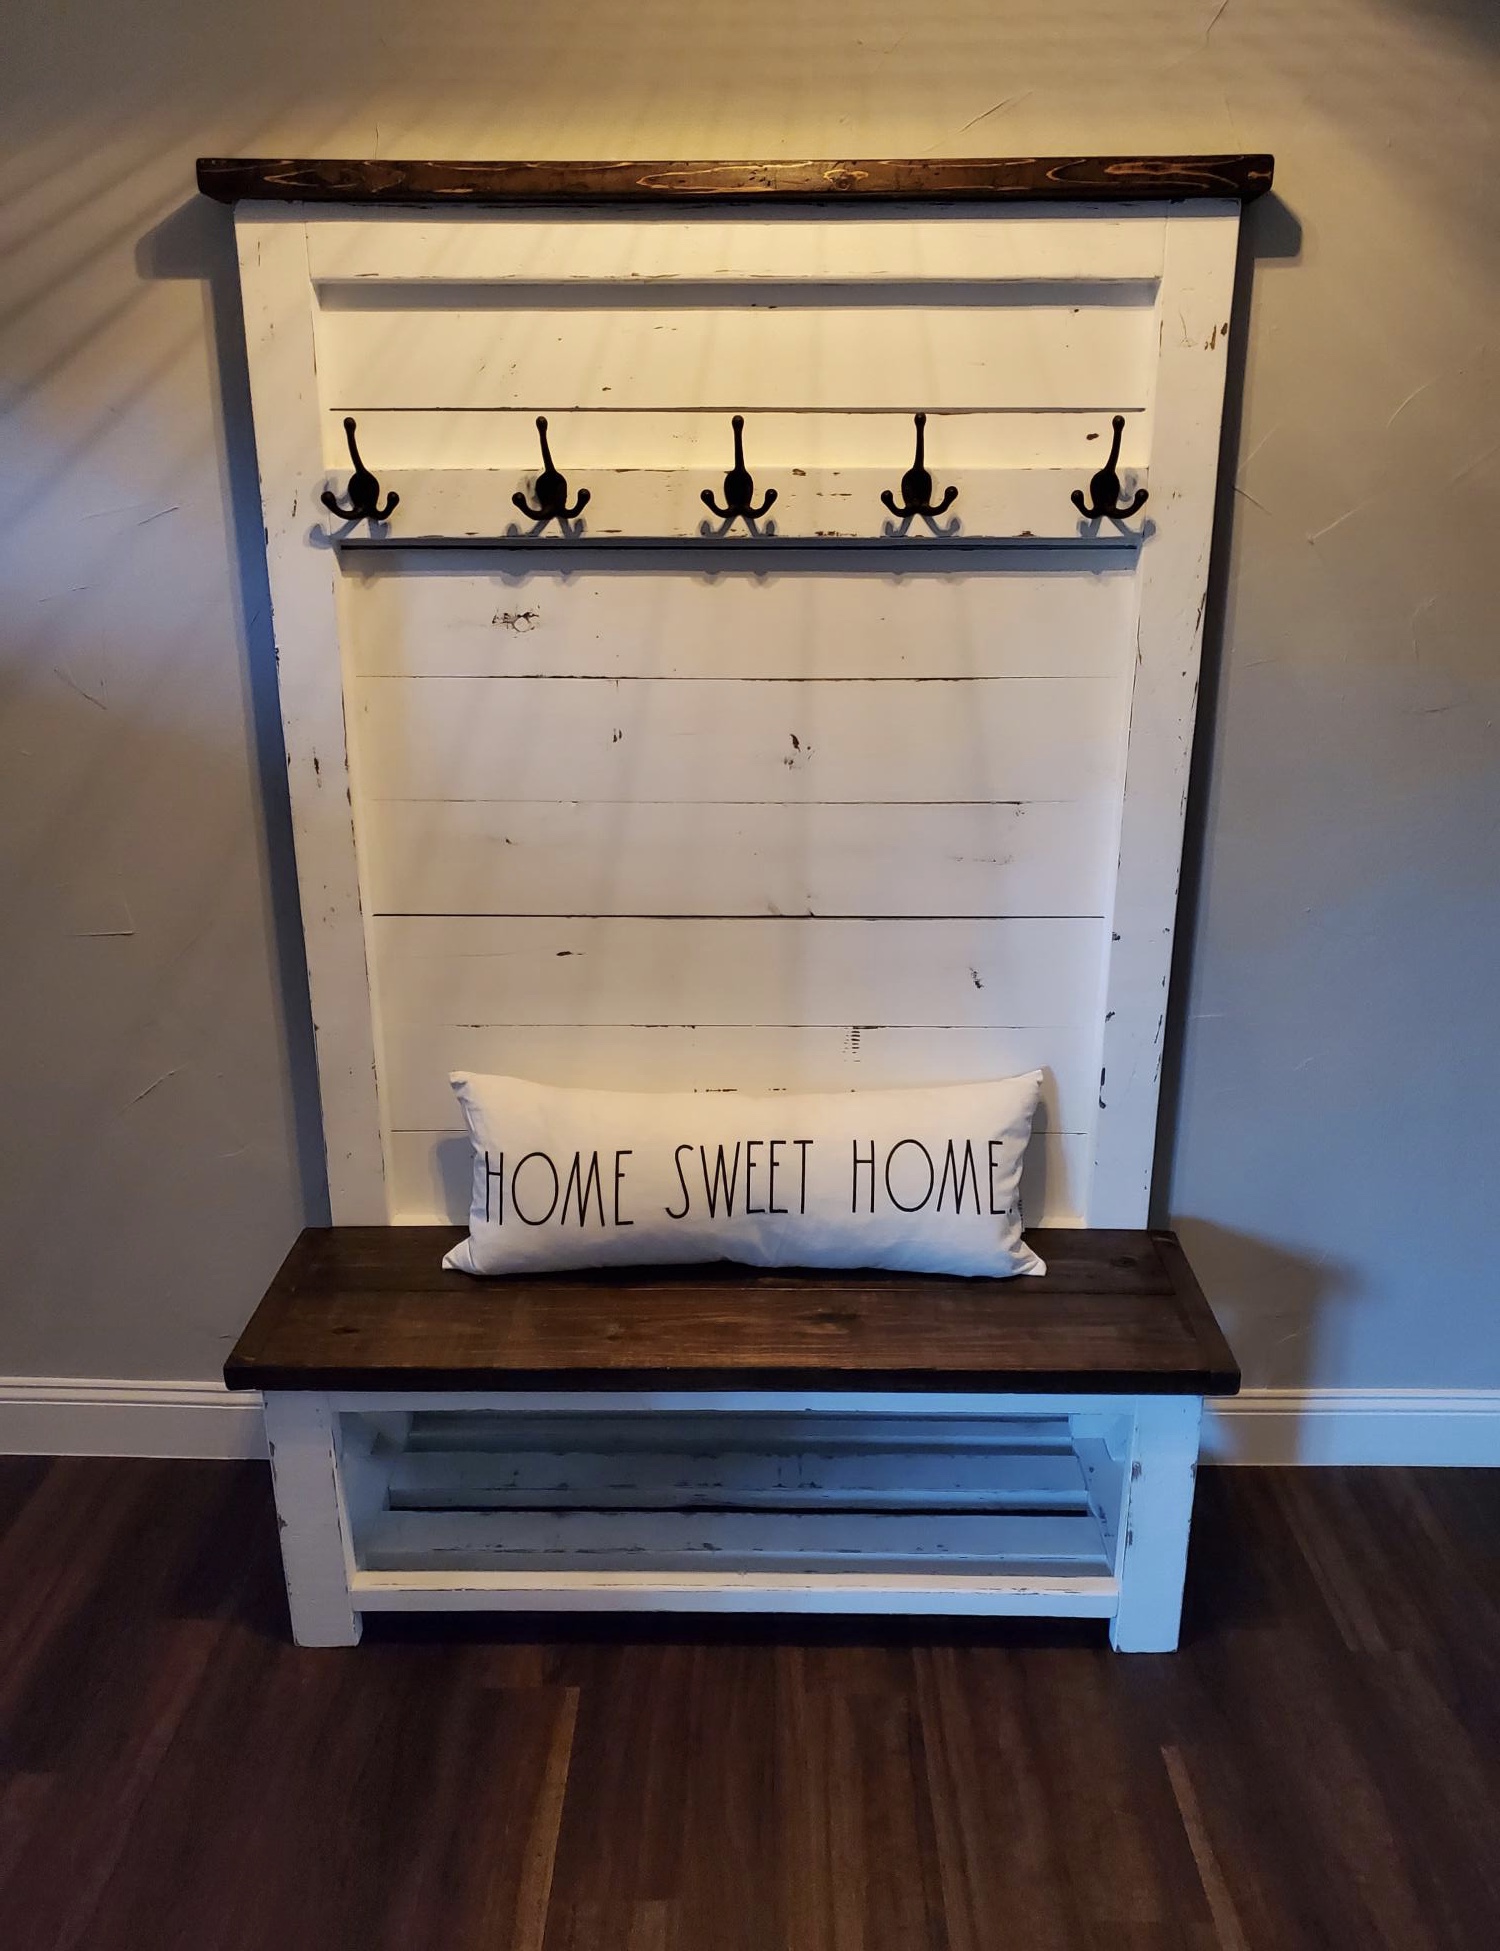
first furniture build from scratch. A few minor differences. I decided to distress by staining entire piece with minwax espresso stain, then painting over with white chalk paint and sanding through. Decided to leave bench and to molding stained for effect. Love the piece and so does my wife.
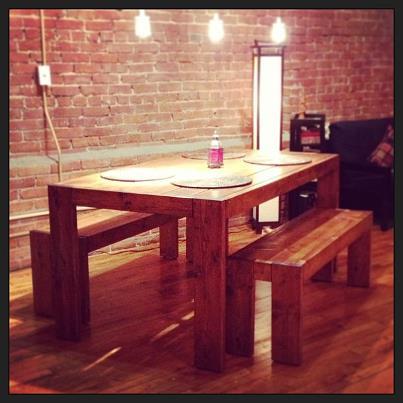
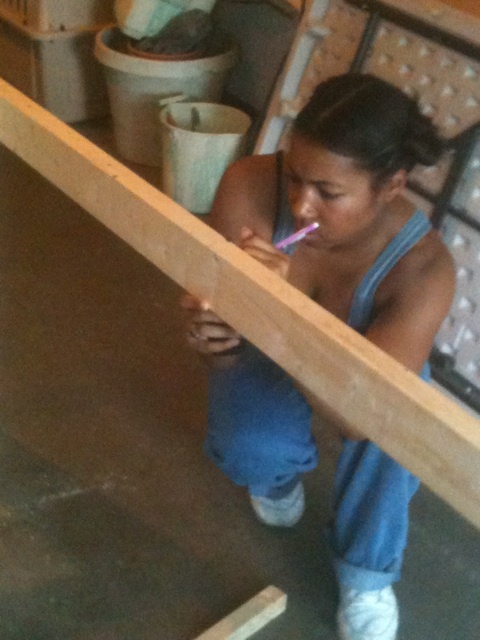
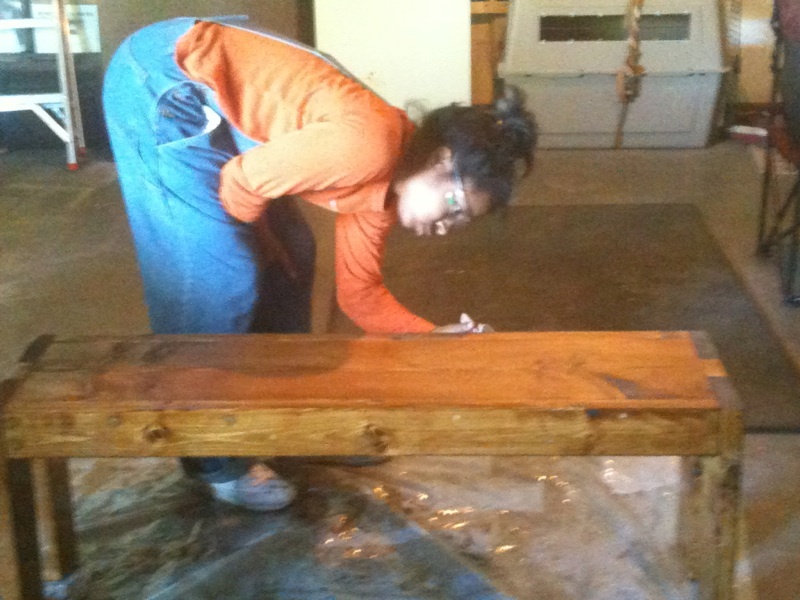
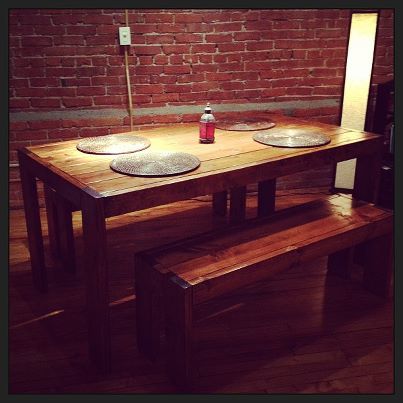
My ex-marine uncle helped me build the modern farm table and benches. We bought pine from Lowe's. Not all of the pre-cut pine slabs fit the exact dimensions from the modern farm table and benches plans. We knew some of the wood would have to be cut again. A Lowe's worker was kind enough to use the store saw to cut some of the wood into the dimensions needed for the table and benches. He measured and remeasured.
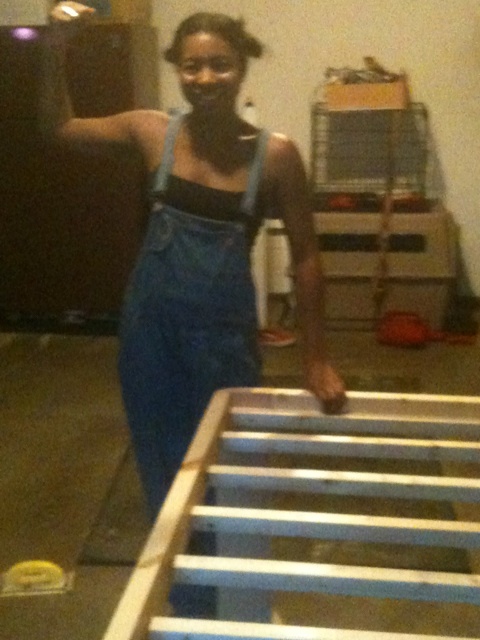
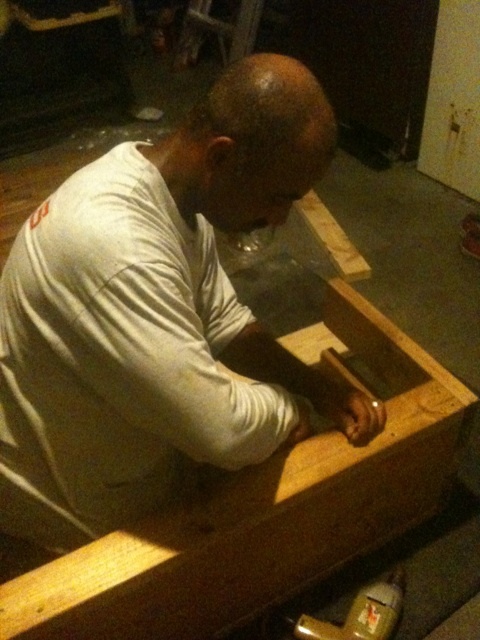
Once in my uncle's garage, we first dry fit the furniture. My uncle started with the table. We dry fit the table on its back (in other words - we assembled the table upside down without drilling the table together). He then remeasured all of the wood for the table (while on its back). He wanted to be sure that all pieces would fit, once we started to actually assemble the table with drills. We did the same for each of the two benches.
Then we buffed out any dark marks or stamps on the individual pieces of wood. We did this by hand and not with an automatic tool. That part was BRUTAL.
Next we conditioned the wood. Wood conditioning is necessary, because pine stains unevenly. We waited 3 hours before applying the first coat of stain.
We applied the first coat of stain. Our stain was a mix of early american and golden oak. I did not intend for the table to come out as dark as it did. We mixed more of the early American stain than I had intended, because the table came out darker than I expected.
We waited in beween coats and we assembled the table and benches in between the first and second coat of stain.
We applied a second coat of stain to the assembled table and benches.
Then we applied polyurethane to seal and protect the stain.
After the polyurethane, we used wool to sand out any bubbles.
After the table and benches were assembled and everything drilled in place, we put wood putty in the places where holes were drilled.
Then, we stained the wood putty. The wood putty accepted the stain very well.
Duration
We built this table during the second week of August 2011. The project lasted between 28-30 hours over 5 days.
Make sure your boards of wood are fairly free from cracks. After inspecting them we put several boards back.
I love my table! I'm always complimented on its beauty. My materials cost around $230.00. I built this table, because the farm table and matching benches I wished to purchase totaled $2,000.00. Thanks to my ex-marine uncle, I have a fabulous table to last a lifetime. I mention his ex-marine status, because the military taught him perfectionism. Building a table with in 100 degree heat with a perfectionist was tedious and hard work. However, it clearly paid off in the end! Thank you Uncle!
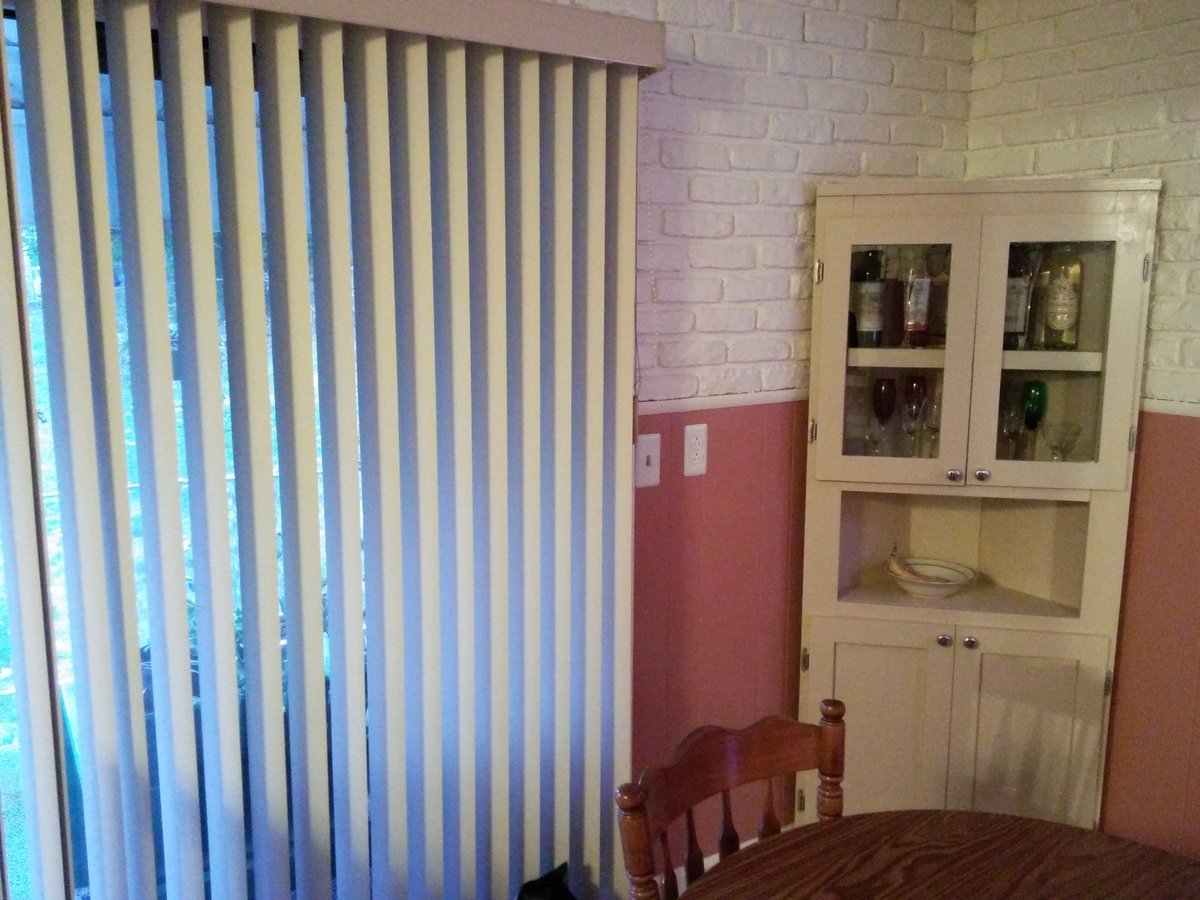
Great site and projects! I had to add glass doors after I thought I was finshed. Then it was strongly suggested to add doors to keep gglassware safe from our four cats.
Fri, 10/10/2014 - 07:11
I think adding doors to the top was a GREAT idea, as an owner of two cats myself. ;) It also adds a great look to the project. I think I prefer it to the ones without the doors. :) You did a wonderful job. It's beautiful.
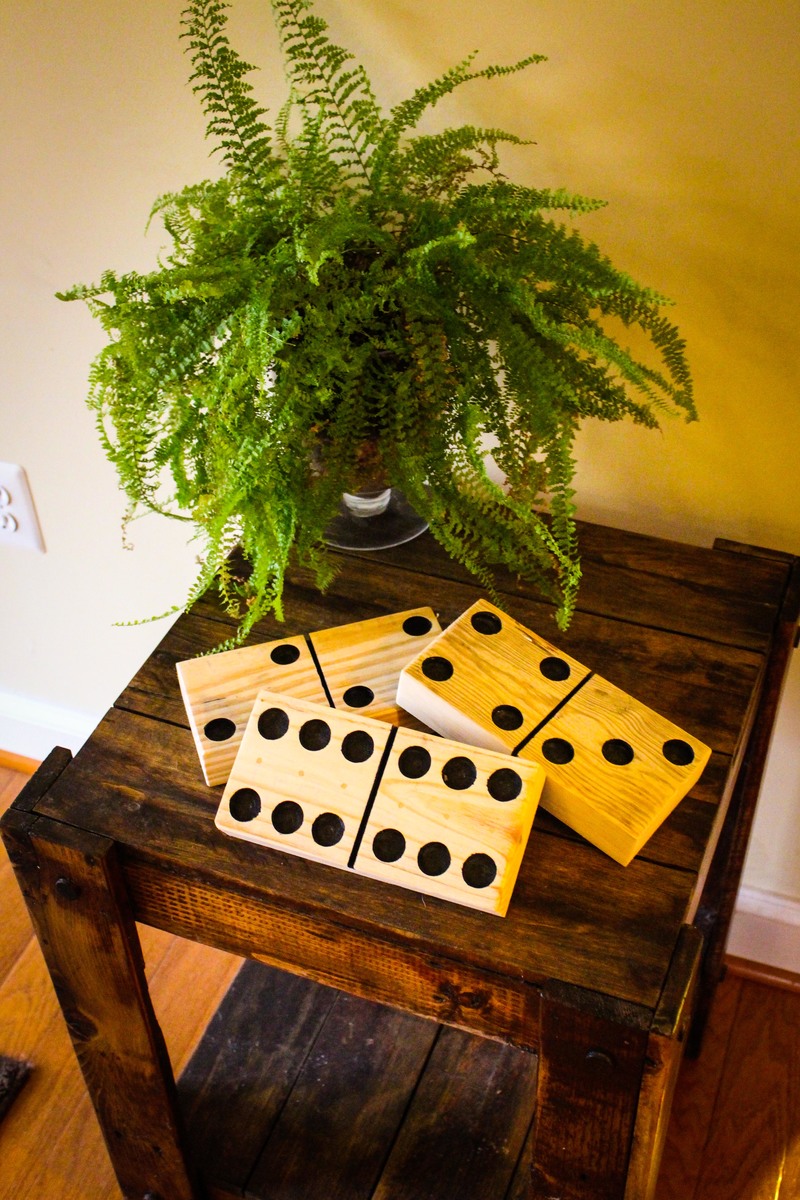
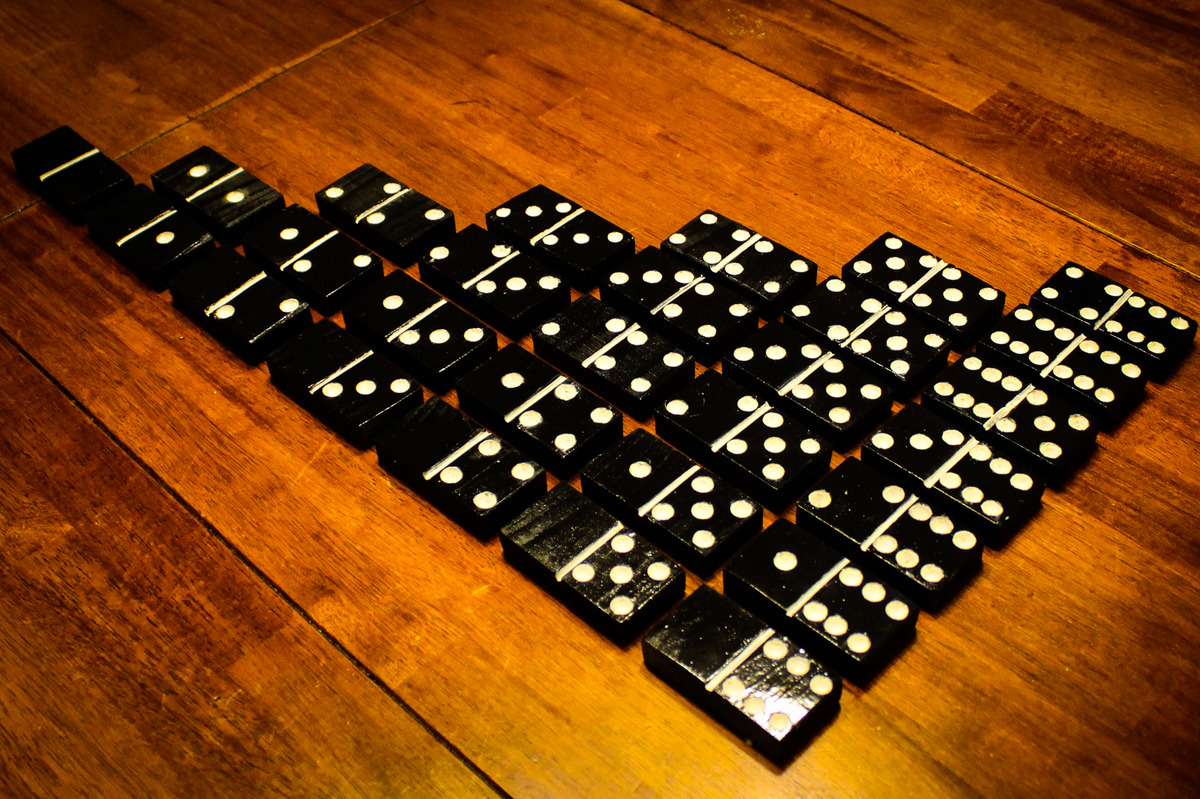
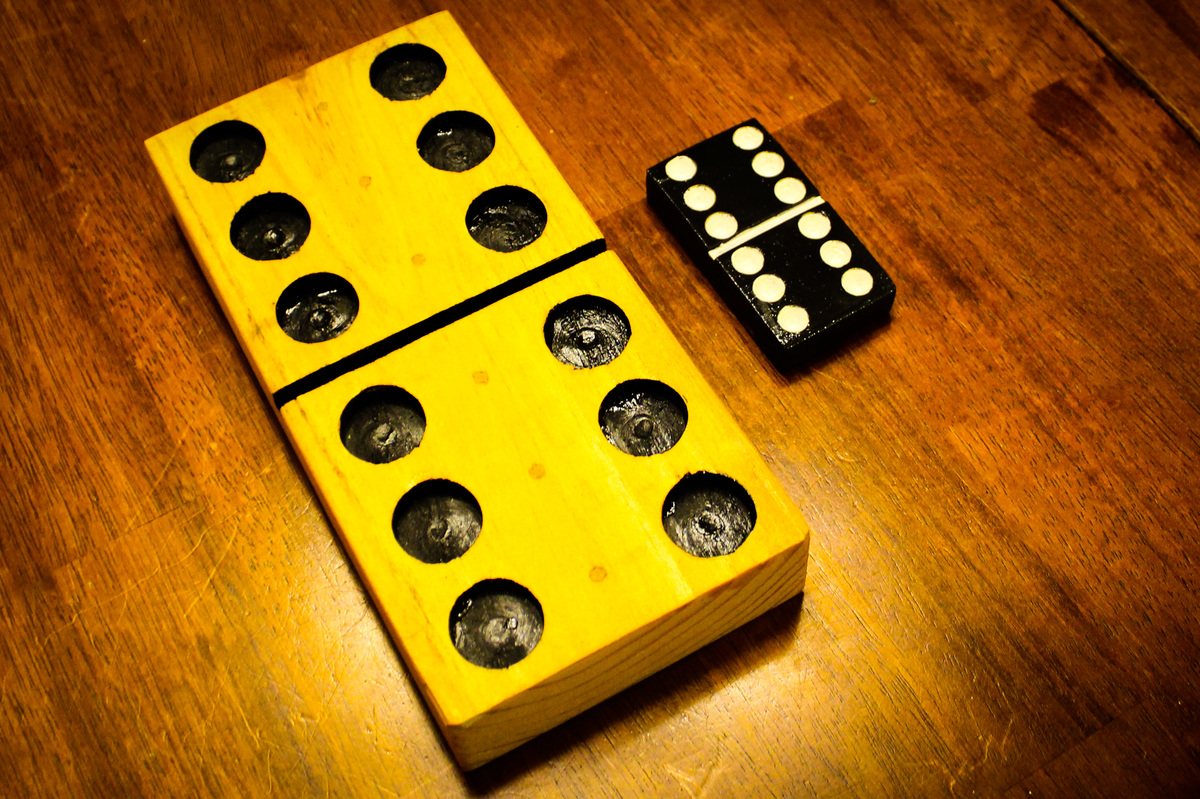
This is a simple and fun project to make. The black set are 3" x 1.5". The xlarge pieces are 8" x 4".
More Info / Build Instructions:
http://www.instructables.com/id/Large-Dominoes-From-Pallets/
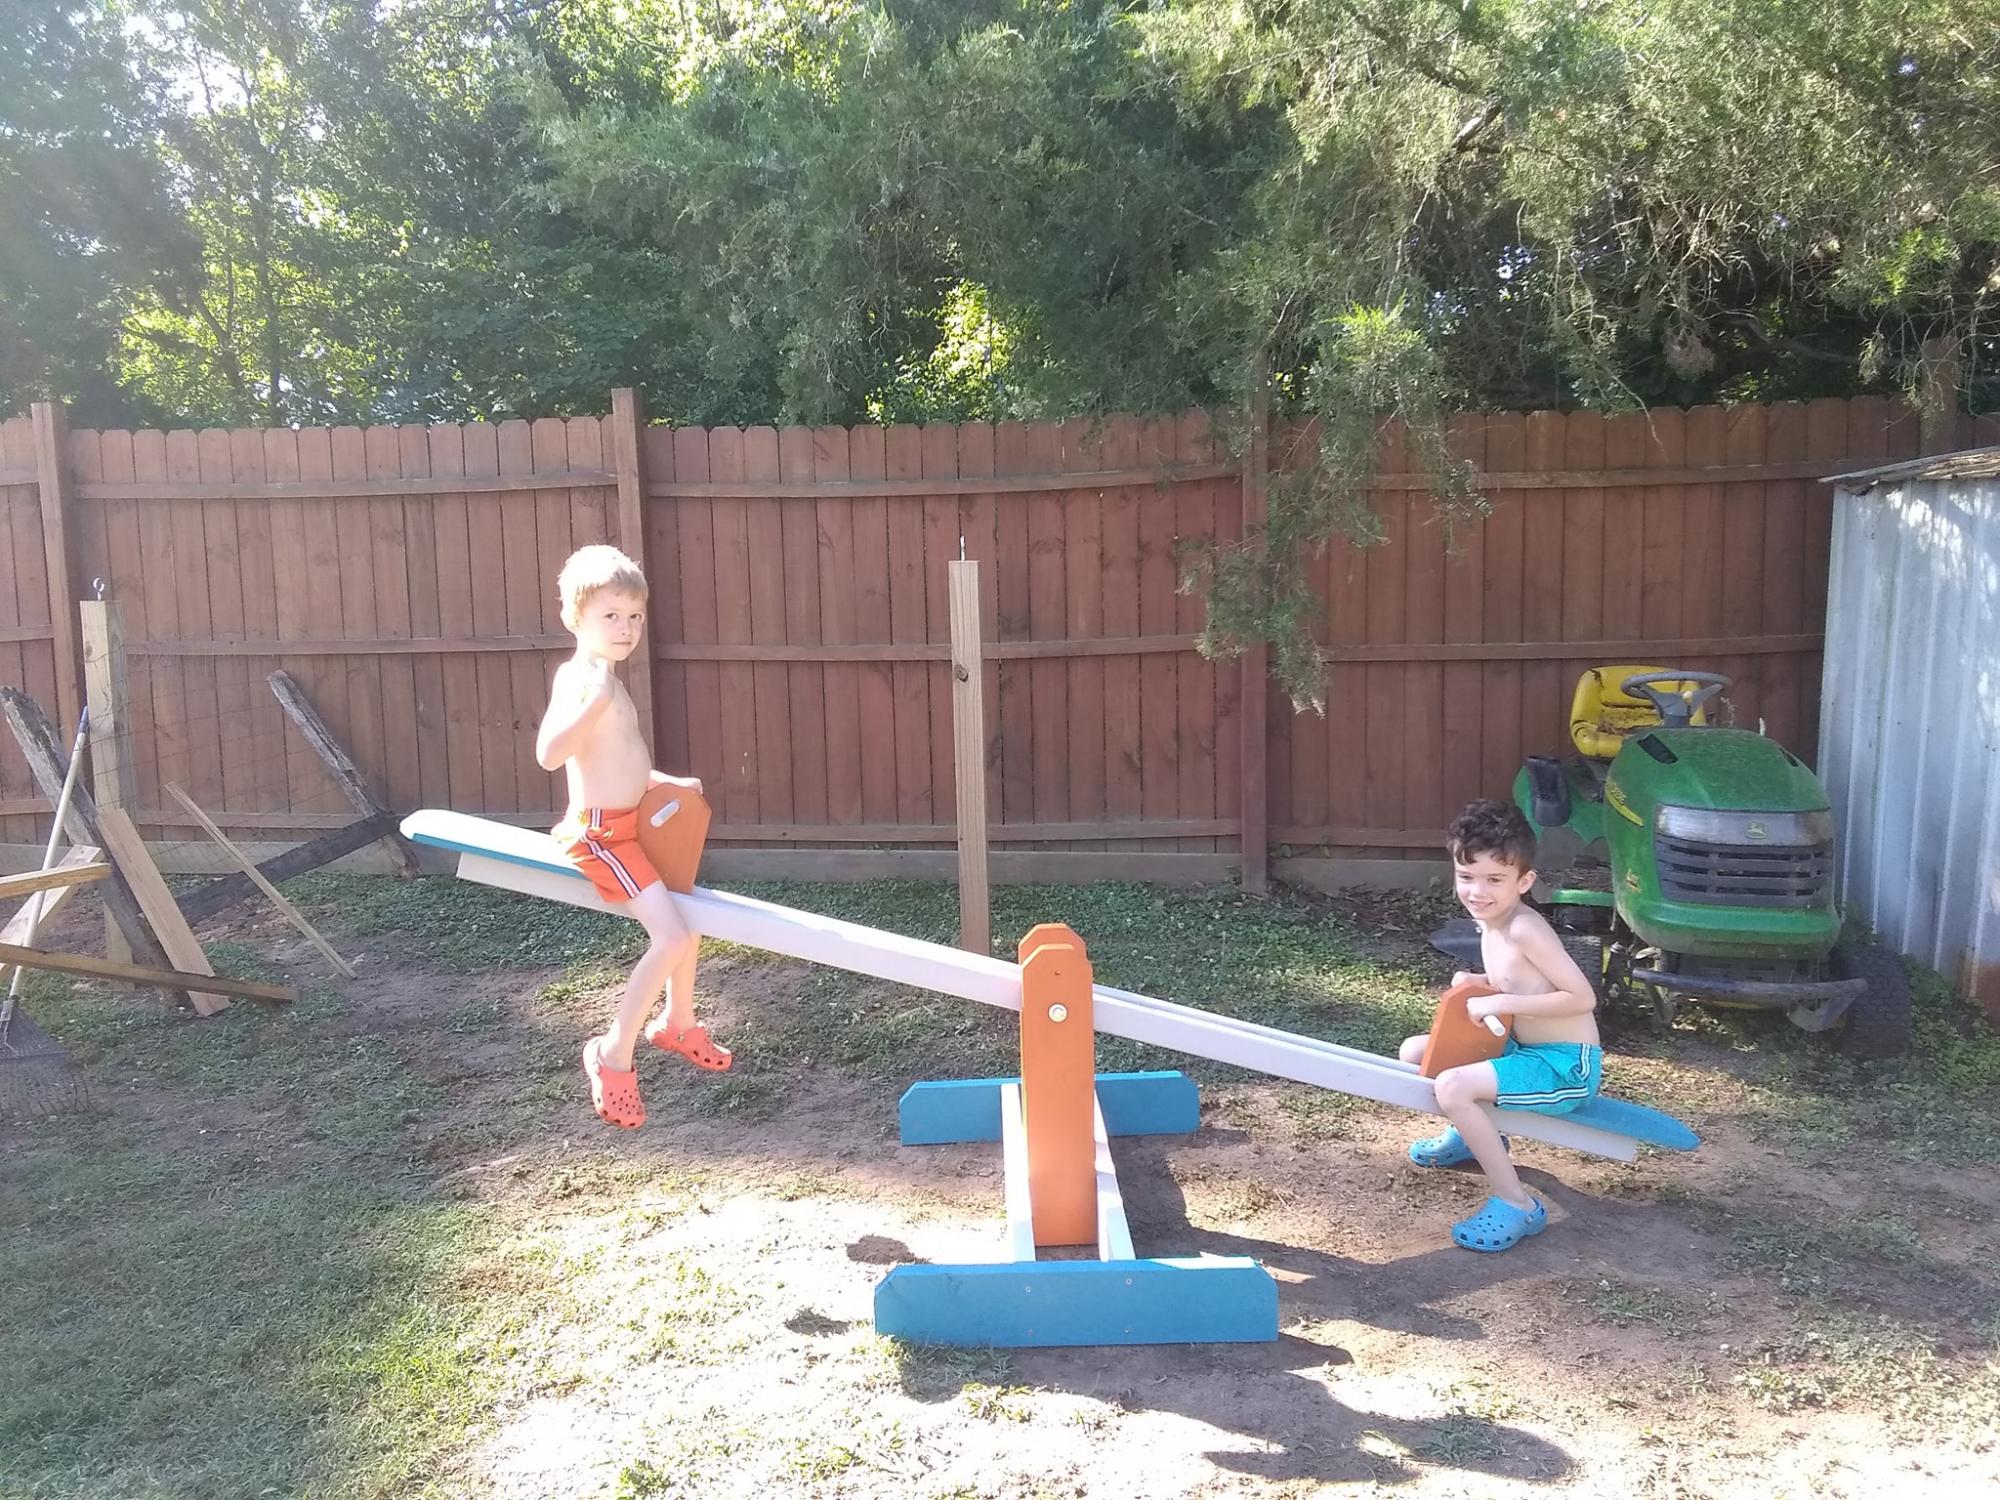
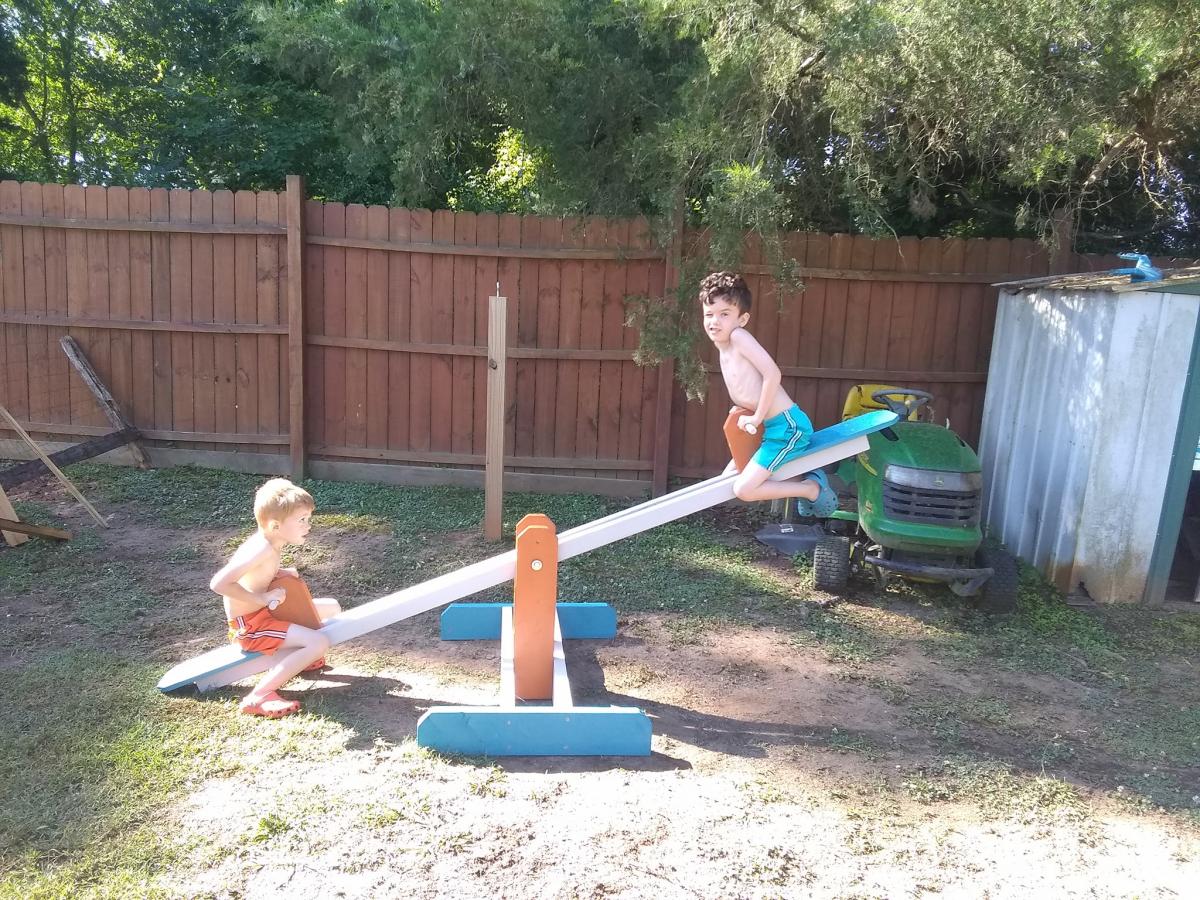
My husband and I made the boys a seesaw a few months ago. We had been spending a lot of time working on our chicken coop and I snuck around to make something for the boys as a surprise. They named it Blue Blade and it has been a fun new addition to their playground. It was straightforward to make. I used 2x3s instead of 2x4s since they were so much cheaper, and it worked really well. I love how it has the extra hole so we can make it taller as they grow.
