Oak Slat Bench
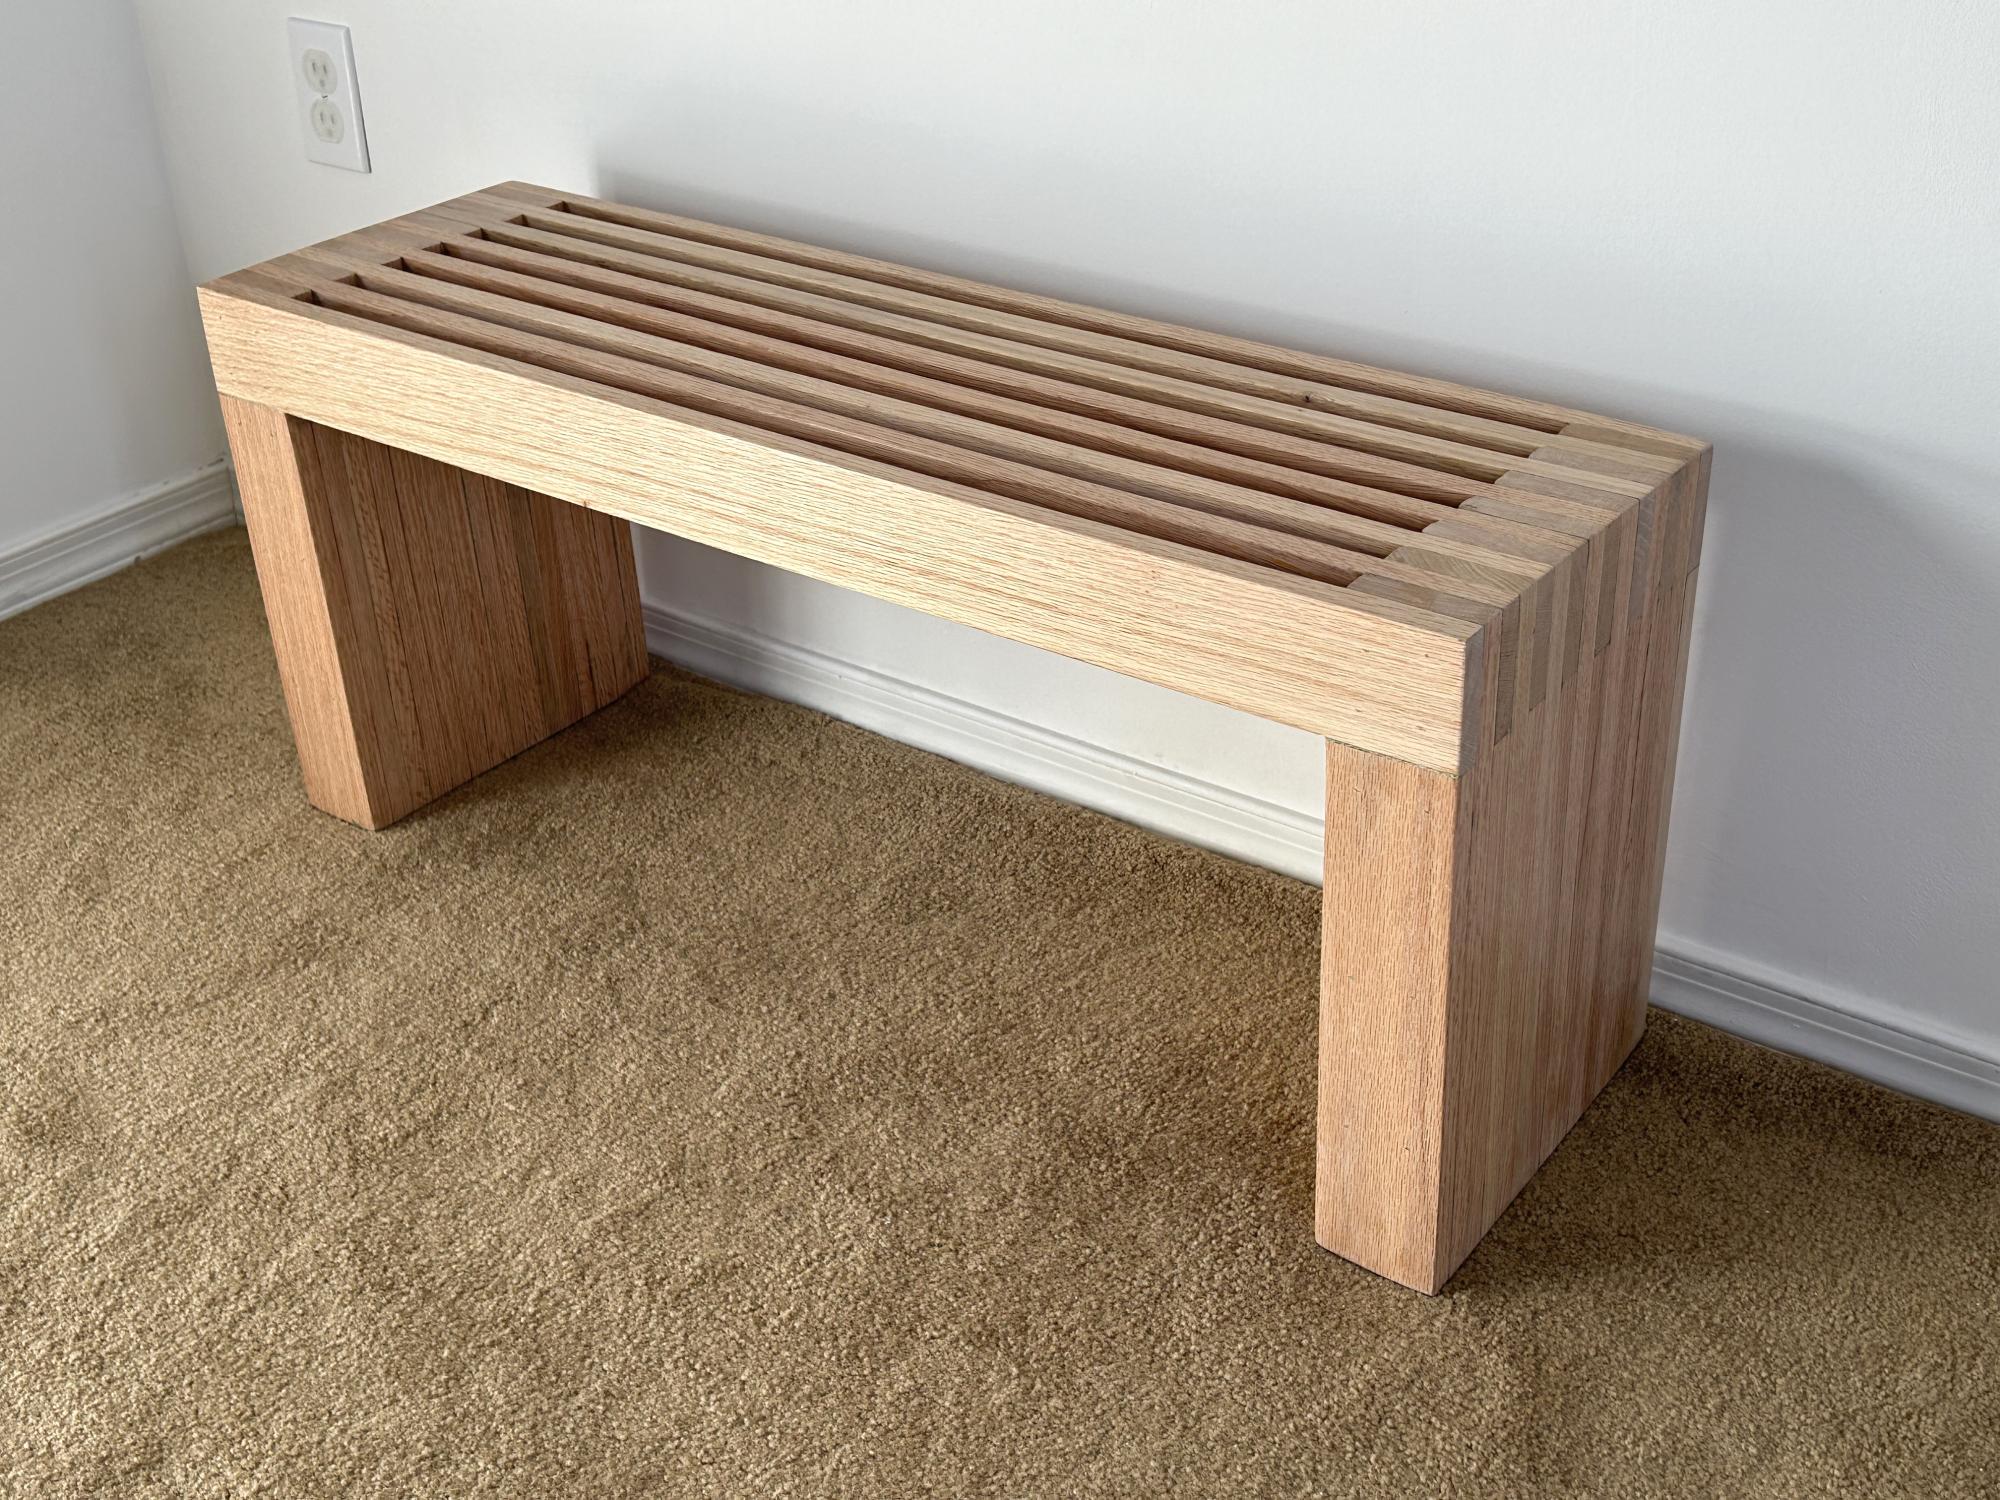
I turned some old oak shelves that I got from an estate sale into a 3' wide Scandinavian slat bench.
Pat Besong
Built from Plan(s)
I turned some old oak shelves that I got from an estate sale into a 3' wide Scandinavian slat bench.
Pat Besong
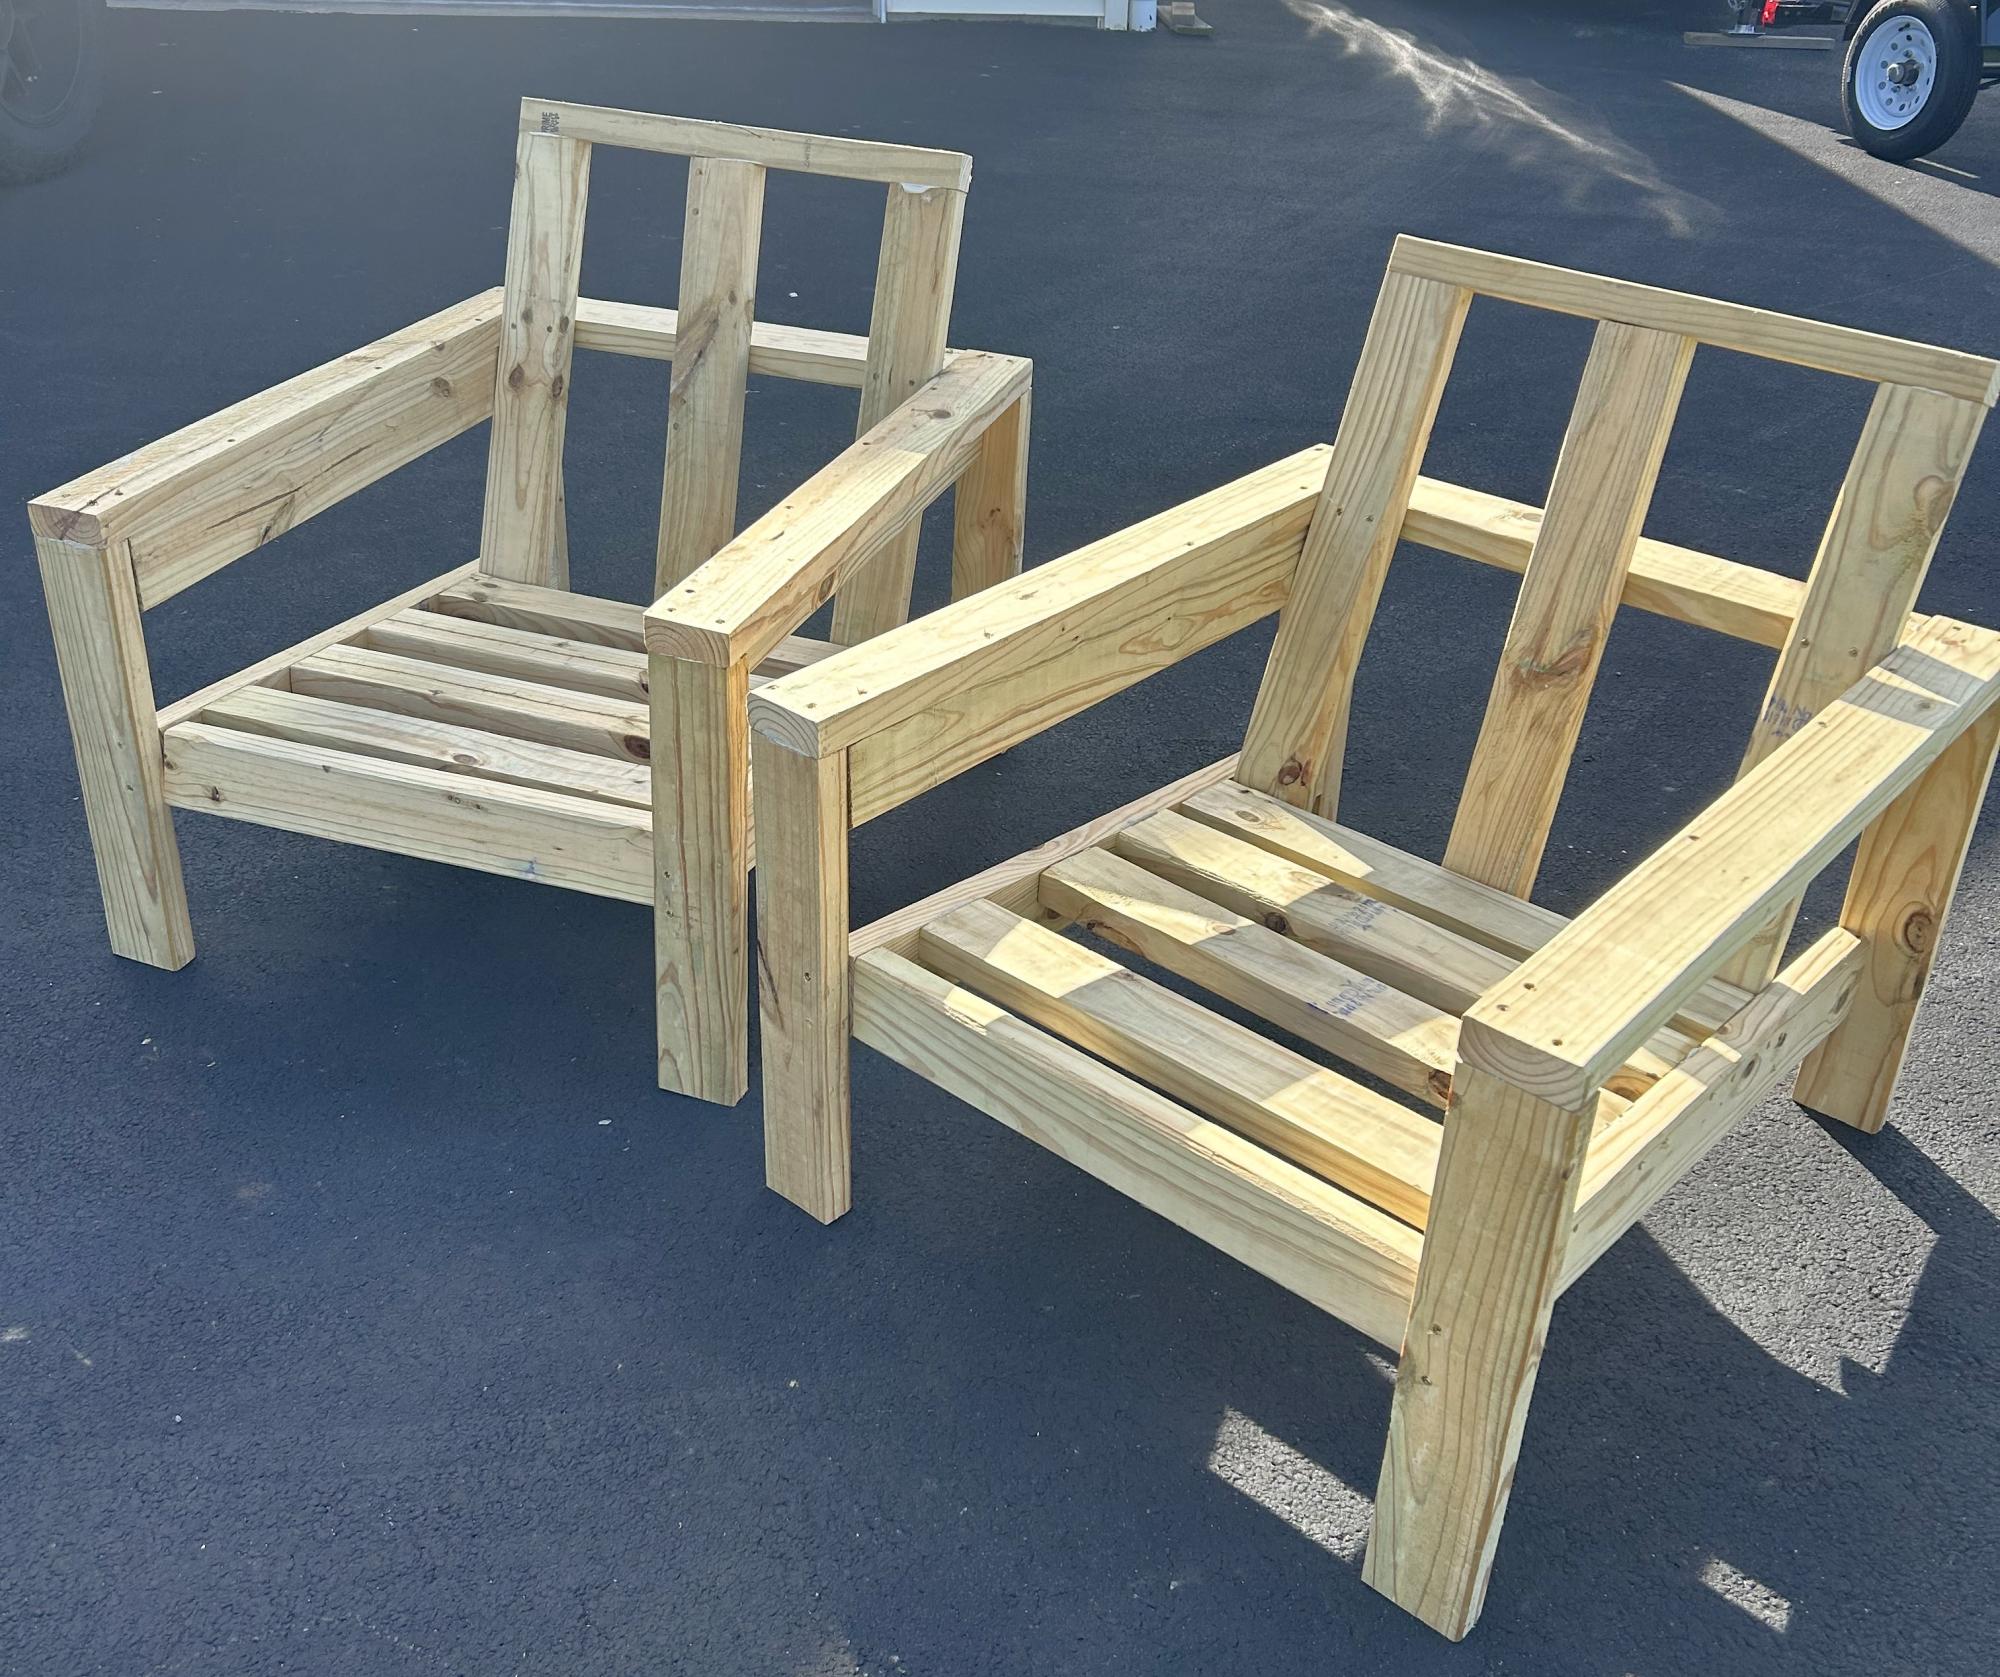
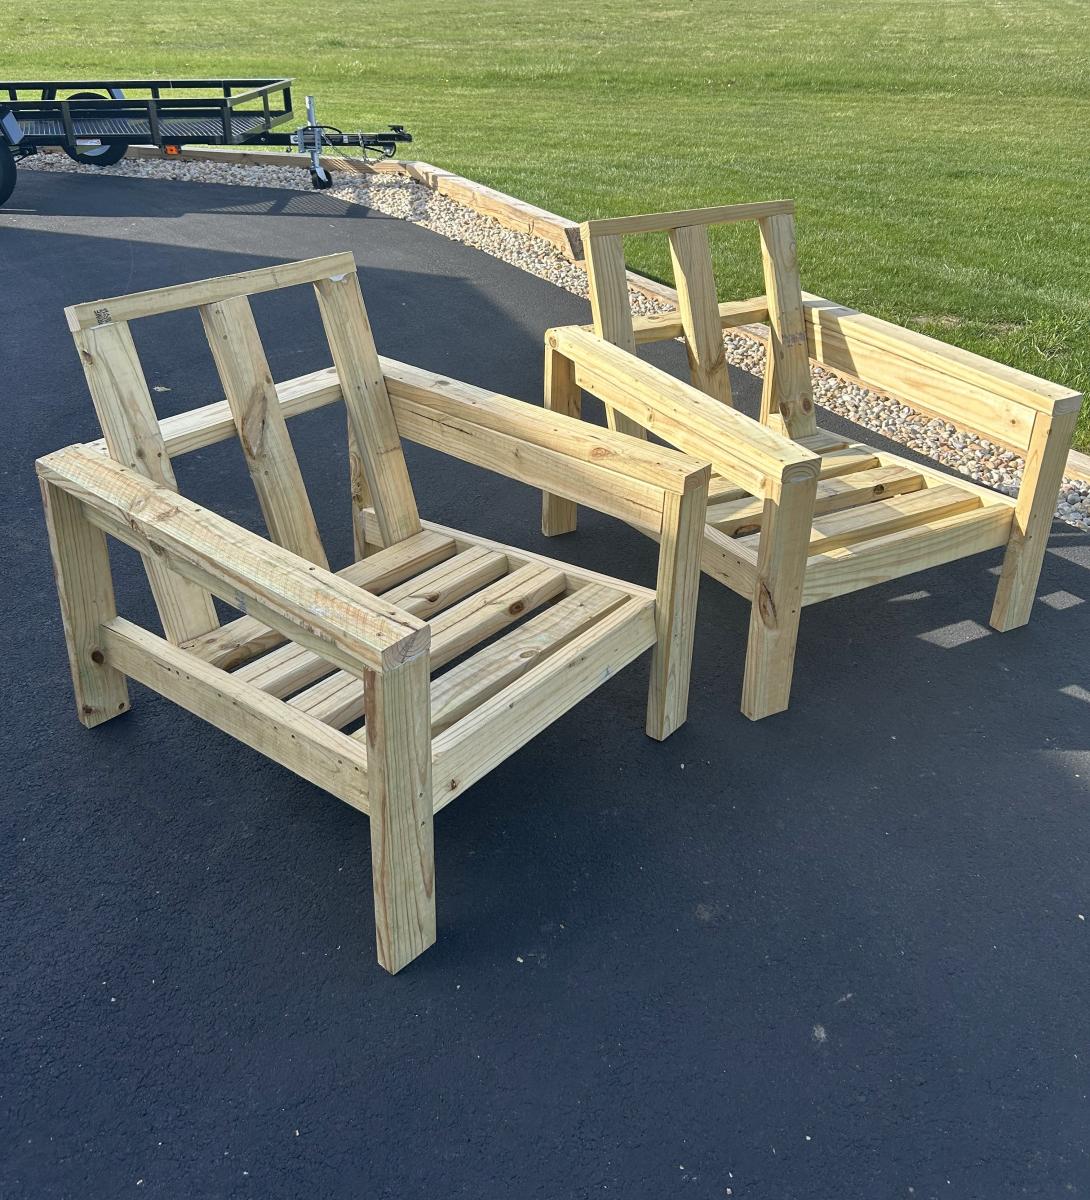
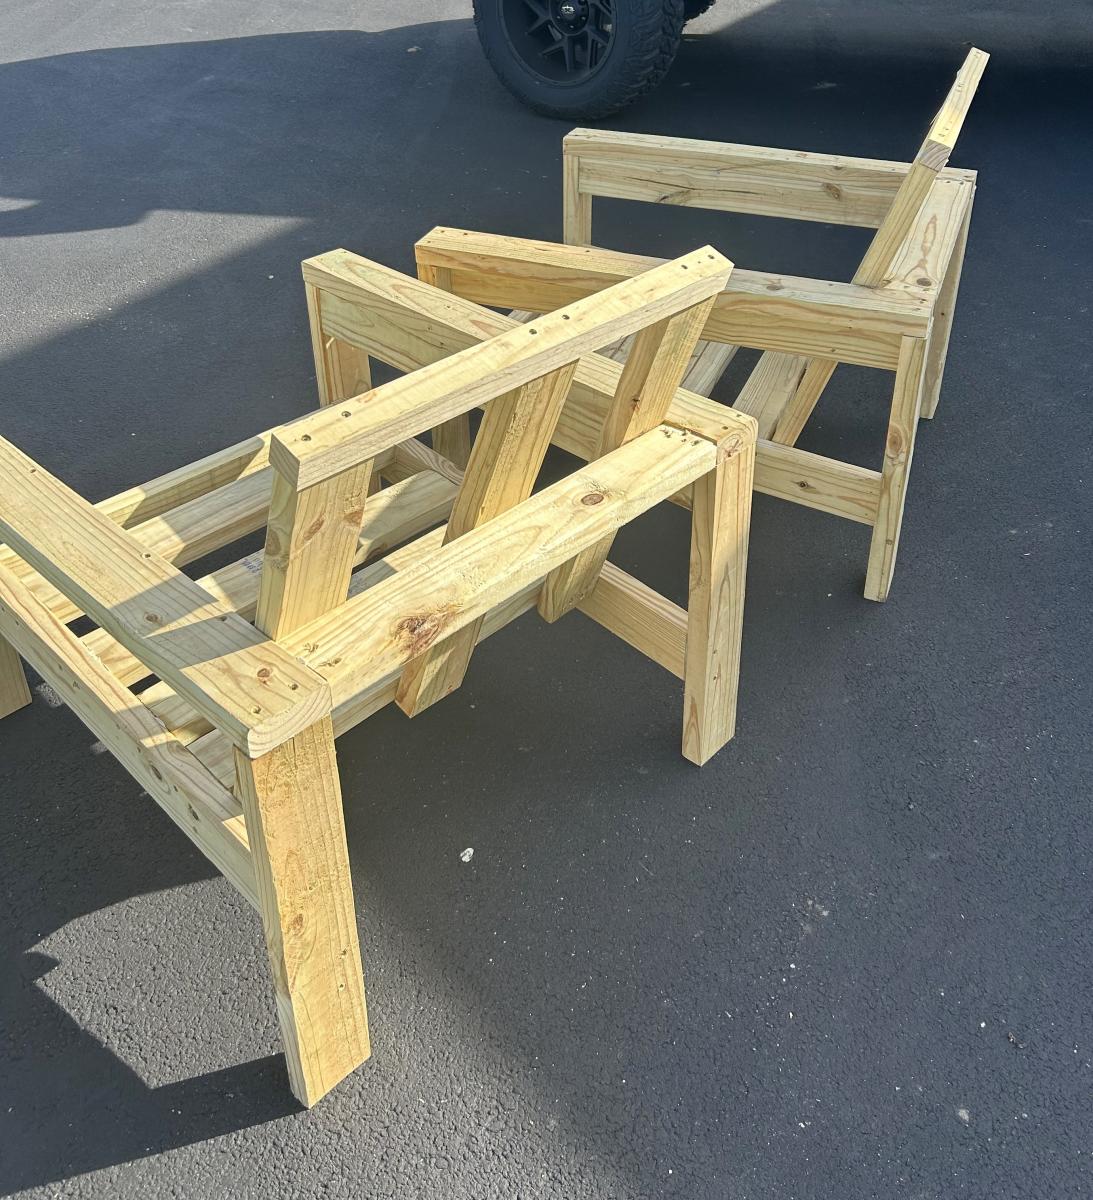
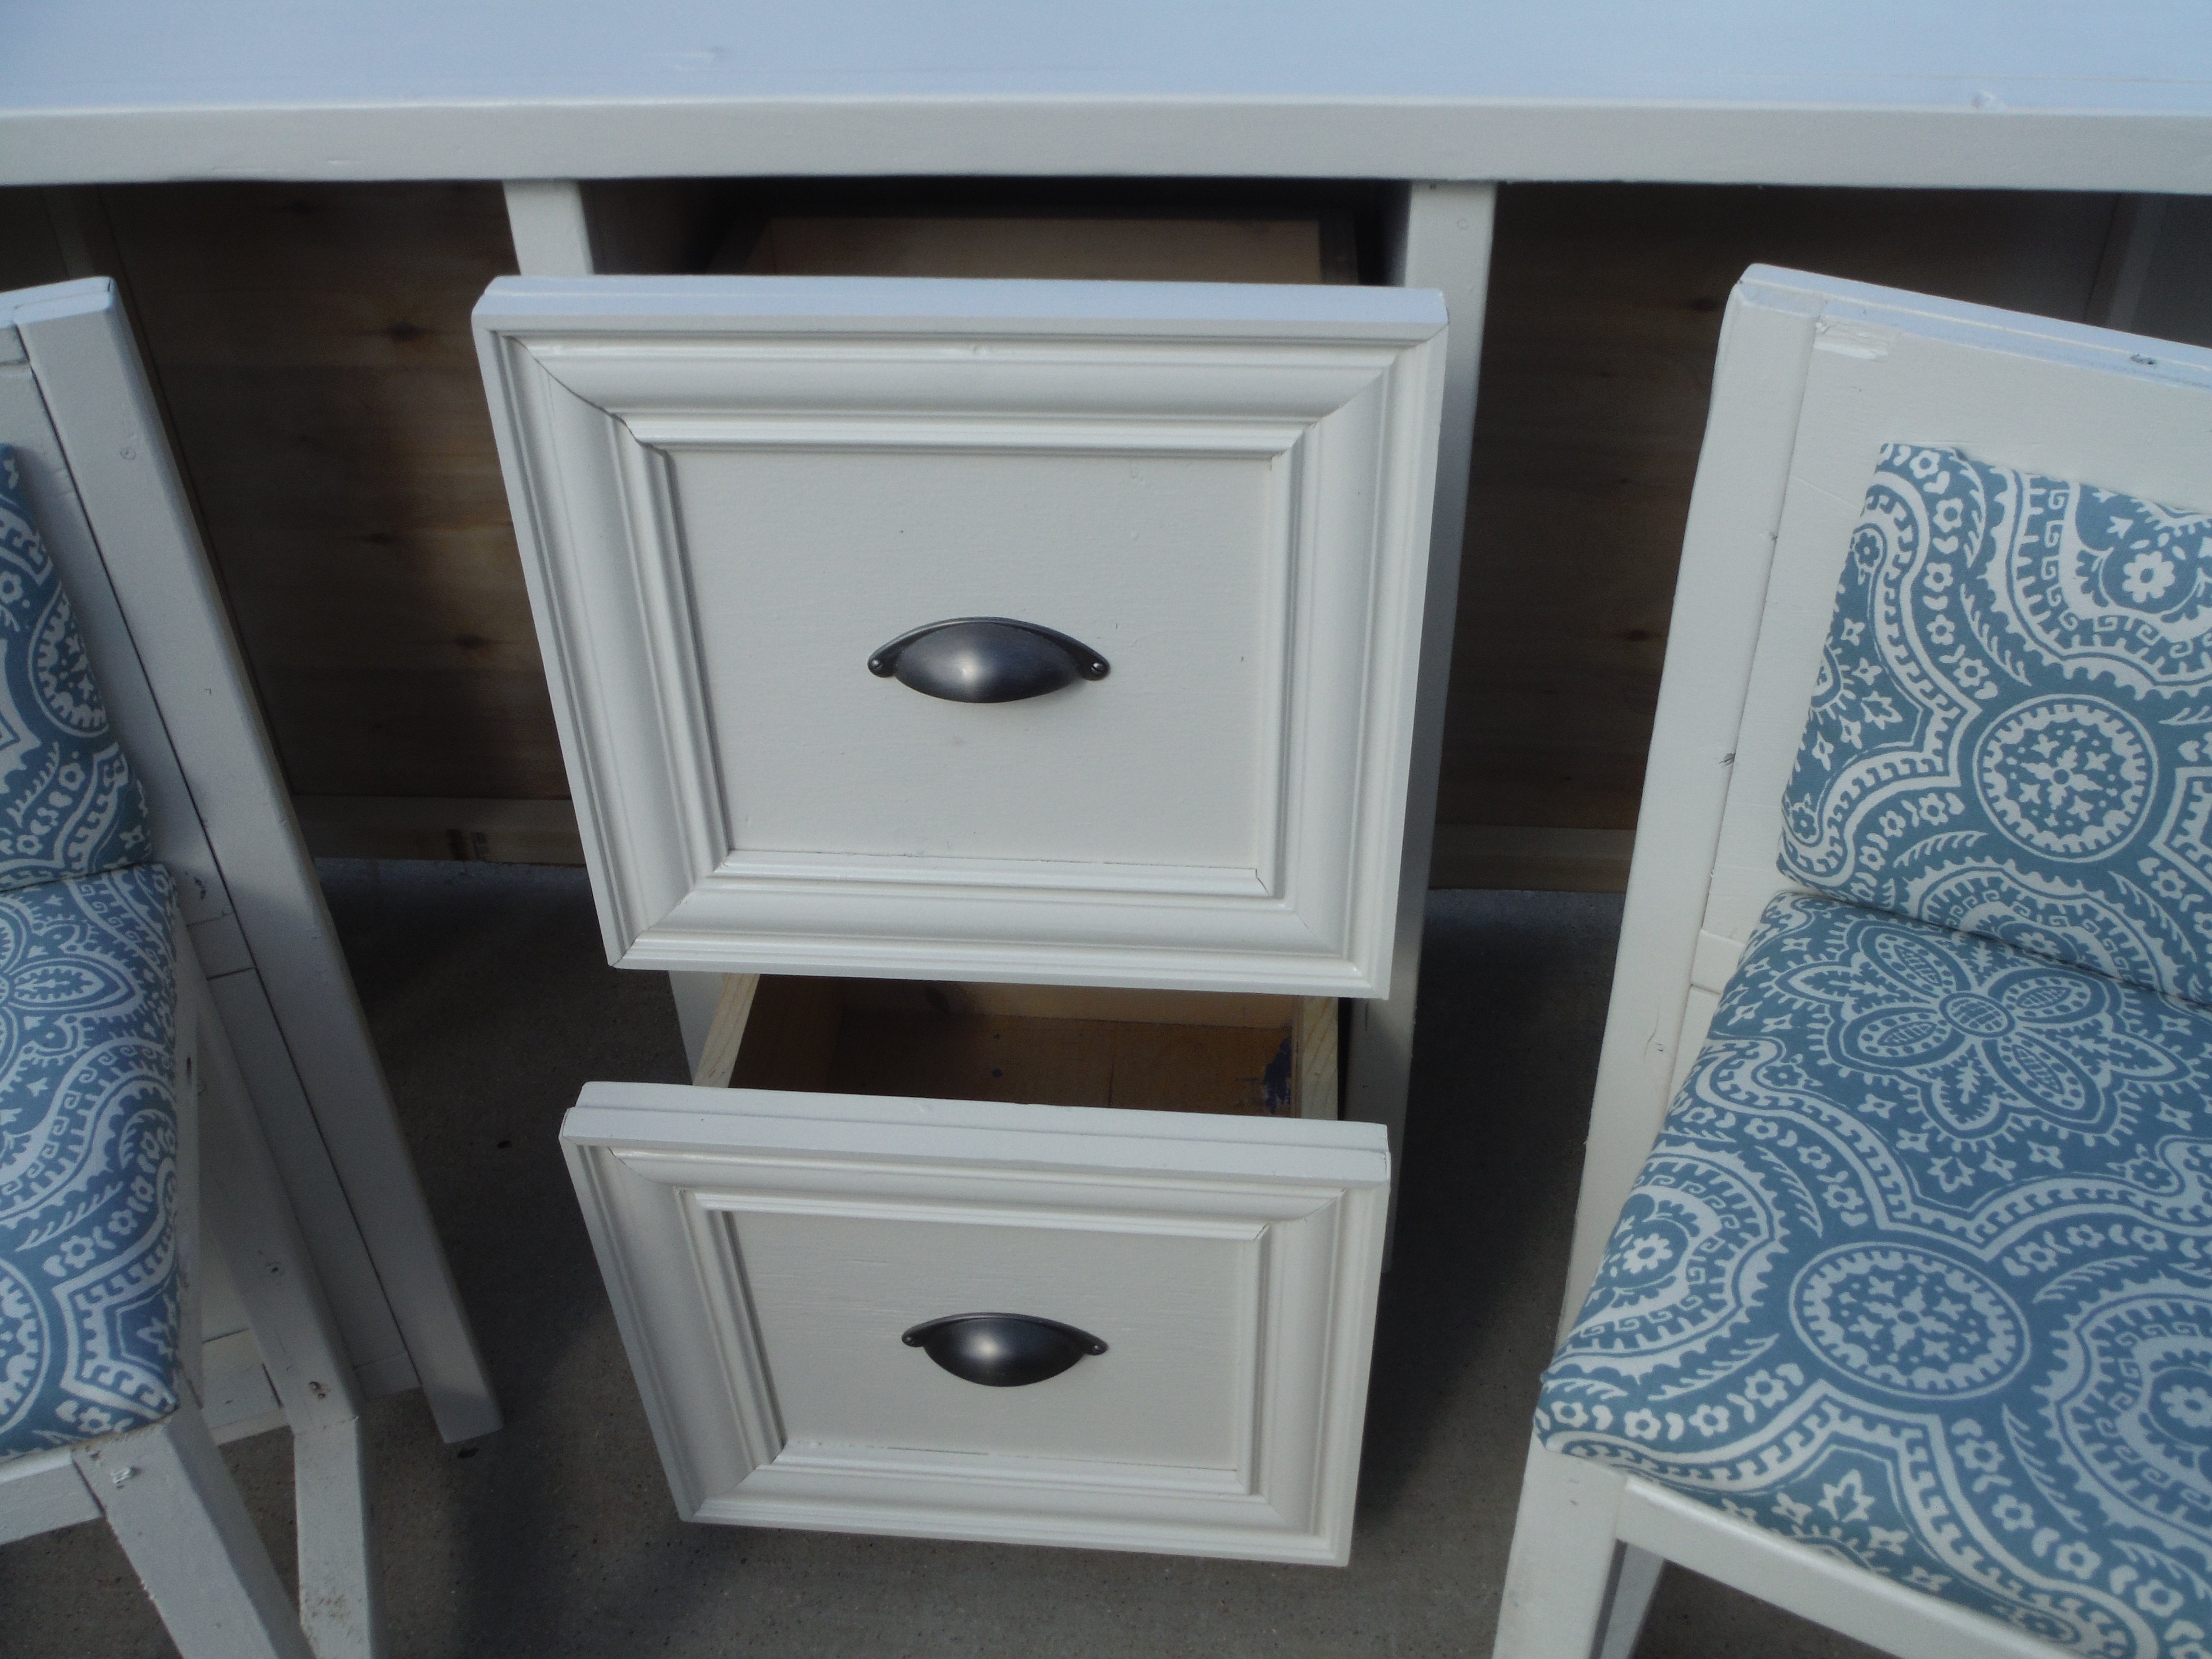
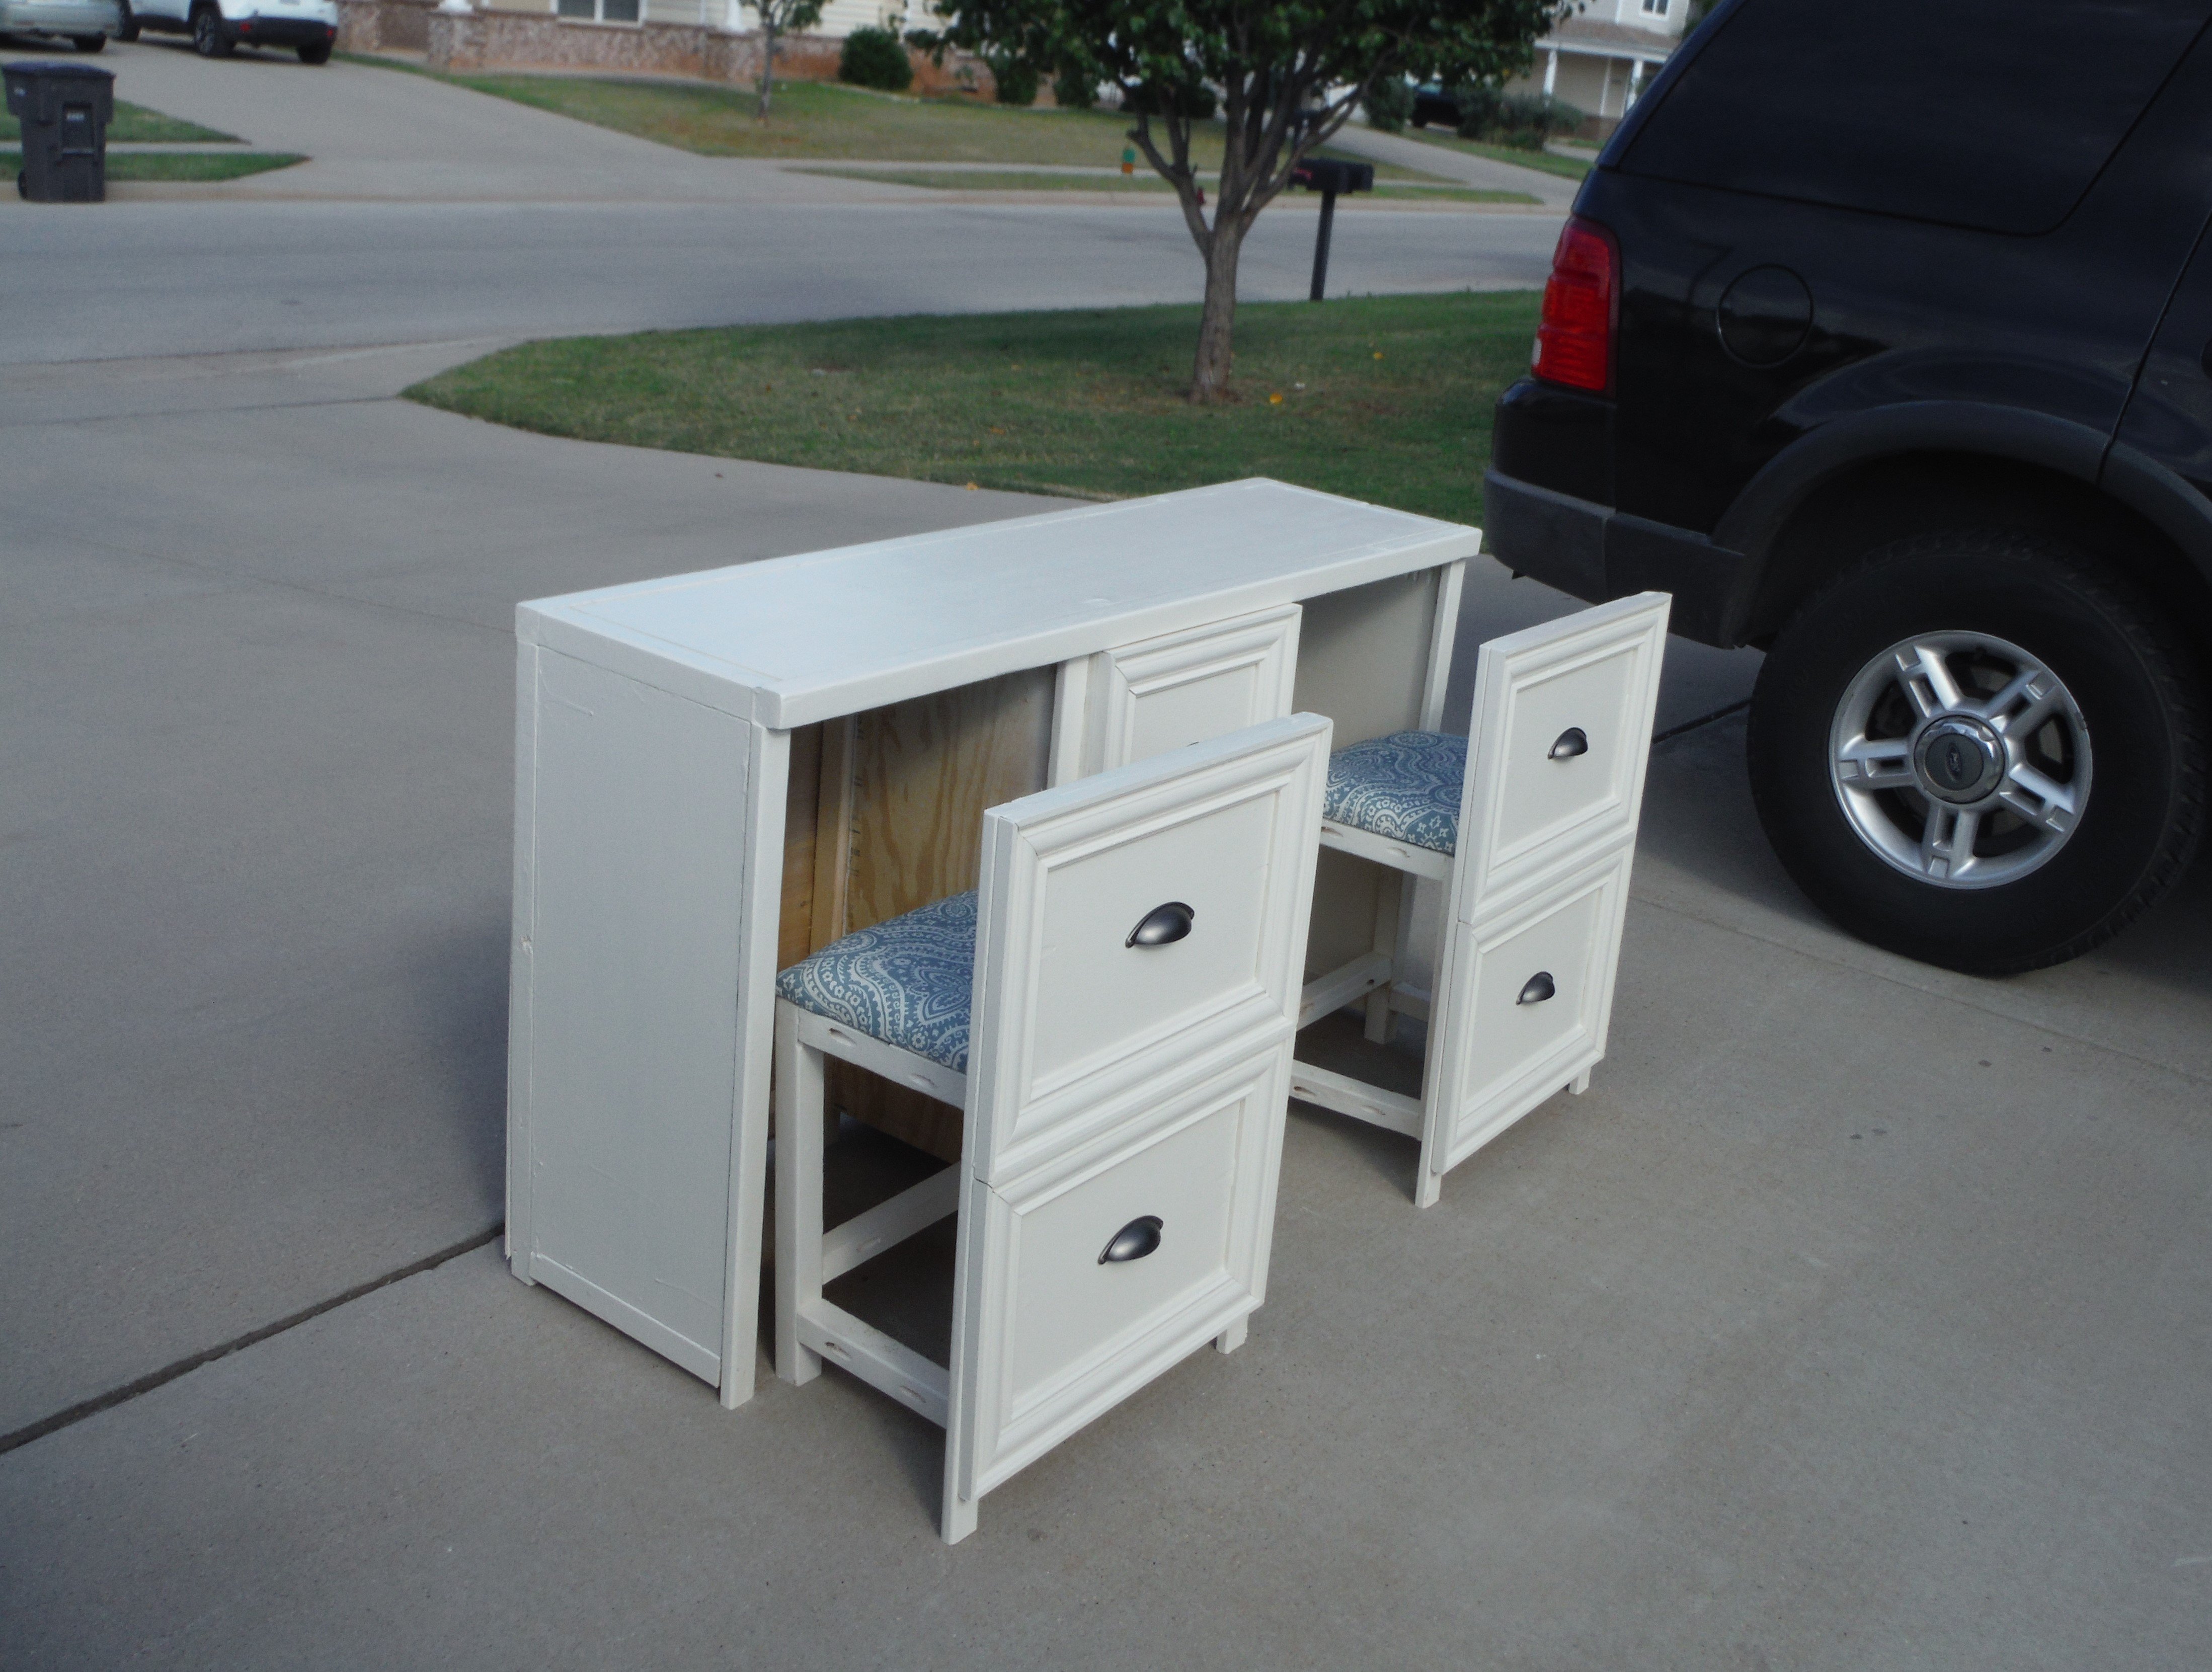
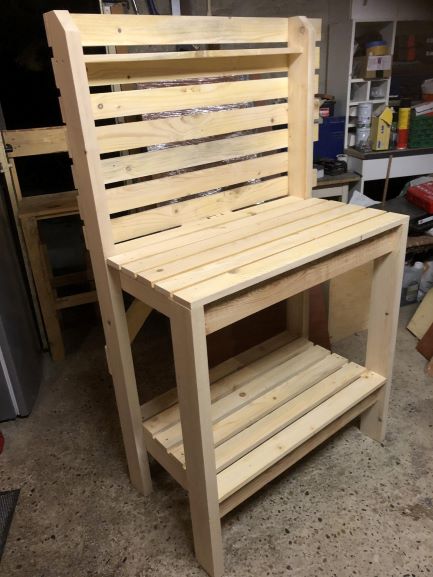
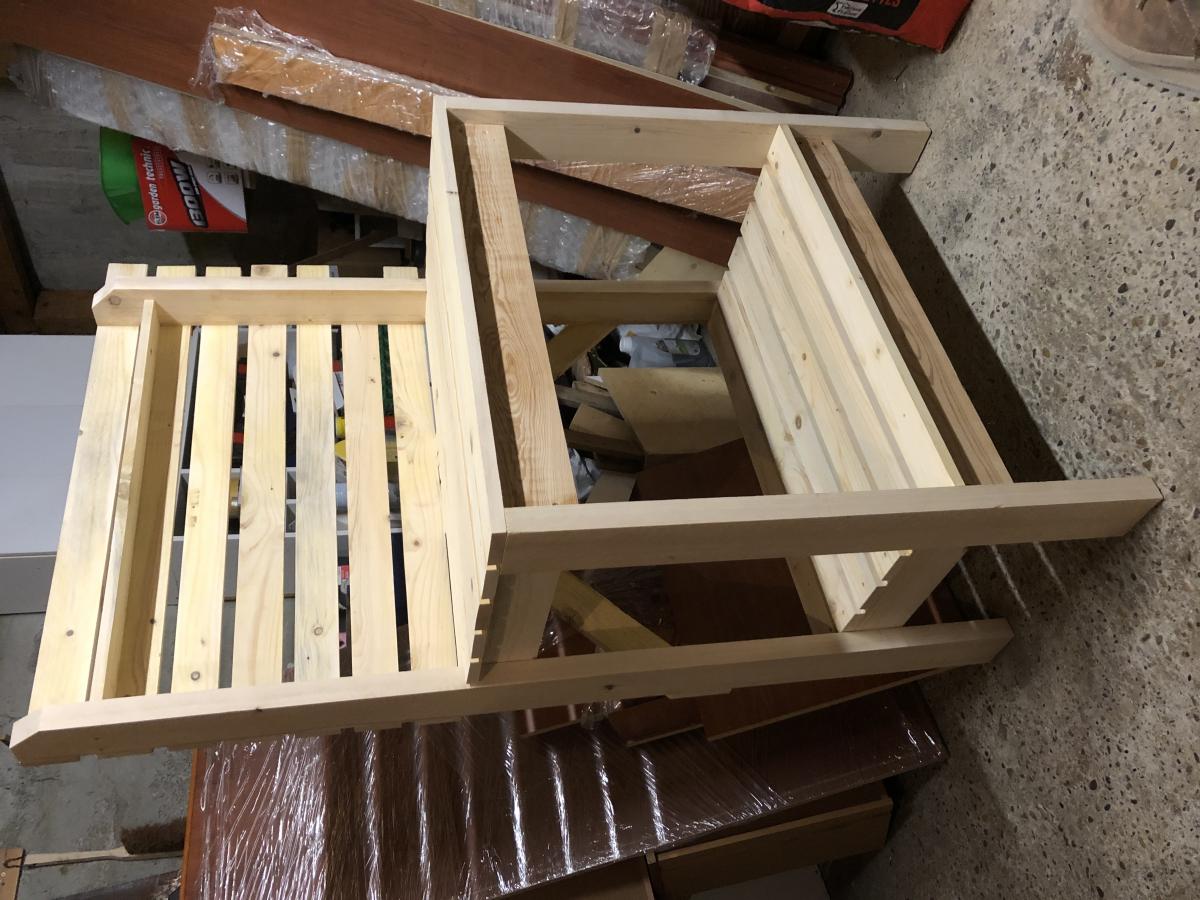
Made these two in about 3 hours. Instead of wood glue I used construction adhesive. Now to sand and stain then add cushions.
Richard Wilson - Kirkland, IL
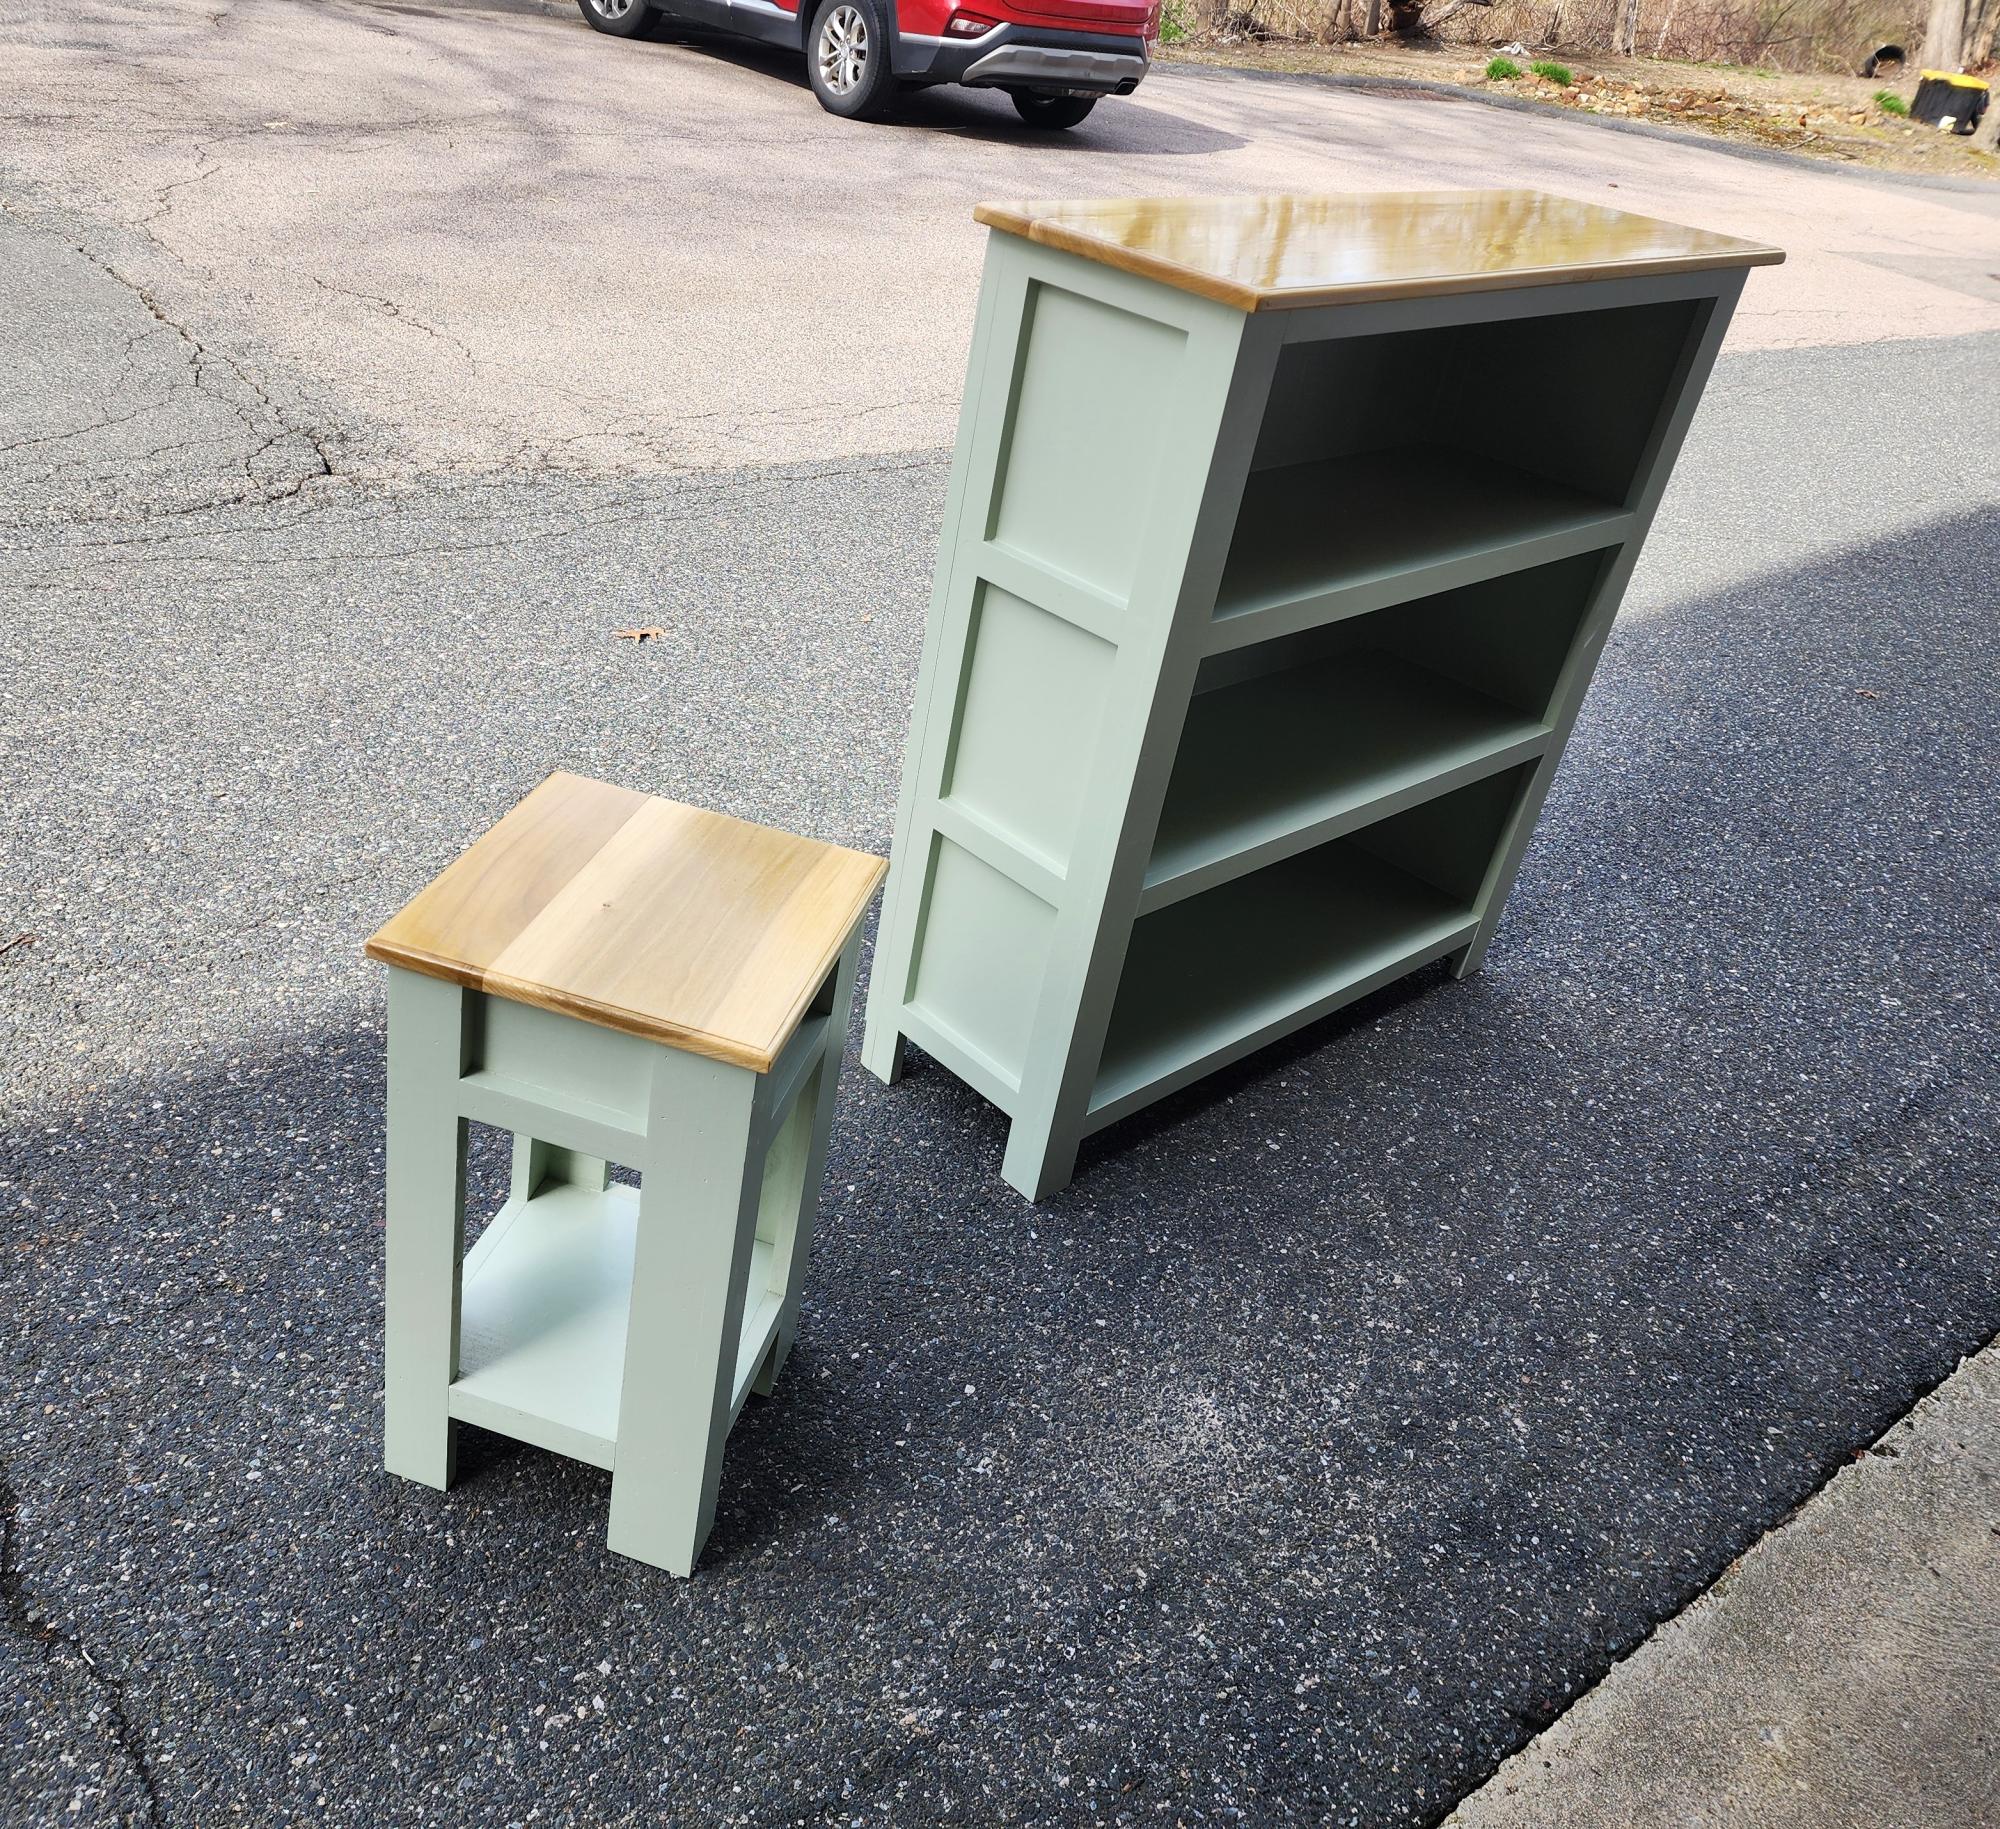
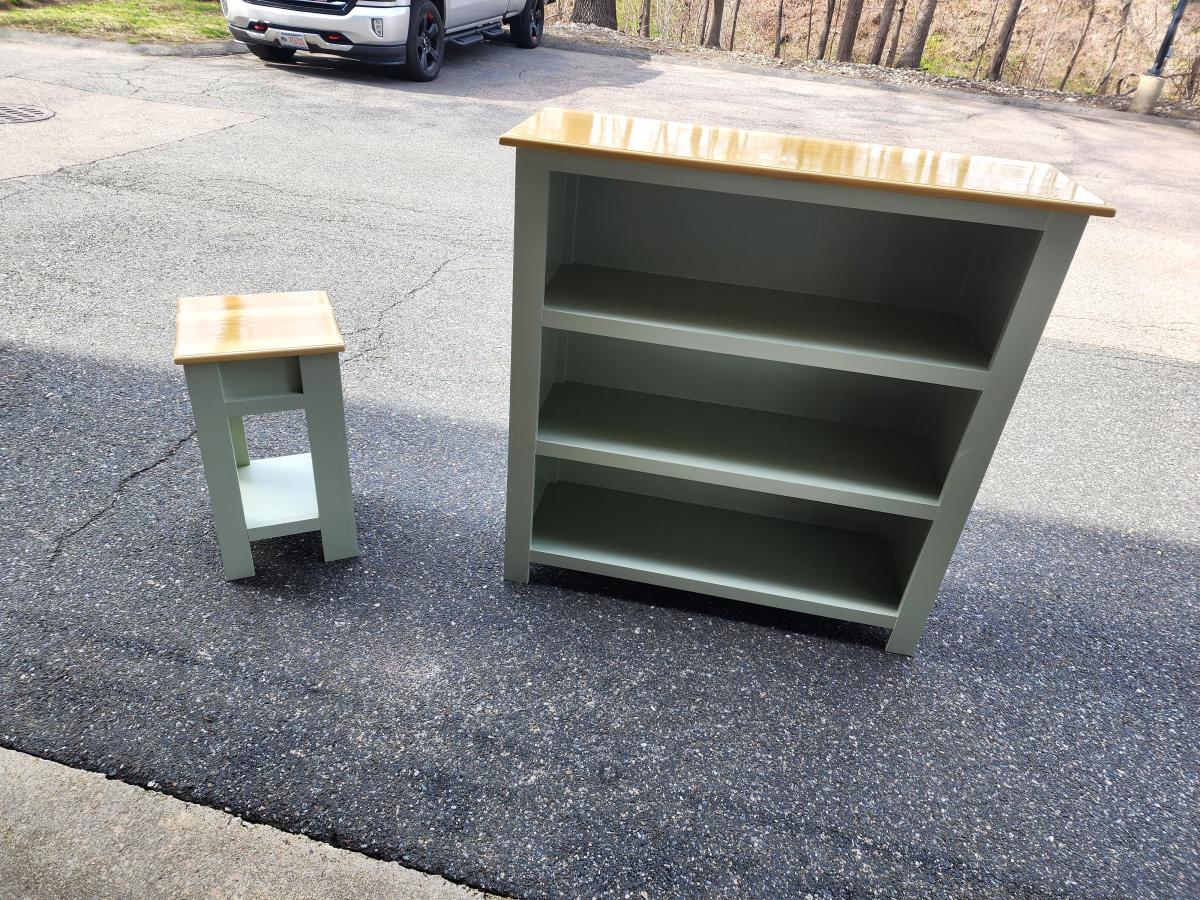
Madethe framed three shelf bookshelf with plans from Ana White. It was a gift for new baby in the family. I added a matching side table I designed based off Ana's plans! I used poplar 3/4" plywood, pine trim and poplar top for both pieces. Used Sherwin Williams Emerald trim paint in light green. Love the way these turned out!
Ray Bruhn
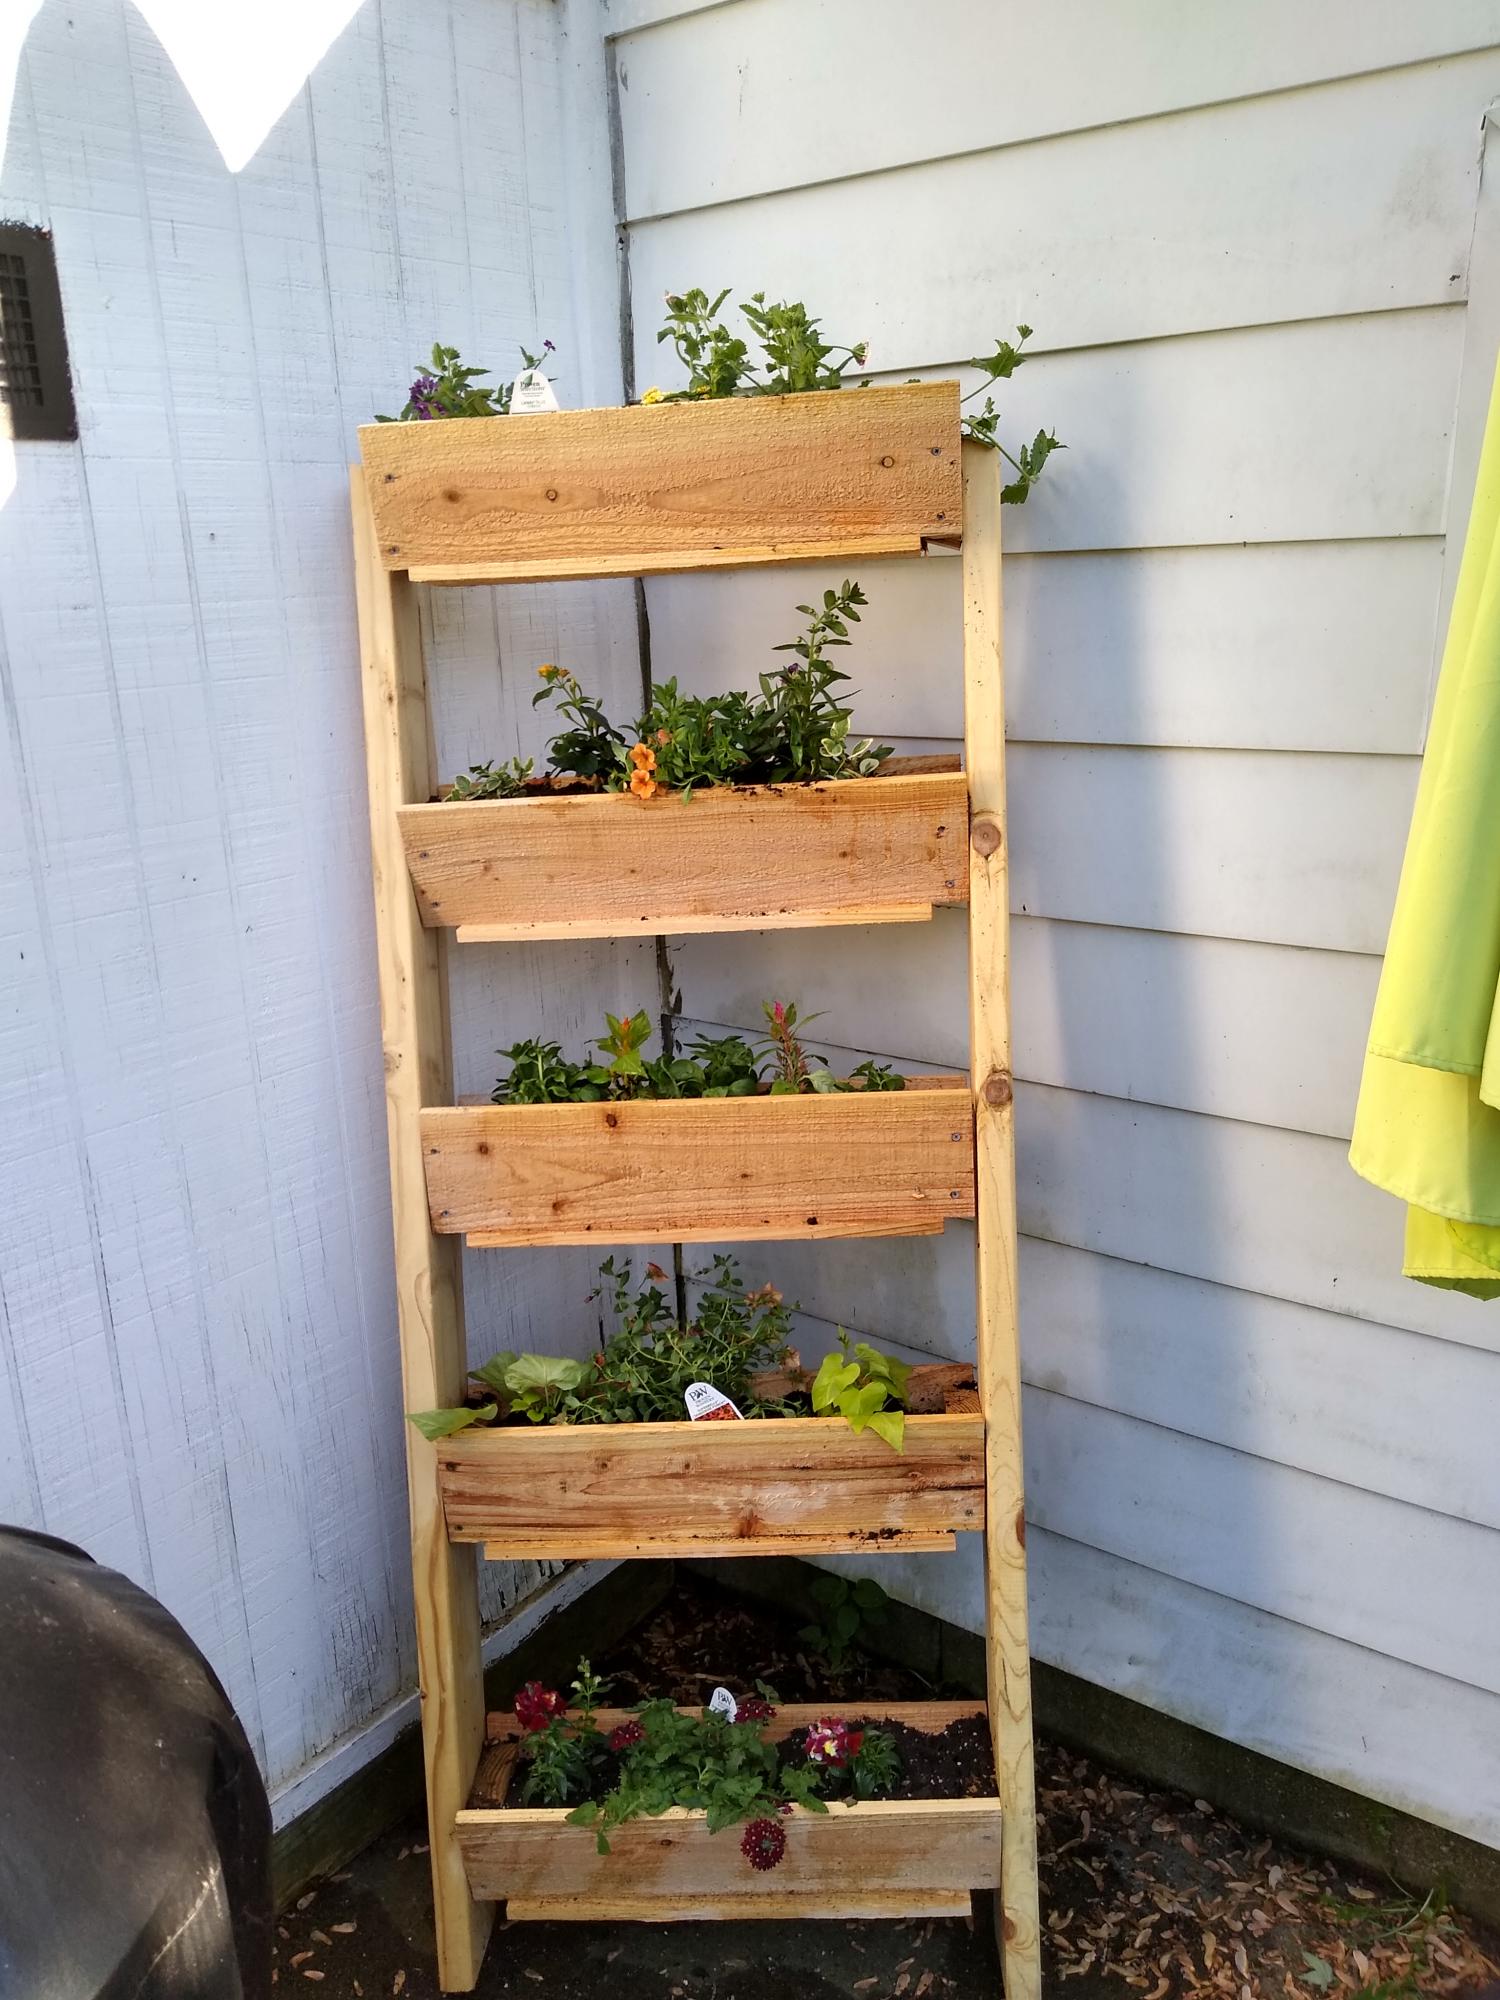
Flower box ! Easy to do.
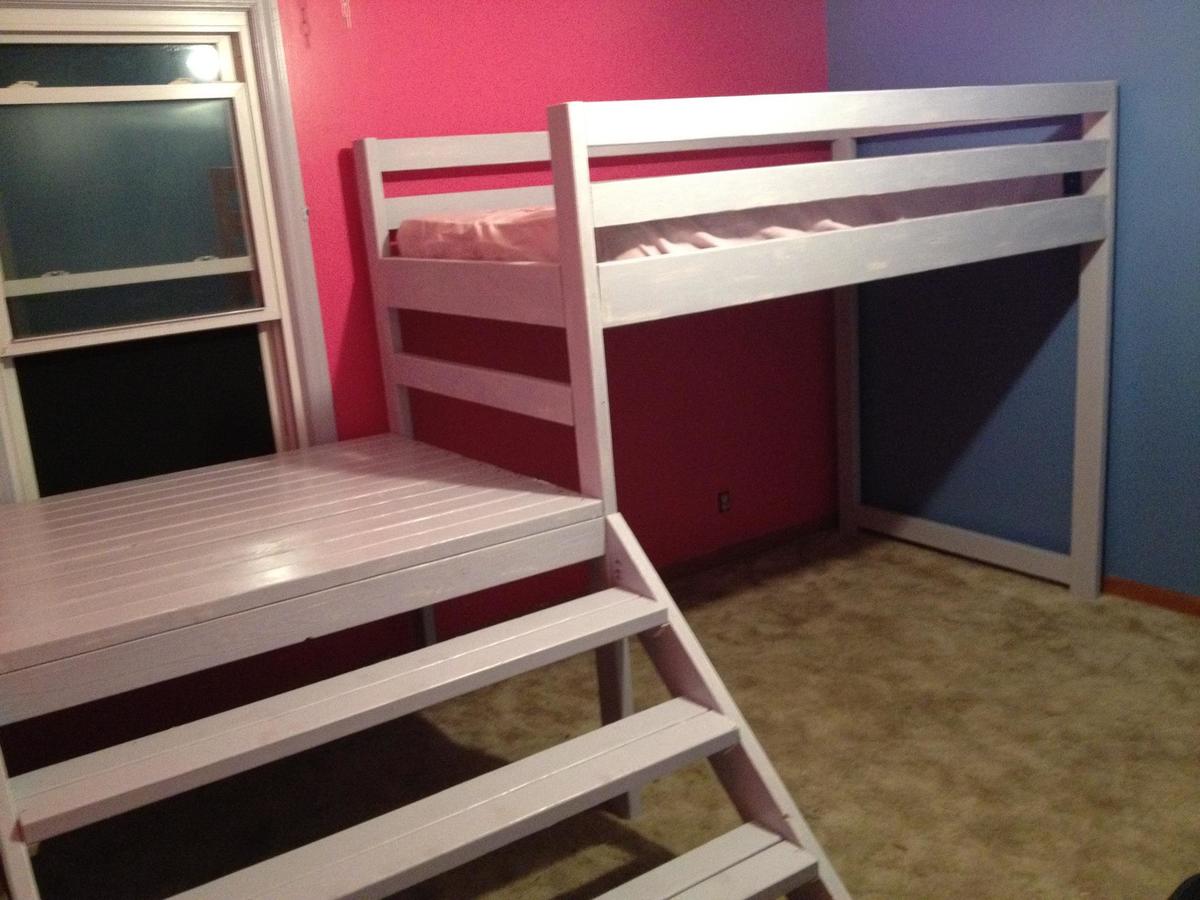
Found this on Pinterest and FELL IN LOVE! I have 2 kids that are inseperable, ages 3 & 4, a boy & a girl. I had been toying with ideas for them about bunk beds or maybe some PVC forts. But when I found this, it was like everything in one. Let me also start off by saying, although I am artistic I have never used a single tool or built ANYTHING in my life. EVER.
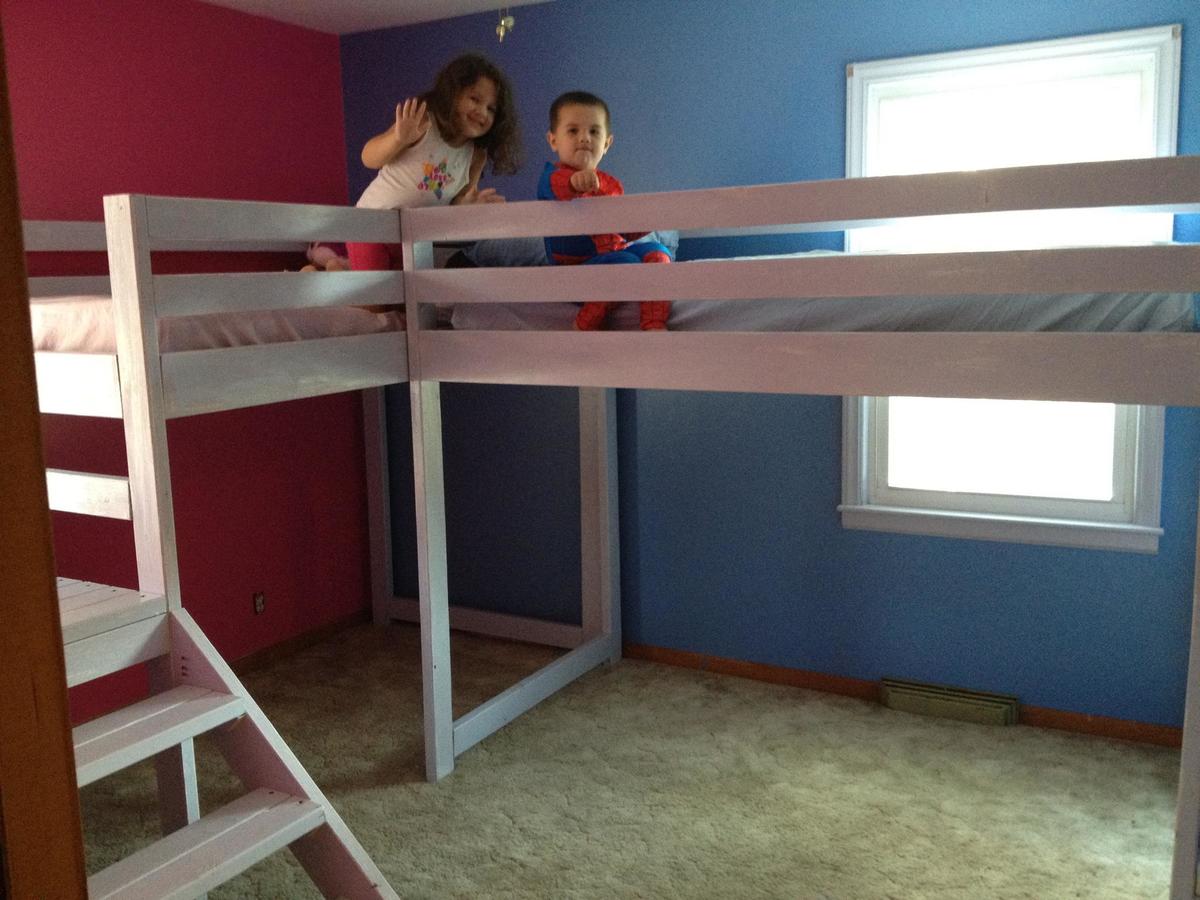
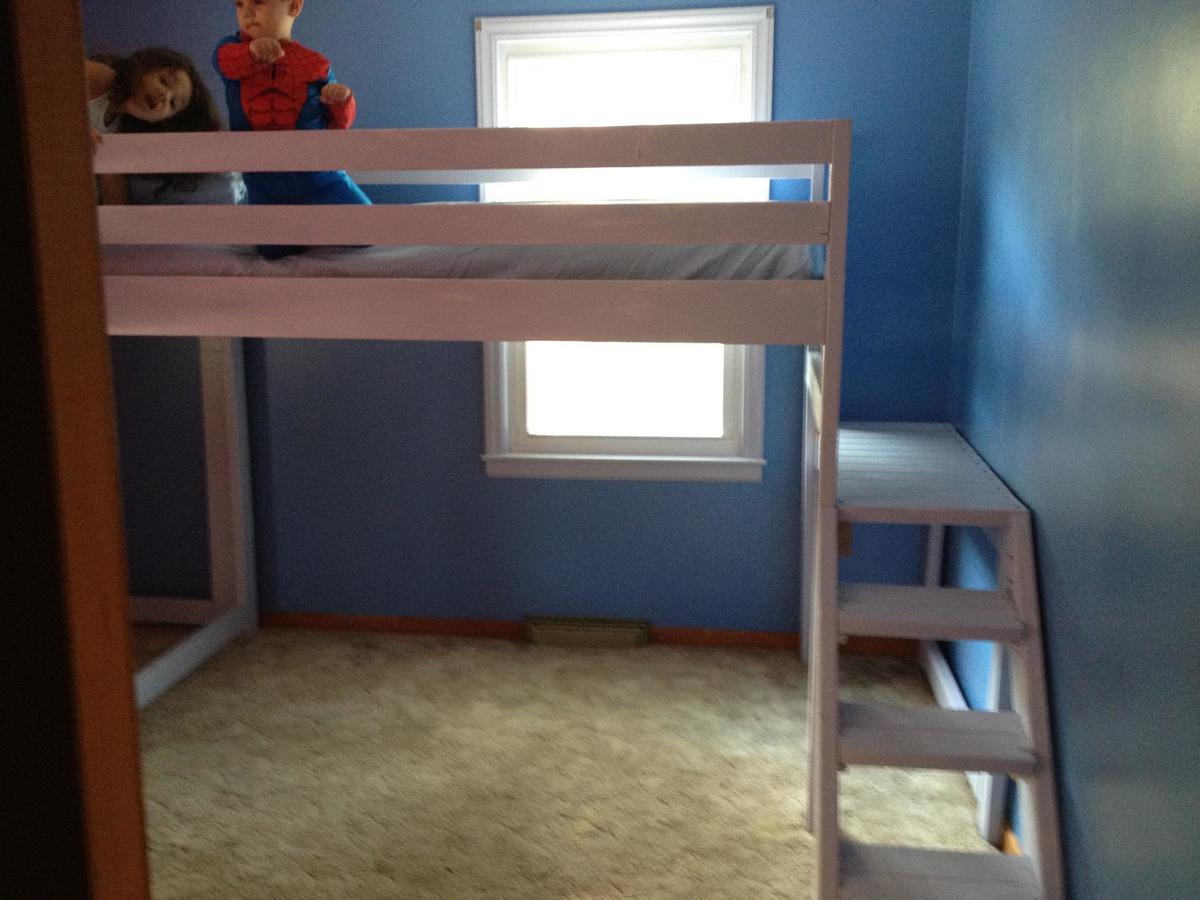
The beds were surprisingly easy to build and are incredibly sturdy & strong. I followed the plan exactly except for the platforms. I made my daughter's huge. (The plan calls for 22", I made hers 50") My son's I made smaller b/c that wall is shorter & there wasn't enough space. So his is only 16" but it's still plenty of room to climb up & get into bed. They use her platform as a stage to perform on or a small play area.
I'm going to glue down padding to cover both platforms and all the stairs b/c my kids are small but rough & tumble and I can already see the hospital bills. But the bed is EXCELLENT! Surprised to see no one else has posted a brag for it!
Make this immediately! The priming, painting & building for each only took one day. ONE DAY! I painted the room, the trim, and made both beds over the holiday weekend (Labor Day, Friday-Monday). My kids are now the envy of every child (and adult) that we know LOL!
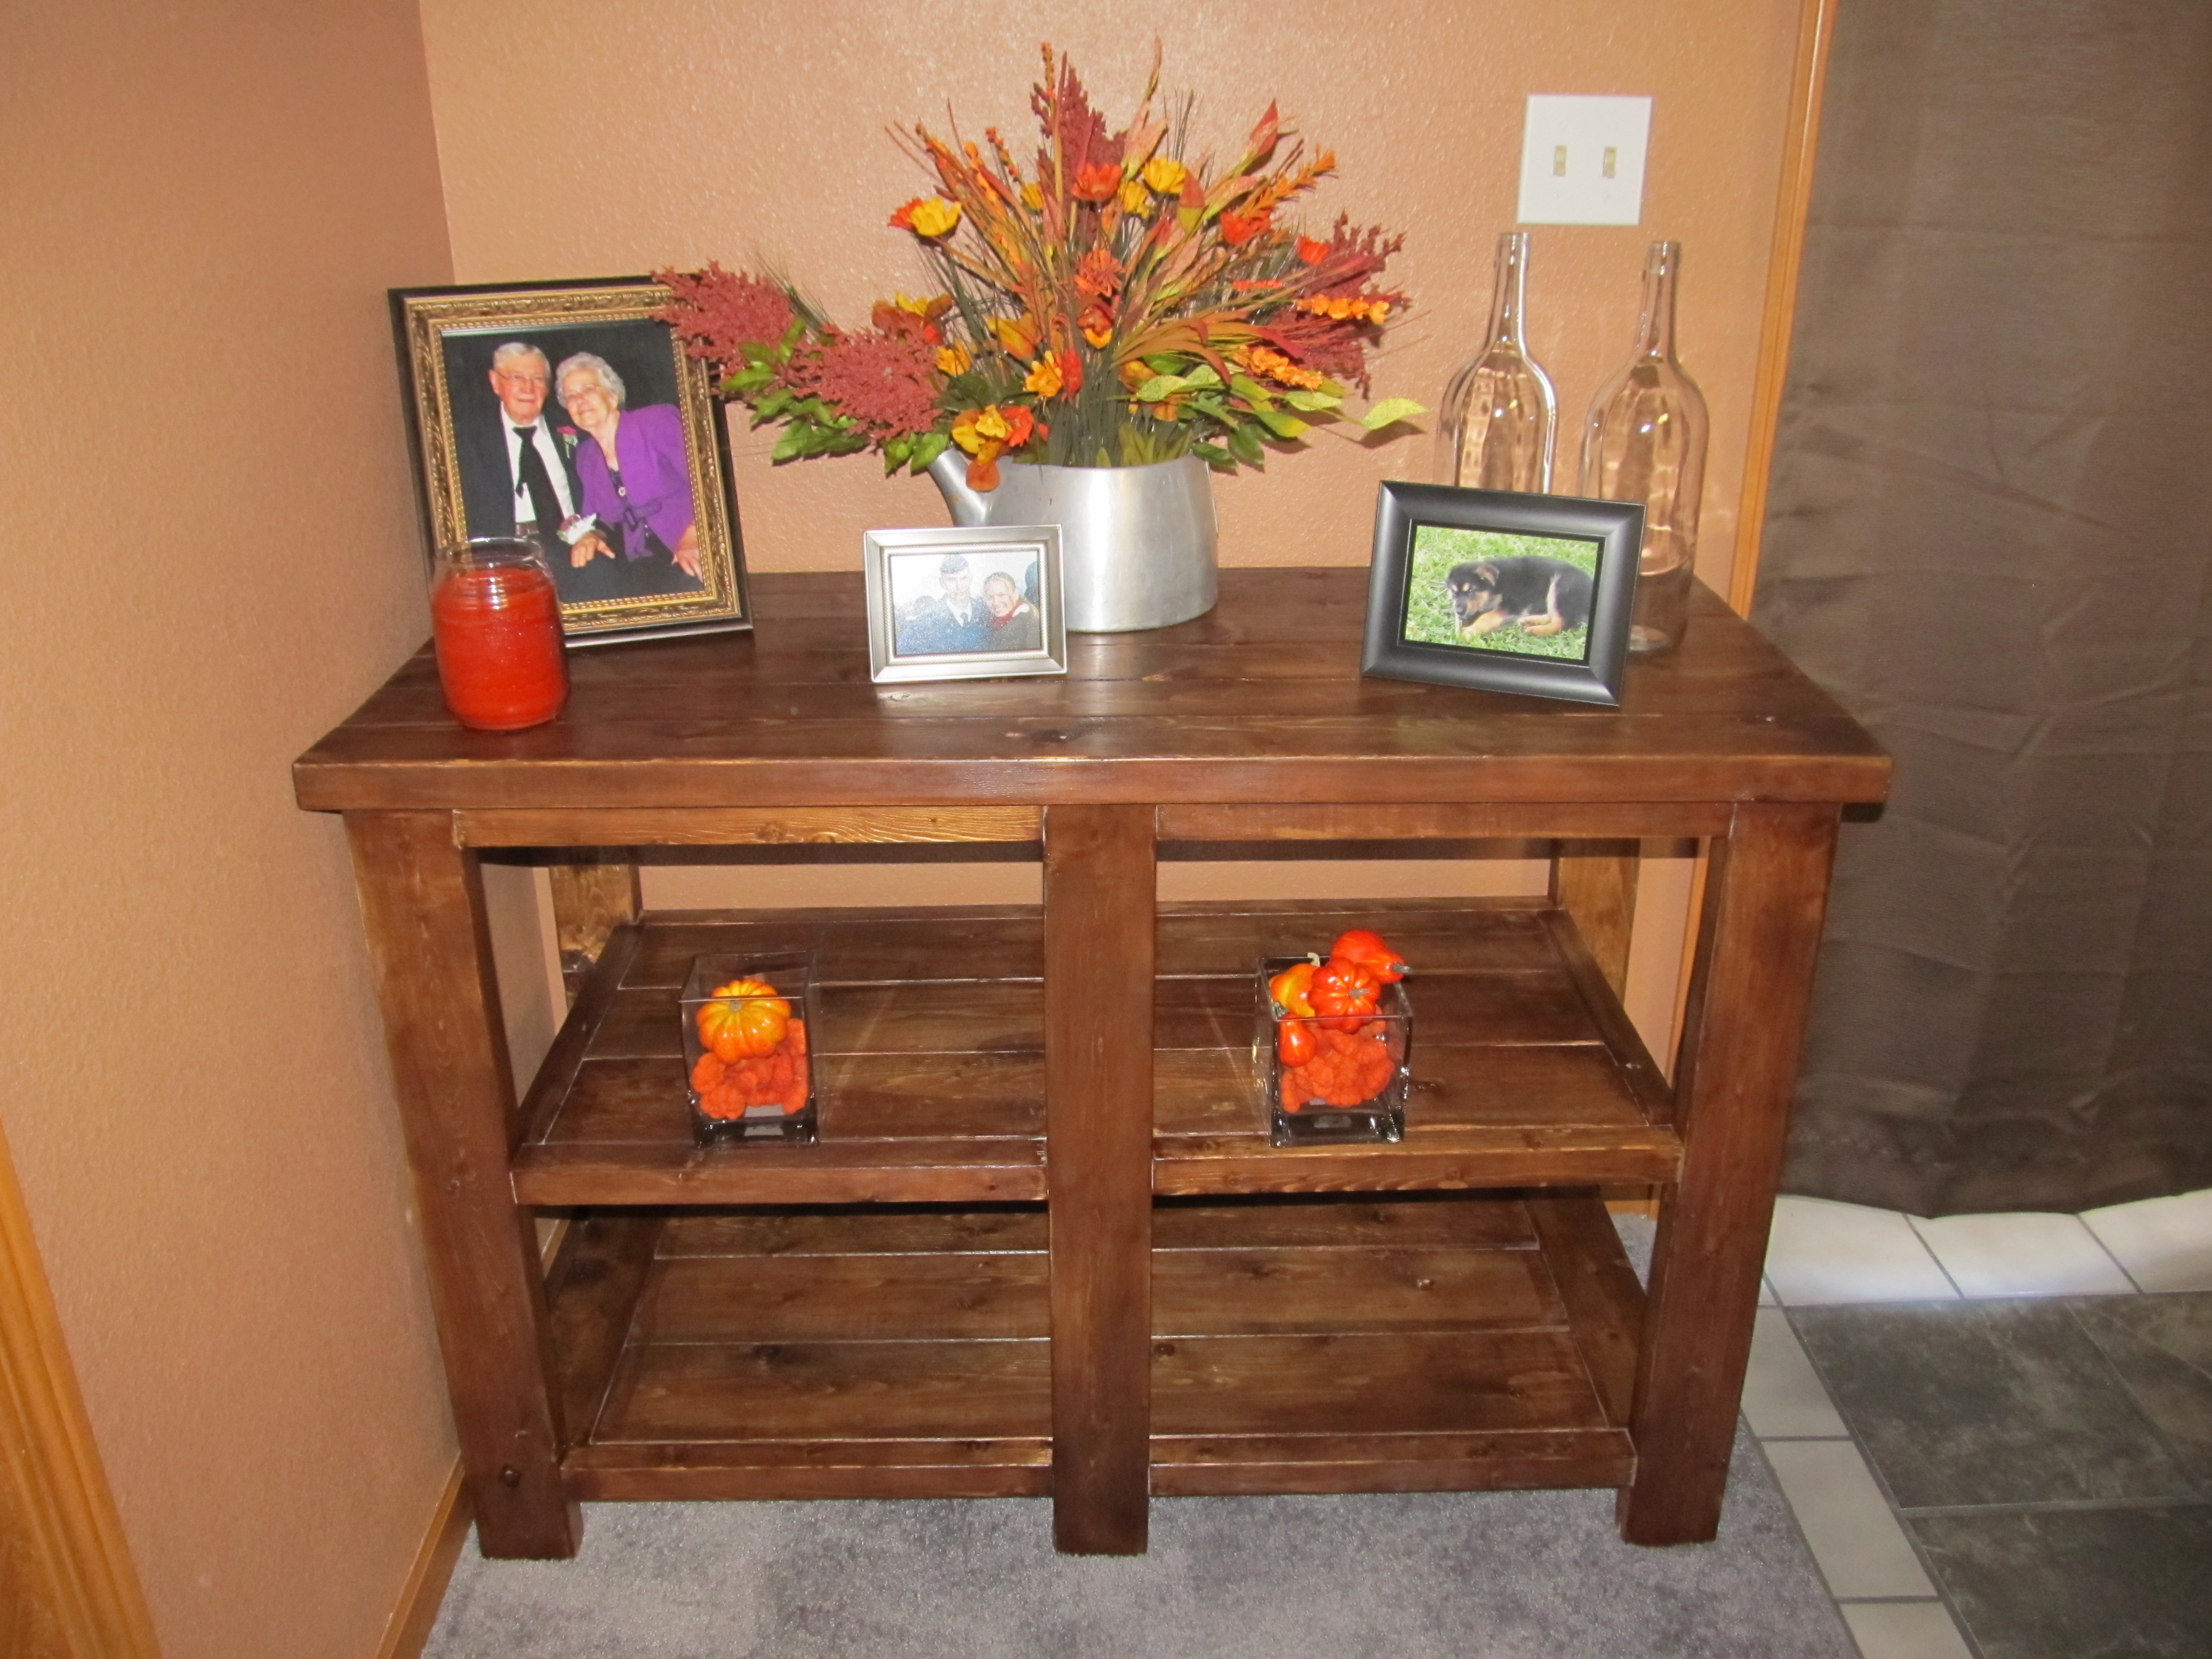
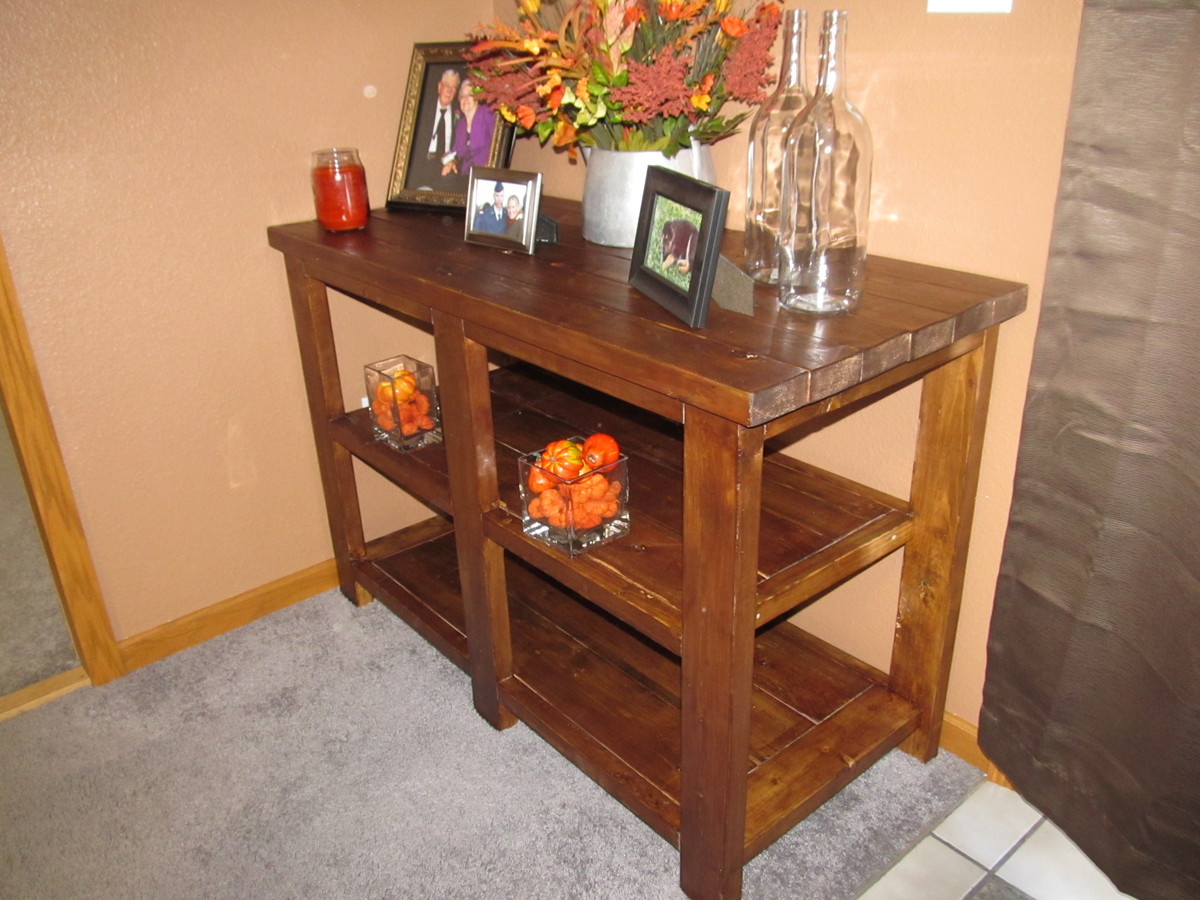
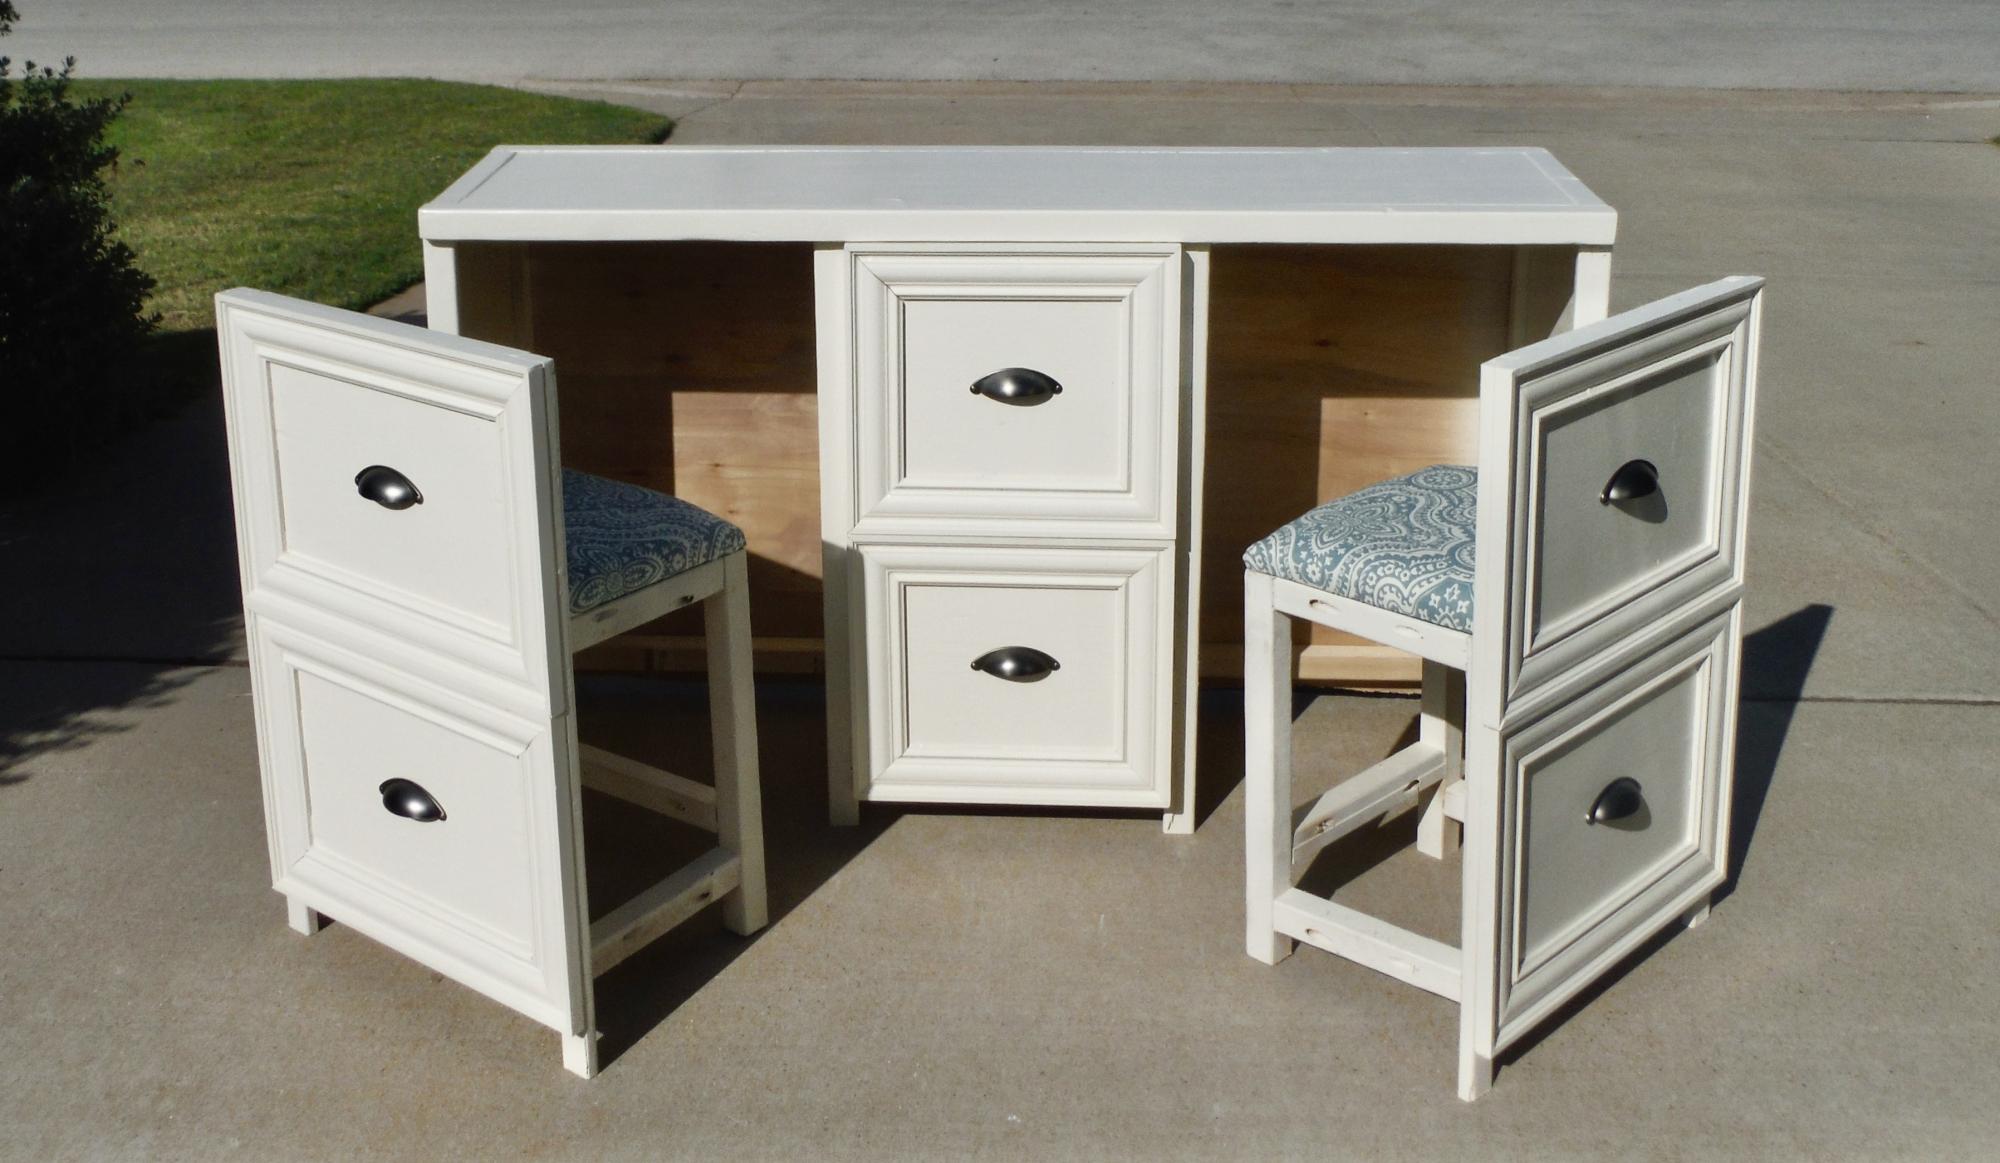
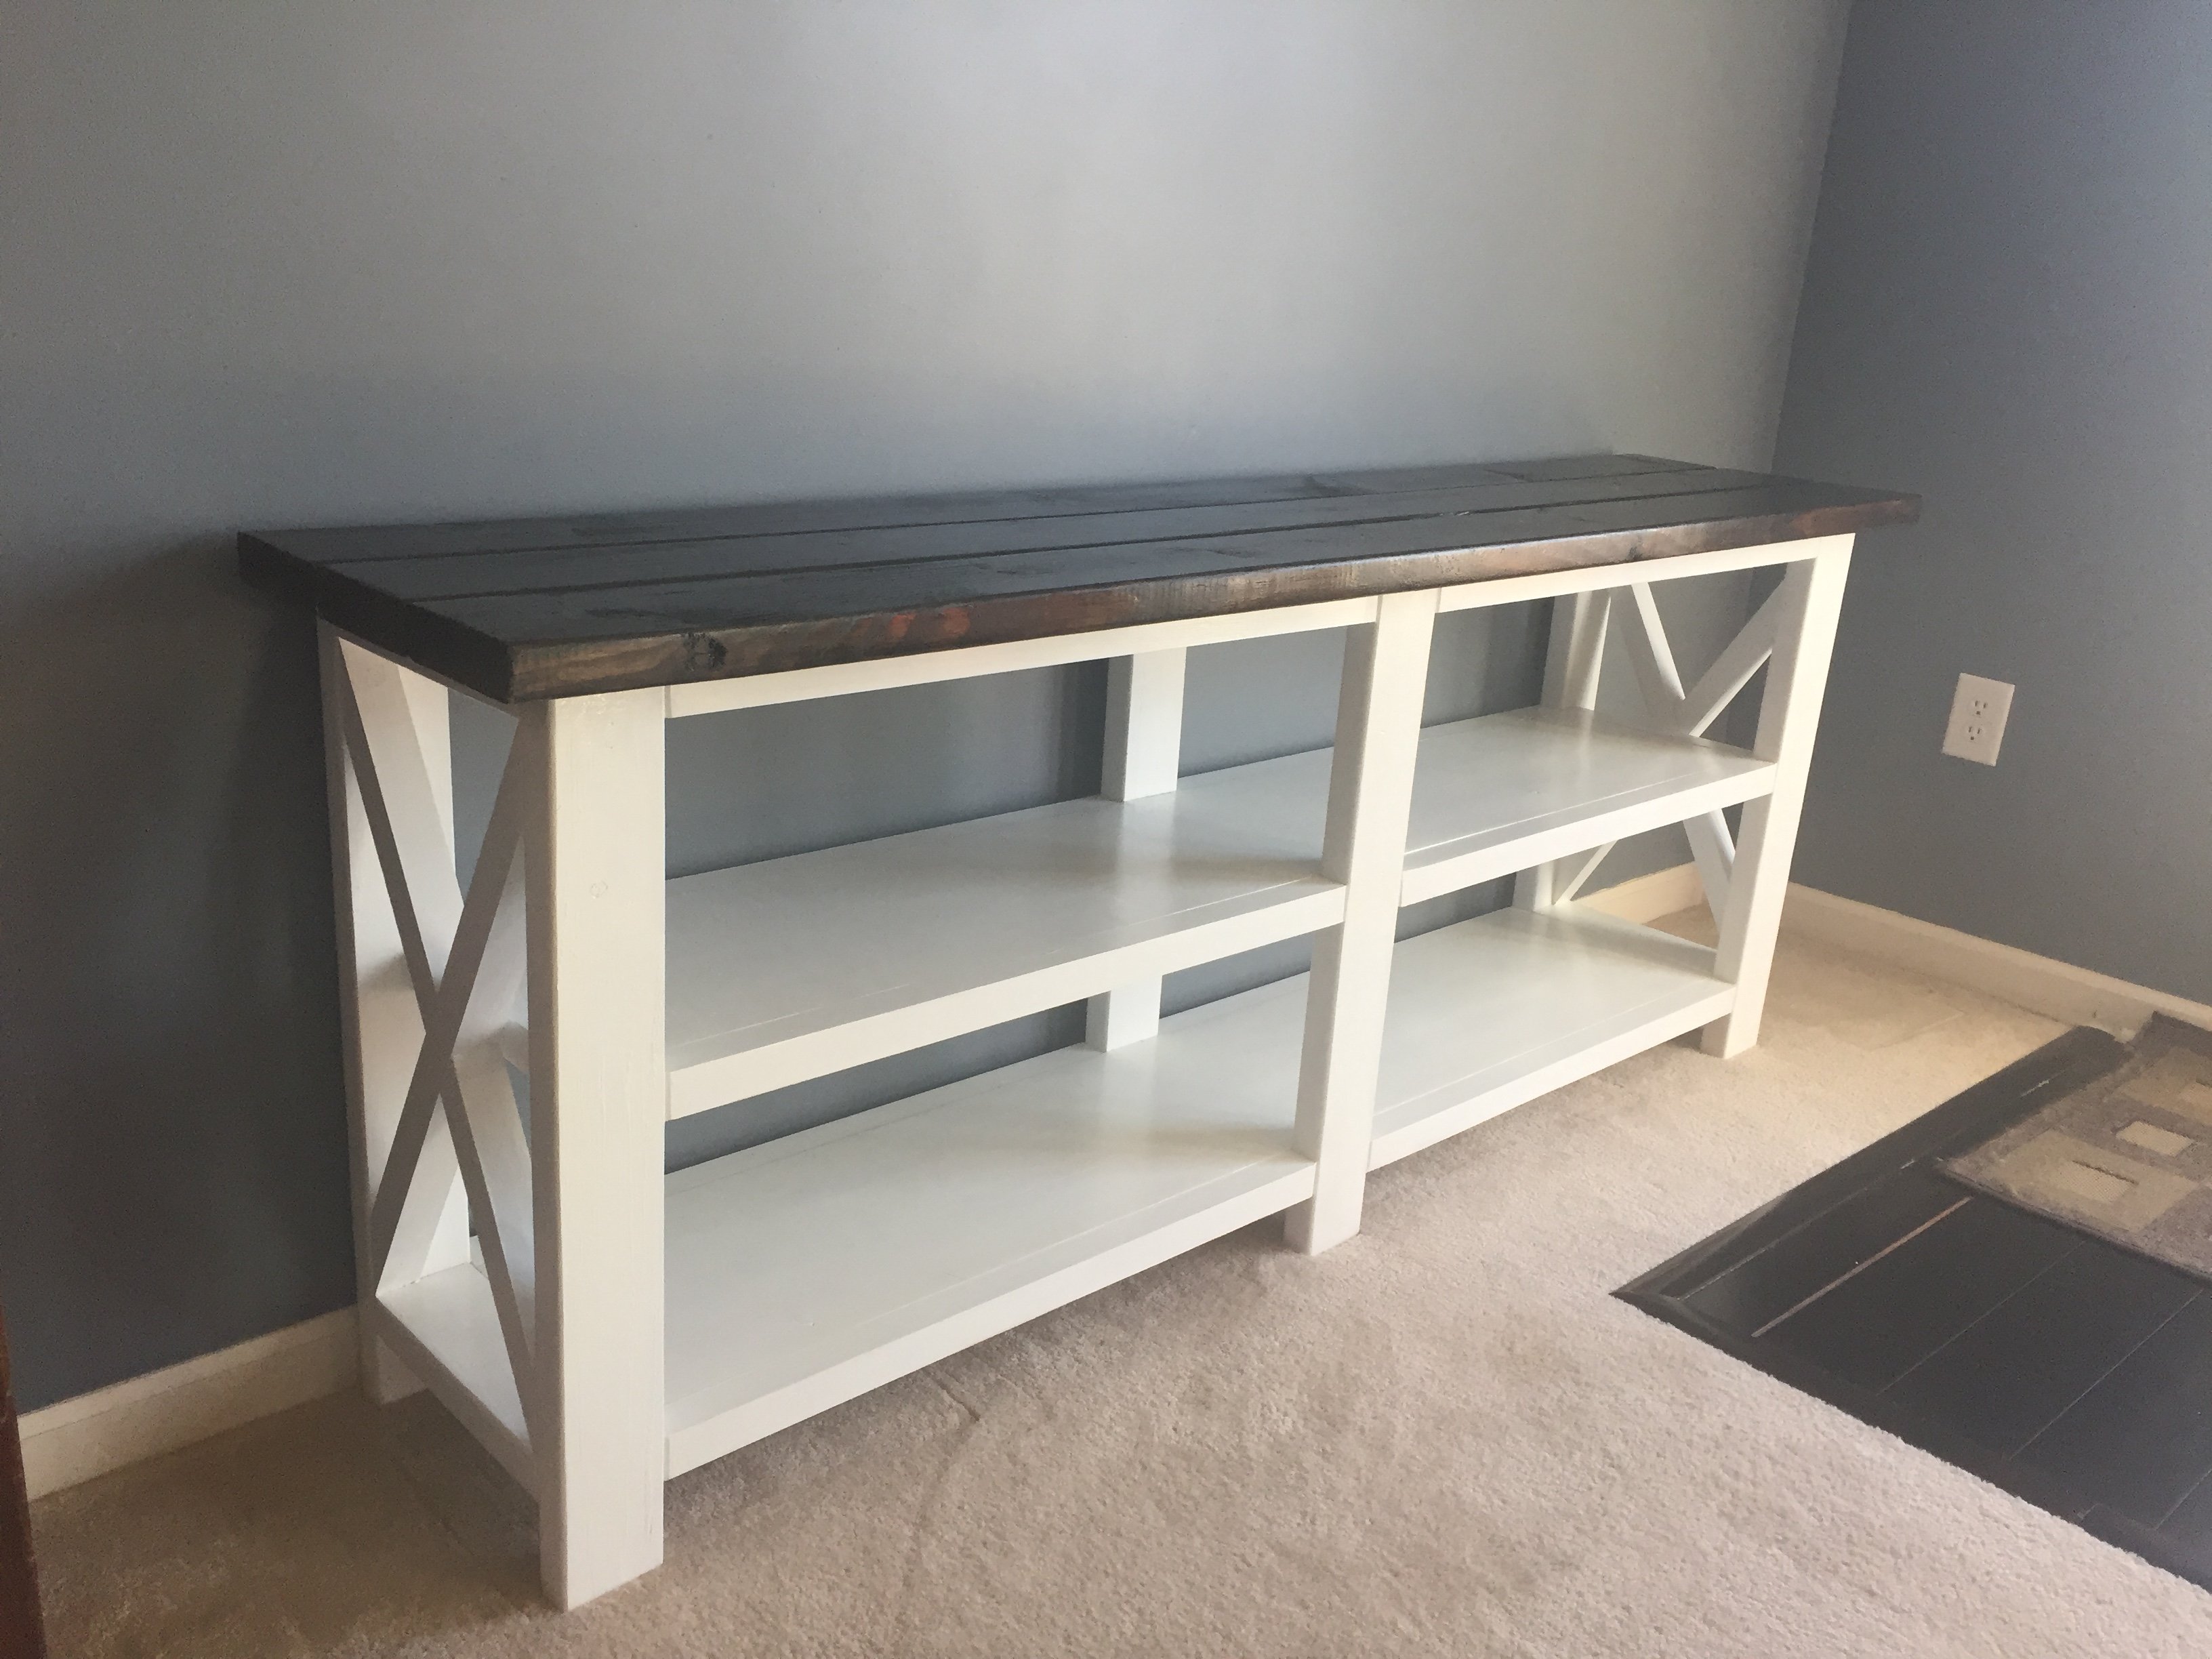
I built it for this specific space,so I ended up shortening the length of it but also made it wider from front to back. The original plans would have run into into the door that's to the right. My old coffee table sat here, so I went off those dimensions.
What I learned:
If you do decide to tweak the plan, be sure to take into consideration that a 2x4 isn't actually 4 inches wide. The same goes for 2x6's (the bottom two shelves are made of 2x6 wood).

Entertainment center with Bluray/DVD storage in the doors. Based on the Cynthia media stand by Pottery Barn. I drew it up to my personal preferences using Draftsight (free 2d cad software). Used 3/4" oak for everything except for a few trim boards. It came out great, we are very proud to call it our own.
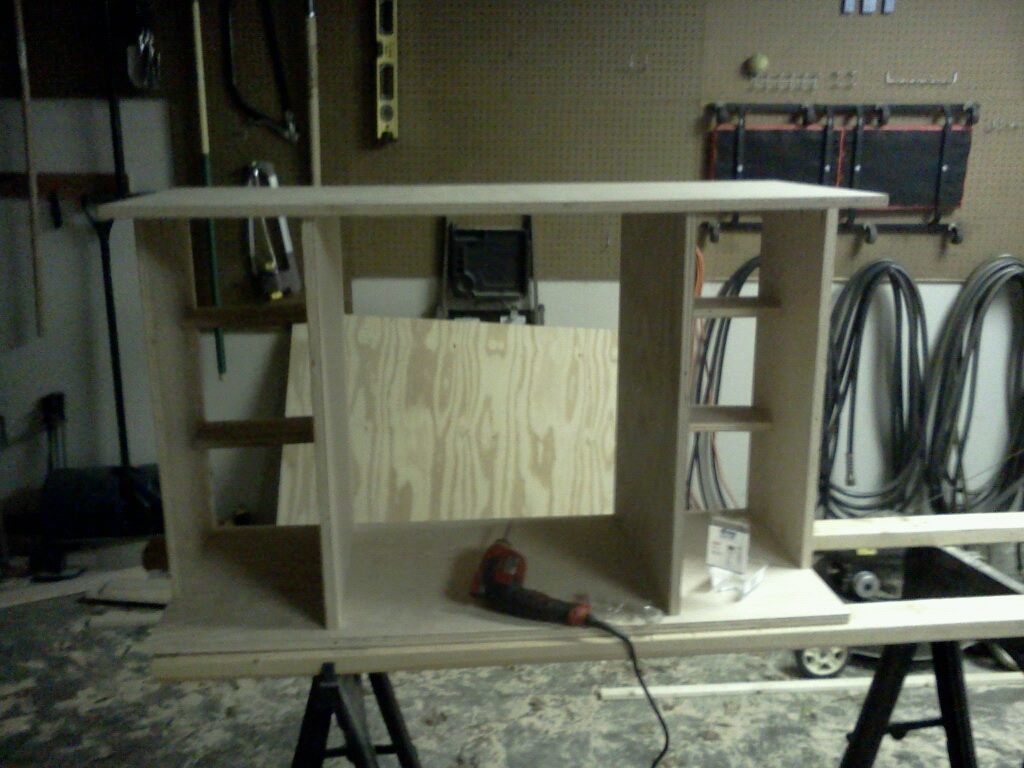
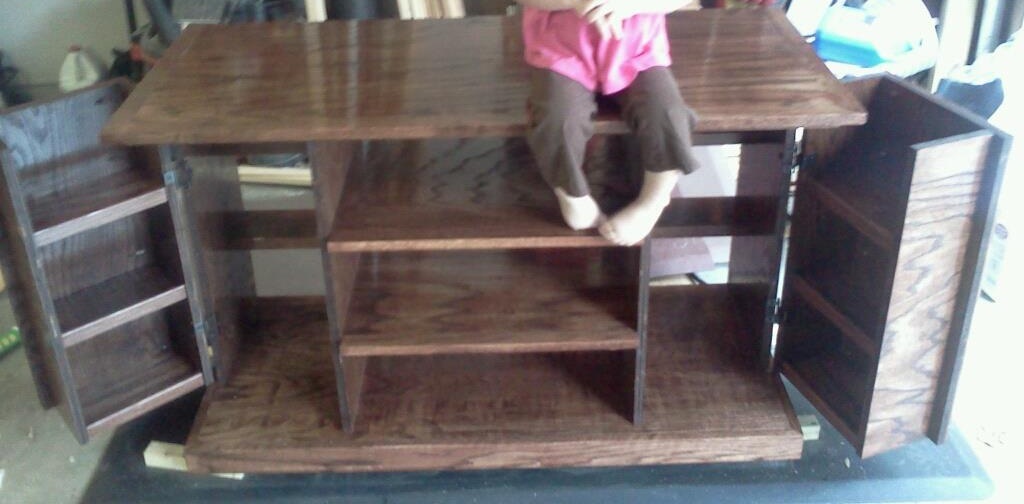
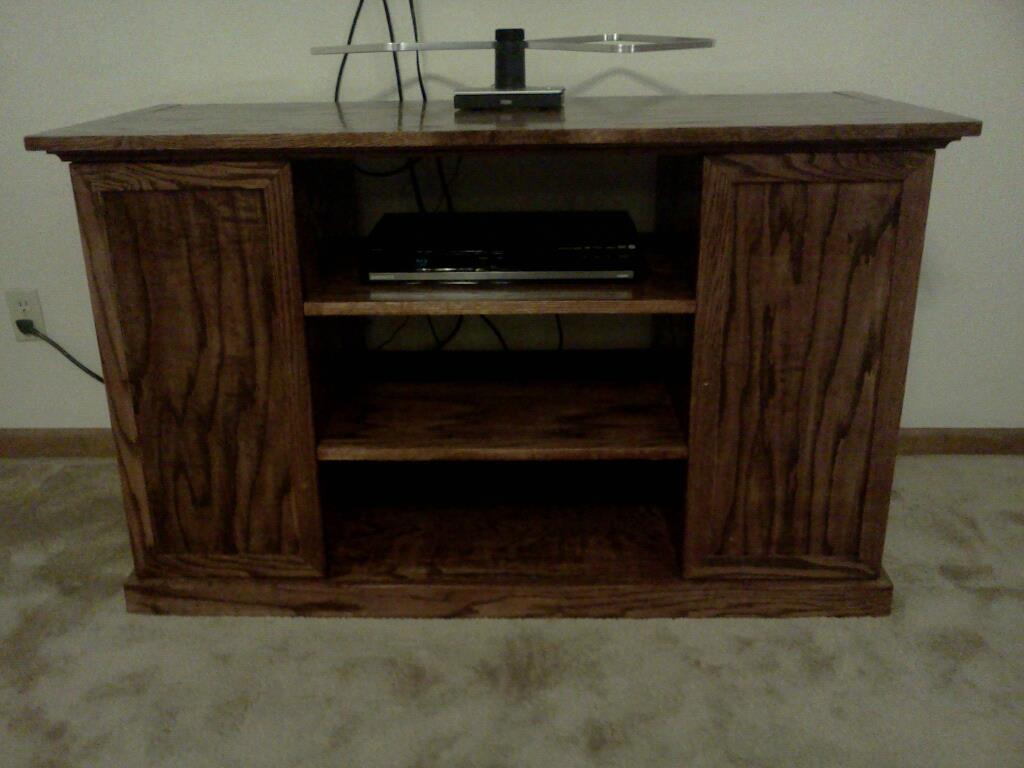
This is my favorite build so far!! Mines measure 52Wx30Hx14D. I use 11 3/4(1x12) strip plywood boards instead to fit our space.
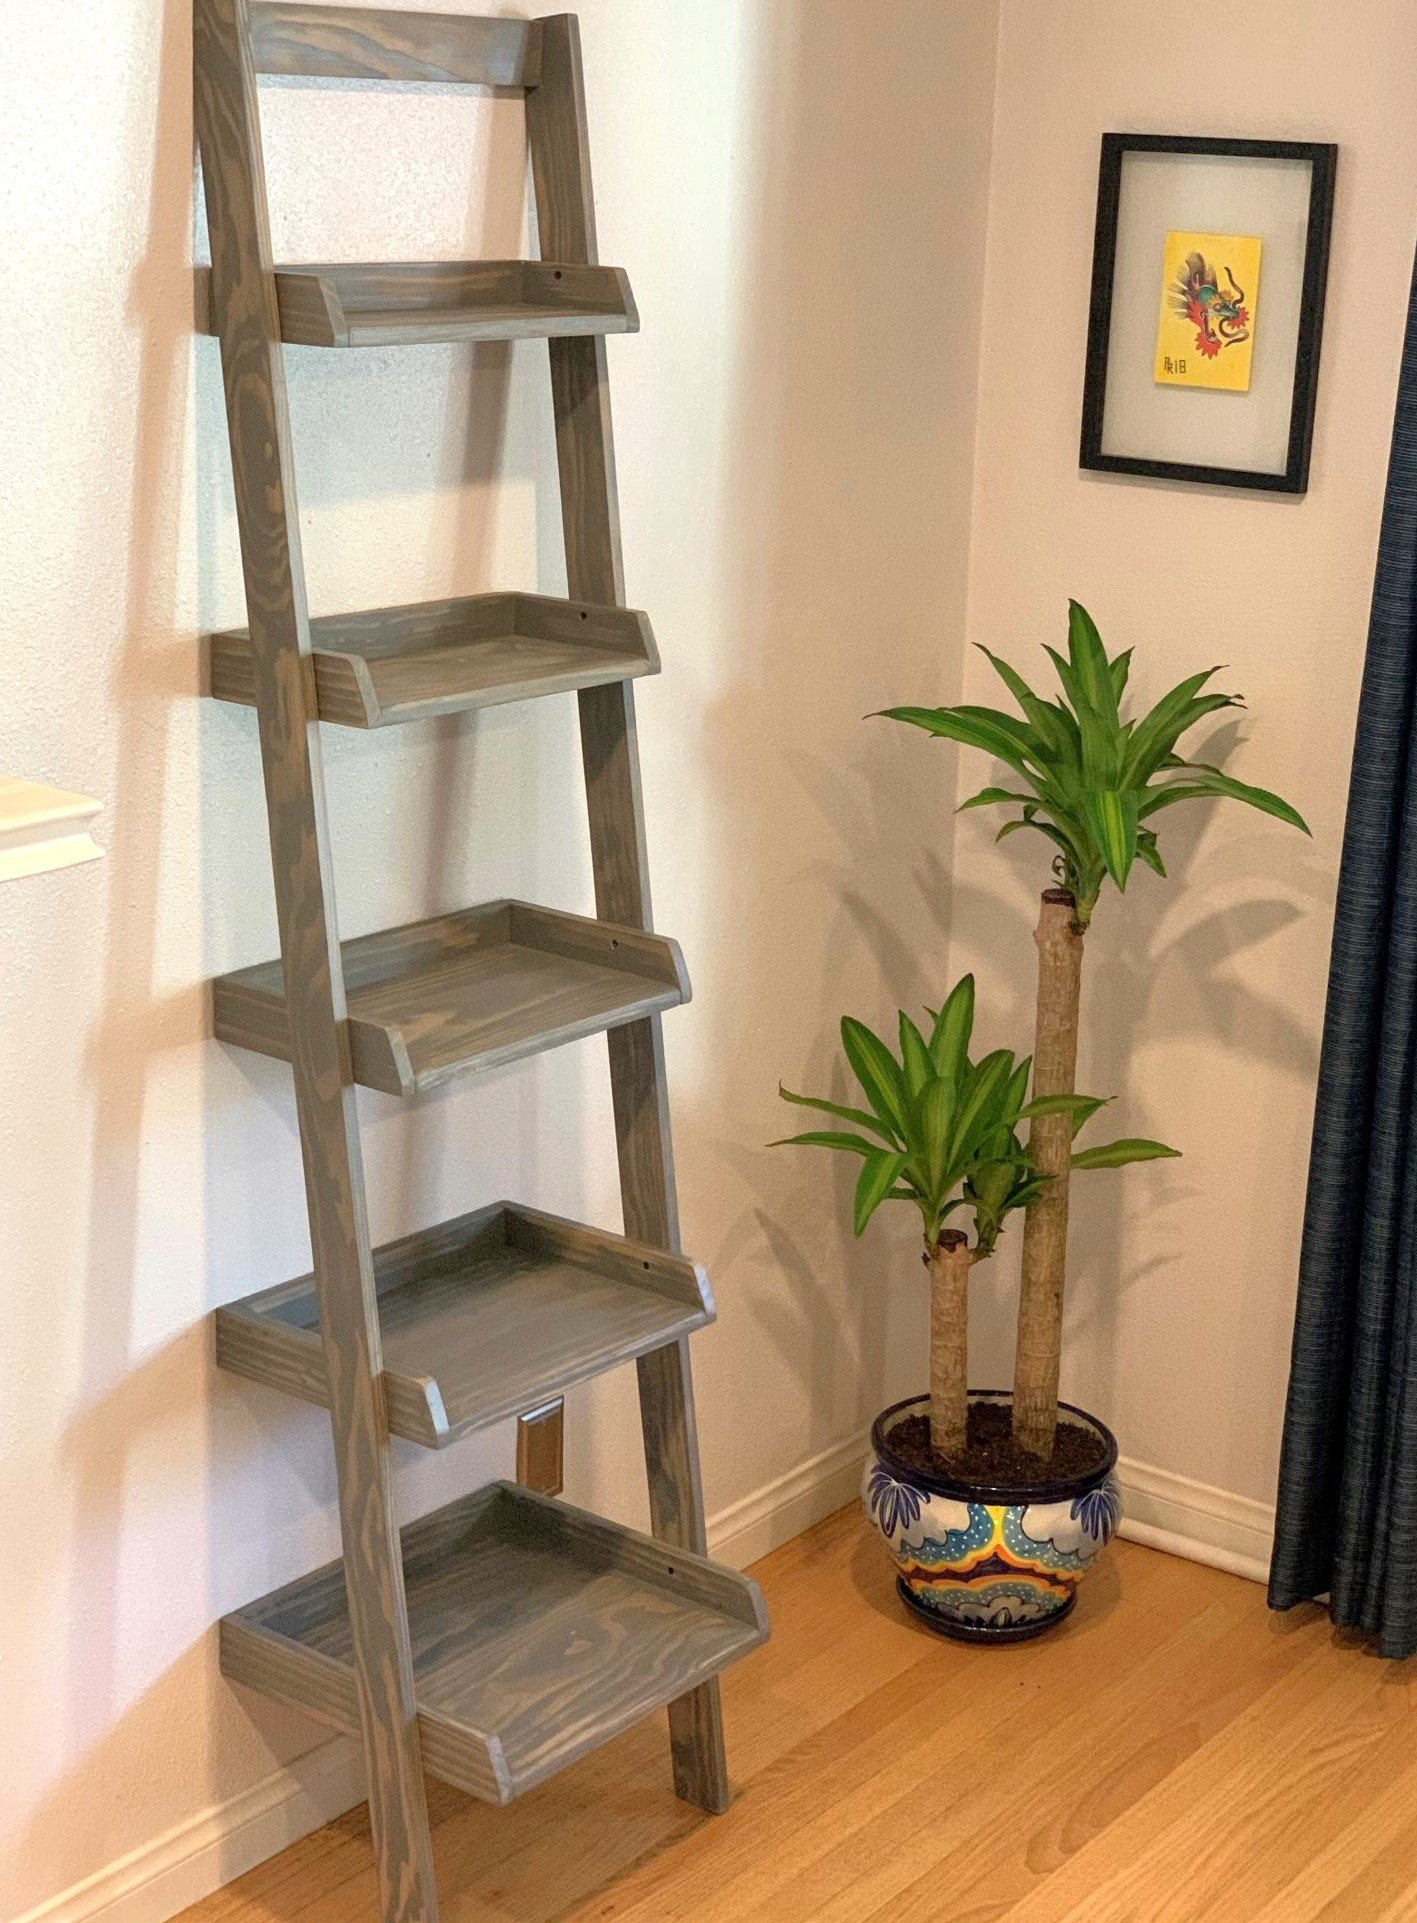
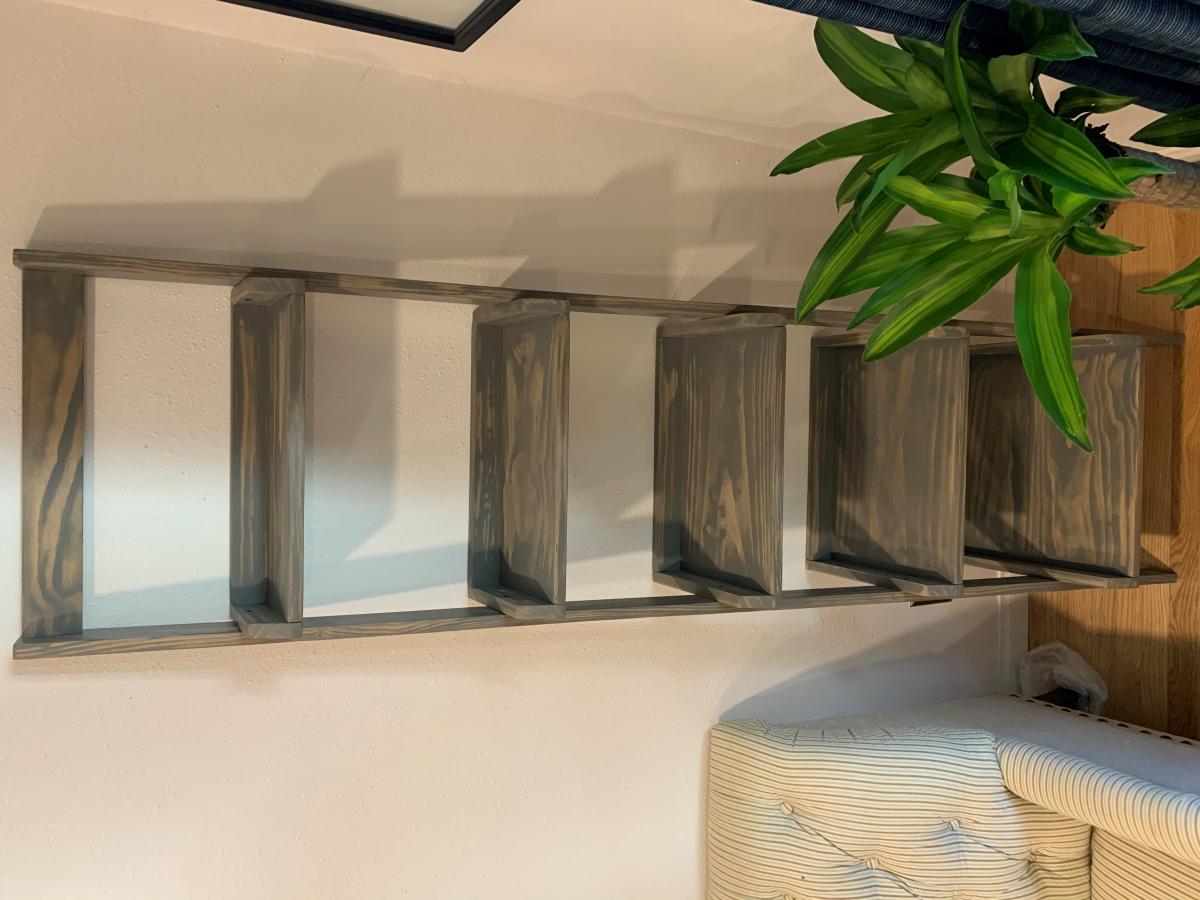
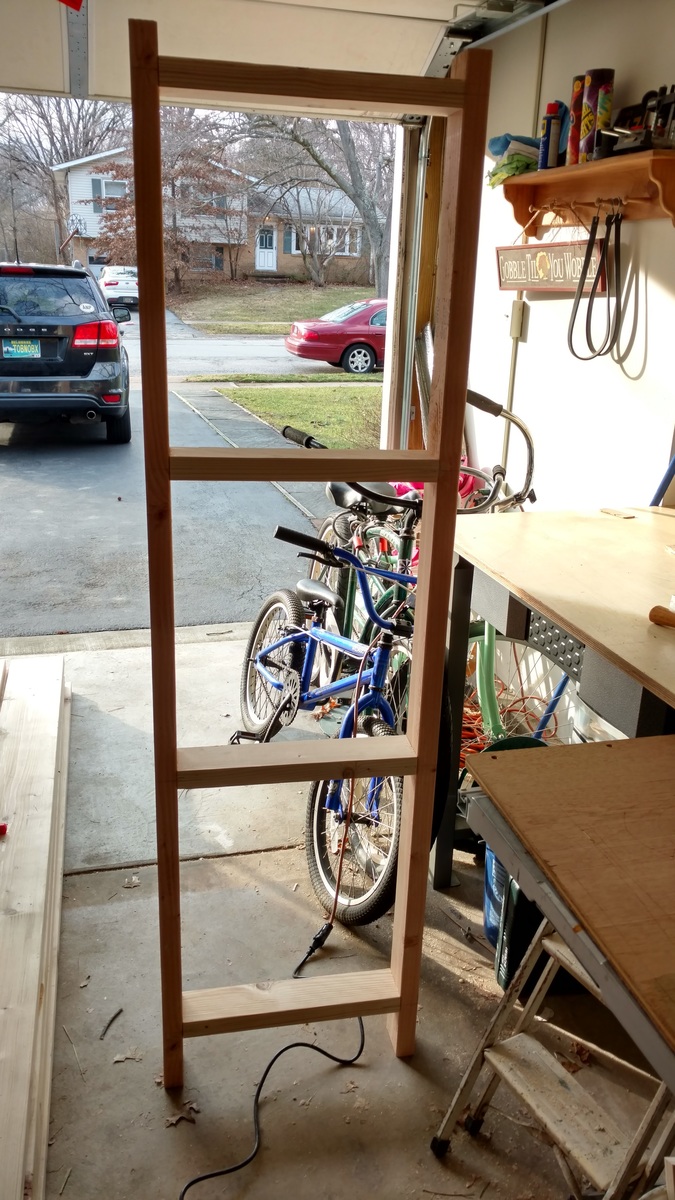
Another one bites the dust. Made this out of Ana instructions for a ladder shelf. Like the way this turned out alot. Ana White knows whats up :)
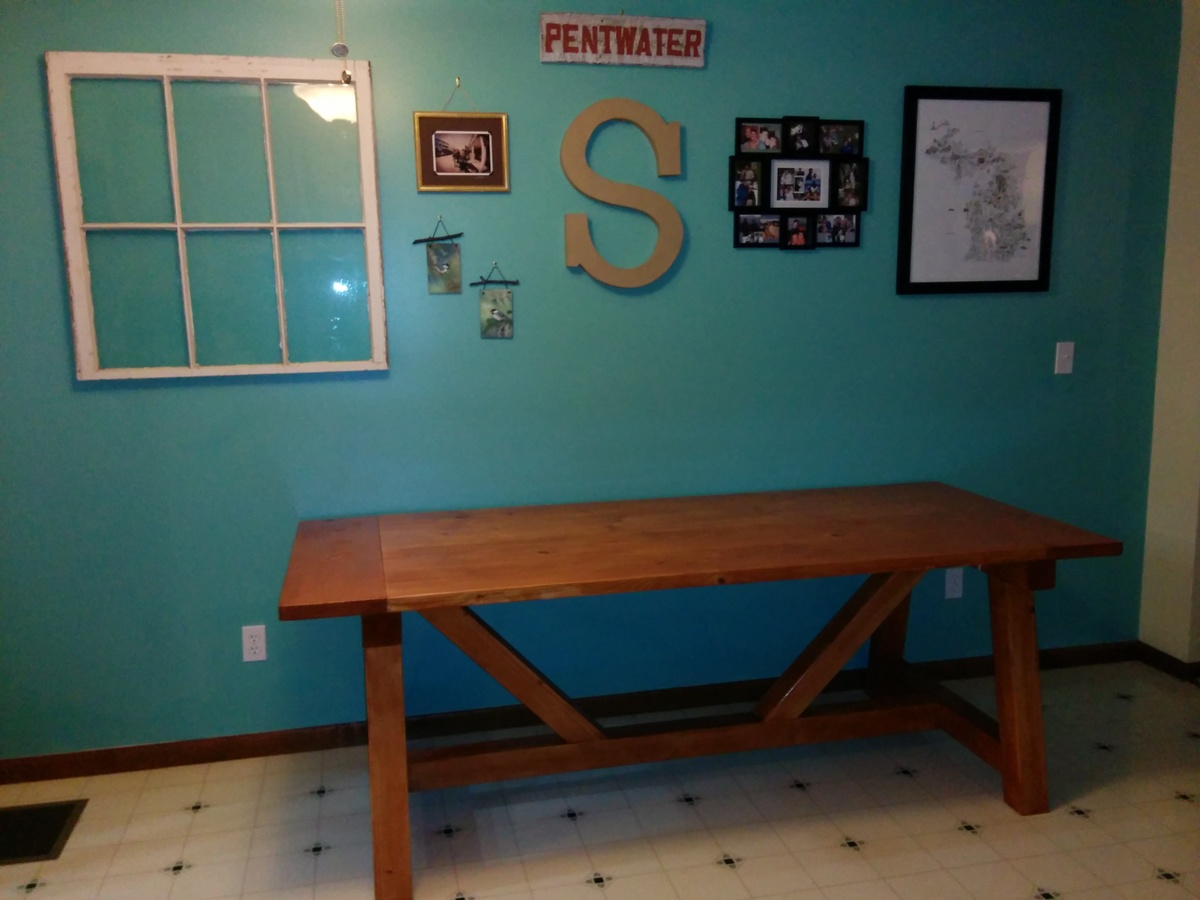
This was my first table, great directions from Ana White and other postings. Turned out great, the main addition I had was to add some supports for the ends as it felt like it needed it.
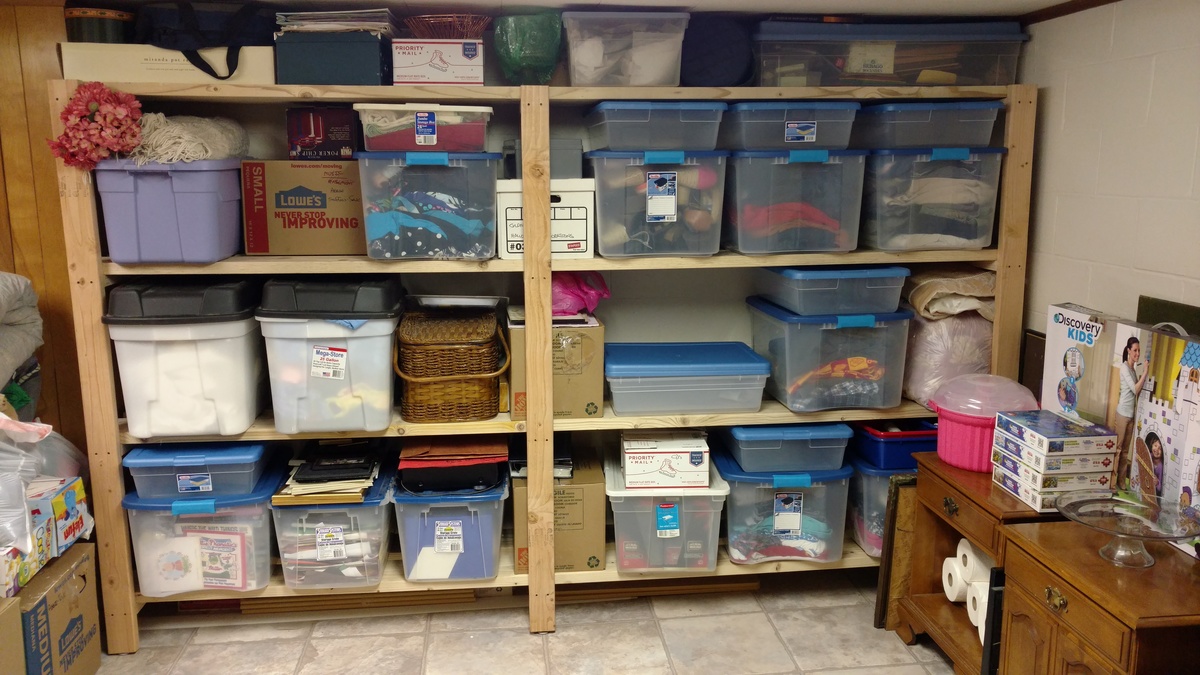
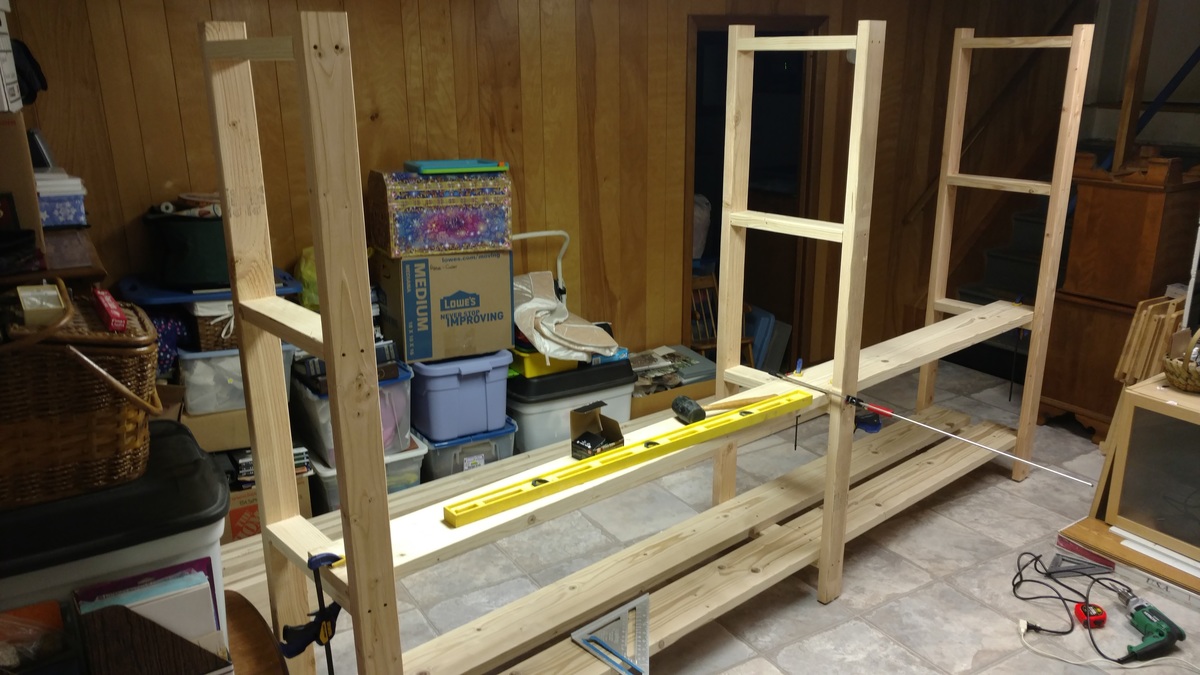
Time to get organized in 2017....and what better way than with some custom shelving. This was not too bad of a project to complete. It only took about 6-8 hours to cut, frame, and assemble everything together (thanks to an interruption or two). 'Twas nice to have a project for once that I didn't have to care about finishing the project with wood filler, sanding, painting. I am sure my wife thanks me more as I would have been another week getting things just right!
A few changes that I made from the original plans:
- used 2x8 for the shelving runs as I only was dealing with a 10ft run and was a few bucks cheaper to buy 8 boards vs 16 boards. Plus less cuts!!!
-installed adjustable furniture feet in the supports to deal with sloping basement floor. Unexpected side effect was it was easier to slide the unit around in the basement as I assembled it.
Outside of those changes I remained faithful to the original design. I didn't bother filling the screw holes as we will be hiding the shelving unit with a curtain once we turn the room into a TV/Office area.
Also as it wasn't 100% clear from the original plans, but the height measurements for the shelf supports are to center... not sure why it didn't register with me right away... but just in case anyone else didn't realize that as well.
bonjour j'ai réaliser ce projet avec du bois de charpente (récupération) , projet très facile à réaliser avec peut de matériel, le plus compliquer à été de transposer les dimensions de pouces en cm. est-il possible de recevoir des plans en cm ????

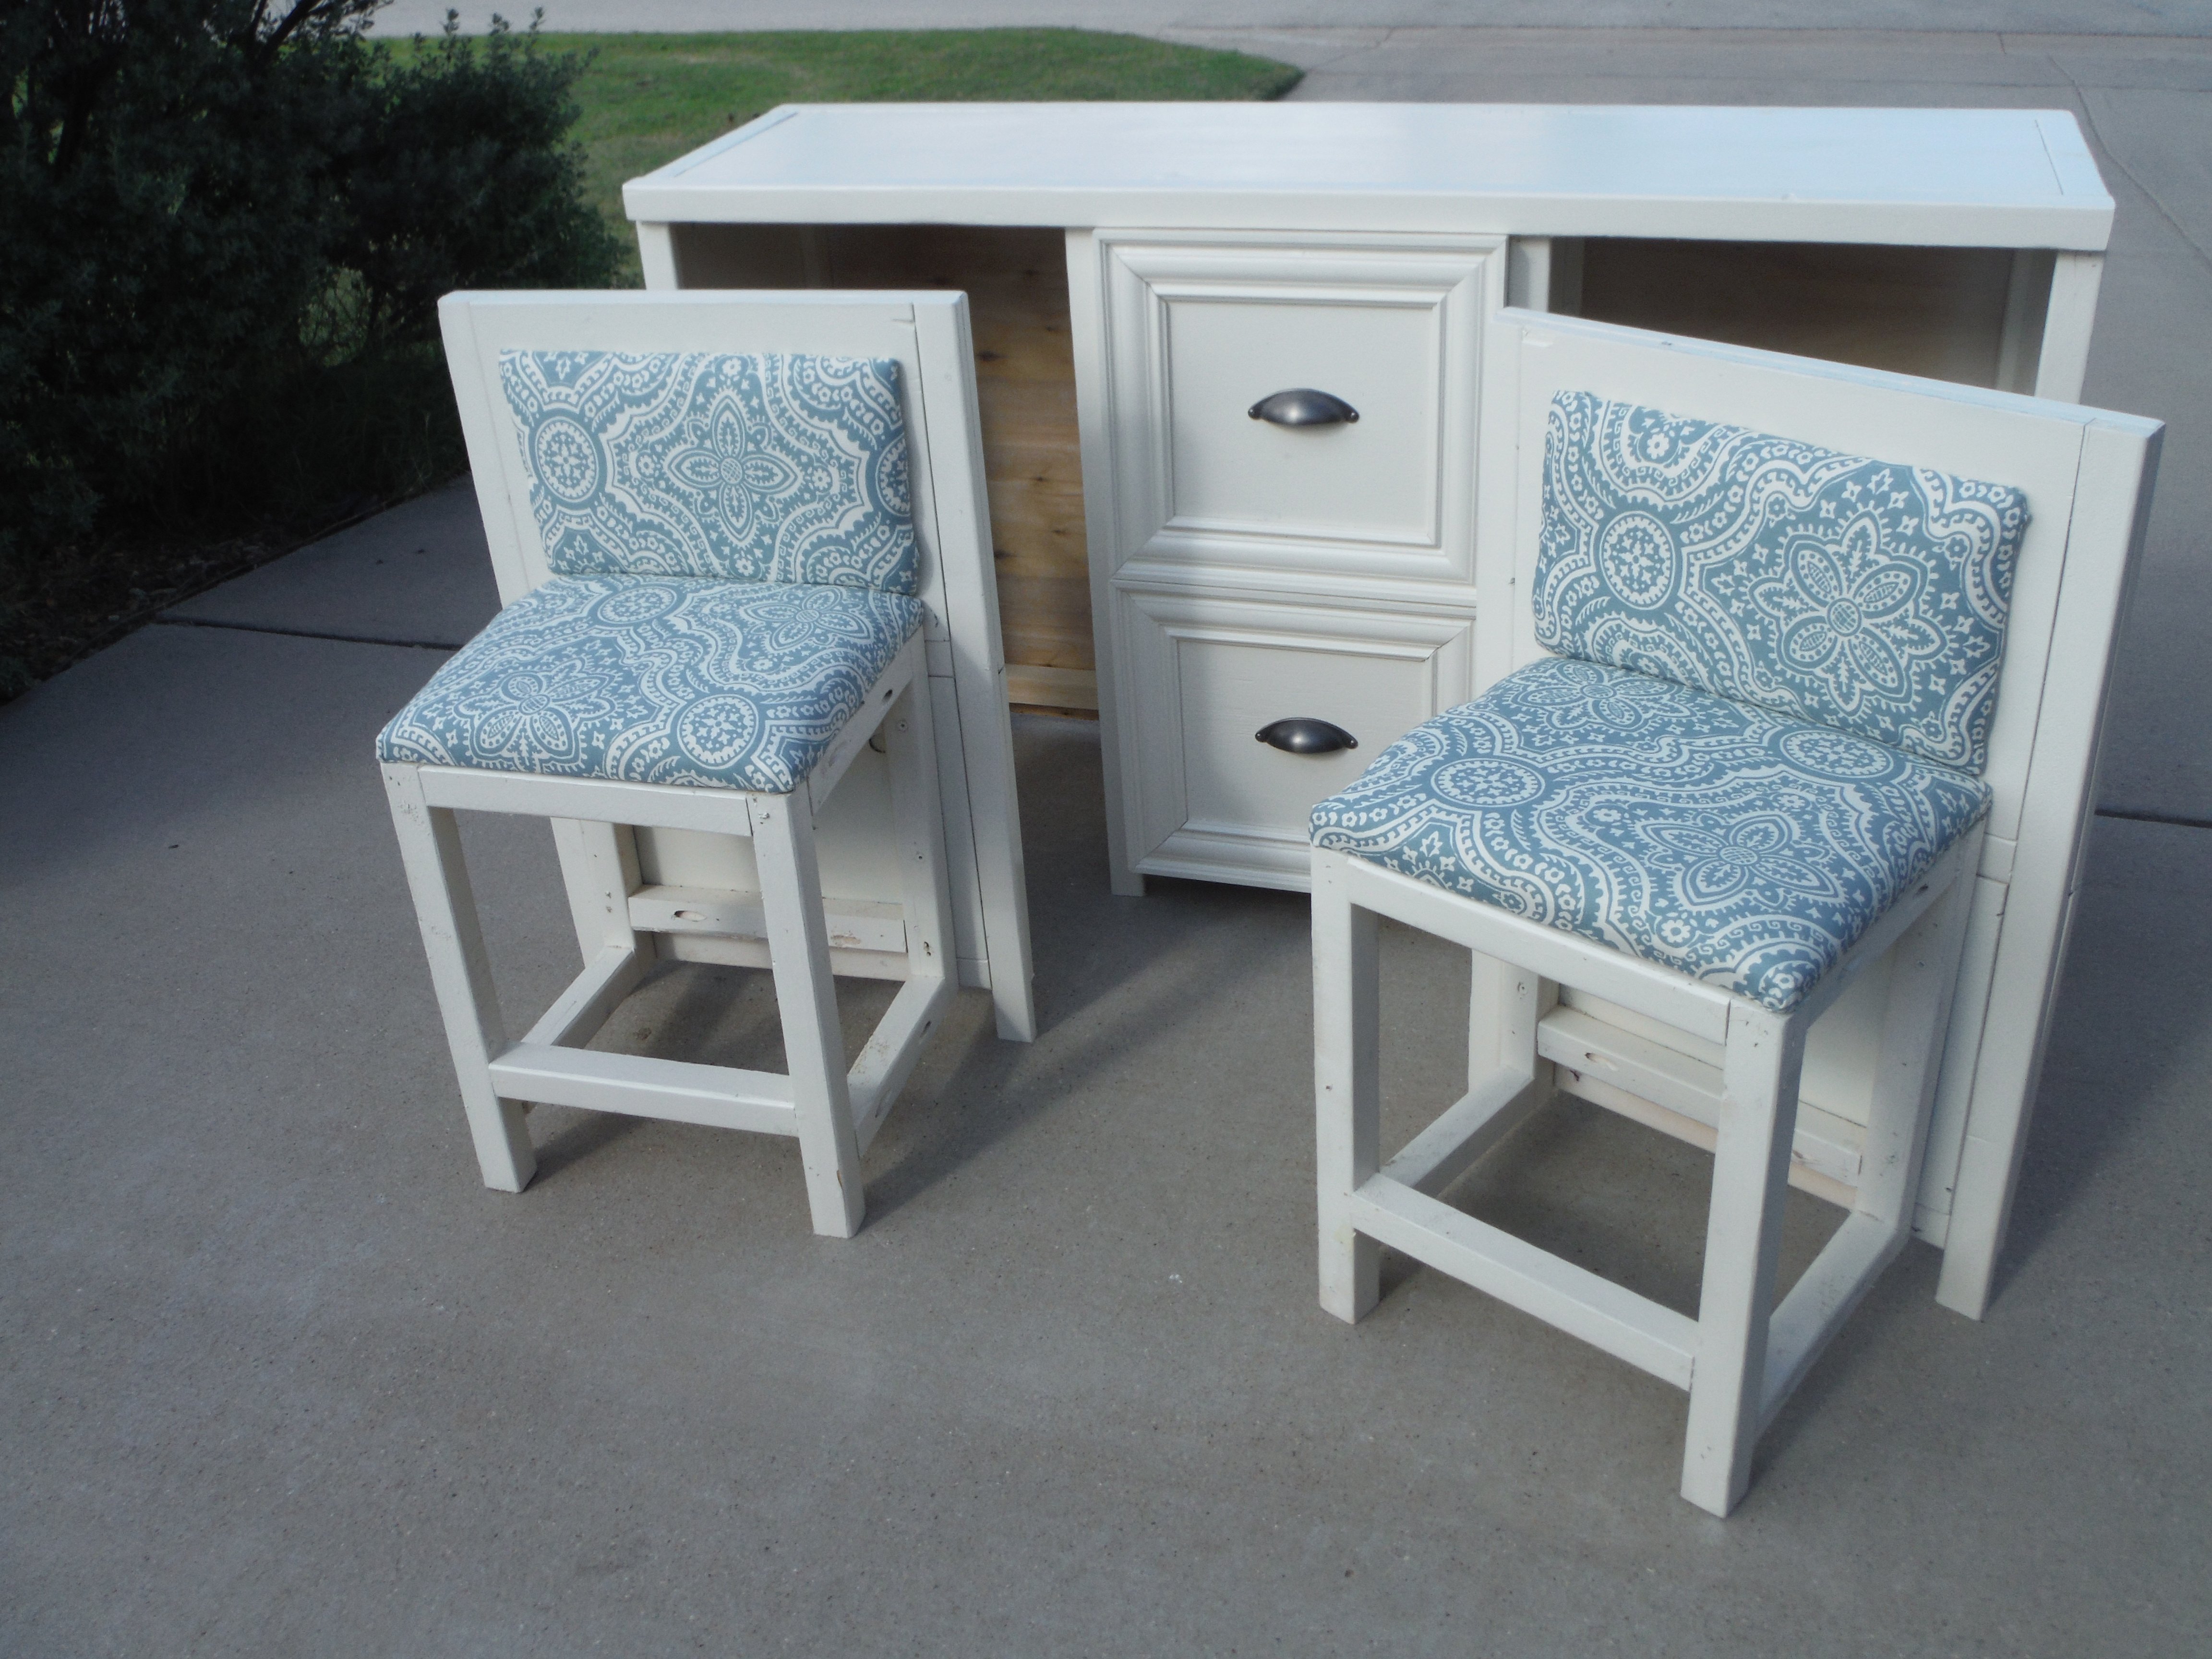
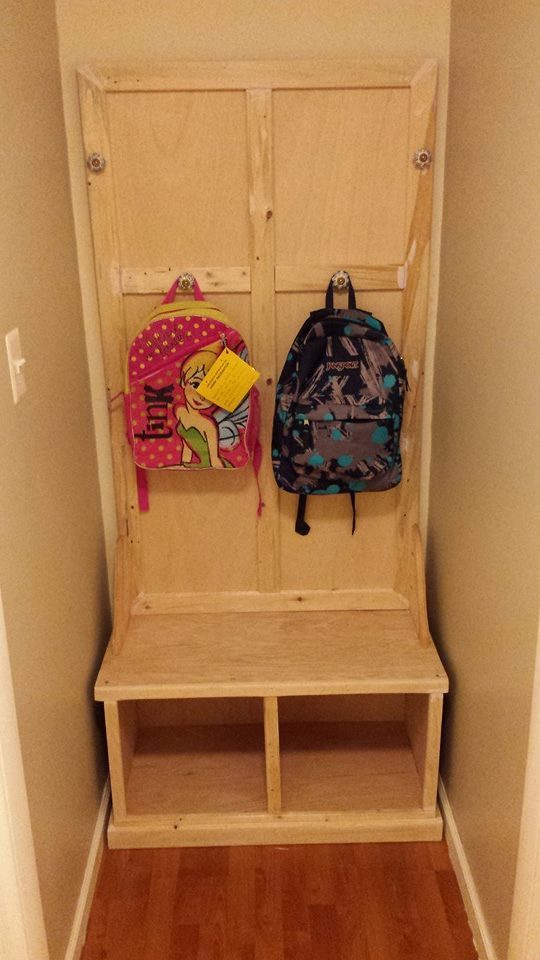
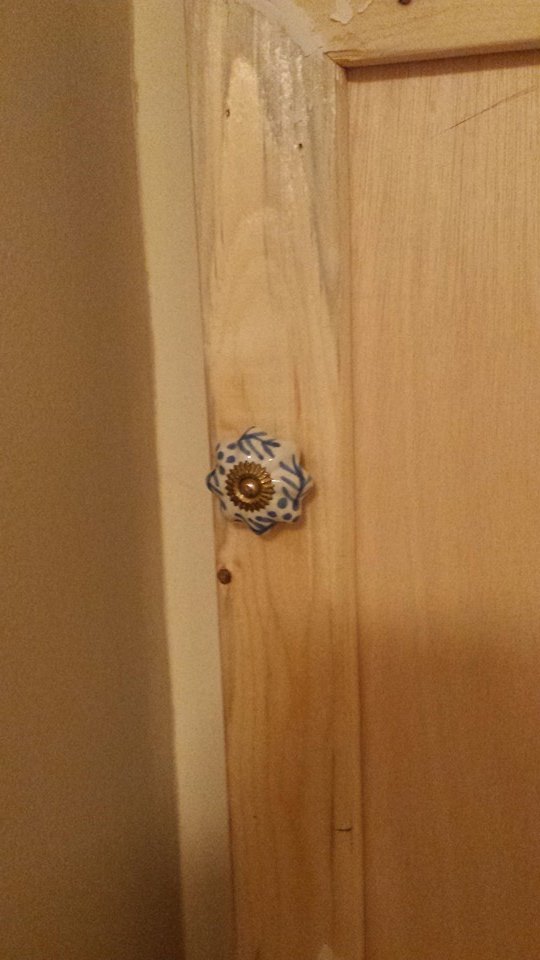
This project was something my wife wanted, but I didn't want to spend alot of money. I managed to build this project for less then $25.00 minus the paint. We are not sure what color it's going to be and I think I might add a shelf to it at a later date. We had to cut this down by 19 inches to fit it into our hall way. Hopefully I will get the rest of it finished in the next month or so depending on the weather.
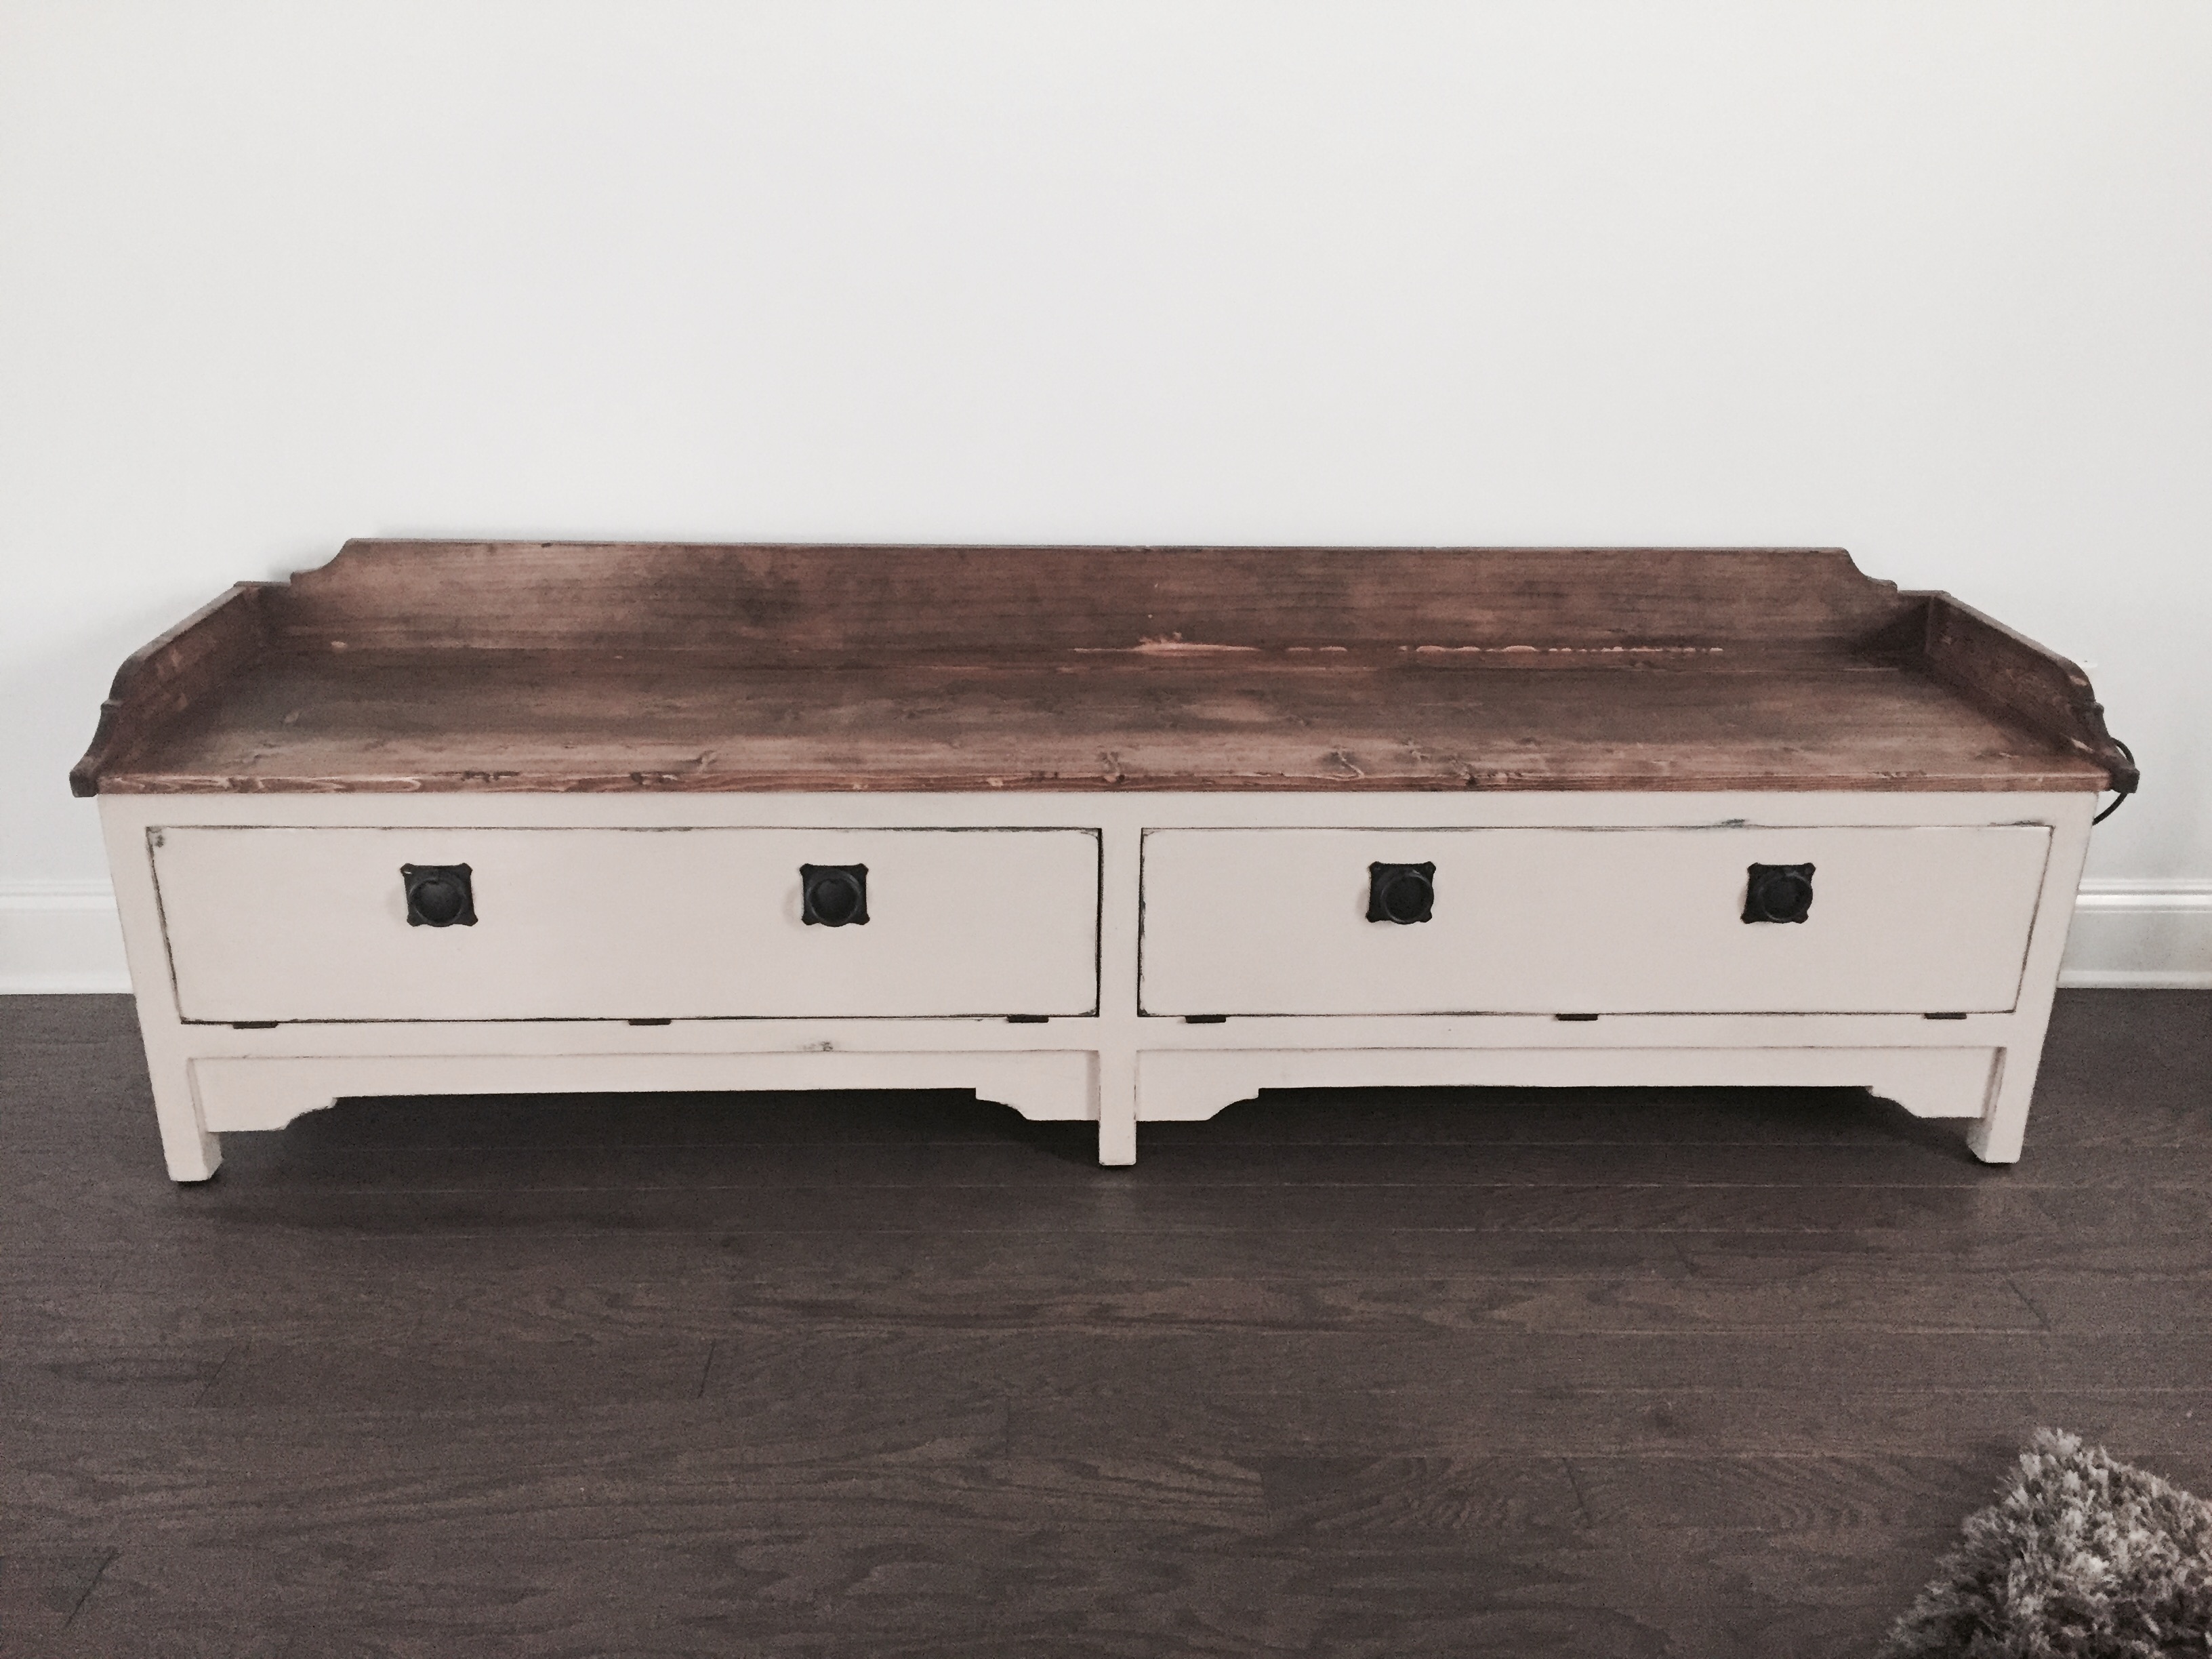
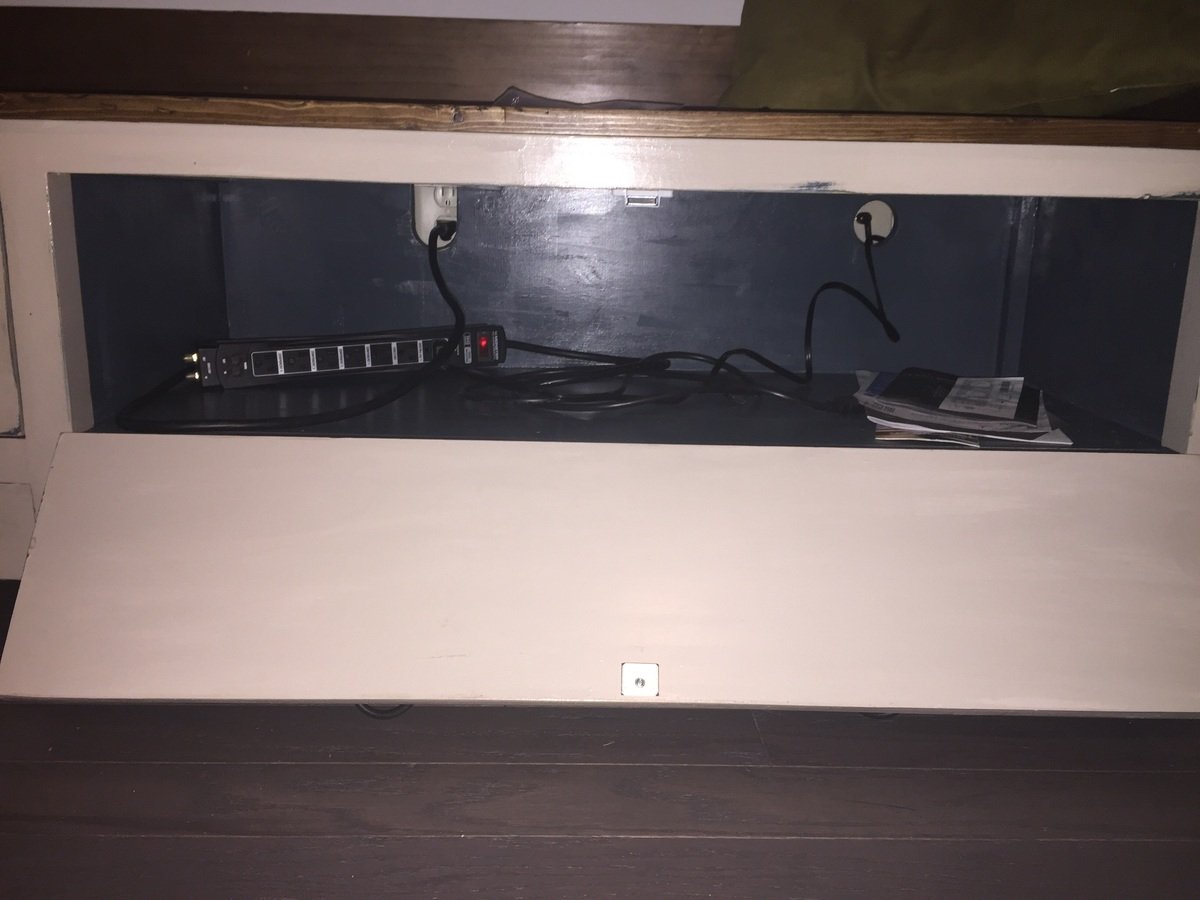
We needed a long bench to cover up our chords and outlets against a fairly large wall. My husband cut holes in the back of the bench so that chords could pass through and we could hide a cable box inside the bench.
It turned out perfect!
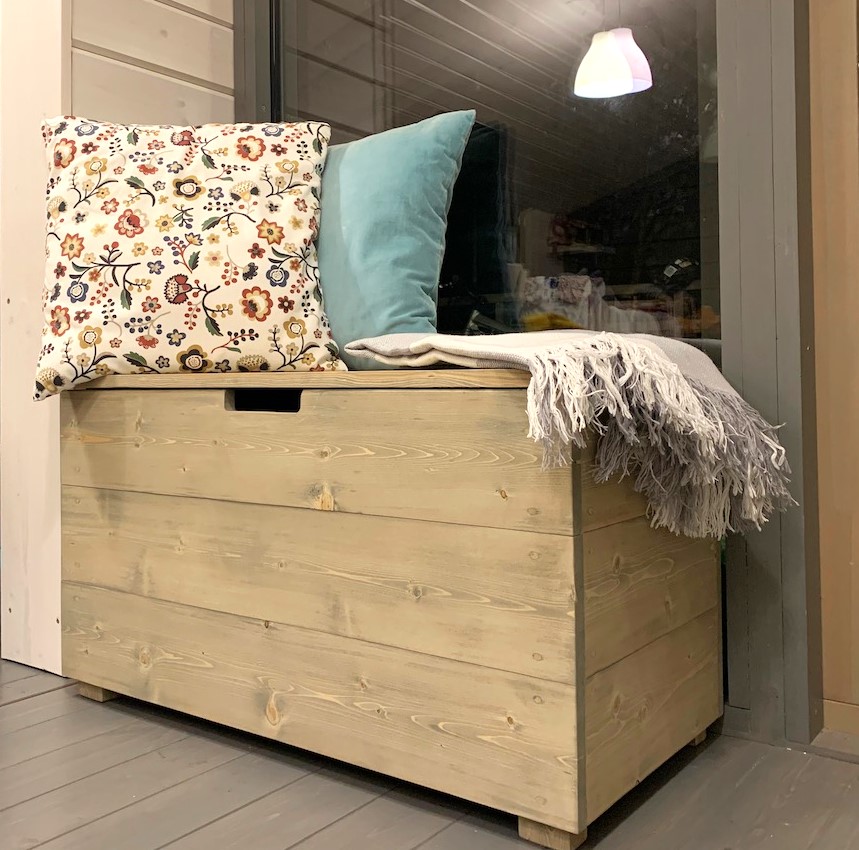
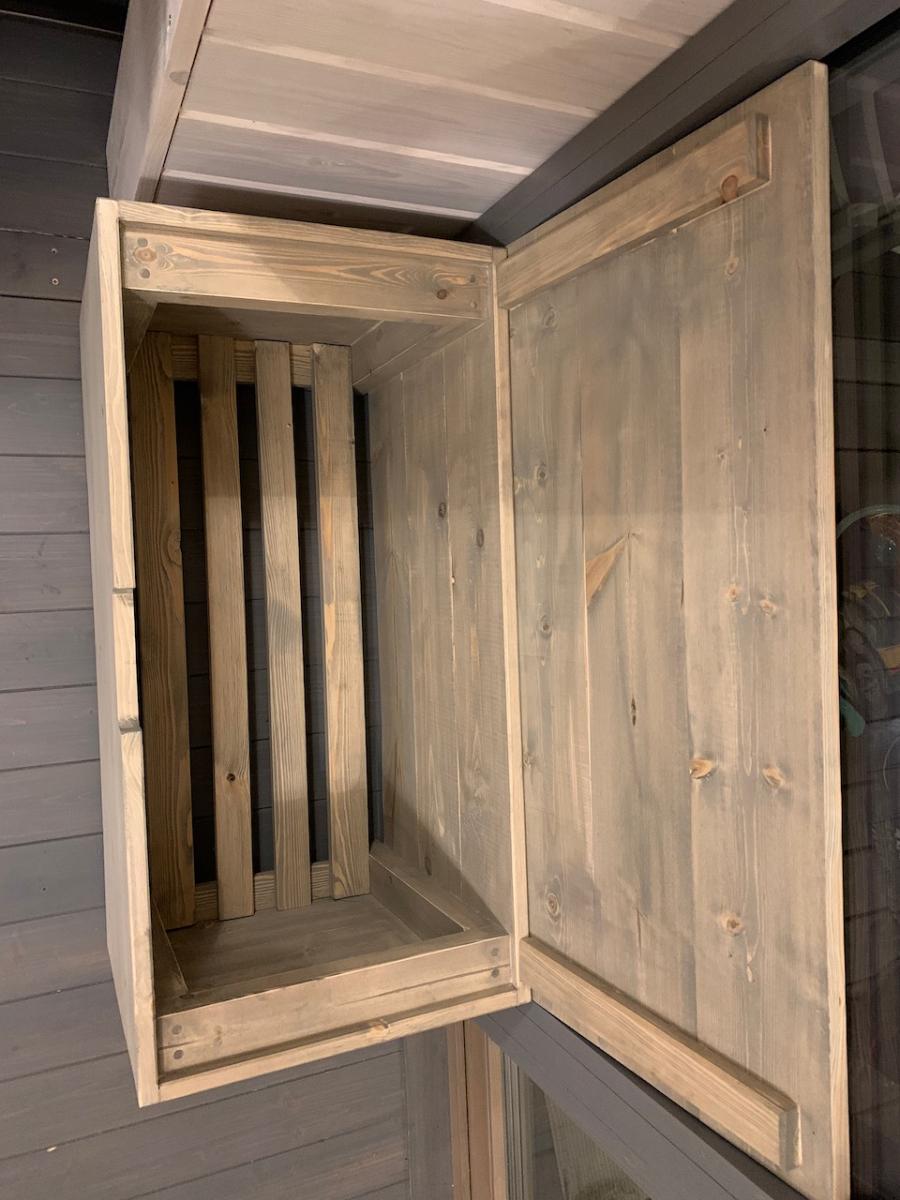
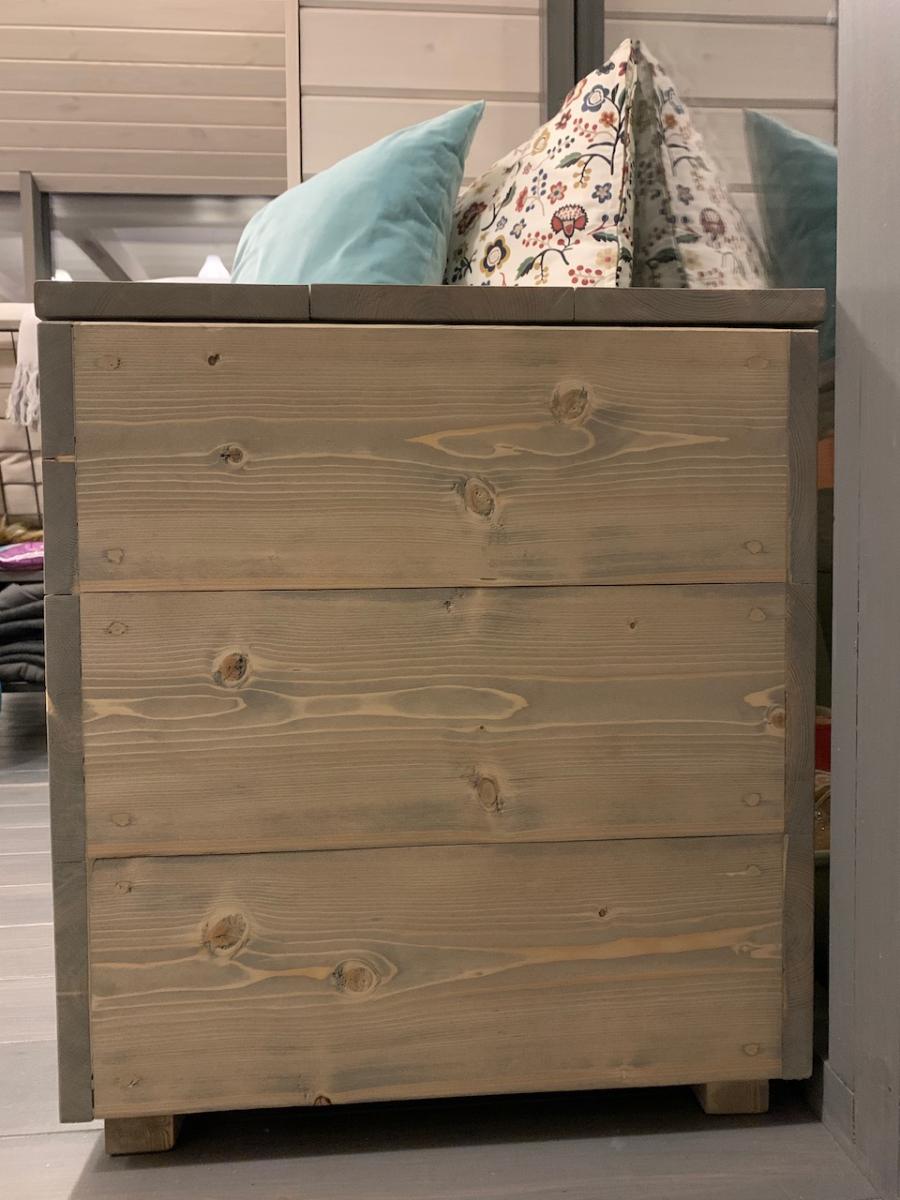
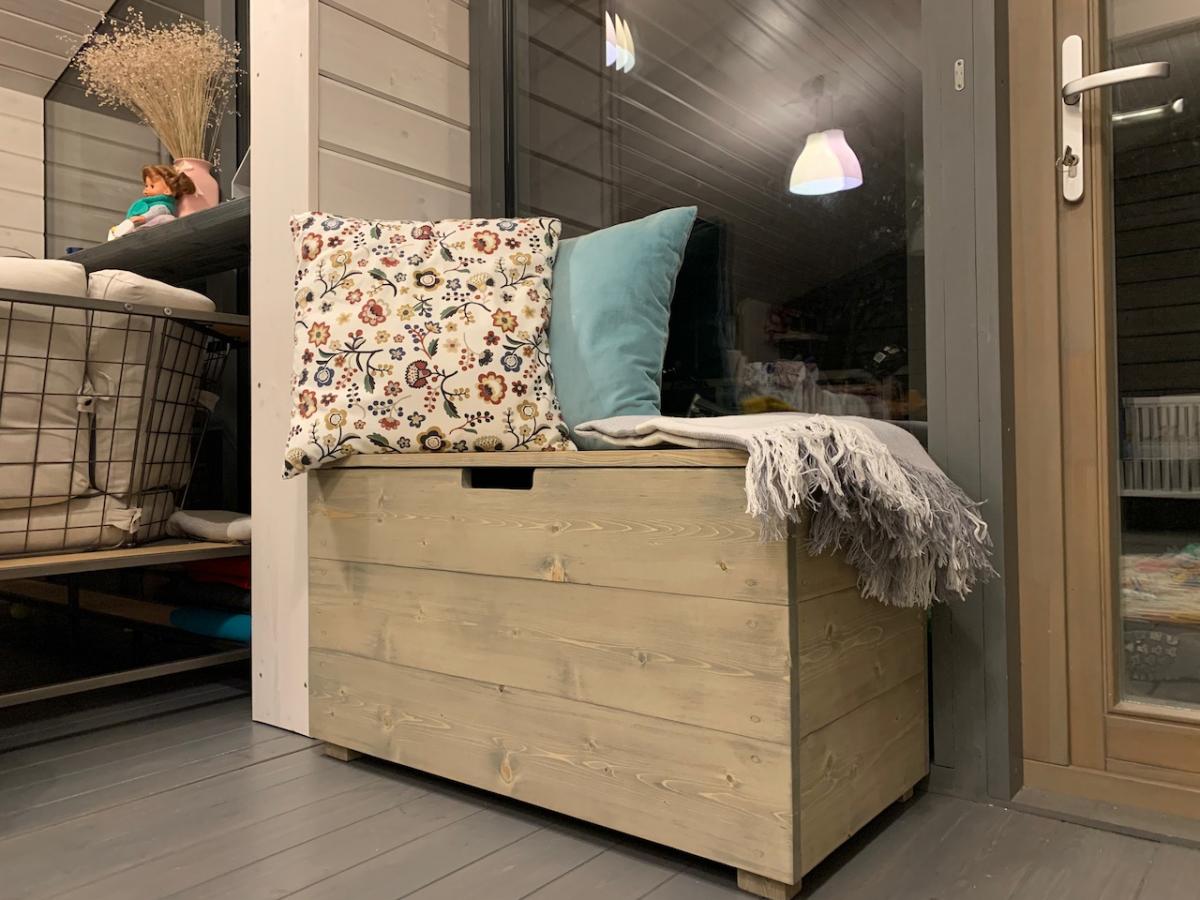
Super useful chest for winter clothes ! Sand it for perfect smooth indoor use, hide all screws. Thank you for plans.
we made this for our friends for a housewarming gift. Will definitely make again!
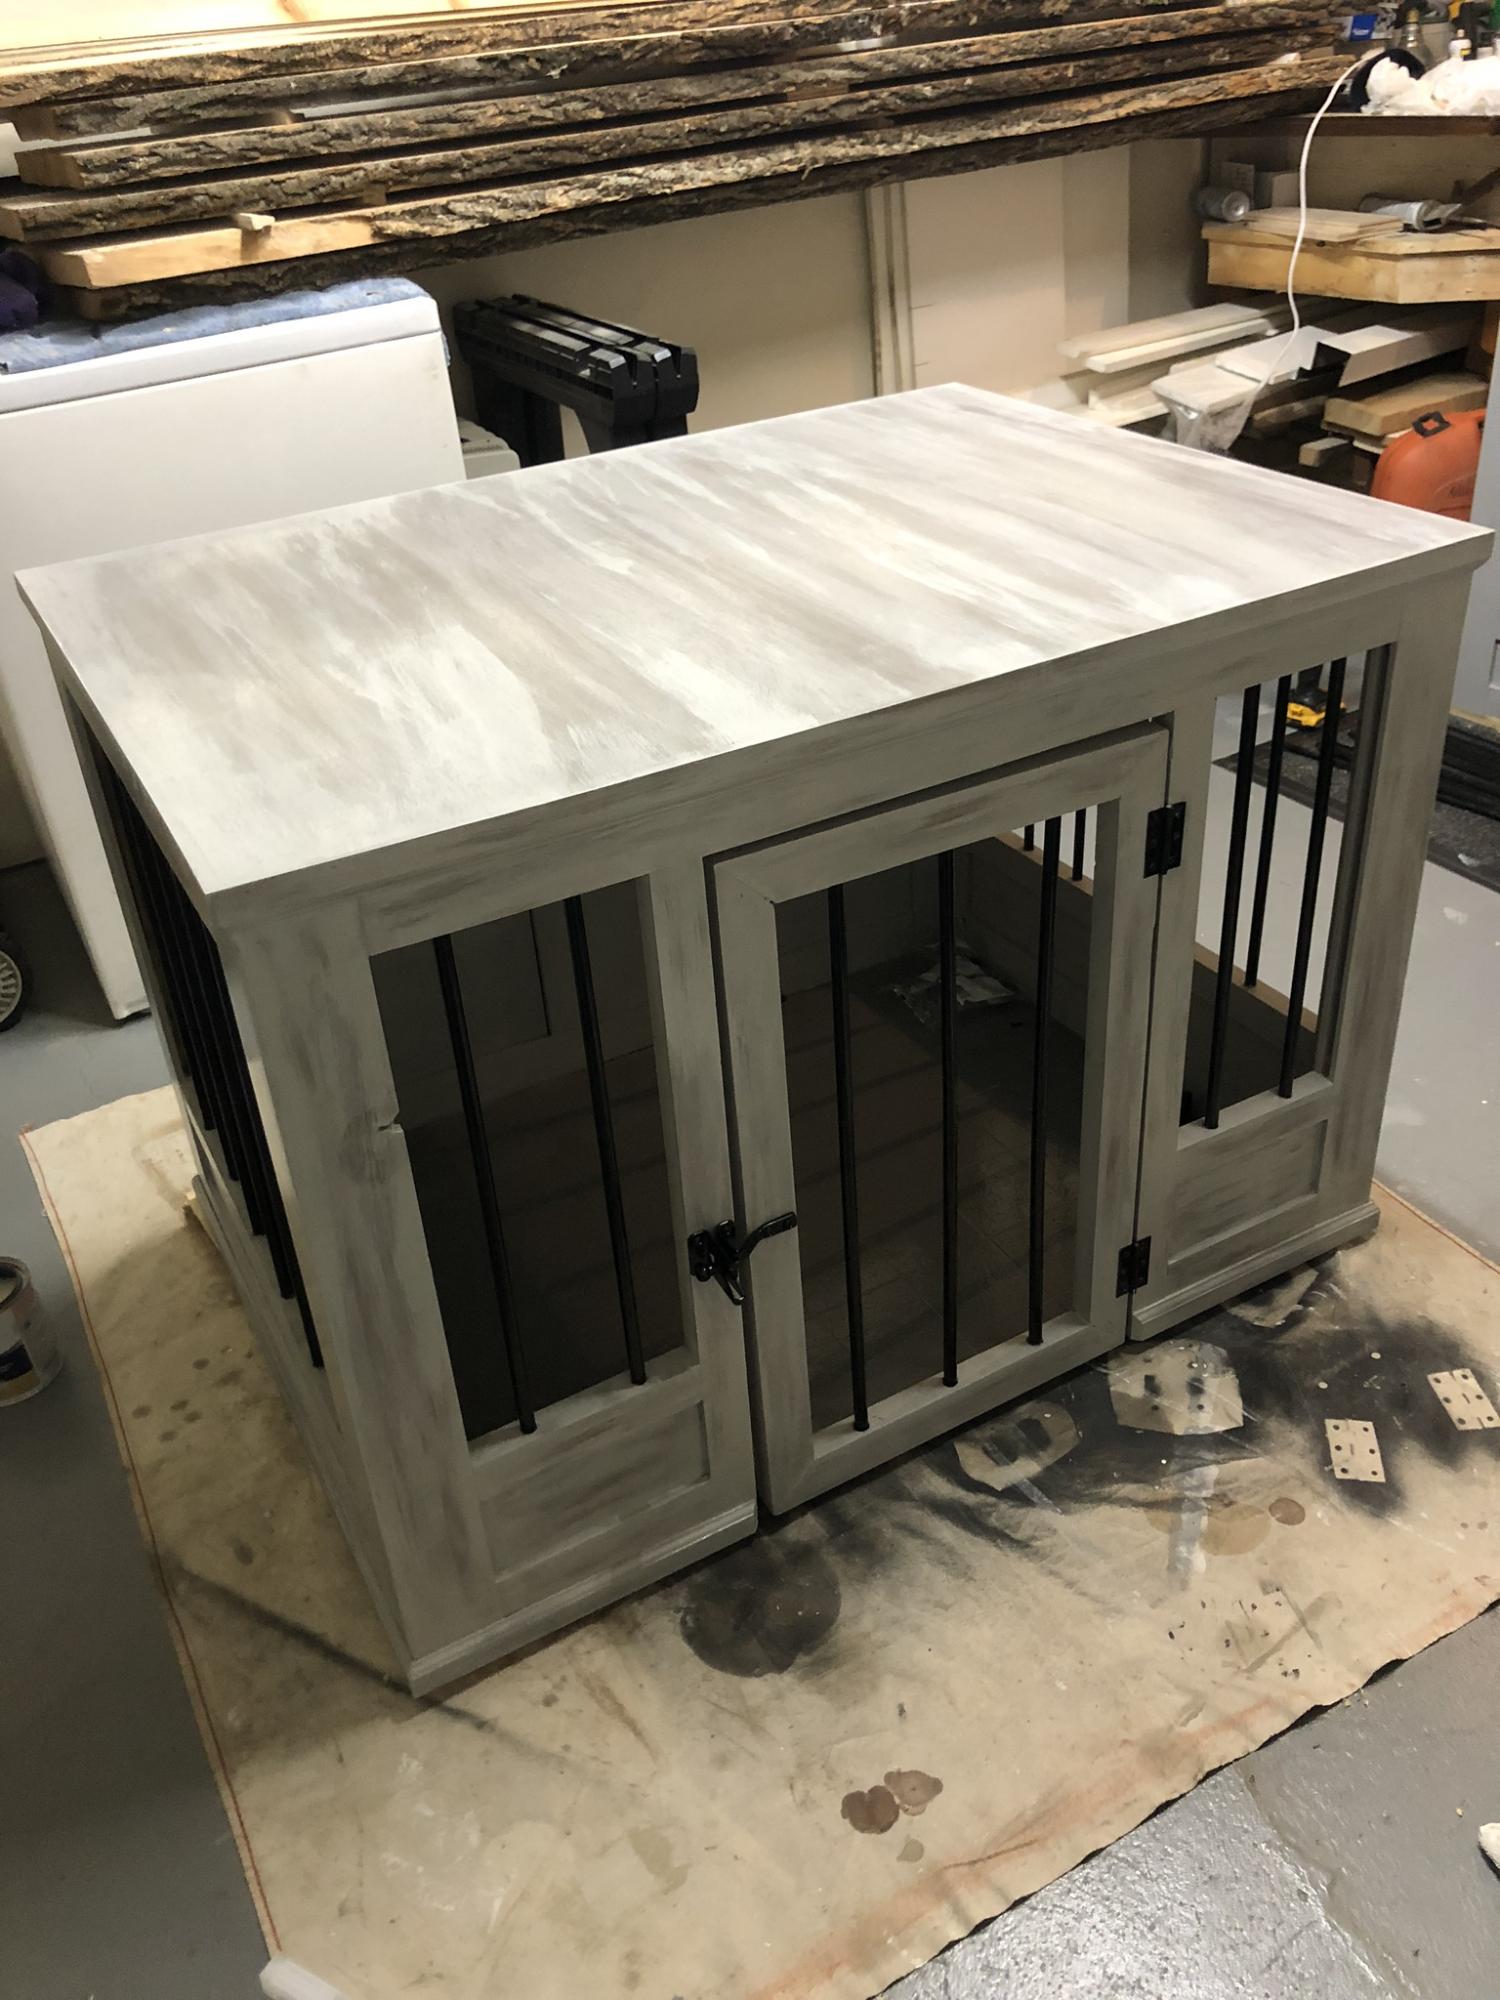
Xl farmhouse style dog crate table with metal bars.
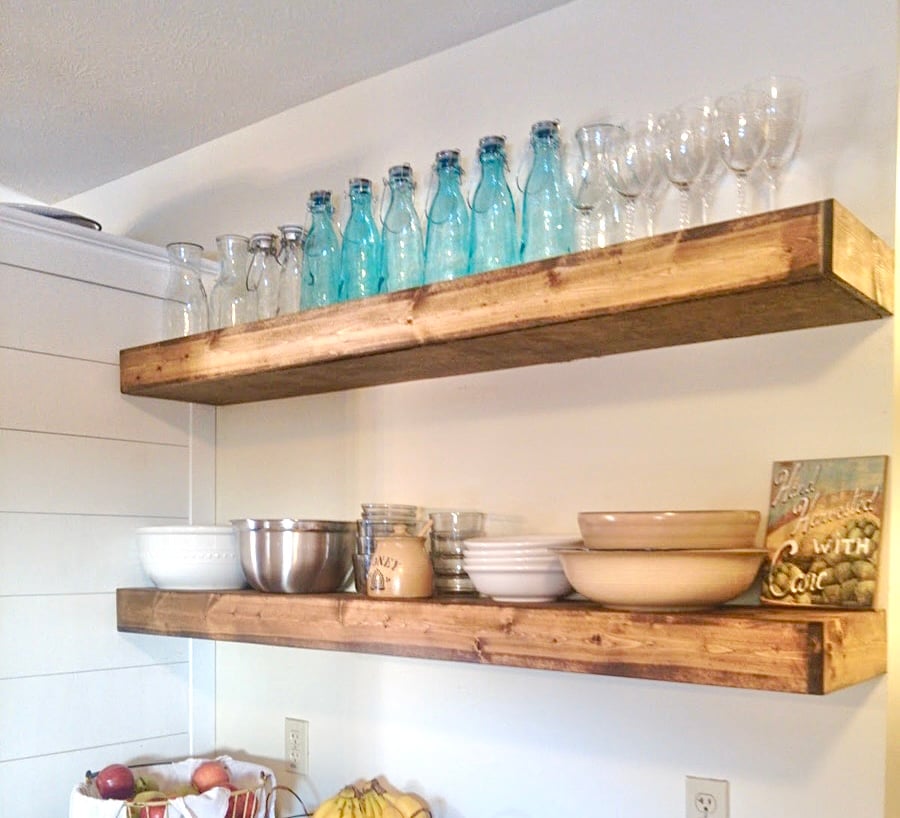
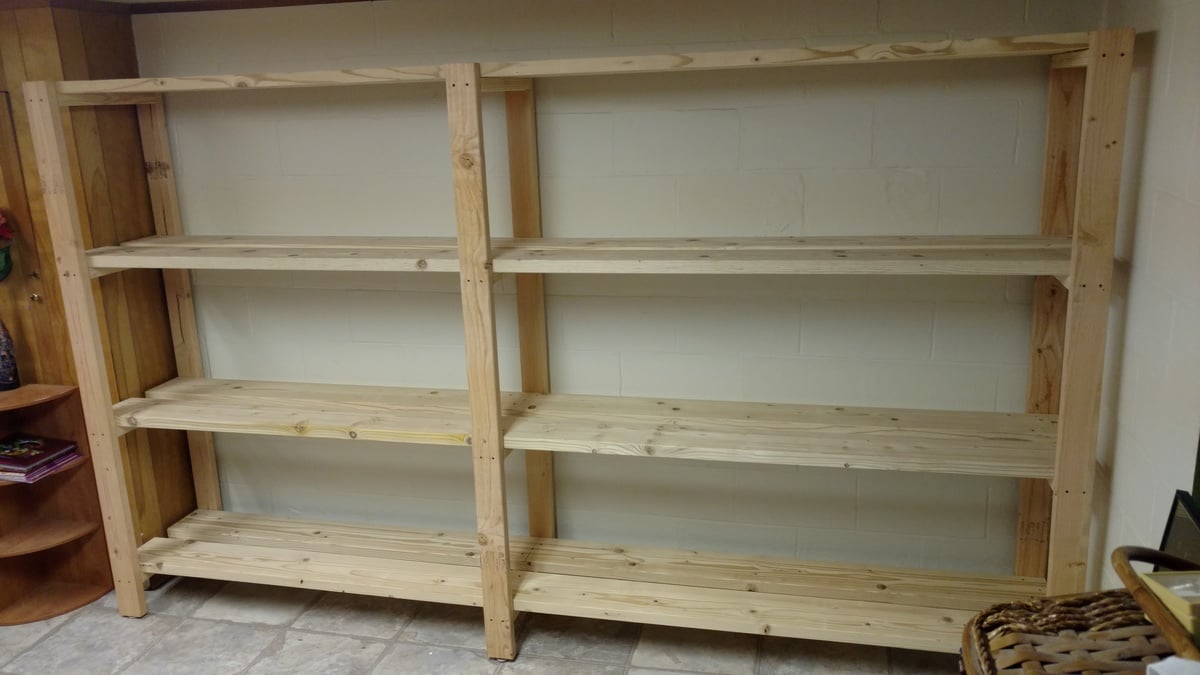
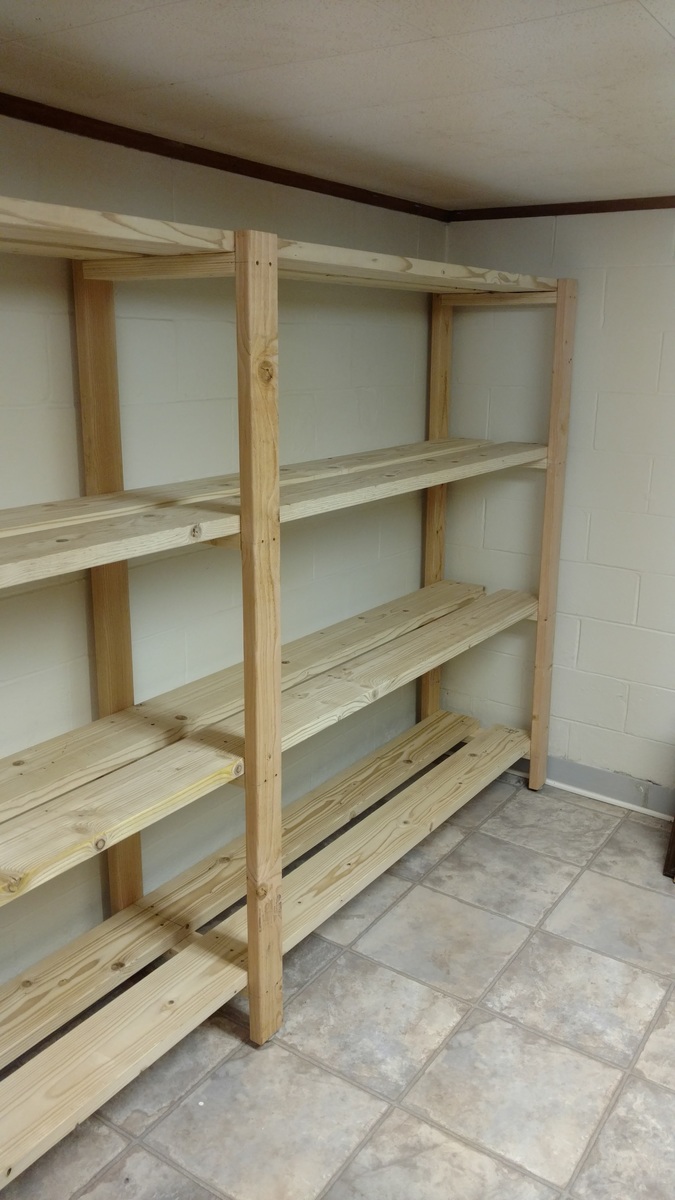
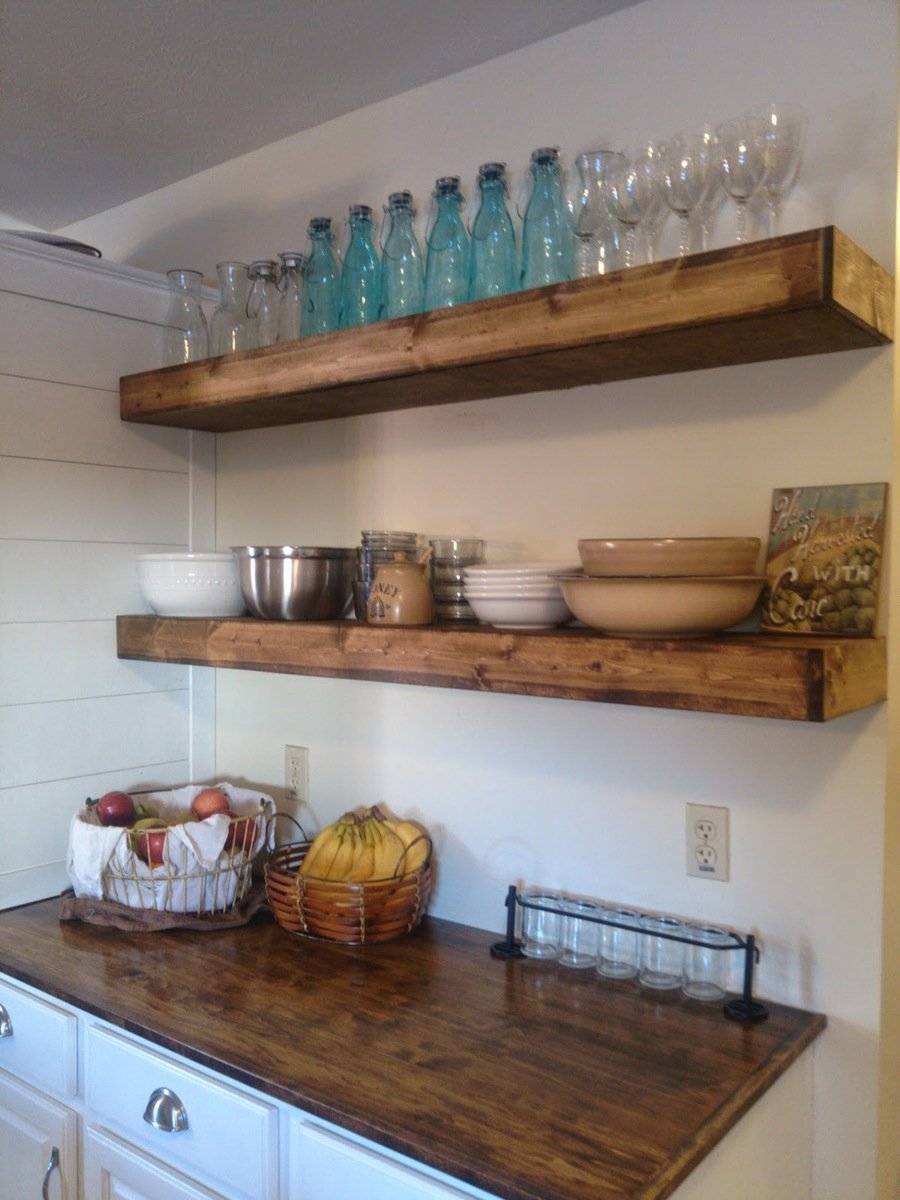
I built these shelves in an afternoon and they were really simple. I'm fairly new to building and using powertools so these are quite an accomplishement!

Mon, 01/19/2015 - 17:13
Gorgeous! I love the stain! This is a beautiful project!

In reply to Gorgeous! I love the stain! by Ana White
Wed, 01/21/2015 - 06:04
Thanks so much! The hard part is picking the next project!
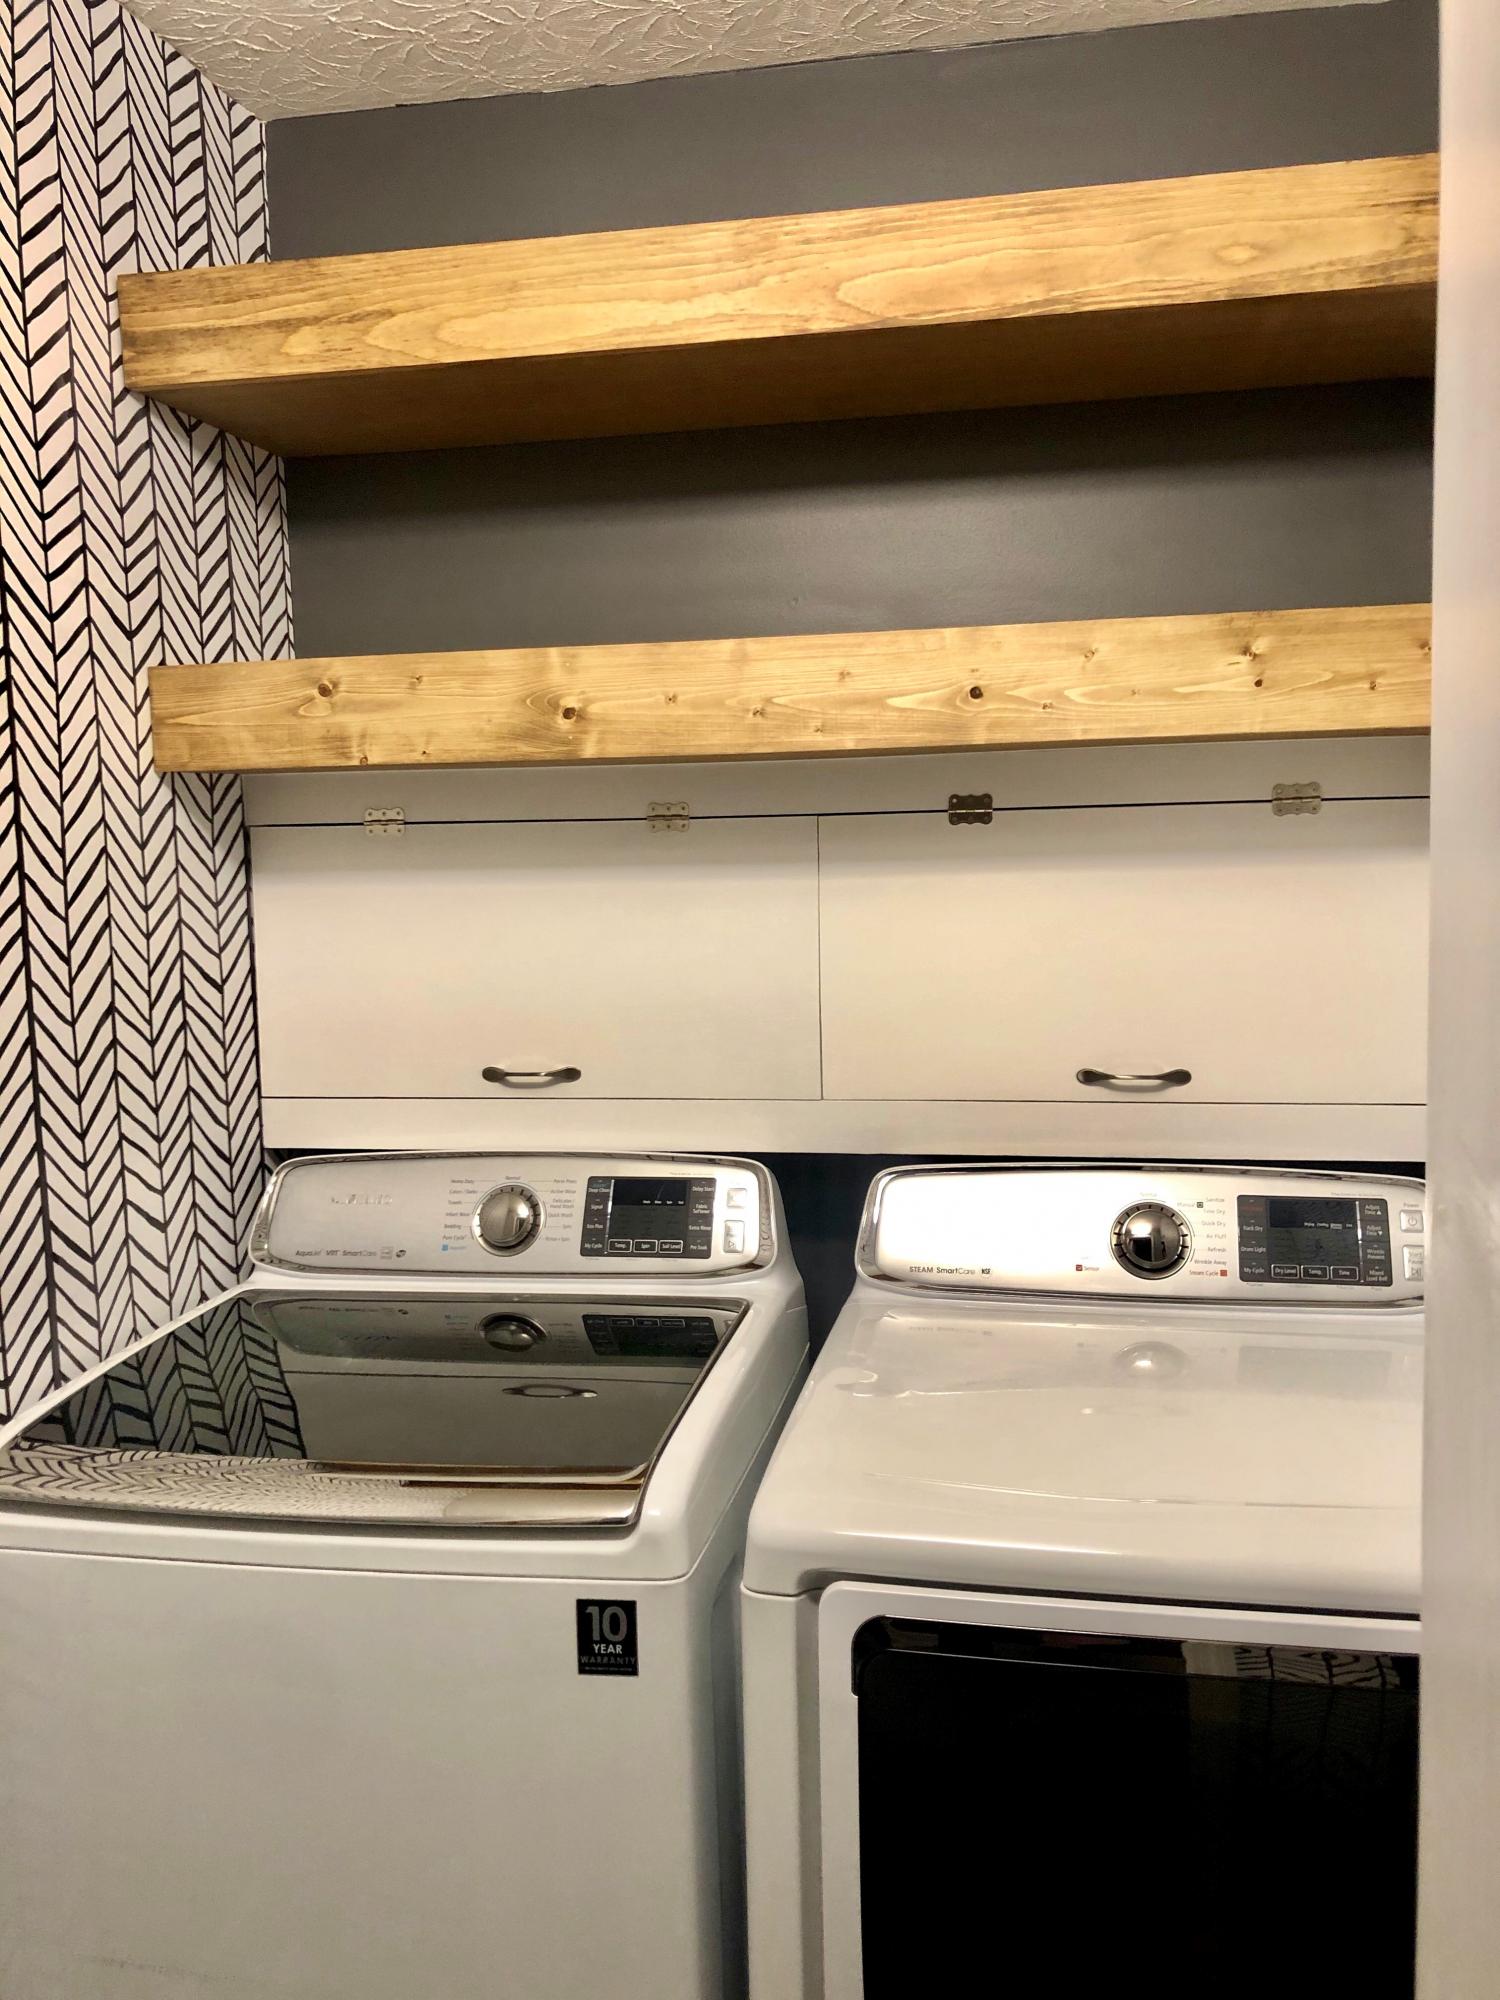
I have a tiny laundry room closet, but this remodel made a world of difference. The shelves were too high to reach routinely, so I didn't add Ana's hidden pull outs. But the cubby is a lifesaver and hides all the unsightly cleaning supplies perfectly. Now to decorate!
Tue, 12/05/2023 - 19:58
These look great! I'm thinking of doing something like this, although I might add a louvered panel on one of the doors since I plan to use an AAV. There is an atmospheric vent not too far away but trying to route a pipe would be too much of a pita. The doors could hide the water supply lines & hose as well as keep stuff from falling behind the machines. I do have to be mindful that I need to be able to open them and not have them obstructed though.
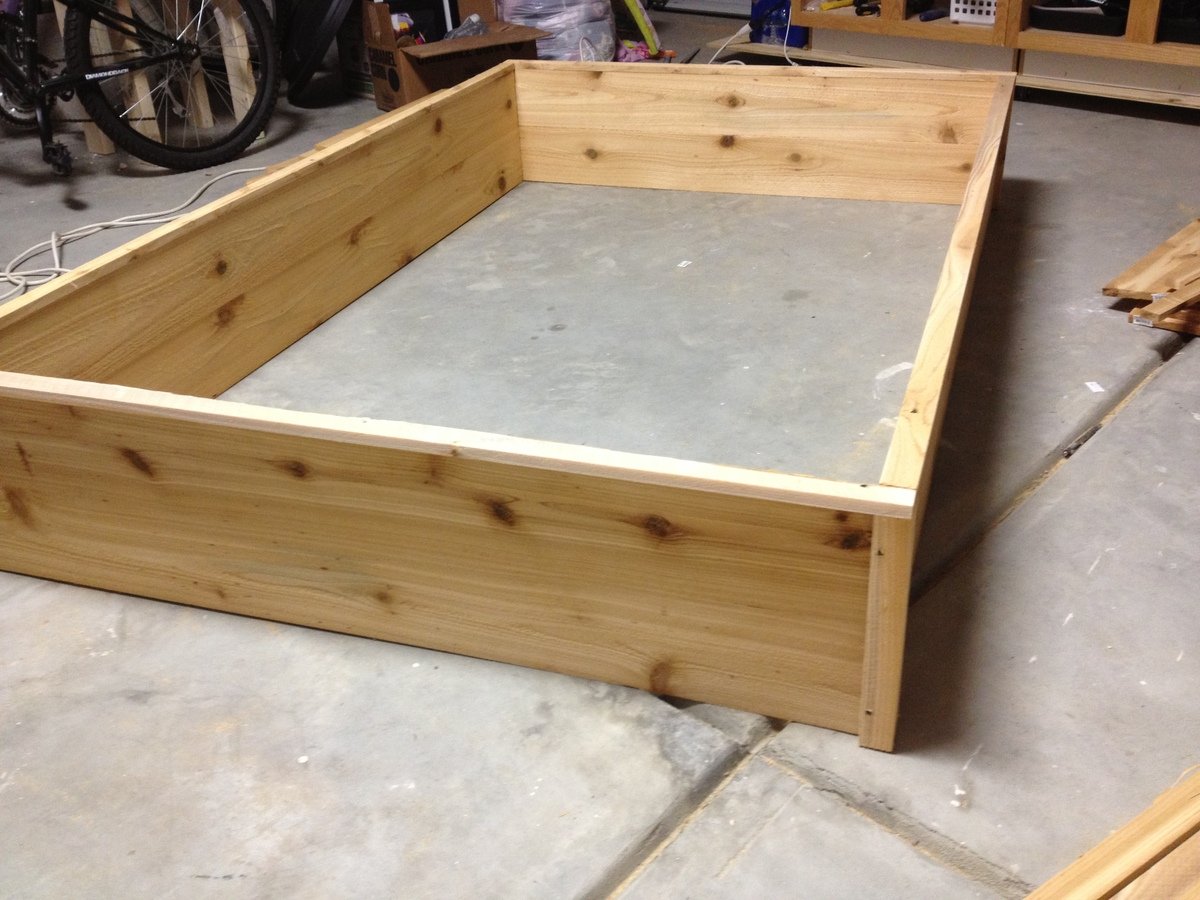
I used the plans for the $10 garden boxes, except I made my boxes 4' by 8'. It was very easy (only my third project) and came out perfectly!
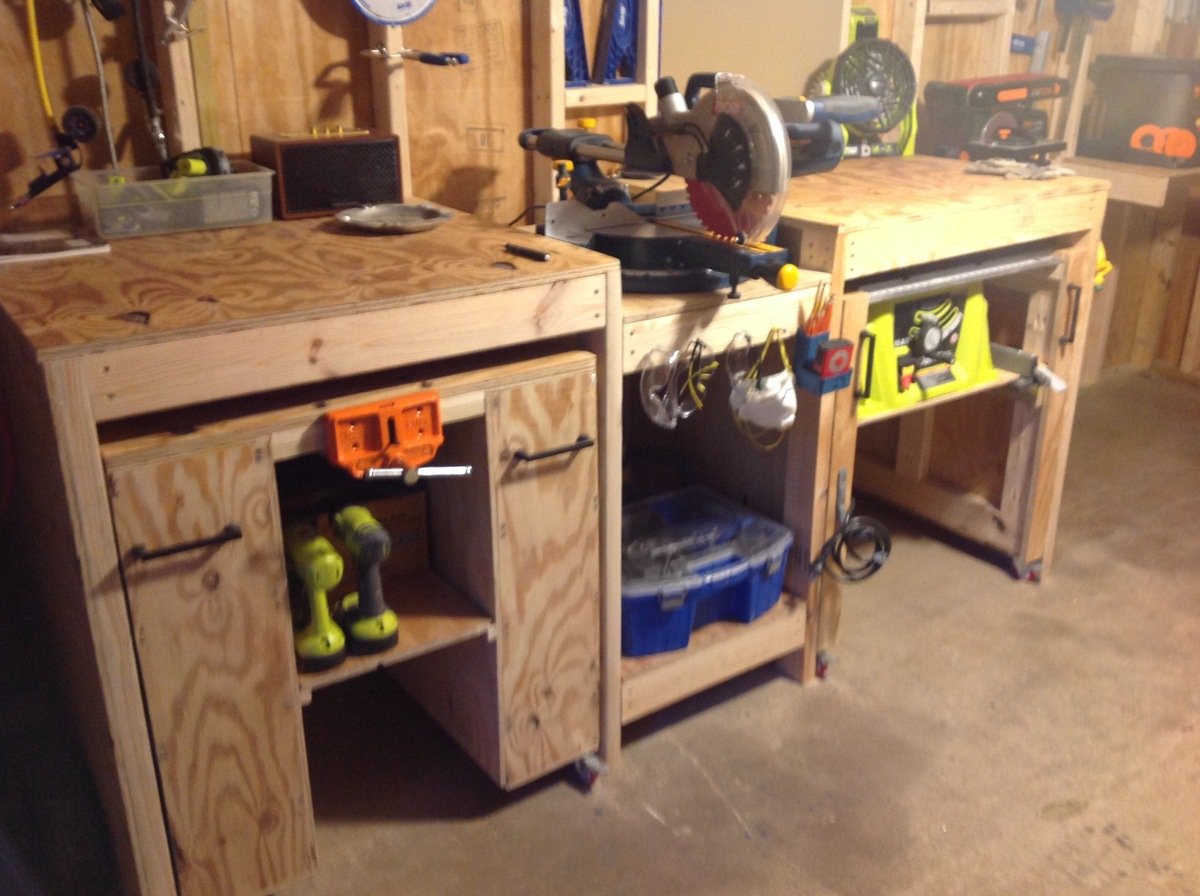
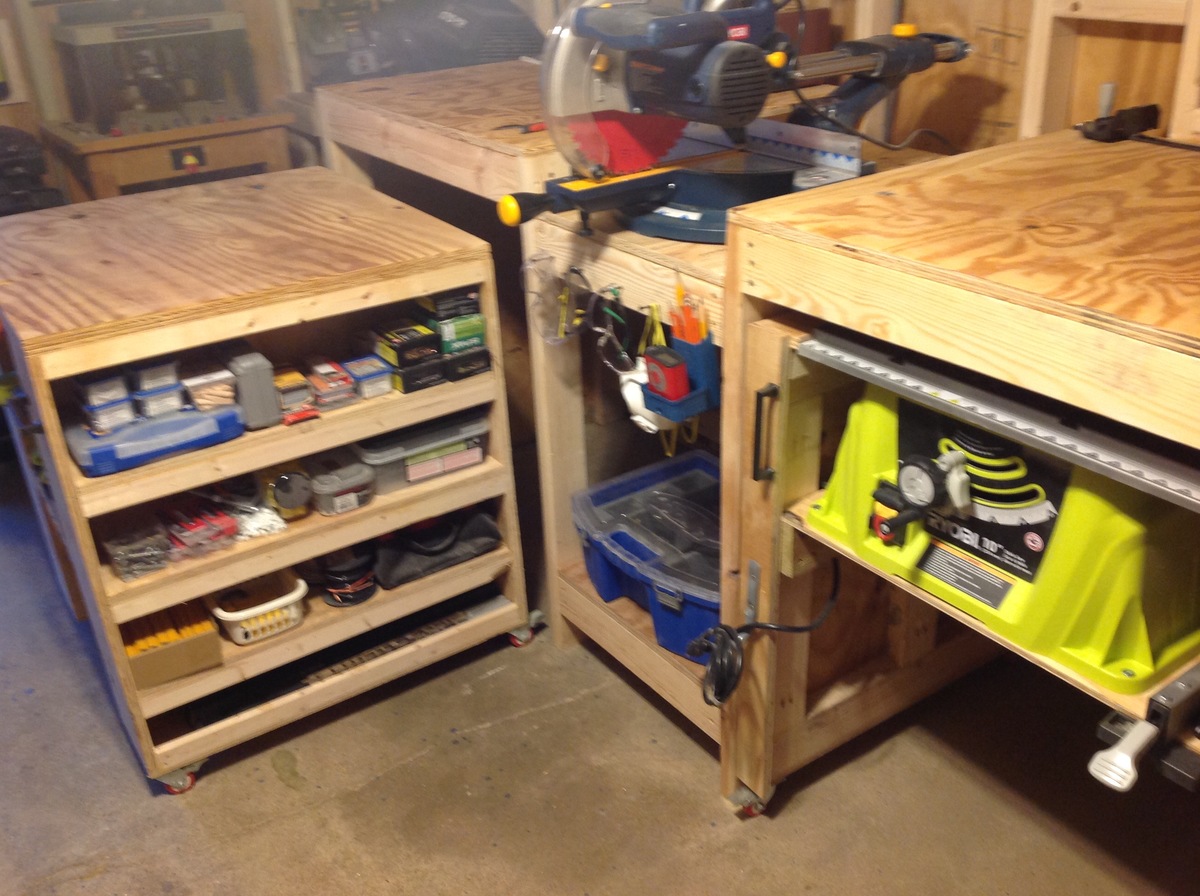
I built this new workbench for my garage to accomodate my table and miter saw and to add some stowaway storage and I cant tell you how much I love it, especially with being able to pull the tables out to make an outfeed for the tablesaw. I altered theplans a bit to shorten the entire length by nearly 1.5 feet and instead of the board mounted tool space I added my bench vise to this gap and use shelved underneath for storage. The plan was simple to follow and allowed me to build a bench that all of my neighbors talk about now! Thanks so much Ana!