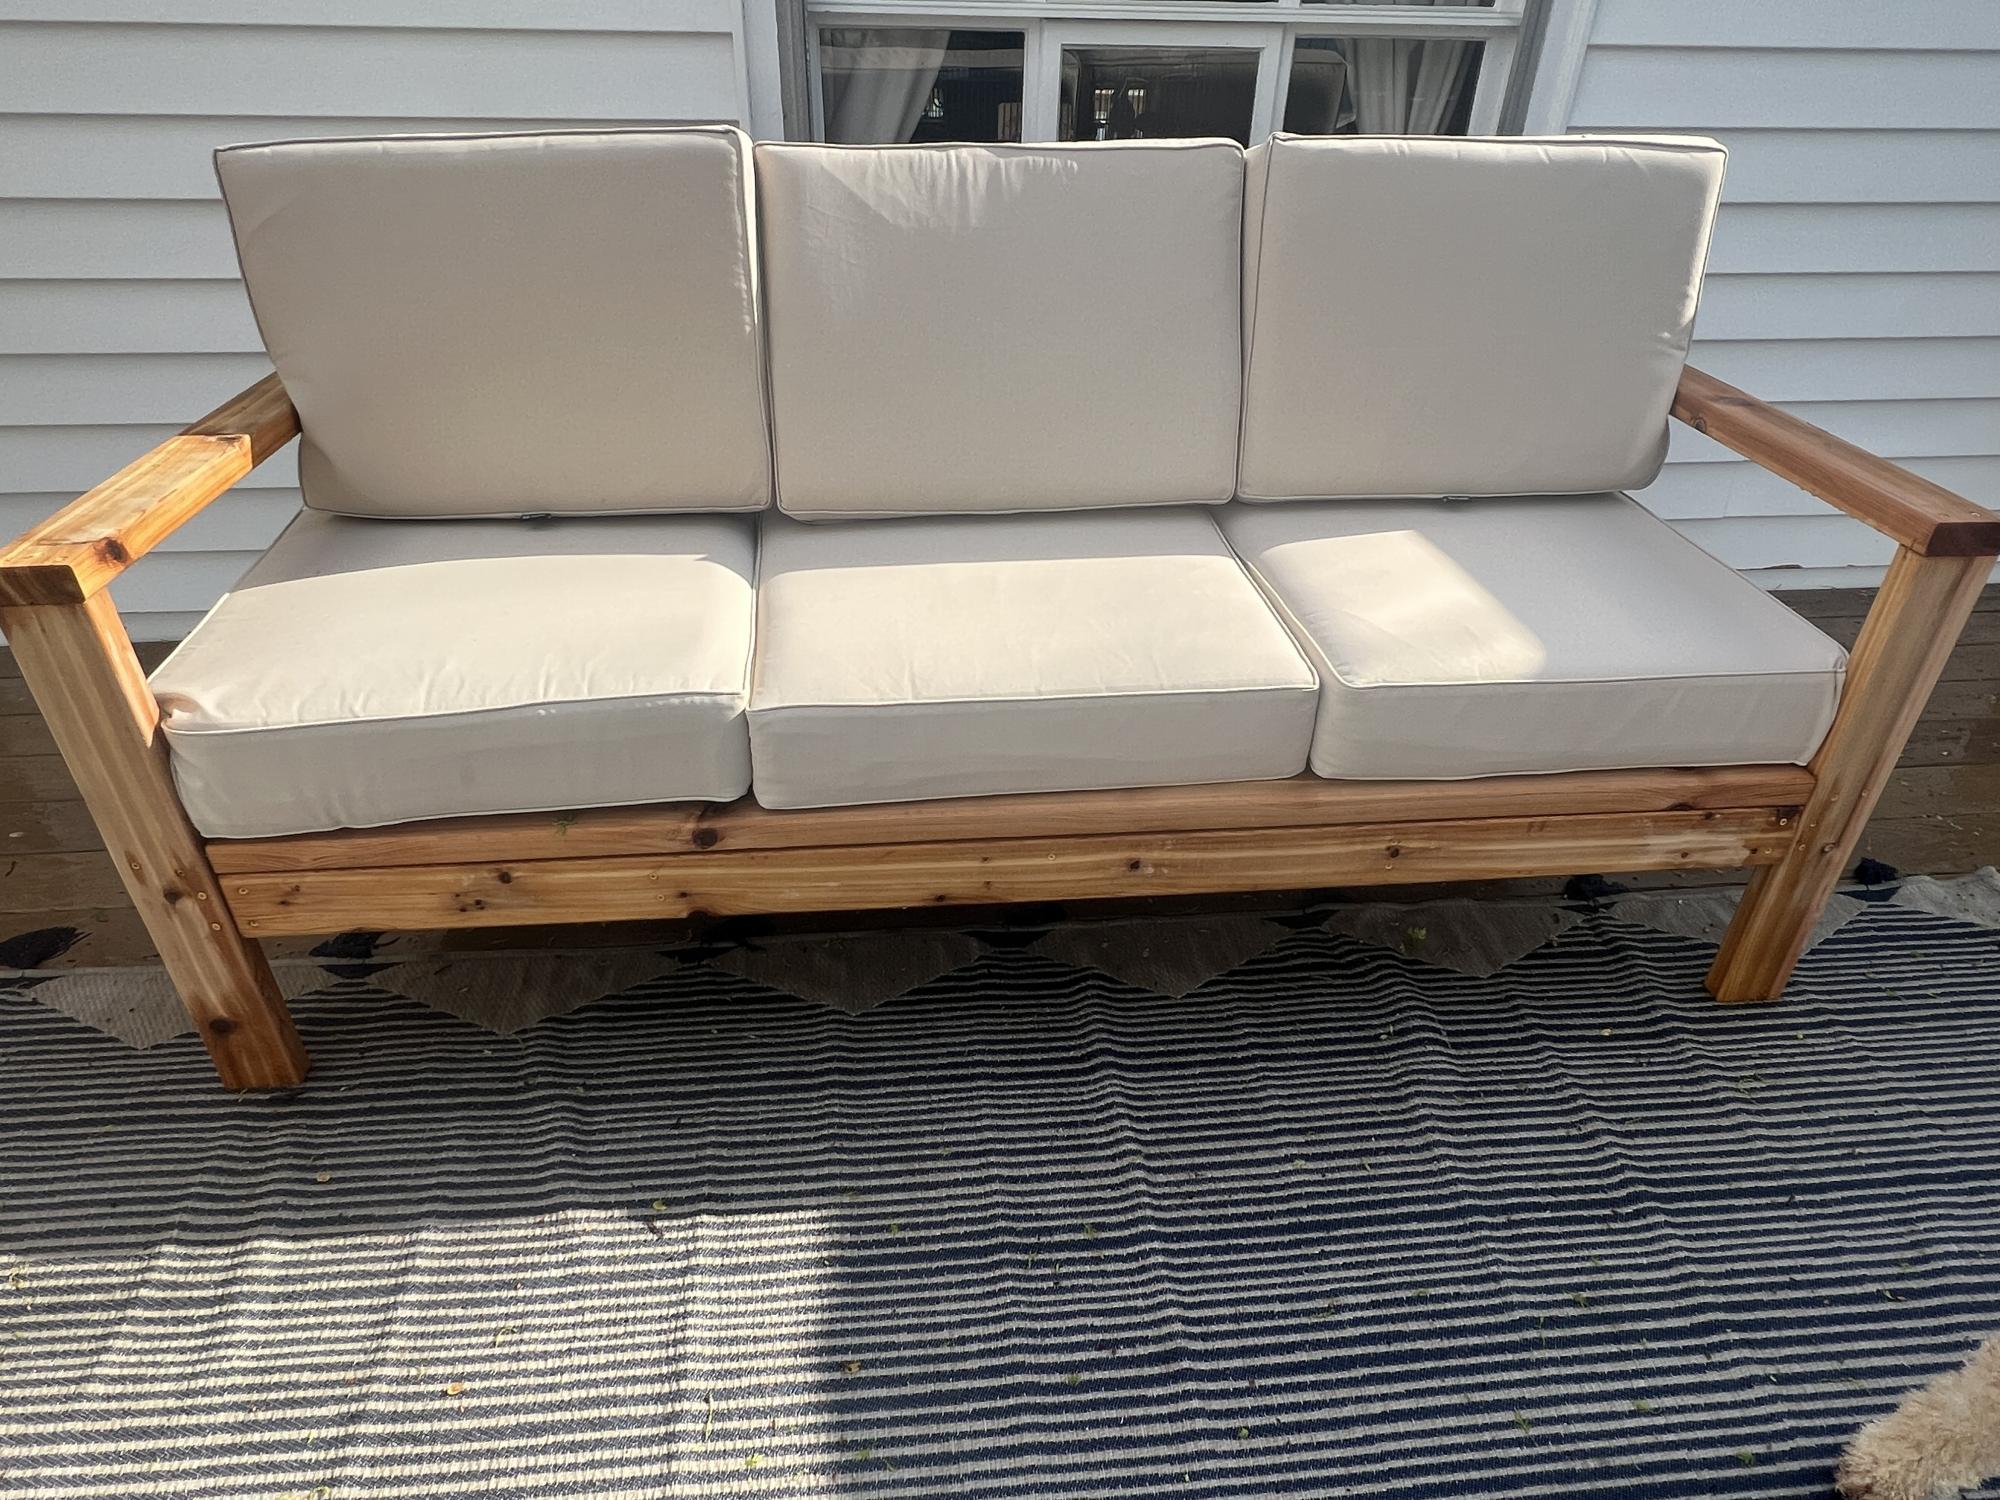
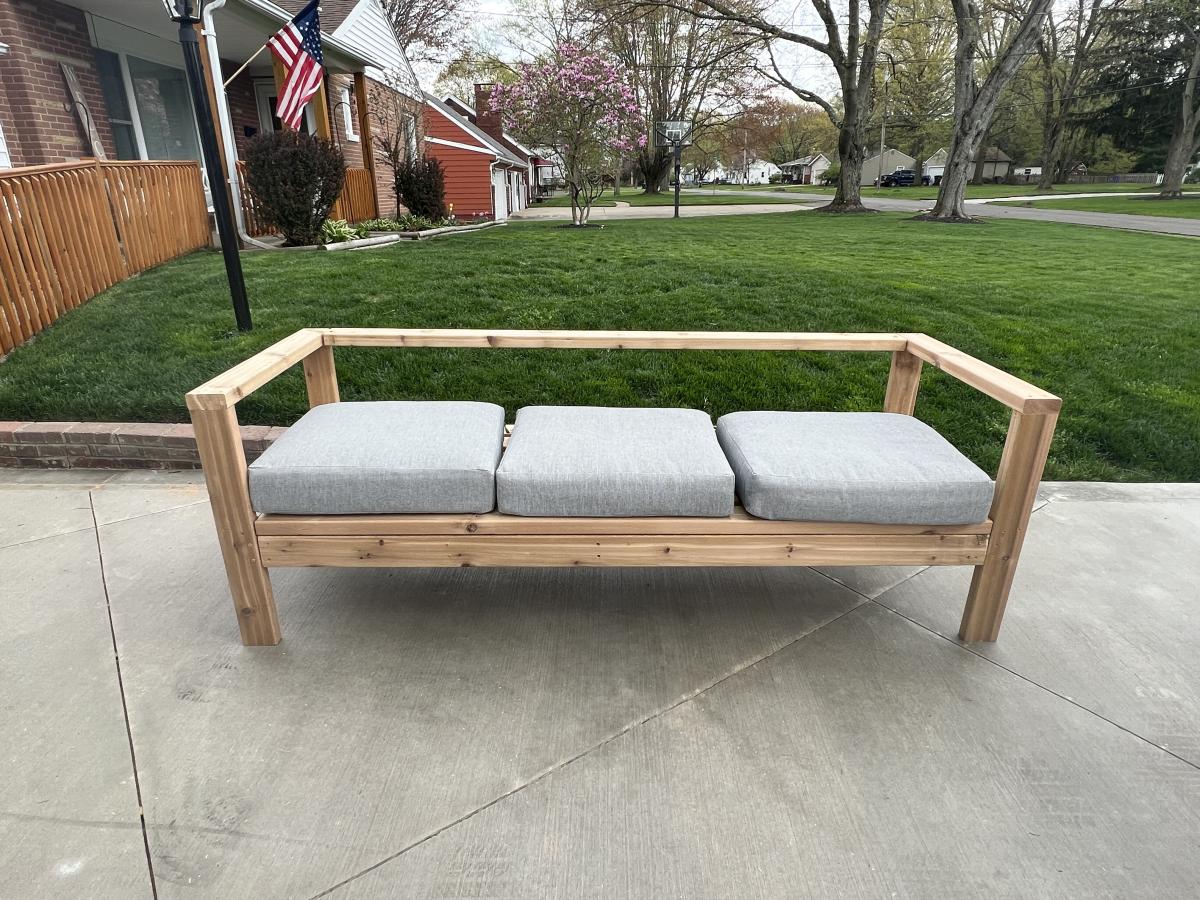
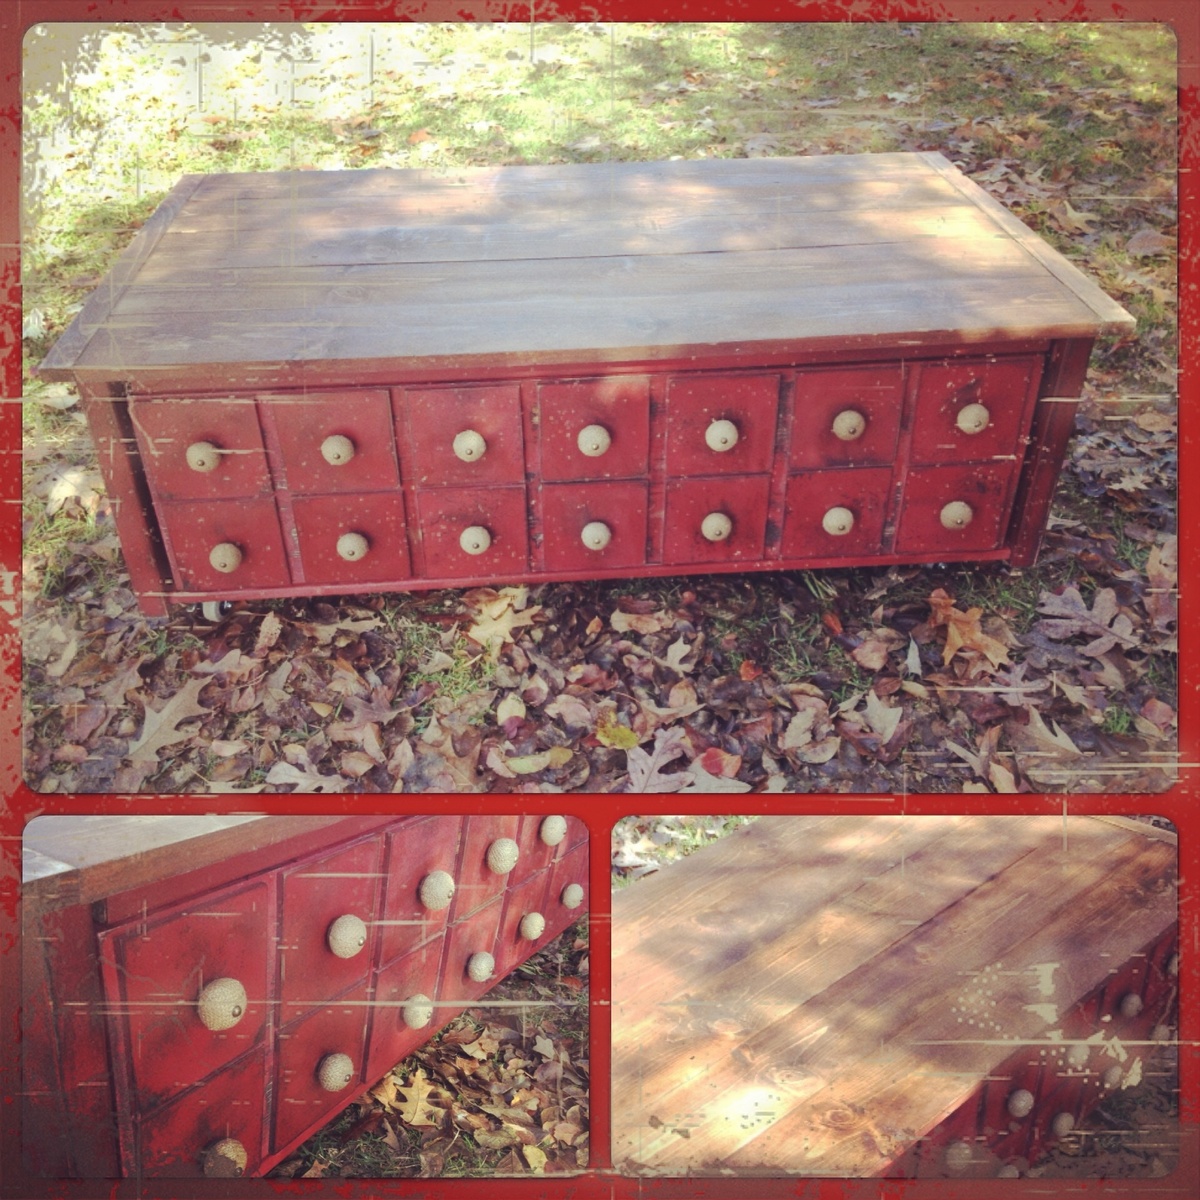
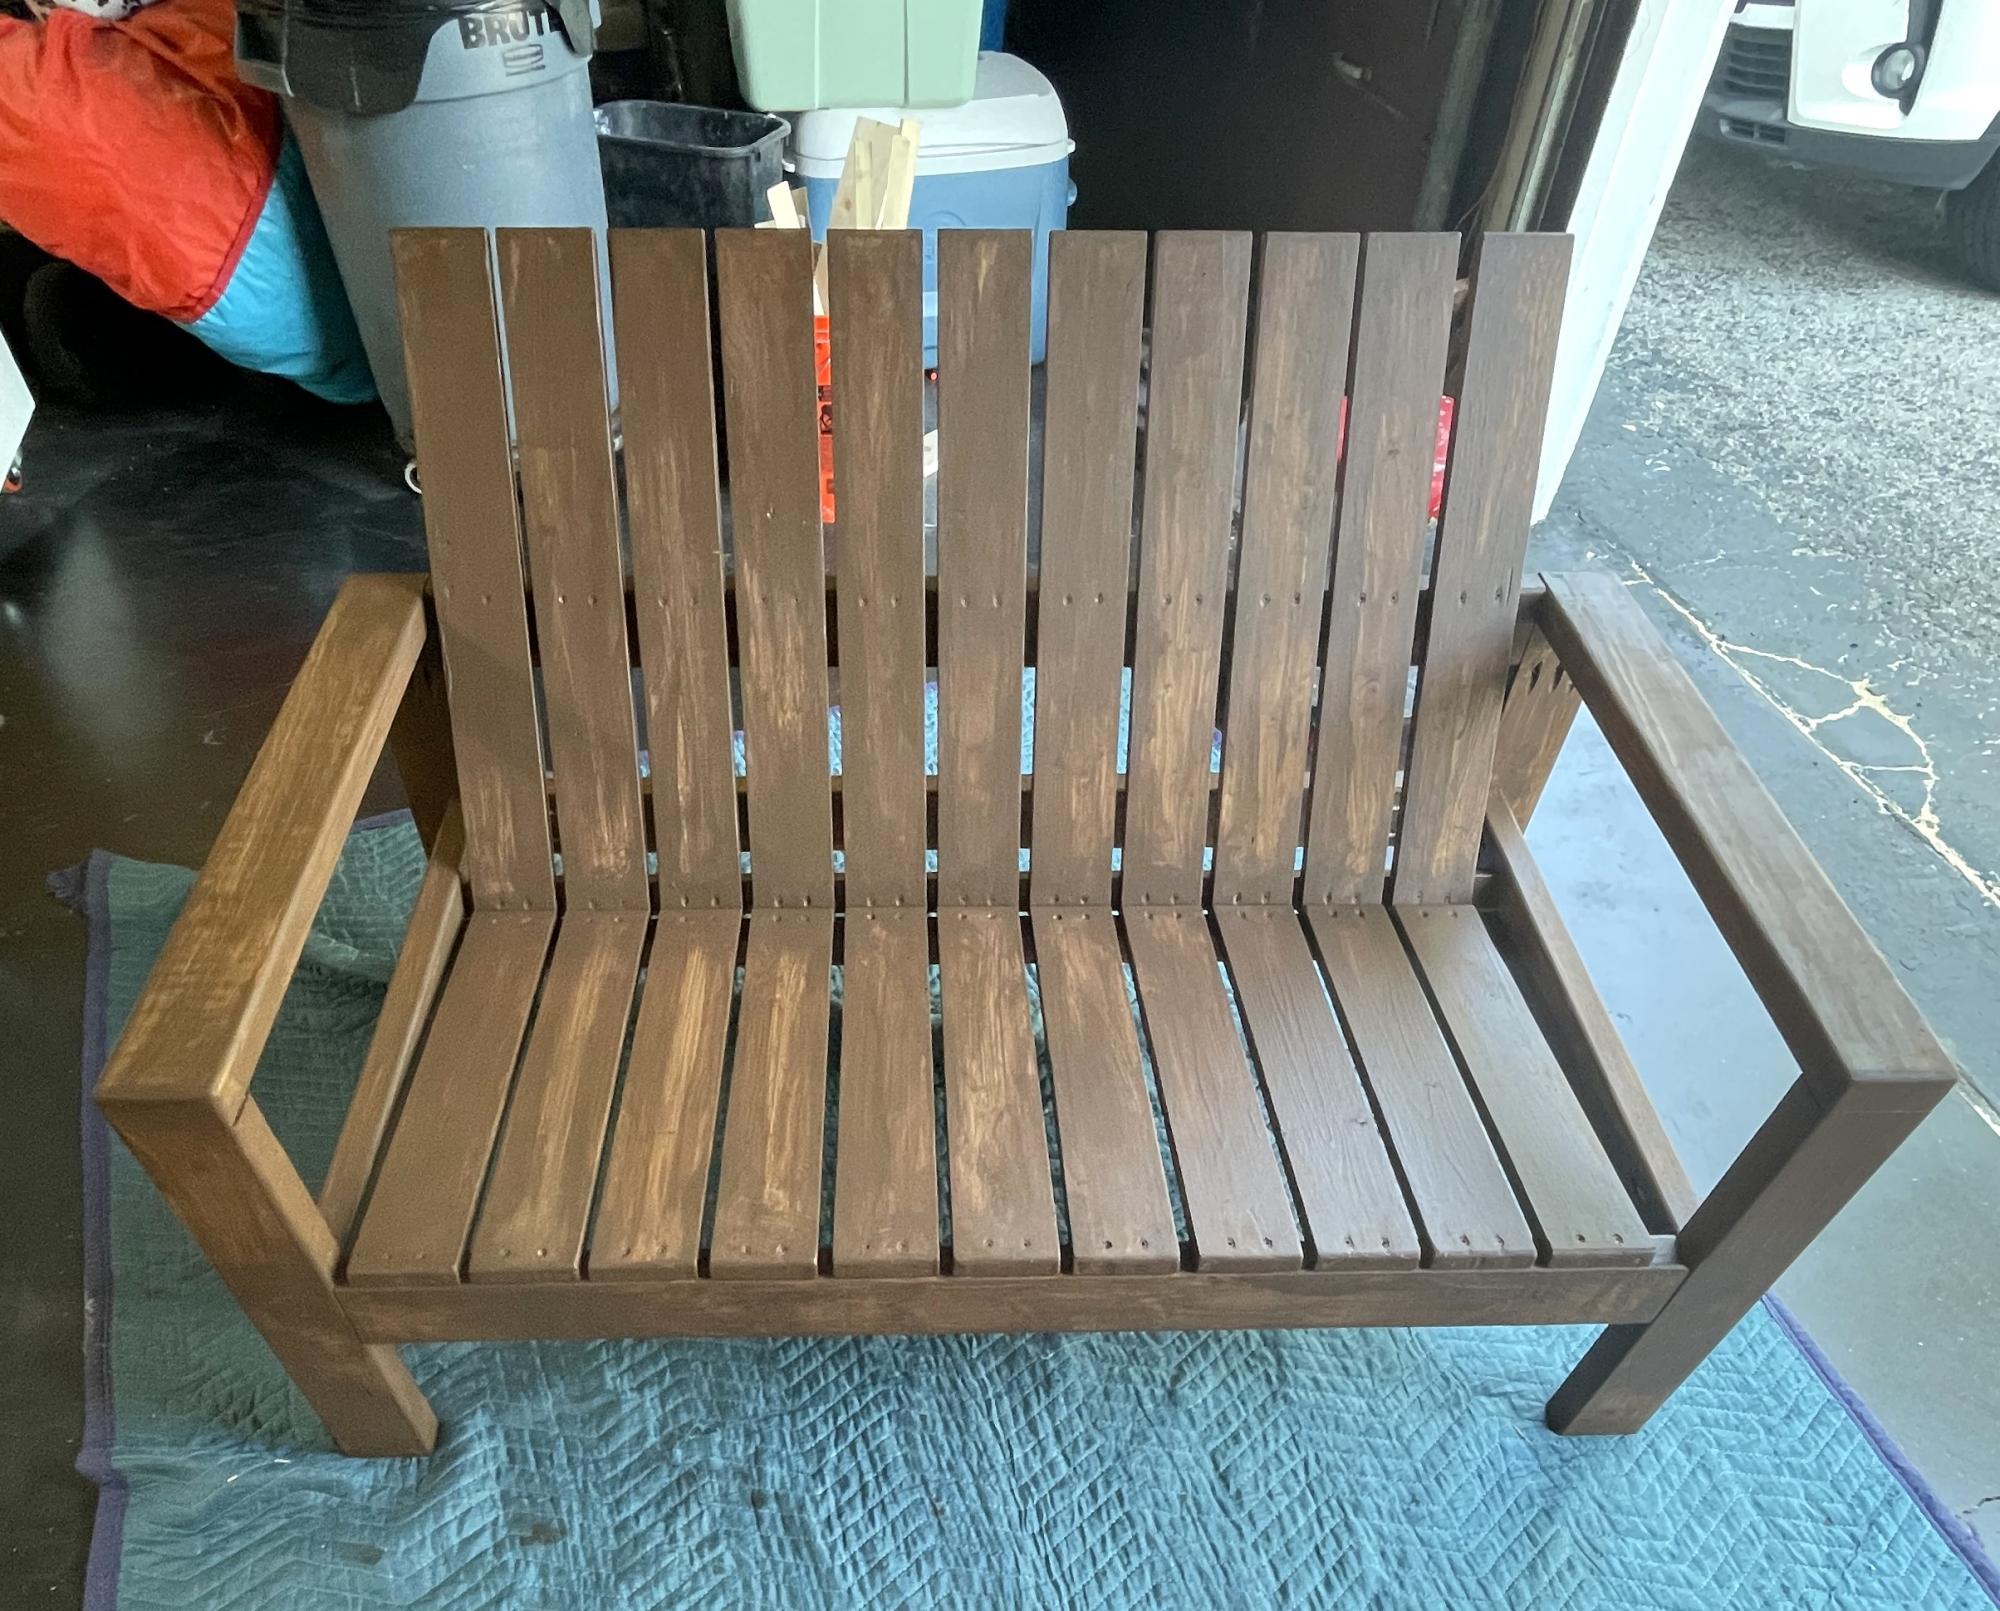
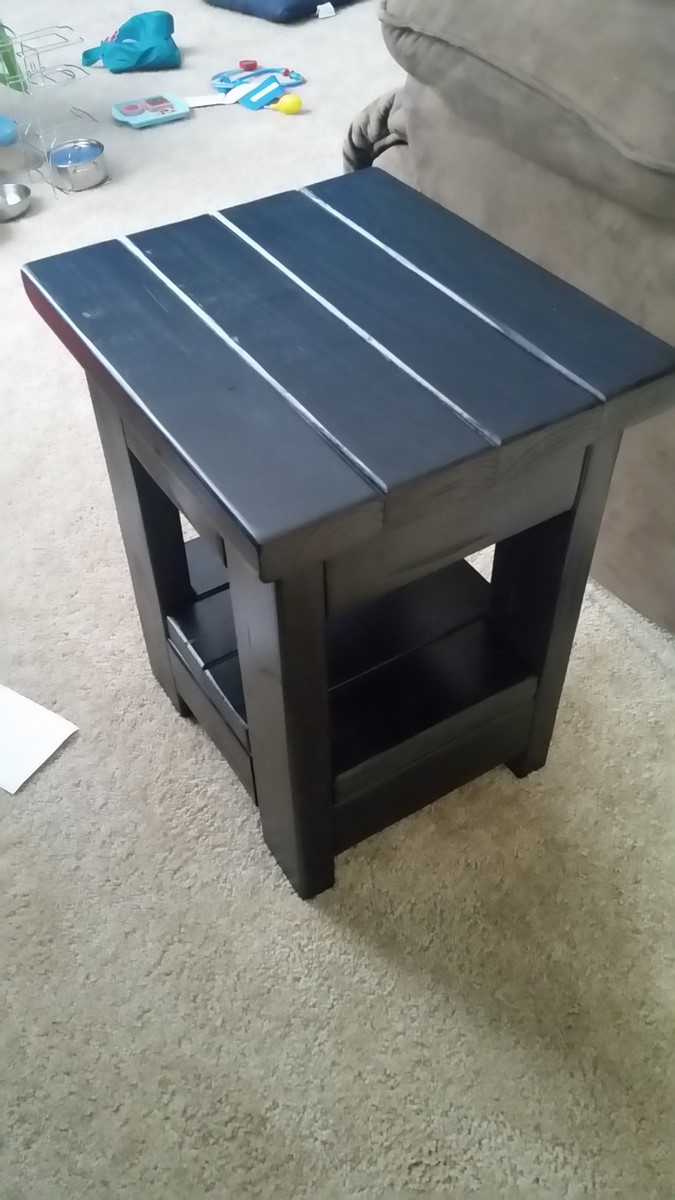
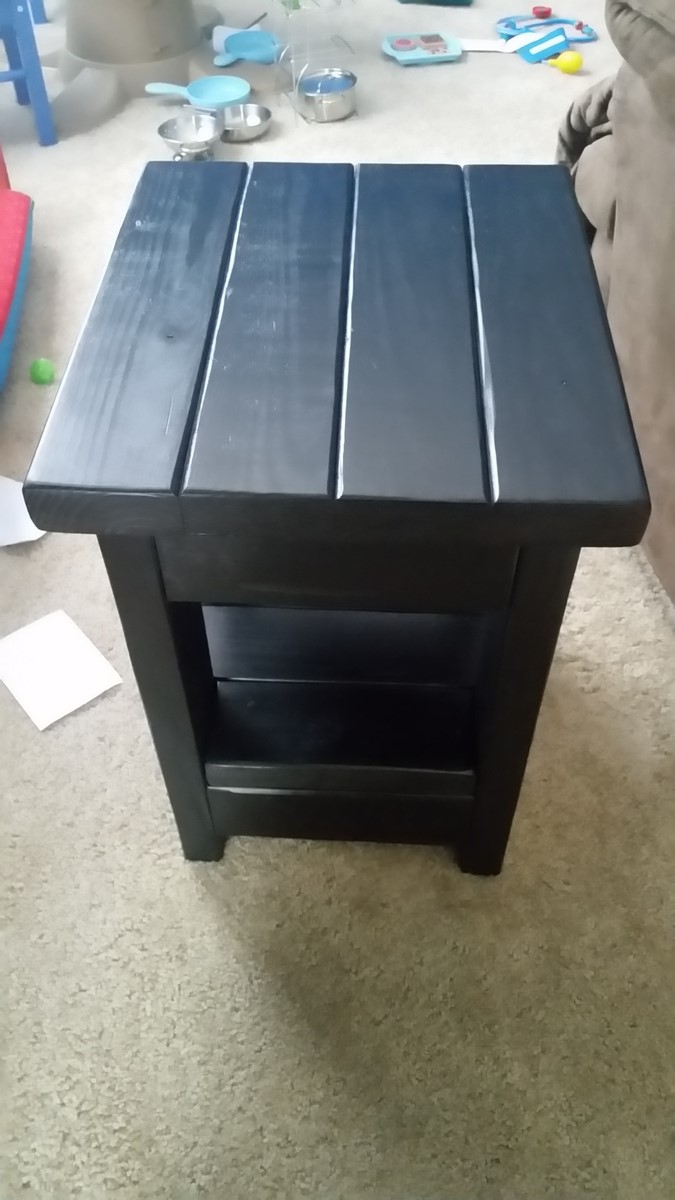
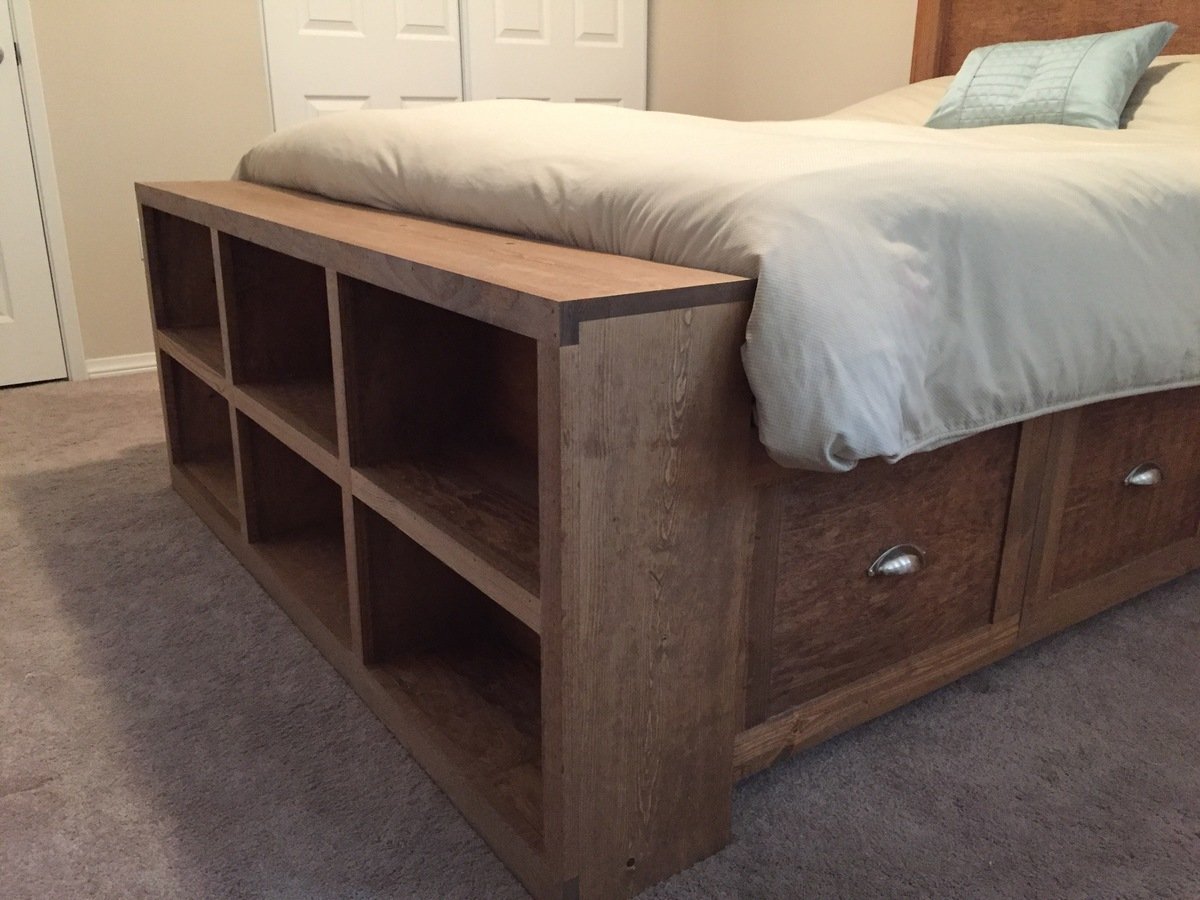
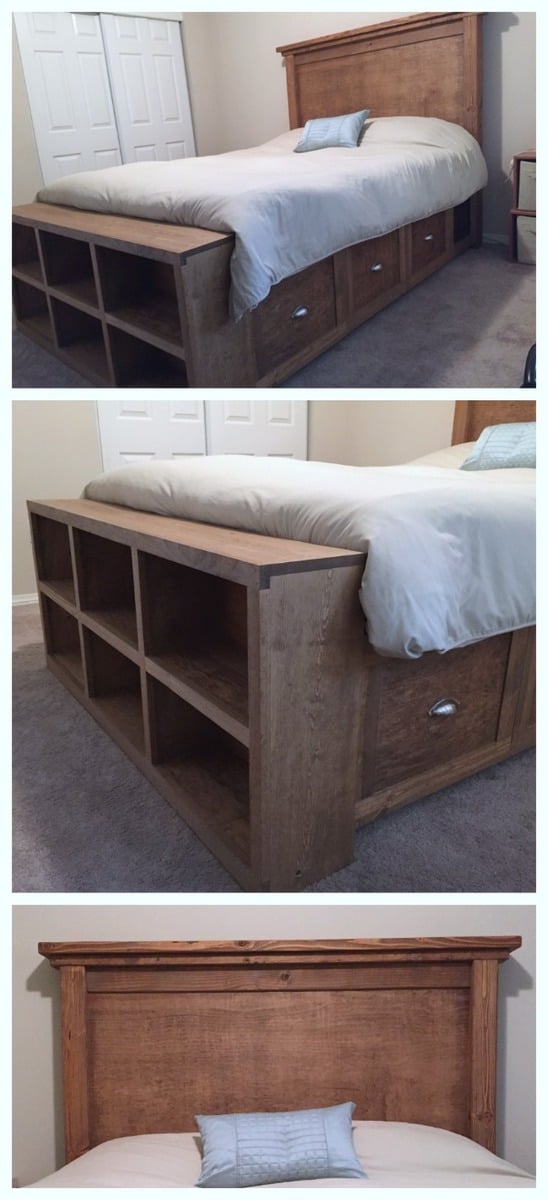
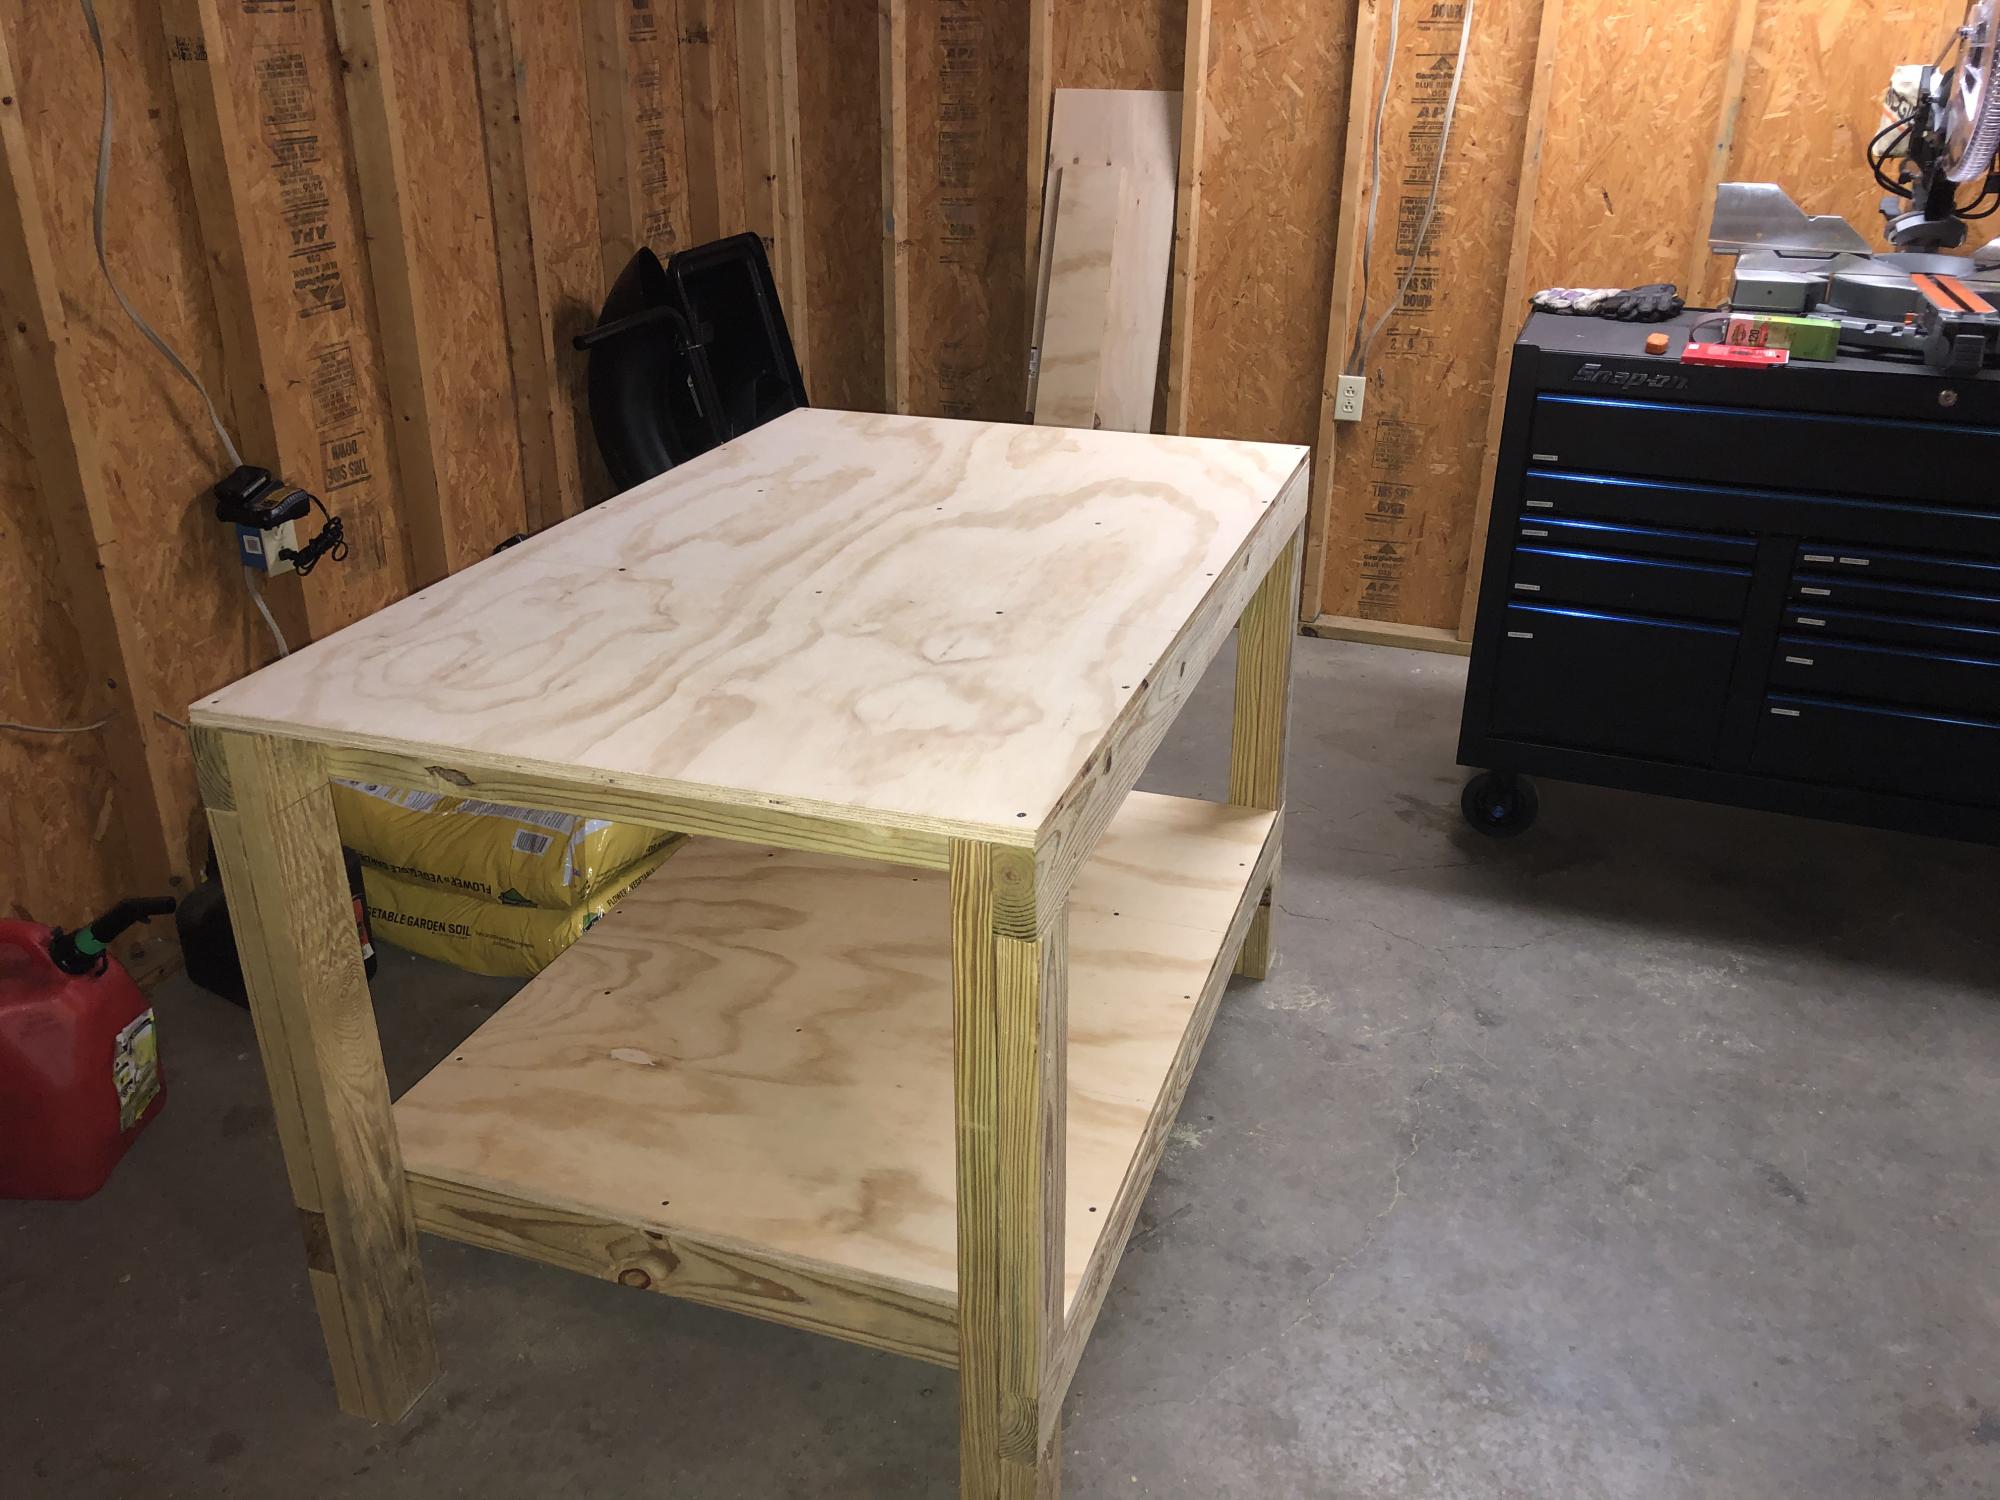
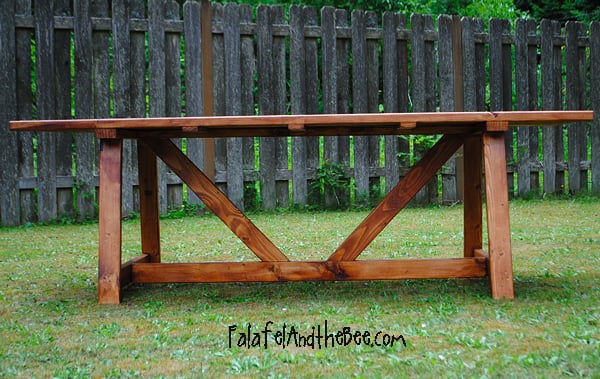
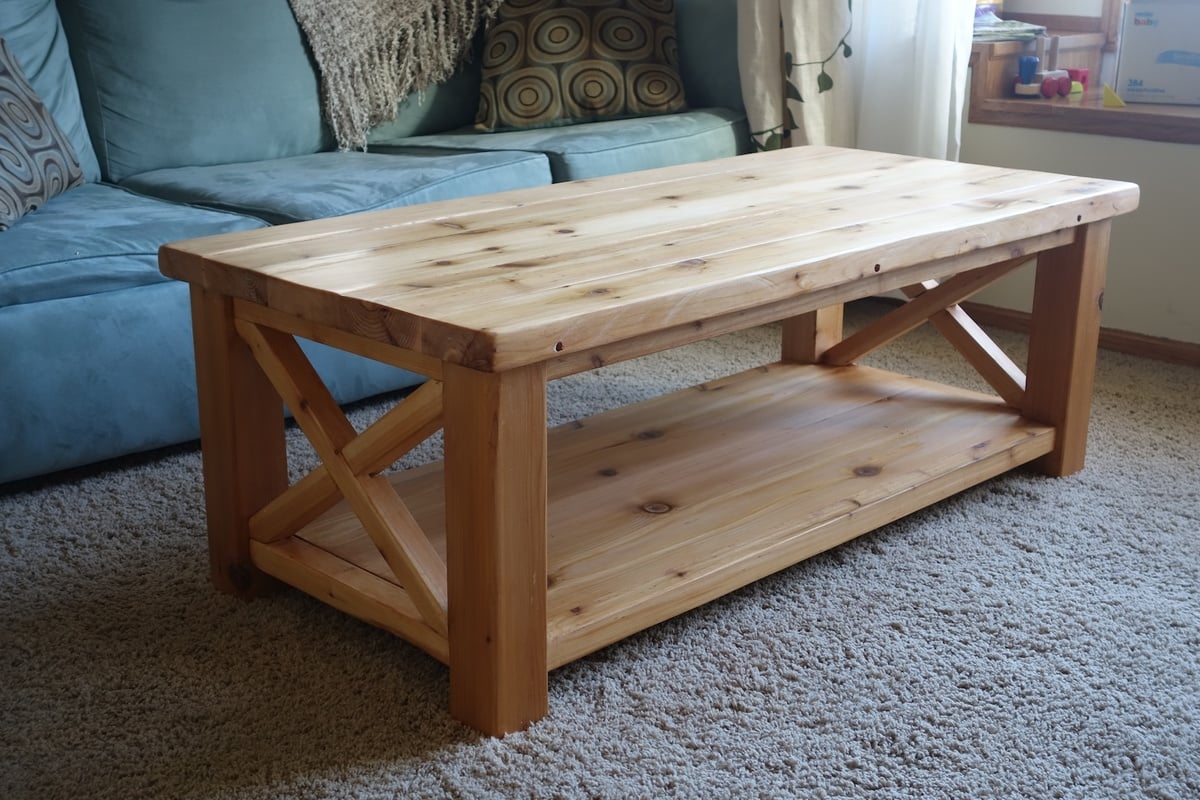
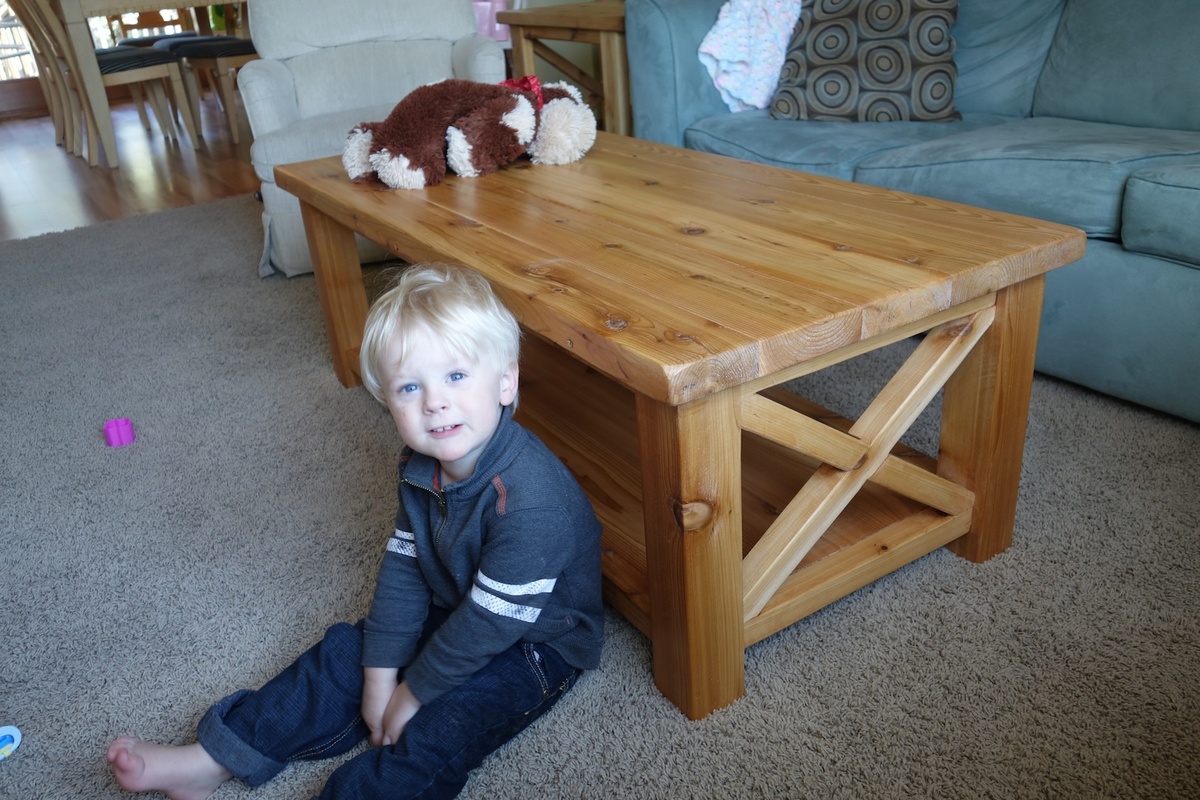
This is my first real piece of furniture I've built. We decided to build it in Western Red Cedar because our local home improvement store had a good selection of it. It was pricier than pine, but it holds stain really well and is really beautiful.
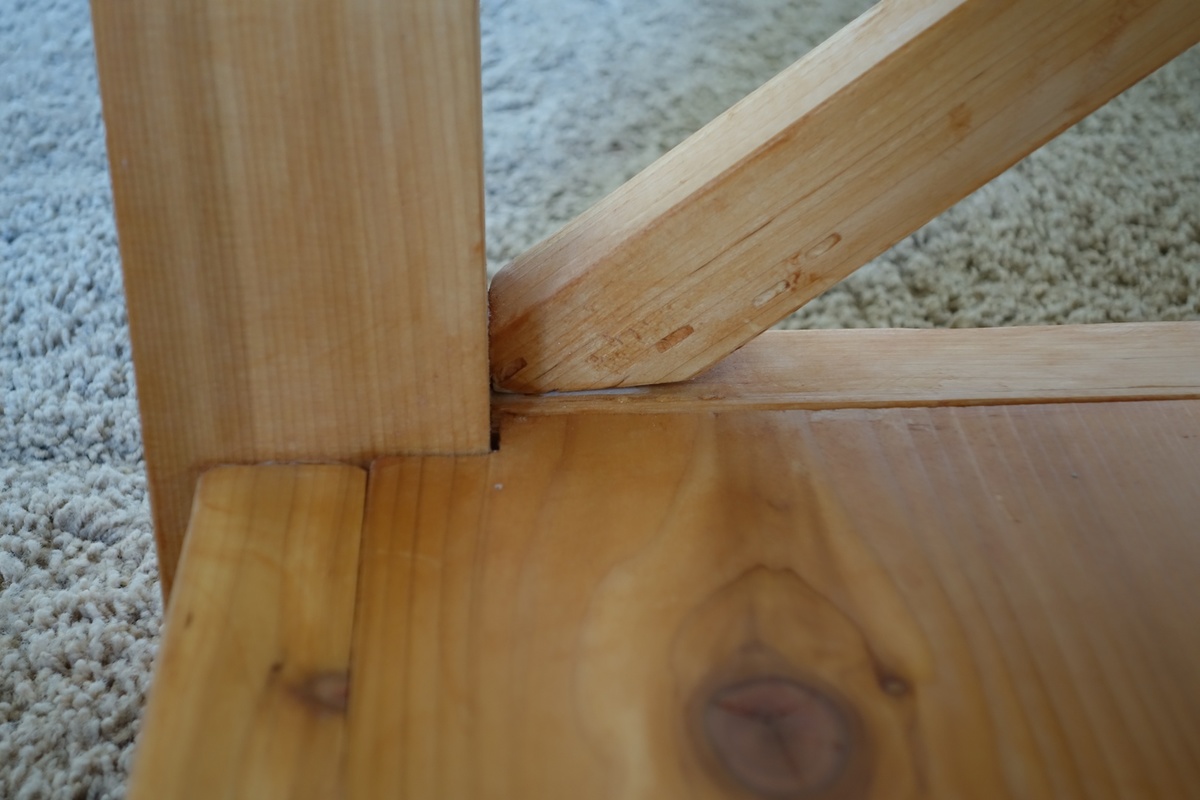
I modified the plan and bought a 4x4 for the legs, then I cut that down to 3" x 3" exactly with my table saw. That way it doesn't look like a standard cut of wood, but something more custom. As a result I had to put corner notches in my bottom piece so that it would fit in with the legs. That was tricky to do, but would have been easier if I had a jigsaw
I made a few measuring errors and had to correct it by trimming down the table top so there was only an inch overhang on the edges. So this is actually a few inches less deep than the plan called for, but it worked out ok I think.
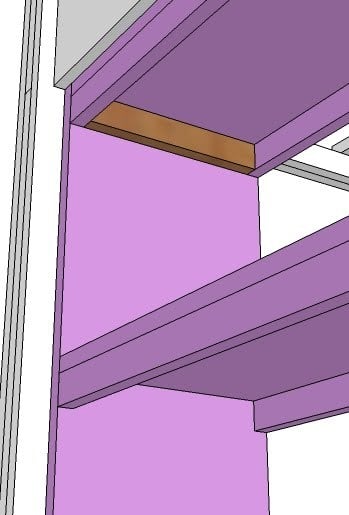
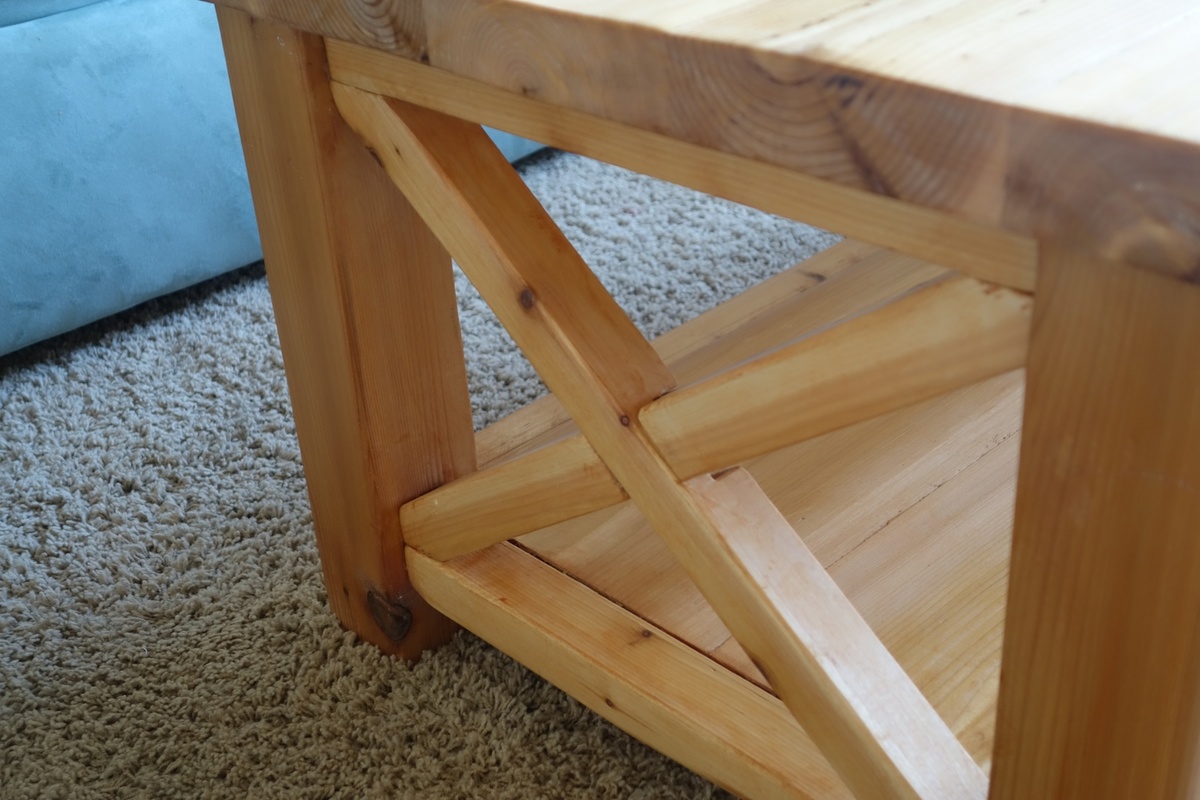
With the X's I laid them on top of the legs and traced a line to cut rather than trying to cut an exact miter. I also traced it so that I'd cut a bit off of the top and side of the corner so that it fits in nice and snug on both edges.
I also traced the intersection lines. Then I set my table saw (don't have a circular saw) to 1/2 an inch and just cut out several notches in between the intersection lines so the to X pieces could overlap each other. A "halved joint" I believe it's called.


Comments
Leslie in RI (not verified)
Sun, 12/25/2011 - 09:57
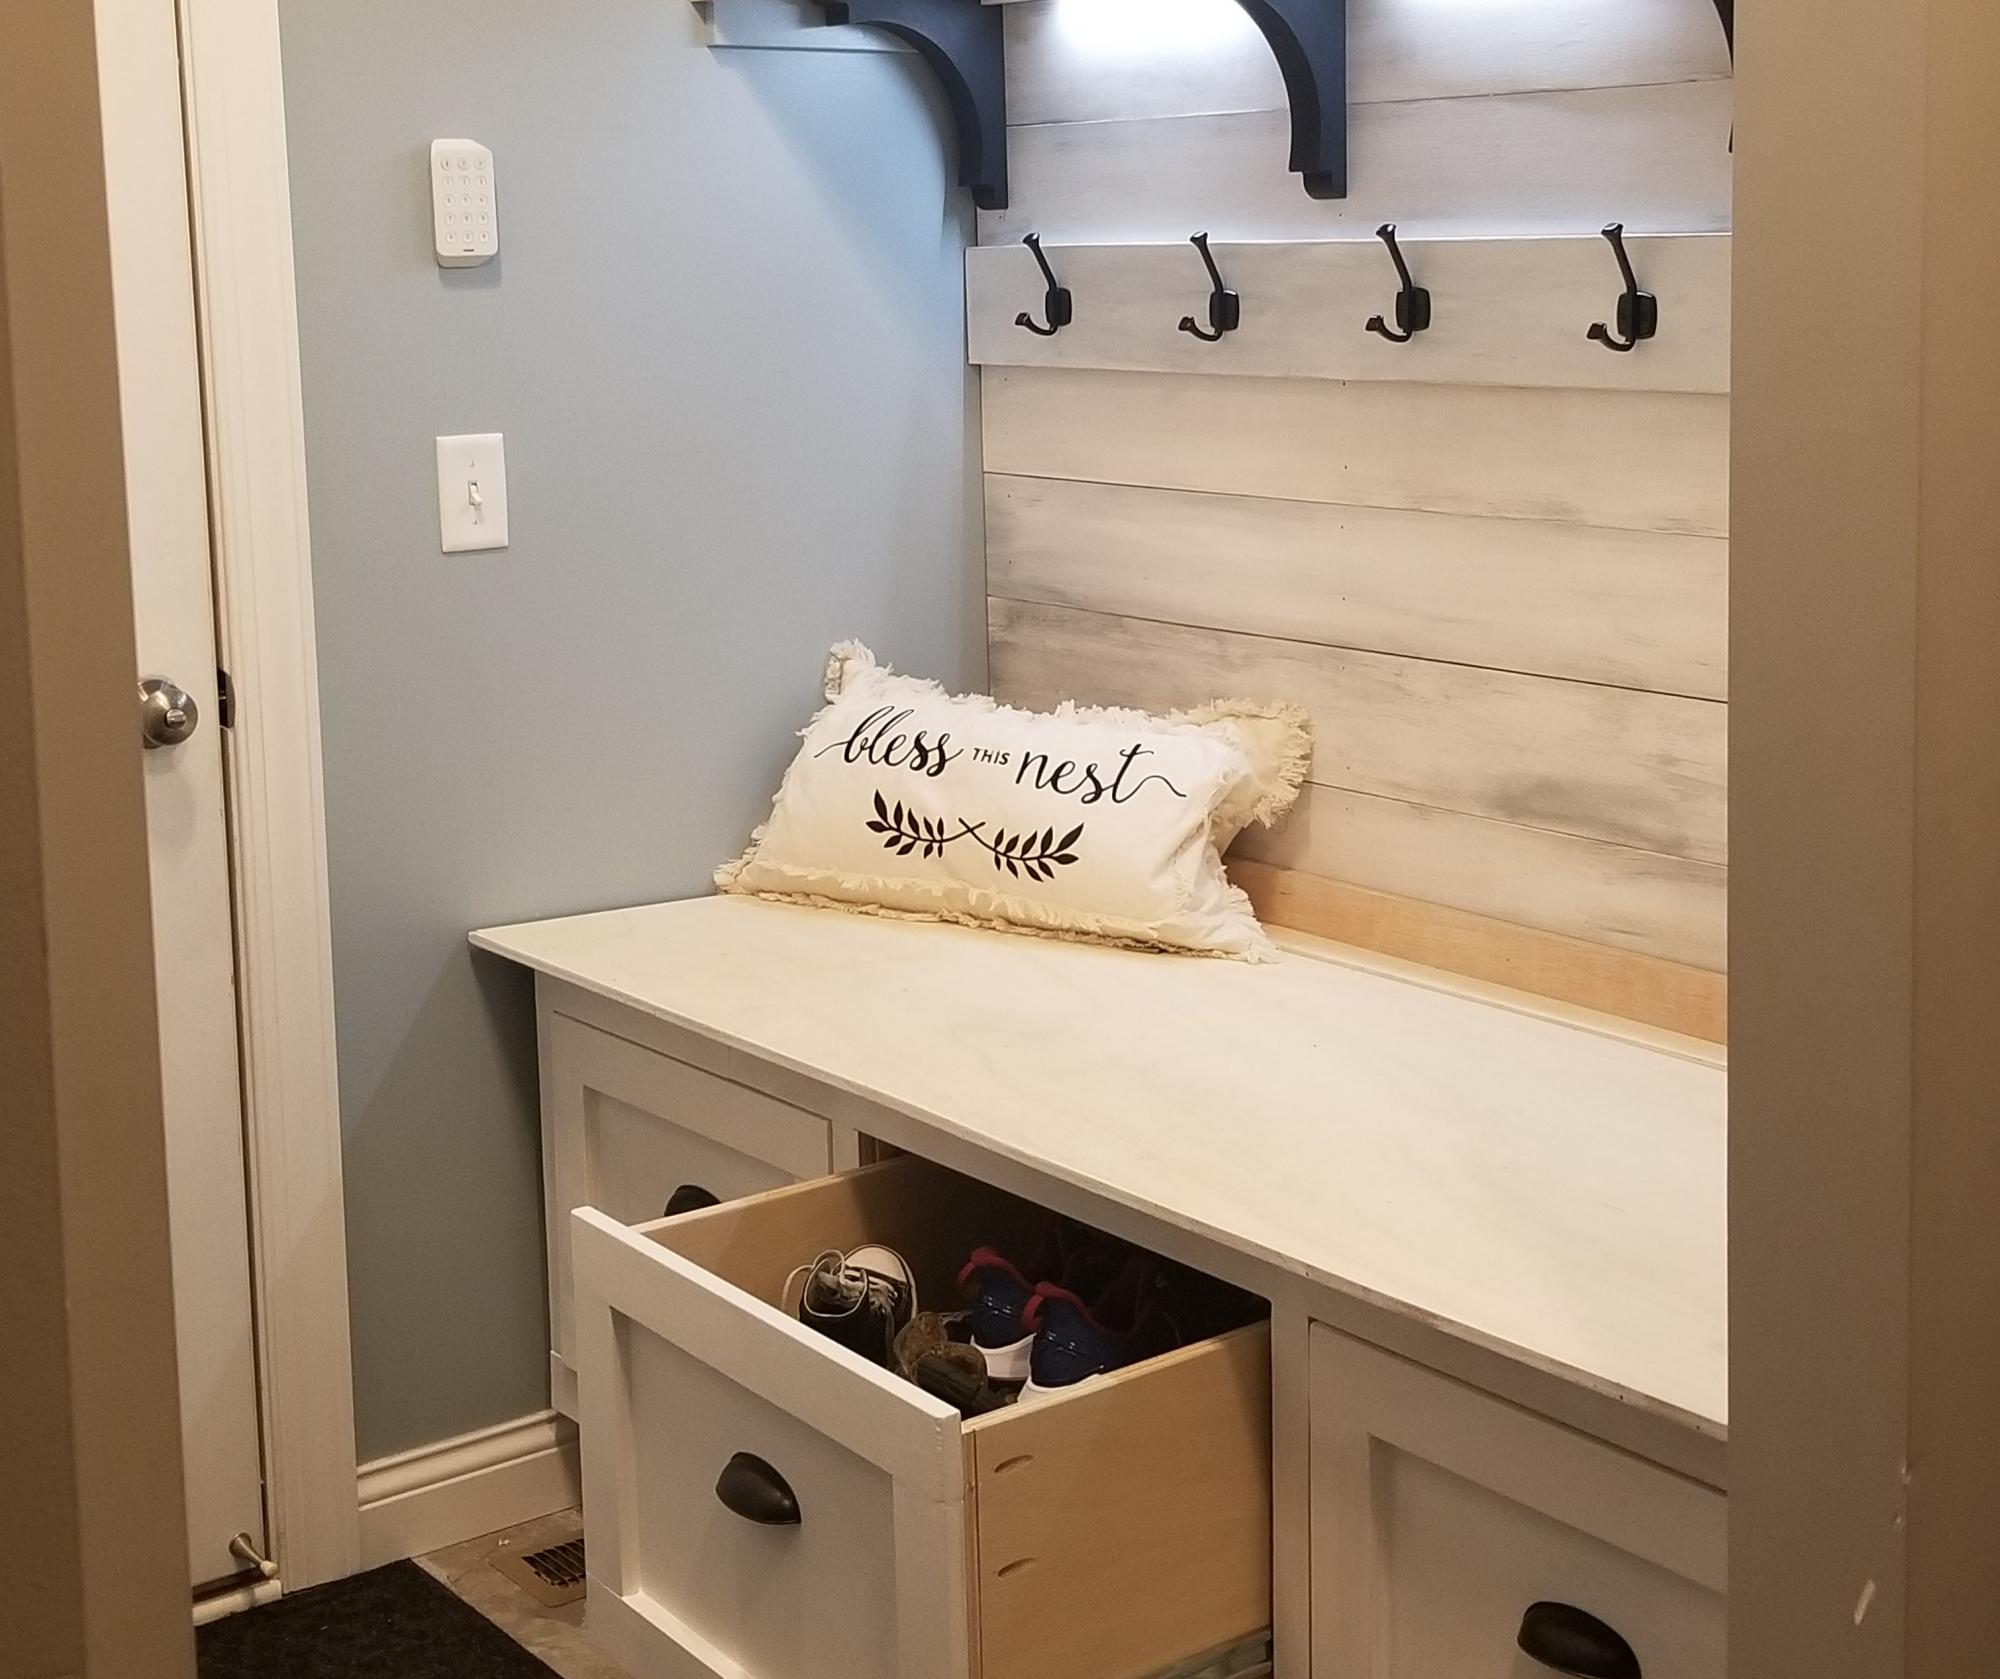
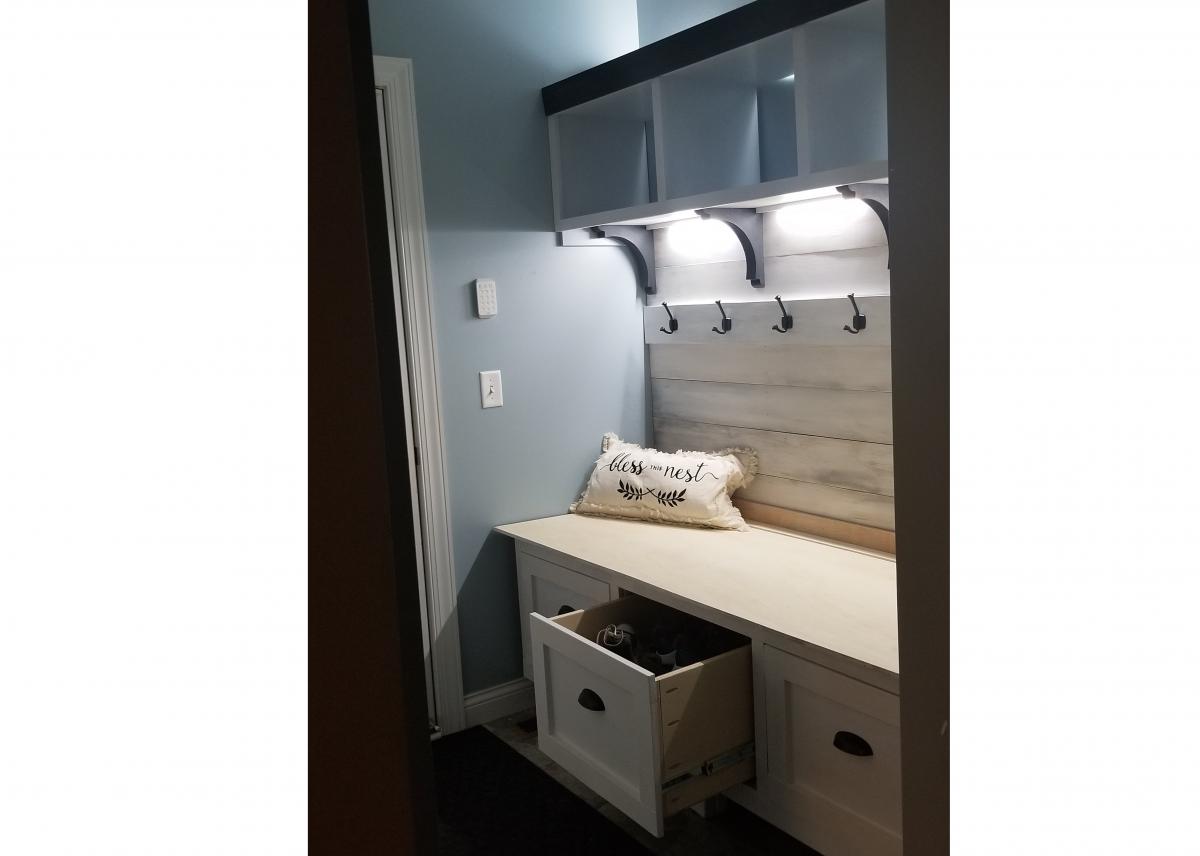
A Shelf for the Boys
I built this shelf for my two pugs to hang their stockings for Christmas. As you can tell, they've been a little naughty lately. Actually, Lesterann, my three month old, has been the naughty one. Calvin, my 13 year old, is a prince. :)
I love this shelf and can't wait to use it in the kitchen as a reminder board.
Merry Christmas Everyone, and thank you Ana for all you do.
leslieavila311
Sun, 12/25/2011 - 10:03
sorry, wrong thread
Oh gosh, I was trying to post a new brag piece but I ended up doing it wrong. HA!