Double Door Barn Greenhouse
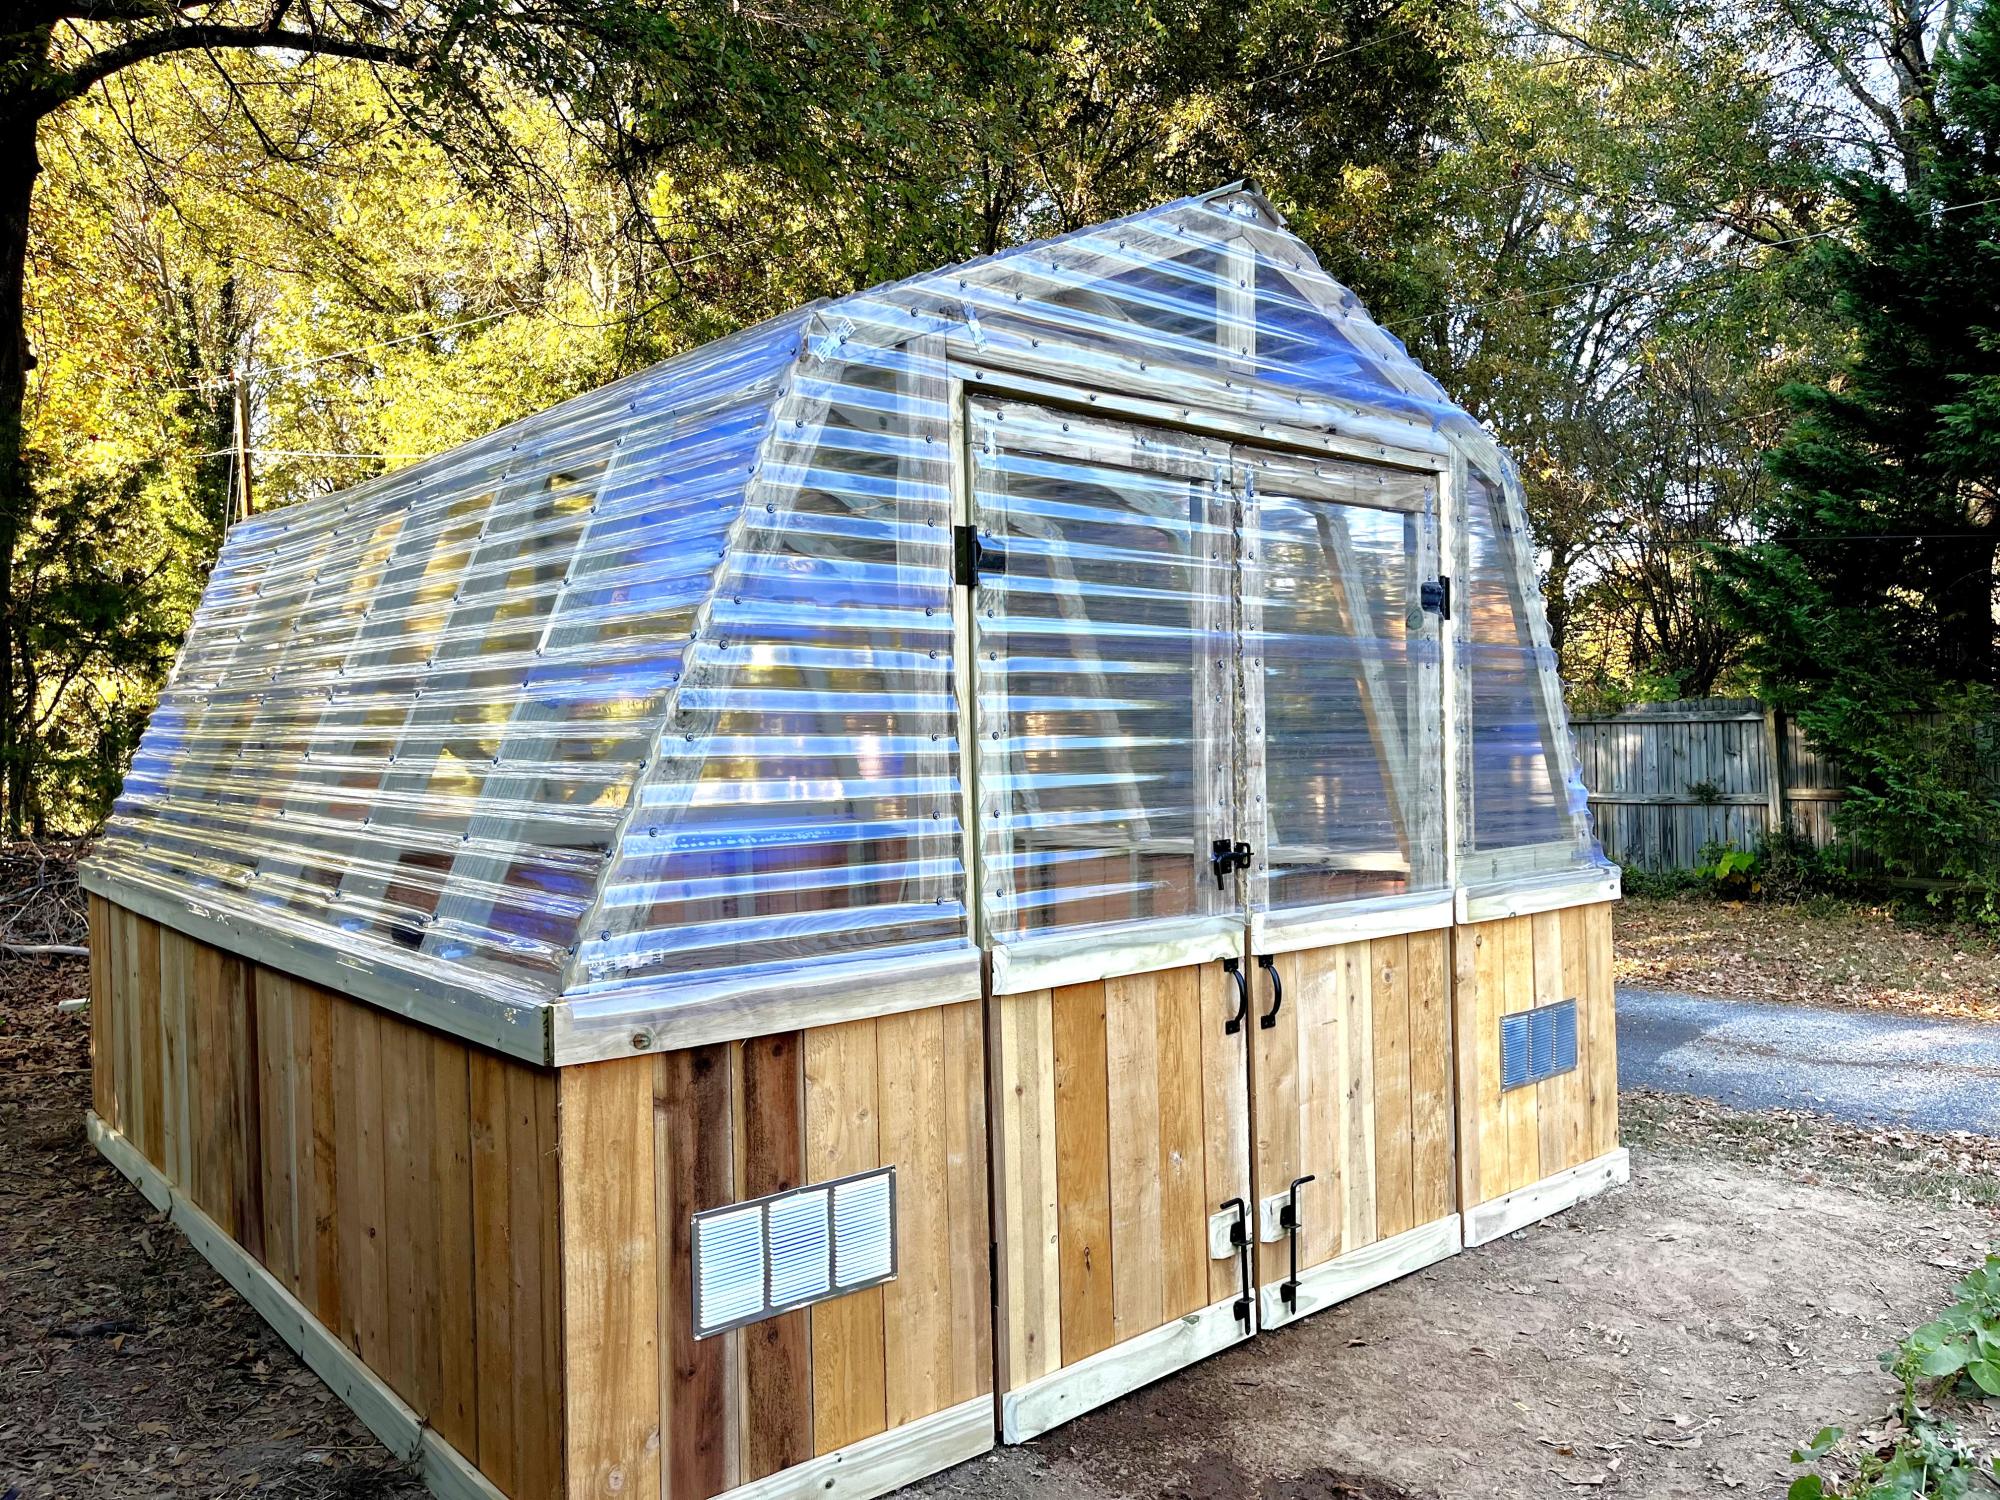
I loved this plan so much but I really wanted double doors so we made a few modifications to fit them. Can’t wait to build out the interior and start growing! Thank you for the amazing plans!

I loved this plan so much but I really wanted double doors so we made a few modifications to fit them. Can’t wait to build out the interior and start growing! Thank you for the amazing plans!
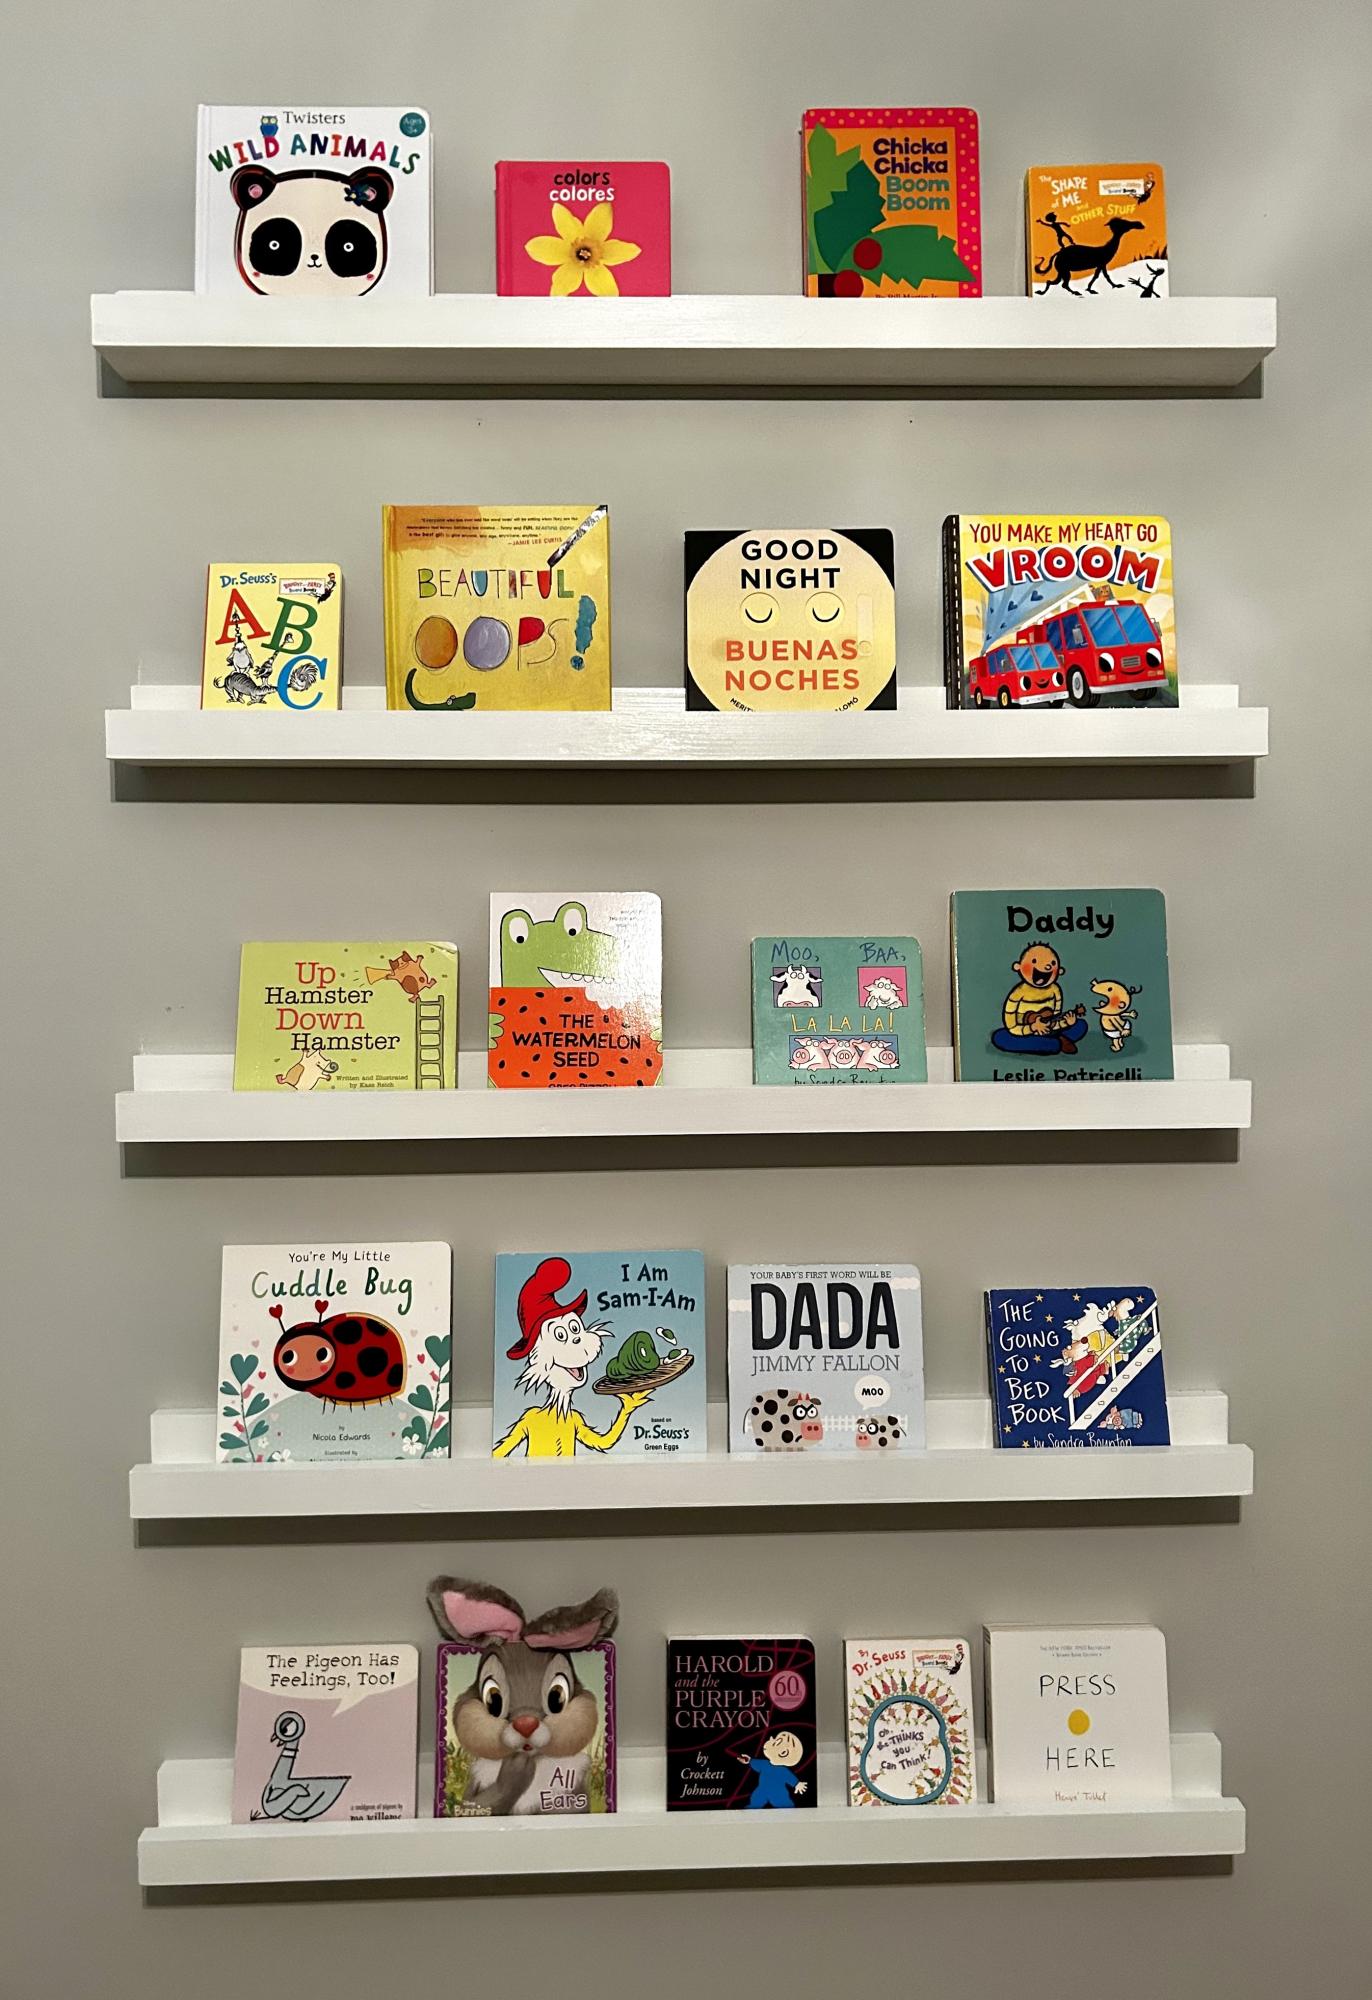
Nursery photo ledges. Shortened the shelf depth using a 1 x 2 instead of a 1 x 3.
Mon, 04/08/2024 - 01:07
I love the idea of book cornices for the nursery! Reducing the depth of the shelves is a smart modification that makes them more suitable for children's books. It is very important to customize the furniture so that it perfectly suits your needs. Using 1 x 2 instead of 1 x 3 will give you a more customized solution. Books are a storehouse of knowledge! Speaking of knowledge, for students looking to adapt their learning process, platforms like Edubirdie https://essays.edubirdie.com/assignment-help offer reliable assignment help services. Edubirdie can help you tailor your academic assignments to your specific requirements. It's all about finding the right option for your needs, whether it's organizing children's books or tackling academic assignments. Great job on the customization!
Mon, 05/06/2024 - 14:40
A very cool ledges for books, especially useful for those who like to read like me. Moreover, I dream of writing a book myself. For this I must develop strong writing skills, often refined through literature review tasks. Yet, these assignments very complex for me. I prefer turning to professionals https://literaturereviewwritingservice.com/ for help. It provides students with the help needed to succeed in crafting compelling writing papers.
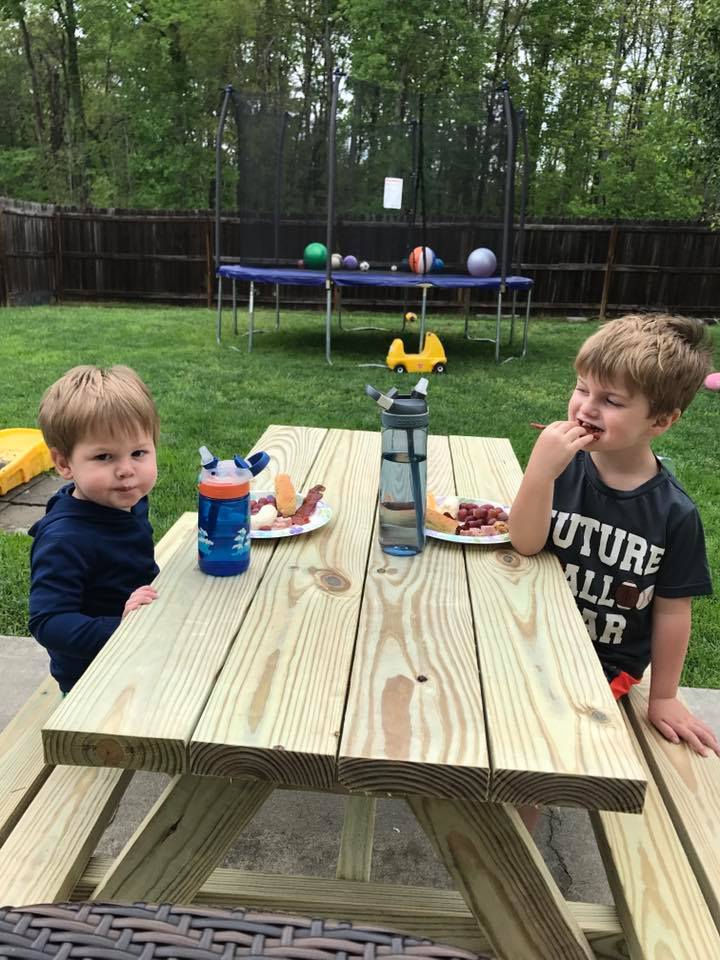
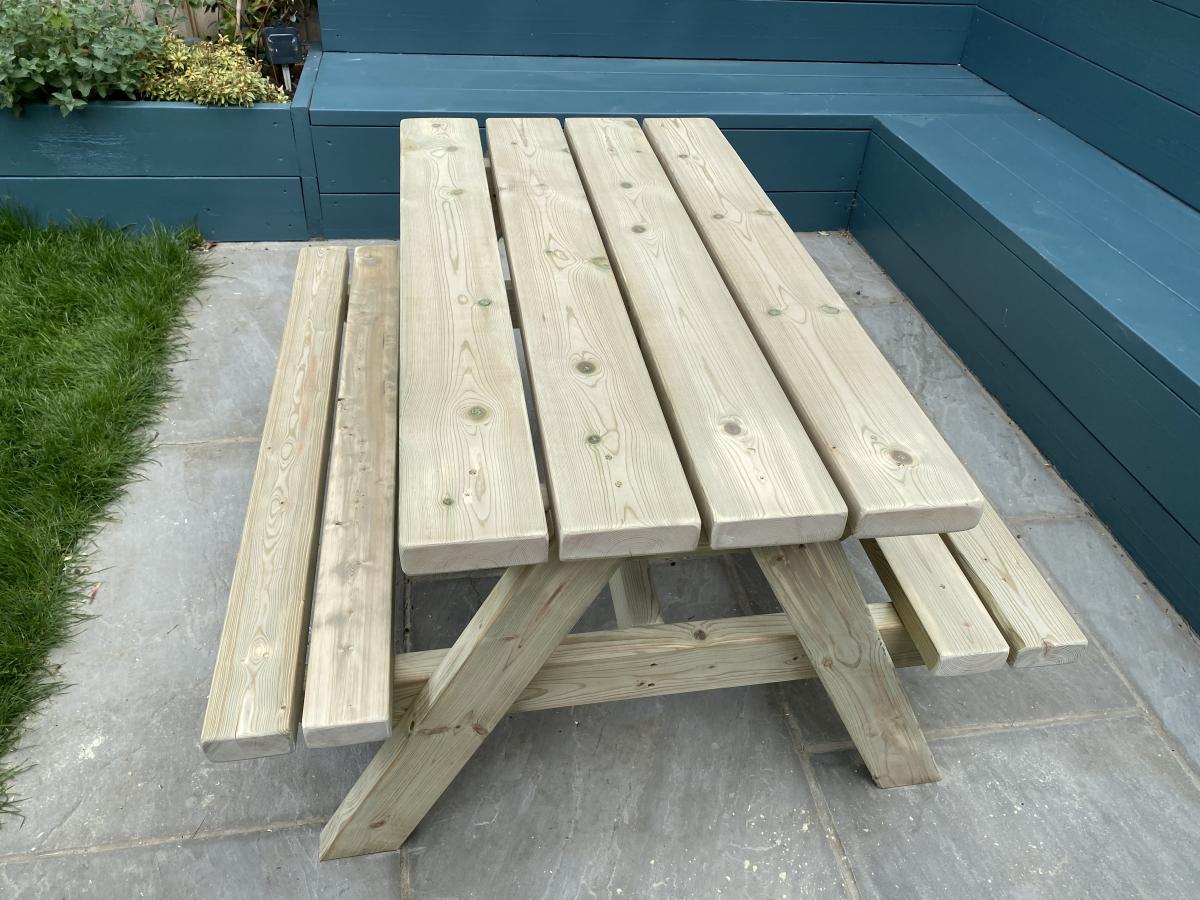
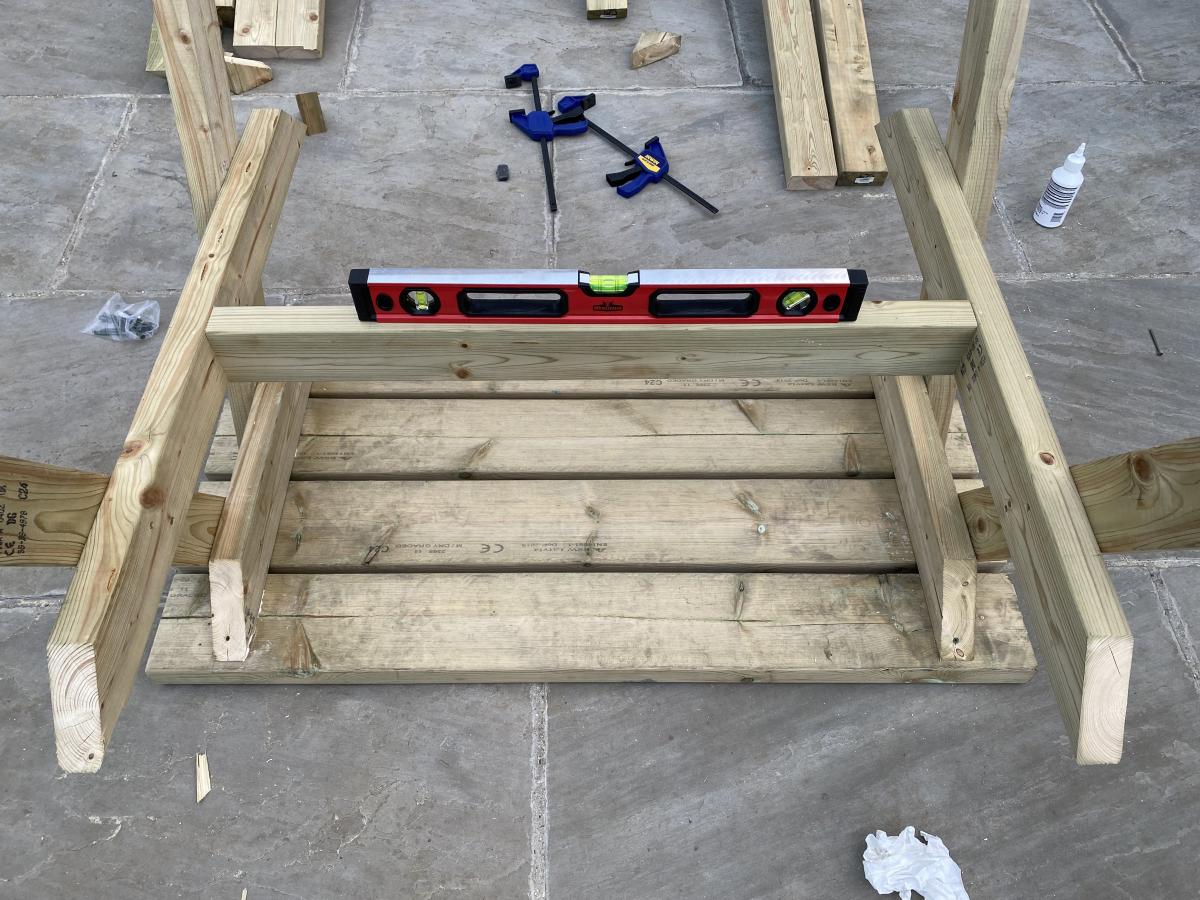
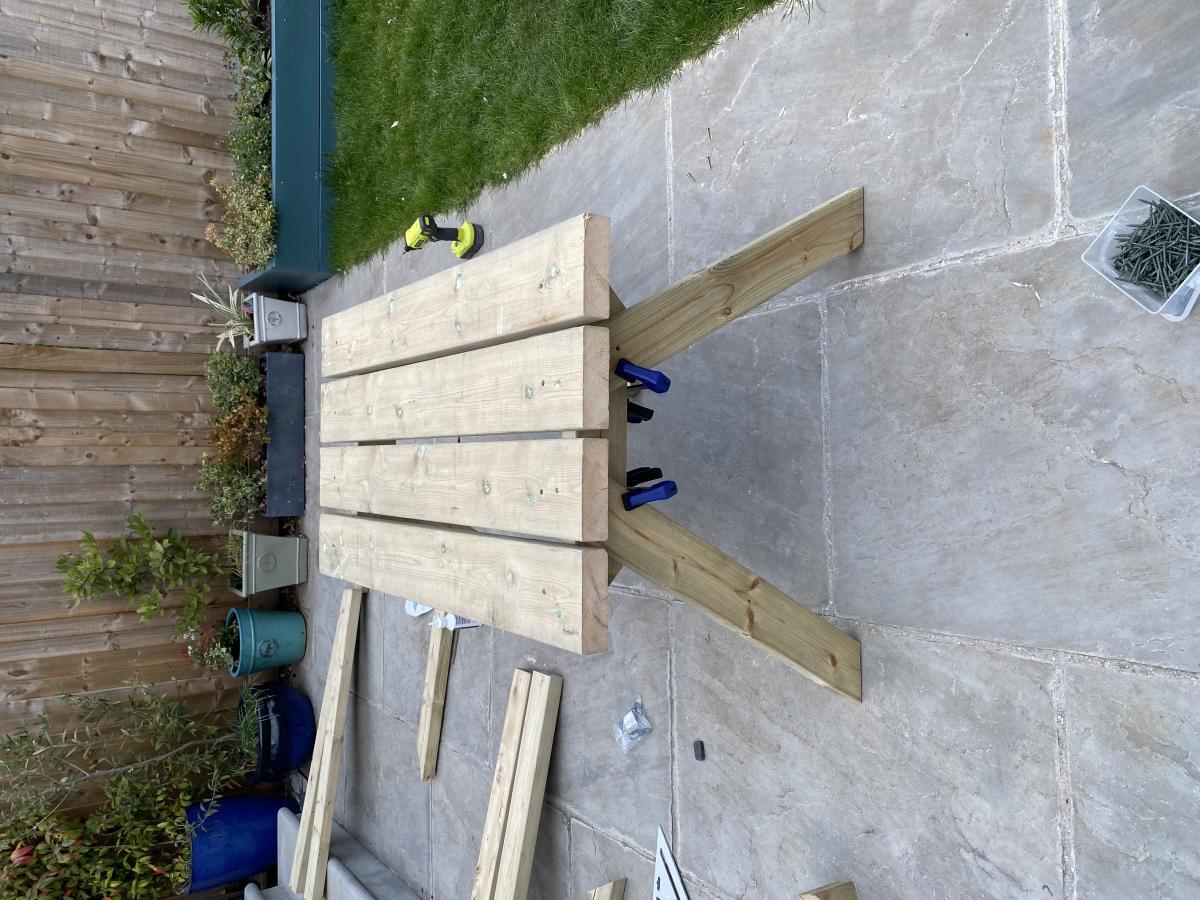
My son and I made this table this weekend in just a couple of hours with no problems. The directions were clear and easy to follow. Thank you for sharing them with us.
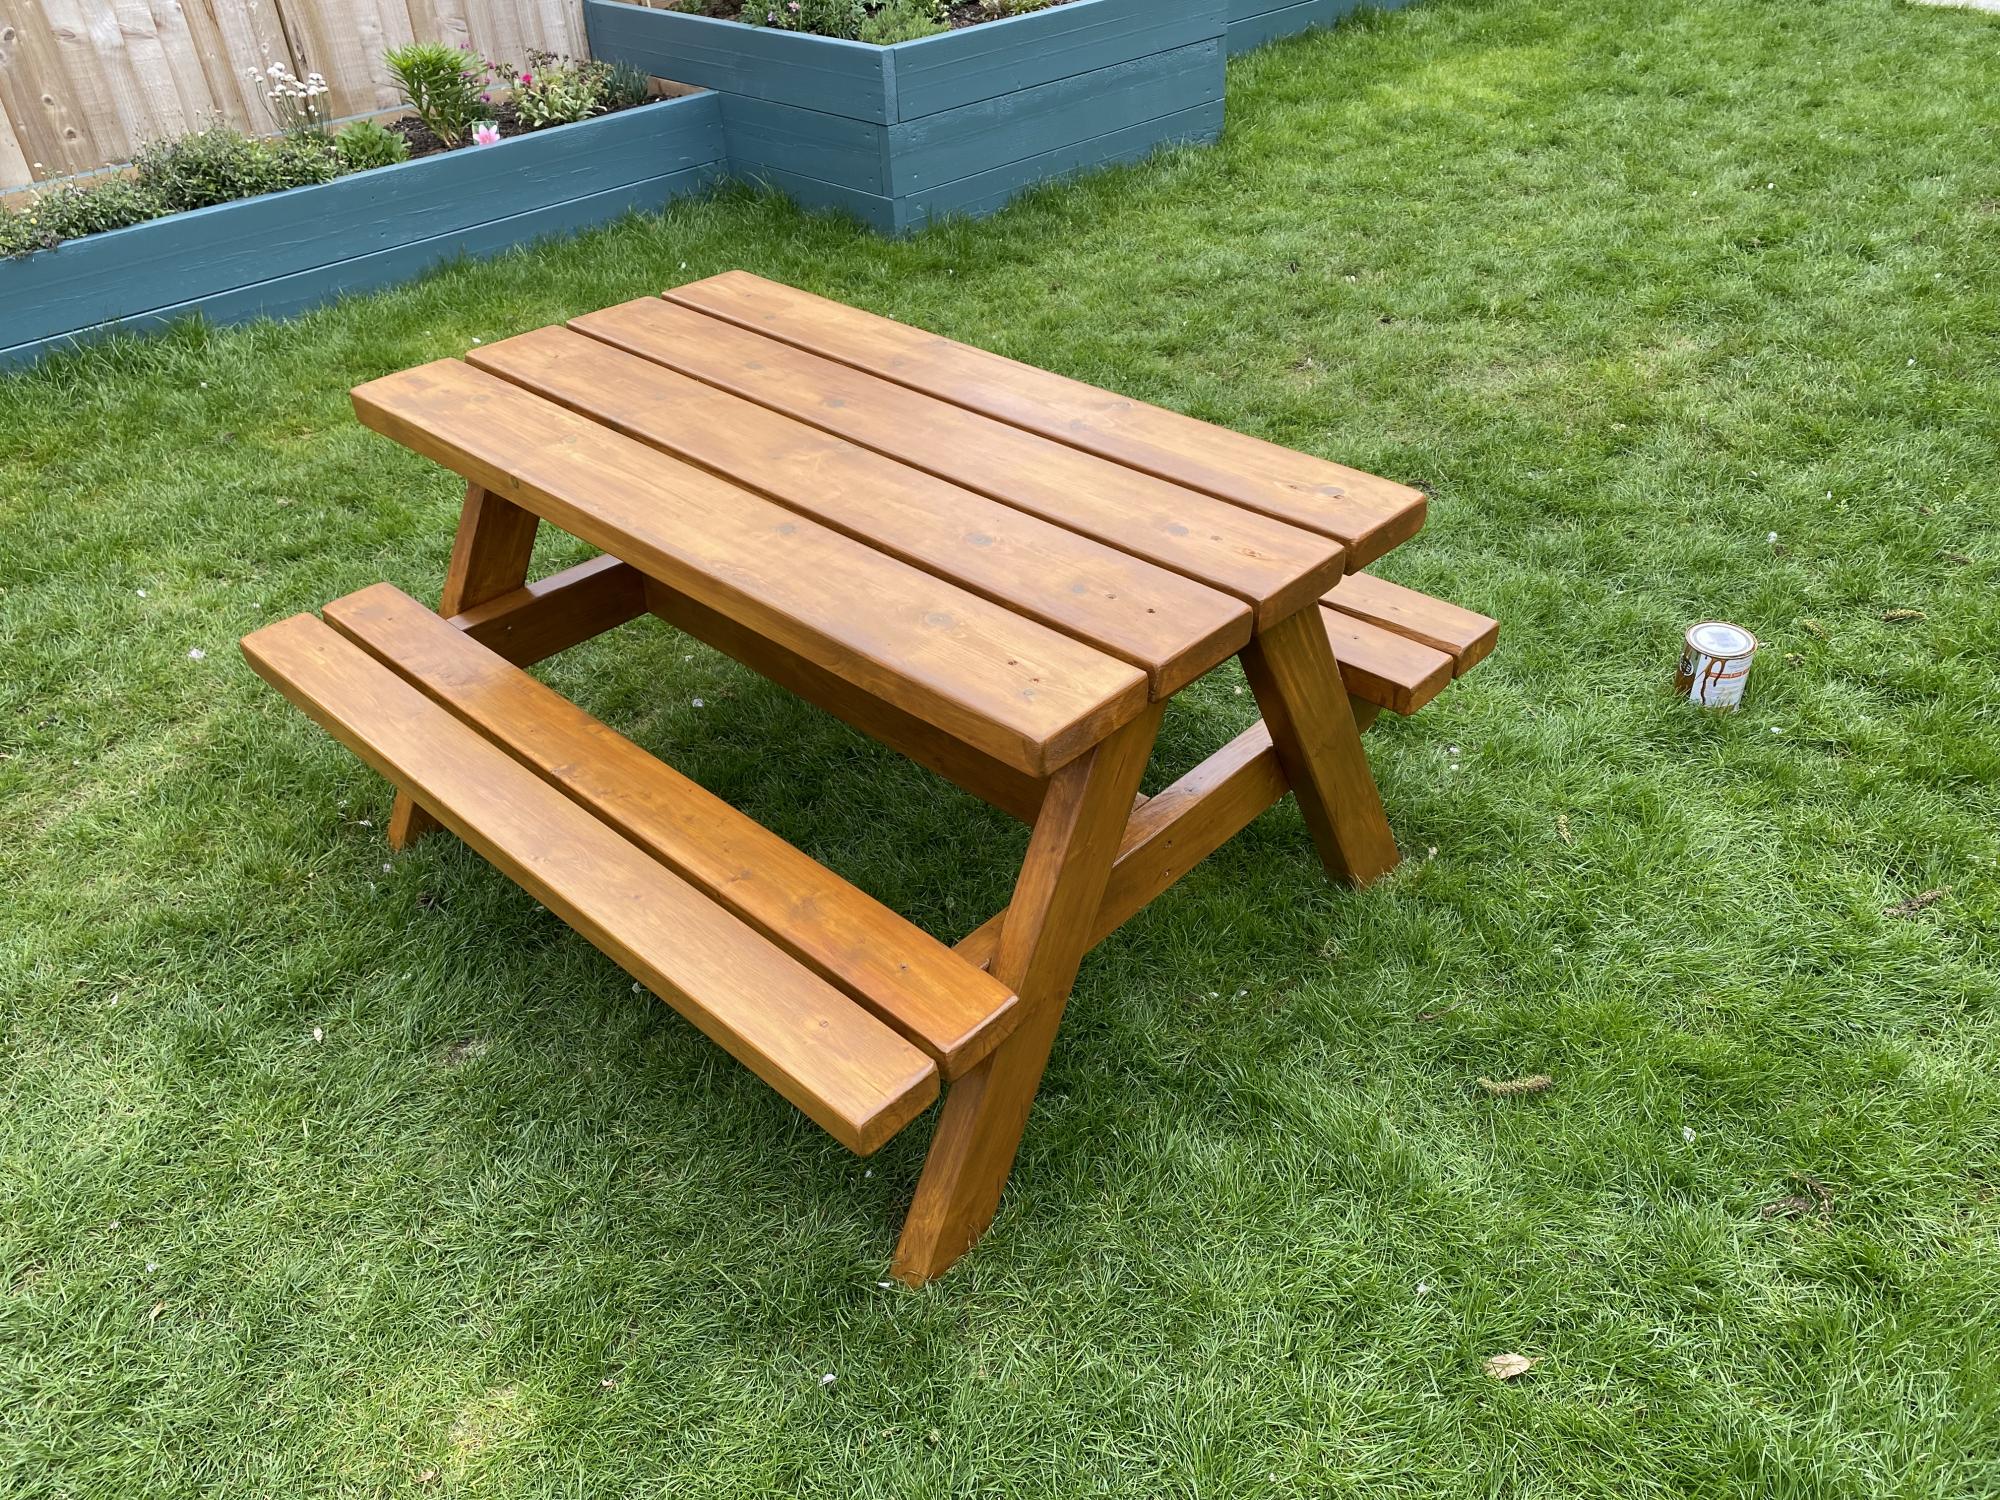
Hello from London, UK.
Used 120grit sandpaper and stained with Ronseal 10 Year Exterior Satin Woodstain 750ml Natural Oak

This took me about 20 minutes! I love the look of it and that it can just be left out when the kids aren't doing art. A great little item to add to keep the kids busy and inspired. I made a couple of mods from the plan. I used glue and nails instead of pocket holes and I did that bottom board flat instead of on it's side. I also used a little bigger dowel, and bought two rolls of paper on Amazon for $14.I'm giving this to my daughter for her birthday with some fun art supplies, so I think it's a great gift idea for any occasion for those crafty people out there!
Tue, 04/02/2024 - 06:09
Sometimes, when working with papers, you might need to convert file formats, right? So, I recently came across this website https://pdfflex.com/webp-to-png It's super handy for converting. It's been a real time-saver for me, especially when I need to tweak documents for printing or sharing. I'd desided to share in case it helps someone else out there too!
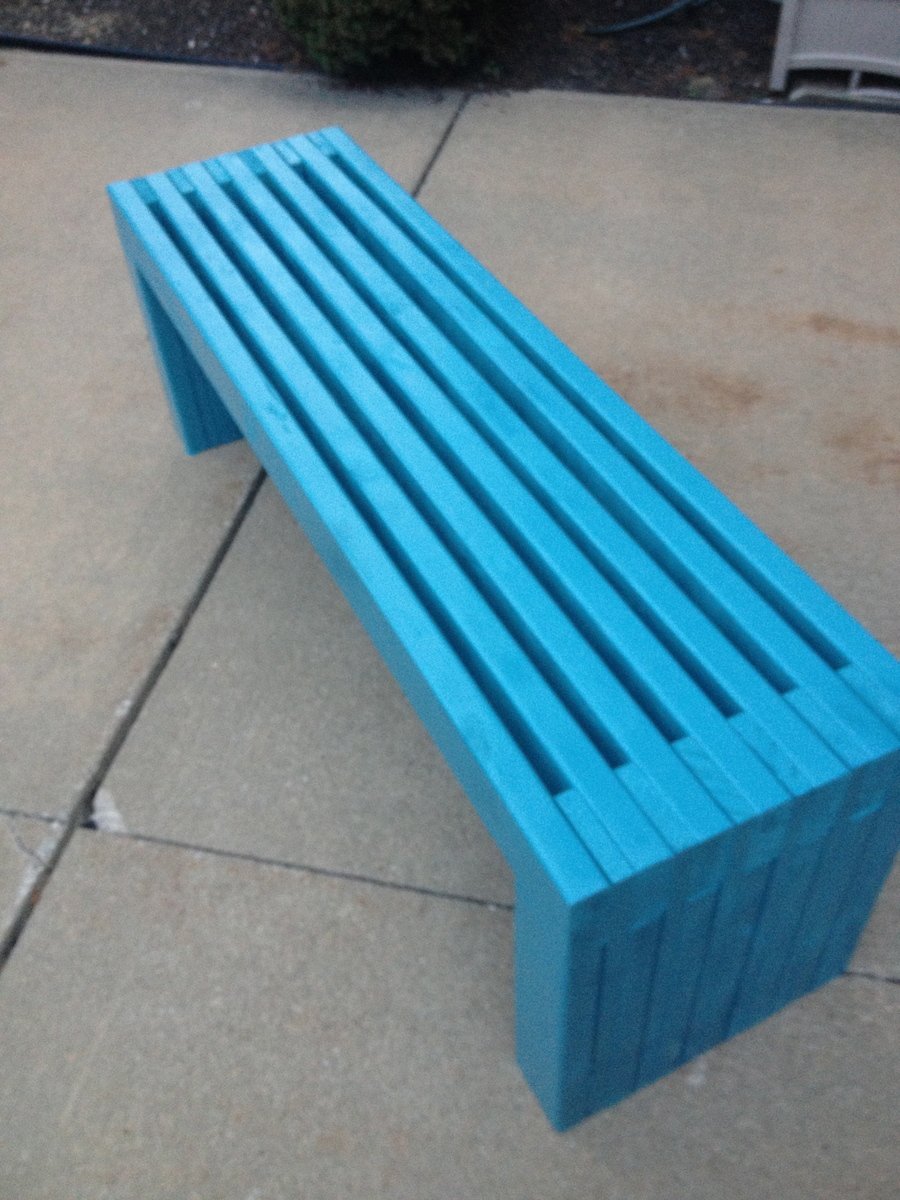
This was my first project. I am pretty excited how it turned out. If I did it again, I would recommend sanding and painting prior to building.
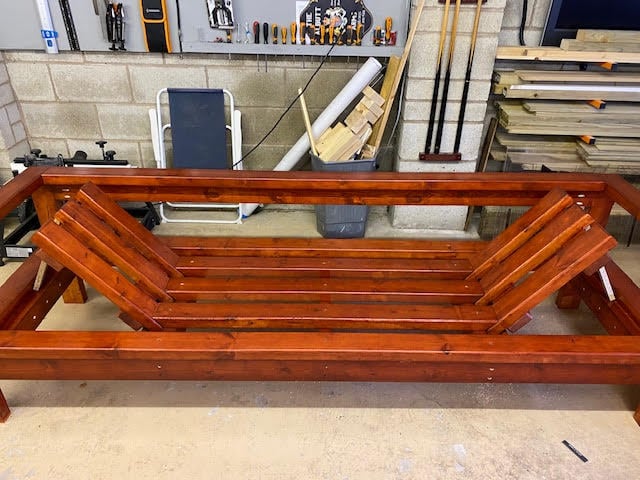
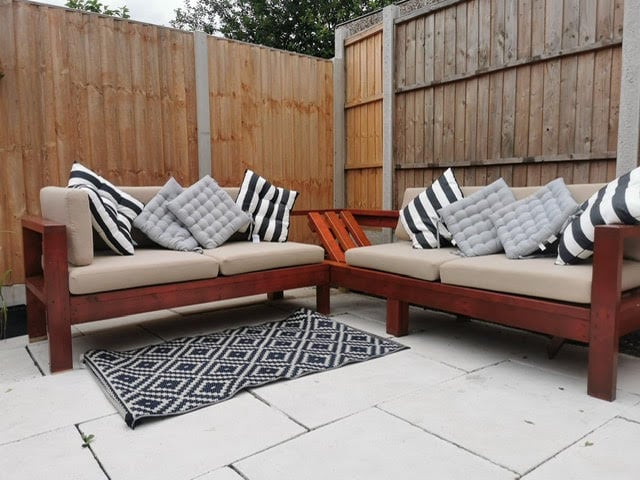
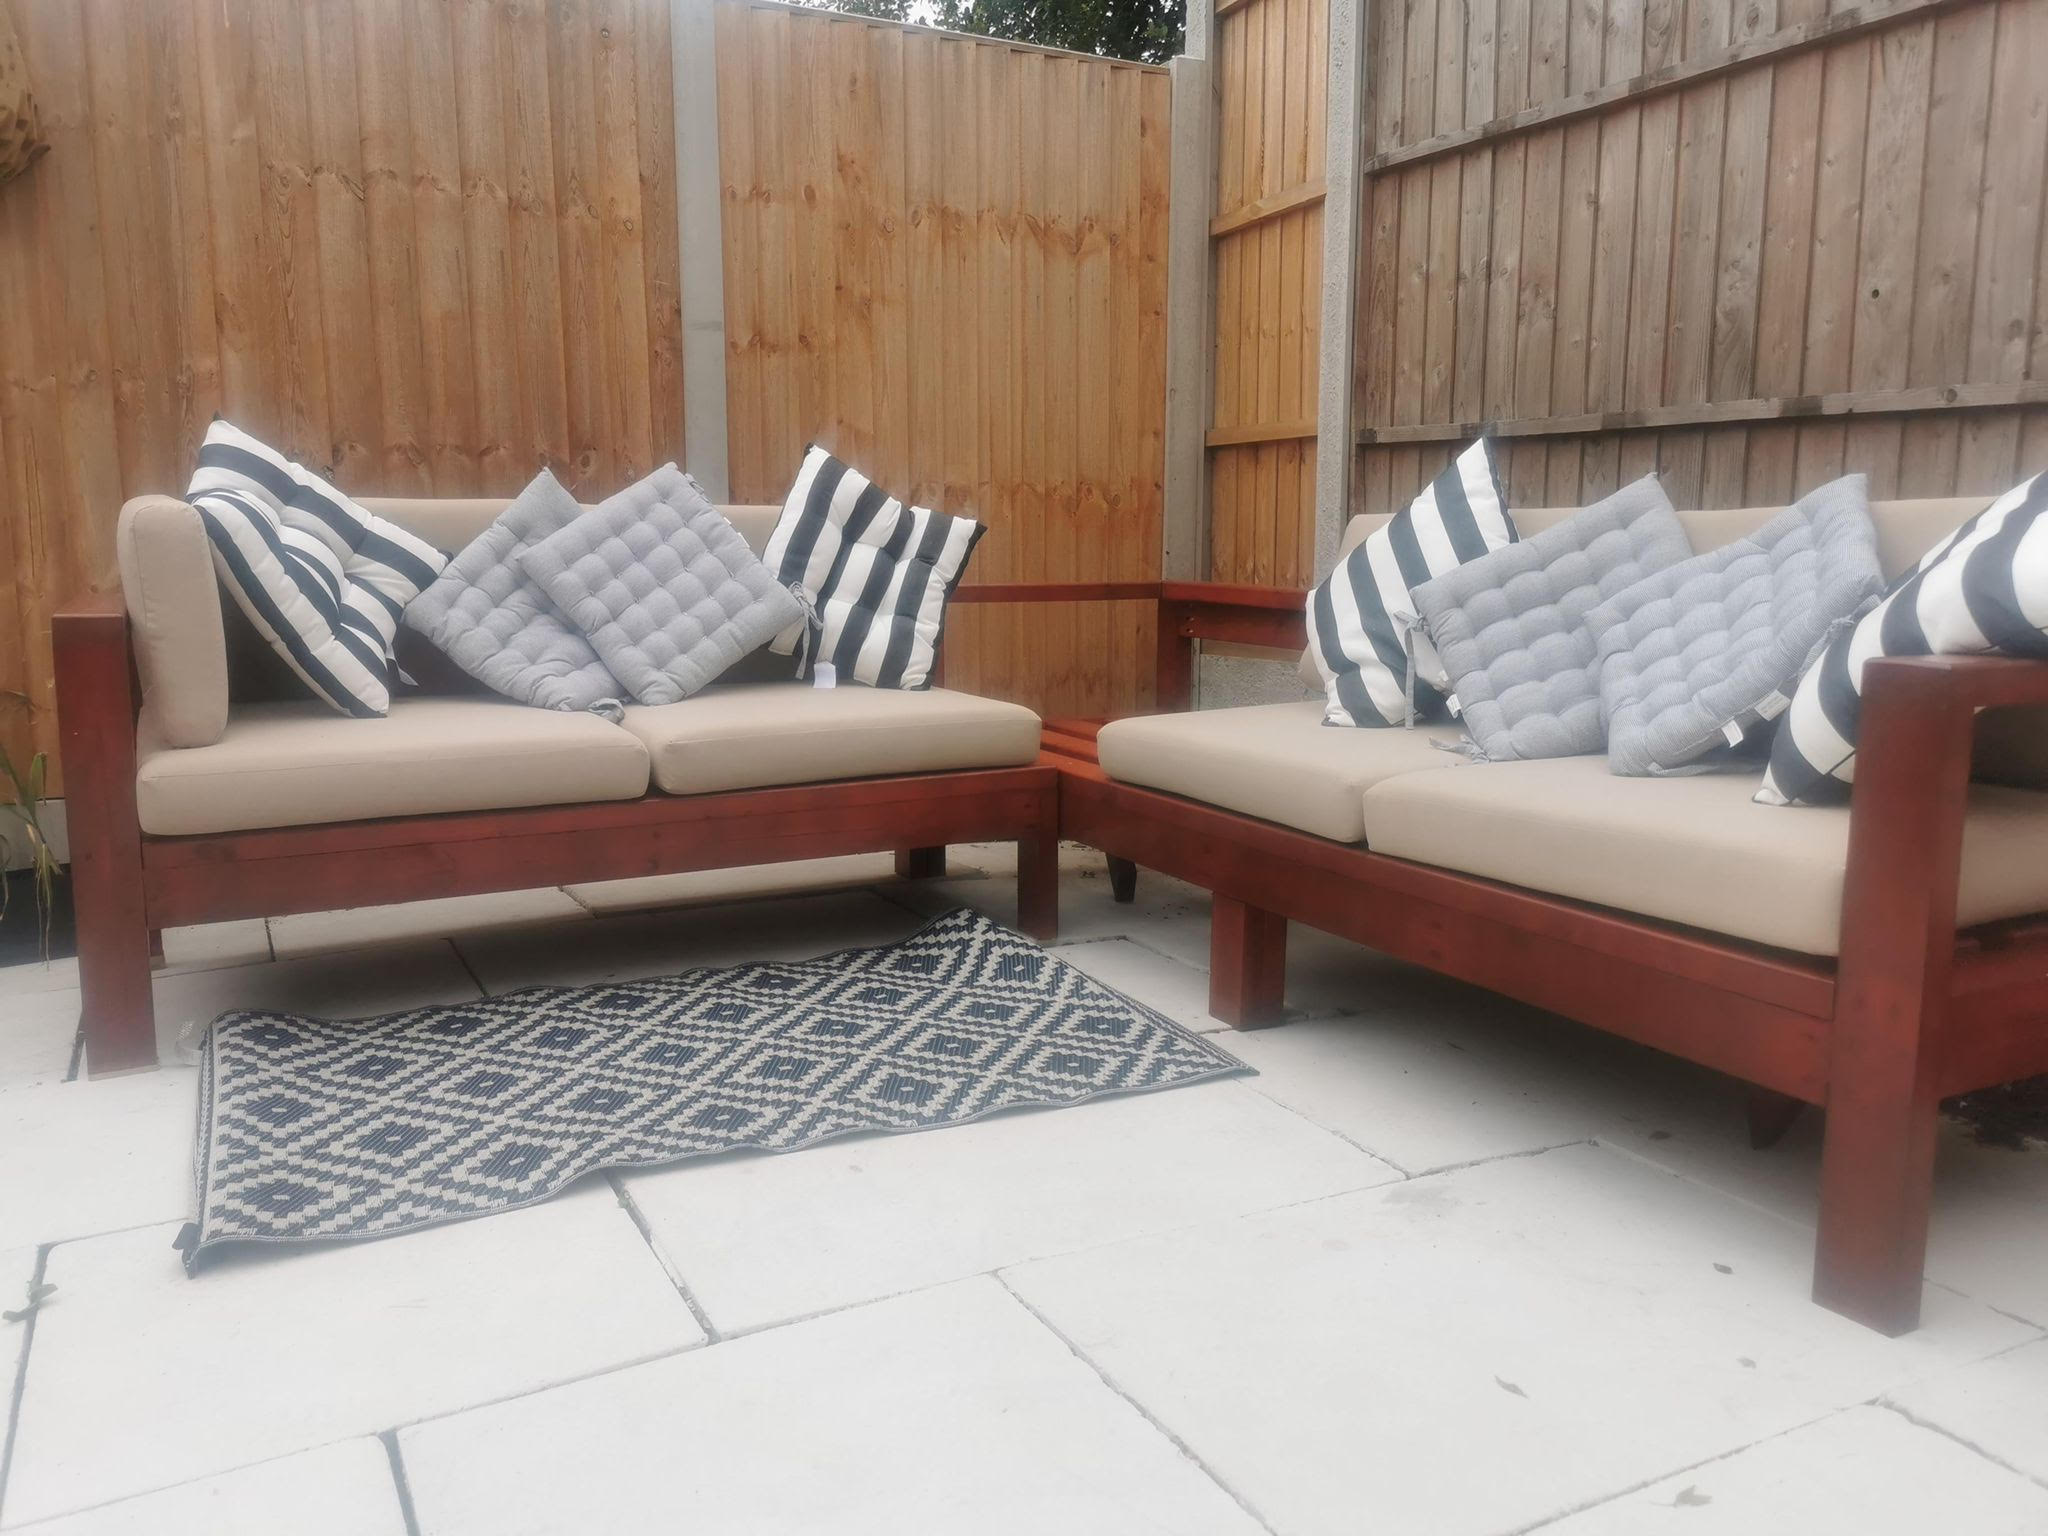
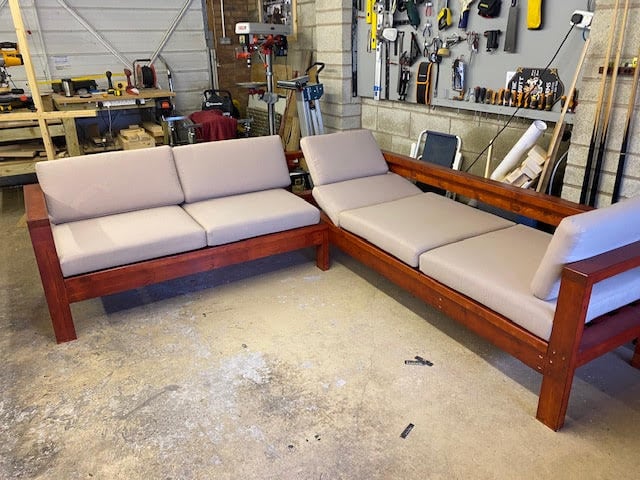
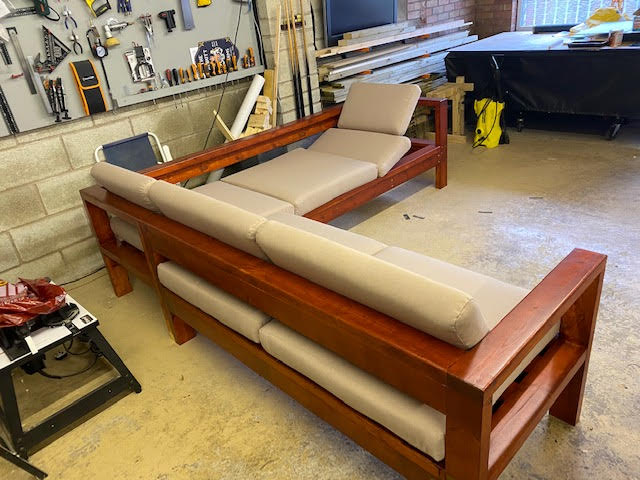
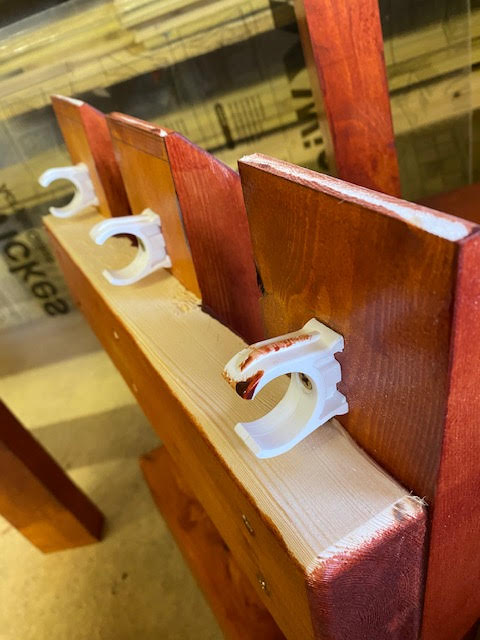
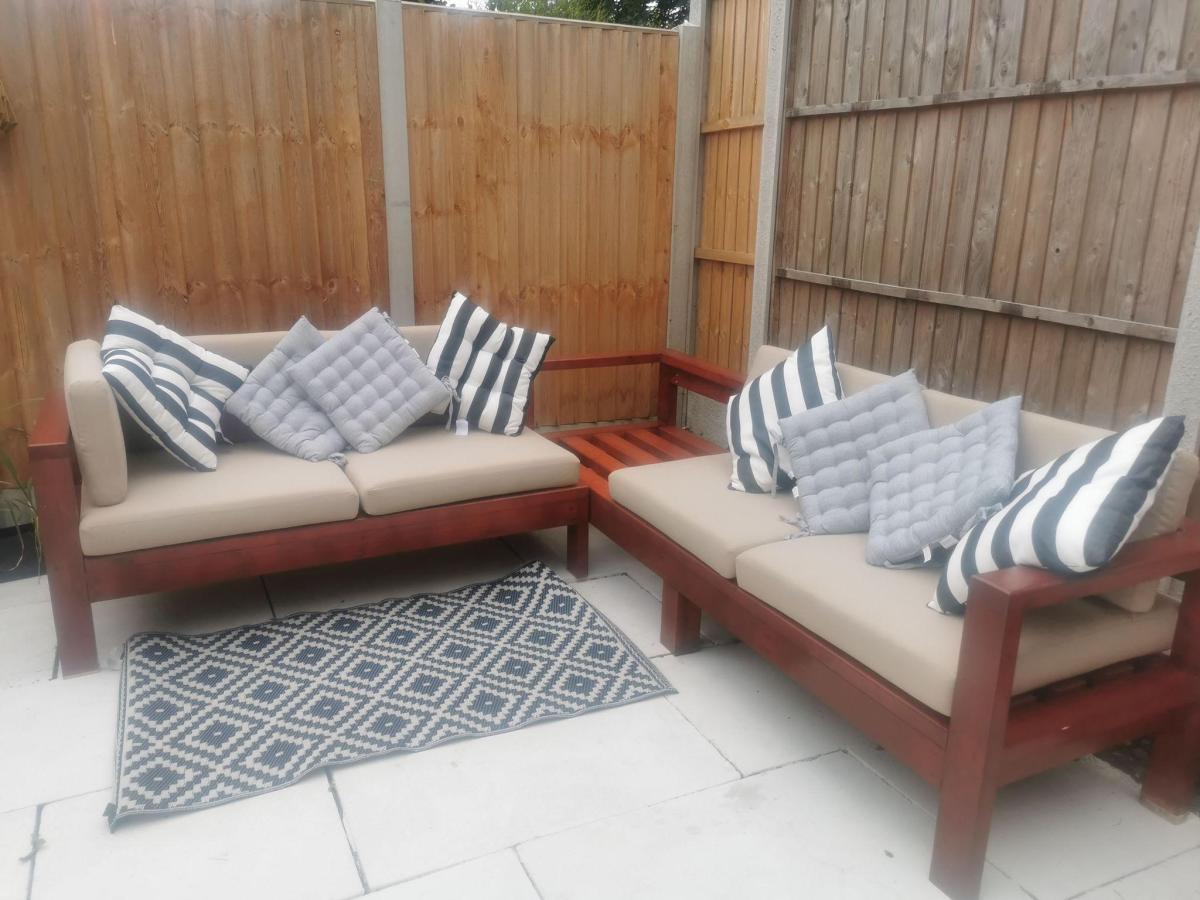
Just wanted to share the results of the sectional I built with your plans.
I’m new to woodwork, newly retired, built these for my daughters, with a twist, she wanted a lounger sofa, hope you like.

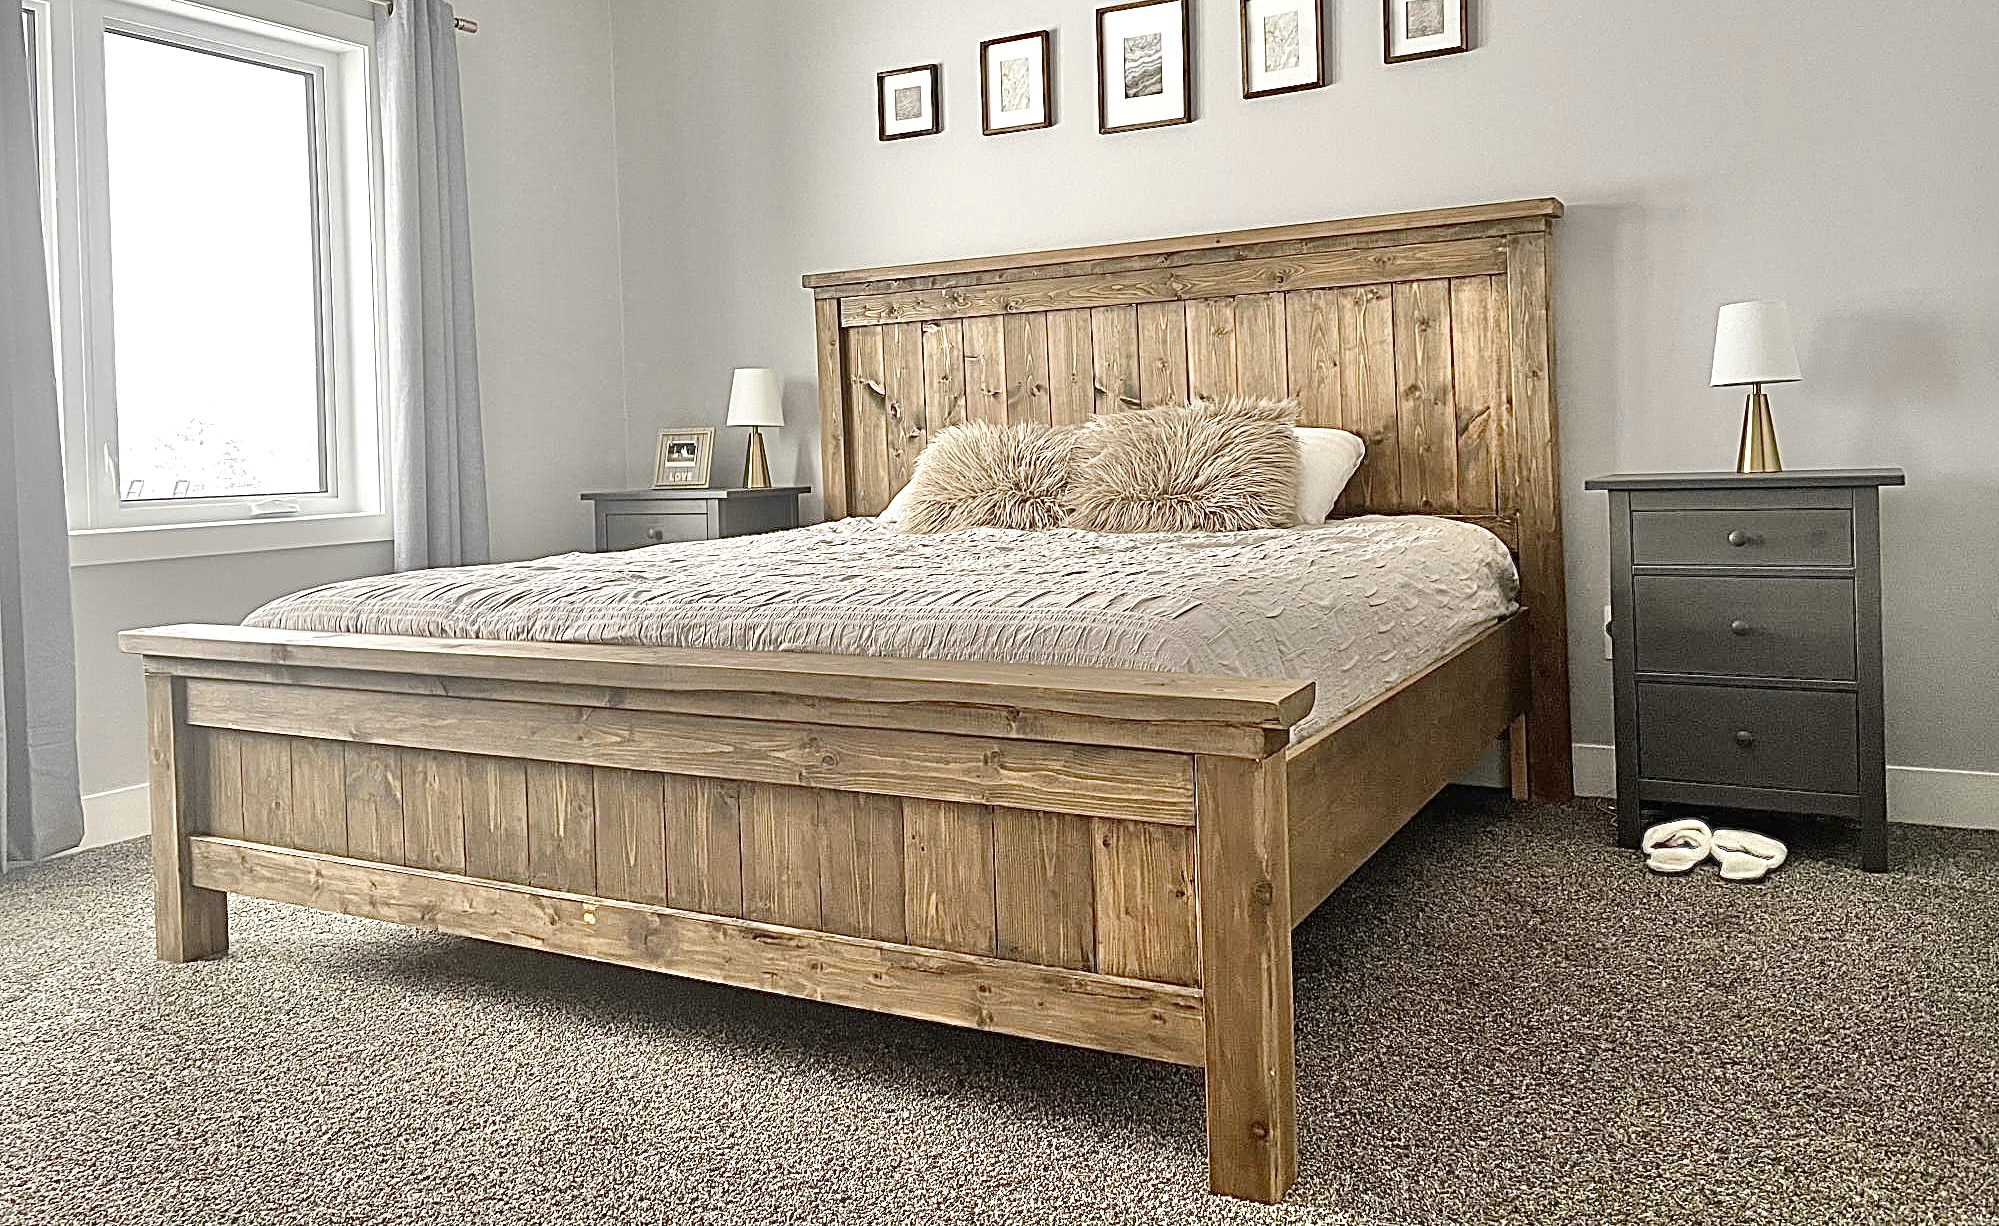
My husband and I had worked on this bed together, and we are so happy with it! We went with taller side tables that we purchased, and just stained the wood instead of painting it.

I’m a first year teacher of construction class at Waterloo High School in Illinois. We recently used your Small Cedar shed instructions with some modifications for a class project. It’s a bear getting cedar right now, so we used T1-11 for the outside and 2x4 for the frame.


Sat, 03/25/2023 - 09:14
Very fun and job well done! Thank you for sharing.
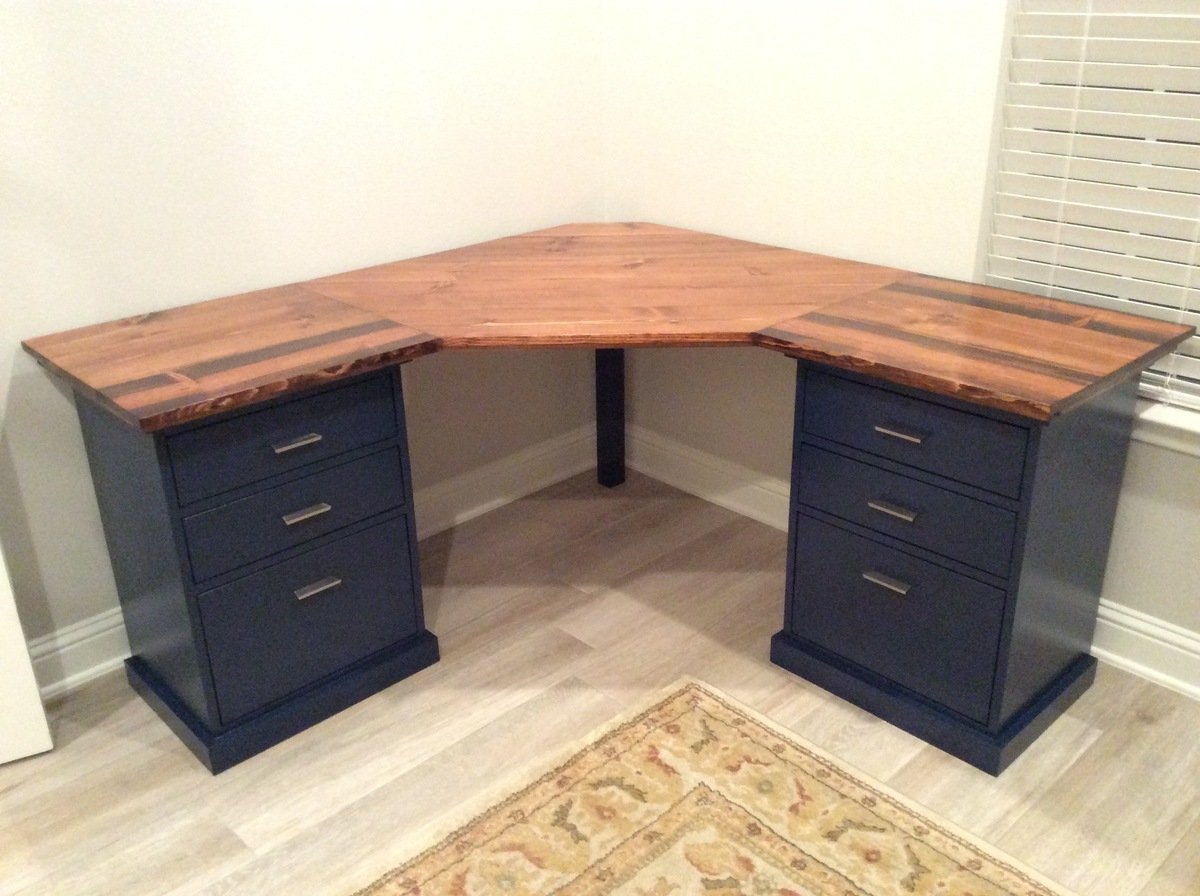
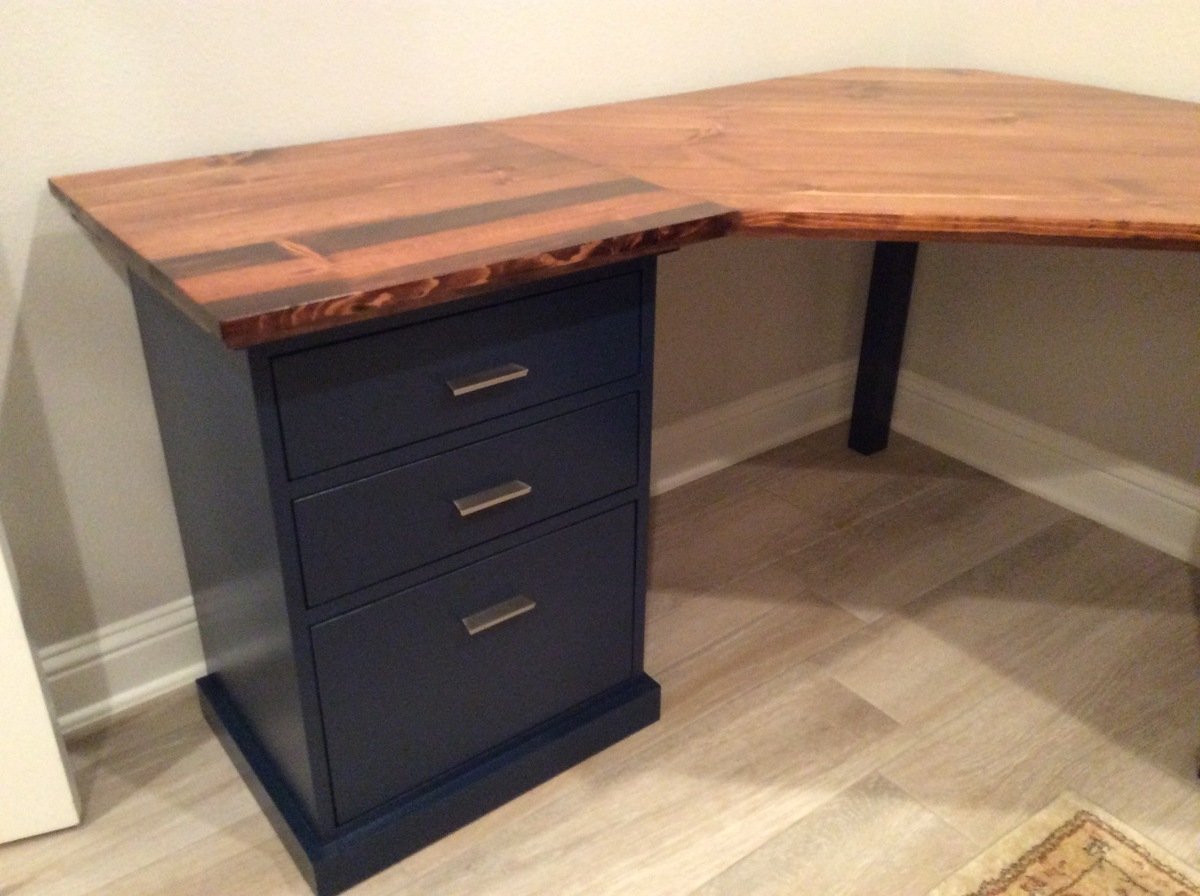
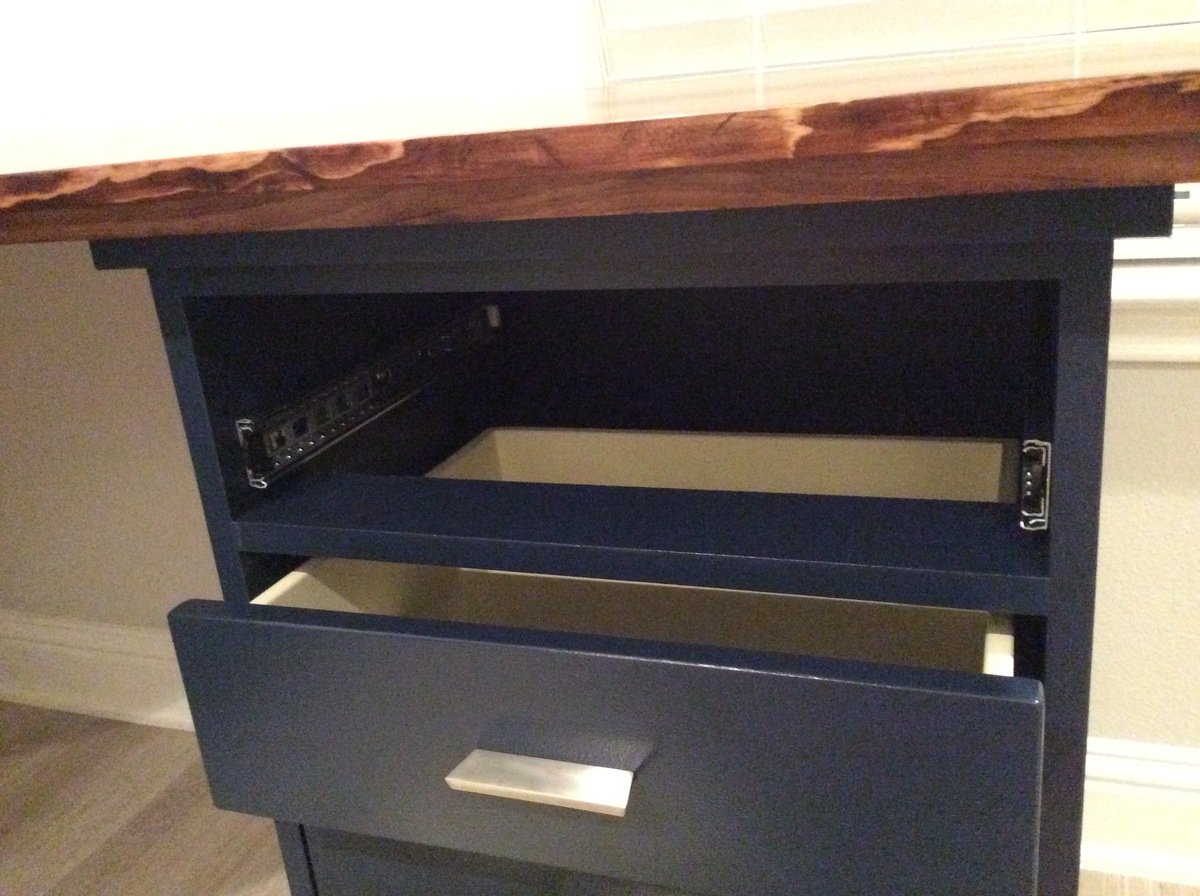
I followed the plans pretty closely. I added dividers to make 3 drawer units but I didn't find it necessary to have the top shelf go all the way to the back since it would never function as a shelf. I used scrap pieces for that and they weren't big enough to be full shelves.
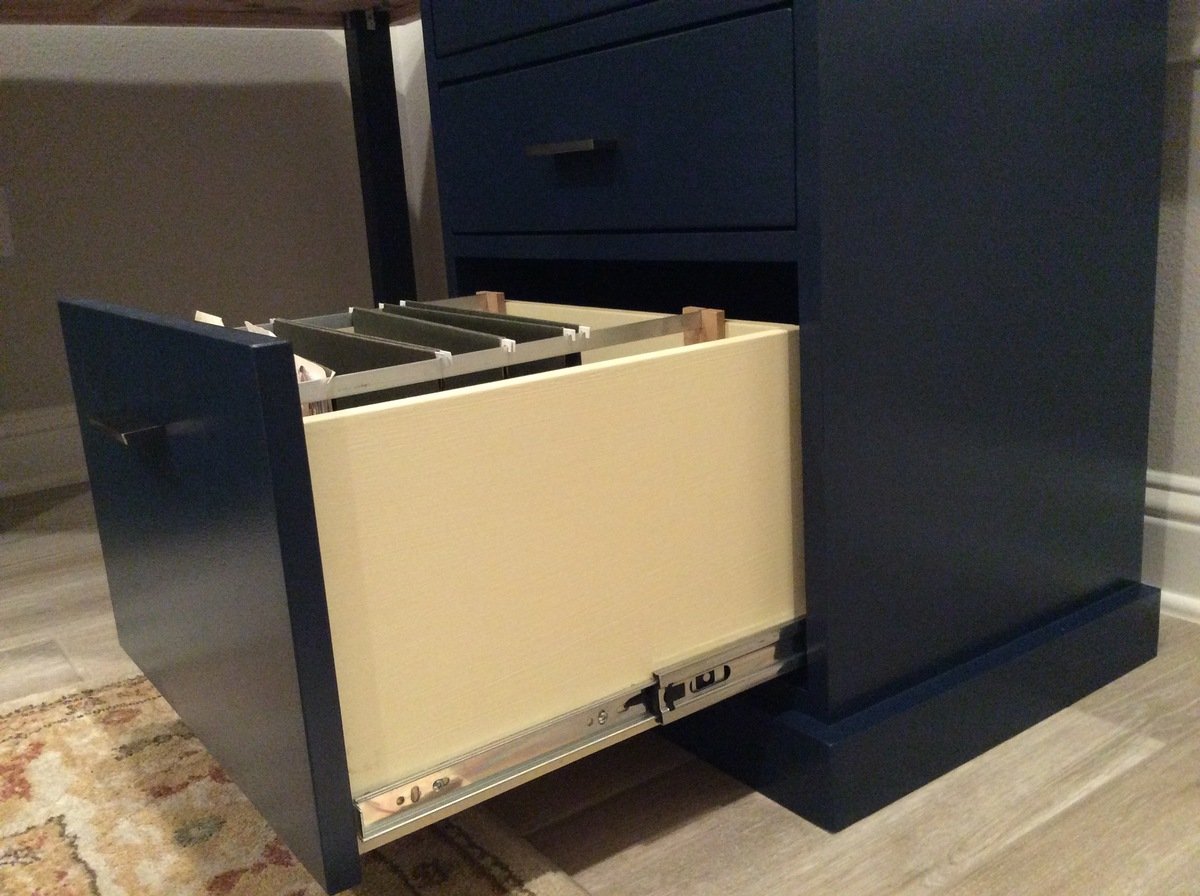
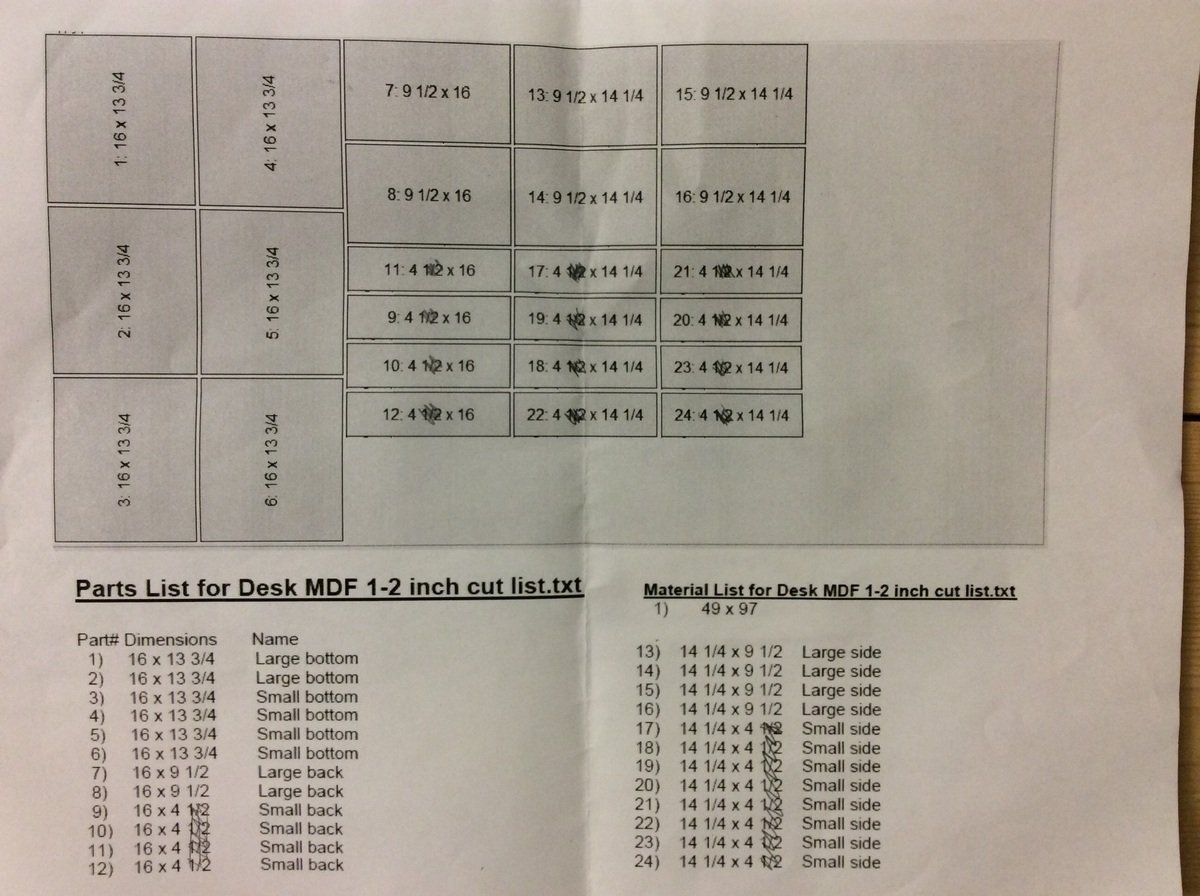
I used 1/2" MDF for the bottom, sides, and backs of the drawers to cut down on weight, cost, and general bulkiness. I used this free app called Cut List to figure out the easiest way to have the guys at Home Depot cut all the drawer panels after I learned I'm not that good with a circular saw. I used a hack saw to cut aluminum bars for hanging files and used scrap wood to make the little brackets to hold the bars upright in the drawer. The full extension drawer slides are functionally and asthetically better but it would have been so much easier to put in basic bottom mount slides.
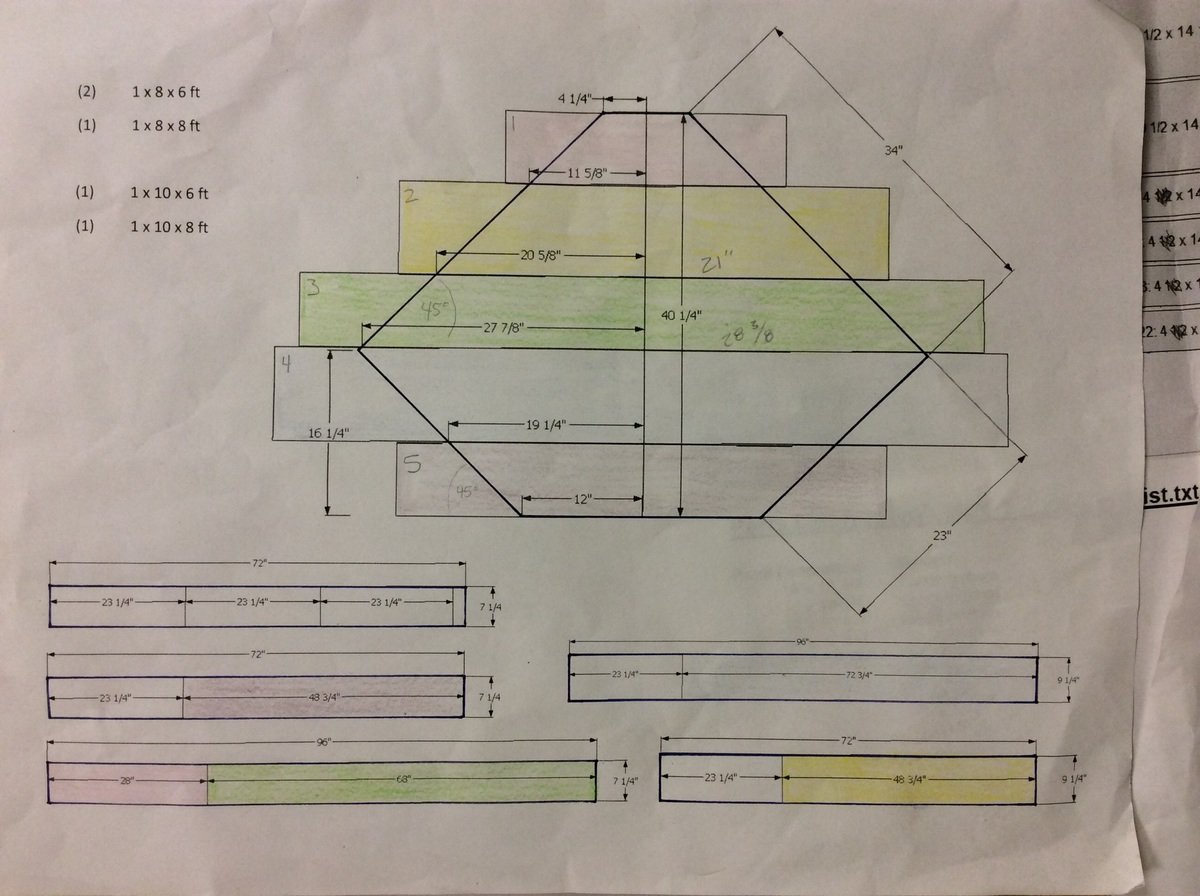
I wanted a wood grain top and ended up with common pine boards over more expensive poplar or oak and I would use pine again without hesitation. I used Google SketchUp to figure out the widths of boards I needed to make the top with minimal cuts. Then joined them with glue and mending plates and sanded the hell out of them. I altered the dimensions slightly to make it the same size desktop as the Bedford desk. My two wing sections are 23" x 23" but I should have made them 23" deep by more like 24" or 25" long. I had to hack the bottom bracing to make a spot for the drawer units to slide into. If you alter the dimensions make sure you can secure a brace between the main body and the wing of the desktop and still have room for the brace at the edge of the wing.
My cost includes things like a Kreg jig, saw blade, clamps, paint brushes etc. so you may be able to do this for less. I could have gone with a middle of the line paint I think. This project was a beast for me because a) I'm not a furniture maker b) I don't own a table saw which would have been amazing c) I picked the hardest way to make the desktop and d) I modified some of the dimensions from the basic plans. I worked on this thing for weeks (granted sometimes I didn't touch it for several days or a week). But it was a fun and rewarding project.
Tue, 08/27/2019 - 19:28
This is AMAZING!!! I'm so sad I did not see this earlier. Thank you so much for sending in pics!
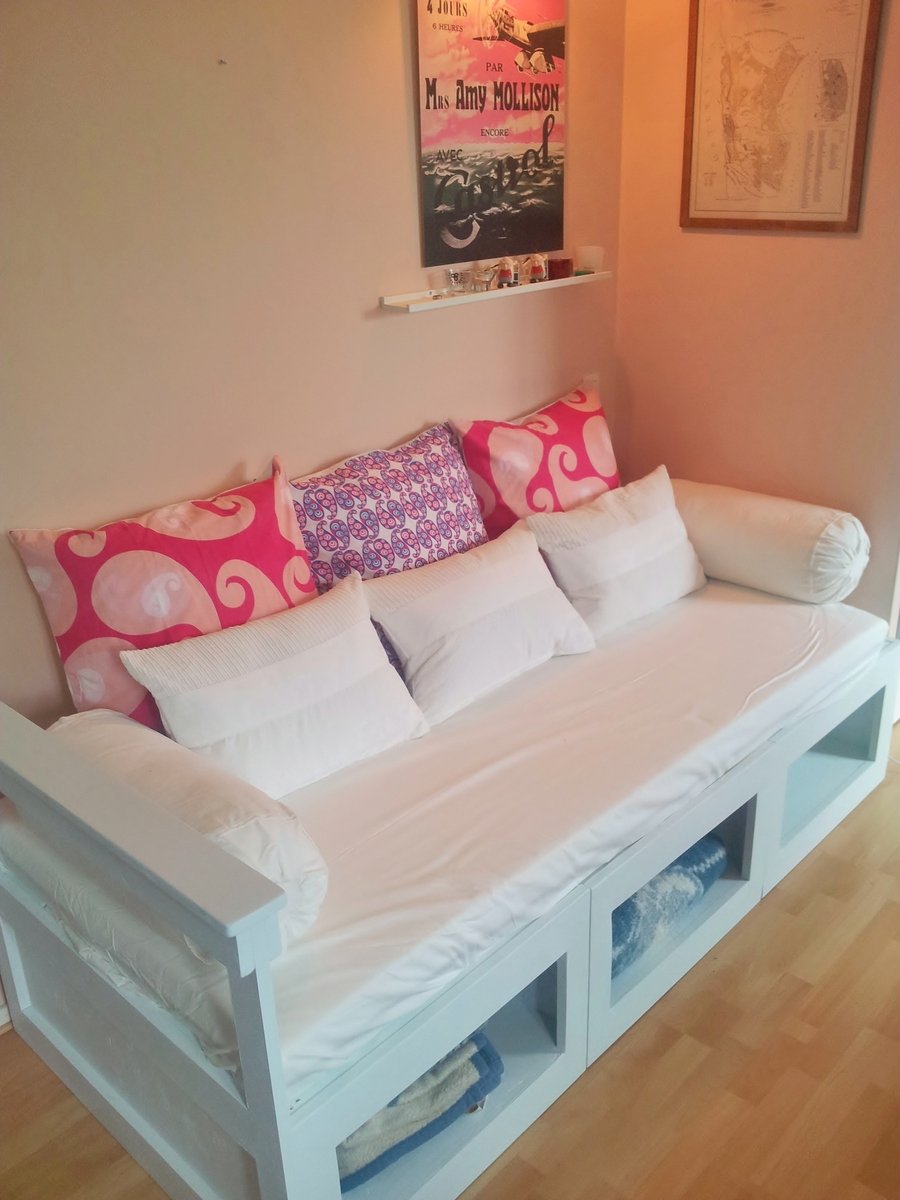
This is the 3 box storage daybed, as you can see I added an armrest on one end as it sits in a corner.
Tips for building this project: Buy a decent circular saw, I used a cheap one and really regretted it. Square your timber, I ended up squaring my timber using a sander, which wasn't as easy as it sounds. Check you measurements, the bottom of one of my boxes was a little short because I didn't double check the measurements and I ended up having to fix it with an extra piece of timber. 2 or 3 saw horses are a real help and lots of clamps.
I used the cutout outline from the link below but had to convert it all to metric since I live in Sweden, also a standard single mattress here isn't as wide but longer then the one used in the linked project. I didn't take this into account and ended up having to buy an extra piece of plywood.
http://ana-white.com/2009/12/plan-stratton-daybed-as-request-by-you.html
I got the single mattress and the pillows from IKEA.
This was a lot of fun and I look forward to spending many hours relaxing on my new daybed.
Thu, 08/09/2012 - 10:48
Nice job on the daybed, I like that you got through all your "dilemmas".
Your saw's bevel function (hopefully it has it) might be nicer than mine but you can try to adjust it.
I have a $50 dollar skil saw and my only complaint is how difficult it is to set the base plate 90 degrees to the blade. I even take care to set the circular saw between two 2x4 when not in use so that setting it on the ground doesn't change the angle of the foot plate to blade. I can cut 90 degrees with a speed square as a guide, but I can't adjust the saw right.
I will be starting assembly of my first furniture project with the wood I cut two days ago. I will see how the pieces go together.
Best of luck on your next project!
Sat, 08/11/2012 - 06:27
Thanks, I'm pretty pleased with it. Yes that was one of my problems as well, trying to get the base plate set at 90, I found that if I leaned on it too much it flexed a bit which isn't good. Also by the end I had a pretty blunt blade or I was getting pinching or something thing because the plywood had some shocking edges with splintering. What I would really like is a proper saw table, but for now that's just a dream. Good luck on your project.
Wed, 08/21/2013 - 10:50
Hi there! I was hoping that someone on here had added the armrest! Would you be willing to post a pic of the end of the bed so that I can see how you configured it? Im goint to be starting this project soon for my daughter, and need to strategize some armrest ideas for hers.
Thanks so much!!
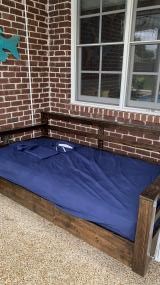
Utilized your plans for this porch bed swing! Looks great on the porch. Couldn’t find anything solid in the ceiling to hang it from so I installed my own joists with rafter hangers attached to the walls. Should hold long term.
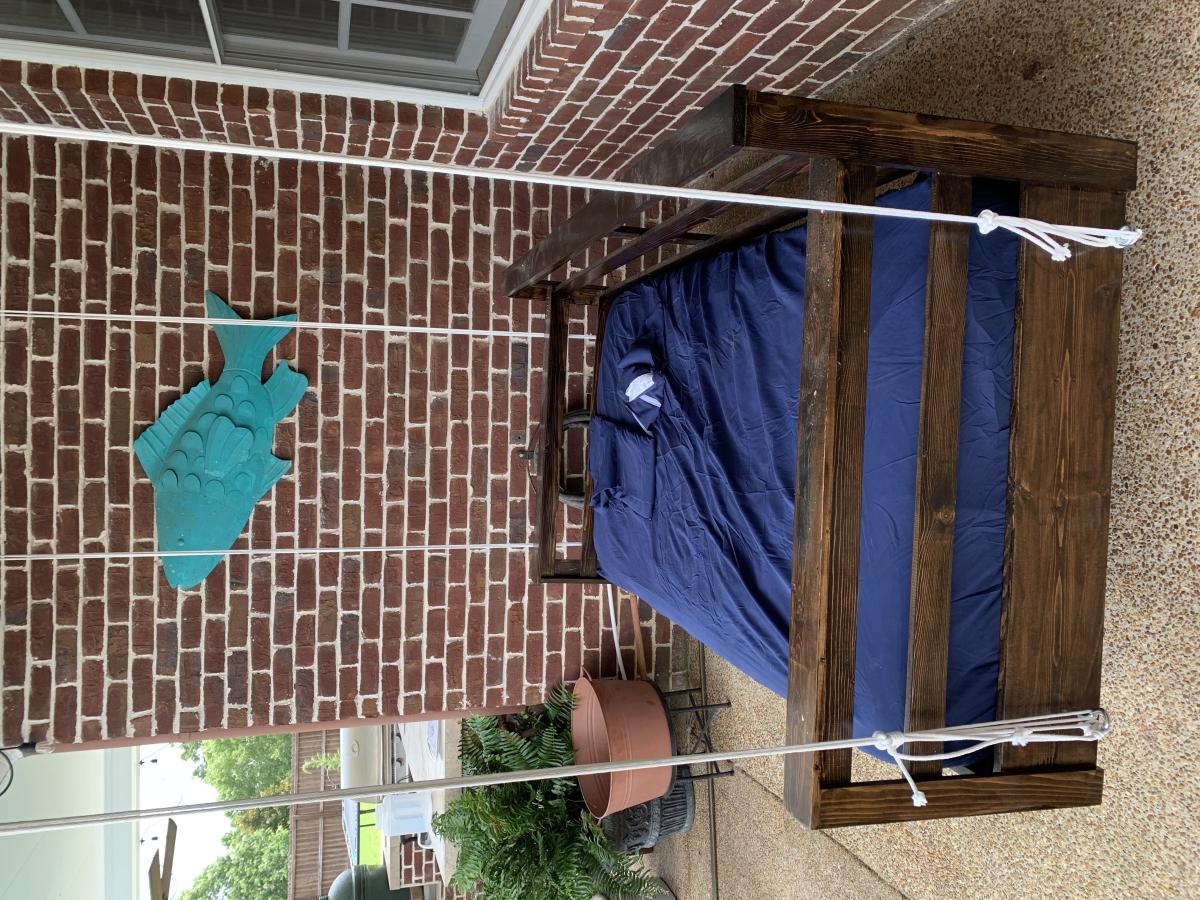
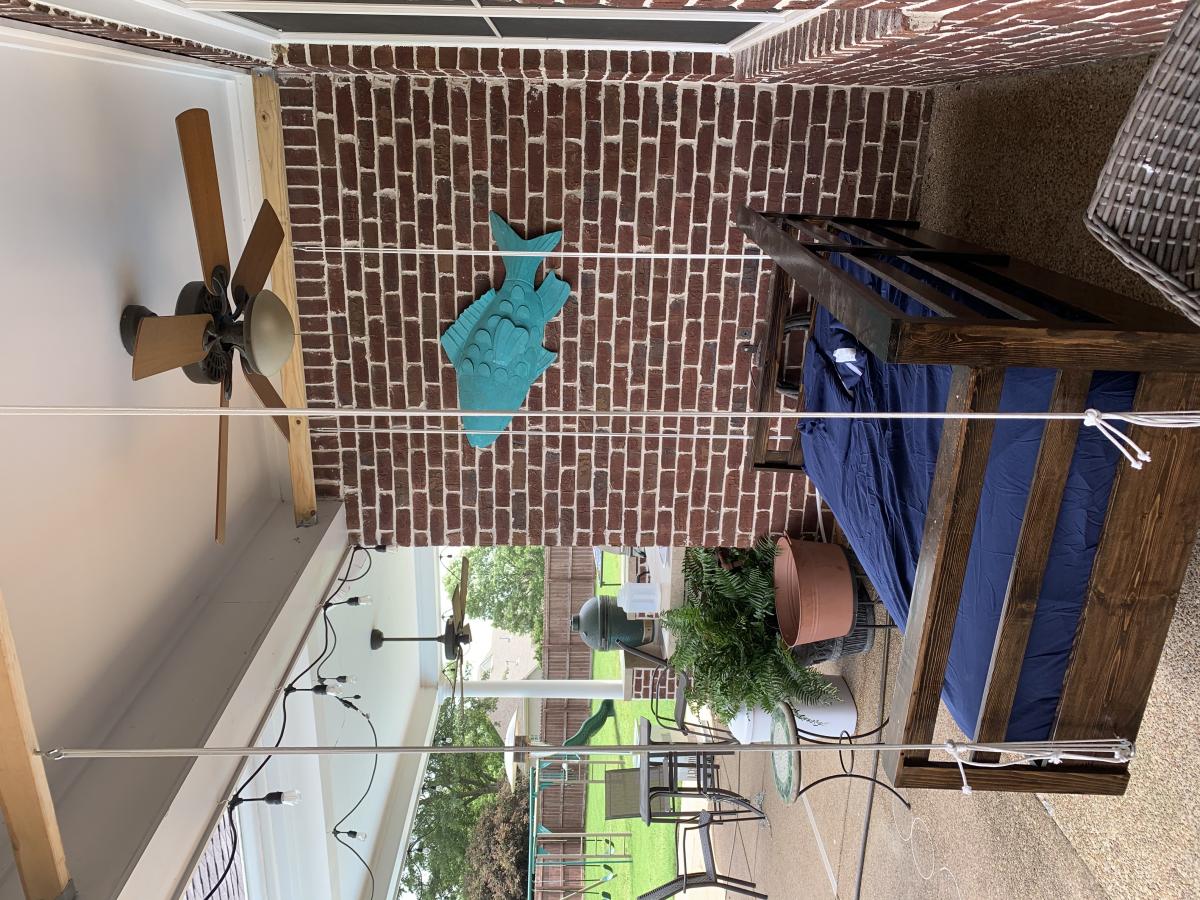
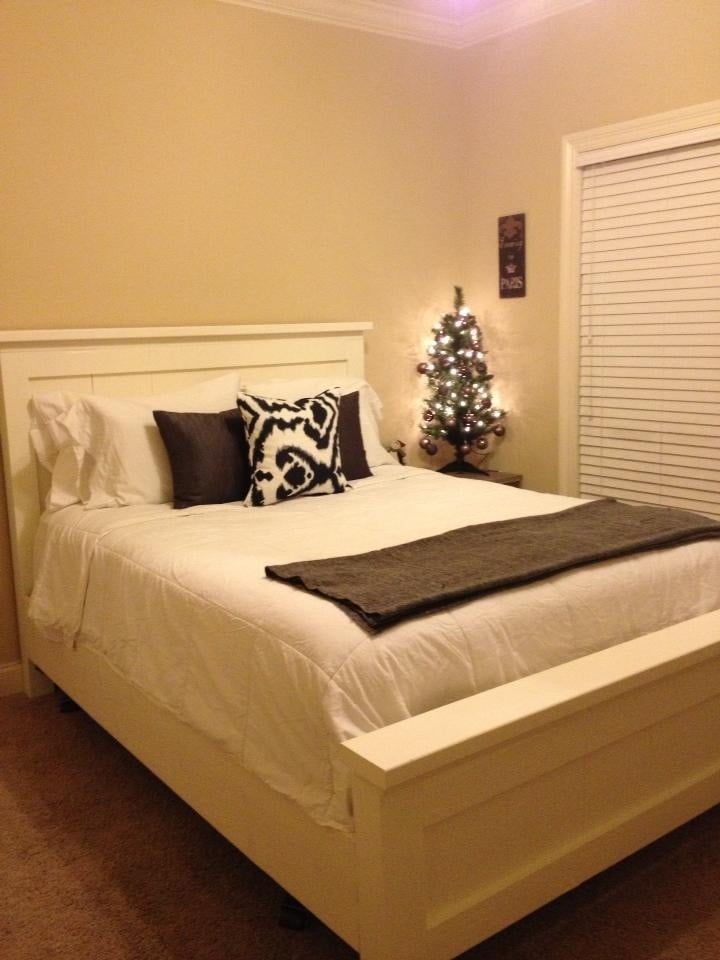
This project cost about 120.00 to make and about a weekend to build it. Plans make it very easy and it's beautiful and sturdy. I painted it antique white and used 1 coat of polycrylic on it.
Fri, 05/24/2013 - 17:18
This looks great! We're getting ready to make one in about 2 weeks.
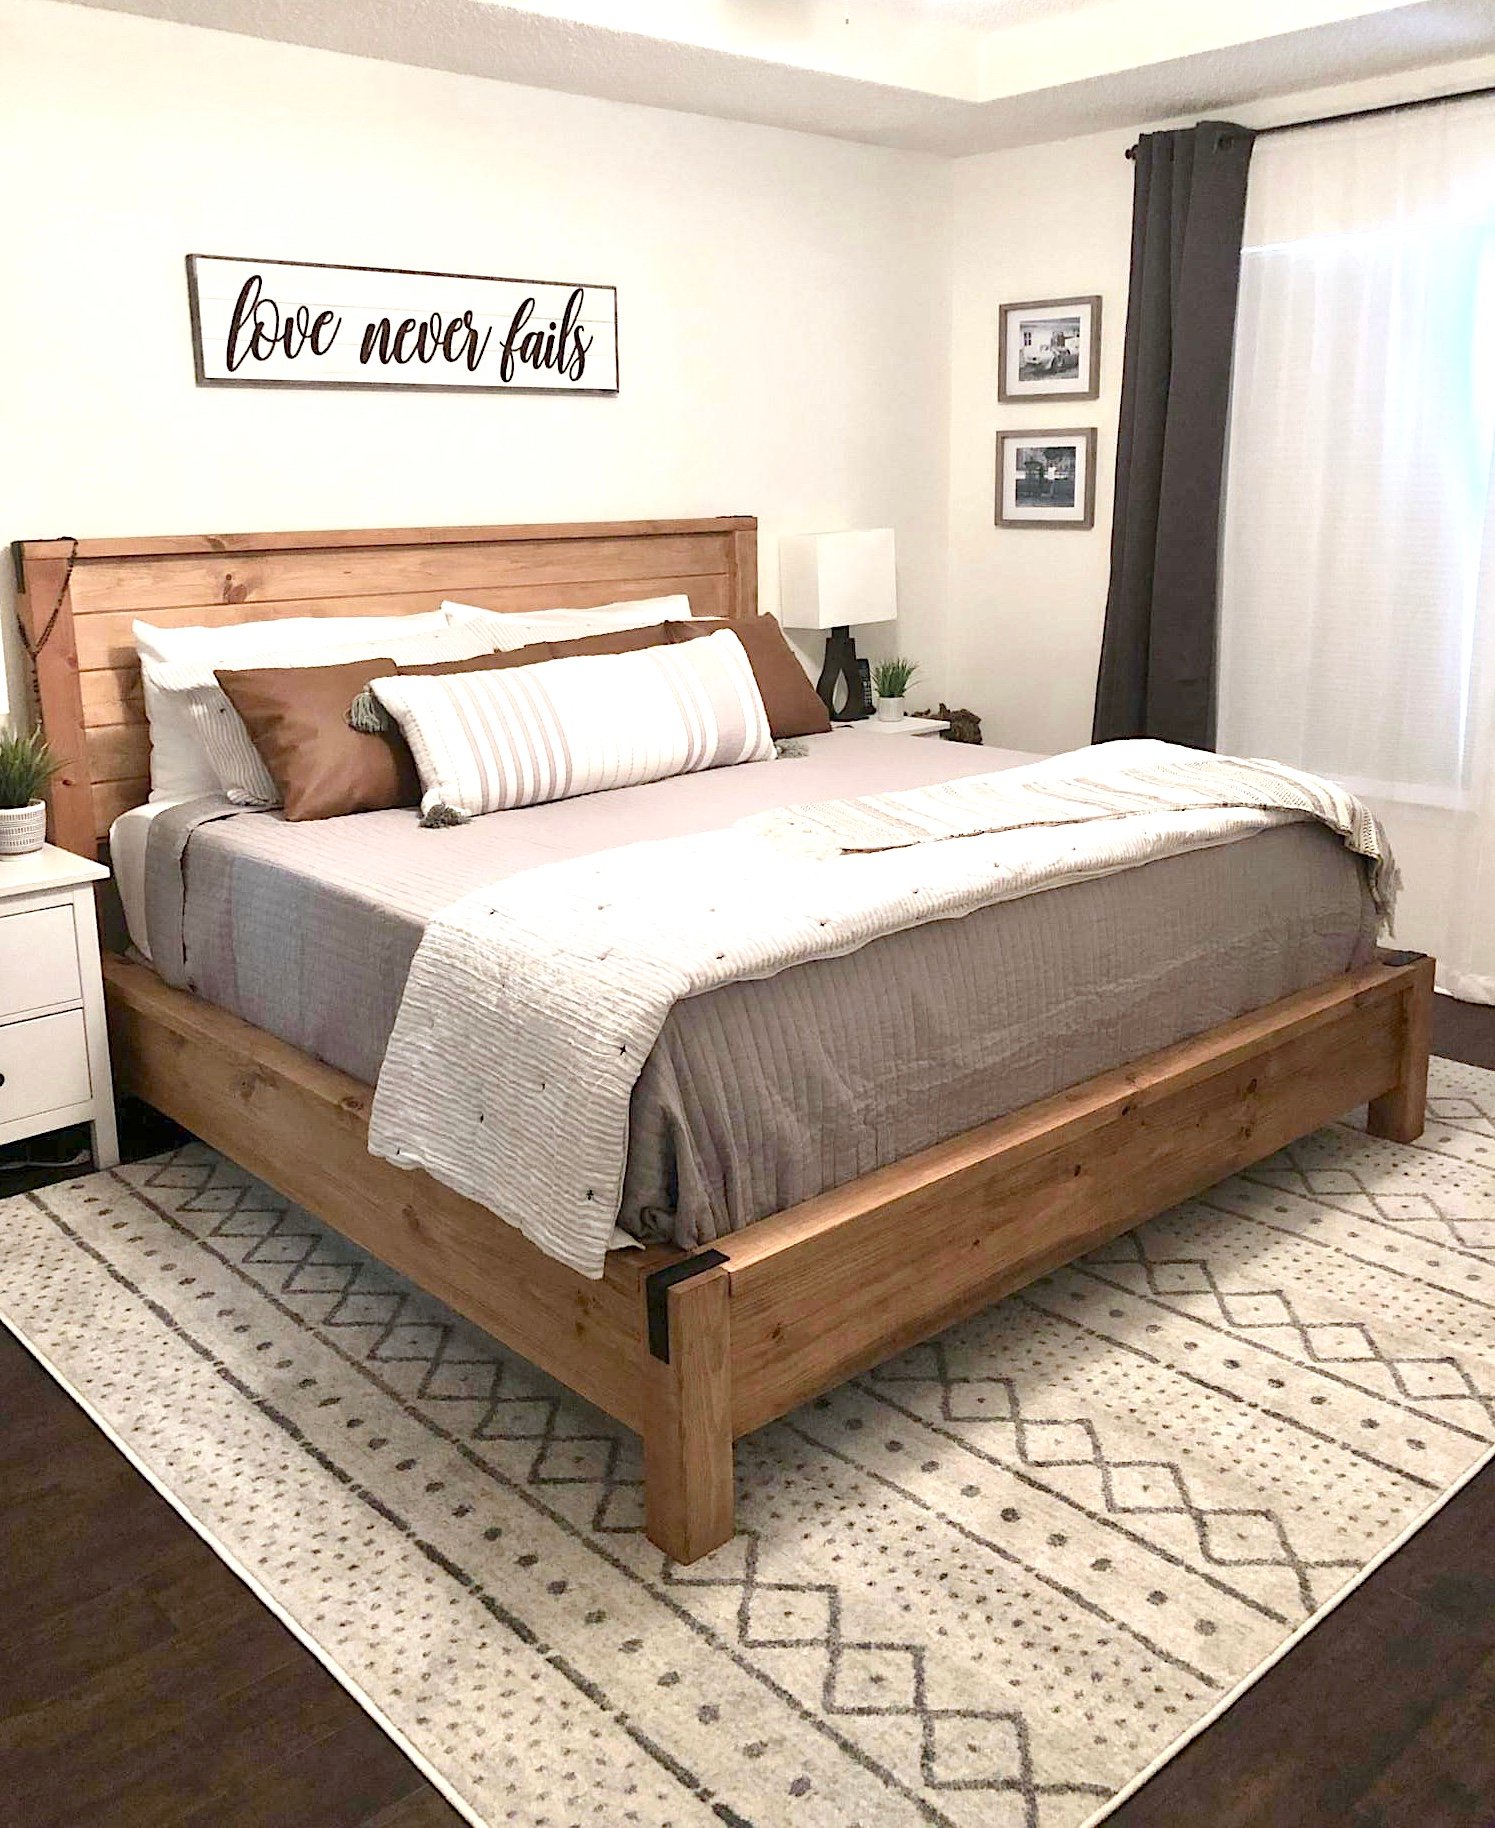
Made this bed from Ana's plans. Modified it with rail so I can add my box spring. Cost was approximately $160 for lumber, screws and stain. Absolutely loved the plans and easy to follow or modify if needed.
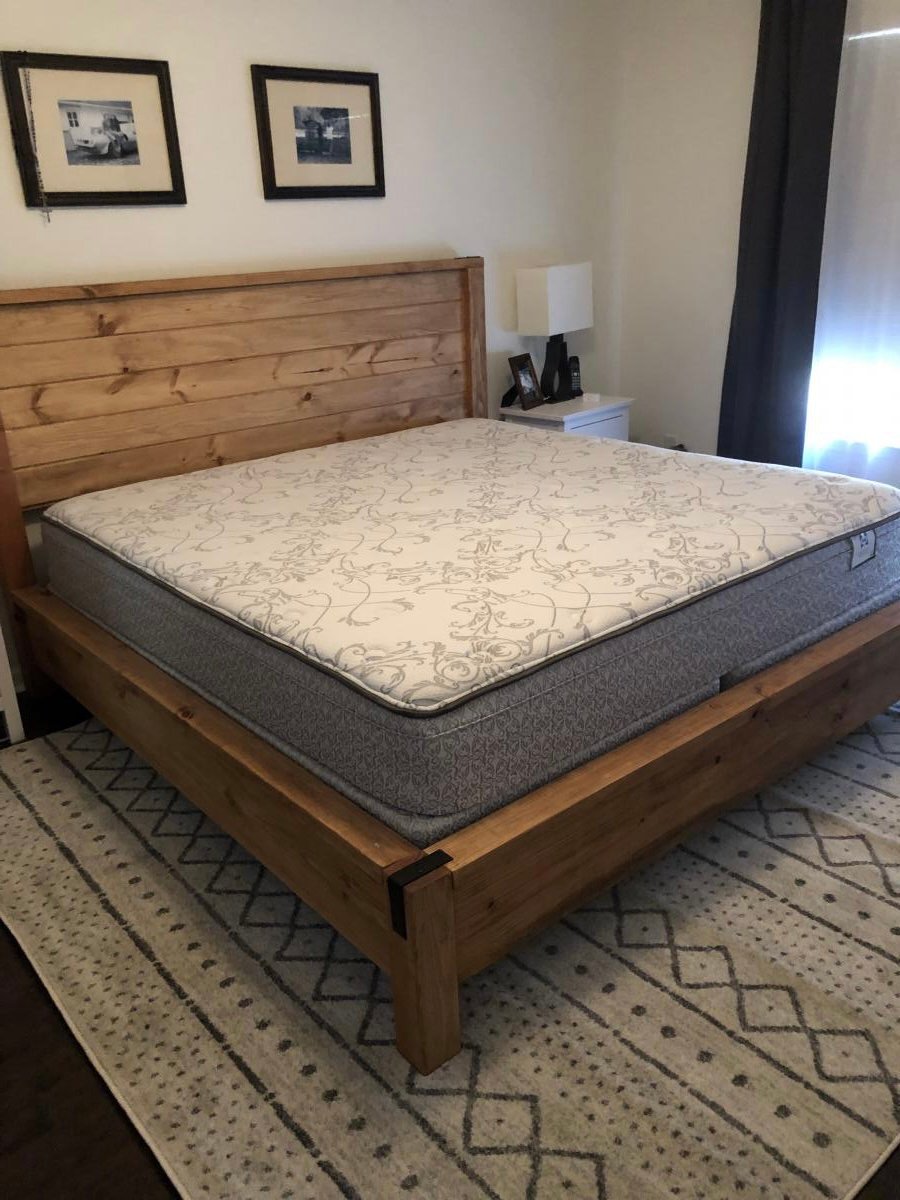
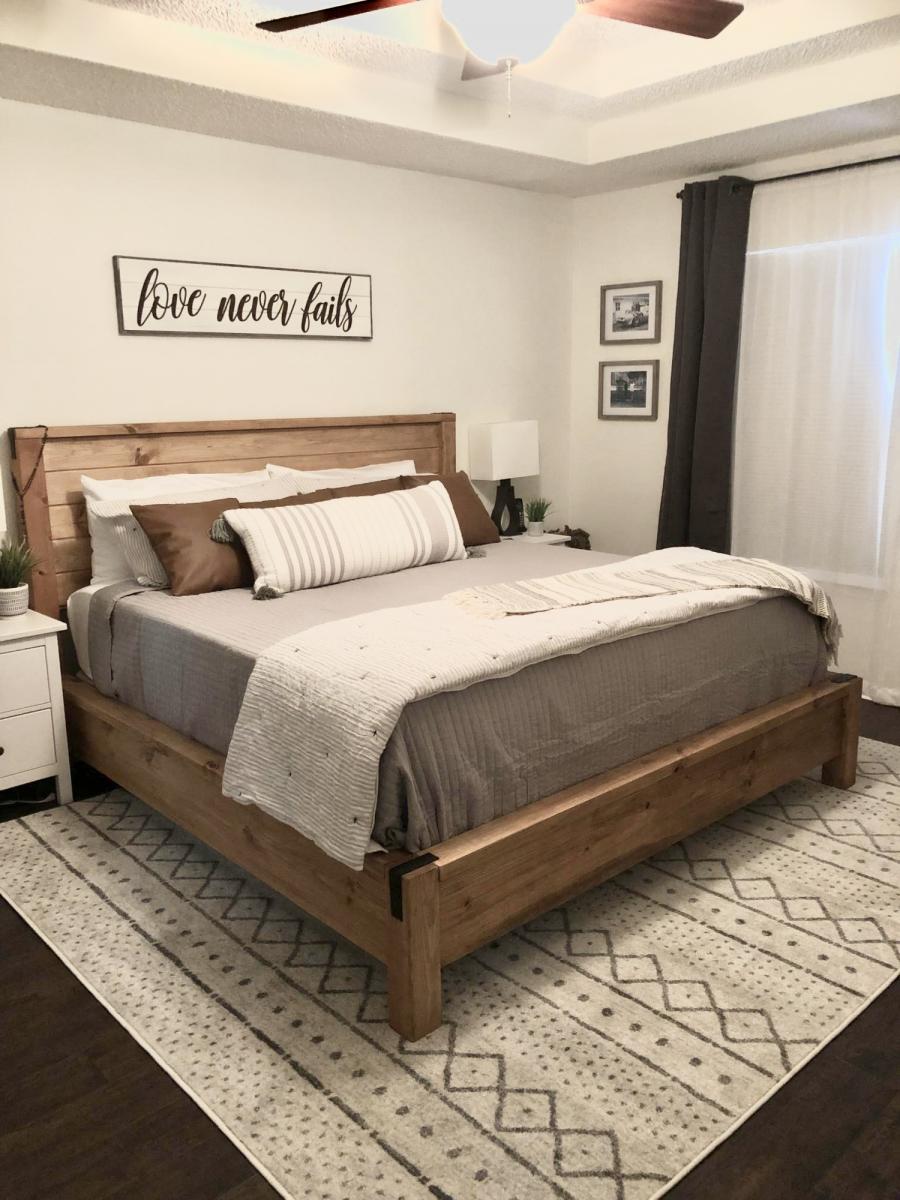
Tue, 02/23/2021 - 20:12
This is gorgeous! Is there anyway you could post your modifications? Very nice work!!!
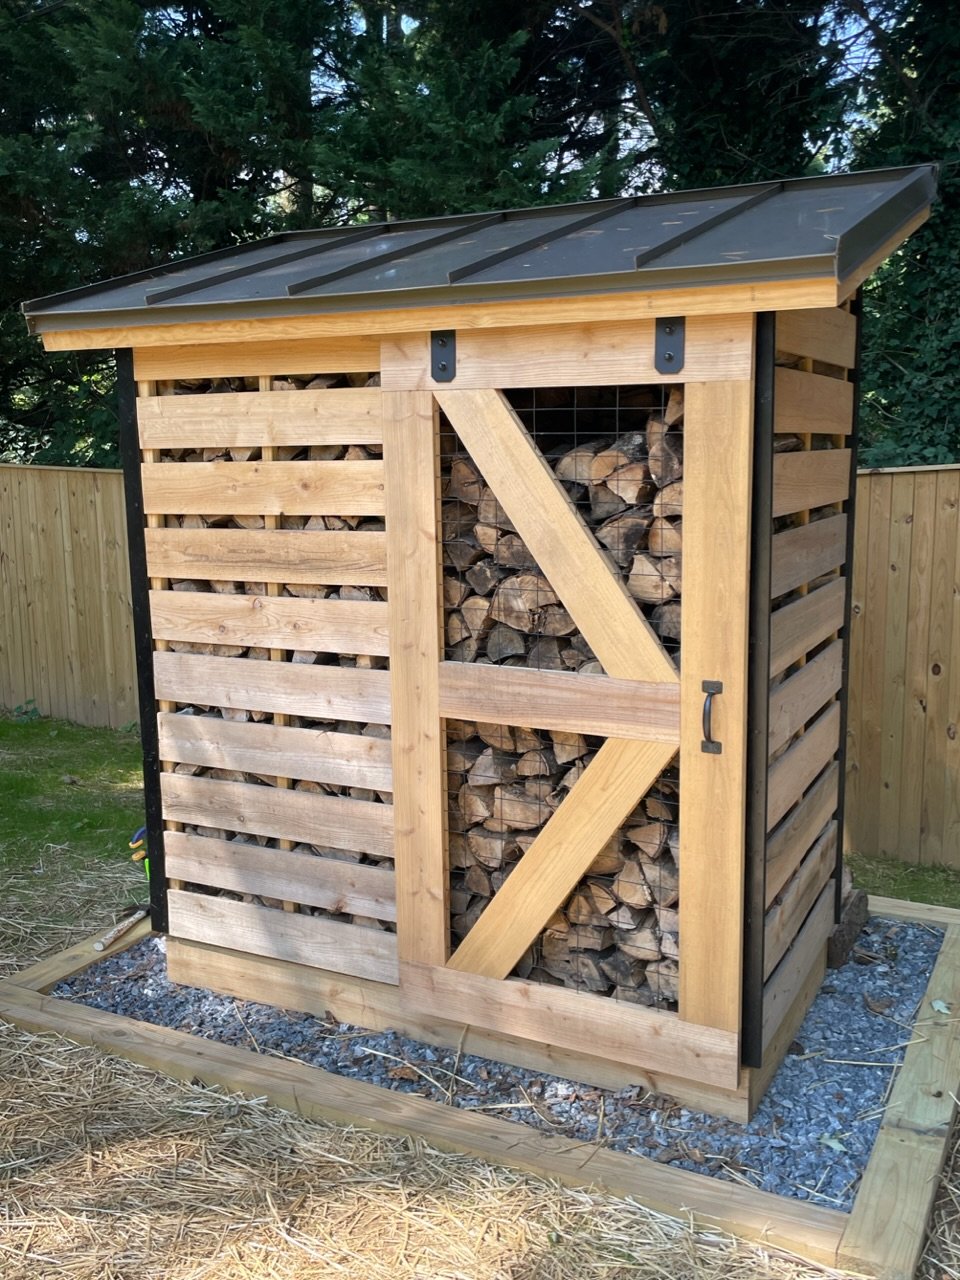
Spaced out the boards to allow airflow; did a sliding barn door and metal roof. Thanks for the plans!
Wed, 10/19/2022 - 08:23
This is totally awesome, way to think outside the box! Thanks for sharing.
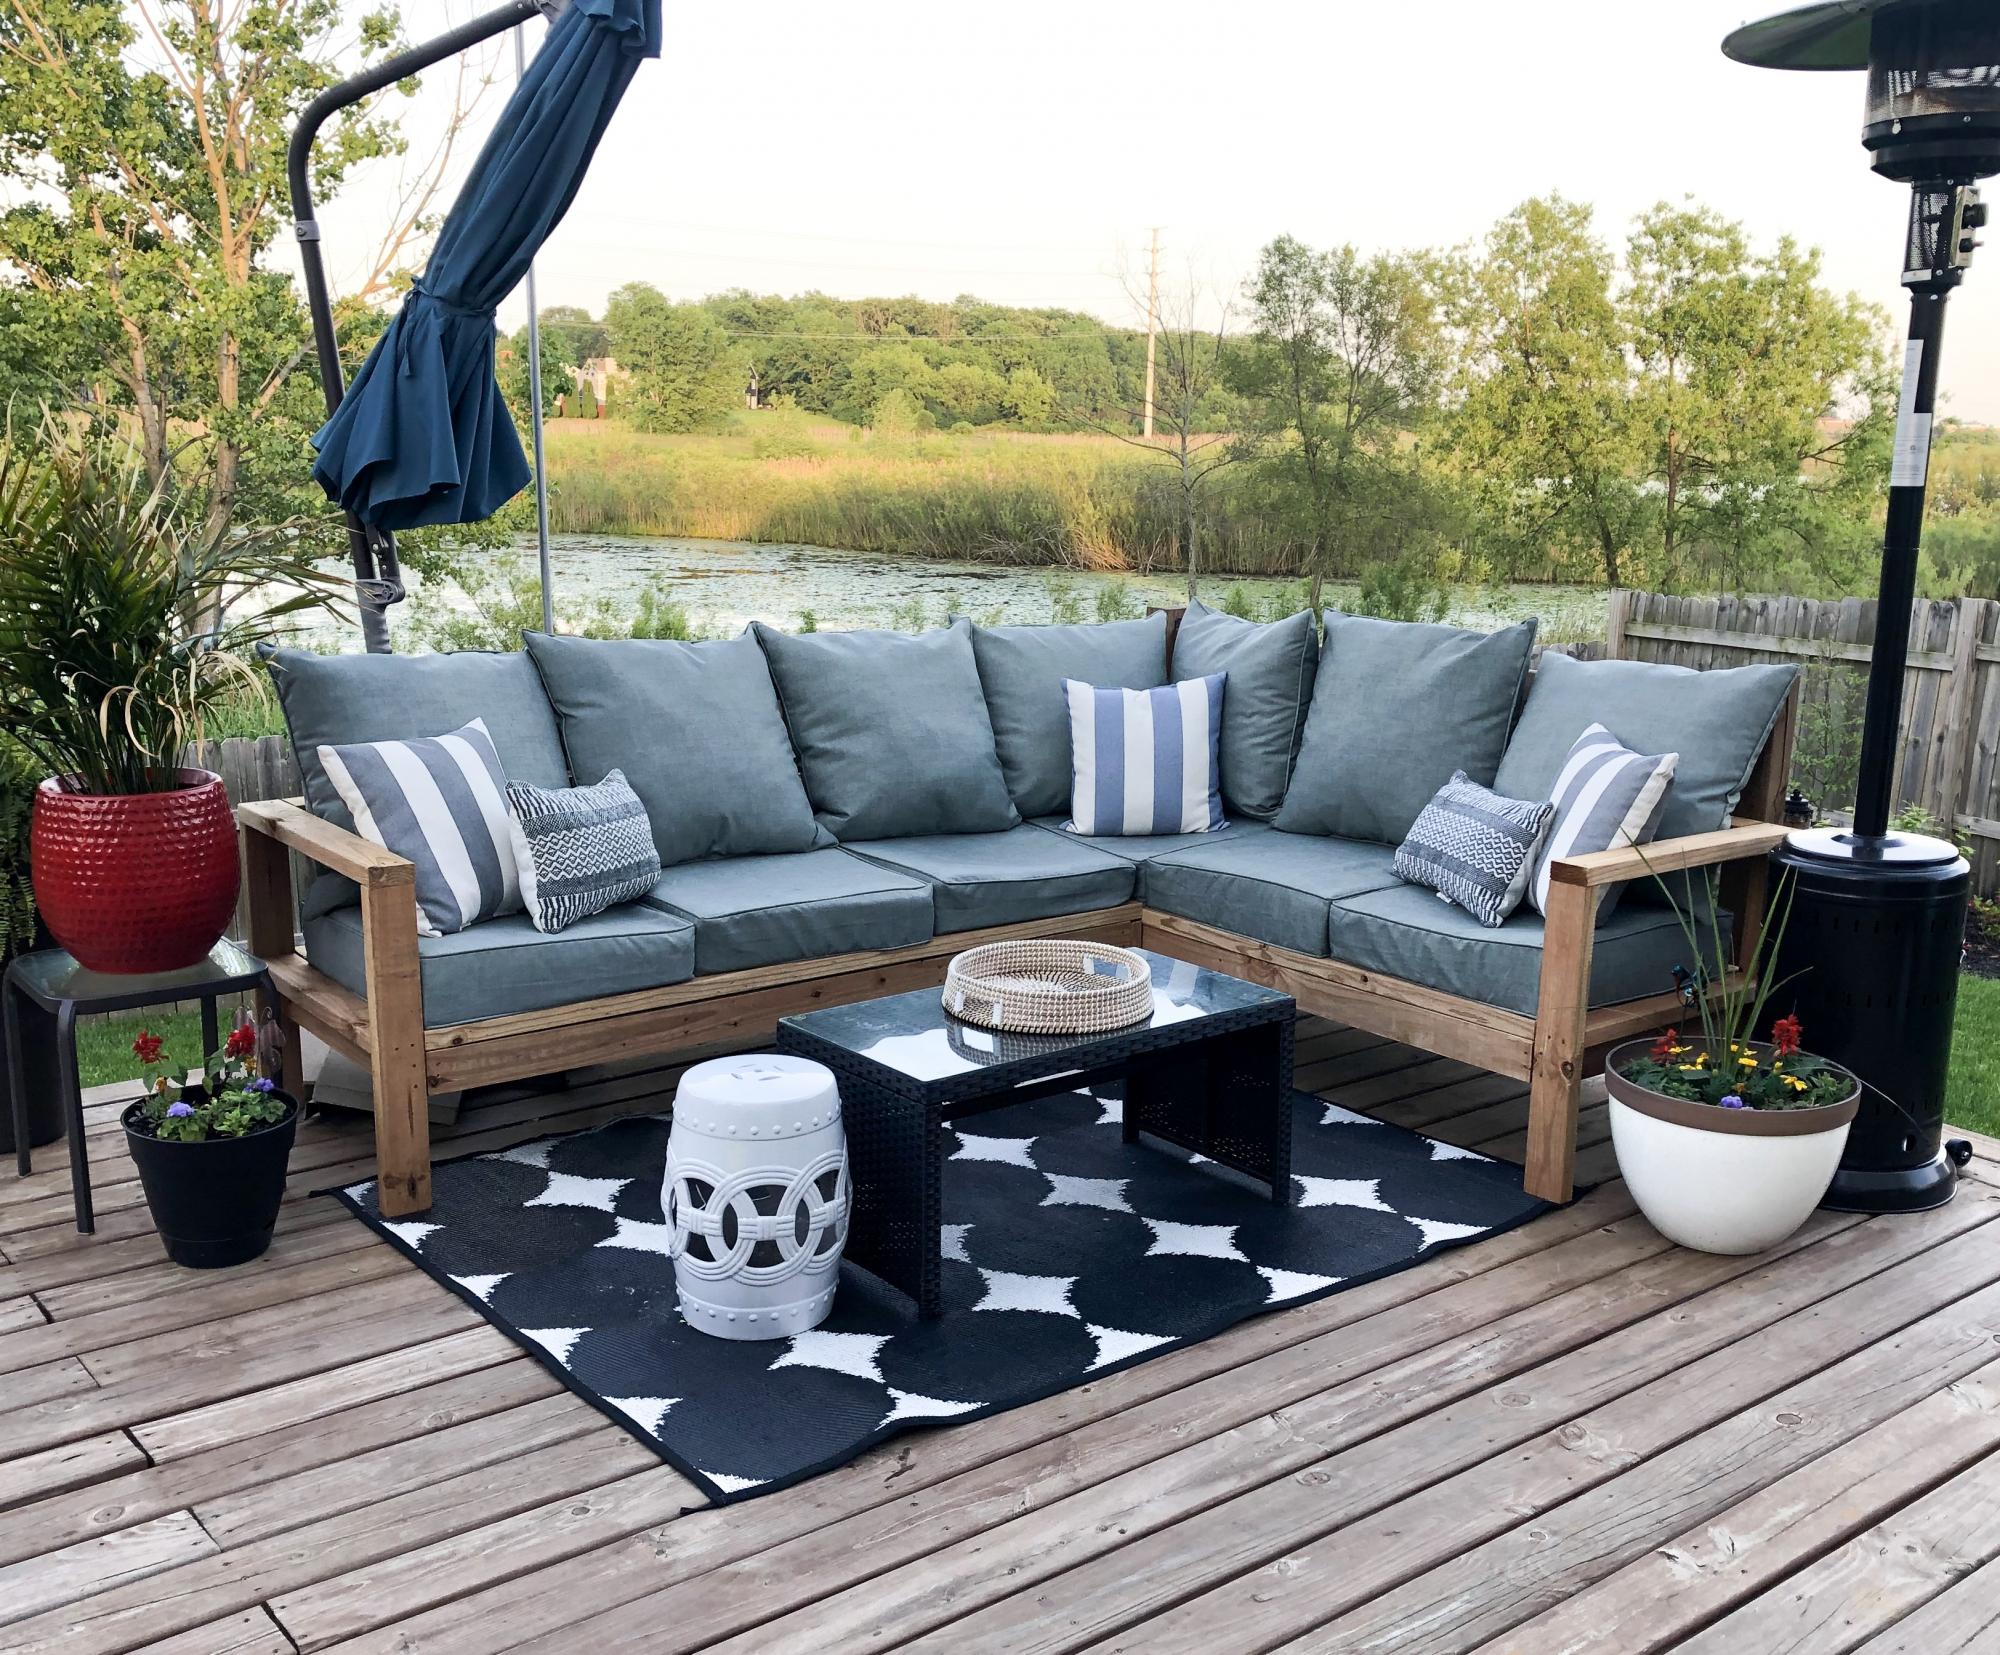
We built Ana’s outdoor sectional in a few hours and it’s made a huge impact on our deck! It saved us so much money but looks like a high end piece! Thank you for the simple and structured plans!
Fri, 06/07/2019 - 10:53
This is gorgeous! You really have an eye for putting different colors, textures and patterns together! Thank you so much for sharing a brag post.
I've needed a new fence for years but was intimidated by setting posts. I decided this year to hire someone to set the posts and then build the fence myself. Then I saw a brag post on here where the person used Oz-Posts. After researching it, I decided this was the way to go. It was simple and fast! We obviously need to cut the tops off the posts yet!
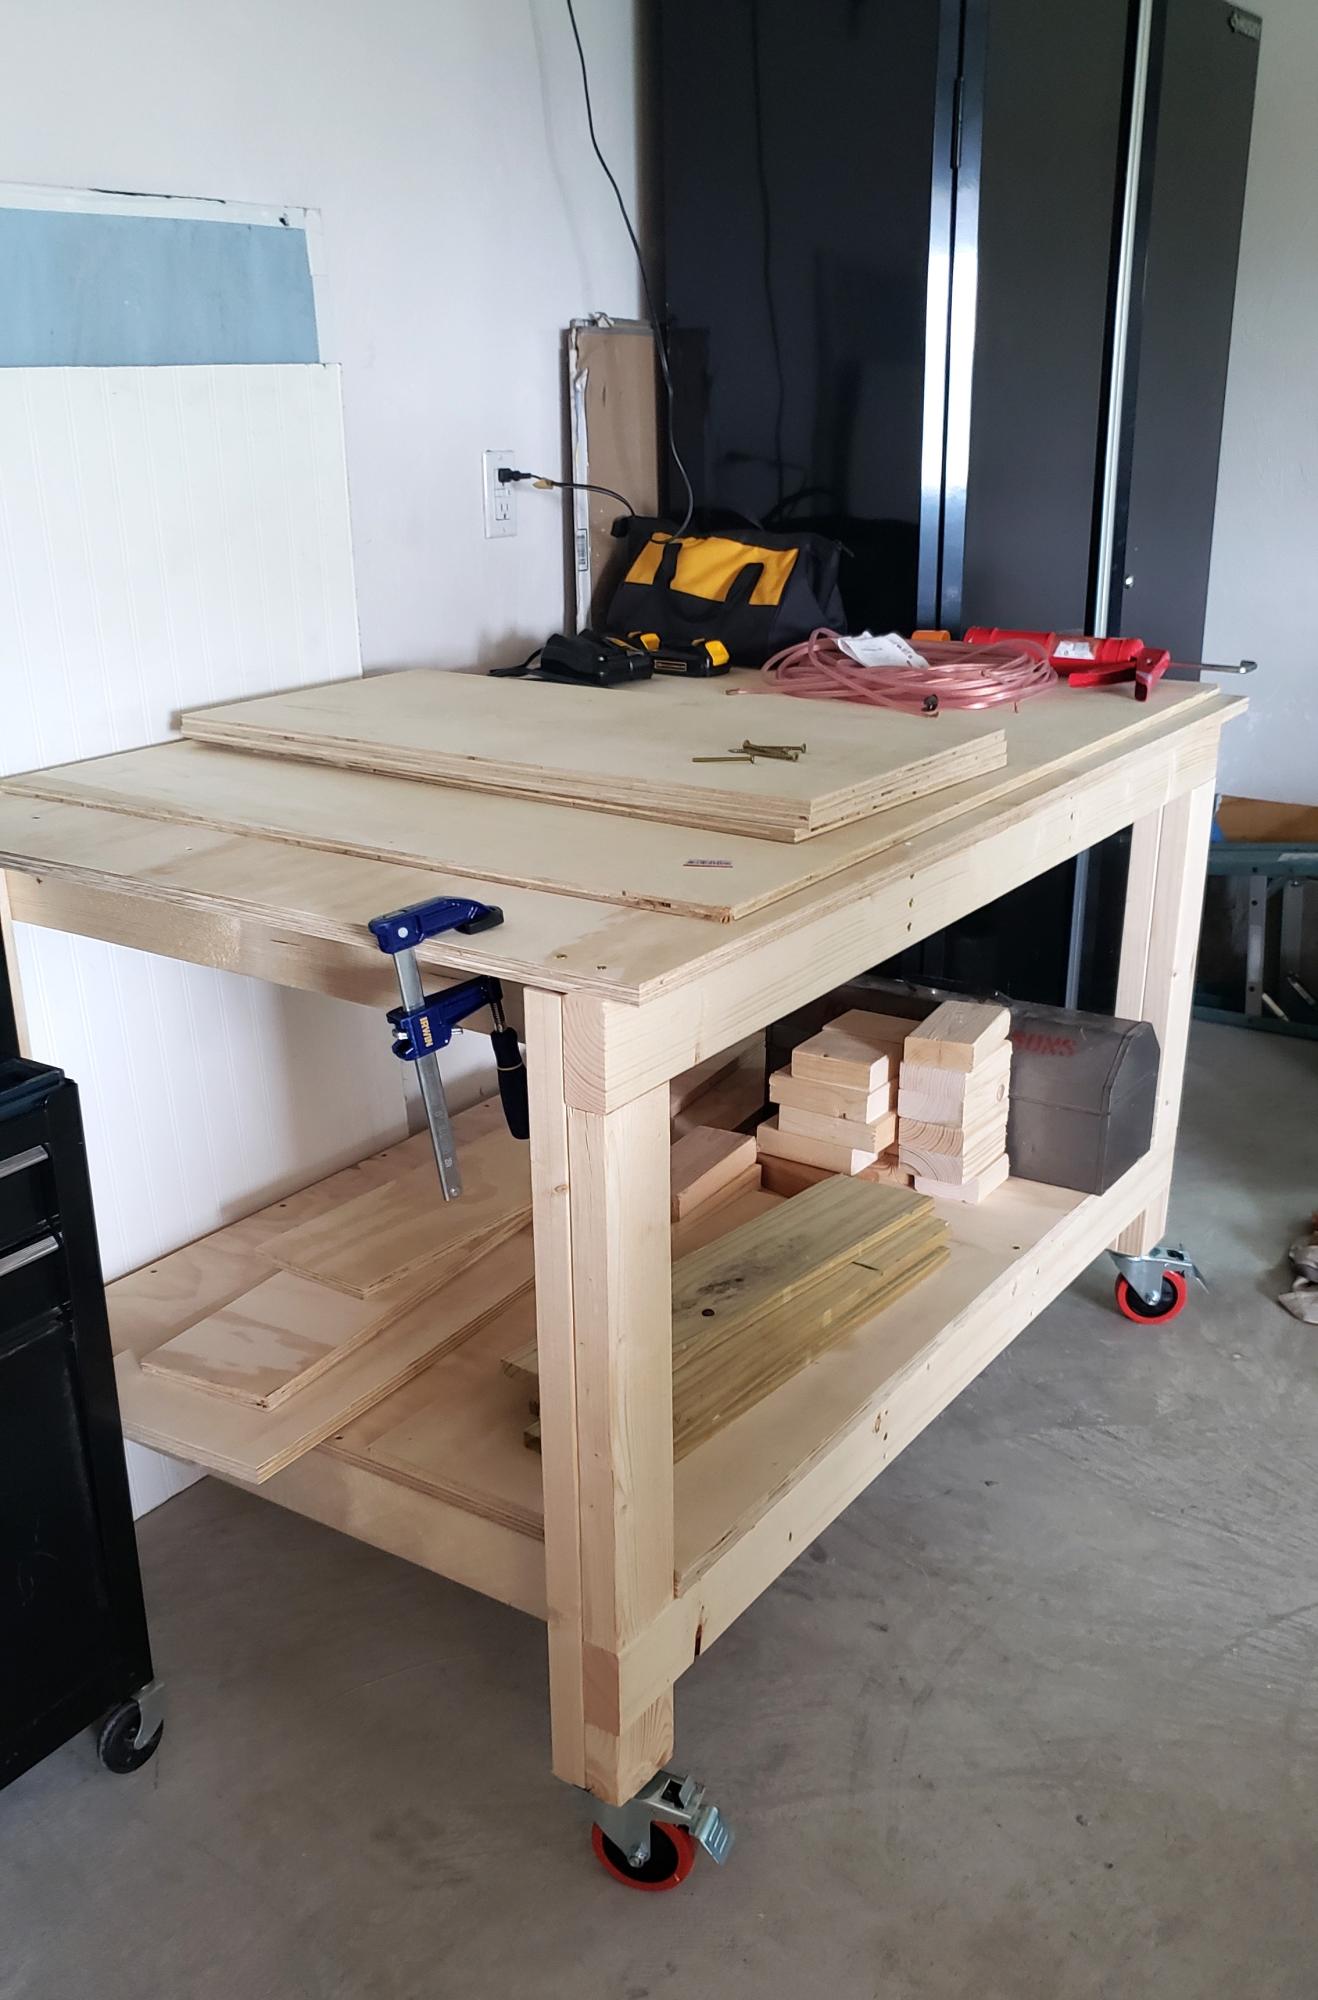
Easy to build workbench. I added an extra 2 1/2 inches (width) to the top plywood cut. This gave me a 1 1/4" lip to the front and back sides. I wanted to be able to clamp on all sides of the bench. Also added casters since I wanted to use this as an outdoor table for entertaining if needed and to simply have mobility with the bench. So far I love it!
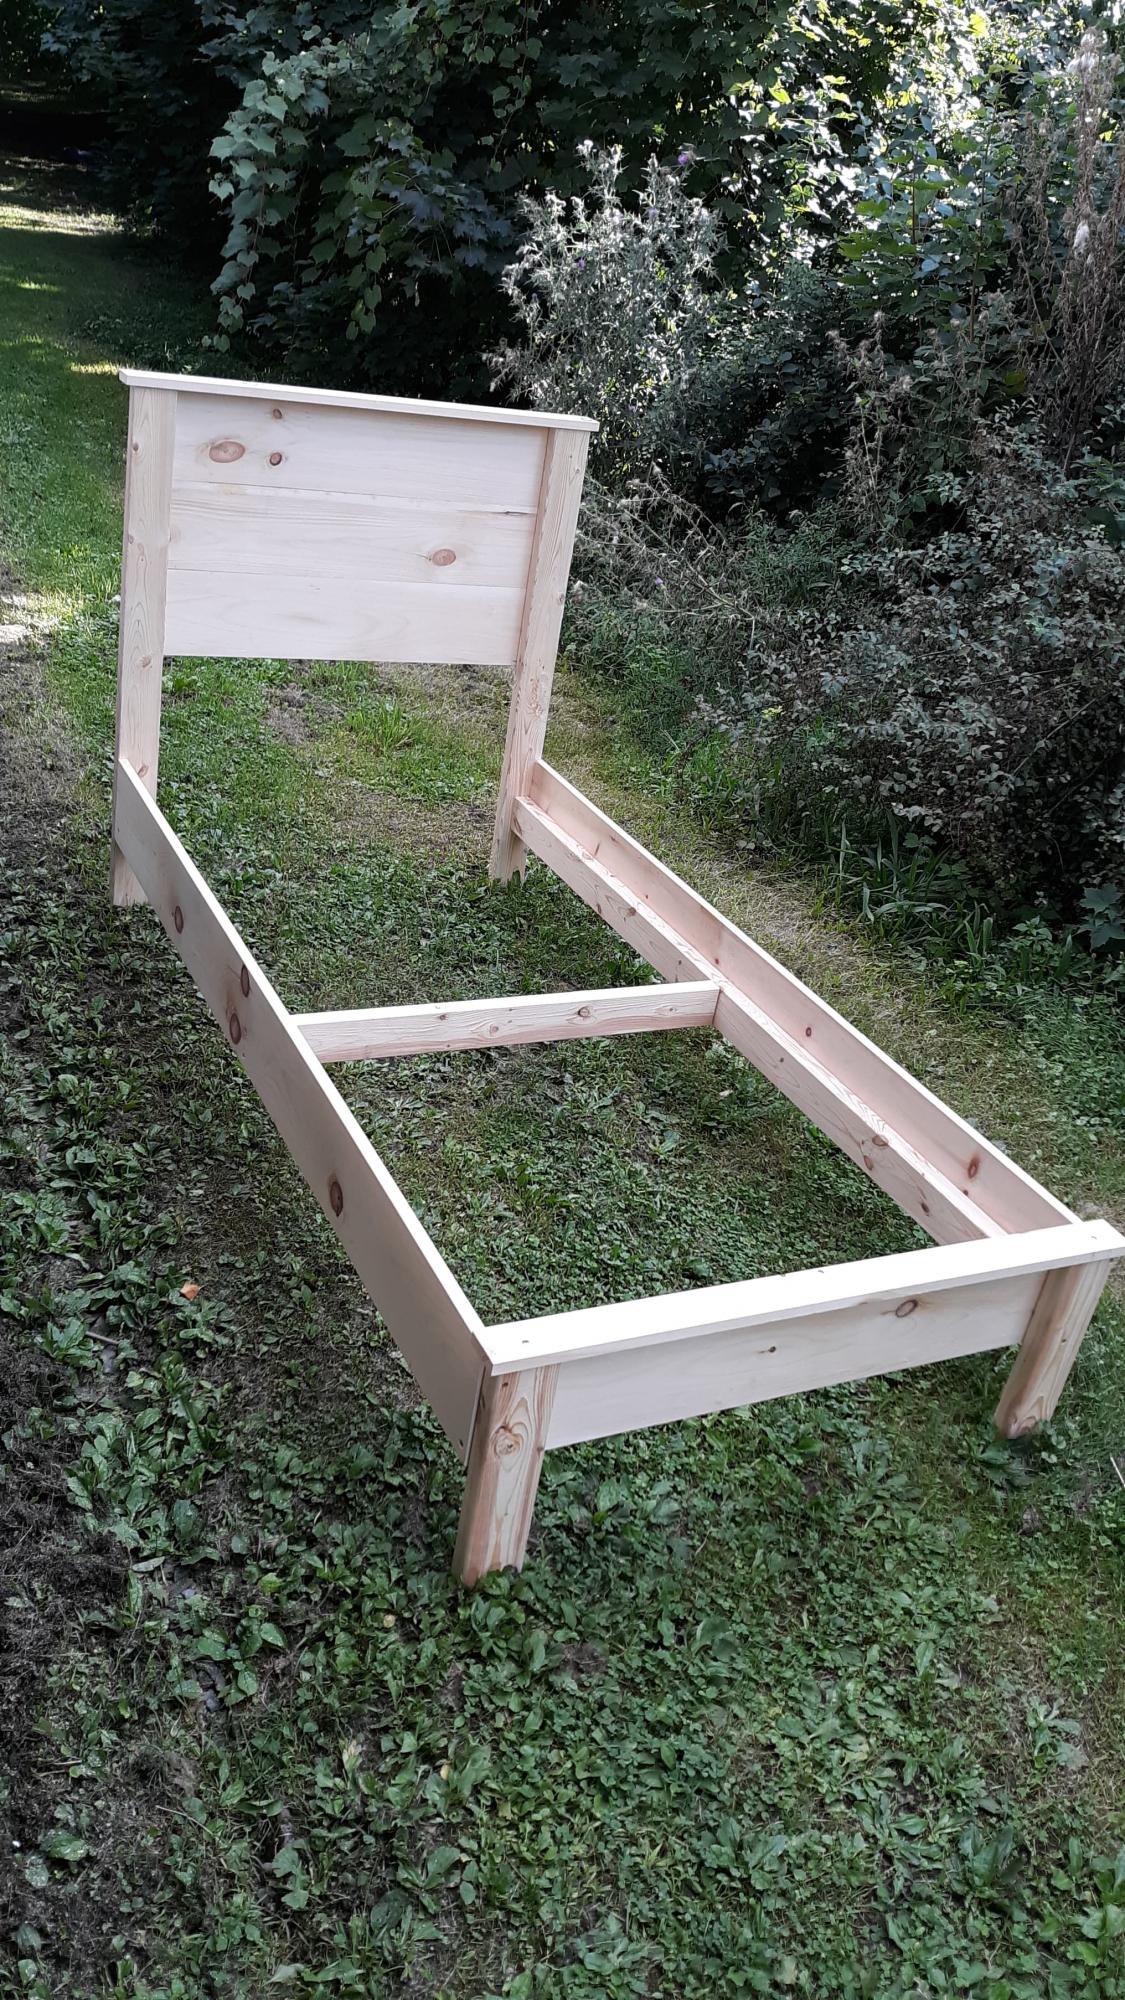
My daughter has a twin XL bed, which we had been unable to find a frame for since getting it. After 2 years of her mattress and box springs on the floor, this plan came out and a plan was hatched to get it made. The biggest change we needed to do different from the twin plans was to make the side rails and the side rail cleats 5" longer to accommodate the XL length. We also added a middle support to keep the side from bowing out, and the cleats are at the bottom of the siderails, as we are using a boxpsring and mattress.
Mon, 03/28/2022 - 09:47
Hi do you have the measurements and what to buy for this bed frame? We also have a twin xl mattess and cannot find a frame anywhere
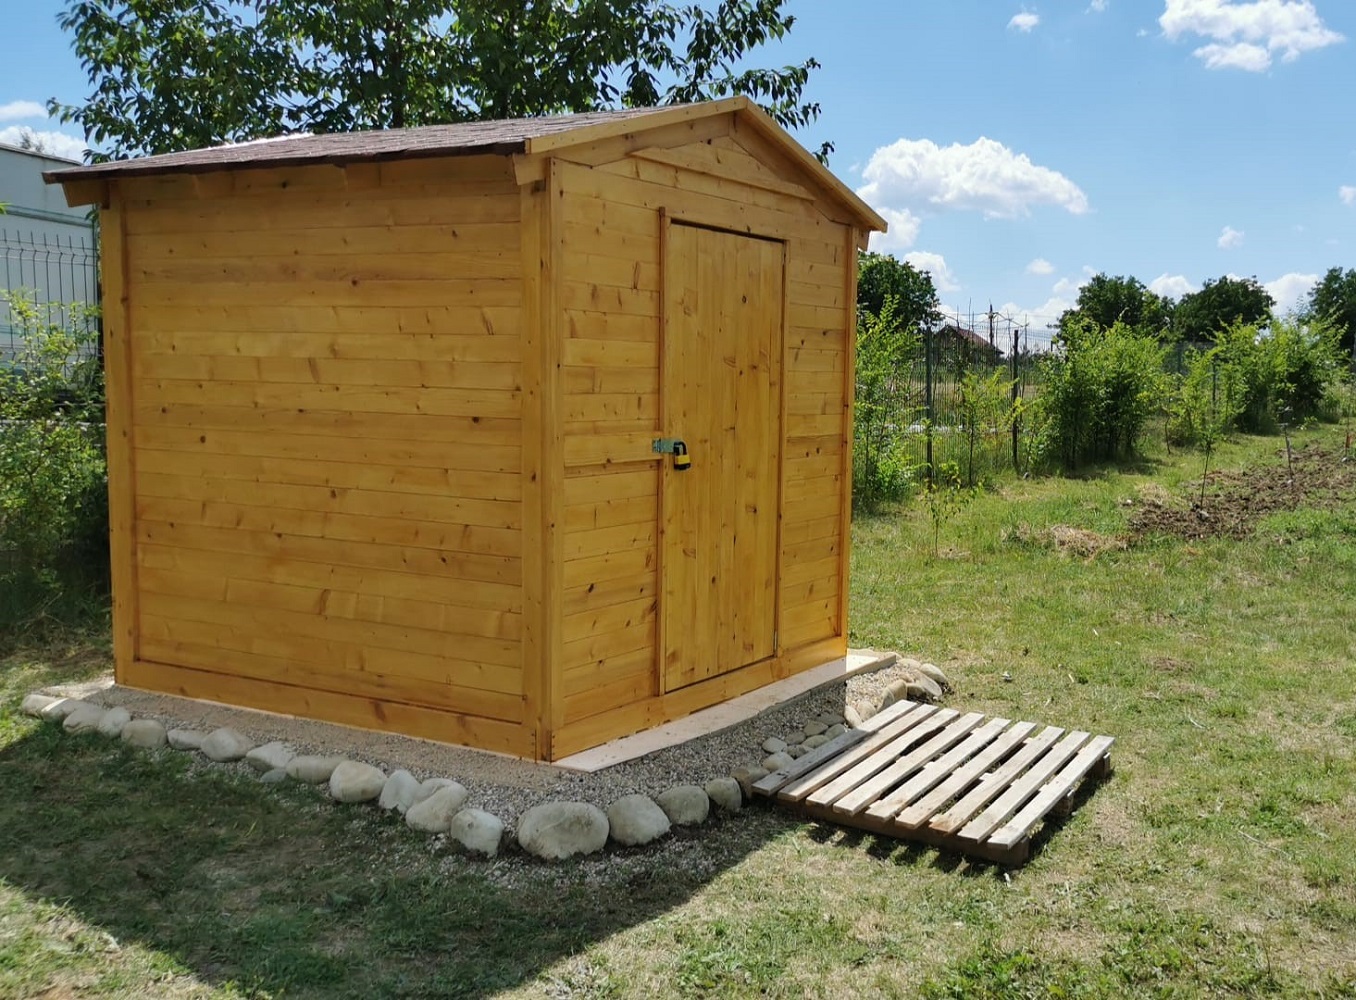
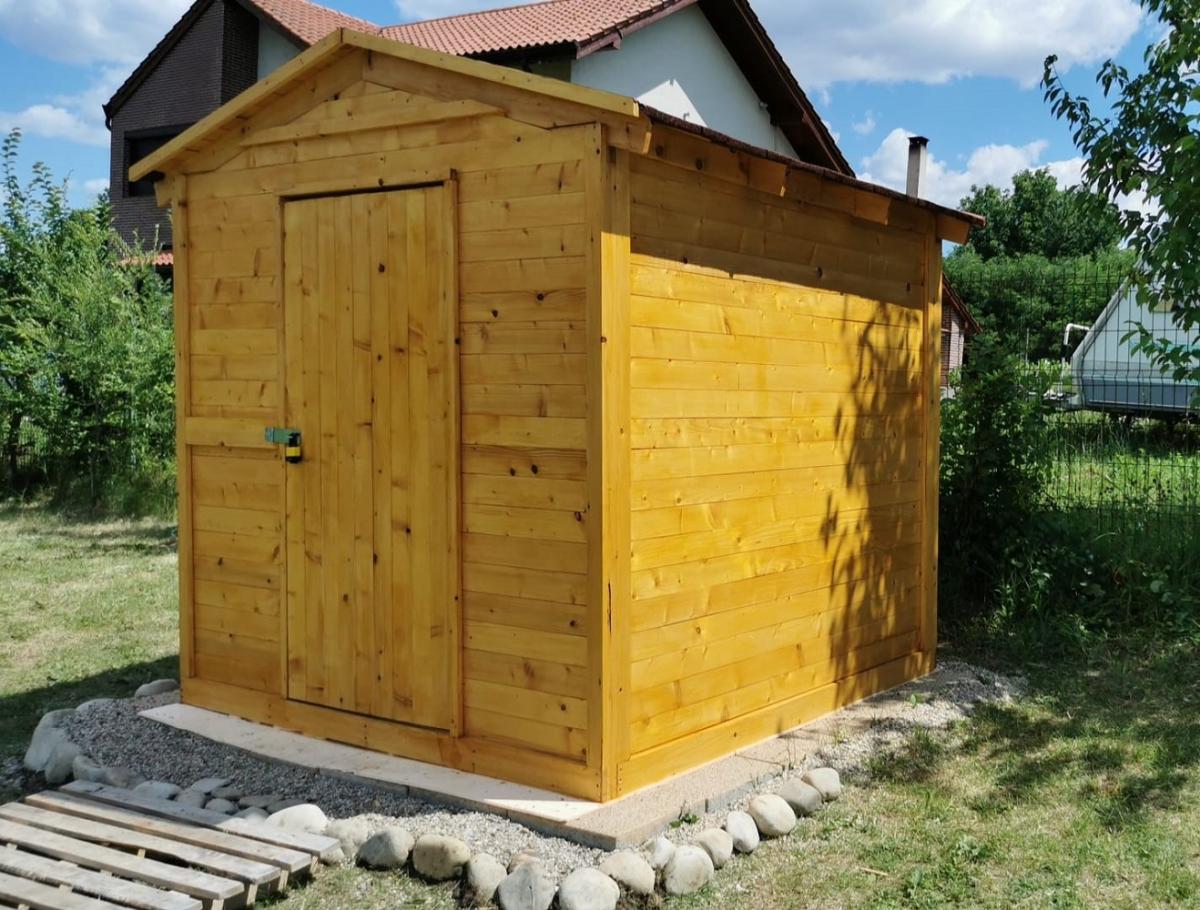
Our last project was building a tiny garden tools storage shed. We used only 1 x 4 boards. We don't have any plans, but you can watch the entire building process on our YouTube channel. We are very proud of the way the project turned out.
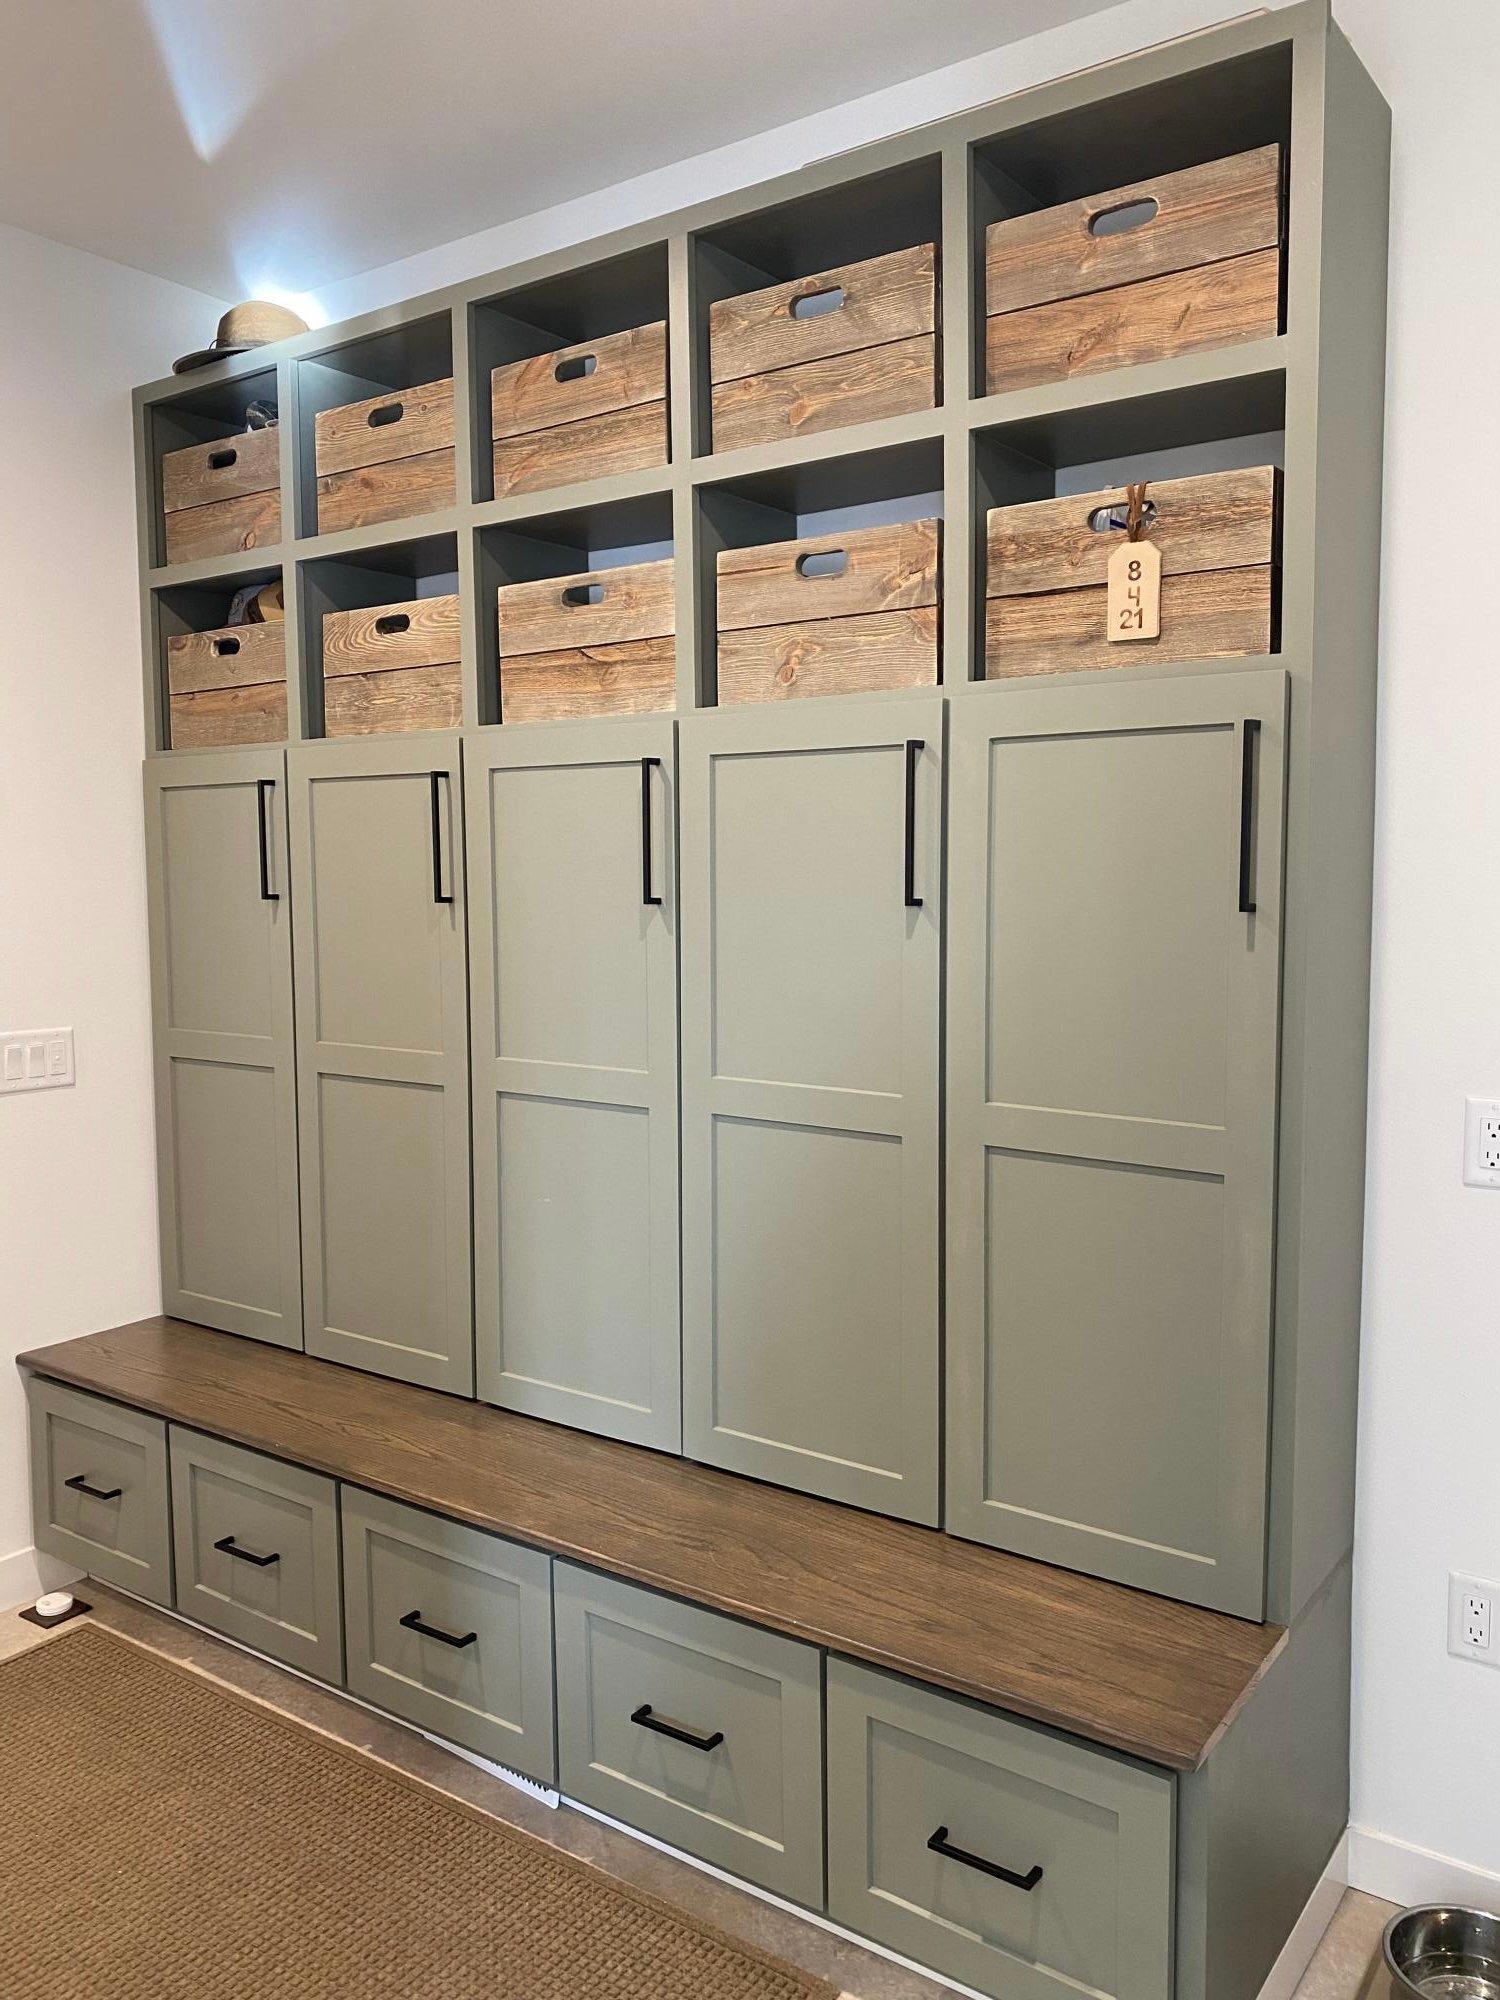
Thanks to Ana White we learned how to make these cubbies. The wood for the stained bench is from trees milled from my husband’s family farm.