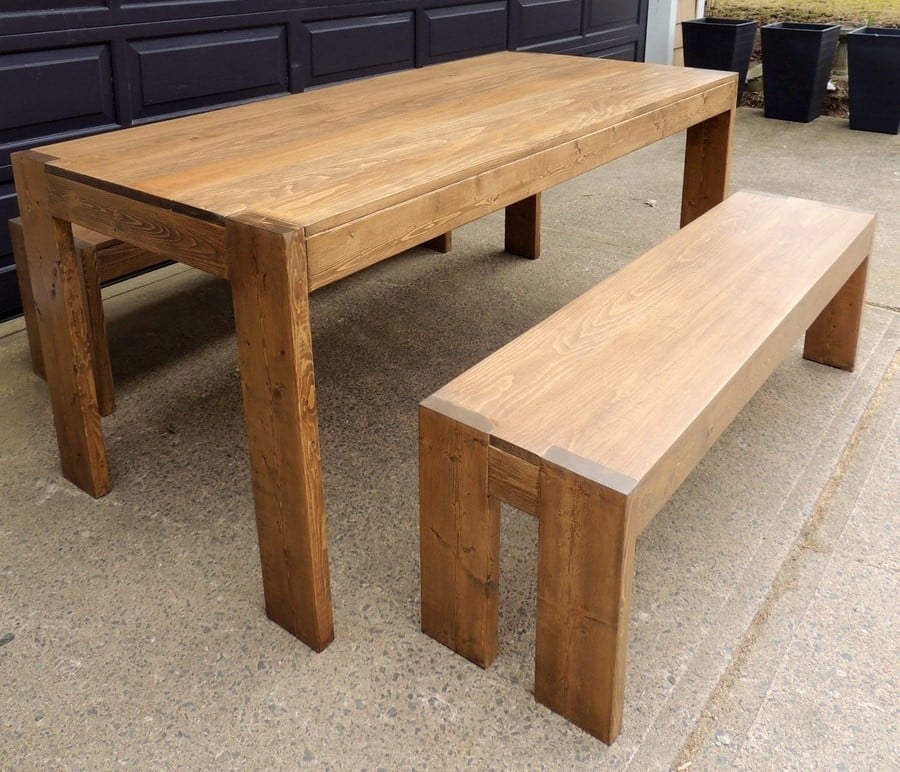
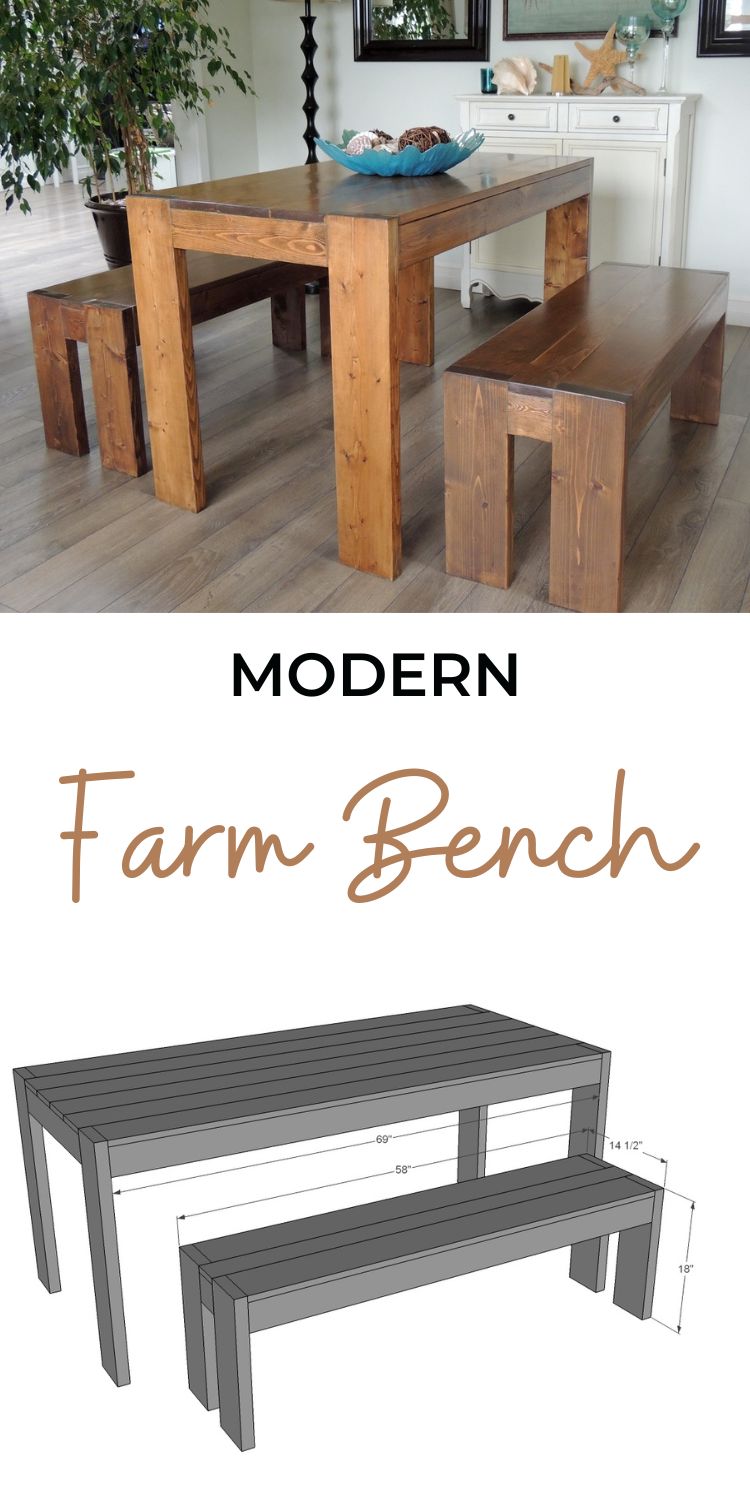
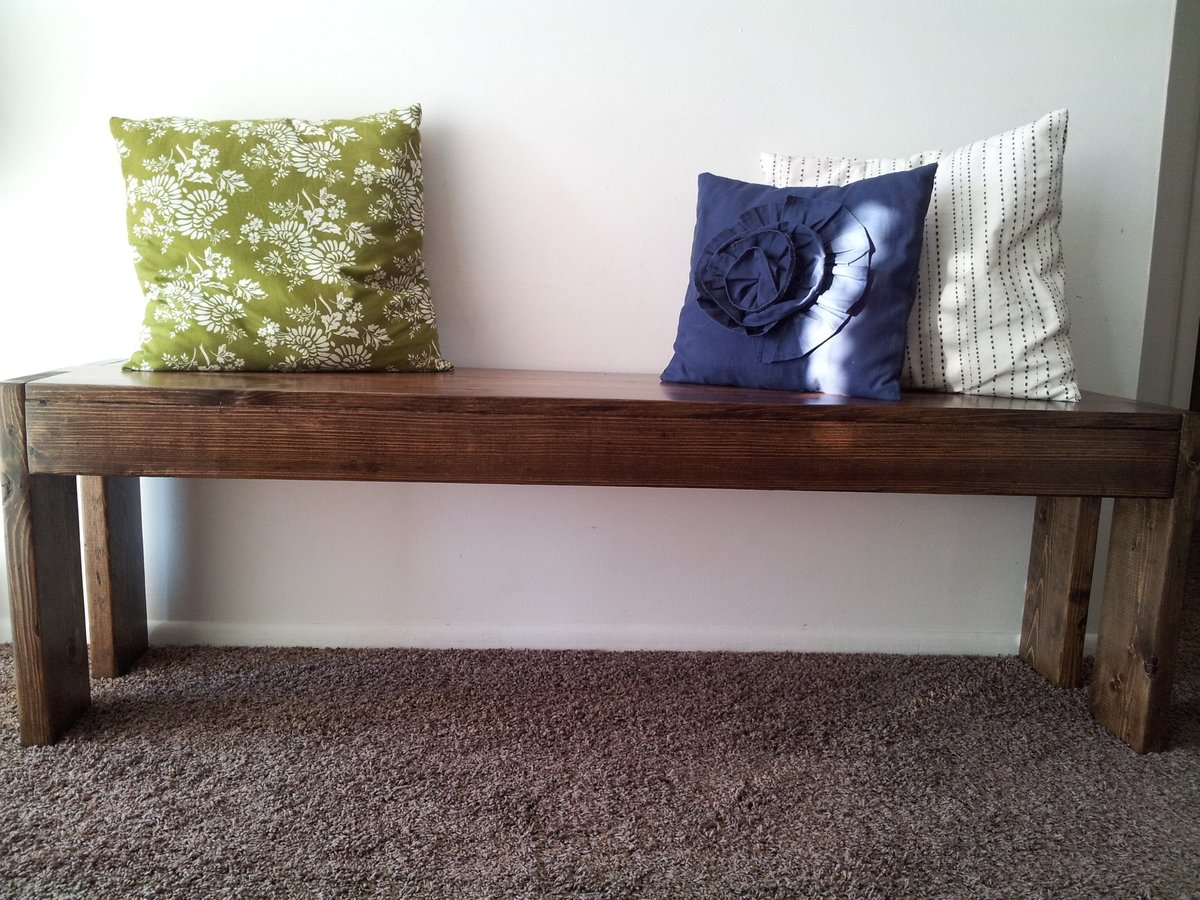
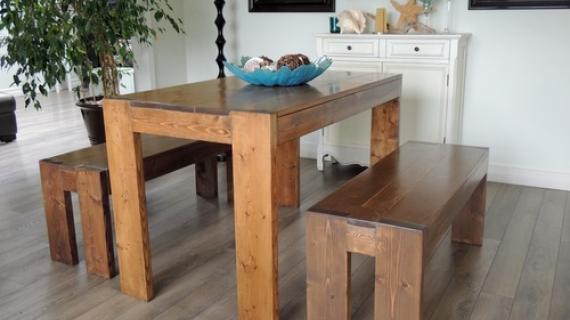
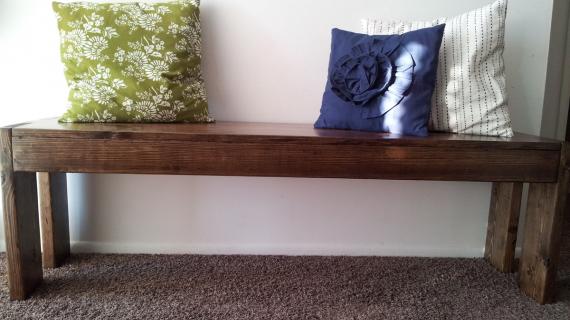
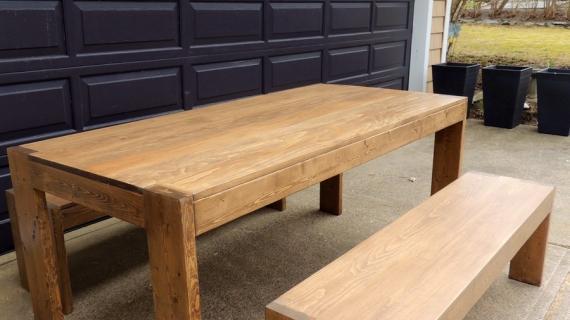
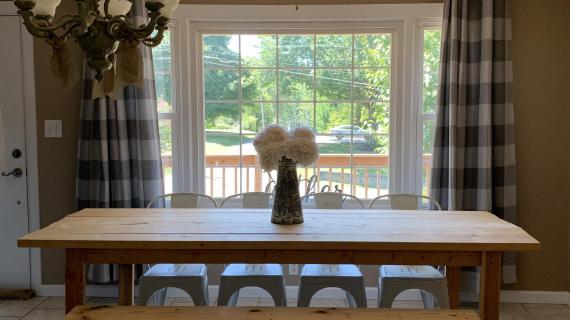
Chunky legs make this diy dining table bench a modern marvel. Free step by step plans to build yourself using lumber, includes diagrams, lots of photos and detailed shopping and cut lists - all for free from Ana-White.com.
Related: Modern Farm Table Plans
Pin For Later!
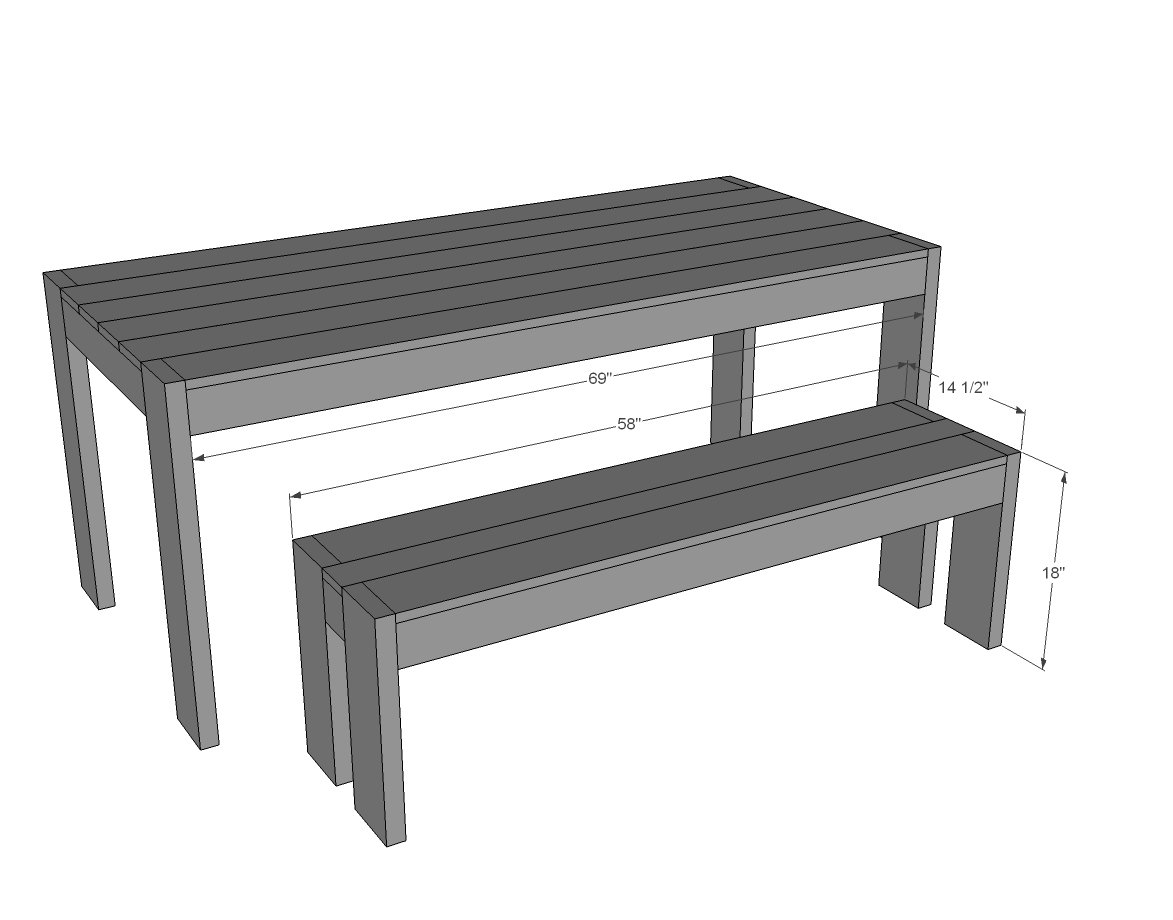
Preparation
- 1- 1x6 @ 10 feet long
- 1 - 1x4 @ 5 feet long
- 2 - 2x4 @ 8 feet long
- 1 - 2x6 @ 8 feet long (or stud length)
- 1-1/4" and 2-1/2" pocket hole screws
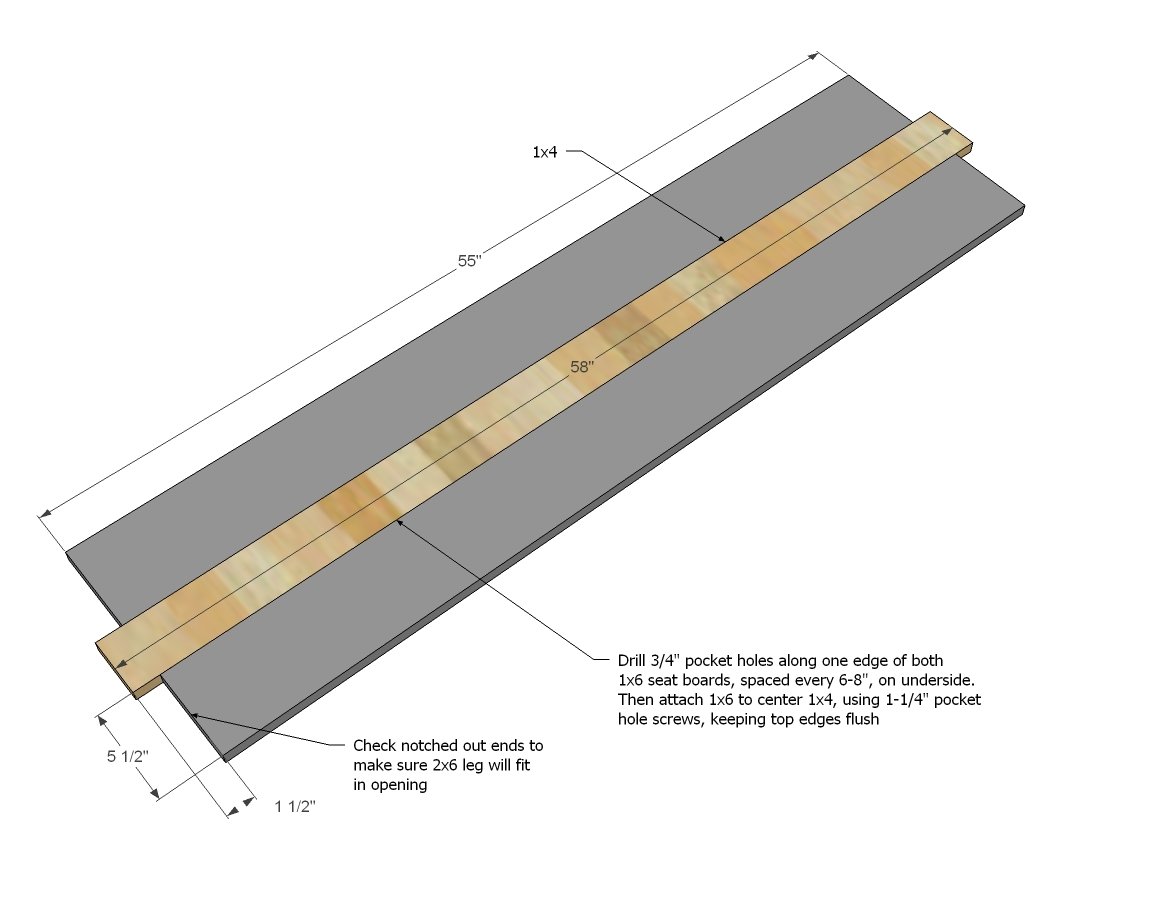
- 2 - 1x6 @ 55"
- 1 - 1x4 @ 58"
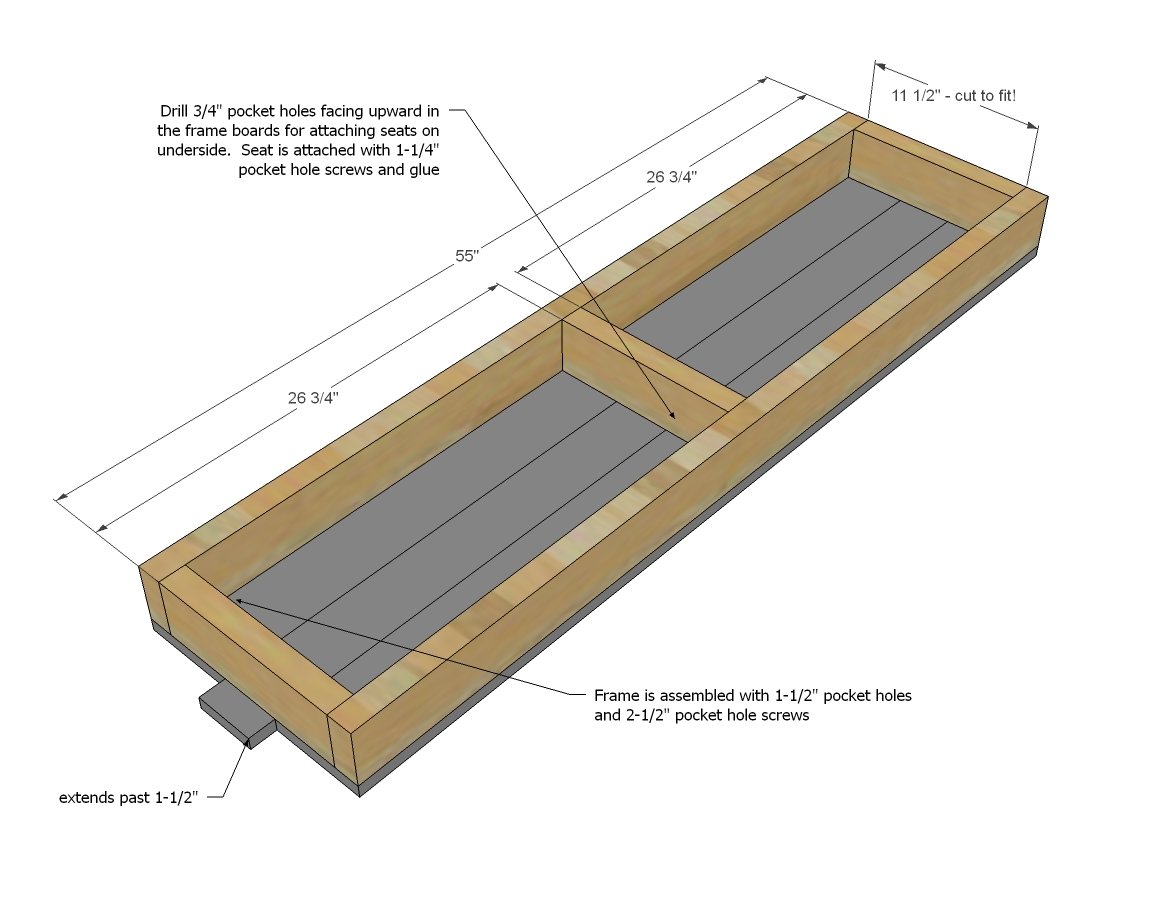
- 2 - 2x4 @ 55" long
- 3 - 2x4 @ 11 1/2" long - recommend cutting to fit!
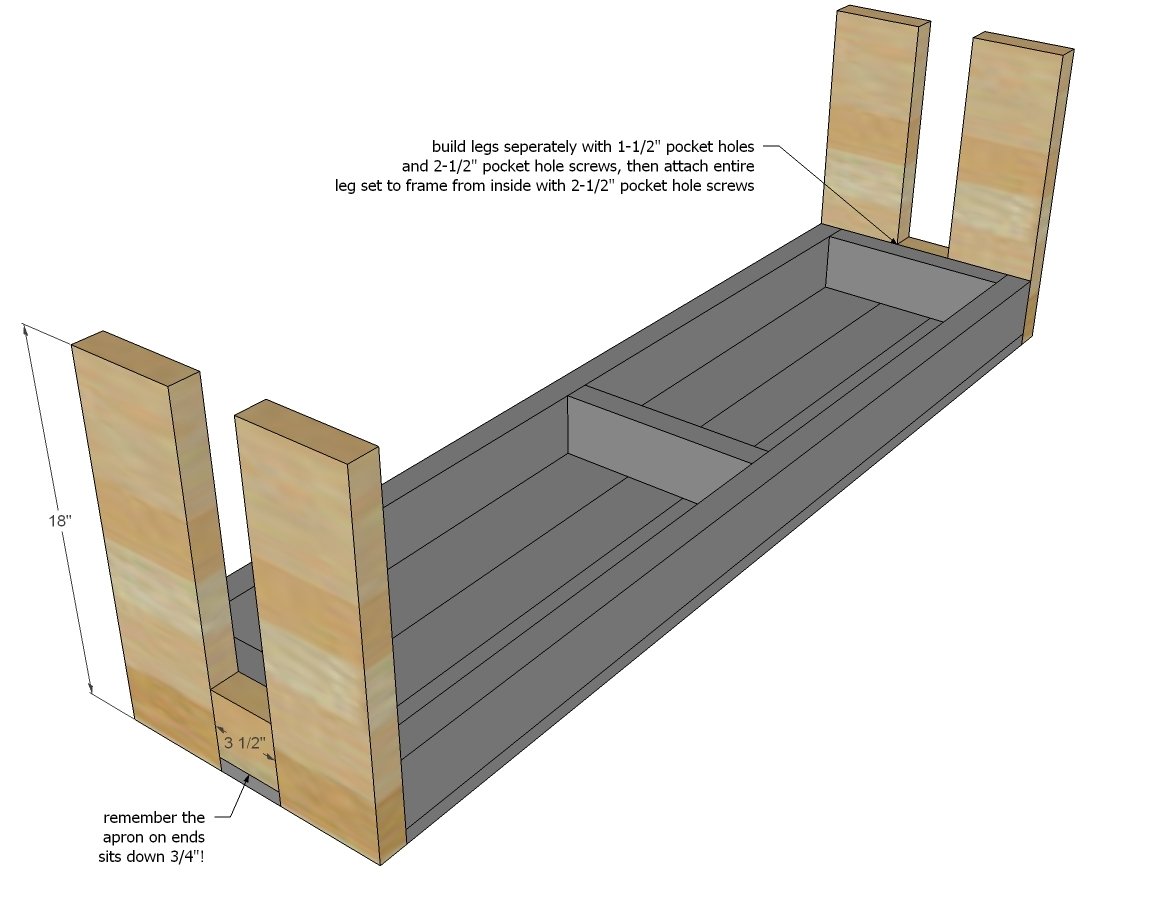
- 4 - 2x6 @ 18" long
- 2 - 2x4 @ 3 1/2" long - recommend cutting to fit!!!
Please read through the entire plan and all comments before beginning this project. It is also advisable to review the Getting Started Section. Take all necessary precautions to build safely and smartly. Work on a clean level surface, free of imperfections or debris. Always use straight boards. Check for square after each step. Always predrill holes before attaching with screws. Use glue with finish nails for a stronger hold. Wipe excess glue off bare wood for stained projects, as dried glue will not take stain. Be safe, have fun, and ask for help if you need it. Good luck!
Instructions
Step 1
Step 2
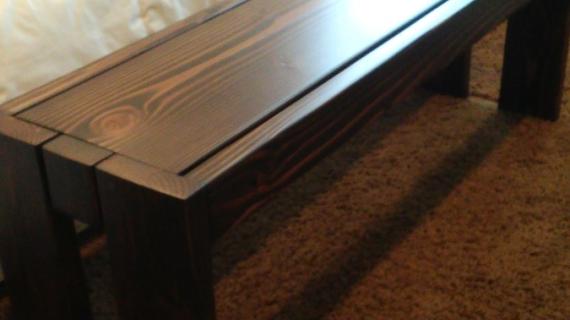
First, drill 3/4" pocket holes facing upward in all of the frame boards for attaching the seat top. Then assemble the frame with 1-1/2" pocket holes and 2-1/2" pocket hole screws, making sure those first 3/4" pocket holes are all hidden in the inside, and facing upward. Then attach the seat top with 1-1/4" pocket hole screws, edges flush to top, with exception of the center 1x4 board overextending.
It is always recommended to apply a test coat on a hidden area or scrap piece to ensure color evenness and adhesion. Use primer or wood conditioner as needed.





Comments
sabull01
Thu, 07/10/2014 - 07:18
*
*