So why did I decide to build my own bed?
1. Cal King Frames are hard to come by in Canada and if purchased from a store, they cost an arm and a leg. Also I wanted a new mattress made of solid latex - very spendy - so our budget was already maxed out from that.
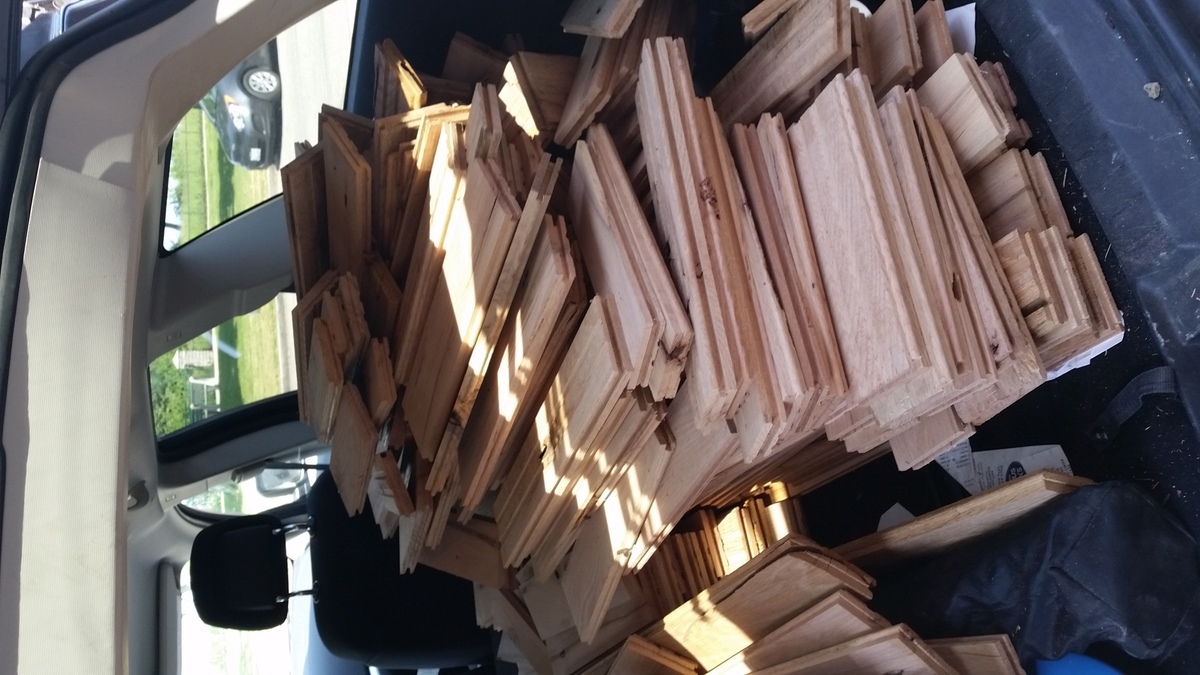
2. You come across a Kijiji (canada's craiglist) listing for 200sq ft of 3/4" solid oak flooring
3. You know Ana's plans will help tremondously and it gives you the boost to finally decide - yes I can build my own furniture.
So the upcycling made this all doable! Some random Kijijier thought to pass along the left overs from a flooring install (the other option was burning it he said) I said thank you very much and took all that wood home. Now he had bought raw rustic grade oak. Only $1.89 a sq/ft to buy FYI)
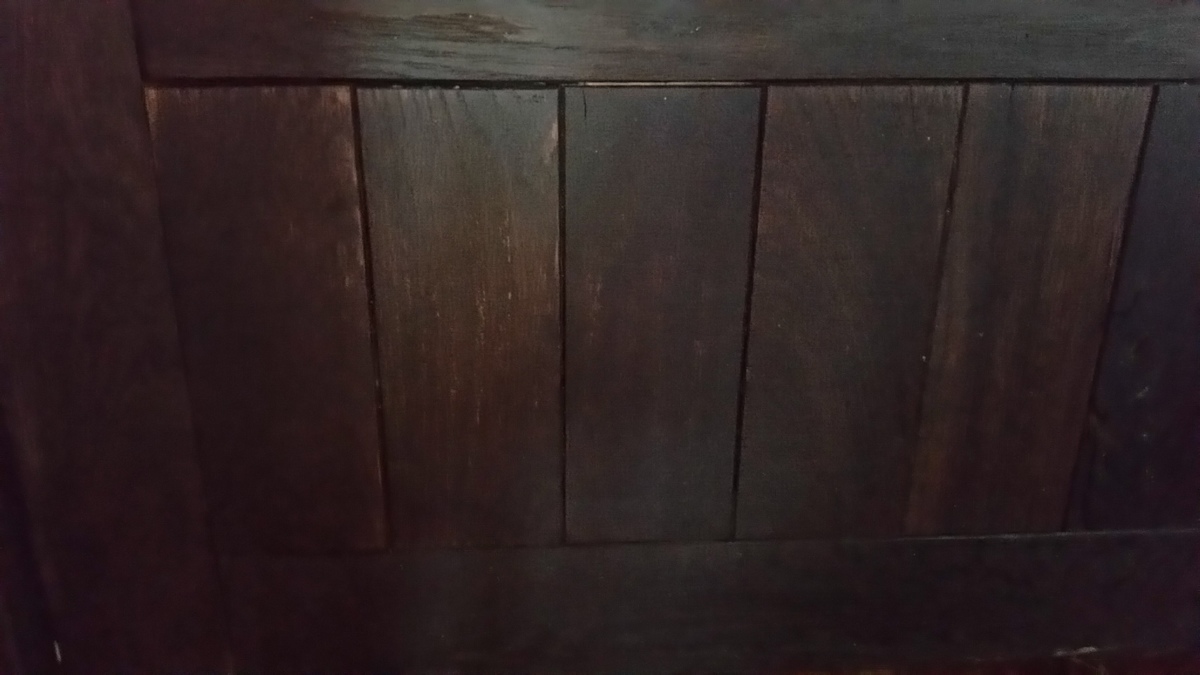
So it was not perfect, with many pits, wormholes, cracking and complete holes. But the raw oak was great for a number of things - the distressing was real - no extra effort required, also the raw oak was easily stained with my homemade iron acetate stain (steel wool and vinegar) and I was able to bevel the edges without ruining an existing finish.
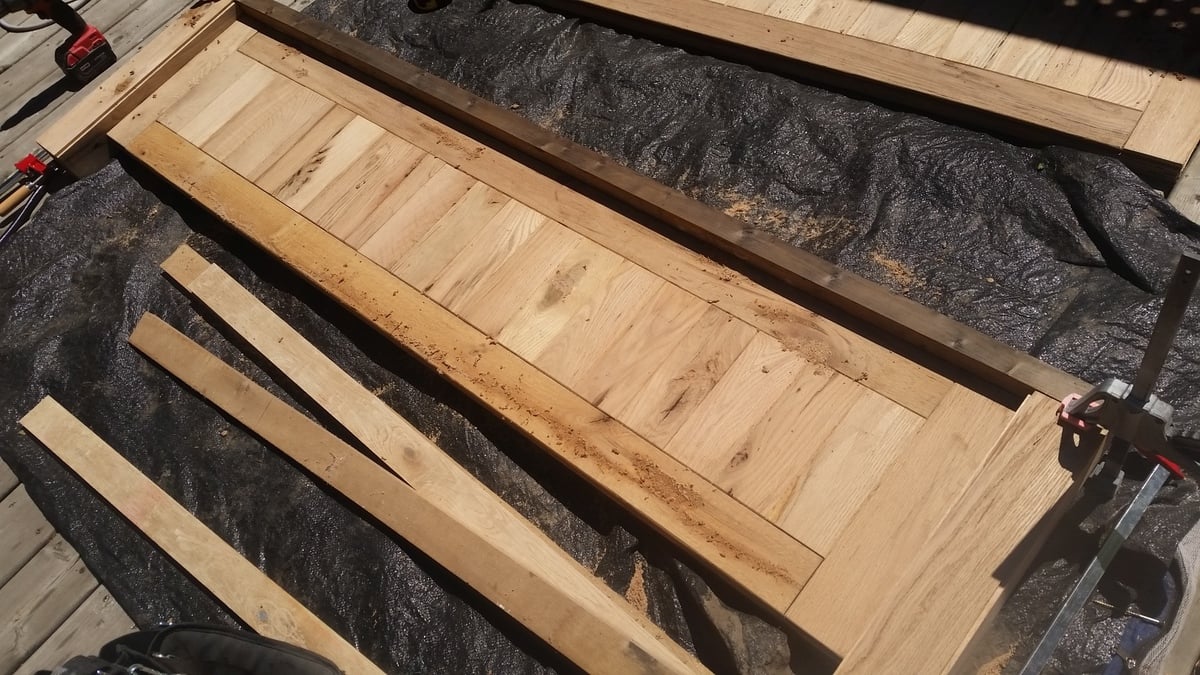
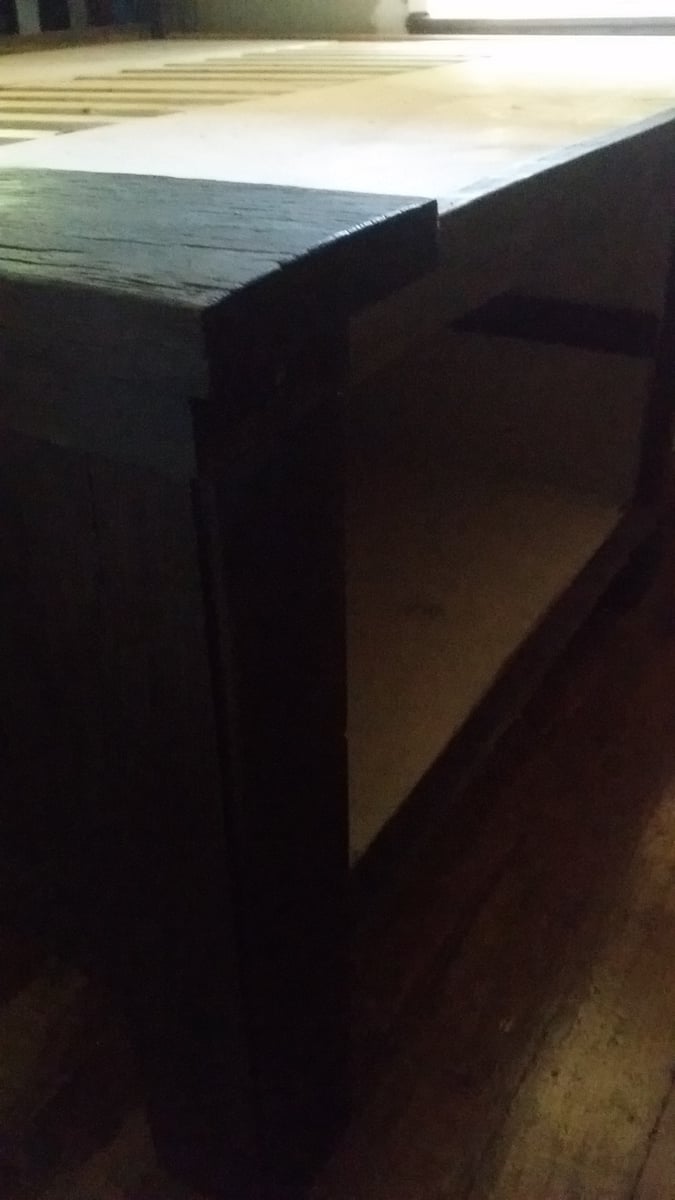
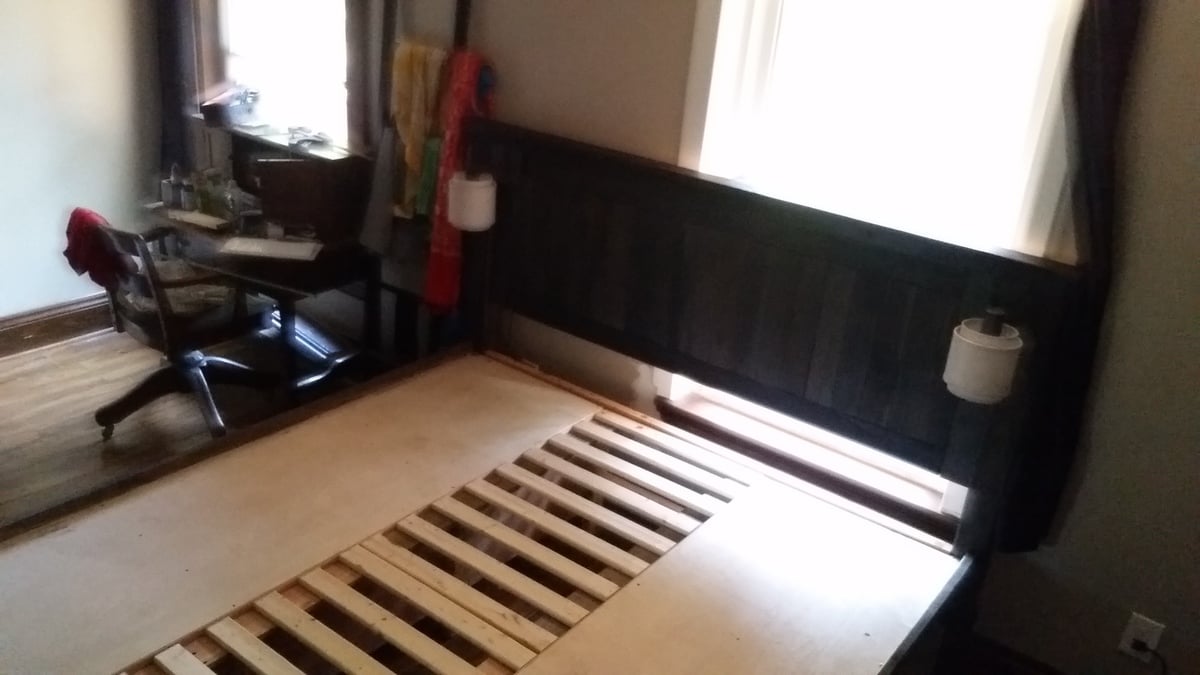
Thankfully I only needed a few long boards for the framing and was able to use the better short boards for building out the foot and headboards. I improvised the posts on the end with a clever mitered 4 board combination. Cutting just the tongue and the inside edge of the floorboard created a inset detail on the post that is very forgiving to my crappy cuts and ended up doing the trick. I also saved my sawdust from cutting to mix with glue and fill the major holes and pits in the wood. This took the stain very nicely and didn't add any extra cost to the project. Anyways if anyone wants more suggestions on making use of cut off material just message or comment below.
By the way the plan is awesome and I much appreciated it during the process. I did complicate things by making the drawers 24" deep vs 16" and having to upcycle a product rather than just buying material.
To make use of the depth with a cal-king I decided to go with 24" deep drawers - fyi this means more material, more dollars,and more weight! Huge amounts of weight, once since I decided to go with 3/4" Birch ply for the build. I lift for fun and fitness so I managed, but beforewarned - the plywood frames are awkward and heavy.
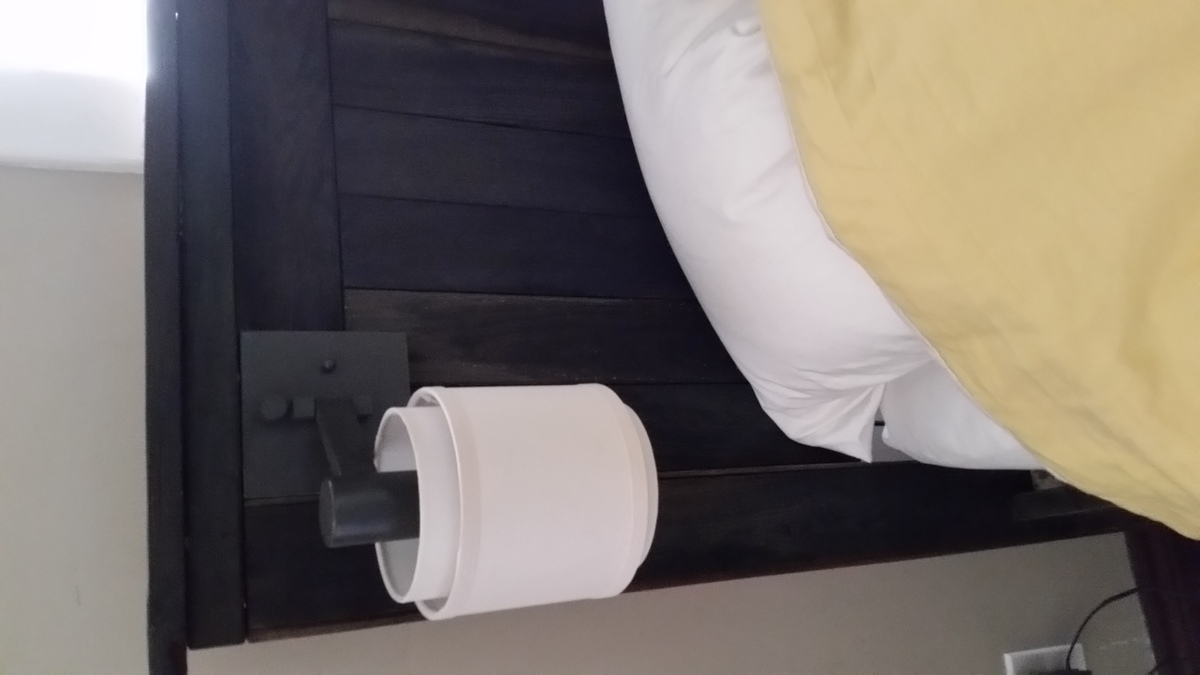
I ended up needing 4 sheets of 3/4" Birch ply b/c of the upgraded sizing. Even at 50% off (lucky me) this still was $160 in plywood + $50 for Luann for drawer bottoms and closing the back of the frame behind the drawers. I also used full extension drawer slides so that I can actually access all that storage so set me back another $180. I got the lights from Lowes for $60 for the pair.
Total cost $500 + free oak floor cast off + time = a priceless project
