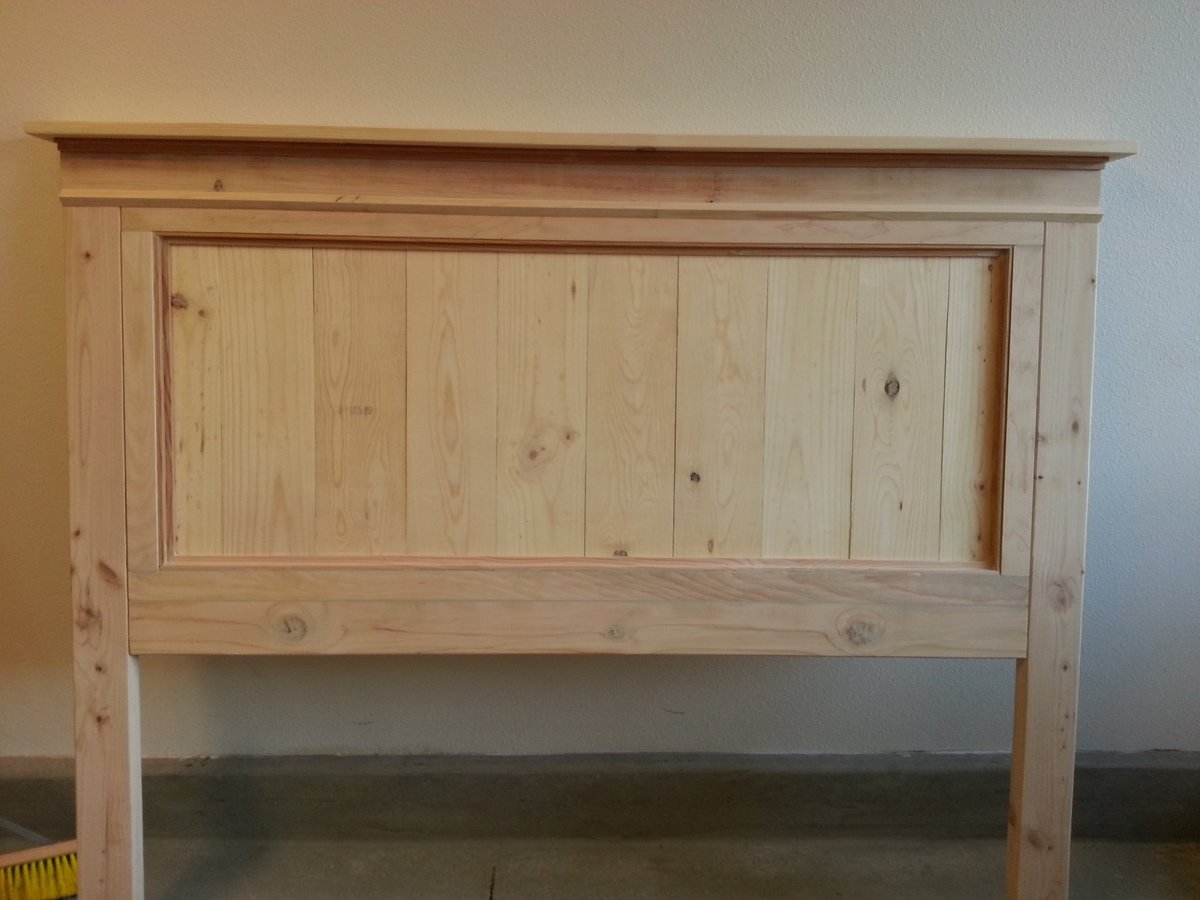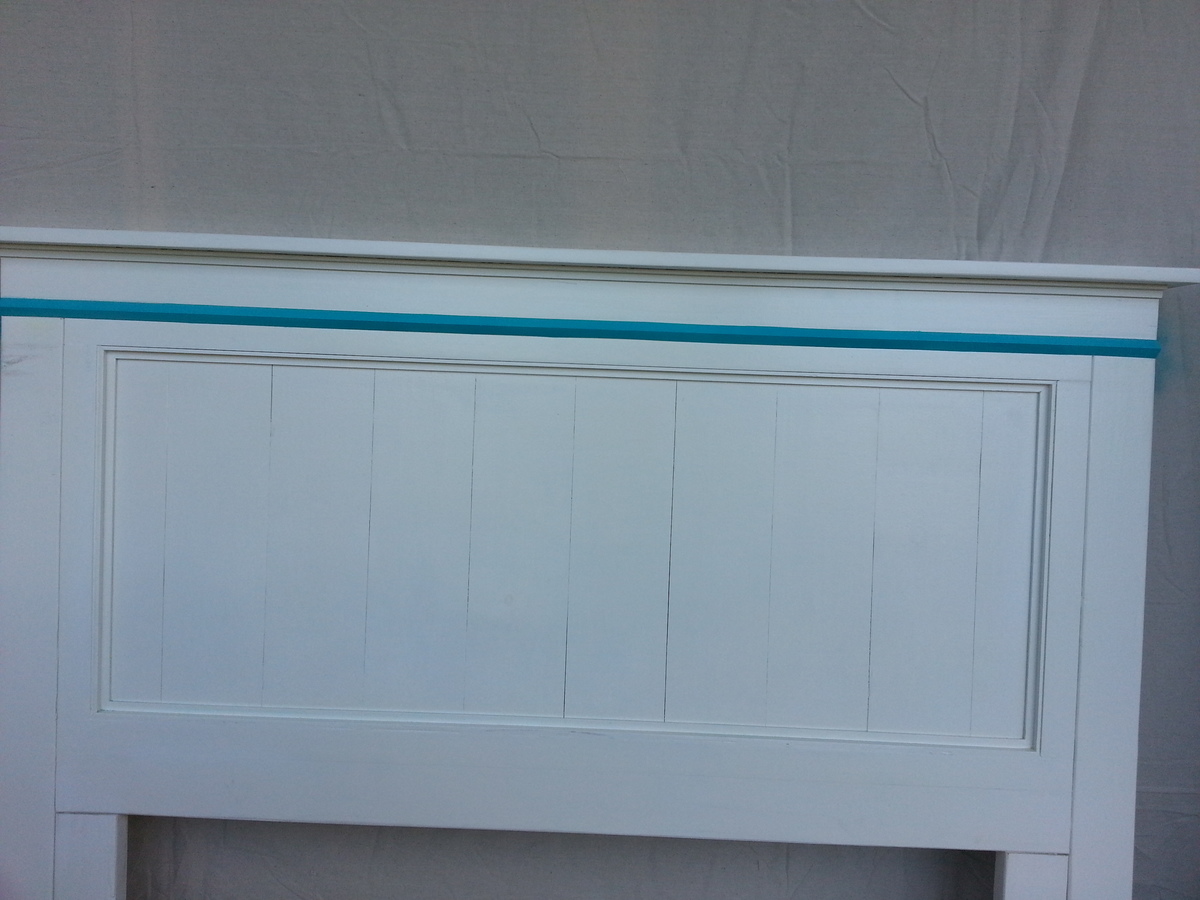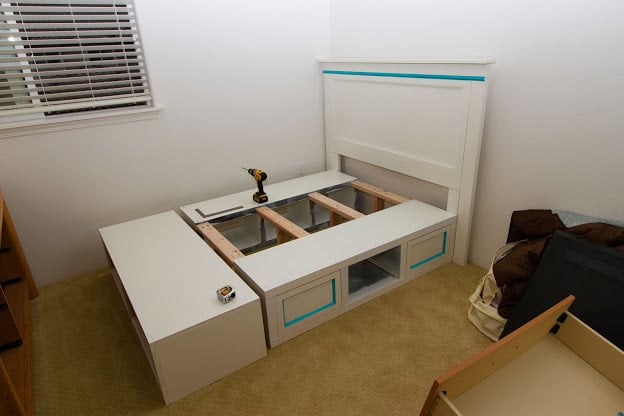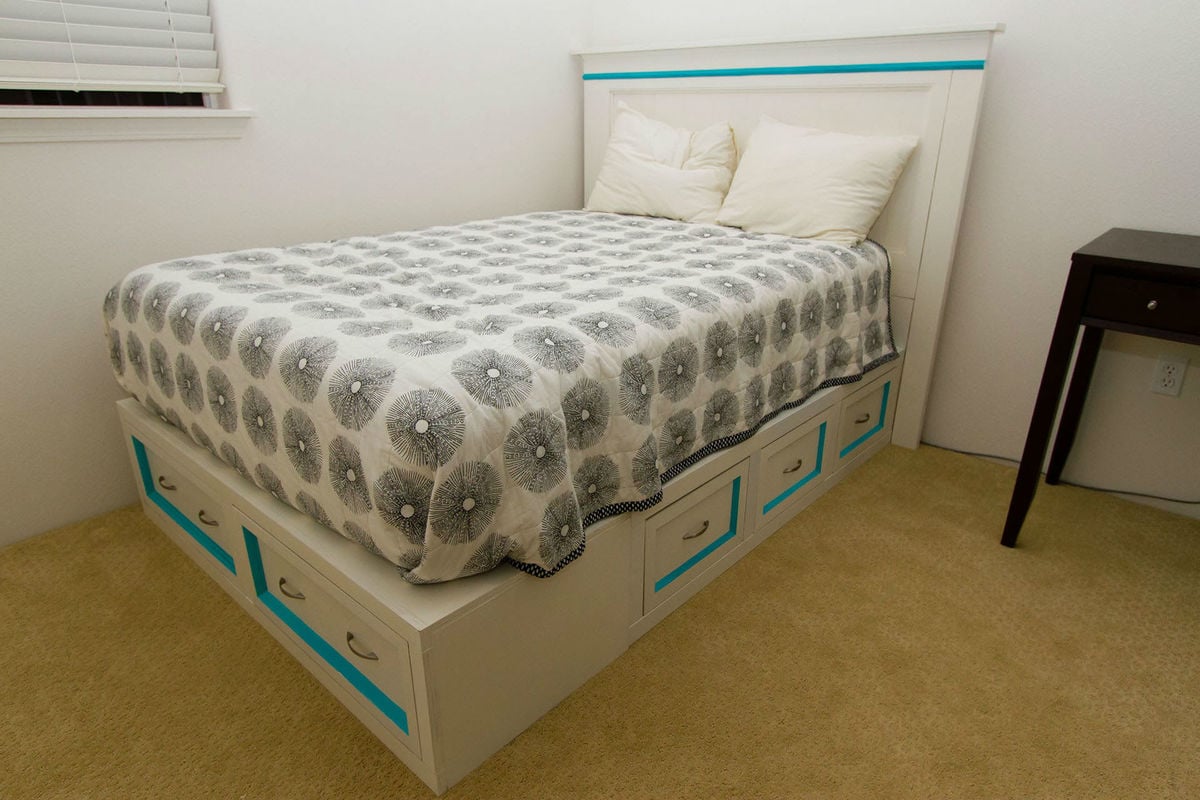
This bed frame was my first project. There are some mistakes, but overall, I love the way it turned out. I combined two plans: "Mom's fancy farmhouse bedframe" and the storage bed.
I love the look of wood and would have loved to stain this project. However, this project was painted due to the fact that I repurposed Ikea bookshelves for the two side pieces. The pieces I built were the headboard, bottom storage bench, and the drawers.
There are a couple of things I learned during this project.
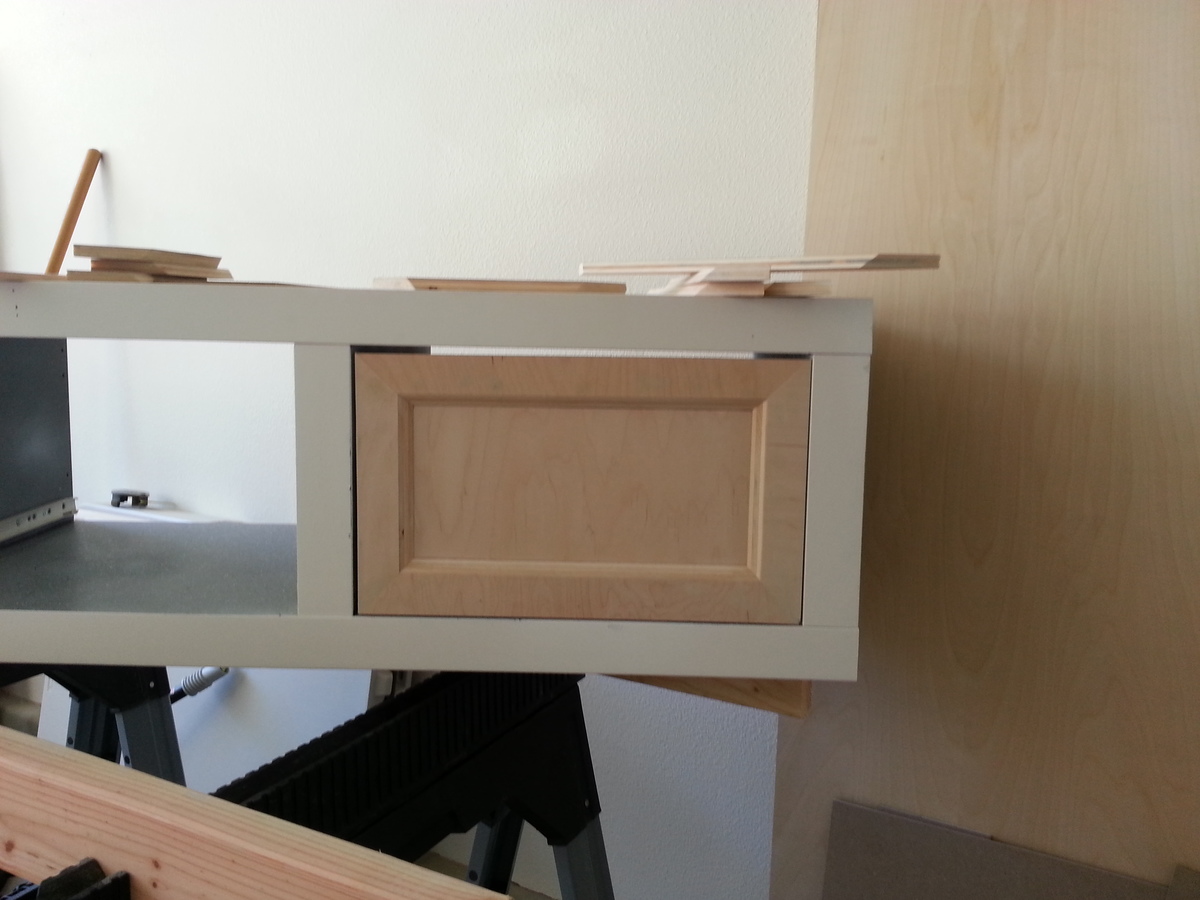
1. Measure, remeasure and if you're building pieces like drawers to fit your frame, measure just one more time. I did not plan to frame the bottom storage box I built, so when I made measurements for my drawers, it was for the frameless box. I, however, changed my mind and ended up framing the box and cutting the drawers. I put them together and checked to see if they fit and ooops.....they don't because I added frames. So, lessoned learned was to double check before I make cuts especially since I made measurements at the beginning of my project.
1A. I also ended up going off the measurements for the "farmhouse bed frame" for the headboard and didn't match my calculations for the storage bed frame to match. So, the headboard ended up being wider than intended and it sticks out. I did not end up rebuilding the headboard or the bedframe since I thought it would be too much work.
2. Making drawers did not agree with me. I seriously had to redo my first drawer four times due to my mismeasuring or calculating. After everything clicked, the rest of the drawers were a breeze.
3. The drawers I made with 1/2 plywood. Looking back, I would have made them with 3/4 plywood. I also would have made the drawers shorter so I could have built the faces of the drawers using Ana-white's drawer face plans (they seem so much easier!).
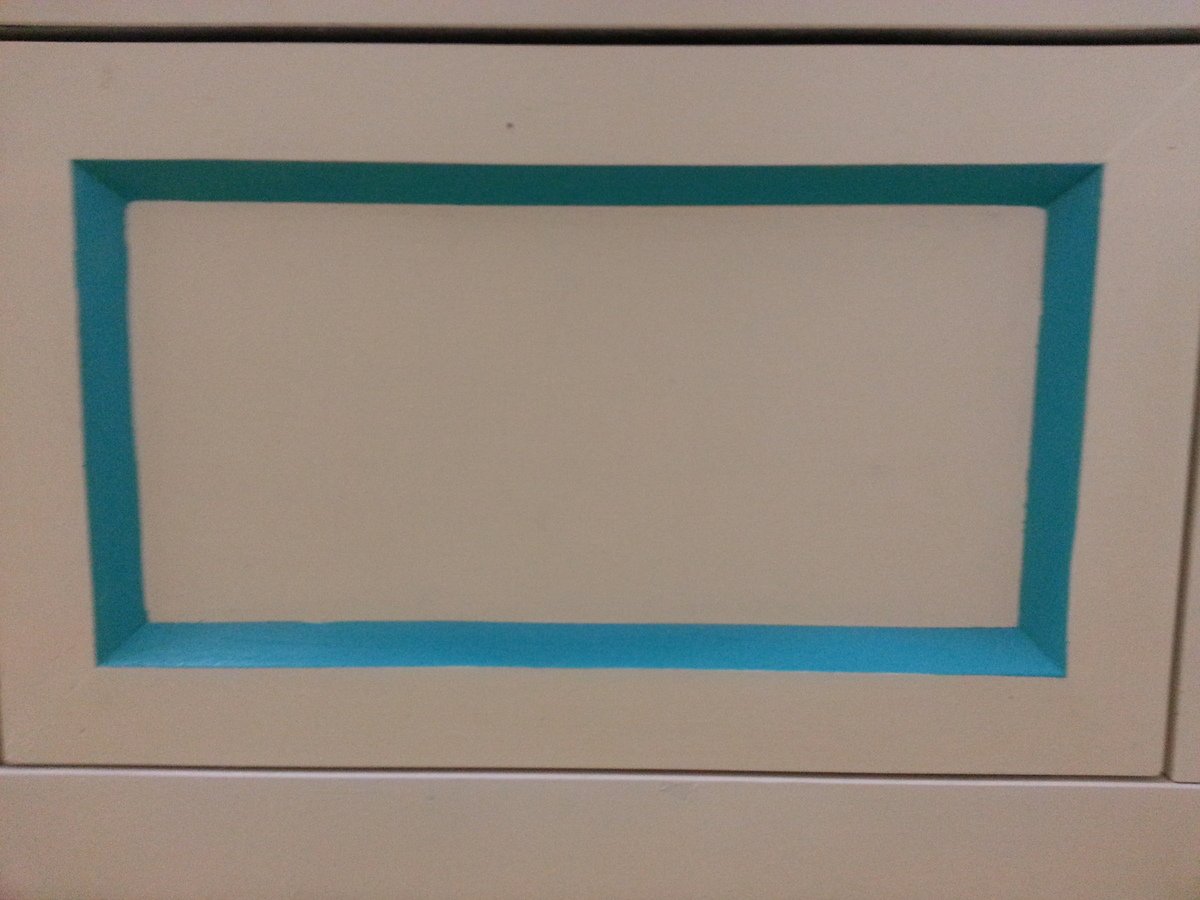
4. The drawer faces were made with 45 degree cuts to add more interest vs the straight pieces of wood. I'll admit, this was my husband's idea and I LOVE it. However, getting the pieces just right weren't the easiest thing (and they aren't perfect, but it's our first project and it's good enough). It made painting the bevel a little more difficult too. So, if I were to do this again, I would have made the drawers shorter, used 1/2 ply for the face and glue the frame on the 1/2 ply to attach to the drawer.
5. The finishing part took the longest. I used Glidden semi-gloss white paint off the shelf. I actually used old paint that the previous owner of my house left. I would NOT use old paint again. The paint must have been at least 3 years old and I thought I mixed it well, but it seems like there's some yellow in the paint. I'm guessing I didn't mix it well enough.
