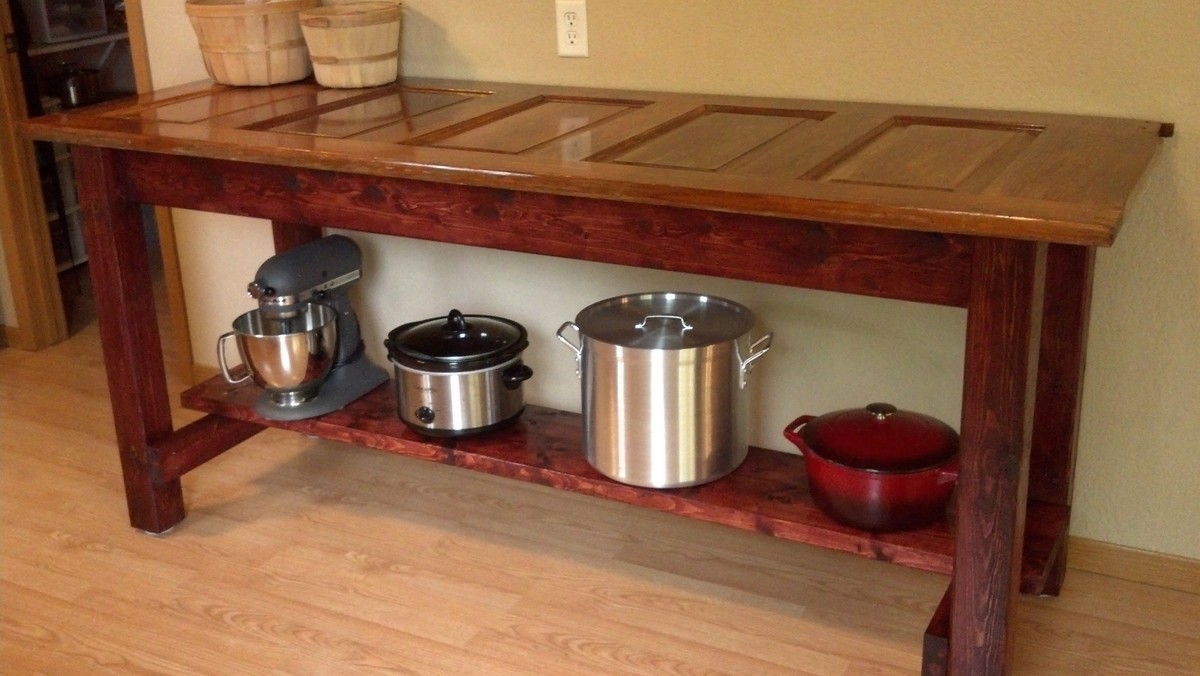
After looking through Ana's plants for months (MONTHS), I finally decided to tackle a project that I desperately needed: a kitchen island. I have almost no counter space in my kitchen and couldn't bring myself to spend the money to put in a new set of lower cabinets or a kitchen island at the size I was looking for.
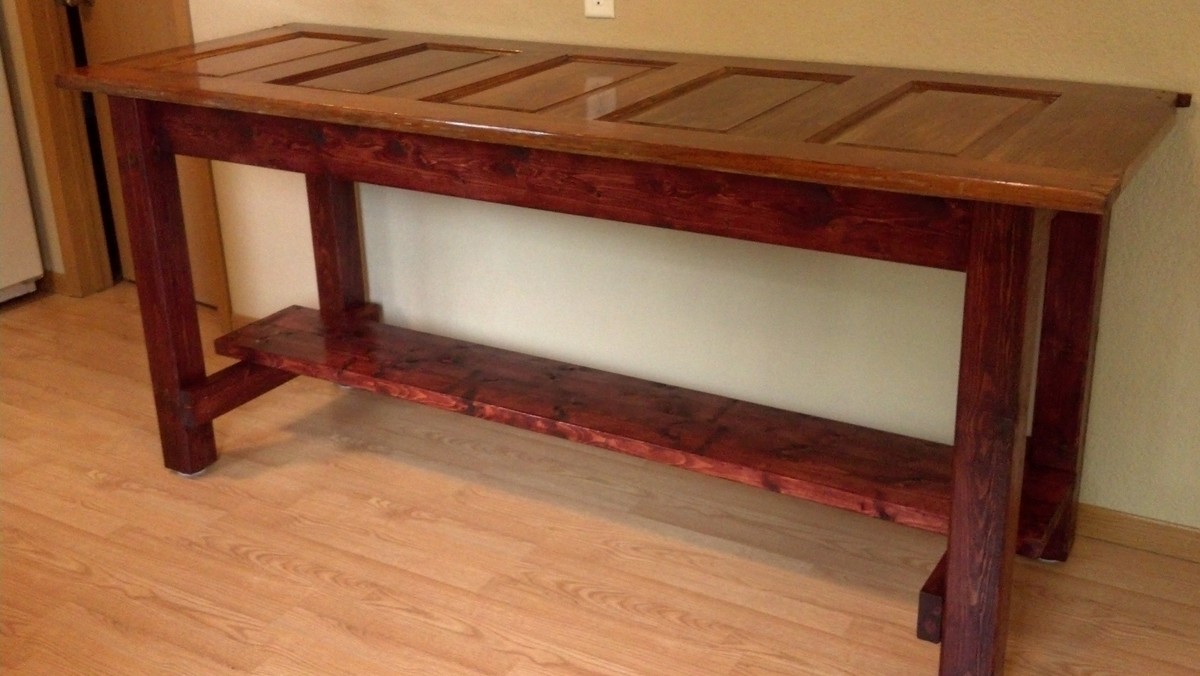
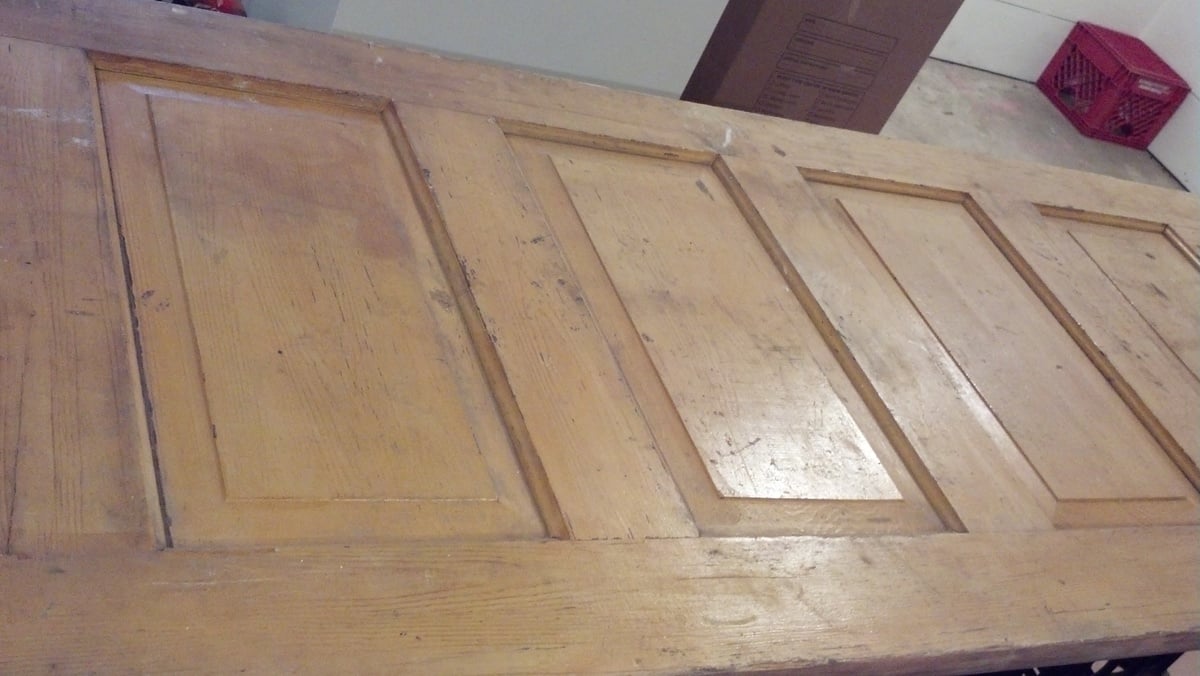
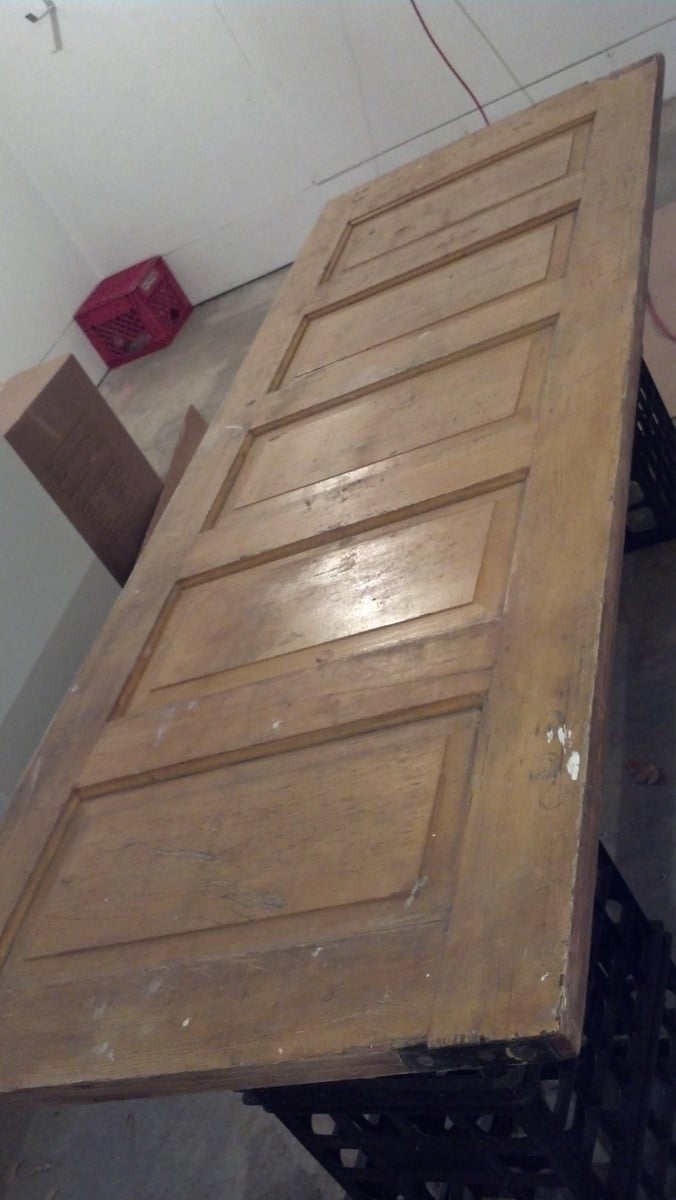
I found the door for just $20 at a local junkfest and debated turning it into a dining table or an island. I finally settled on island and took to stripping off the layers and layers of paint and stain. I modified the Gaby Kitchen Island plans to fit my nearly 8-foot door, and decided not to recess the 2x4 shelf supports (mainly because I didn't have a saw). However, I did buy a mini-Kreg jig and am shocked at how easy it was to use, and how great the seams look.
I had all of the wood cut to length by the lumber yard, so that saved me a bit of time, and no one charged me a cent to do all the cutting. And if you can believe it, everything was square!
For the legs, I used Minwax Wood Finish in Red Oak. I chose not to stain the top because I loved the color of the natural wood and wanted to see all the little flaws and defects. I then used 2 coats of Minwax Fast-Drying Polyurethane in Gloss on the top, and in Satin on the legs.
Finally, to add some support (the door is VERY heavy), I used L-brackets to attach the door to the frame.
Minwax Fast-Drying Polyurethane in Gloss
Mixwax Fast-Drying Polyurethane in Satin
Stain was applied by rubbing it on with old towels. Polyurethane was applied using a good, natural bristle brush.