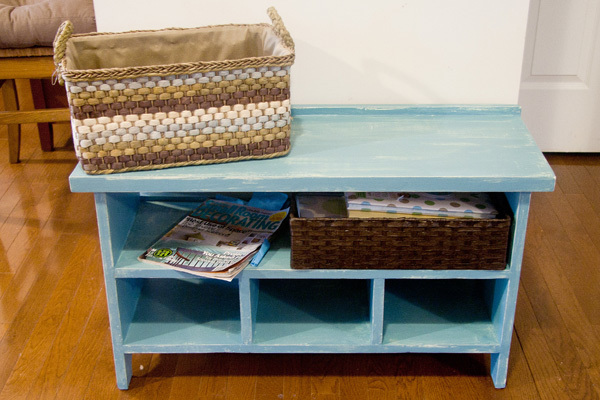
My husband and I put this together to fit a spot that was just slightly off of what standard furniture would accomodate. Looking for something simple as a first build, we went with the Kids Country Bench and made some changes along the way.
We made 3 cubbies on the bottom shelf for extra storage and a little extra stability, since our boards were more bowed than we preferred. We also removed the front and back aprons. In the front we just attached a 1x2 that we ripped into a 1x1 as a trim piece. In the back, we centered a 1x2 to give a slight lip in the back.
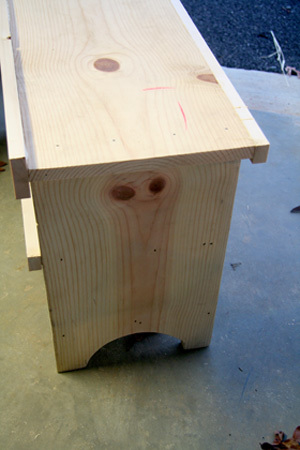
I don't have a jigsaw, so we used my FIL's Scroll Saw. That was interesting ... but the sides turned out ok. Not perfect, but ok.
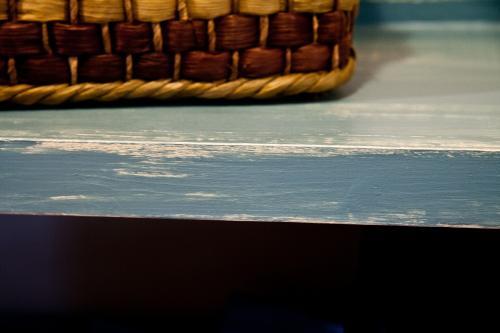
I was hoping to finish this with a high gloss product, but since the boards we ended up with more 'rustic' than I anticipated, I decided to embrace that and go with a distressed finish. I used a spray primer, and then one coat of Sherwin Williams yellow, covered with a dry brush of Sherwin Williams blue. I then sanded the corners and edges and finished with a spray top coat.
We had lots of fun, although it took us a long time. We were only working in small shifts, in between naps. If we had managed to get, say, 3 straight hours to build, I think we could have finished in in that time period.
This was a great starter project, and it's nice to know that we can make MINOR modifications to a plan and not have it fall apart on us :)
Thanks for the inspiration Ana!

