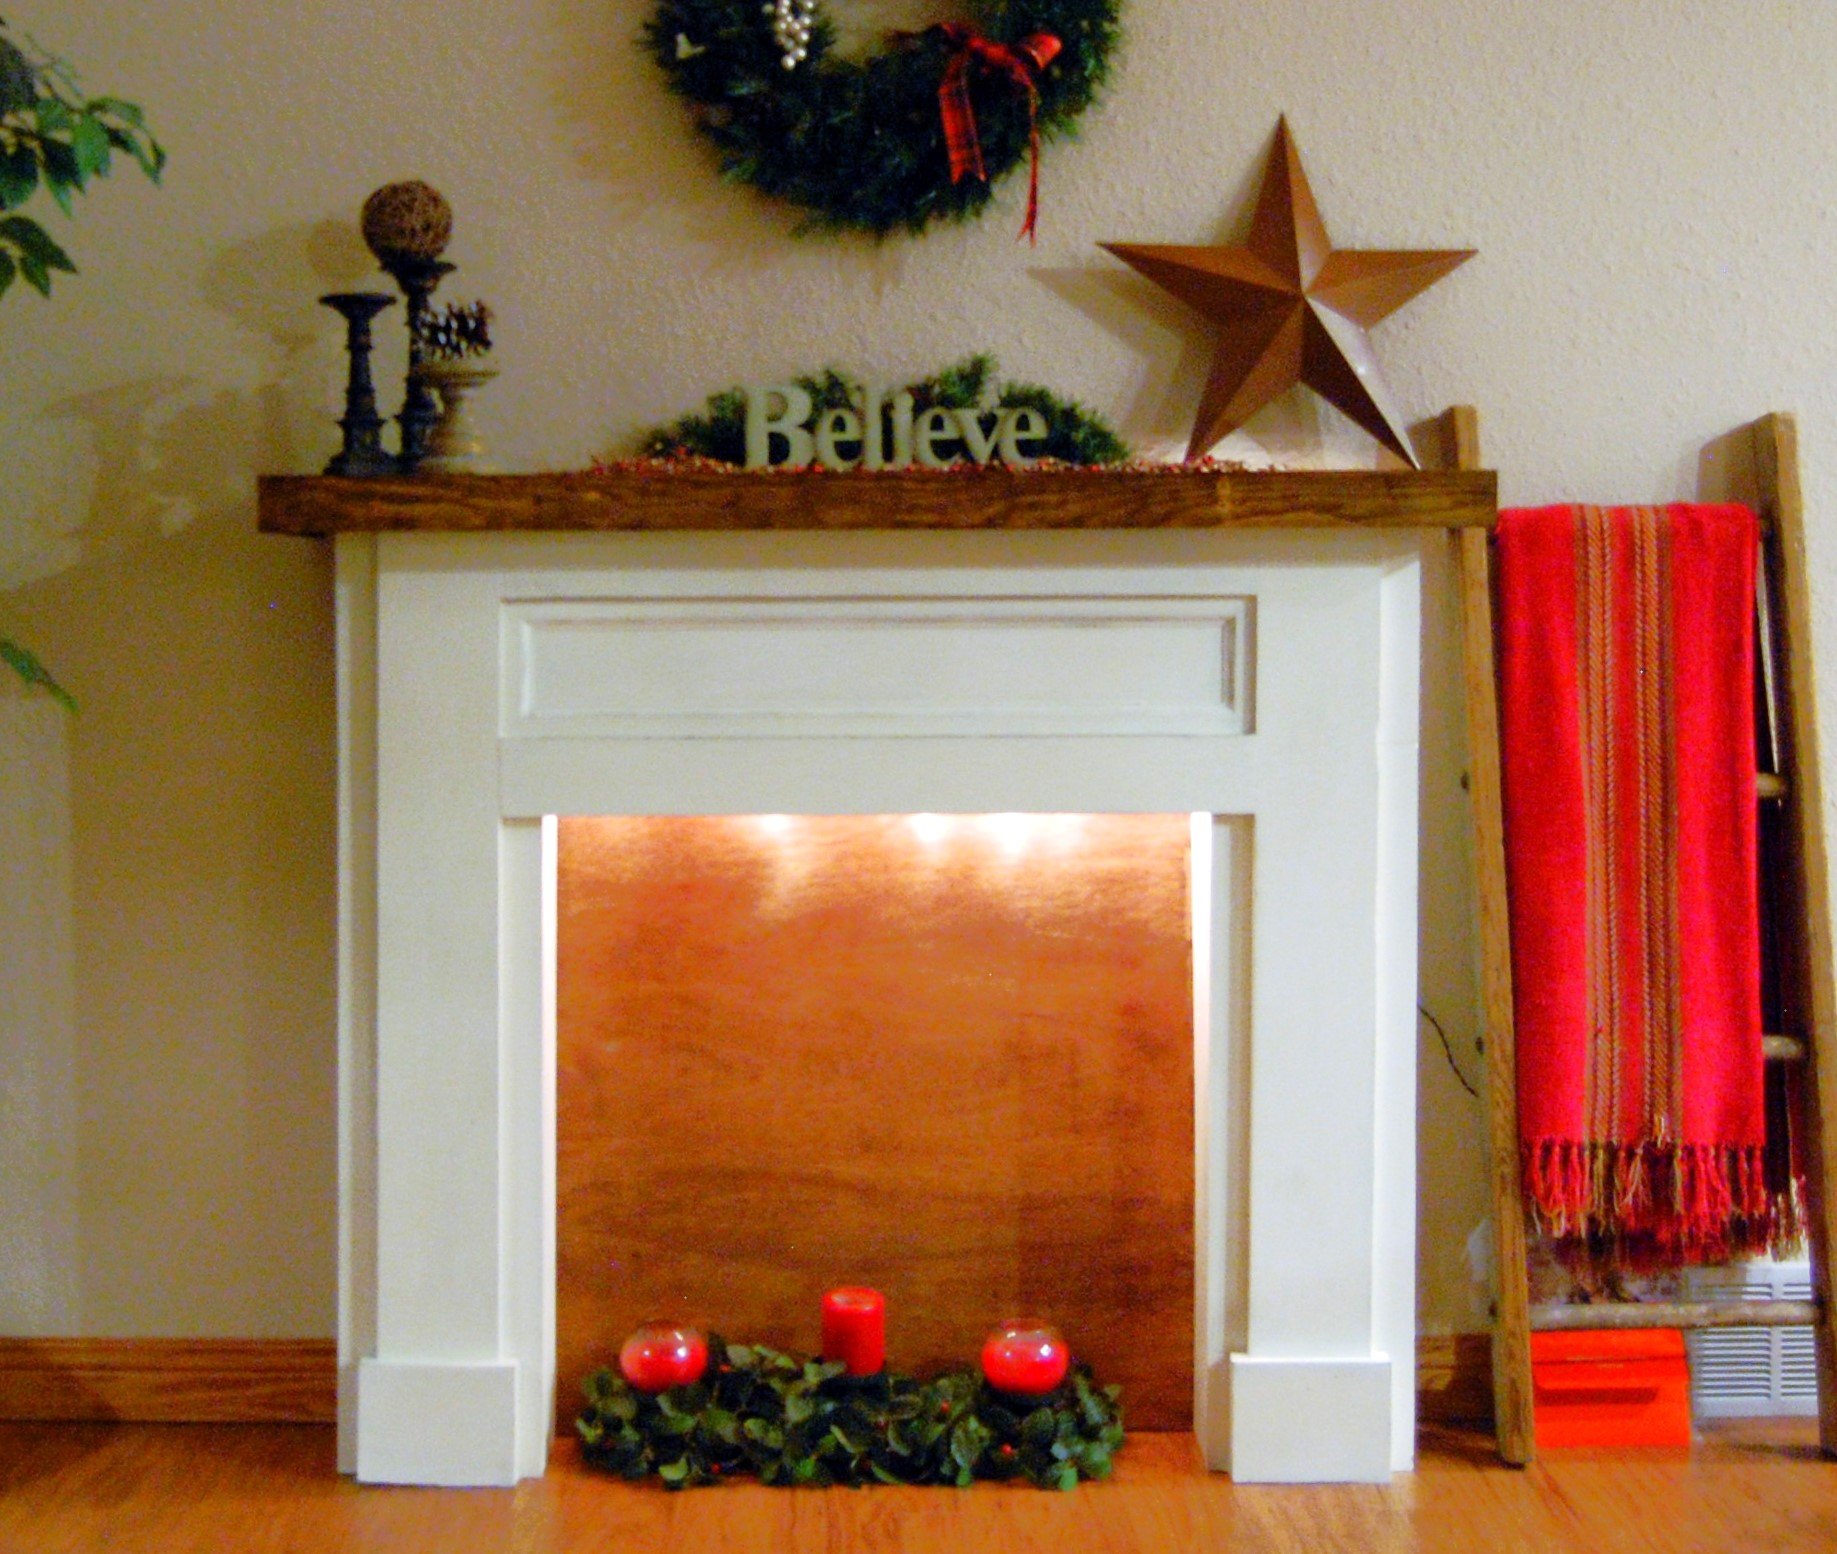
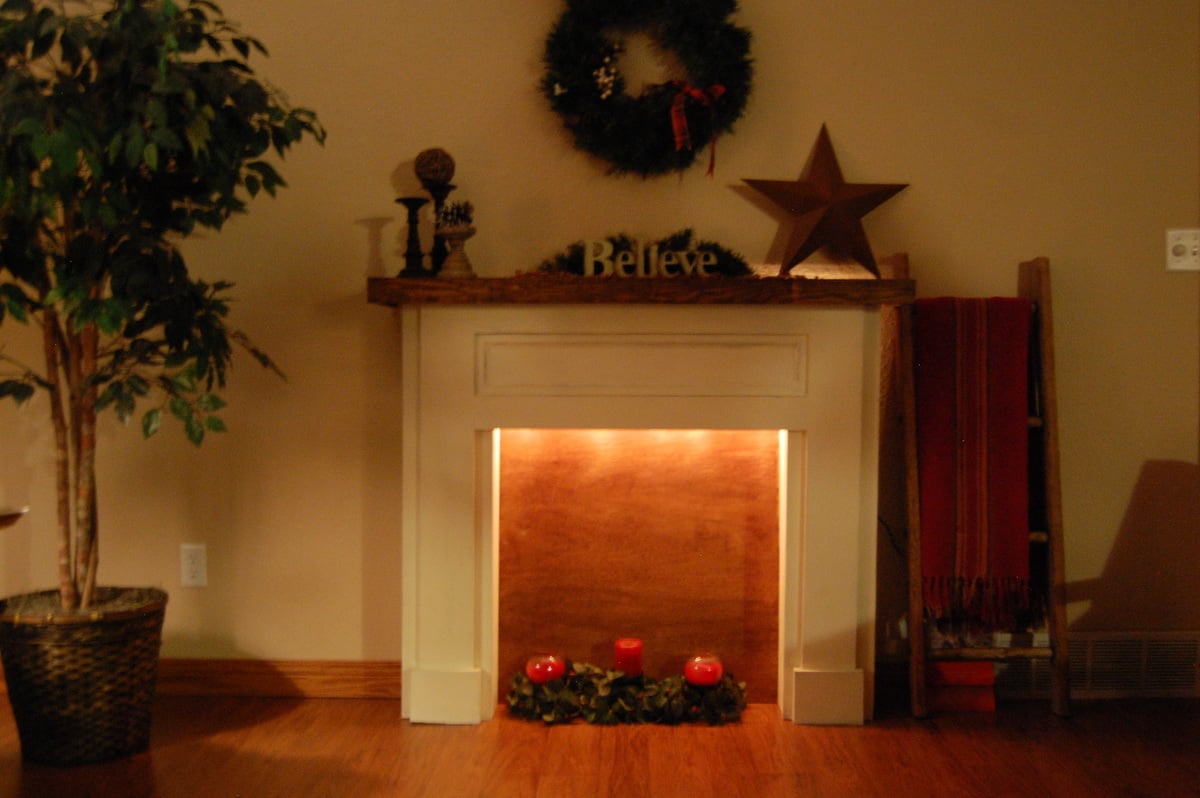
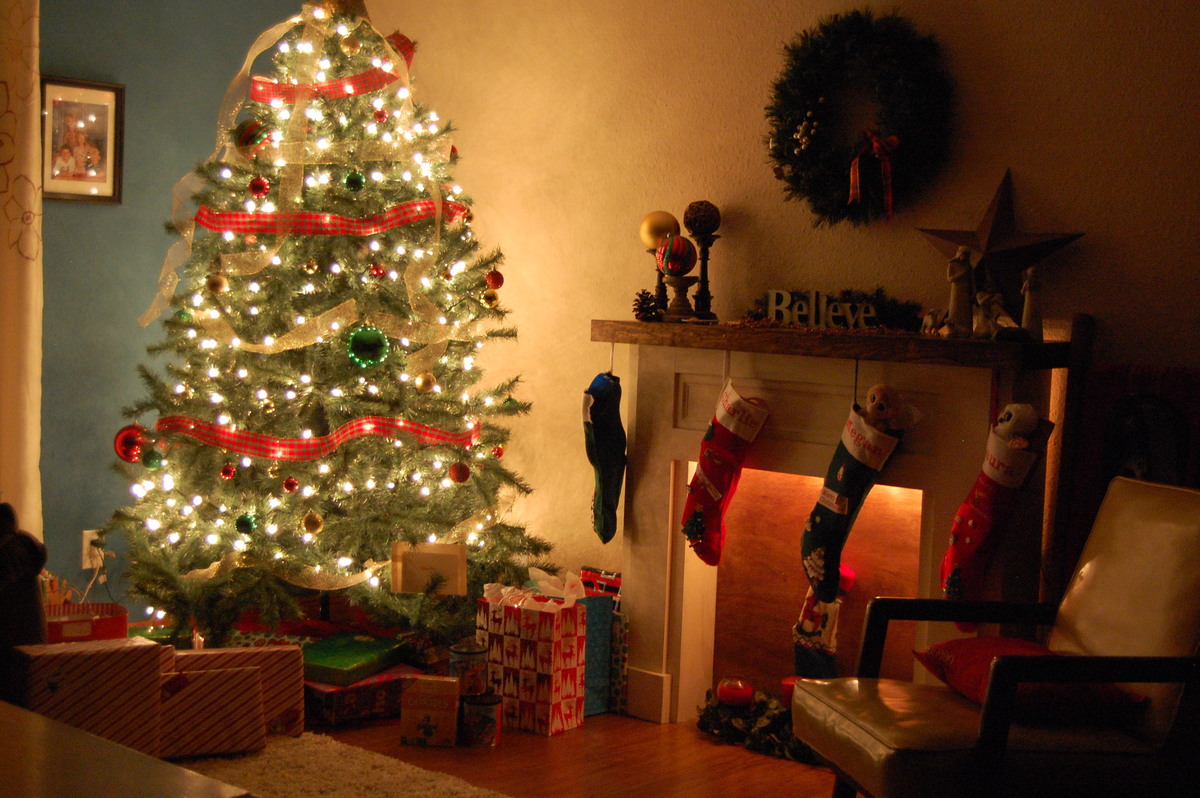
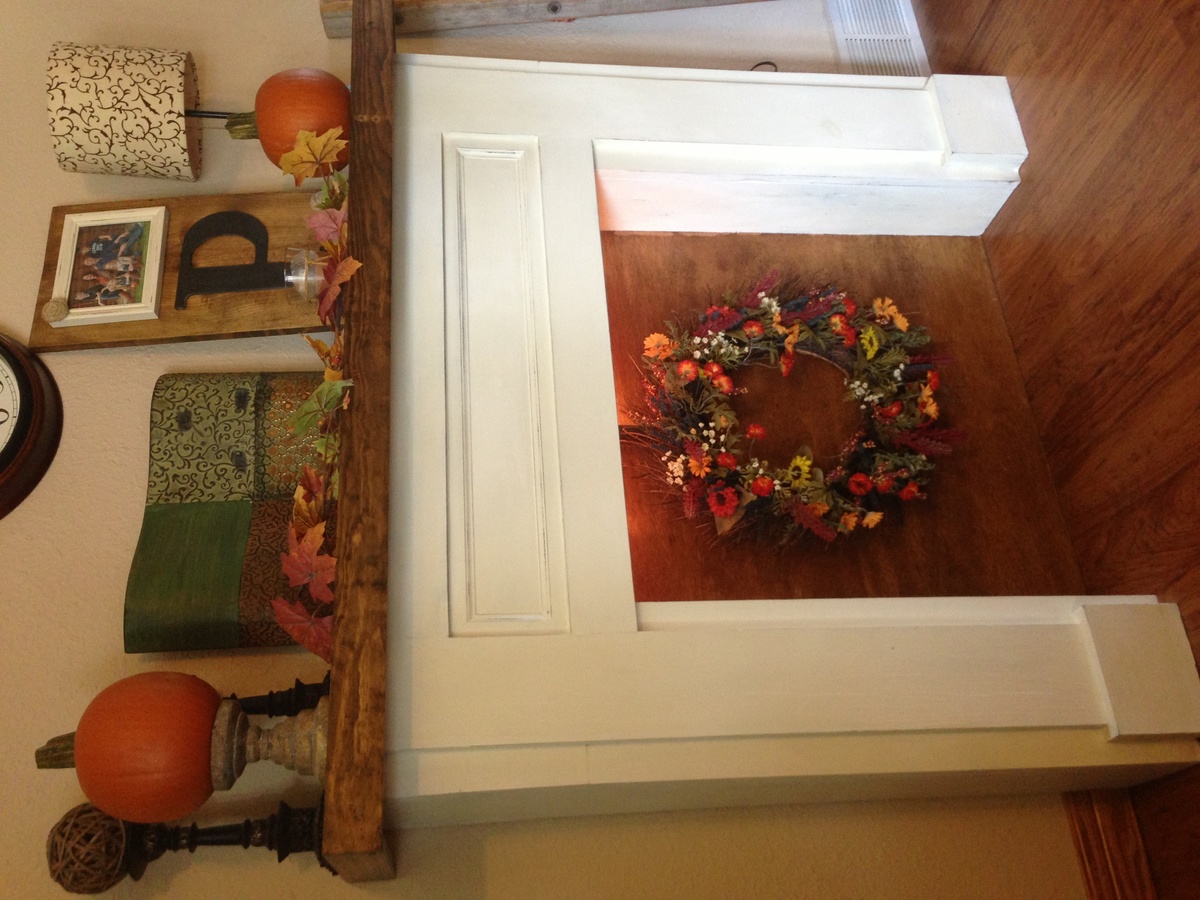
I searched hundreds of faux mantles online for just the right one to build! I ended up coming back to the very first one that inspired me...Mimi's! I revised it to make it deeper by using 1x8's for the depth. I used 1x6's for the inside box depth so that I would have some space behind for extension cords, etc. I also decided to insert wood ledges above the box (on the inside) so that I could put Christmas lights in for a soft glow, which I love. After building the top trim as shown in the plan, I decided that I wanted to "beef up" the mantle portion so I screwed 1x3's along the front and sides of the mantle top. I love how it turned out! I even ended up building a duplicate one for a friend that saw it and loved it! I am pretty new to woodworking and have 4 kids, so it took me much longer than it should have, but it was well worth it!
Comments
Michaelking2015
Thu, 03/26/2015 - 13:00
Wife and I love this
What are building plans and everything I need to have this made
francia720
Sat, 08/01/2015 - 23:38
fireplace
What is the blueprint and any other material I might need for a piece like your?