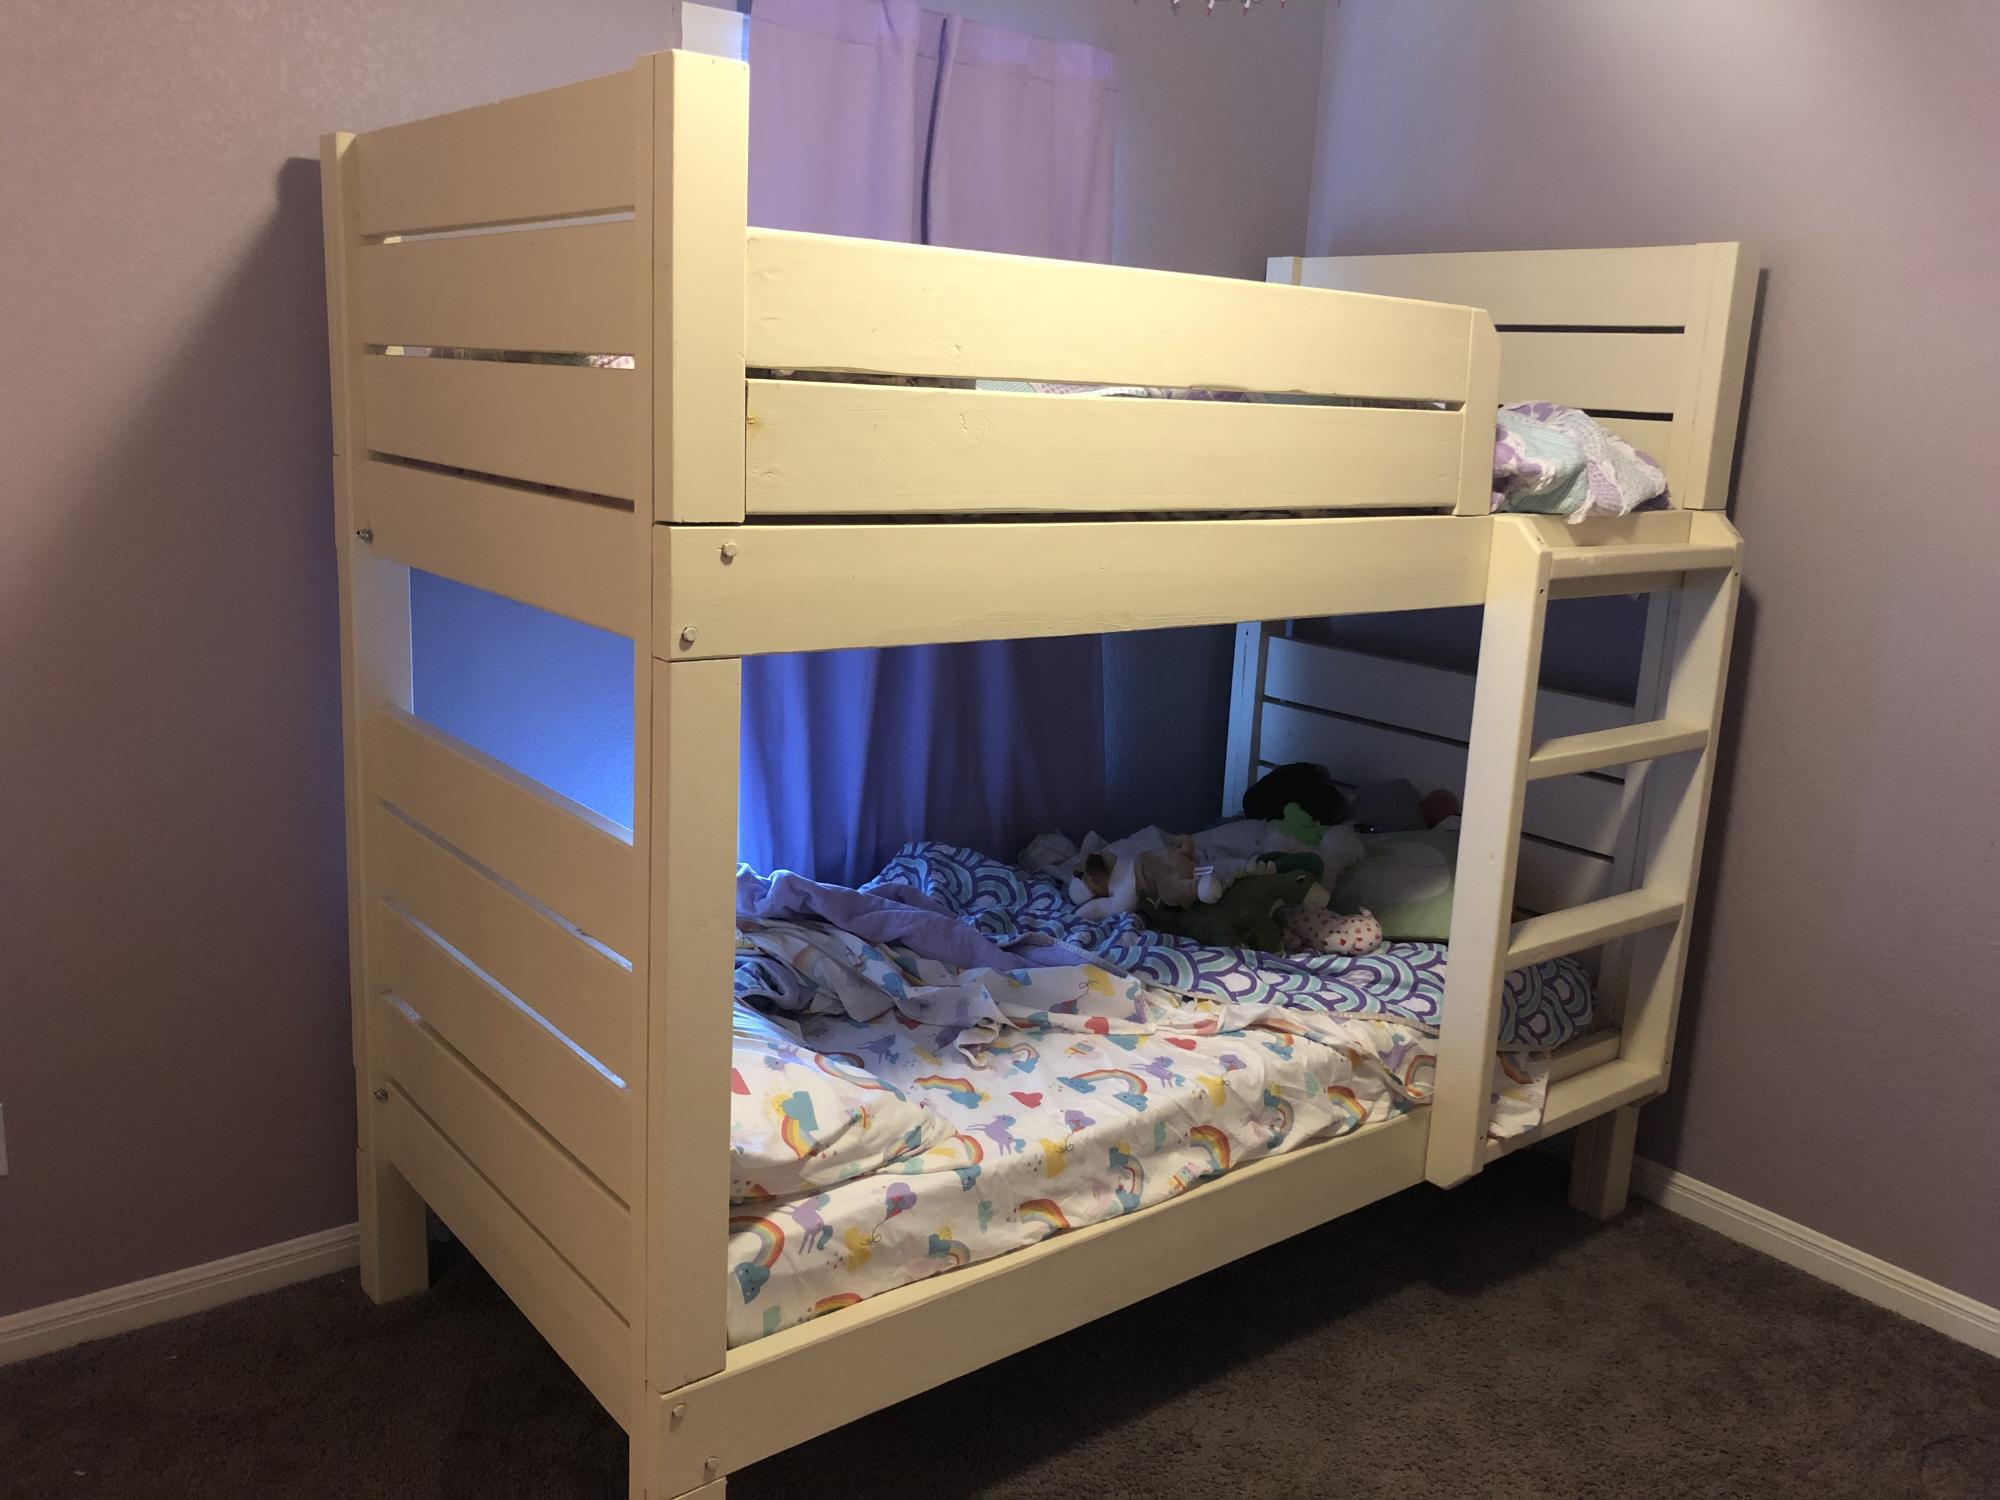
I used the overall dimensions from the plan for the beds. Some differences:
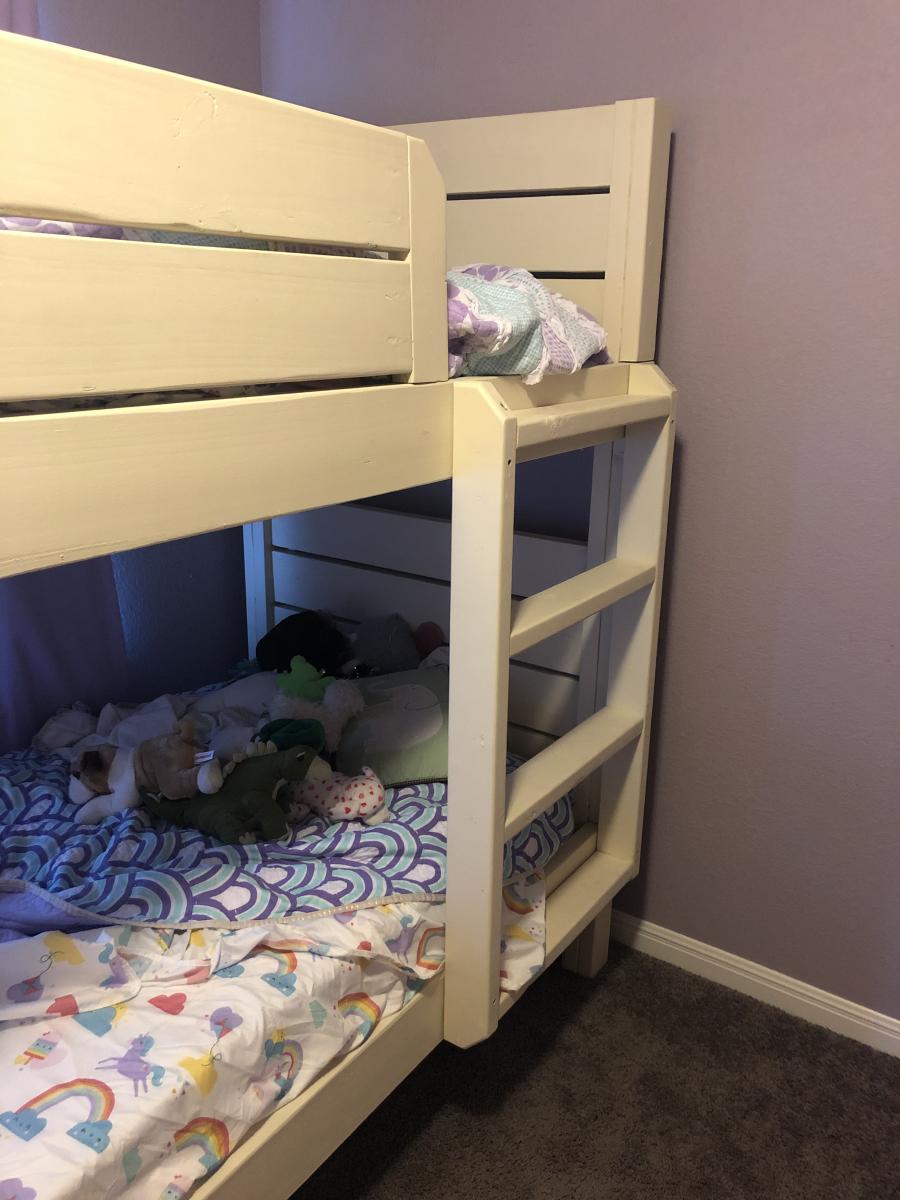
- For the ladder we wanted less footprint, so attached it vertically.
- I modified the guard rail to attach to the top of the side rail, and the side of the vertical board. These were fastened with pocket screws. This method eliminates the support 2x4s that would jut into the mattress area.
- I cut the ladder and guard rail corners to 45 degrees and routed the edges.
- I used just 2 bolts and nylon lock nuts per connection, which is plenty strong enough since the weight is on the vertical 2x4s.
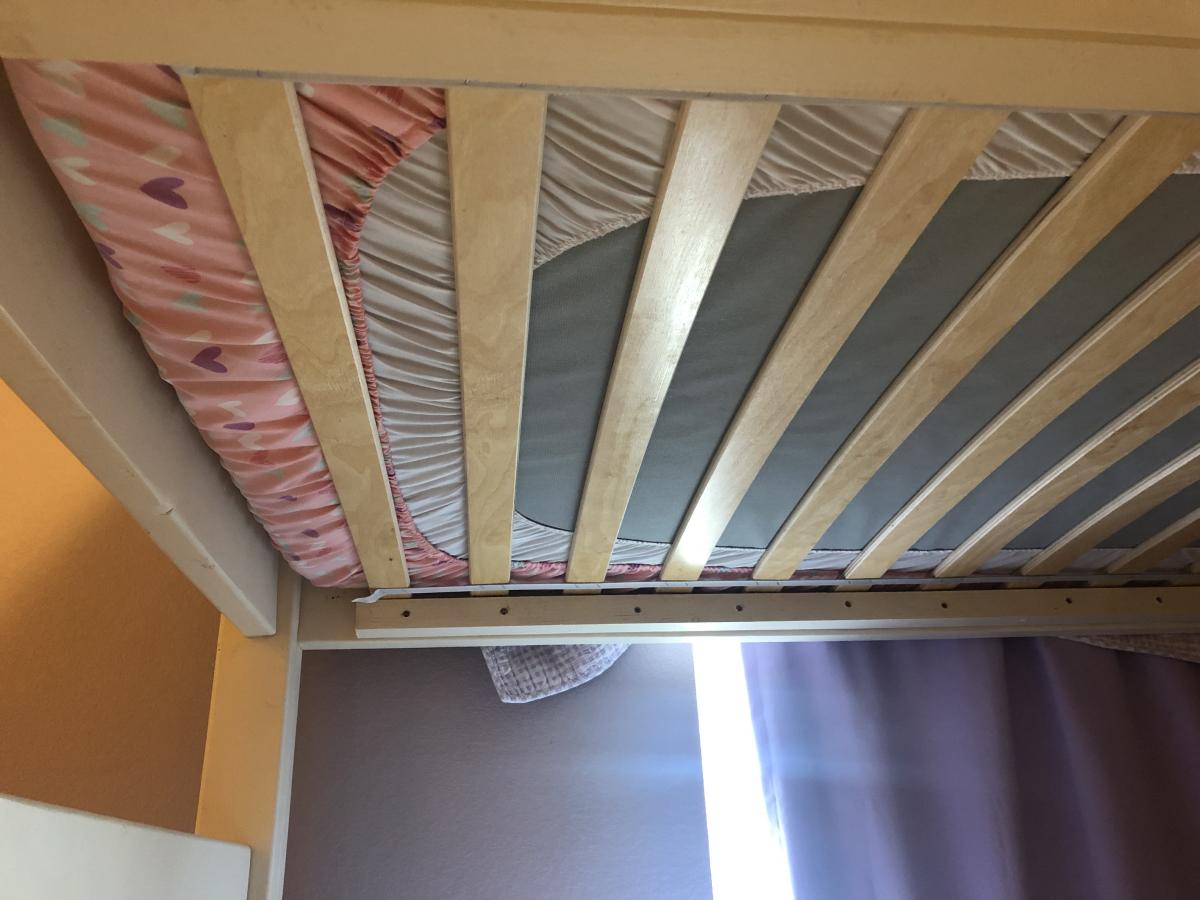
- We used IKEA LUROY slatted bed bases to support the mattresses.
Tips:
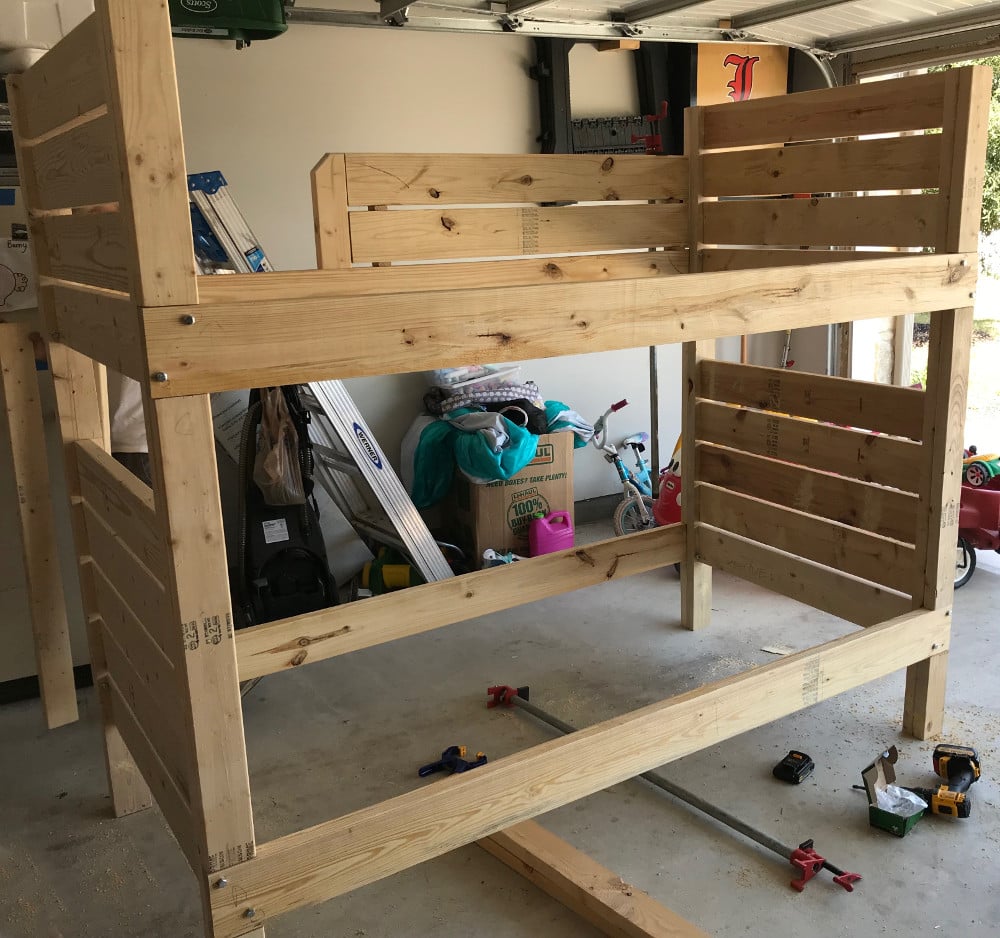
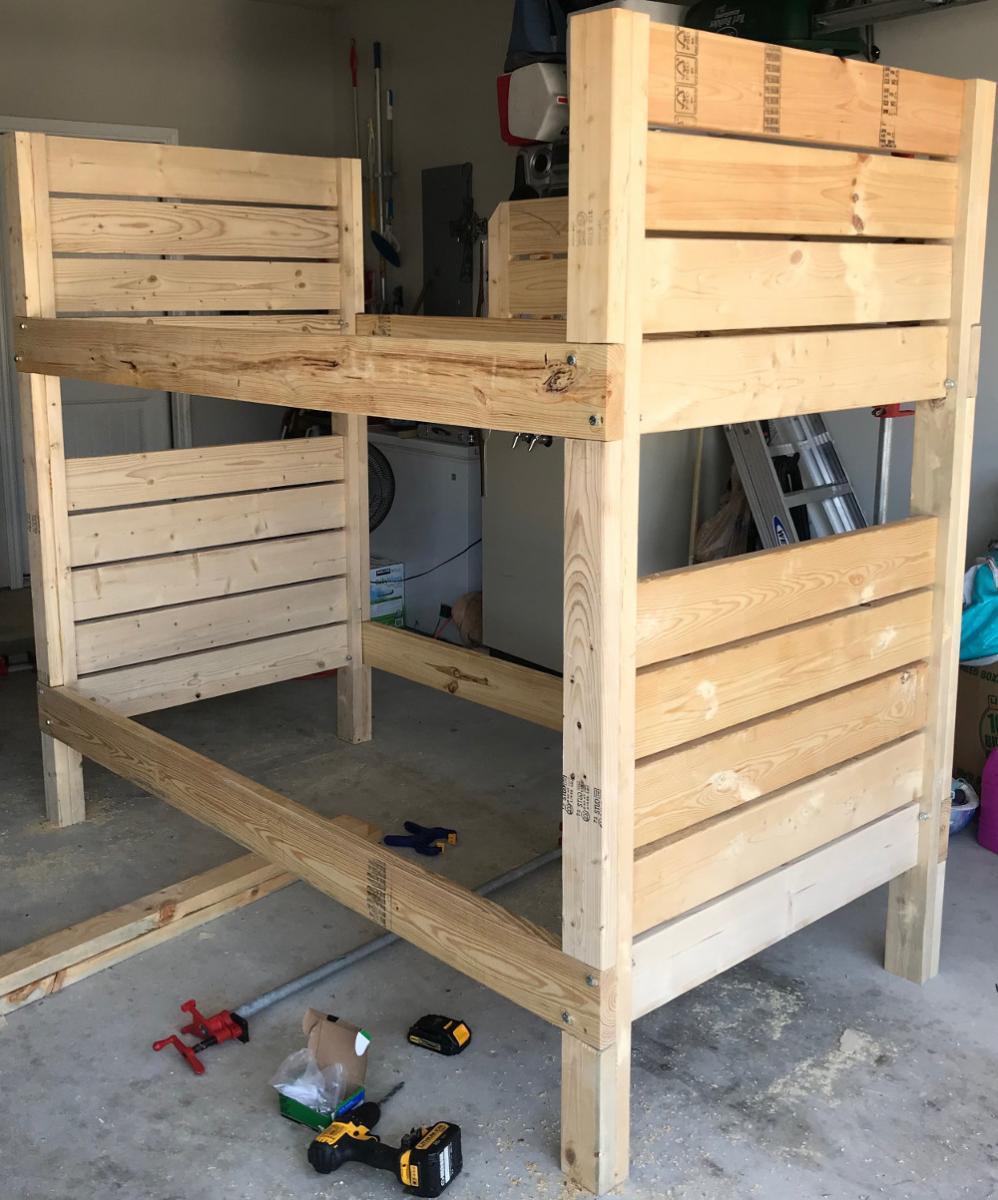
- When you prepare the vertical boards with notches, be sure to use the same 2x6 boards that will be your actual side rails. I accidentally used one from another job that was slightly narrower, so I had to open up those notches when I assembled.
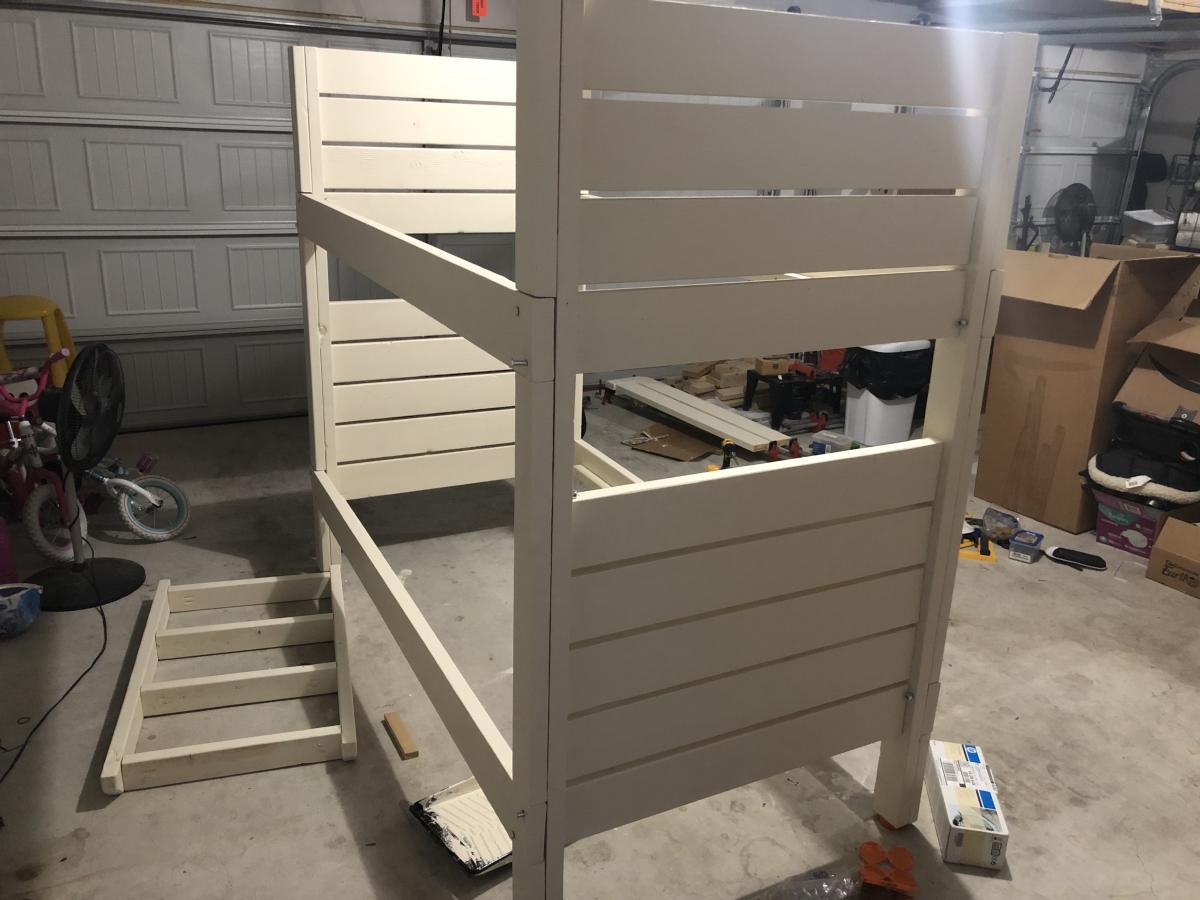
- Be sure to test fit everything before painting, including drilling for the bolts.
- Pre-drill and counter sink the holes in the vertical supports and in the 2x2 slat supports. Then use wood screws.
- If the bed base is noisy, wax the support rail. Renaissance Wax works great.
- For any job using pocket screws, be sure to set the tool for the correct board width. I accidentally had it set for 3/4, so had to fill those holes and flip the guard rail and re-drill for 2-1/2.
- For the 1/2" gaps, I used scrap boards, teed together as spacers. You can see in the photo of the guard rail.
Built from Plan(s)
Estimated Cost
$150
Estimated Time Investment
Weekend Project (10-20 Hours)
Finish Used
Latex based, Antique White. 2-3 coats as needed. This used about 3/4 of a gallon.
For a better finish you should use a proper primer first.
For a better finish you should use a proper primer first.
Recommended Skill Level
Beginner