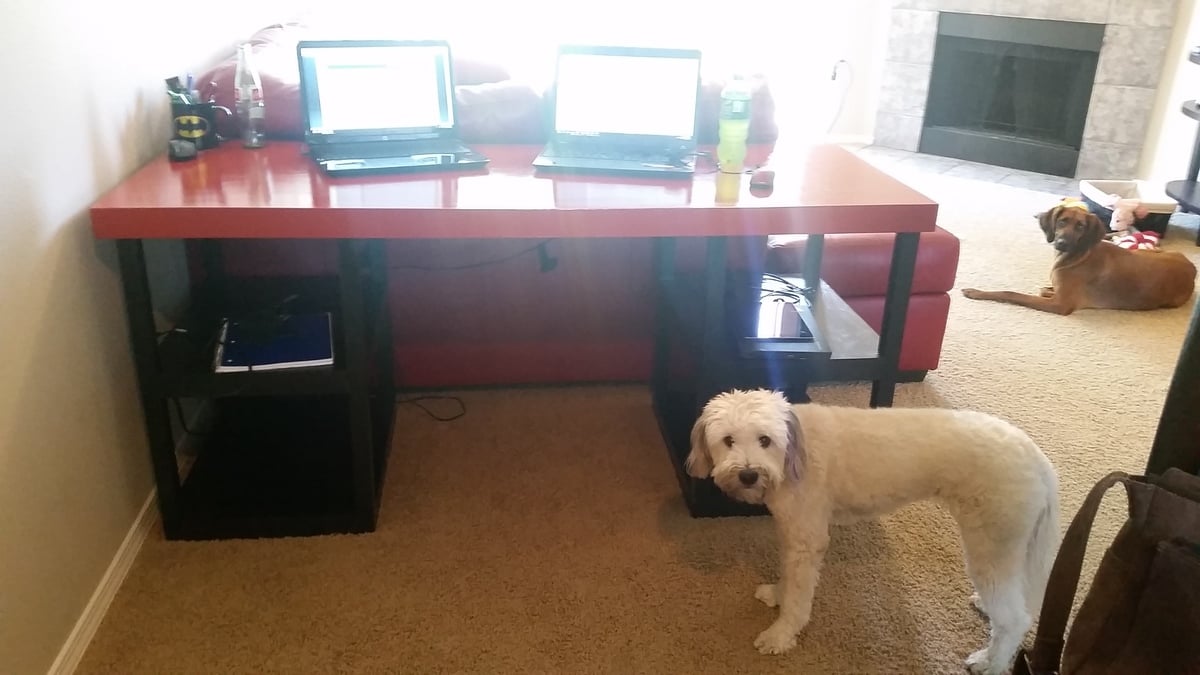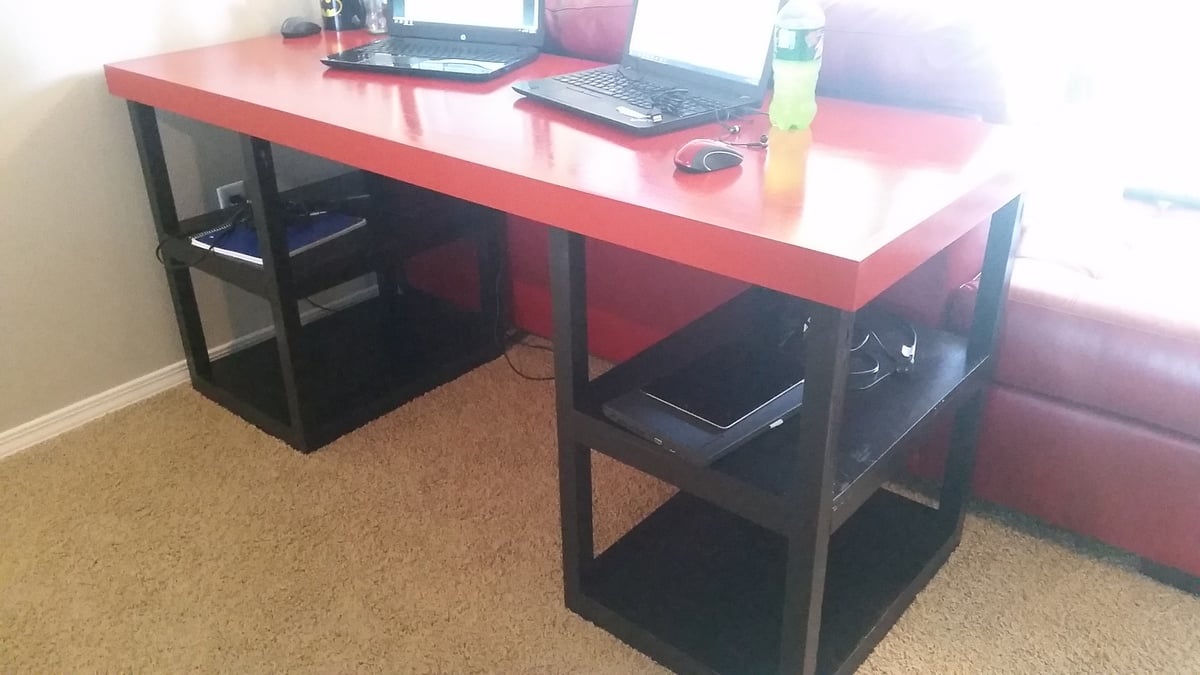
This was a great / simple plan that mostly fitted my needs. i made a few modifications;
1. wider 'human' well - extended the width by 6"
2. Deeper desktop - Extended to 24"
3. 2.5x.75" trim piece around table top - simple MDF
4. plywood on top of 2x2 frames - for all shelves and table top.
(the dimensional modifications required 2 additional 2x2 @8')
I like a larger leg well to shift around in on those long days, so i extended the width by 6" all applied to the foot well. I was still able to use only 1 8x4 piece of .75" sanded plywood. I use 2 computers and a second monitor on one, so I deepened the desktop from 18 to 24" to accomidate my technology. This then required an adjustment to all 15" 2x2s used on the sides, and the shelve stretchers. I prefered to use a Plywood on top of frame method for all shelves and tabletop, for stregnth and asthetics. This required me to make a notch into all 4 corners of each shelf. To accomplish, be sure to start with a squared piece of plywood cut to dimensions, and measure the from the insides of the cutouts for precise fit. The under shelf frames were still affixed with pocket hole screws, the tops of each were screwed to the frame with 2" wood screws (pre drilled) and smoothed over with wood filler. the top received the same, 2x2 frame around the perimiter, along with two additional 21" supports (at the same location as the inner legs from the towers). The top was the affixed with 2" wood screws, and smoothed with wood filler.
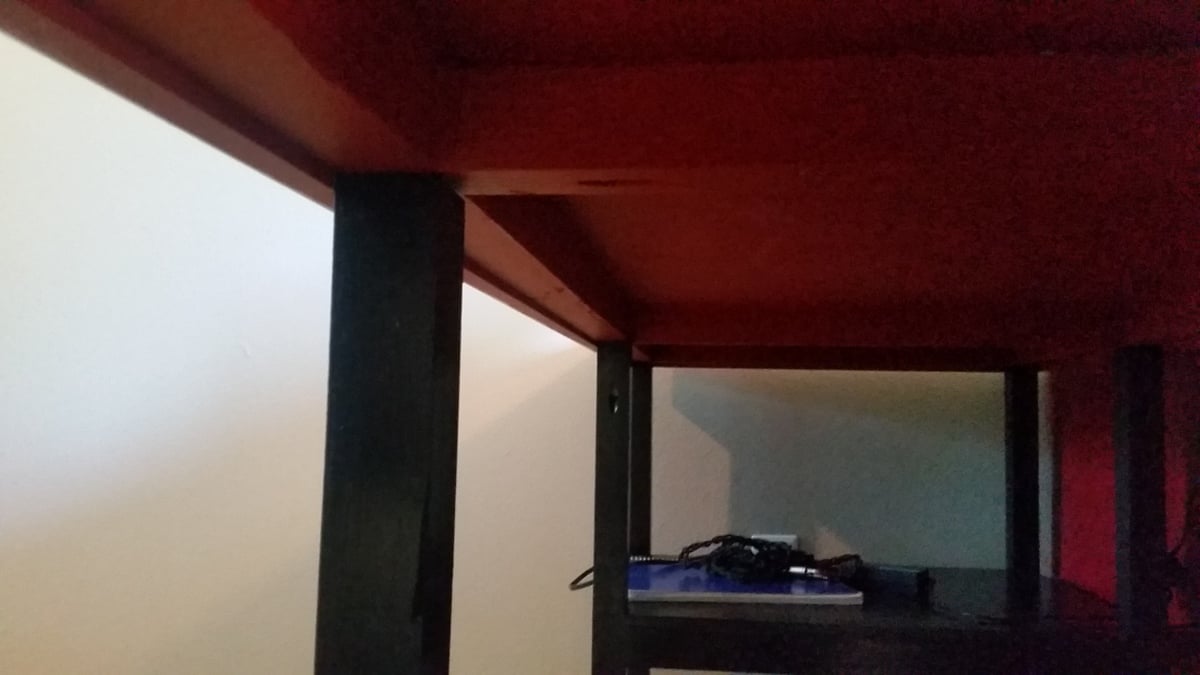
For asthetic purposes, I put in a 2.5x.75" trim piece around the top (to hide the frame/plywood seam) This actually worked out great!! It is mounted flush with the plywood top , 2" wood screws about every 12 inches and a healthy amount of wood glue. (be careful, these come pre-faced with a layer of white.. something.. this does not make a good glueing surface. Sand down before glueing to the tabletop.). Screws were countersunk, add wood filler to smooth. the best part of the trim is that it extendes .25" below the wood frame (1.5" frame, with .75" plywood on top = 2.25" total thickness). this allows allowed me to not screw the towers into the top. The legs fit in underneath the top, butted to the top's frame, and the recess created by the trim holds them in place! This will make for super simple moving should I need to relocate my desk; just lift off the top, and it's in 3 pieces!! this step adds a bit of work and $ (really not too much, 3 2.5"x.75" MDF trim pieces adds an additionan $12, and mounting only took an additional 20 minutes.)
I finished with a two tone top quality paint job, two coats of primer, 2 coats of paint, 2 coats of Polyurathane (3 on the tabletop).
All in all, it worked fantastically!!! it is incredibally sturdy. The plans are simple to follow, and easy to modify, just do the math, and draw it out..
Thank You Ana!
-MikeG.
(ps. the white one is Winnie, the Brown is Henry).


Baer Black - Flat
Baer Moroccon Red - Flat
General Finishes Arm-R-Seal (gave it a satin finish on Flat paint.. not what i was going for, but i love how it looks)