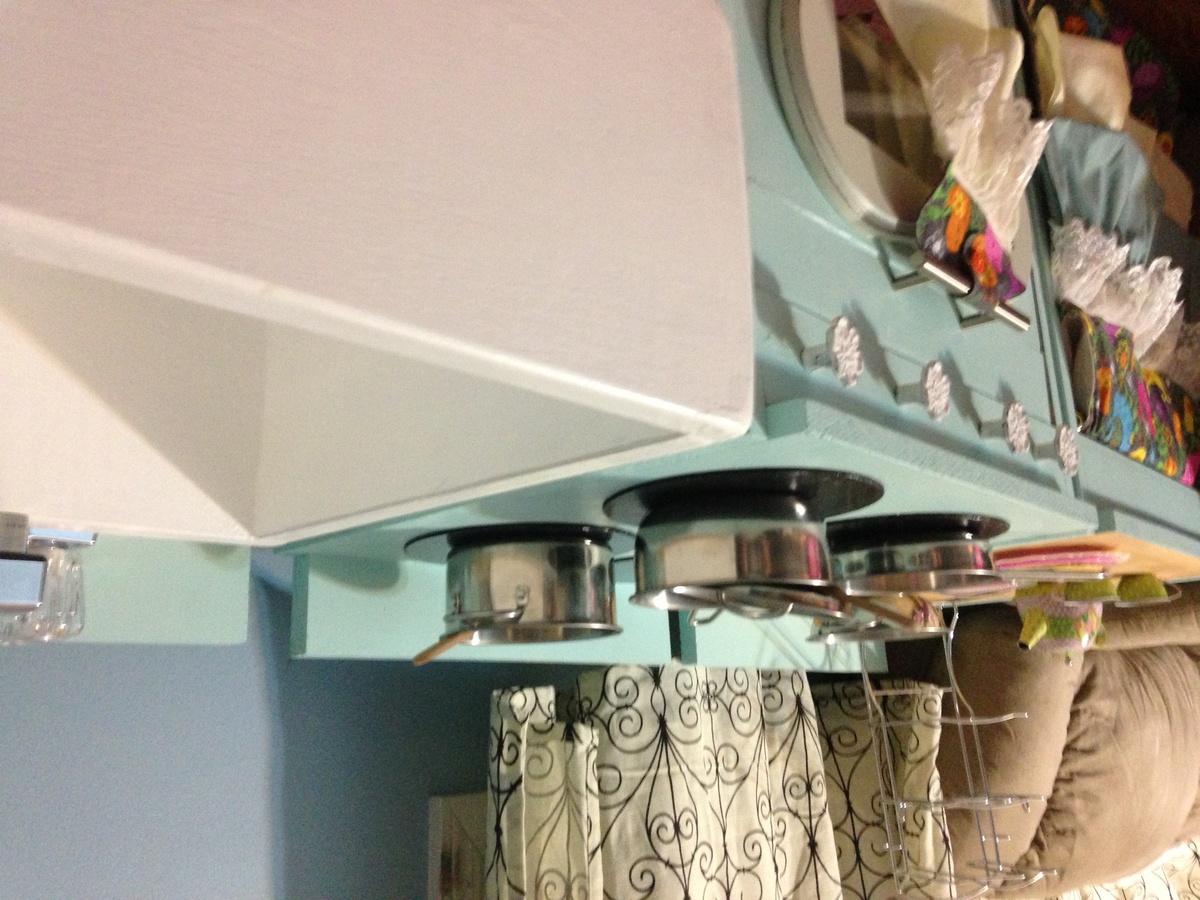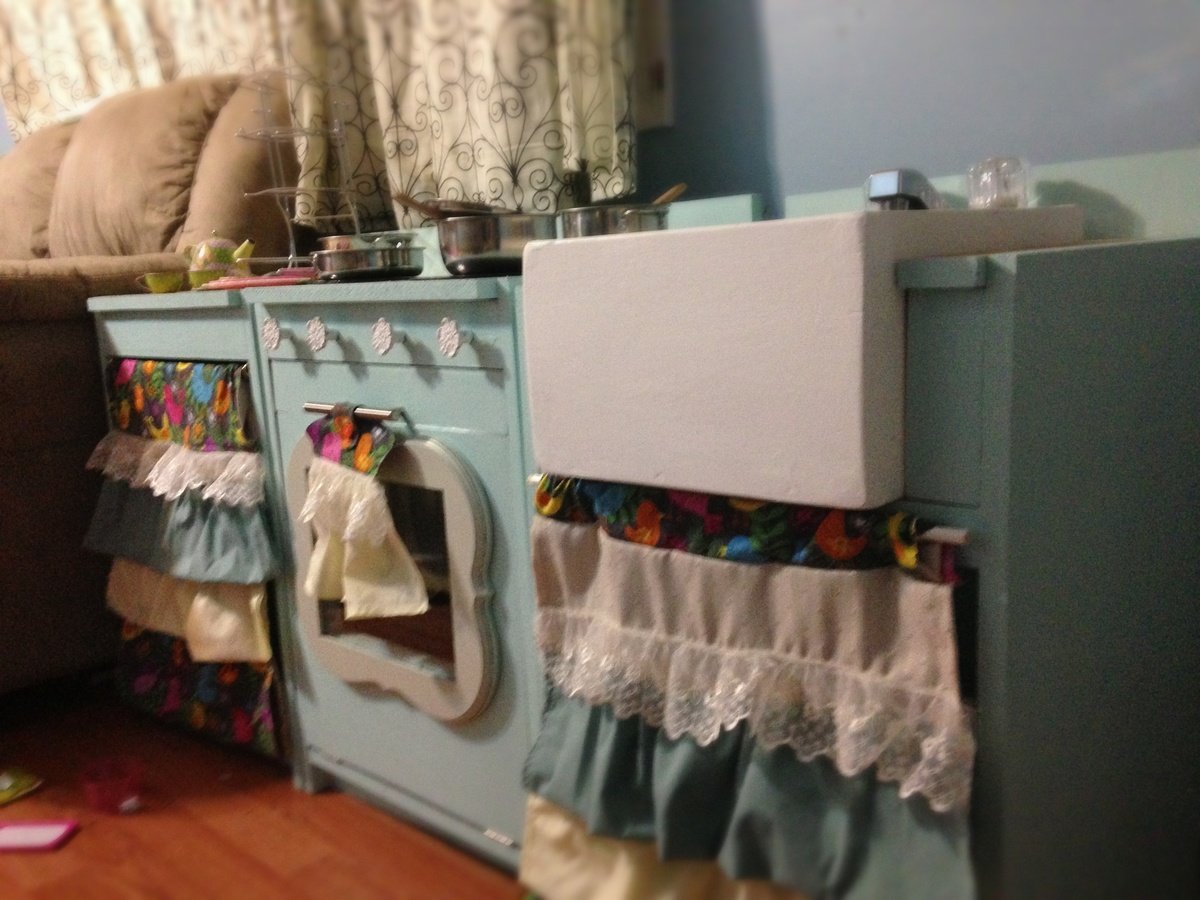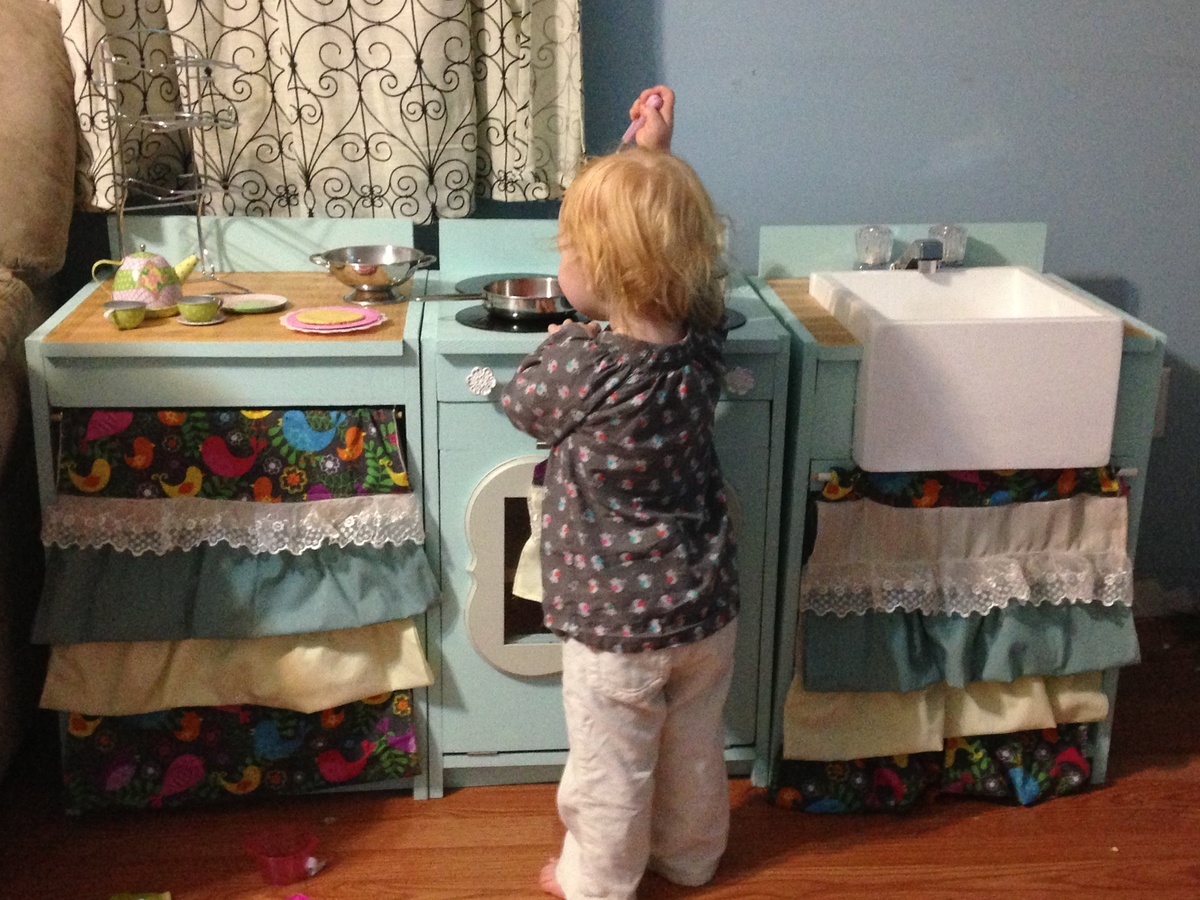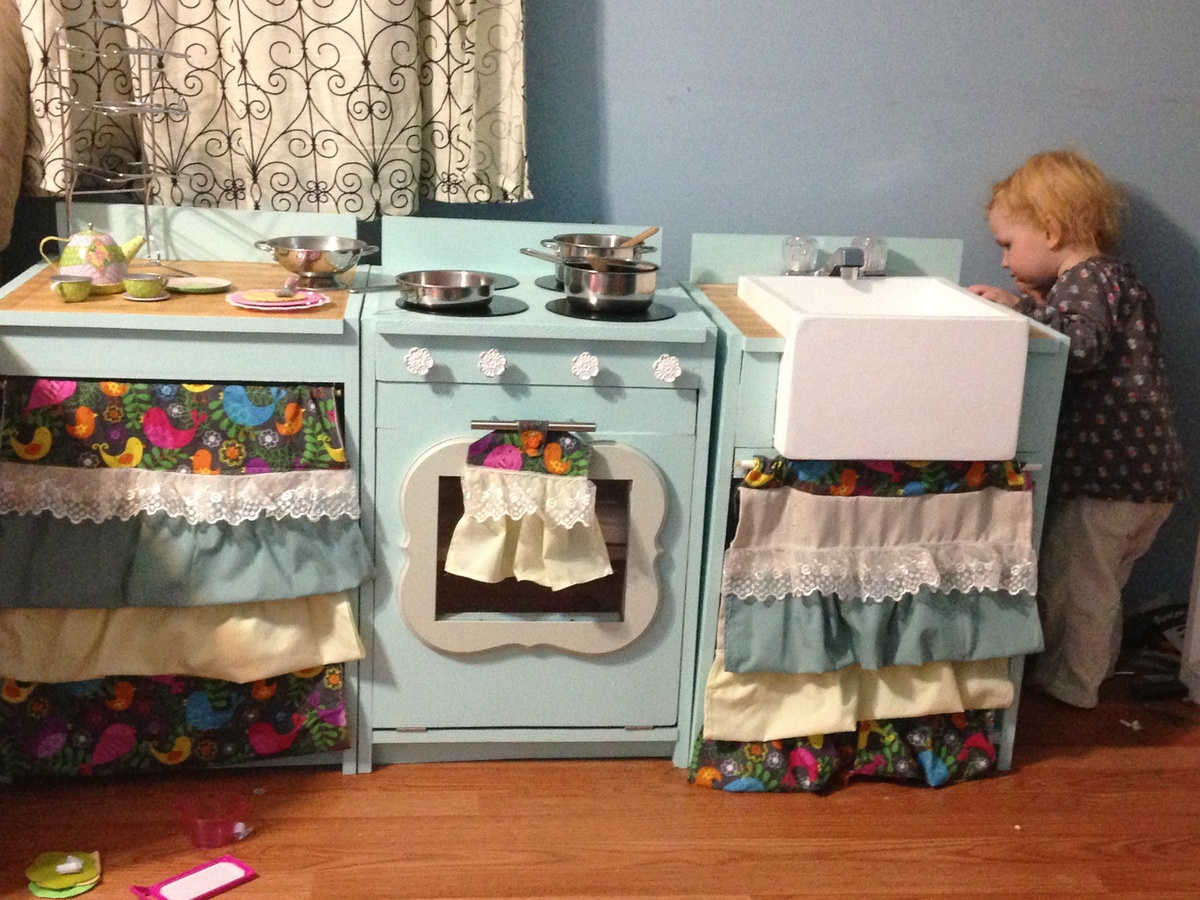
My husband and I worked on this and a dollhouse project simultaneously as our first builds. We did alter the dimensions to be taller and slightly wider than the plans. Being our first attempt, a lot of mistakes were made, especially given our limited tool resource. We learned a lot, though, and the end result is a hit with our little girl despite all the wonky bits.
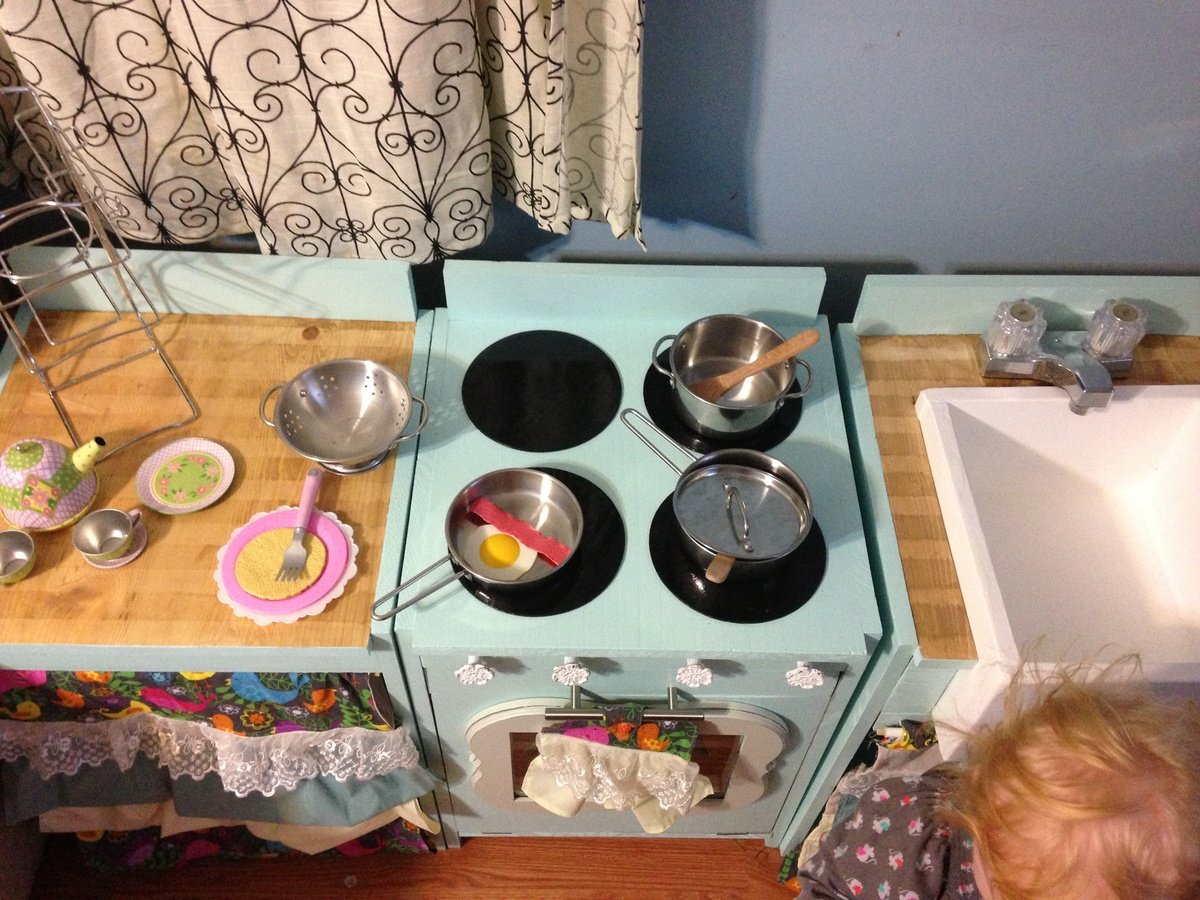
We opted for the farmhouse sink style, which was quite a bit of work for our newbie skills, but I think it was well worth it. I want a farmhouse sink my kitchen, so I'll just live vicariously! Plus, her toy pots and pans are stainless steel, so it's nice to not have a metal sink that would clang when her dishes are in there. We also opted for now to do an extra unit of "counter space" in lieu of a refrigerator. We do plan on making a fridge further down the road and even hope to alter these plans to make a washer and dryer set.
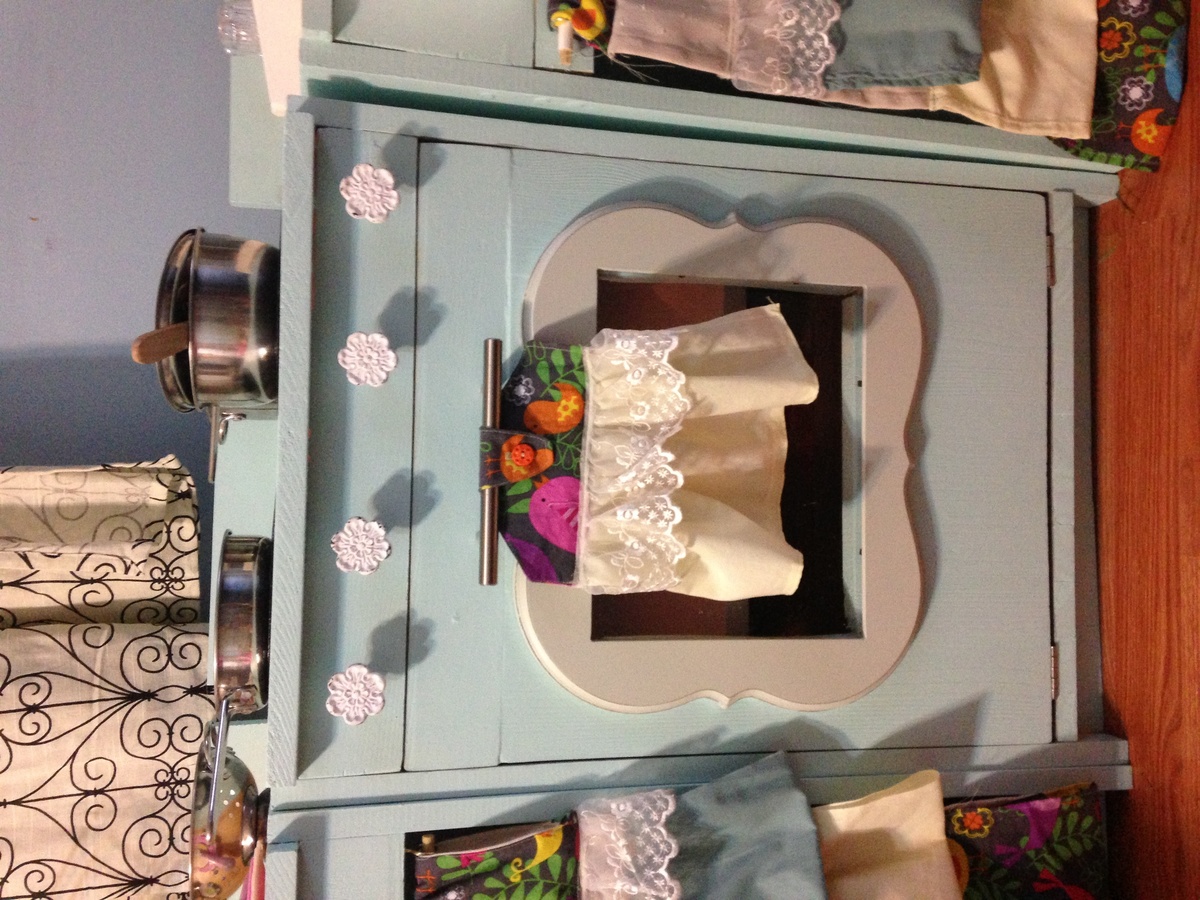
Regretfully, I can't recall the name of this color. I'm really pleased with it, though, and plan on using the remainder on a sewing table build. I already had all the supplies I used for the curtains (mostly remnant sales and an old curtain I recycled for the backing fabric). I do want to find a wood shape that I can attach to the burners to give it a gas stove look. That and varnish on the counter tops are still lacking here. We also added a tap light inside the oven and painted it a stony grey.
The construction went by pretty quickly, but I'd say the painting and decorating take it from a day project to a weekend project.
