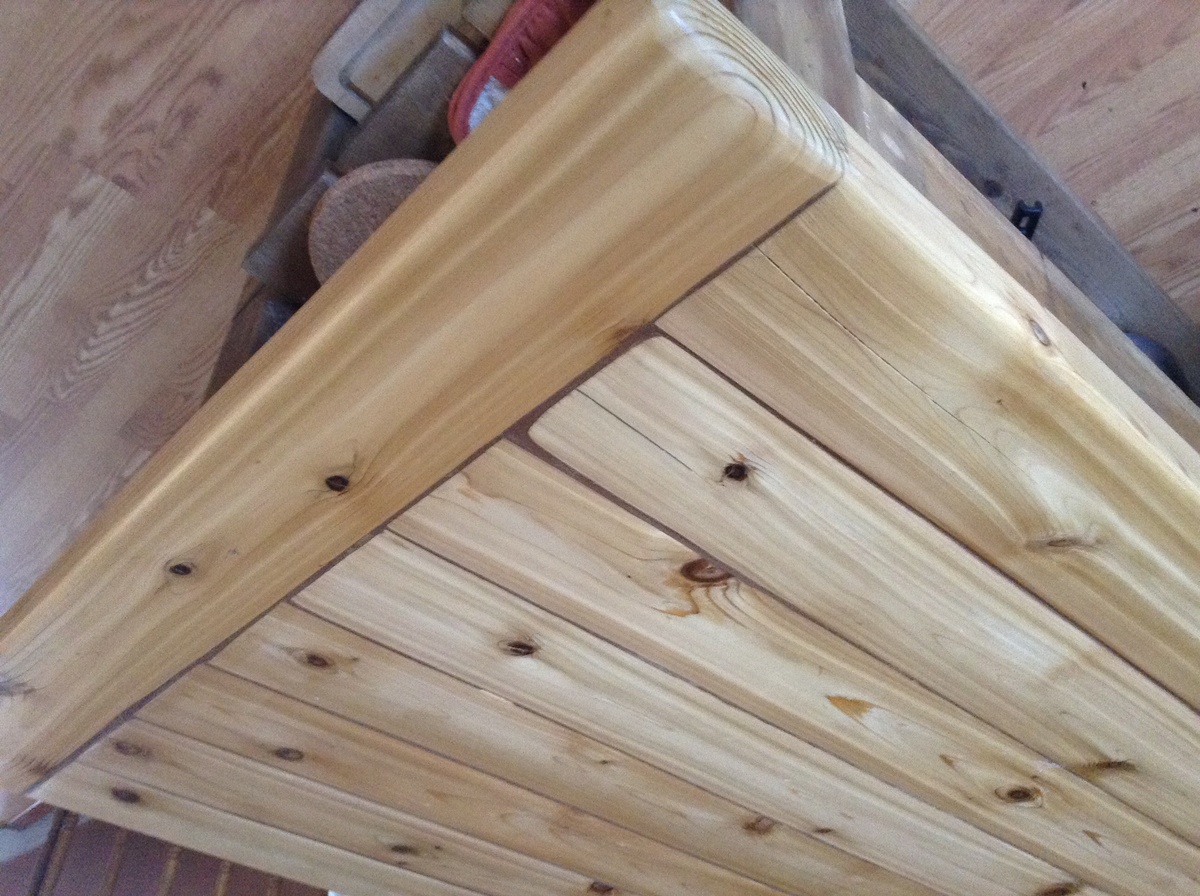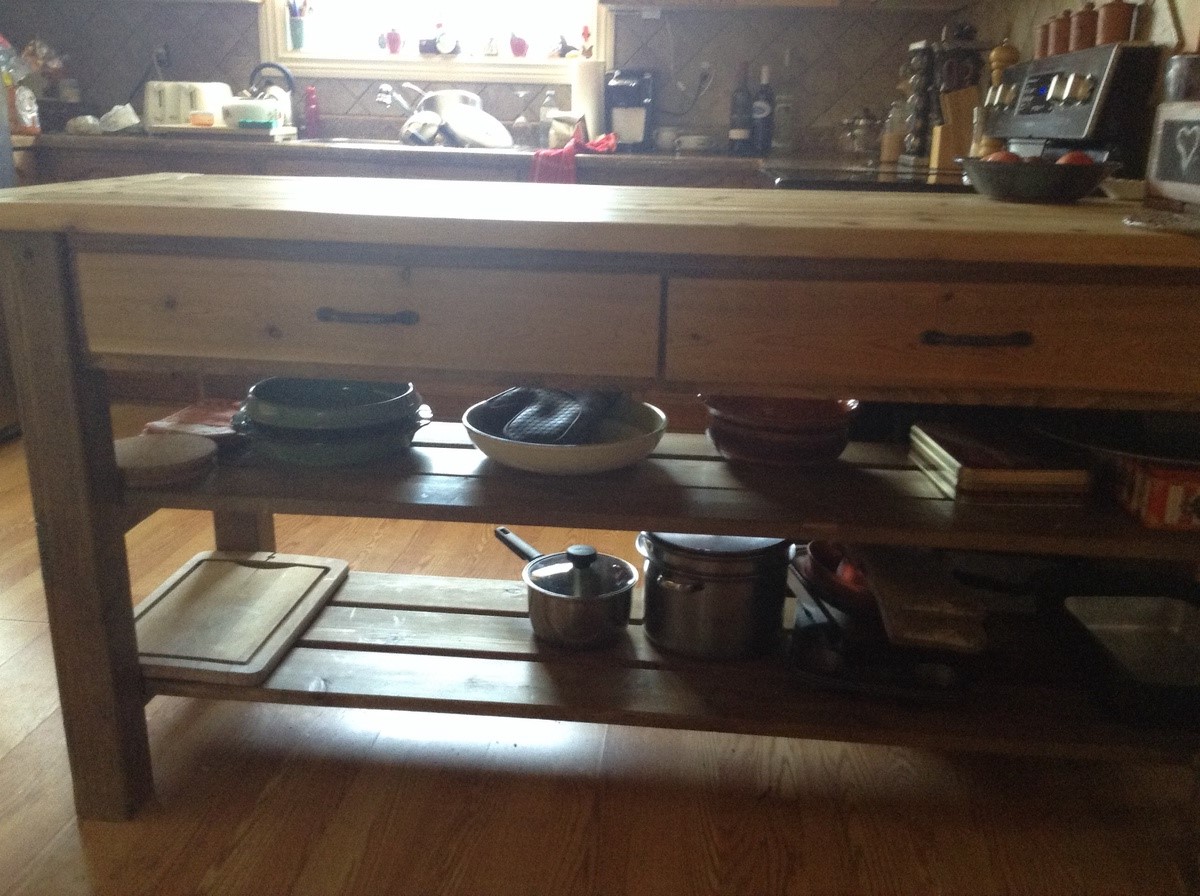
The original plans were altered to measure 6 feet long to fit the space. The top is all cedar which I had planned to keep unfinished and oil each month. Well, that was the plan until I found that it was very hard to clean with kids eating on it and because the 2x4 boards were screwed down, they allowed a lot of food, water to seep through. Some of the boards began splitting and warped considerably. Then I discovered the pocket hole jig!! I took the top off, gave a good sand to them and attached all with pocket hole screws which tightened them up so much that I needed to add an extra 2x4 to adequately cover the top of the island. I also added a breadboard to the end to give it that finished look. To fill in the grooves I used wood filler with a dark pigment, and gave it a really good sanding after it dried. I then applied Varathane in 4 coats to the top after using steel wool in between coats. Gives it a lovely natural cedar patina and keeps the breadcrumbs out.