
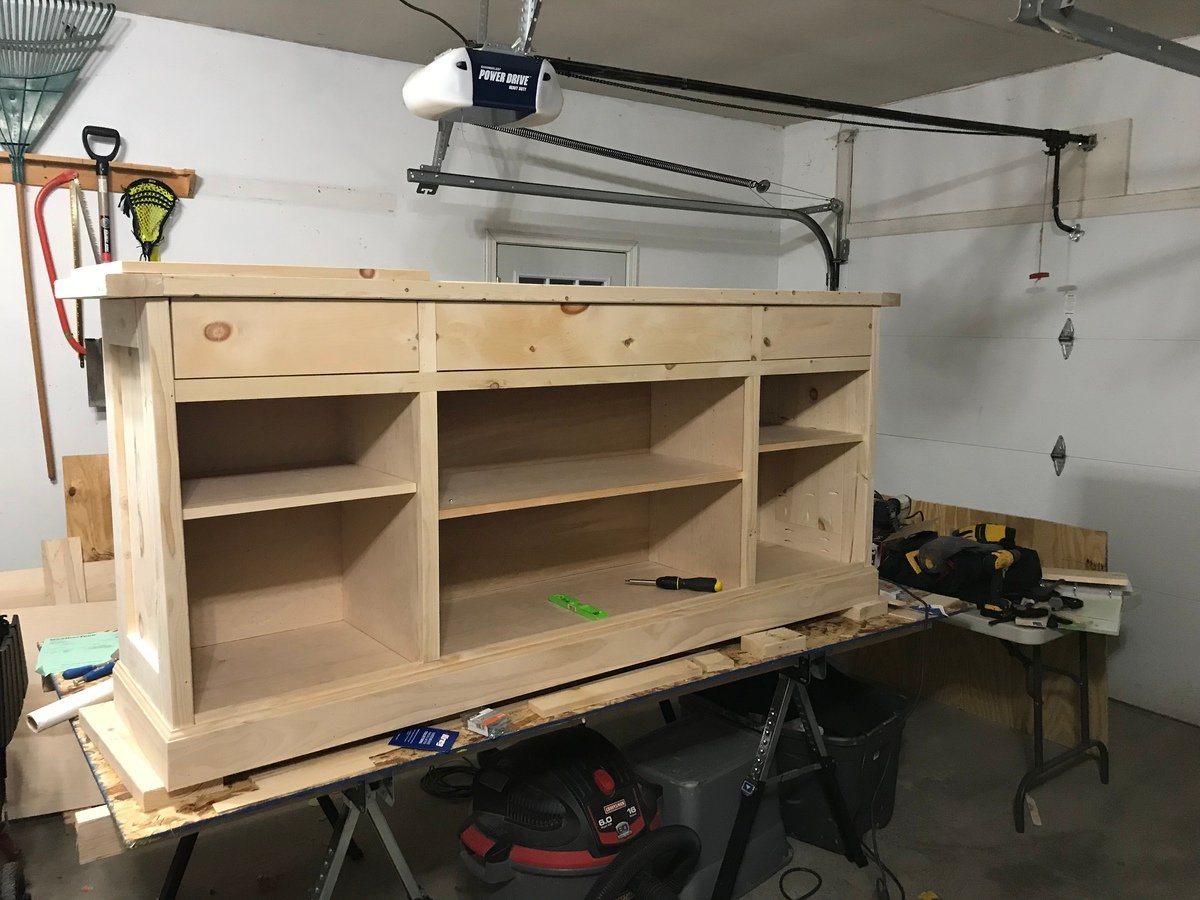
This project was a lot of fun to build. I always learn something along the way. The sideboard filled the one wall in our kitchen, taking the place of a bench and a drop zone for miscellaneous stuff. Now we can keep those things out of view with proper storage spaces.
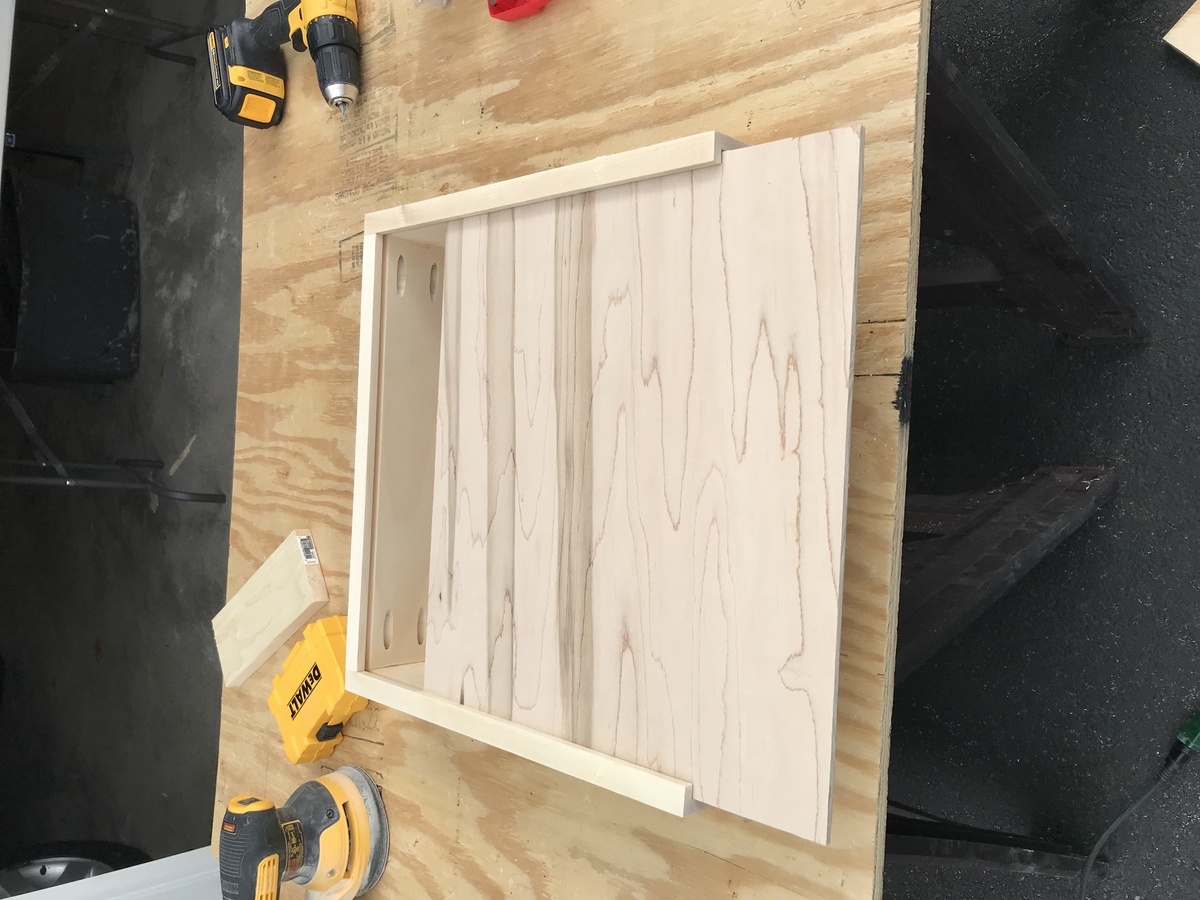
I routed a channel into the front and side pieces of the drawers so that I could slide the 1/4 plywood bottom in. I then screwed the bottom to the back piece which I ripped down to size. This way if I need to change out the drawer bottom I can just unscrew it from the back and replace it if needed.
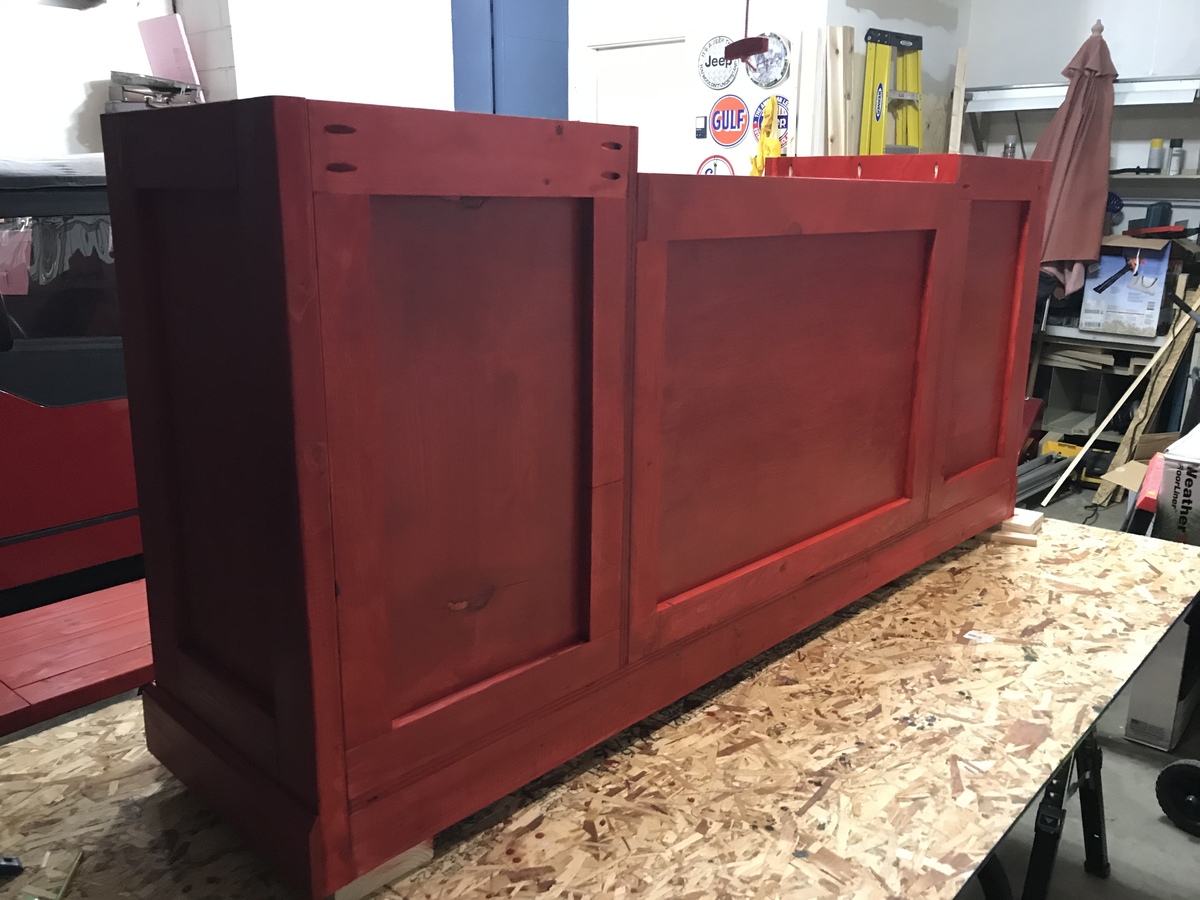
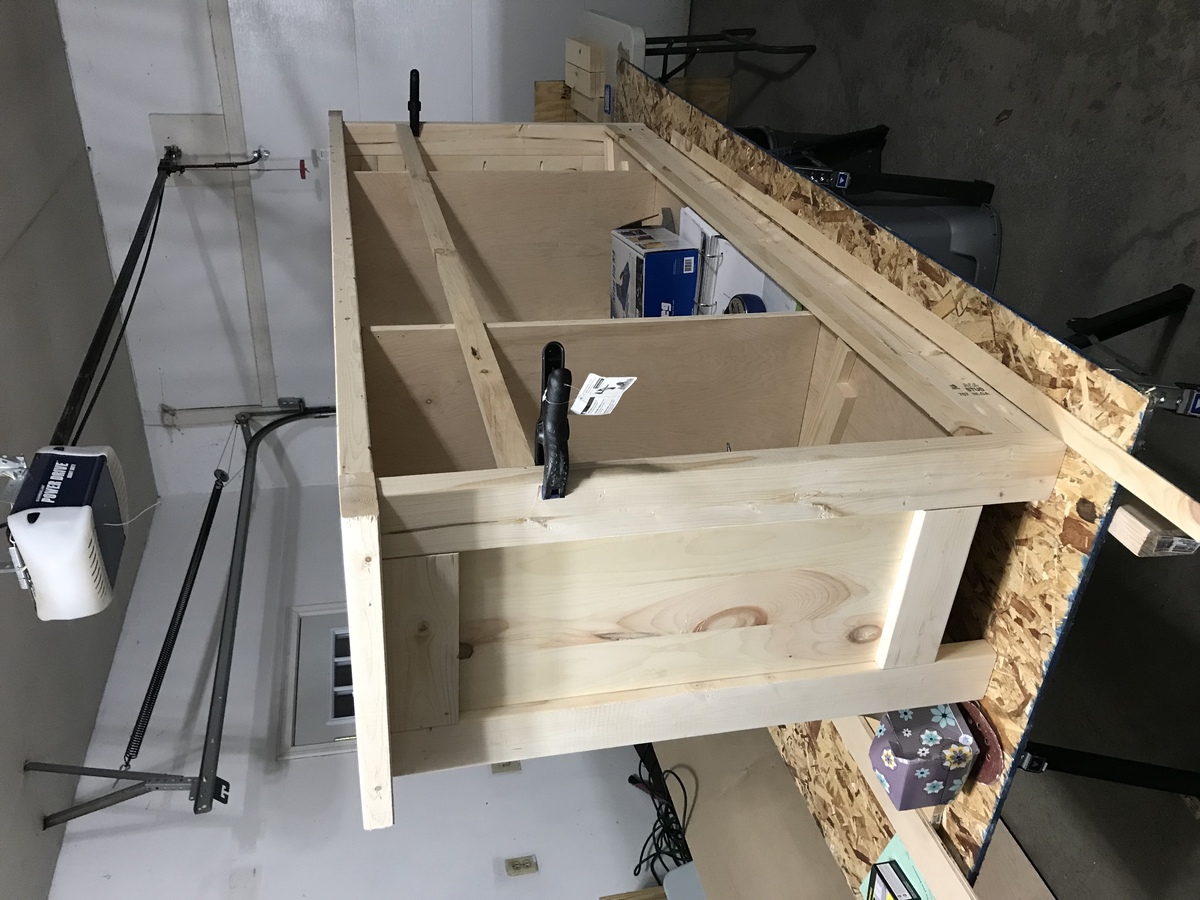
i also chose to finish the back up a bit more in case we decided to ever move it off a wall in the future.
Thanks for the great plans Ana!
Built from Plan(s)
Estimated Cost
$300
Estimated Time Investment
Week Long Project (20 Hours or More)
Finish Used
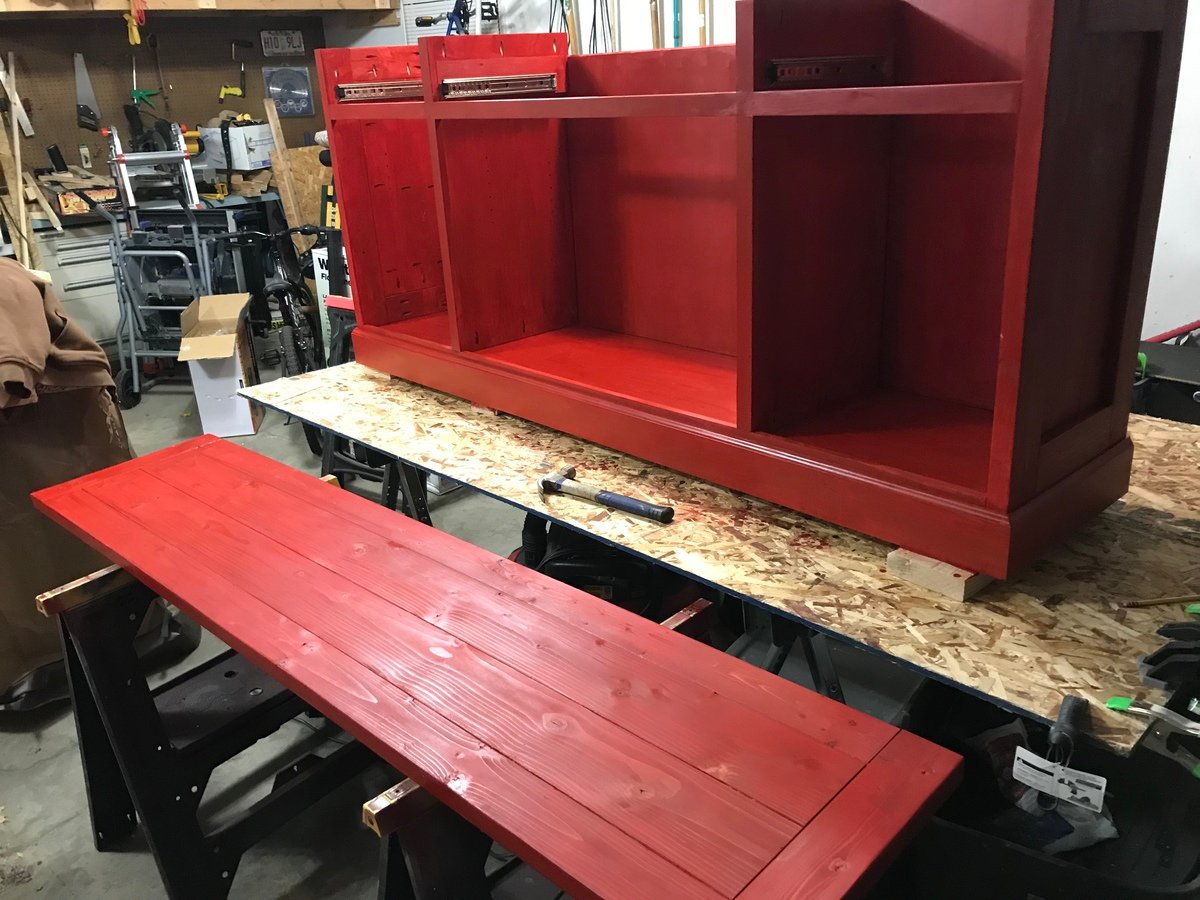
Minwax pre-stain conditioner followed by two coats of Minwax Scarlet stain. I chose not to wipe the stain and let it just dry between coats. I then put a coat of polyurethane over the stain.
Recommended Skill Level
Intermediate