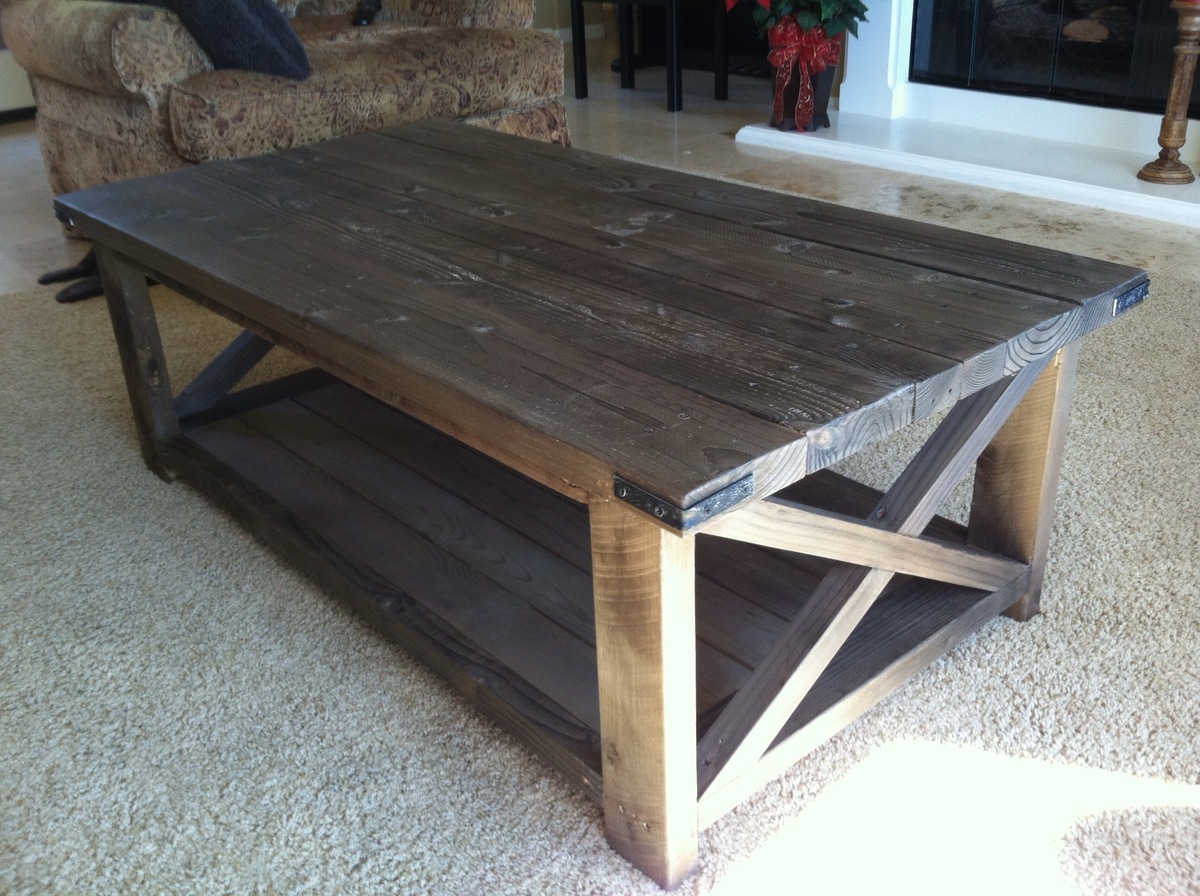
To build my Rustic X coffee table I went about it as cheap as I could. I found all of my wood either through crap piles at lumber yards or from free wood piles on craigslist. The interesting part was trying to find the pieces for the top which I had to improvise with the two 2x3 pieces in the middle of the four 2x6's also instead of using the two 1x42x12 pieces for the bottom shelf I could not find what was asked for so I used a few 1x4's which worked out great. The only other change I made to the plans was to change how the X's attached to the main frame. The original plans wanted the X's to butt up against the sides while I cut them to be flush with the top and bottom of the frame.
The only things that I purchased were the bracers, steel wool and vinegar and tea for the stain, and the screws. The only tools I own are a measuring tape and a pencil, luckily I have a friend with a full woodshop who helped me out. I followed the instructions on http://thefriendlyhome.blogspot.com/2012/07/how-to-oxidize-wood.html to make the stain. I left a wad of steel wool in white vinegar (about 2/3 of a pasta sauce jar full) for about 5 weeks. After all the cuts had been made and the table put together I sanded it by hand and then stained it. After the stain had dried I waxed the surface with Minwax paste finishing wax. I would love to enjoy my table but for lack of room in my 160 foot dorm room I've had to leave it in a friends apartment for now.
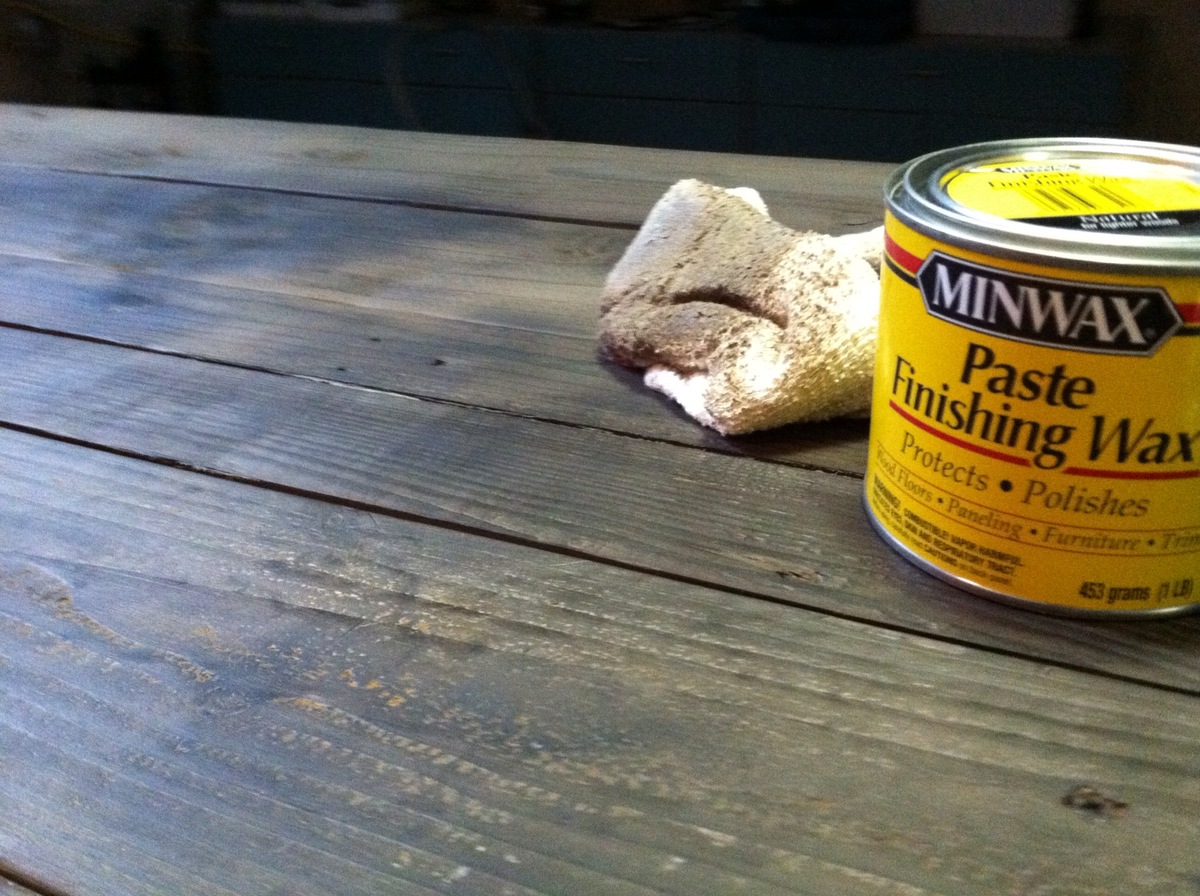
I followed this website almost exactly. I left my steel wool in for about 5 weeks. I used an earl grey tea and put on 2 coats for the whole table except for the lighter pine which made up the bottom shelf in which I put on 3 coats, I now wish that I had put on four or five to get the colors closer, these ended up lighter than the rest of the table. I did not sand the table after I applied the tea. After the tea dried I then applied the oxidizing agent to the entire piece. I put on a second coat of oxidizing agent to the bottom shelf which did not seem to make a huge difference. After this had dried I took a old rag and the minwax finishing paste and went to town on the top. I put on two coats for the top and just a single coat everywhere else (CAREFUL THIS STUFF IS POWERFUL APPLY IT IN A WELL VENTILATED AREA) oh and you might want to work out for a good month if you are planning on buffing by hand, I was sore! When I was done with this I let it dry and brought it inside to show it off. To my dismay I woke up the next morning to discover that my little brother and his friends had spilled something on the table that ruined the stain, this was extremely disappointing, but I took it back out and resanded the stained part and reapplied the tea, oxidizing agent and wax. The redone spot ended up close to the rest of the table but no one else could tell because it is supposed to look rustic. My other frustration was that my friends burnt a candle in a glass jar on the table which kind of burnt a half ring on the table top, but again it just adds to the rustic look I guess.
Comments
Robohead
Mon, 12/10/2012 - 10:51
That table looks great! I
That table looks great! I agree, any imperfections in the table just add to the rustic look. And it doesn't get any better than free. :)
Pamela M. (not verified)
Mon, 12/10/2012 - 15:47
Stain saving solution
Your coffee table looks awesome, and it's so great that you were able to get free/cheap lumber. I wanted to share a little info that I learned about the vinegar stain. I used it on a picture frame and wanted a little more weathered look. I had read that lemon juice will reverse the oxidation, and sure enough, it did just that. I ended up with a beautiful frame with streaks of natural wood through it, where I brushed on some lemon juice. Perhaps your brother and friend spilled lemonade or other citrus drink that reversed the oxidation.