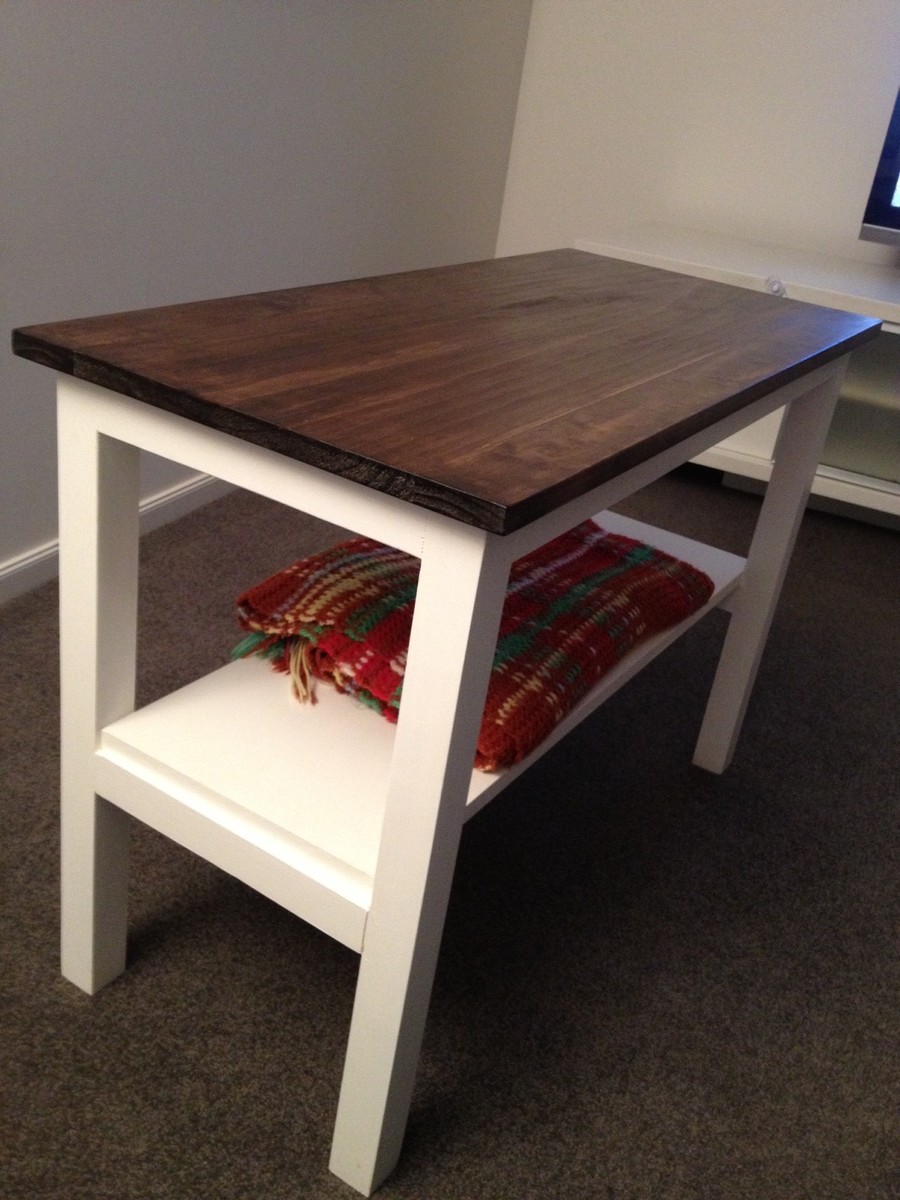
I spent a few hours on a Saturday cutting the wood for this project and drilling the holes and putting it all together. It's a very sturdy side table....
I made two small errors -
1) When I bought the 285mm * 17mm pine for the centre piece of the top I neglected to check whether the board was dead flat - it wasn't and was bowed slighty, however, after the top has been attached to the base it's not noticeable.
2) The other error was my shelf - it wasn't quite long enough....I think that I made this error because my legs may have had a slightly different size to the wood/lumber from the USA (where the plans are from).
All in all, I'm very happy with the table. It looks great and is super sturdy.

Built from Plan(s)
Estimated Time Investment
Afternoon Project (3-6 Hours)
Finish Used
Top finished with:
1) One coat of Minwax Pre-Stain Wood Conditioner - applied with a rag and left to dry for about an hour, then,
2) I applied Minwax Wood Finish Stain - Dark Walnut colour. I left the stain to soak for about 4-5 minutes and then wiped the excess off the table top.
3) Finally, three coats of Minwax Water Based Wipe on Poly - Clear Gloss. I sanded this gently with 240 grit sand paper between coats.
Base:
1) I primed the base with a Taubmans white primer, then
2) I applied three coats of a Dulux low sheen acrylic paint.
3) As per the table top, three coats of Minwax wipe on Poly were applied.
Note: I primed and painted the base of the side table and then conditioned and stained the top. After both of these were done I screwed the table top with 50mm 8G self tapping wood screws to the base. I then applied the three coats of wipe on Poly mentioned above.
The wipe on poly rocks!!! No smell what so ever....
The cutting, drilling of the pocket holes and putting the tab;le together was reasonably quick - 1 to 2 hours, however, it's the painting, sanding, staining and applying the poly that takes the bulk of the time with this project.
The table is 42inches long in Ana's plans - I shortened mine to 37 inches to suit my room better.
Recommended Skill Level
Beginner