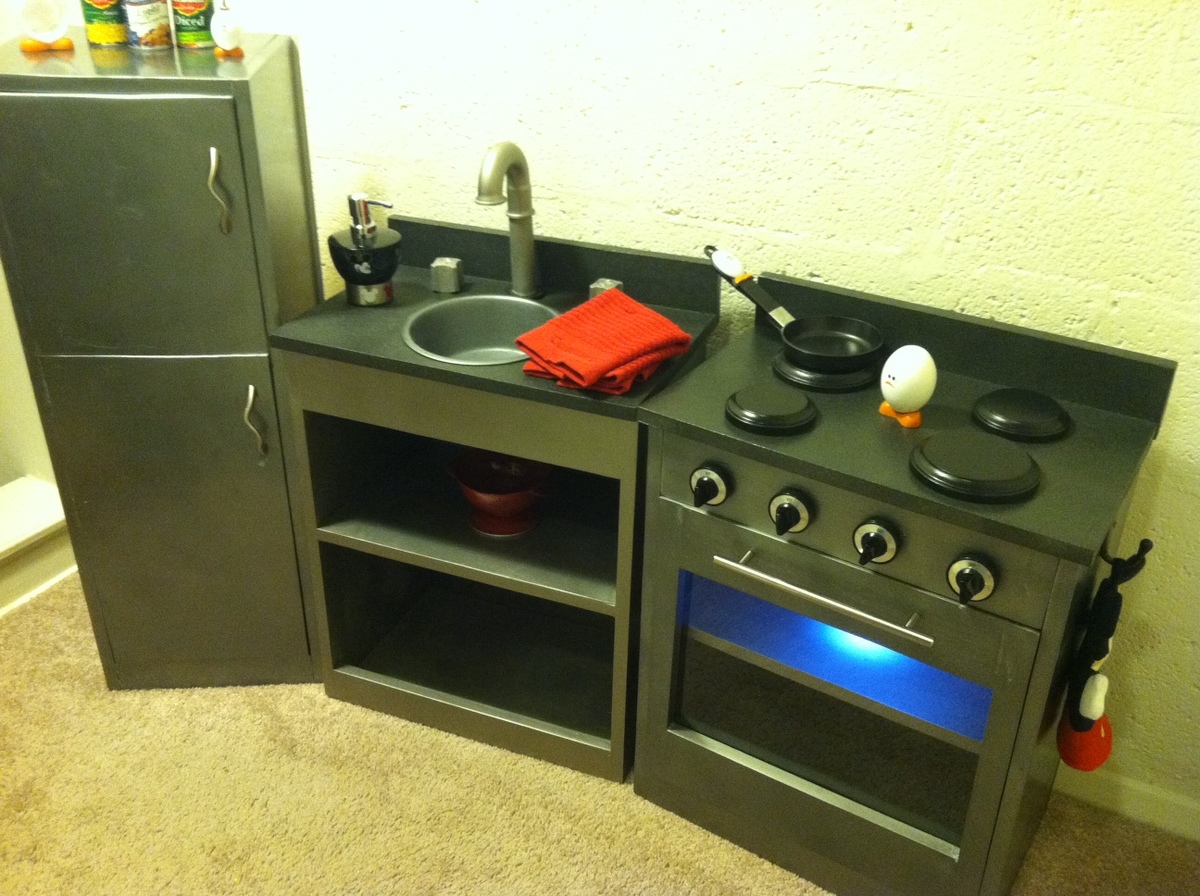
This was my first build! I made this kitchen for my 2 1/2 year old son, and he LOVES it! I used the Kreg Jig which made it super easy to build. It was the finishing that took the most time. That and I had to squeeze the work in during naptimes and bedtimes.
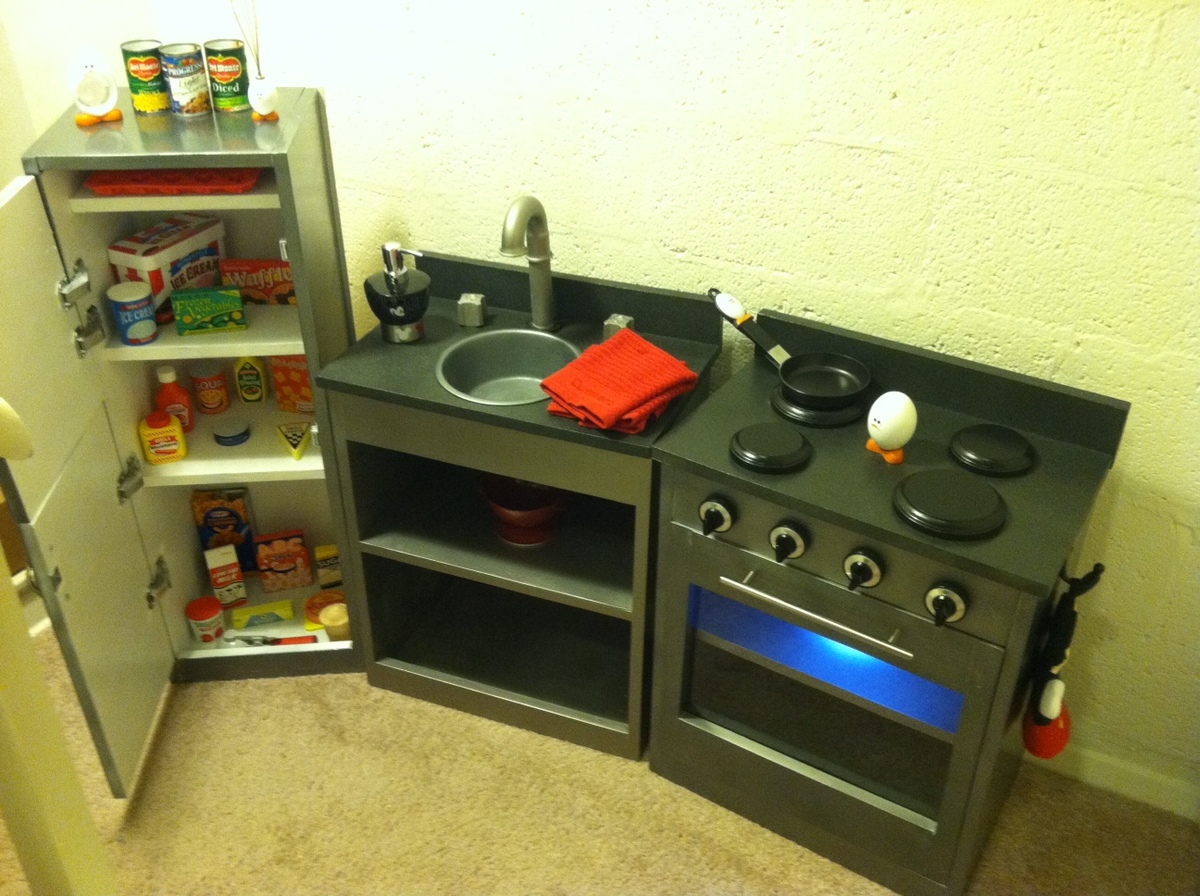
I followed the plans for the Simple Play Kitchen and also the Old School Fridge. I added 3 inches to the height and width of the sink and stove pieces after reading another post. The fridge I kept the same dimensions as in the plan.
For the accessories:
Fridge handles: under 3$ each at Lowe's, Stove handle about 4-5$
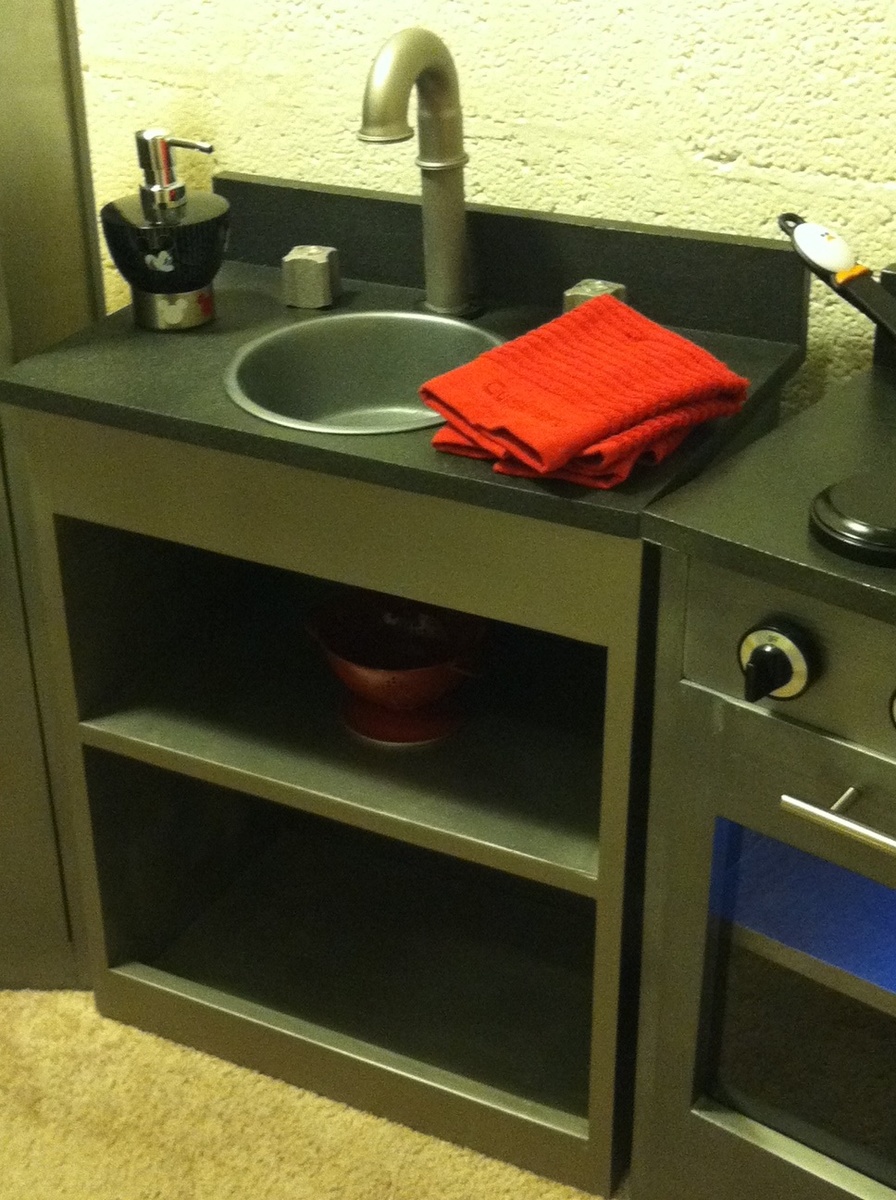
Sink faucet: random plumbing part from the plumbing aisle at Home Depot, glued together and then spray painted
Sink hot and cold knobs: clearance replacement knobs from Home Depot
SInk: pet food dish spray painted
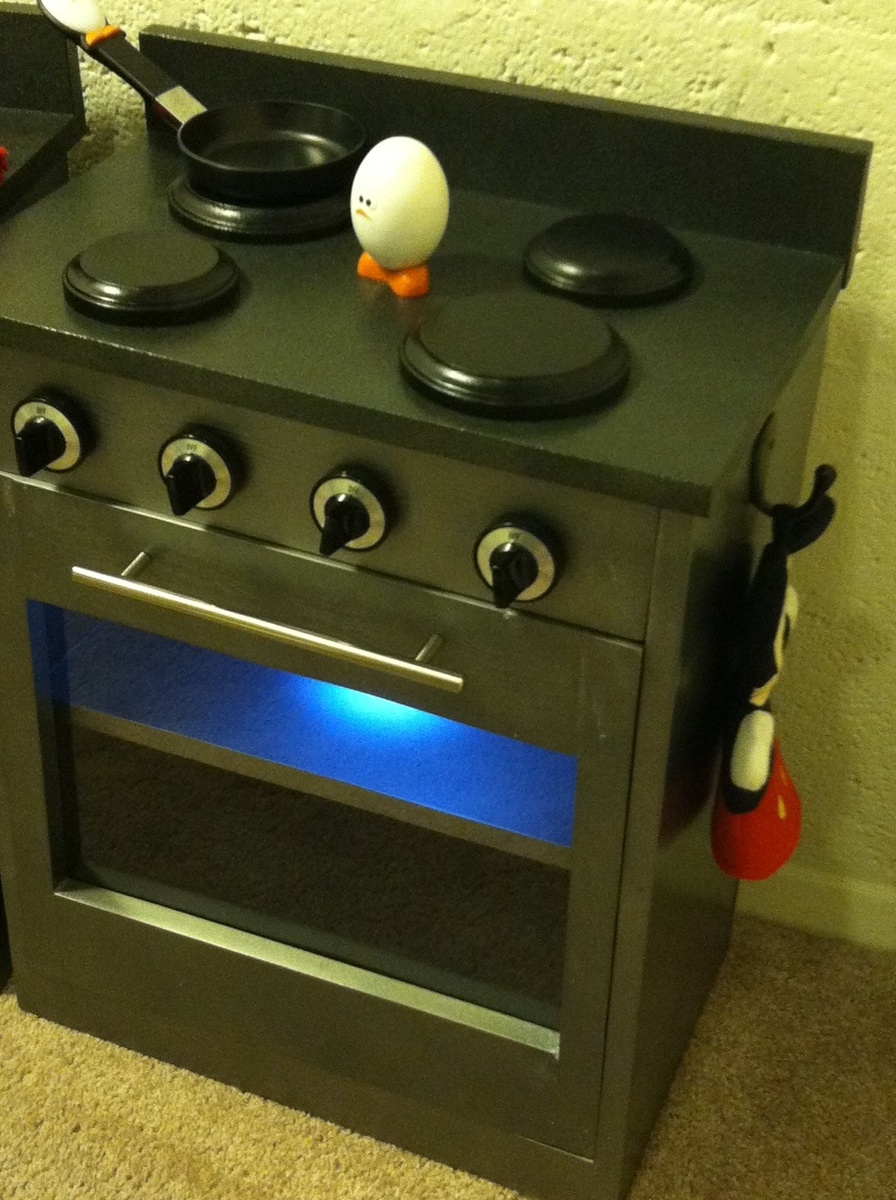
Stove burners: wooden discs from Michael's, spray painted black
Stove Knobs: replacement knobs also found at Home Depot
Stove Light: $5 at Home Depot, it's battery-powered push light, and happened to have a magnet on the back of it, so I screwed a magnet plate in the oven and now it stays in place, the velcro didn't work
Towels and other accessories found on clearance at Marshalls
The building part went quickly like I said, but the finish took forever! But it was worth it to see the look on my son's face when he finally saw it. He loves it!
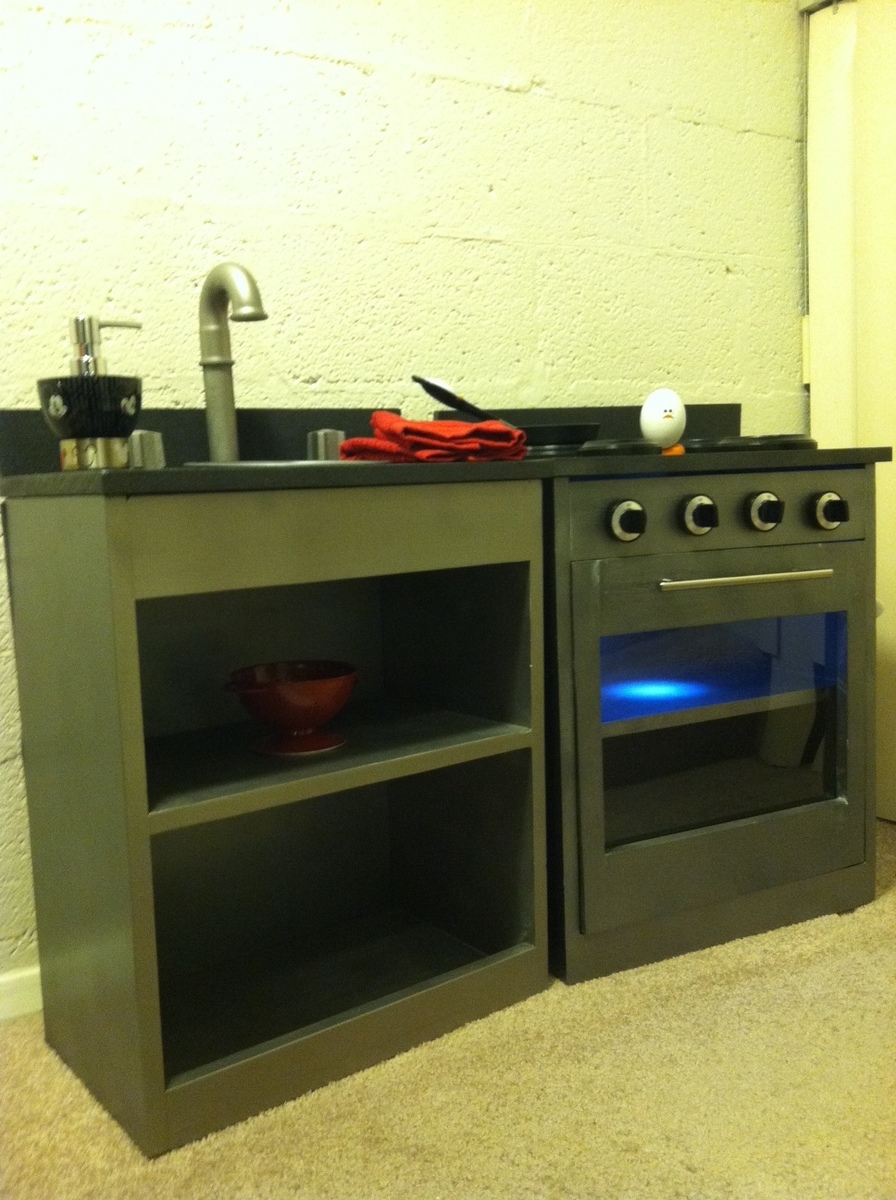
Rustoleum Multicolor Textured Spray Paint in "Aged Iron", used 2-3 coats each, then used Rustoleum Fast-Drying Polyurethane finish, 2 coats each
Sink and Stove body pieces:
This was frustrating. I wanted a stainless steel finish, and thought the one that got the best reviews was Krylon Spray paint in Stainless Steel finish. It didn't work out well at all for me. First, it was difficult to find, I could only find it at Michaels and they only had a couple cans of it. It seemed to not coat well even with the primer on. It also had a glittery substance that didn't go on uniformly, so there were splotches of it here and there. Then oddly, some black glittery stuff would appear. I did shake it well before I used it. So I ended up sanding and using so much of the stuff and never got a good finish.
I ended up using Rustoleum Metallic Spray Paint in "Dark Steel", for the final coat, which was close in color, without the glitter, and covered pretty well.
Fridge: for the fridge, I tried to use the Rustoleum Magnetic Primer. This was a disaster for me! It was very thick and didn't mix very well at all. It used a foam brush to put it on, I wish I had used a small roller brush instead, I think that would have been better. It streaked and dried streaky. After a lot of sanding and re-priming with normal primer, I had a decent finish, with some defects from the magnetic primer I just couldn't get out. I used only the Rustoleum Metallic in Dark Steel on the Fridge.
Poly: Rustoleum soft finish in Matte.
Comments
joshuaaslocum15
Fri, 05/06/2016 - 11:50
Finally!
I couldn't help but get a little excided when I found this play kitchen you have built. I am currently building a tiny house in my daughter’s bedroom and I am working on her kitchen. I have been having nothing but nightmares trying to get a realistic stainless steel appliance look. I have tried stainless steel contact paper and the exact same glittery stainless steel spray paint you tried before. I also ended up with a horrible outcome and had to sand everything back down and start over. I can wait to go to home depot and get the colors you used for your final coats and give them a try. You may have just saved my workshop from a father that might have went incredible hulk on it from one more failed attempt at creating stainless steel looking play furniture... Thank you!!!