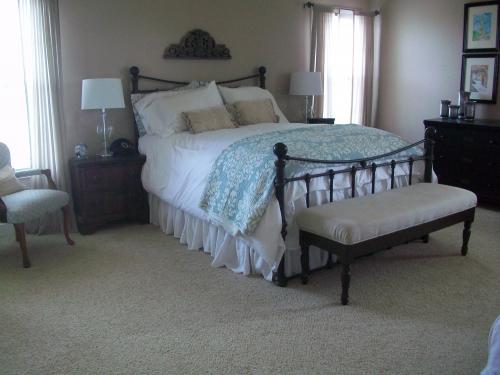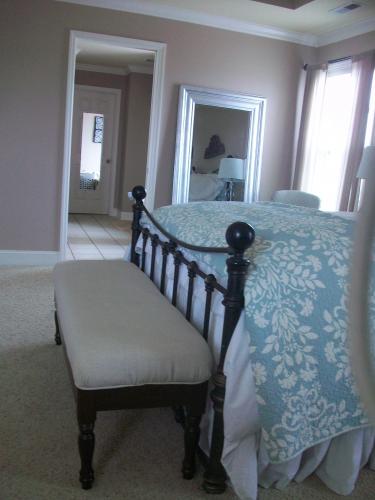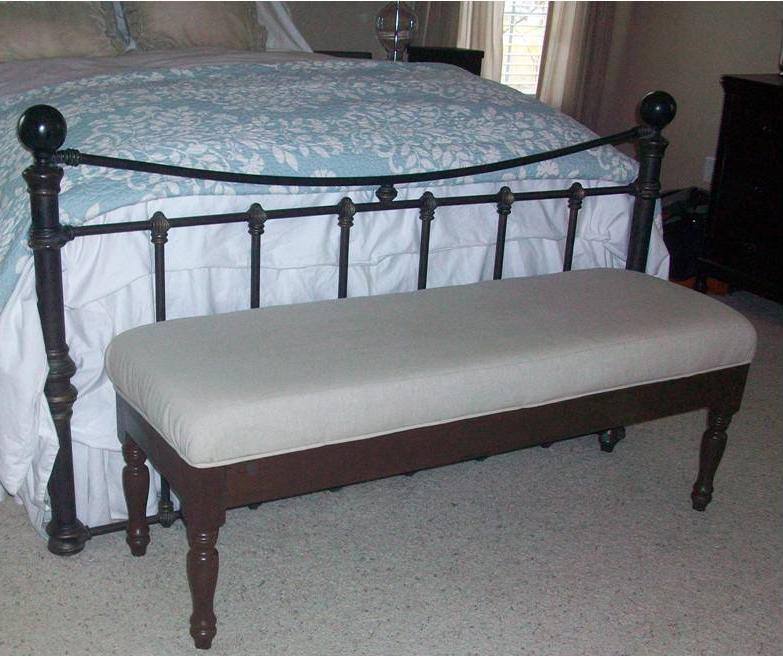
I wanted an upholstered bench for the end of my bed but could not find one with the right measurements. So what to do when that happens, build your own. I used the easiest upholstered bench plans as my starting point, but incorporated turned legs from Home Depot and upholstered the cushion instead of making a slipcover for a more traditional look. I made the bench measurements one inch smaller in depth and one inch smaller in length than the plans to fit the end of my queen size bed. I used the pocket hole (Kreg ) jig to attach the legs to the 2x4s and pre-drilled holes in the base to eventually attache the upholstered top. I used stain applied very heavily as the grain on the legs was different than the 2x4s.After putting the frame together and staining it, I stapled fabric over 3 inch foam and a layer of batting to the unattached top MDF board. The best way to cut foam to size is with an electric carving knife. I then stapled fabric covered piping around the edge of the fabric. I finished it off by turning the whole thing upside down and attaching the finished upholstered top to the frame by screwing them together with the pre-drilled pocket holes. I love the way it finishes off our room and it looks very professional. As always, the hardest part of the project is not the building, but the staining and getting the upholstery just right.