Search Results
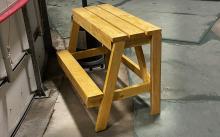
… seat frame with two screws per joint. … Attach legs to outside of the bench with screws at a slight angle into legs. … Attach back support between the back legs. … Turn bench over and attach the side leg supports. Make sure the legs are … with screws. … Attach seat boards on top and on footrest. … Tall Bench Seat with Footrest …
Read More
Project Plan
… … Lather, rinse, repeat: you need three more legs to build the bench. … Next, cut a 2x4 into four sections, each three inches in … that my flimsy one-inch top will ultimately lack. … Sturdy Work Bench …
Read More
Project Plan
… for the Cube Collection, and the Six Cube Bookshelf, so today's bench get's us half way through this collection. I would love to add an … in there. Tempting. But today we will just stick with this simple bench. The bins shown are 11 1/2" cubes, and fit perfectly in this bench. I love this collection because it is so simple and easy to …
Read More
Project Plan
… a day. I’m certain that you could build a panel a day, and have a bench by the weekend! Same rules apply when you build this bench, make sure you are using straight boards, working on a level … to spray on a clear coat for added protection from the elements. … Outdoor Storage Bench - Vertical Slat Design …
Read More
Project Plan
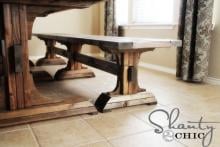
… our way outward. You'll be building three pedestal bases per each bench. For these, glue and nails will do the trick. Make sure you can … to the pedestals. … Nail and glue the feet to the bottom of the bench. The feet will help the bench rest on "points" instead of rocking. We also recommend felt pads …
Read More
Project Plan
… should be less than 30" wide to prevent sagging when sitting on the bench top Click here to use this tool in a pop-up full page view For … and floor. You can always add trim to cover gaps, but a too large bench will be hard to fix. Edge Banding Apply edge banding to the front … The bay support highlighted in green is for further supporting the bench top. Attach with 1-1/4" screws into the dividers with glue, you …
Read More
Project Plan
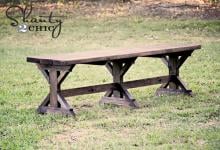
… from the center support to each leg - not essential for the shorter bench, but a possible consideration for the longer bench. … Fancy X Farmhouse Bench …
Read More
Project Plan
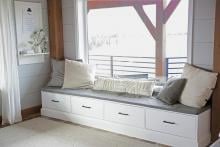
… nailer with 3/4" brad nails and glue. … Place 2x4 scraps inside the bench as shown. Place the cabinet member of the drawer slide on top of … to the inside of the cabinet. … Test the fit of the drawer in the bench. Adjust if necessary until drawer slides smoothly. … Attach top to the bench with 1-1/4" brad nails and glue. You can also use screws or …
Read More
Project Plan
… Always use glue. Remember, you need to make 3 benches. … Attach the bench ends and divider to the bench top with 3/4" pocket holes and 1-1/4" pocket hole screws. Pocket … workbench. Nail completed face frames to all three benches. … END BENCH ONLY For just the end bench, build two face frames to trim out …
Read More
Project Plan
… and ask for help if you need it. Good luck! … First, build the seat bench. Make sure each board is flush to the top and the end notches will … the inside to hide all screw holes. And that's it!!! … Modern Farm Bench - New/Updated Pocket Hole Plan …
Read More
Project Plan
