2x2 Rustic X End Table

The free plans on this website are made possible with advertising and affiliate links.  Thank you for helping us keep plans free.


diy end table plans
Difficulty
Intermediate
| Print this plan

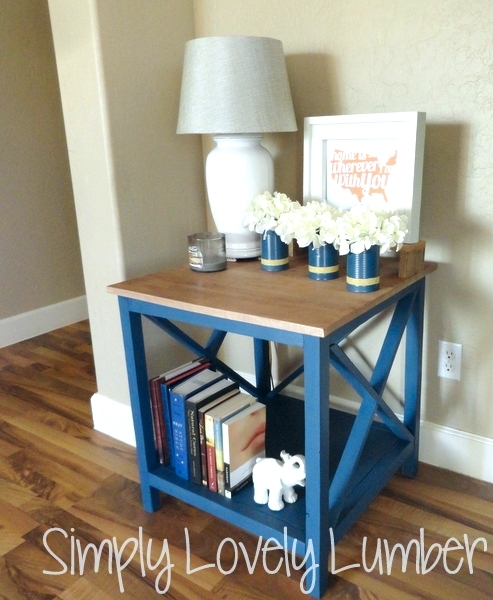
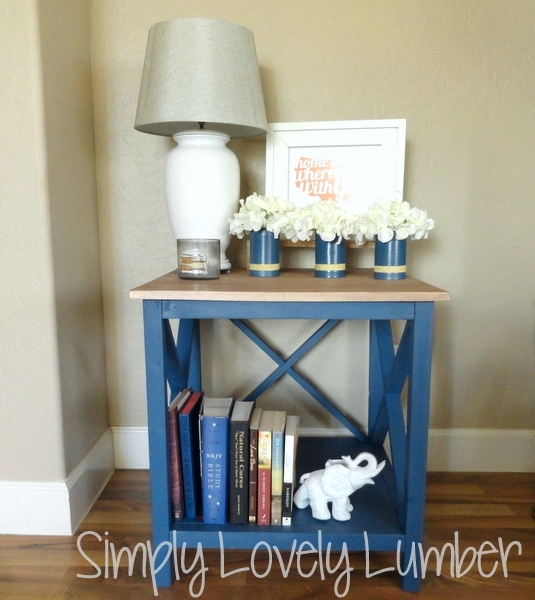
Build your own end table with a farmhouse twist with this 2x2 rustic x end table plans.  We love the simple, lightweight feel, large top, and roomy shelf!  Free woodworking plans with step by step diagrams from Ana-White.com
diy end table plans
diy end table plans


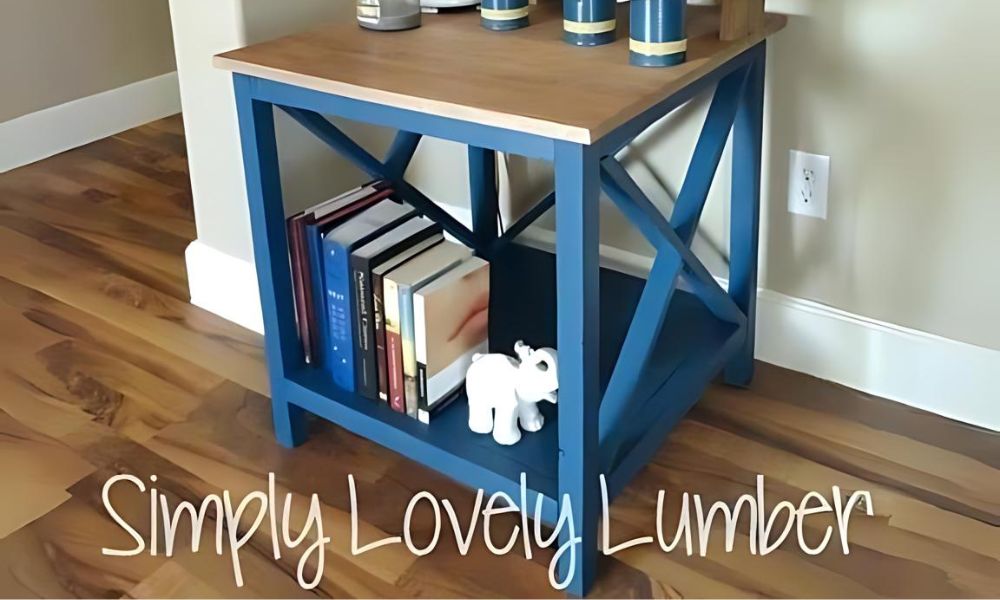
Photo and build credit: Stepanie, from Simply Lovely Lumber!

Hey!  I'm Stephanie from Simply Lovely Lumber.  I'm a super busy mom of 3 crazy little kiddos!  I love to sew, craft, cook, do projects with my munchkins, build furniture, and blog about it all.  I found Ana's blog a few years back and decided to try out a project and I've been hooked ever since!  During my free time (Ha! A mom with free time!) you can usually find me out in the garage building.  My husband got out of the military last year and we moved back home to AZ.  We're very excited to finally be able to put down some roots.  I hope you will stop by and follow along as I attempt to make our newest house a home!

Here's from Stephanie -

We were in serious need of some end tables.  I love how these came out.  They were simple to do and look great!  I used Purebond Plywood for the bottom shelfs and the tops and put them together using my Kreg Jig.  It took two afternoons to get them both put together but you could easily do it in a day without distractions.  Now for about $75 (actually $50 since I only used a half of my sheet of plywood) I have two beautiful, custom, and functional end tables!  I am so happy with the finished product and can't wait to move on to my next project!

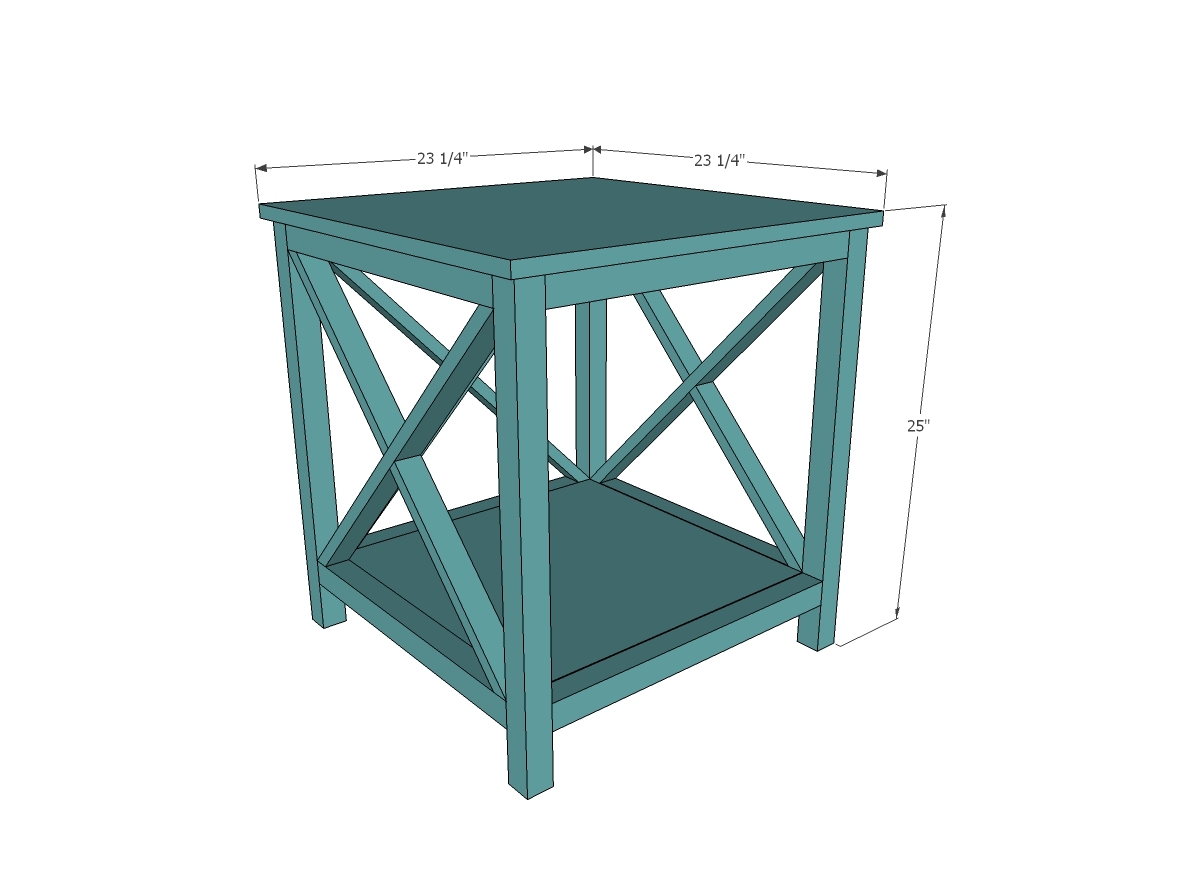
Dimensions
diy end table plans
Dimensions shown above

Preparation

Shopping List
  • 1 - 24" x 48" sheet of 3/4" plywood or MDF
  • 3 - 2x2 @ 8 feet long
  • 2 - 1x2 @ 8 feet long
Cut List
4 - 2x2 @ 24-1/4"
8 - 2x2 @ 19-1/4"
1 - 3/4" plywood @ 19-1/4" x 19-1/4"
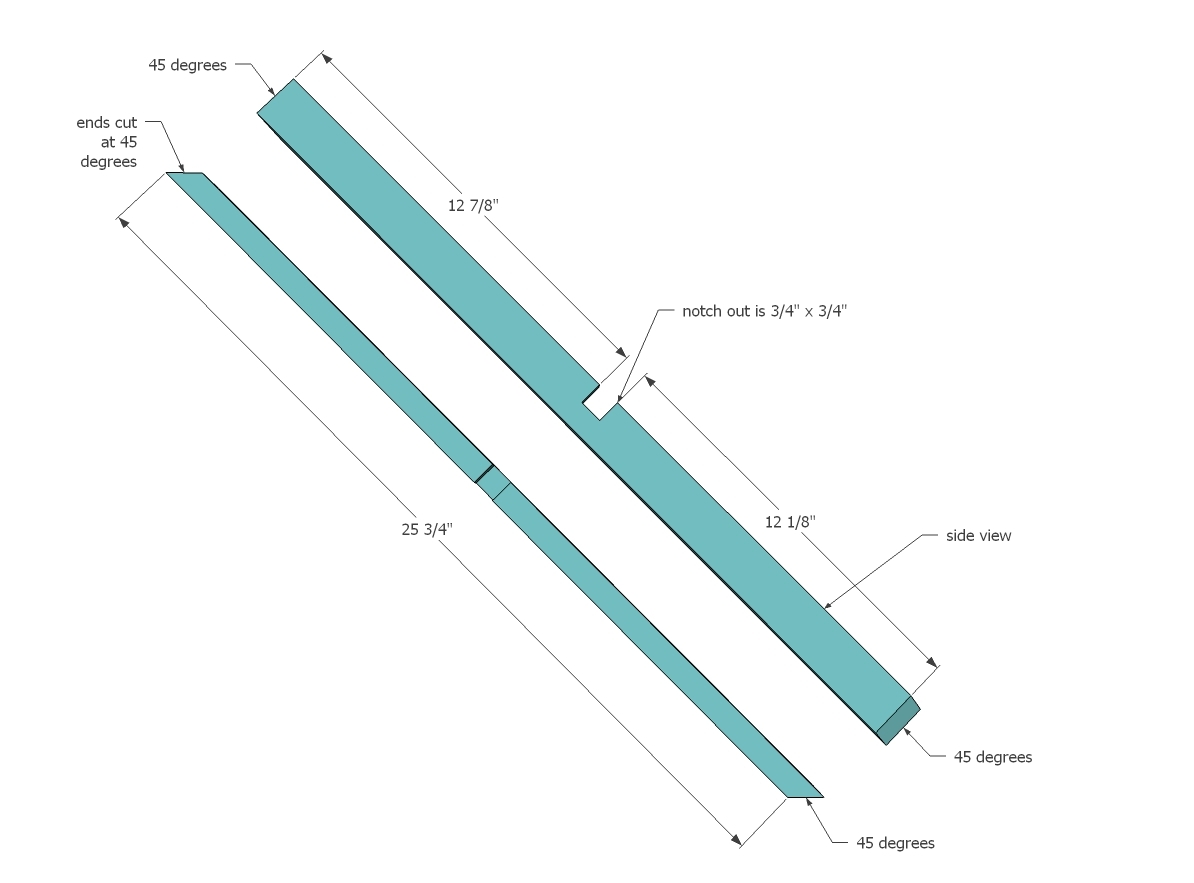
6 - 1x2 @ 25-3/4" (both ends cut parallel to each other at 45 degrees off square, long point to short point measurement)
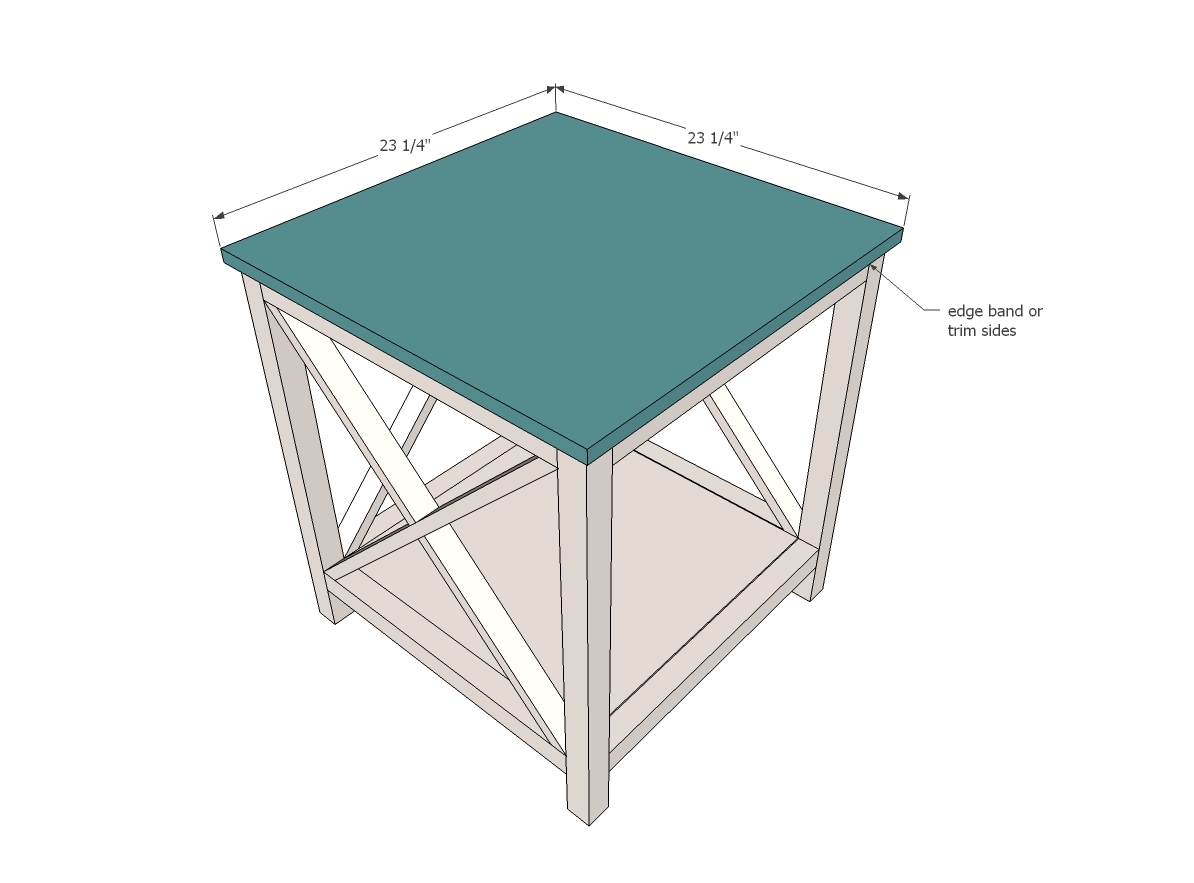
1 - 3/4" plywood @ 23-1/4" x 23-1/4"
Tools
Kreg Jig
Drill
Circular Saw
Miter Saw
Brad Nailer
General Instructions

Please read through the entire plan and all comments before beginning this project. It is also advisable to review the Getting Started Section. Take all necessary precautions to build safely and smartly. Work on a clean level surface, free of imperfections or debris. Always use straight boards. Check for square after each step. Always predrill holes before attaching with screws. Use glue with finish nails for a stronger hold. Wipe excess glue off bare wood for stained projects, as dried glue will not take stain. Be safe, have fun, and ask for help if you need it. Good luck!

Instructions

Step 1

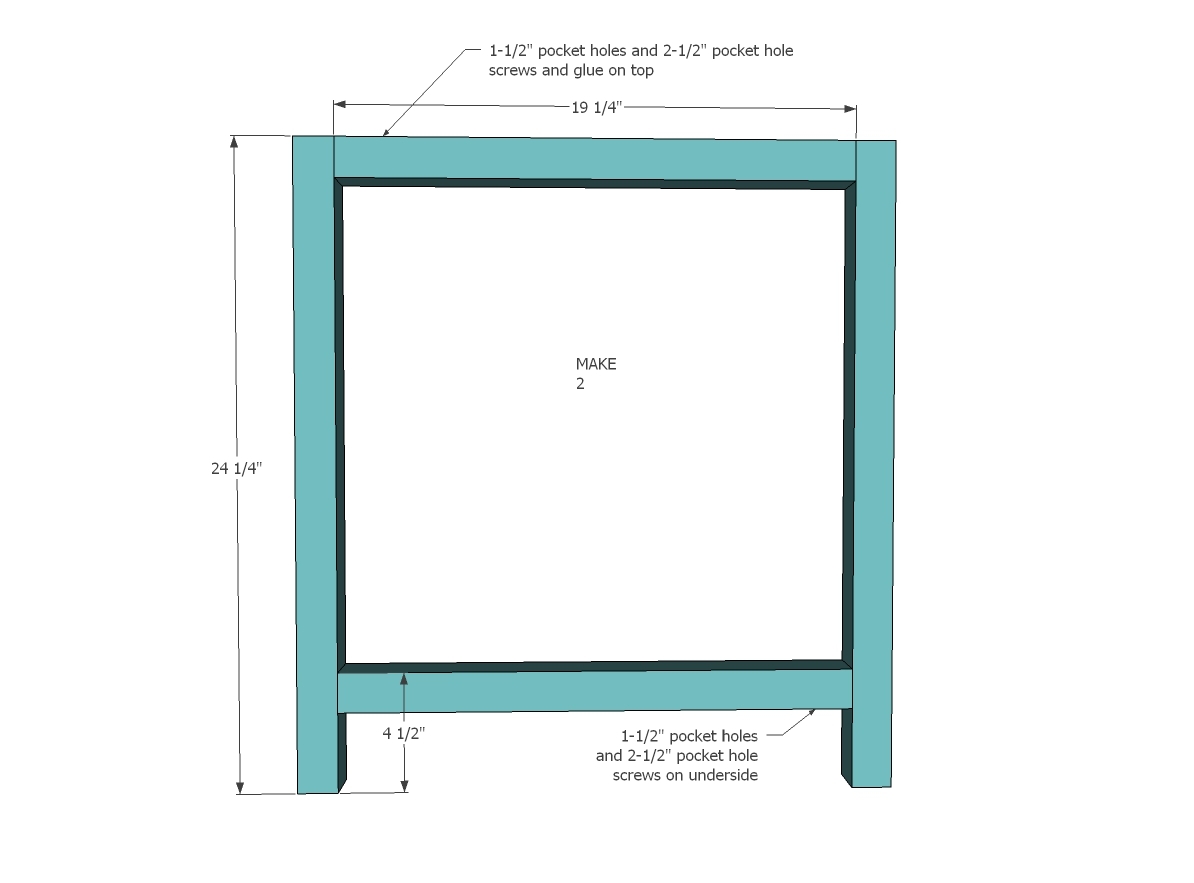
Build two of the side frames with 2x2s.  

Step 2

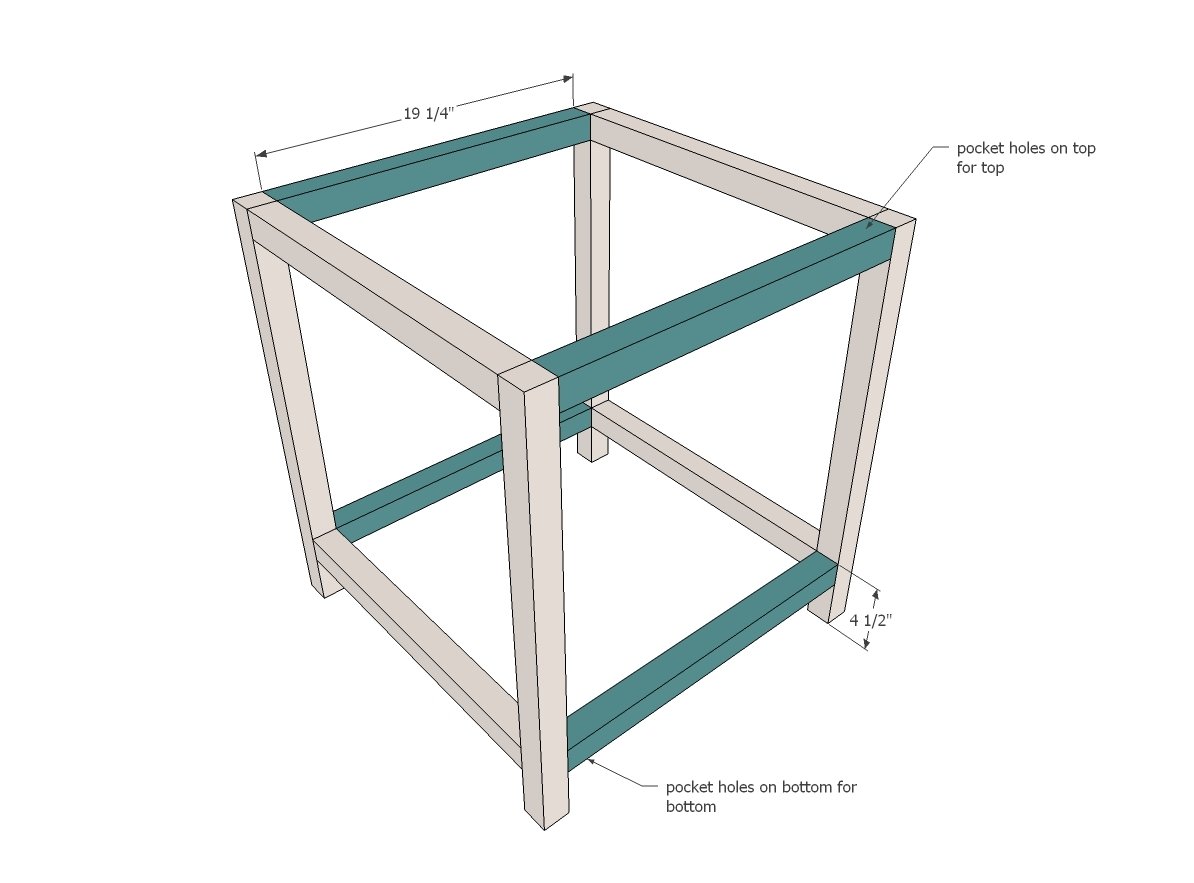
Join the two frames together with the front/back aprons.

Step 3

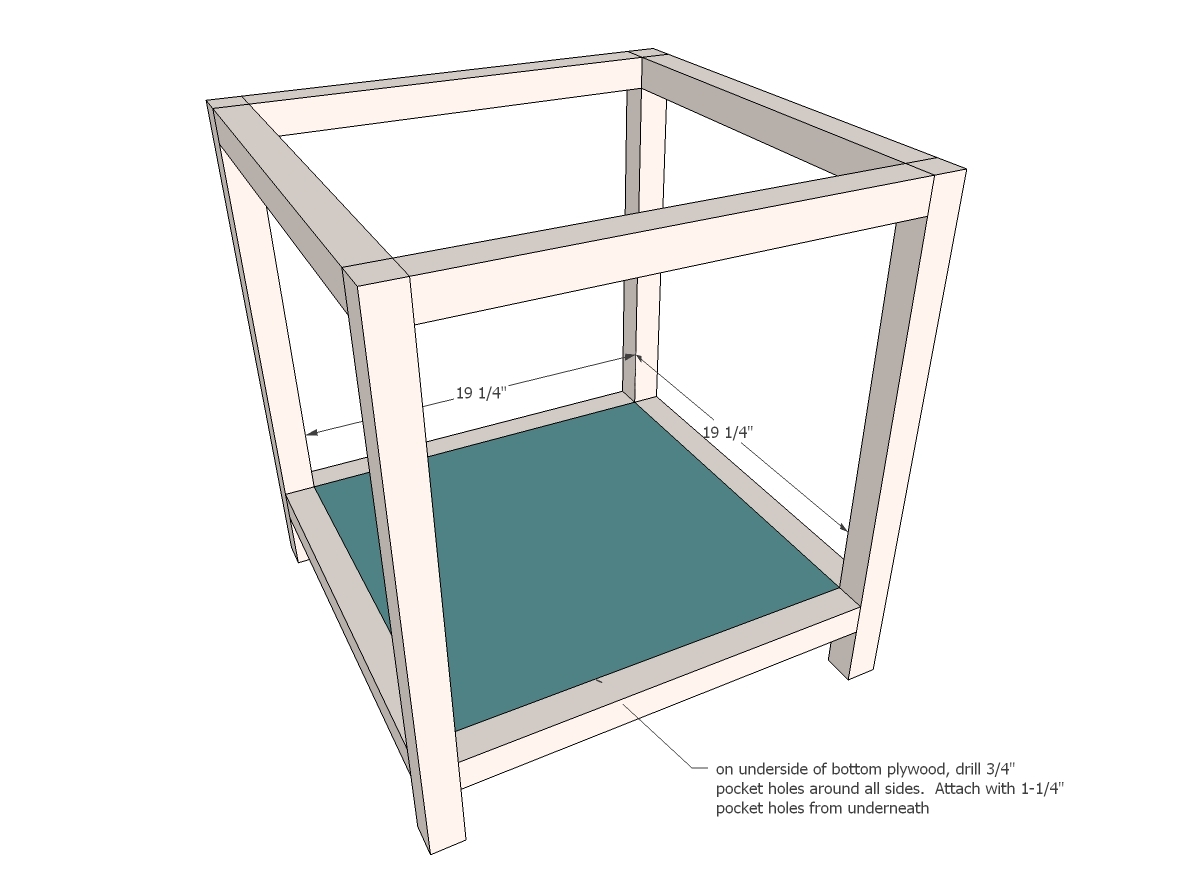
Attach plywood inset on the bottom frame with 3/4" pocket holes and 1-1/4" pocket hole screws.

Step 4

Cut the 1x2s for the Xs and notch out.  To notch out, set circular saw blade depth to 3/4" and make multiple cuts between the notches (about every 1/4").  Then use a chisel to remove the material in the notched out area.

Step 5

Step 6

Finishing Instructions
Preparation Instructions
Fill all holes with wood filler and let dry. Apply additional coats of wood filler as needed. When wood filler is completely dry, sand the project in the direction of the wood grain with 120 grit sandpaper. Vacuum sanded project to remove sanding residue. Remove all sanding residue on work surfaces as well. Wipe project clean with damp cloth.

It is always recommended to apply a test coat on a hidden area or scrap piece to ensure color evenness and adhesion. Use primer or wood conditioner as needed.