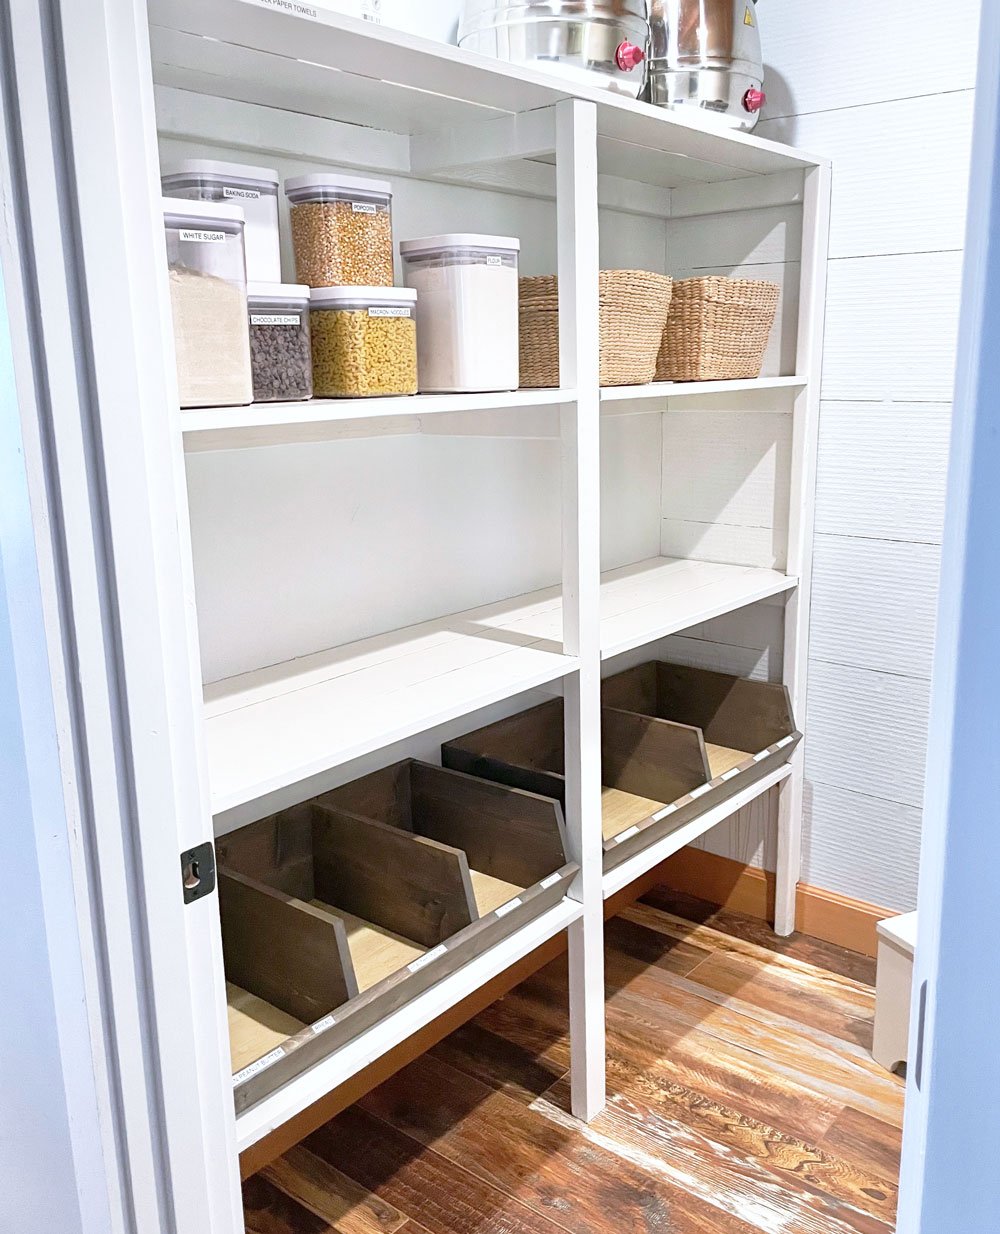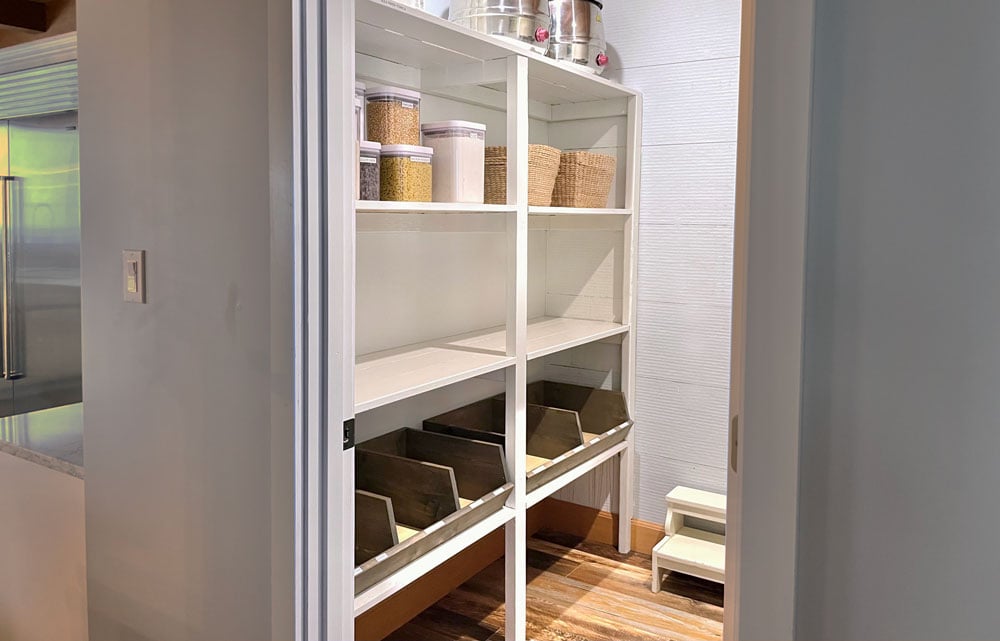
Free tutorial to build your own sturdy and inexpensive pantry shelving using 2x4s and 1x6 boards. No plywood, no pocket holes - this is a beginner friendly plan that you can tackle in no time. Step by step tutorial by Ana-White.com.
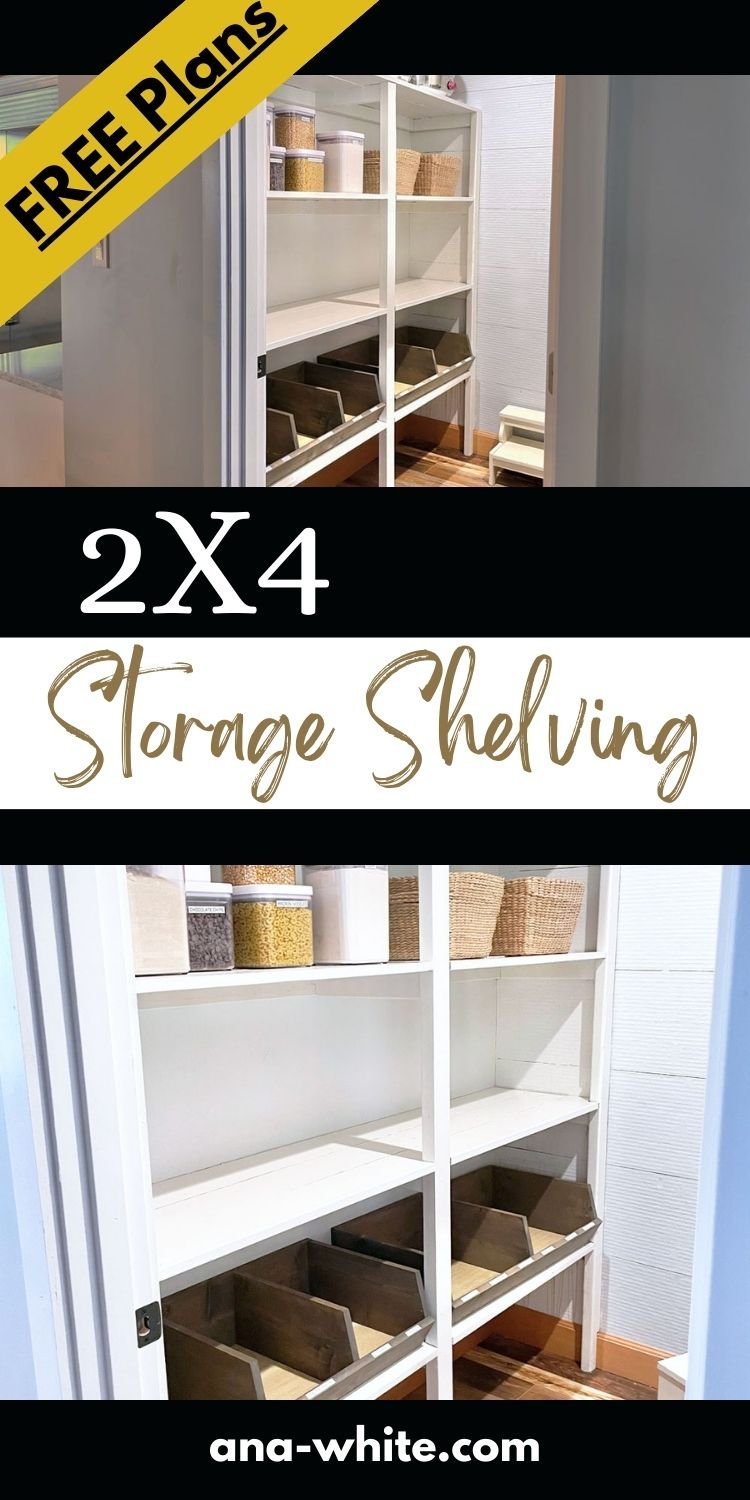
Pin for Later!
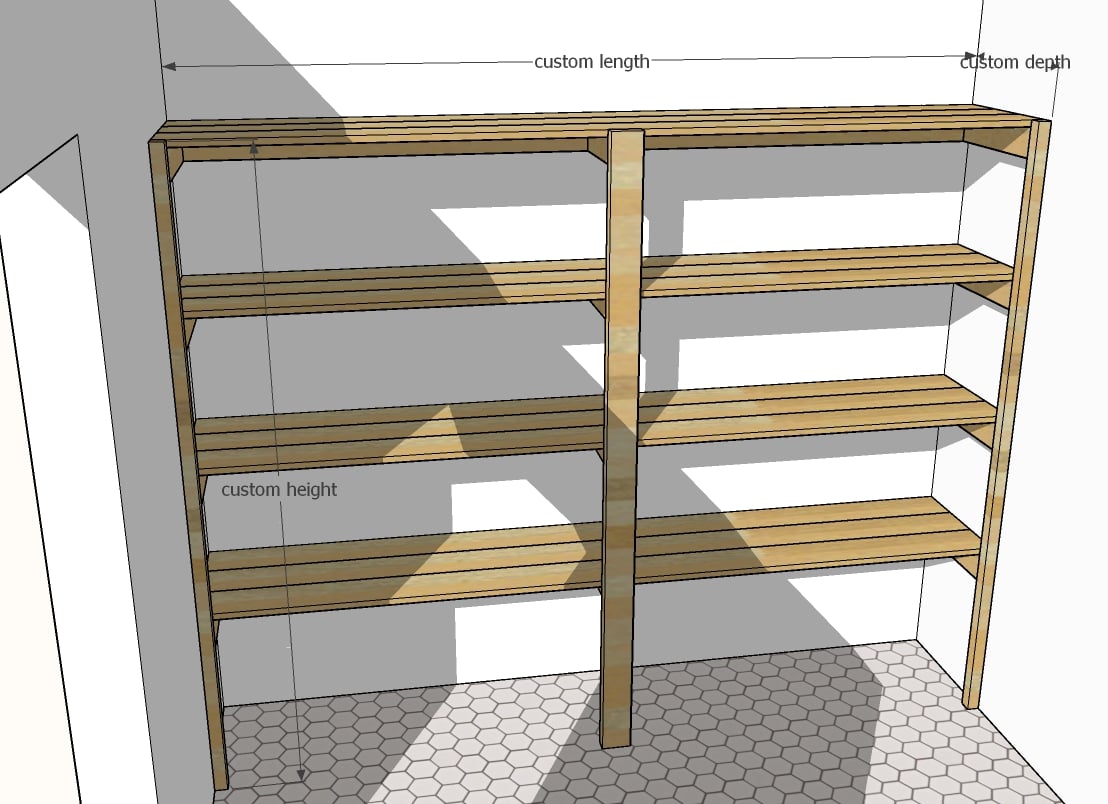
Preparation
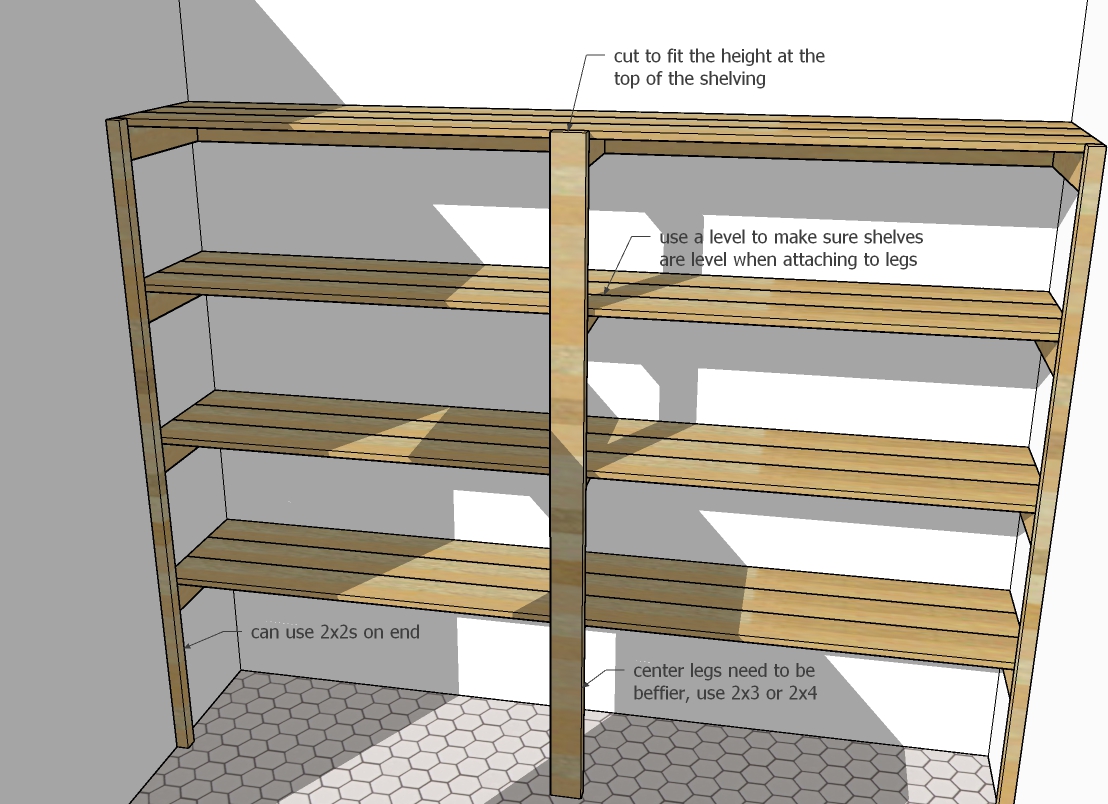
- 2x4s for the shelf supports and center legs
- 2x2s for the outside legs (can also use 2x4s)
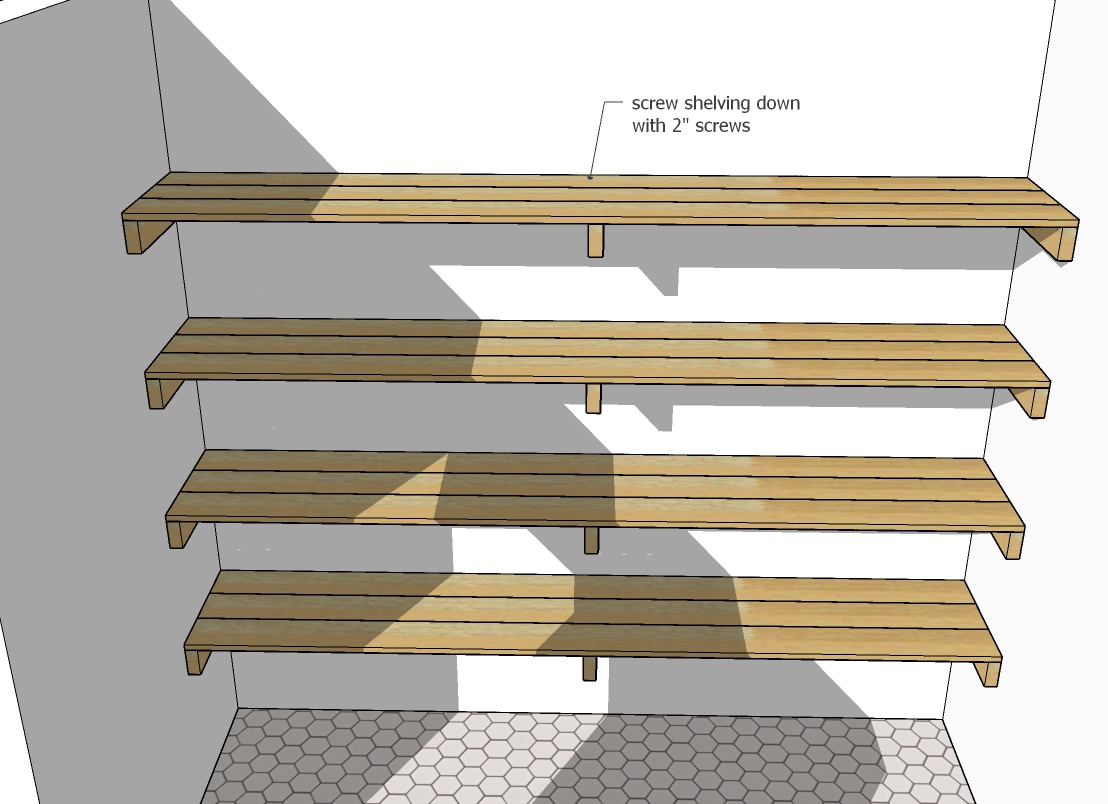
- 1x boards for tops of shelves (I used three 1x6 boards for a shelf depth of 16-1/2")
- 3" self tapping wood screws (torq head) for 2x construction
- 2" self tapping wood screws (torq head) for screwing shelving down
- You'll also need a stud finder and a level
Instructions
Step 1
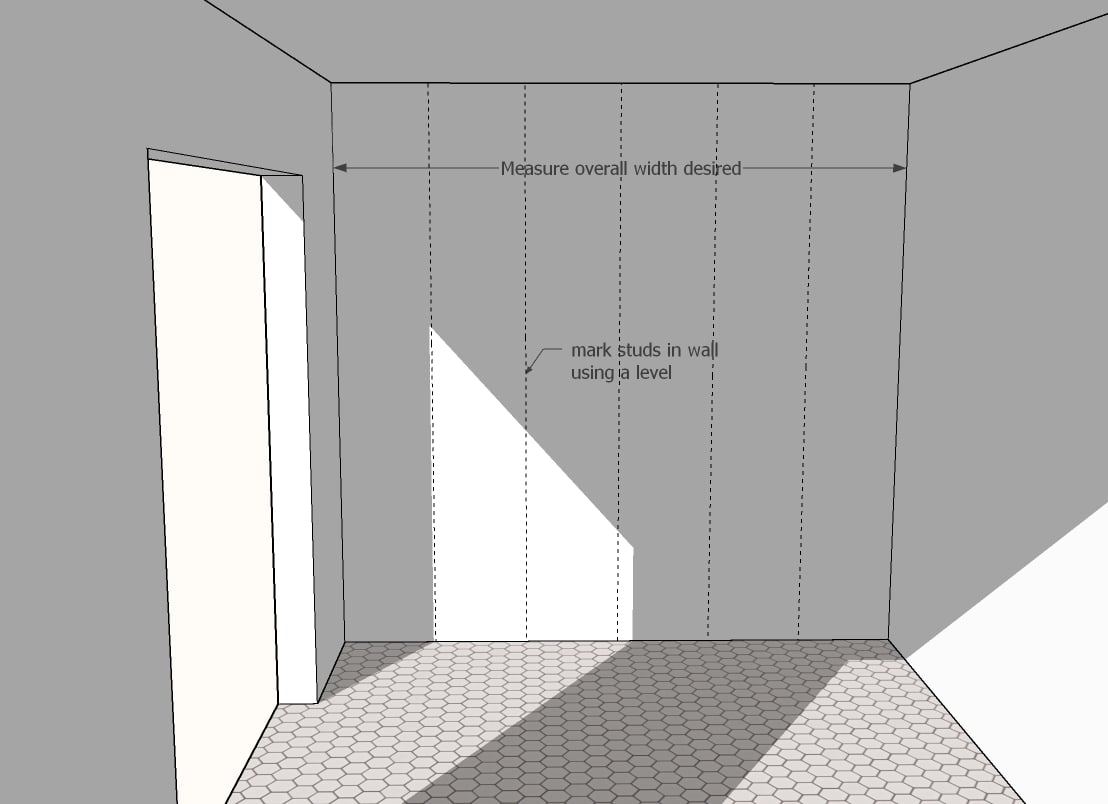
Measure the wall to install the shelving on.
Determine how long the shelves should be.
Determine the depth you'd like to make your shelves. Some common depths are 11-1/4" (1x12), 14-1/2" (2-1x8s), or 16-1/2" (3-1x6s, this is what I did).
Use a stud finder to locate studs in the wall.
Mark the studs with a pencil on the wall vertically, using a four foot level, as shown in the diagram.
Step 2
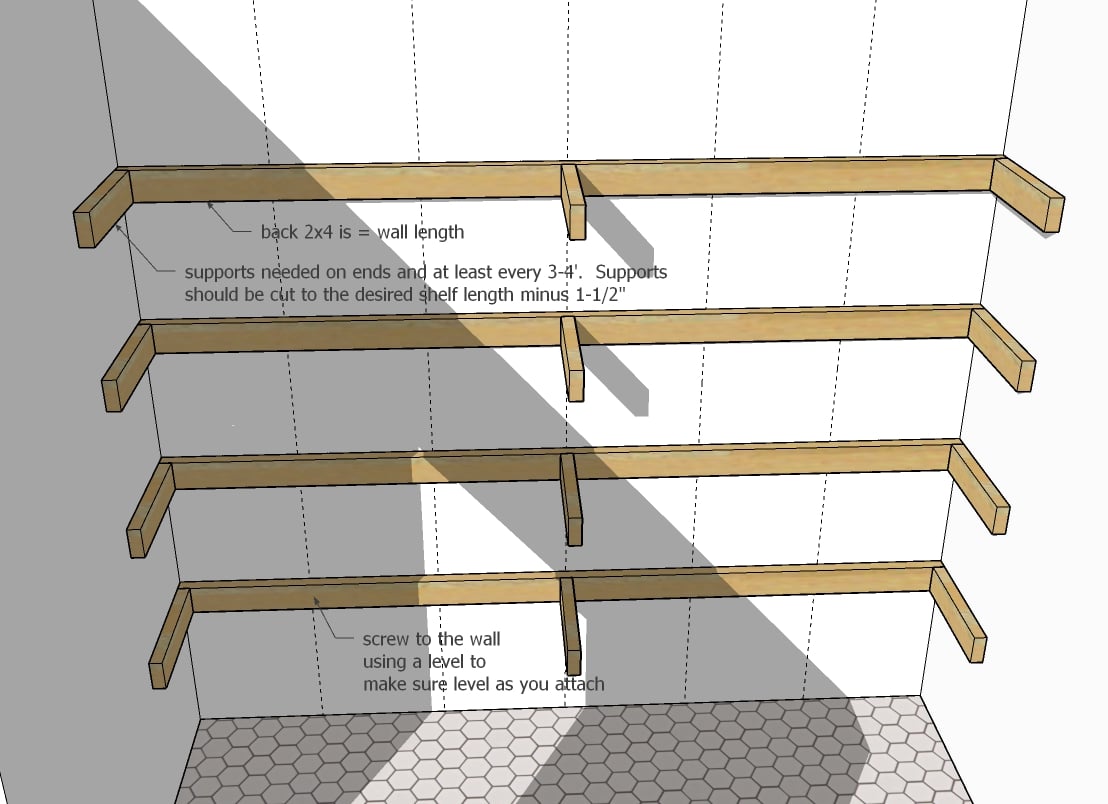
Cut for each shelf a 2x4 in the desired shelf length.
Then cut supports in the desired shelf depth minus 1-1/2".
You'll need a support on each end, and then center supports about every 3-4 feet.
For heavier loads, keep spans about 3' max.
Then build the shelf supports first on a flat level surface, using the longer screws.
Install the shelf supports in the pantry, using a level, at desired shelf location heights, screwing to studs in the wall. Also screw to any side wall studs if available.
Step 3
Sand the entire project lightly.
I did three coats of paint on mine.


