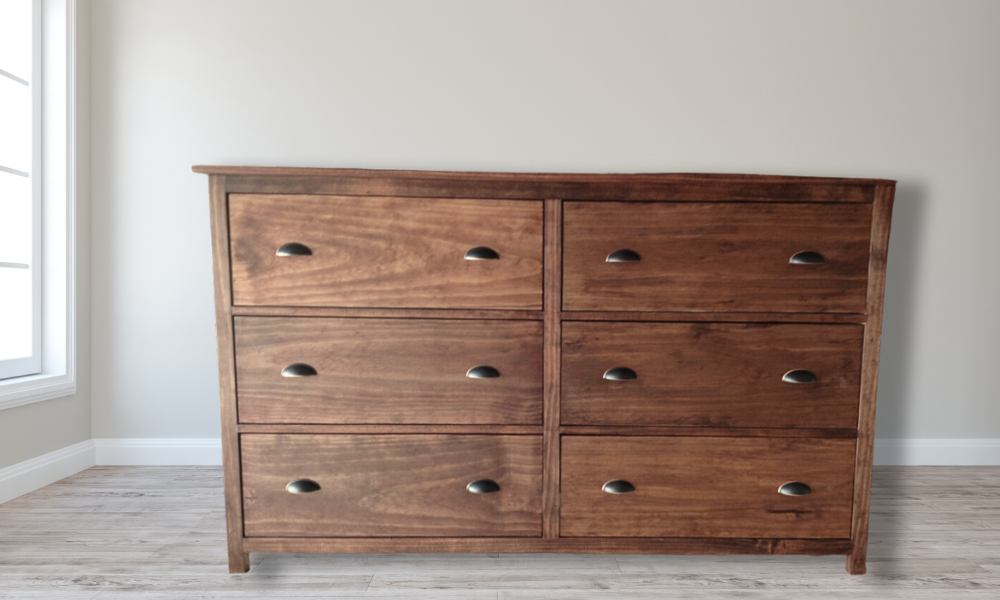
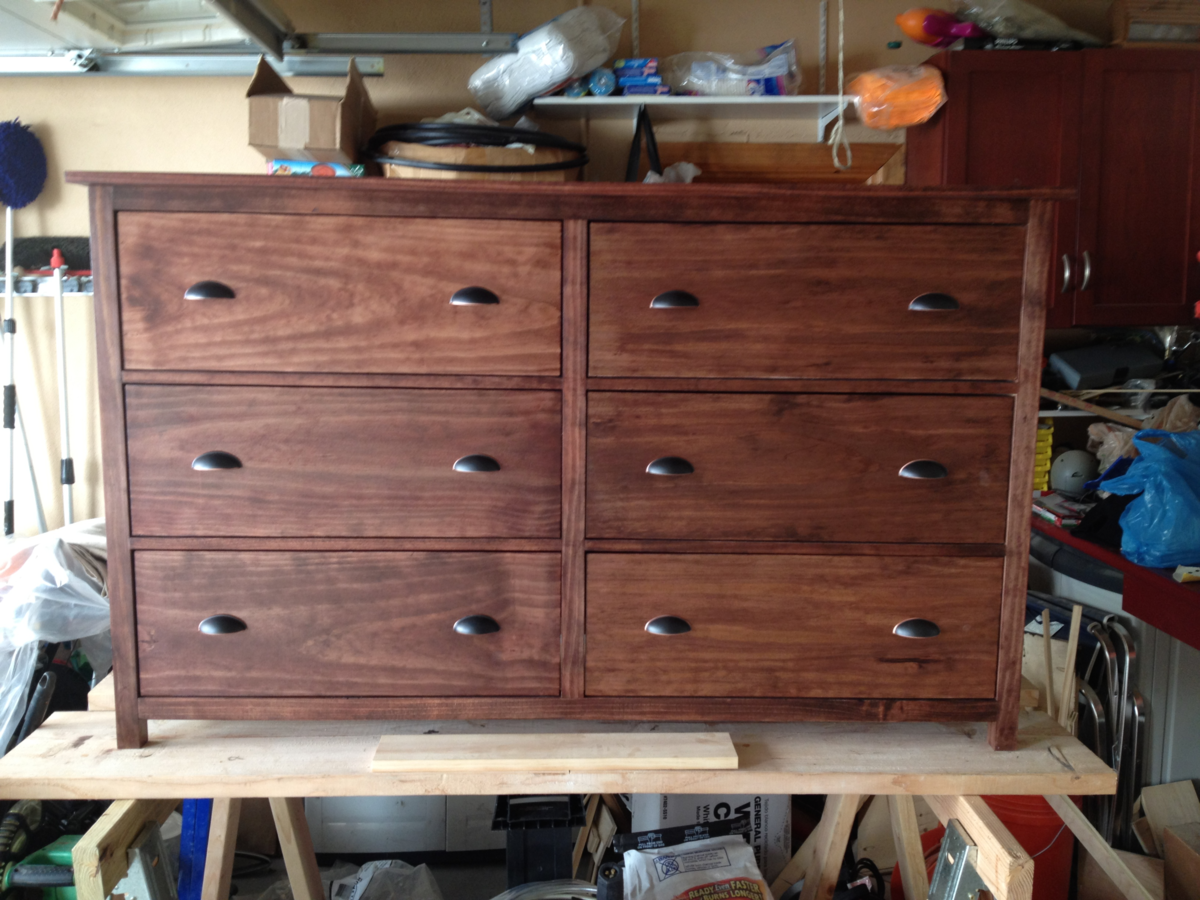
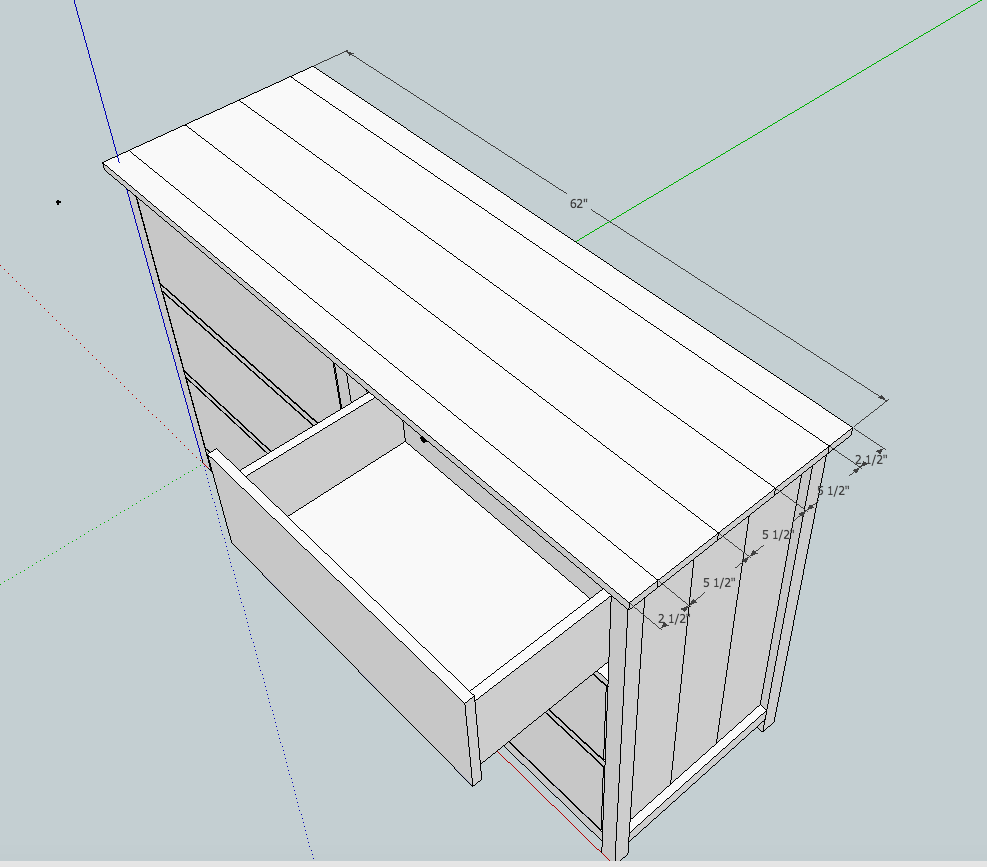
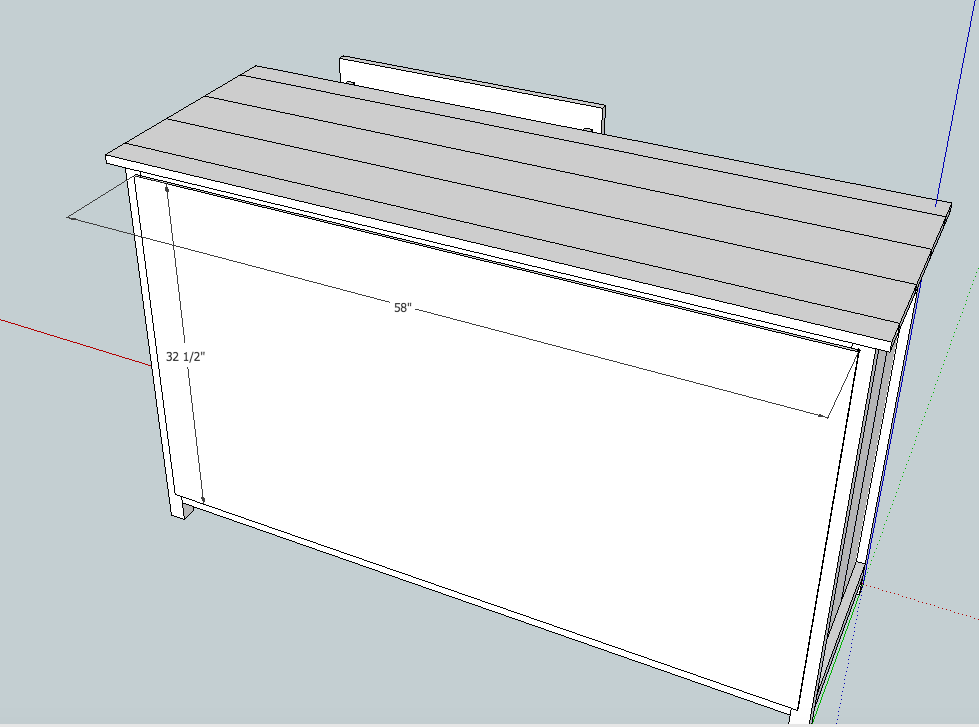
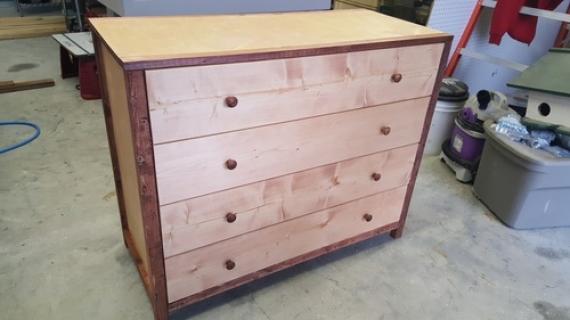
This dresser was inspired by the bedside table http://ana-white.com/2011/06/reclaimed-wood-look-bedside-table I loved the table but wanted to have a couple of dressers to fill in my bedroom. So I went on to create my own plan to complement the design and look of the night table.
Preparation
Please read through the entire plan and all comments before beginning this project. It is also advisable to review the Getting Started Section. Take all necessary precautions to build safely and smartly. Work on a clean level surface, free of imperfections or debris. Always use straight boards. Check for square after each step. Always predrill holes before attaching with screws. Use glue with finish nails for a stronger hold. Wipe excess glue off bare wood for stained projects, as dried glue will not take stain. Be safe, have fun, and ask for help if you need it. Good luck!
Instructions
Step 10
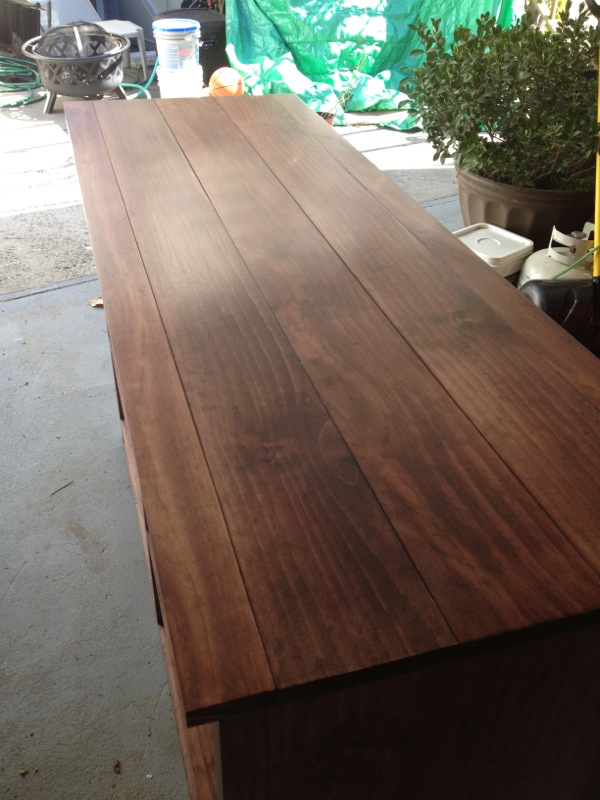
It is always recommended to apply a test coat on a hidden area or scrap piece to ensure color evenness and adhesion. Use primer or wood conditioner as needed.






Comments
SarahLee
Wed, 04/22/2015 - 12:44
The shopping list
Where is the shopping list for this dresser?
rlord89
Tue, 05/12/2015 - 18:01
Shopping list!!!
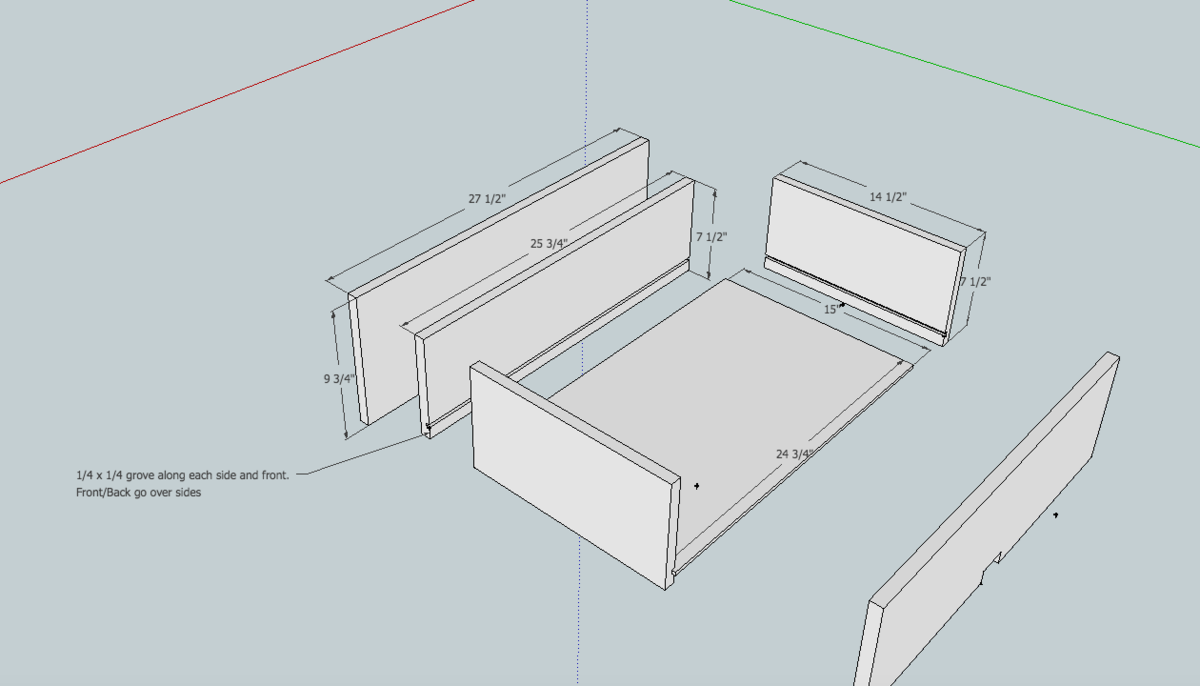
Please post a shopping list and cut list! I would like to make this but am not very good at free handing it so to speak.
zzackbrown
Thu, 03/08/2018 - 13:55
One Drawer Slide Enough?
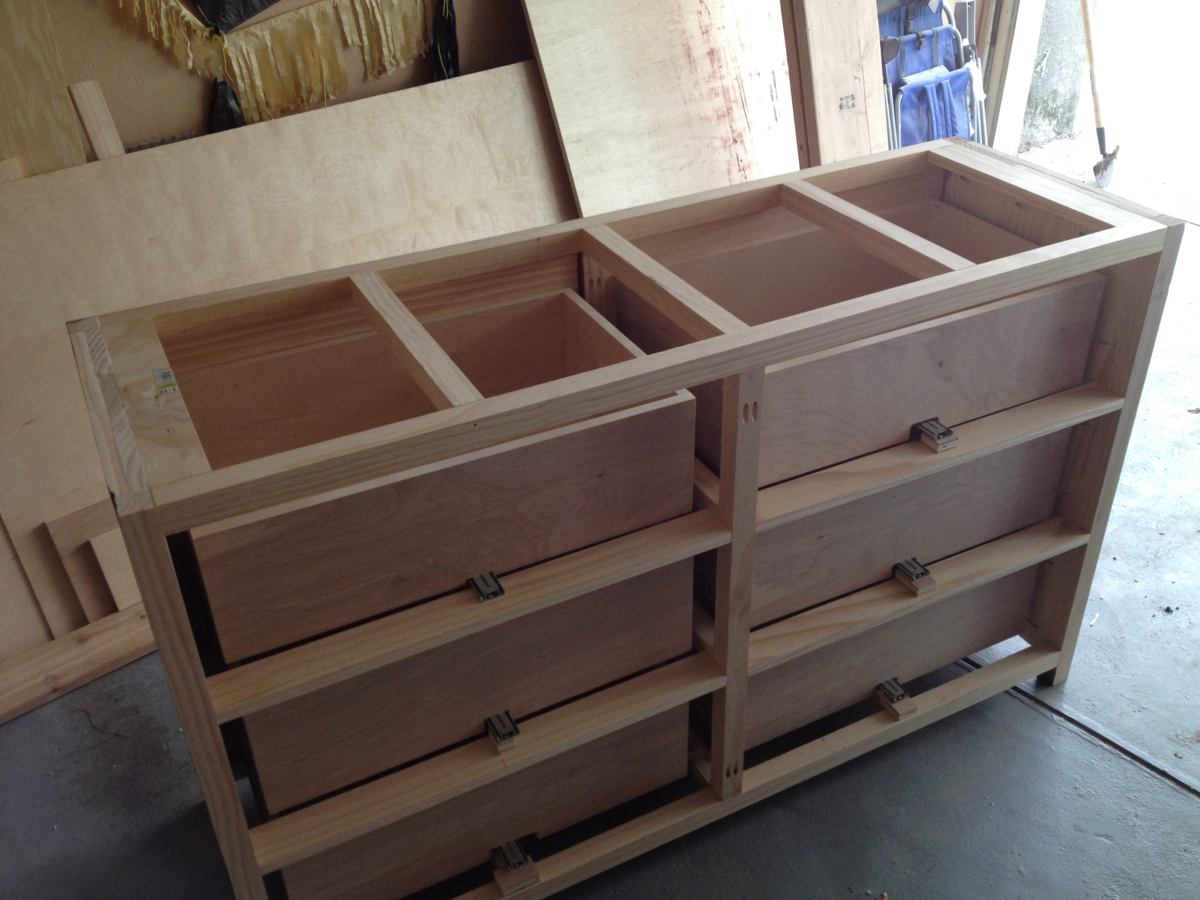
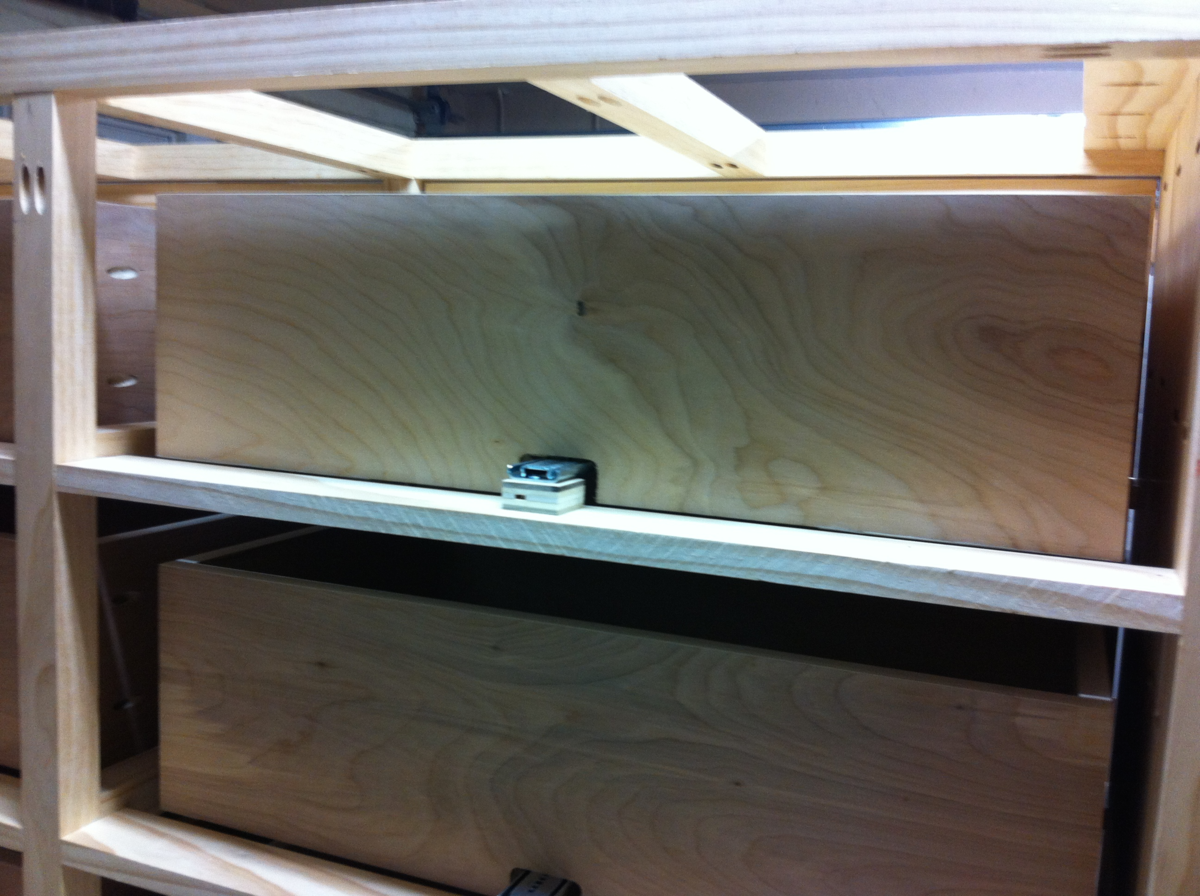
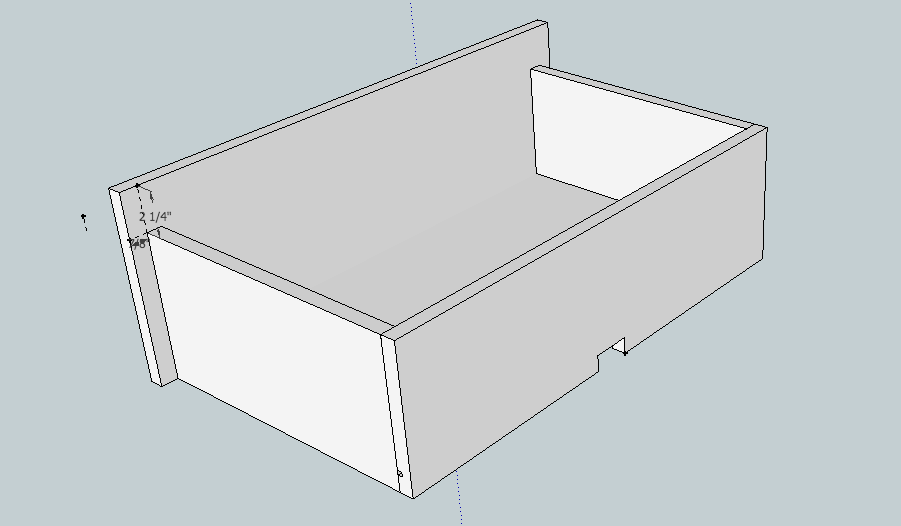
This is a fantastic plan and I think I can improvise the shopping list, but I have a question about the balance of the drawer. Is the one slide enough to keep a drawer that size balanced with items in it? Would it be better to put 2 per drawer or is that overkill?
mjmilford
Tue, 09/01/2020 - 20:59
shopping or cut list
Has anyone come up with a shopping or cut list?