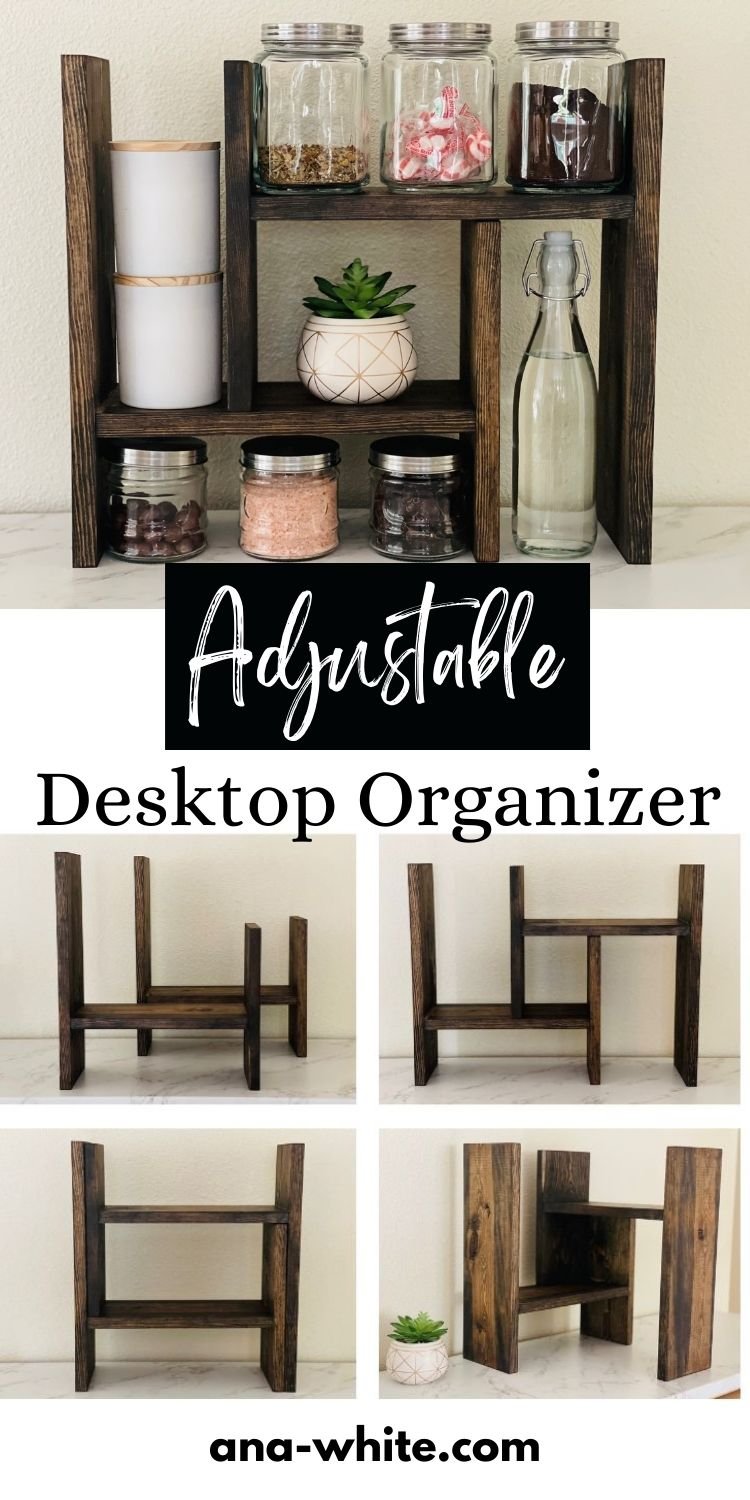
Adjustable Desktop Organizer

The free plans on this website are made possible with advertising and affiliate links.  Thank you for helping us keep plans free.


adjustable desktop organizer
Difficulty
Starter Projects
| Print this plan

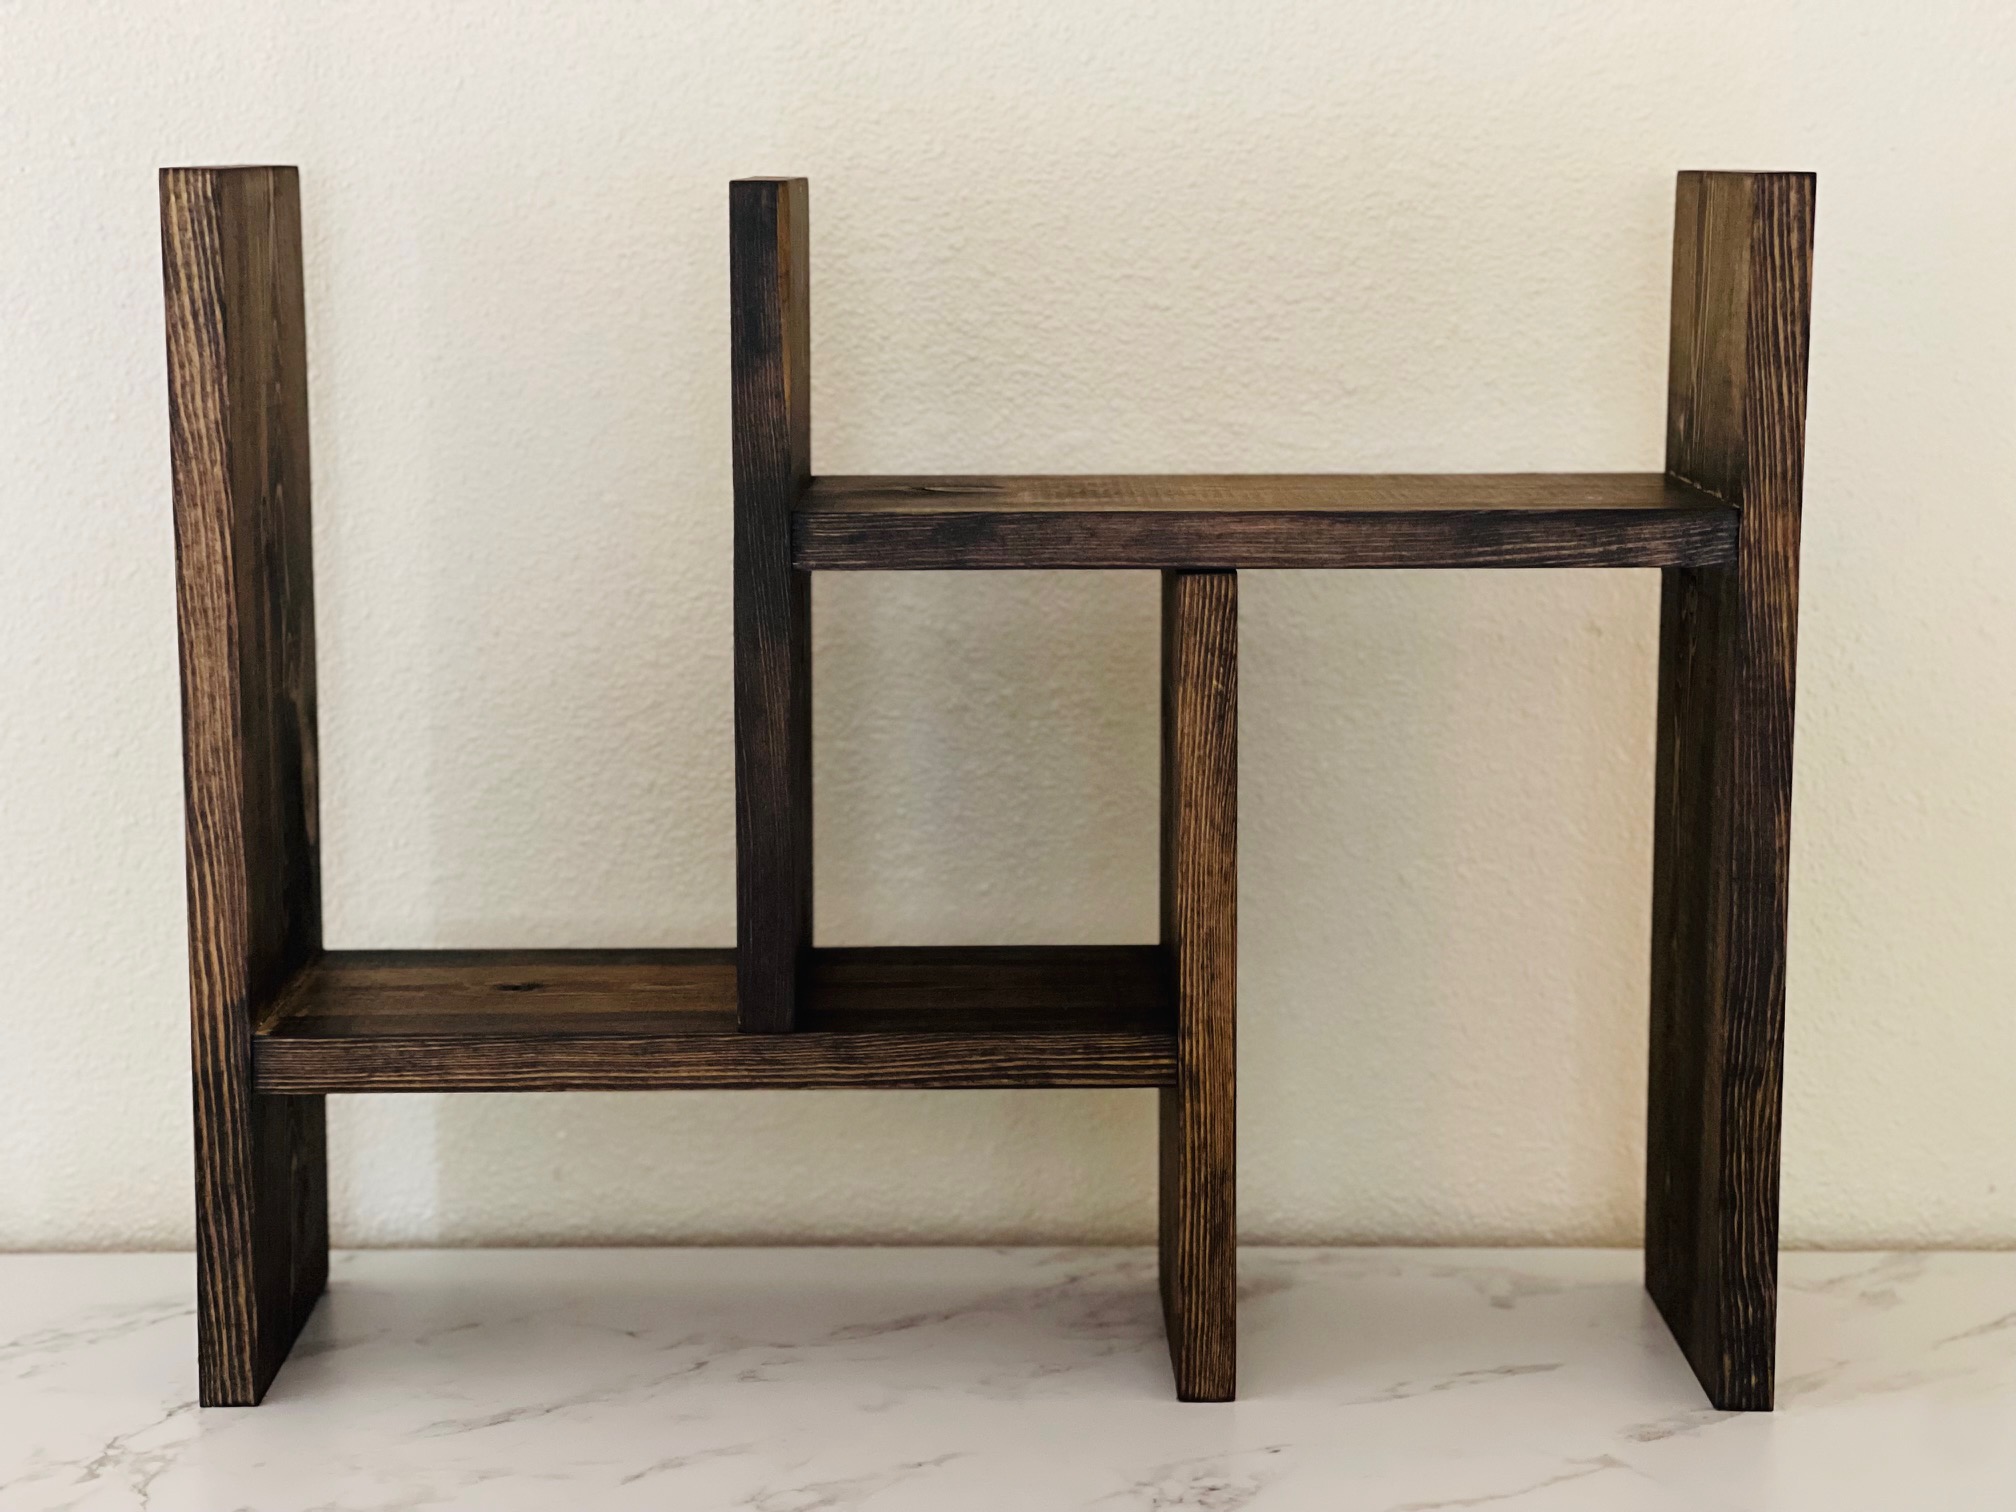
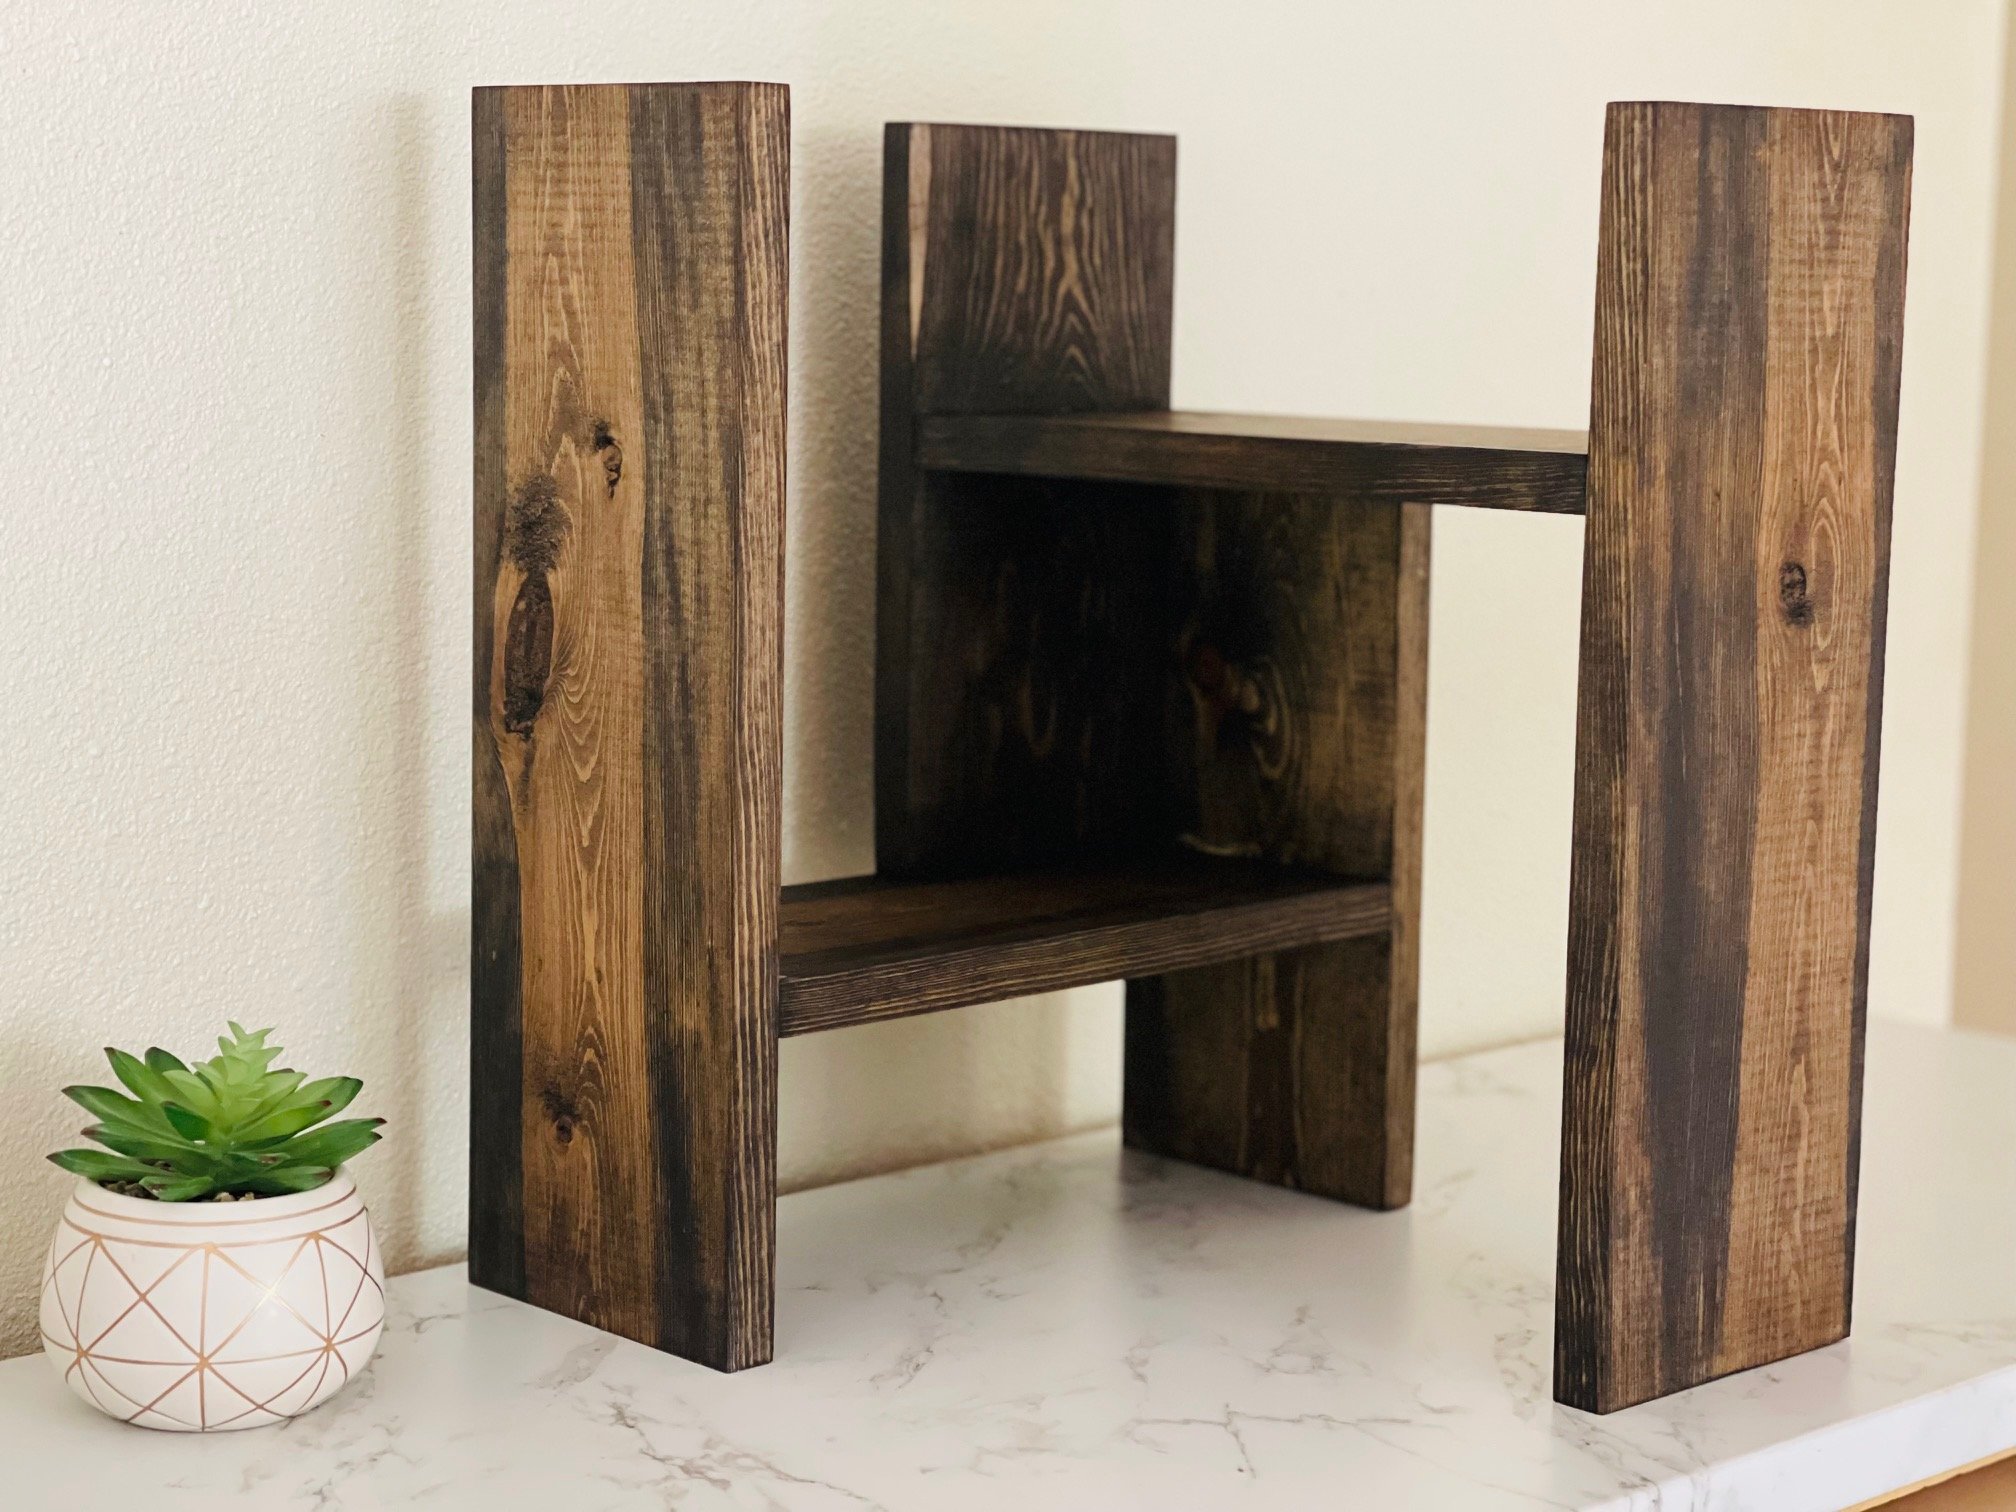
Free plans to build your own adjustable desktop or countertop organizer.  This super simple project plan creates storage just how you need it!  Super simple to build with basic tools and off the shelf lumber.

Designed and built by @Family_DIYNamic

adjustable desktop organizer

adjustable desktop organizer shelf

adjustable desktop organizer

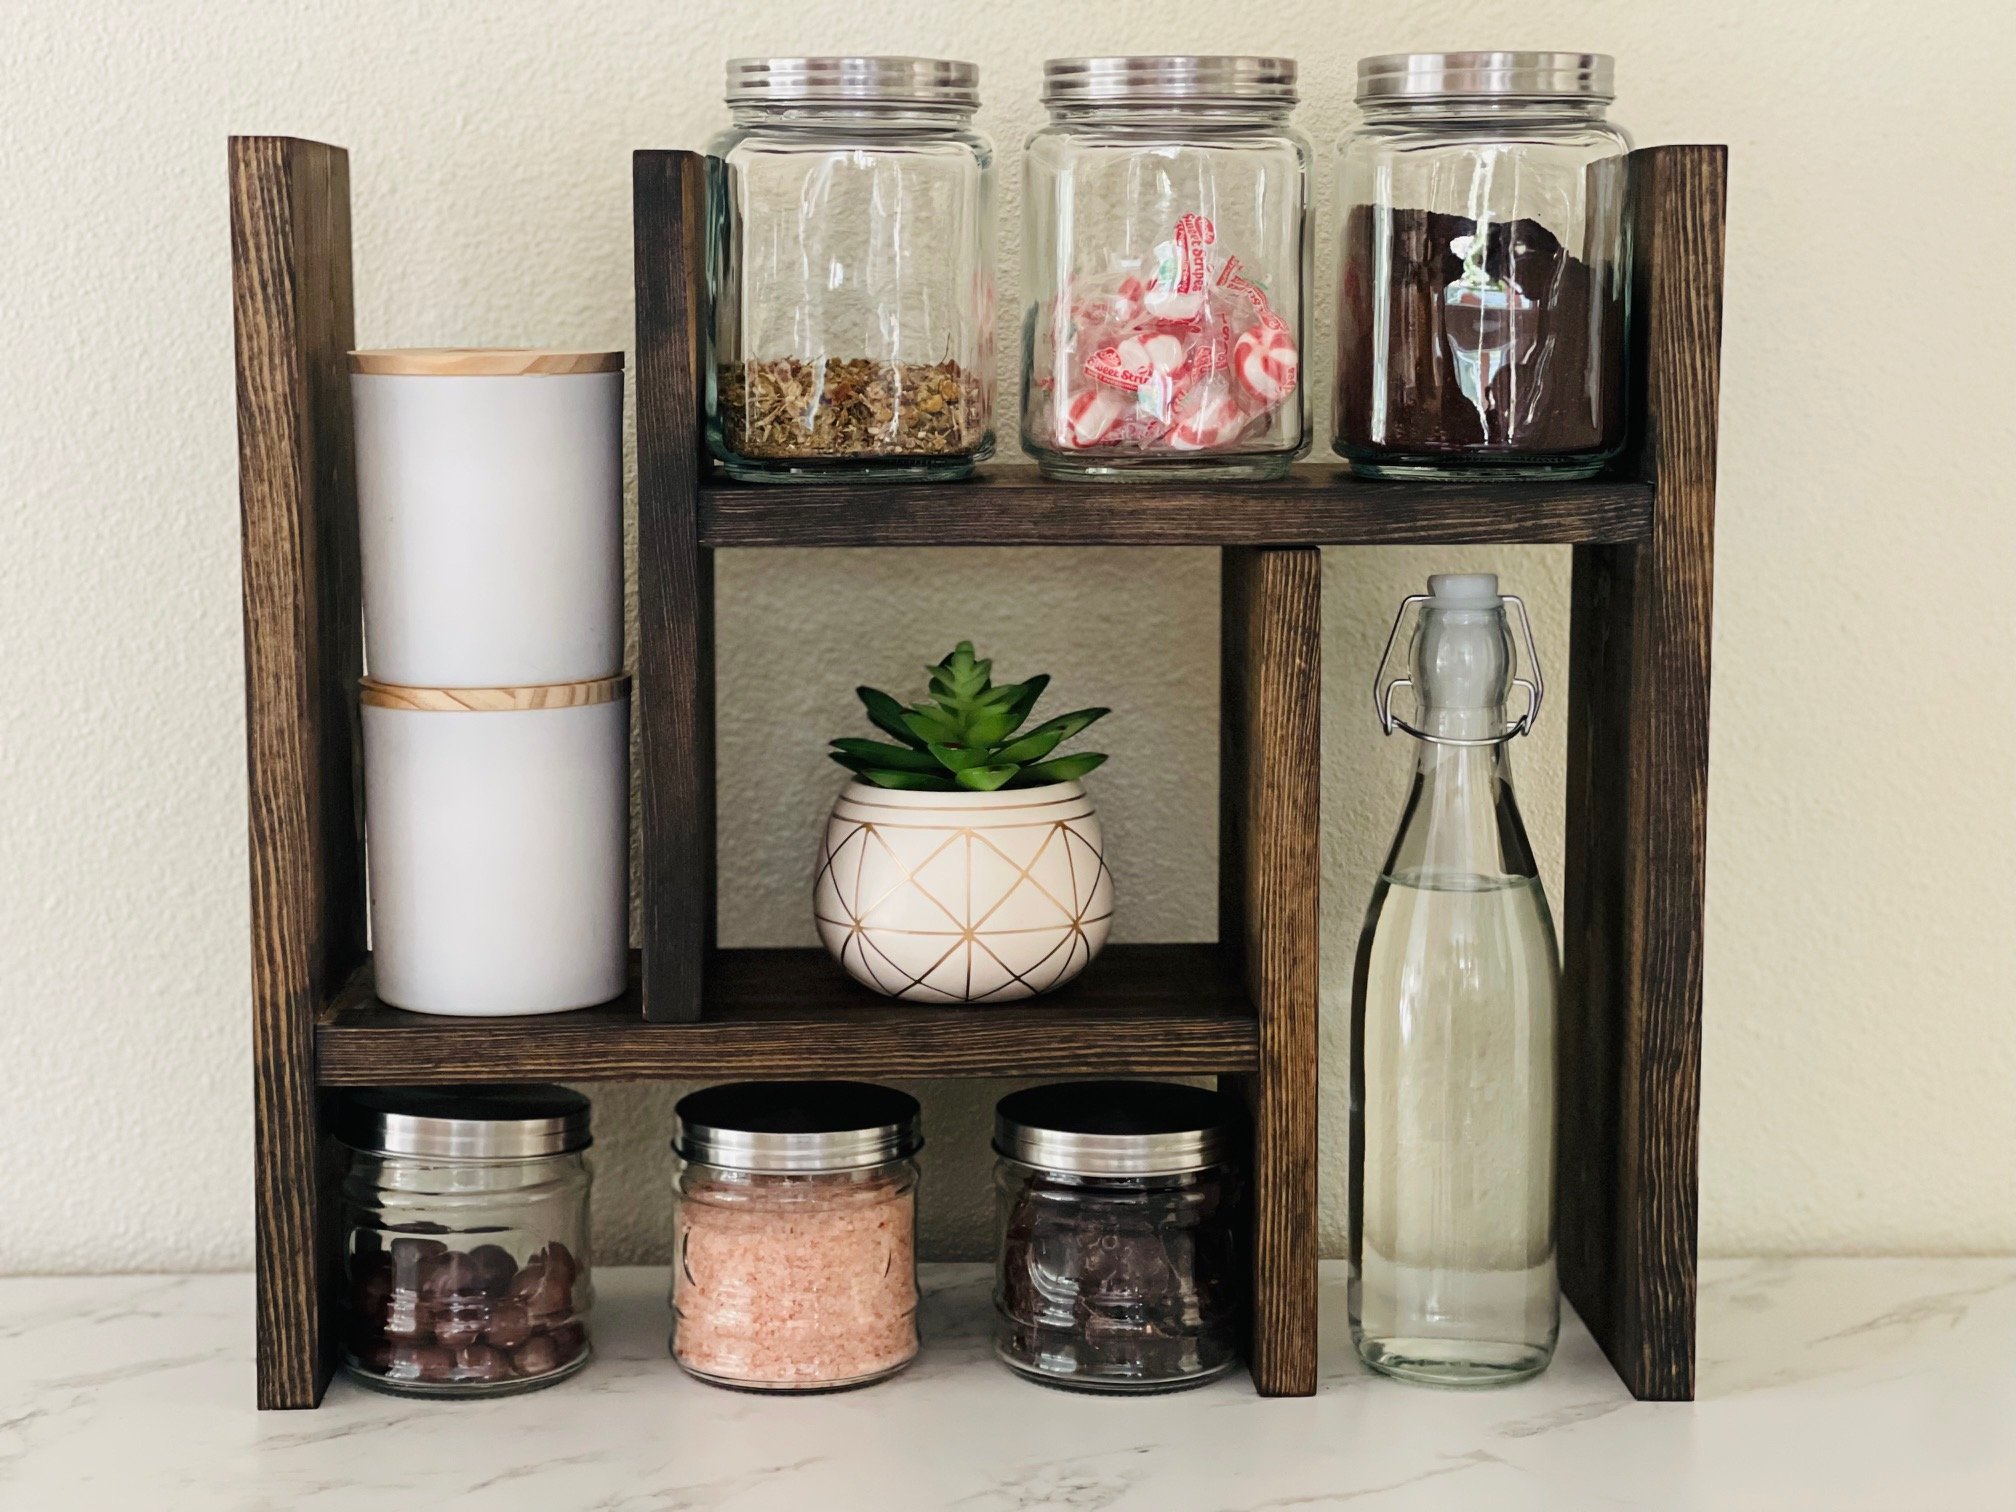
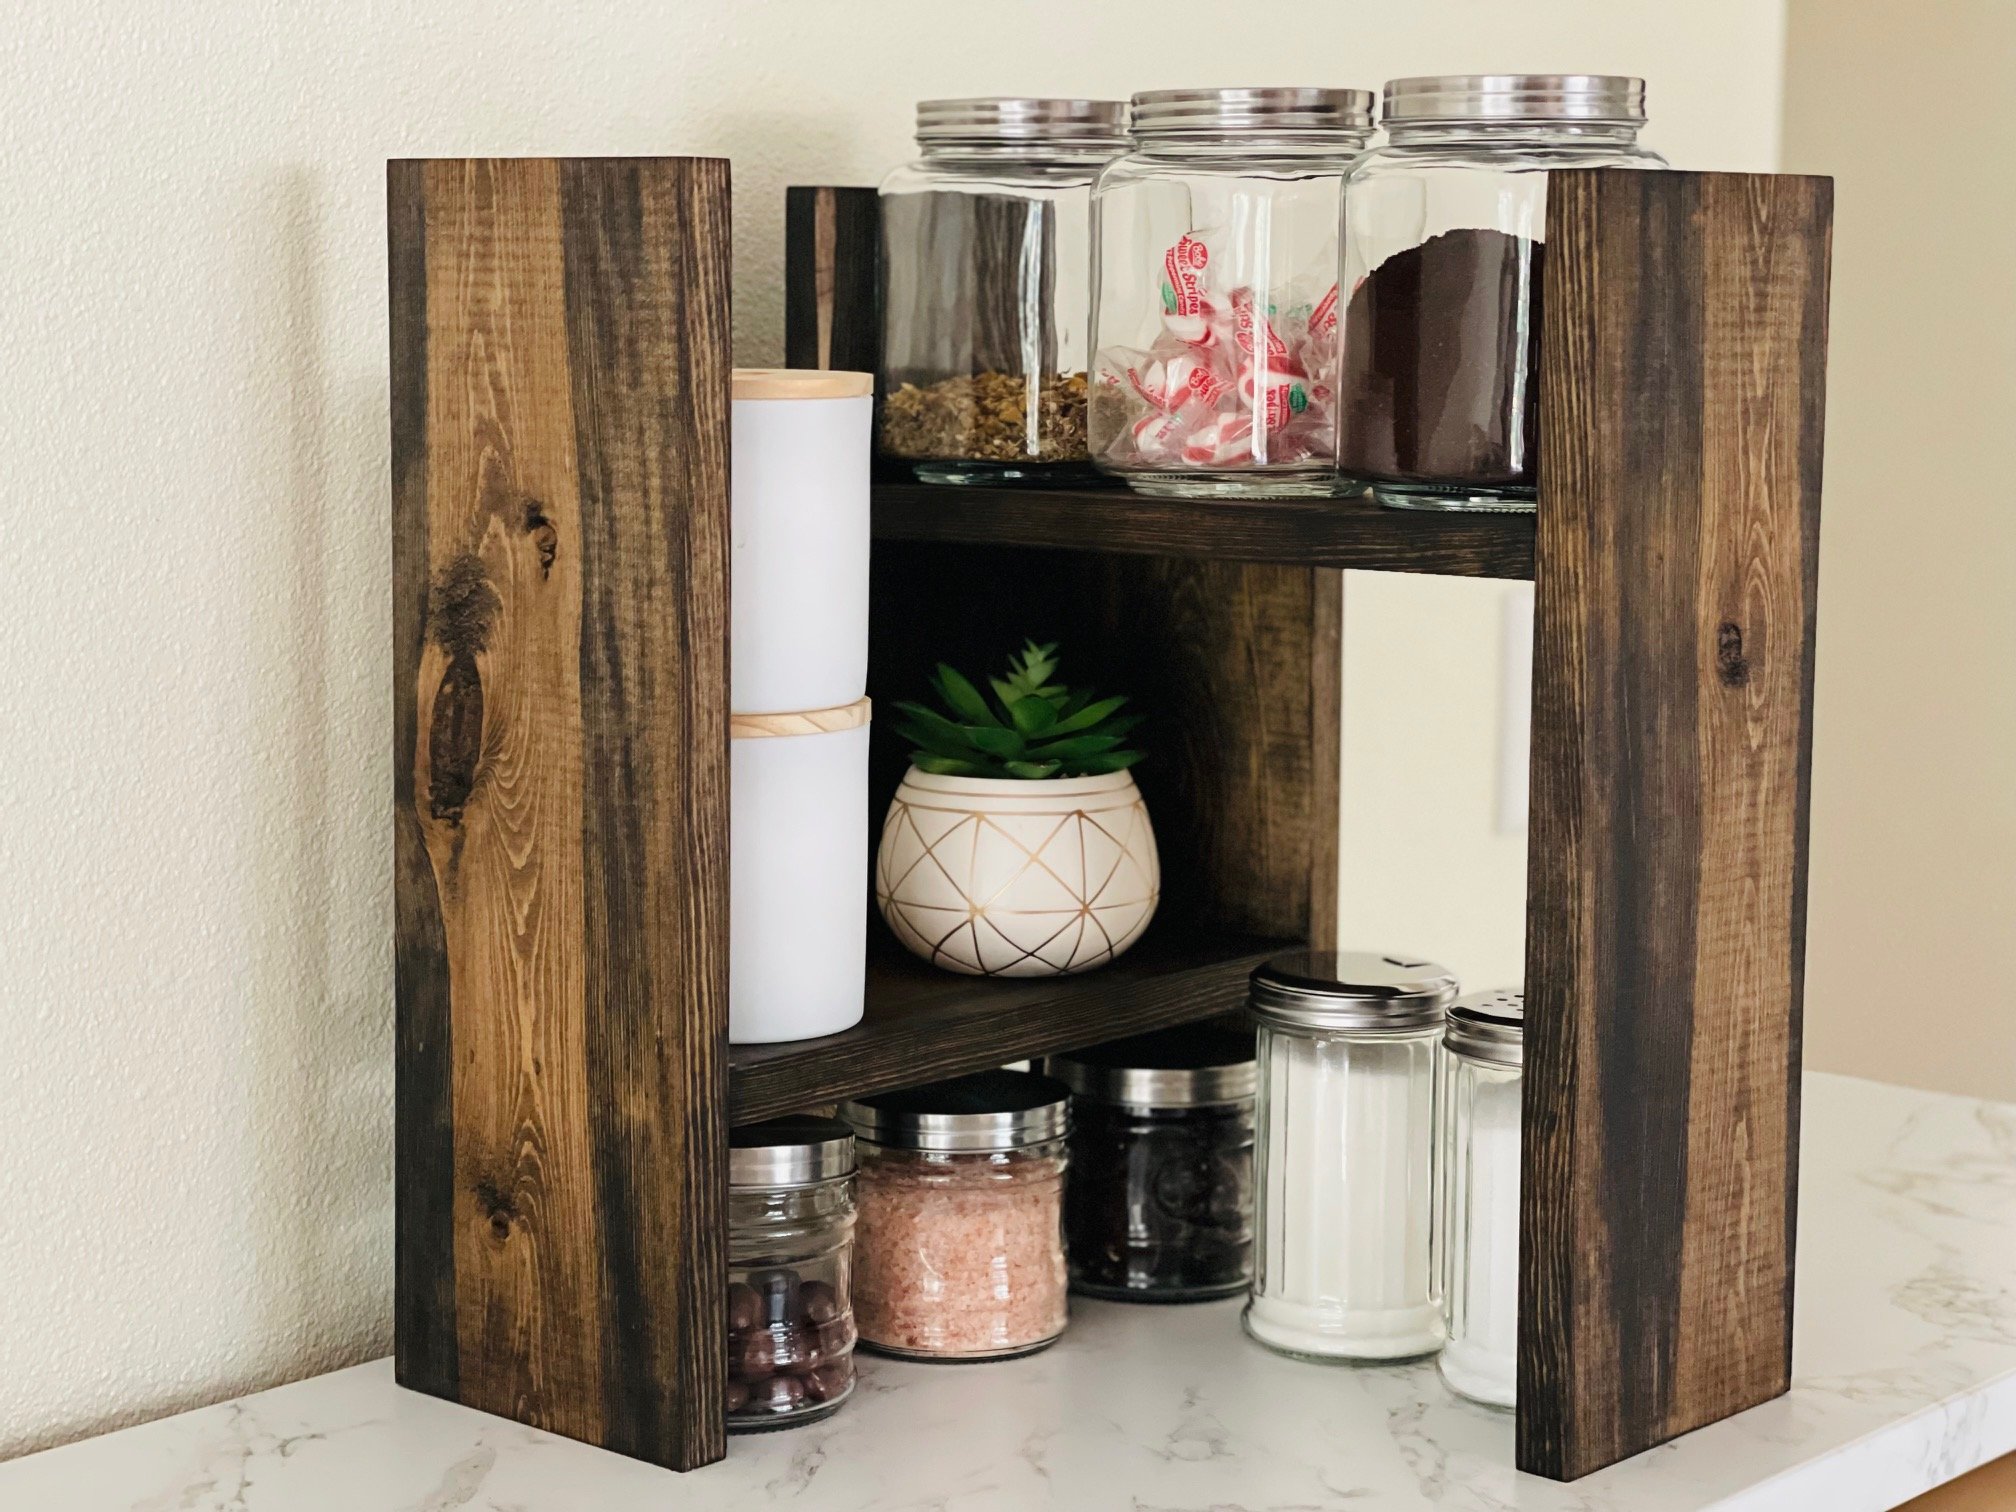
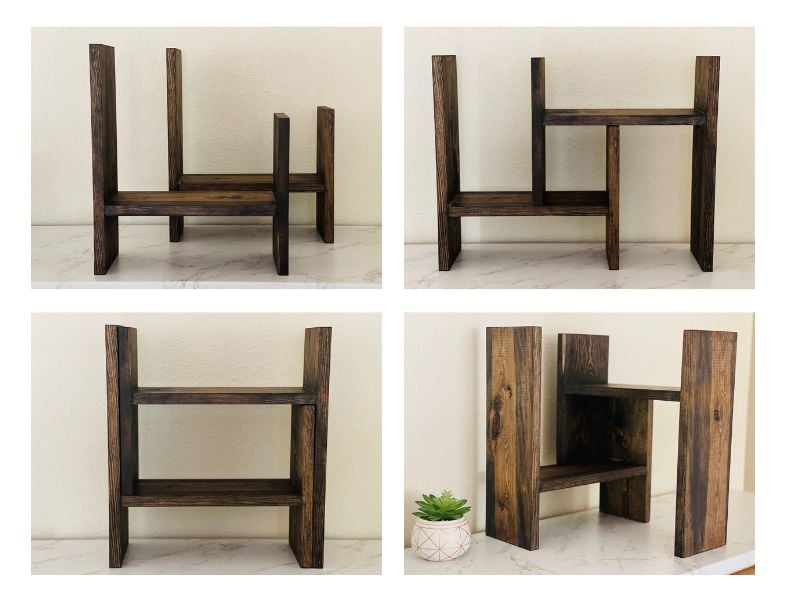
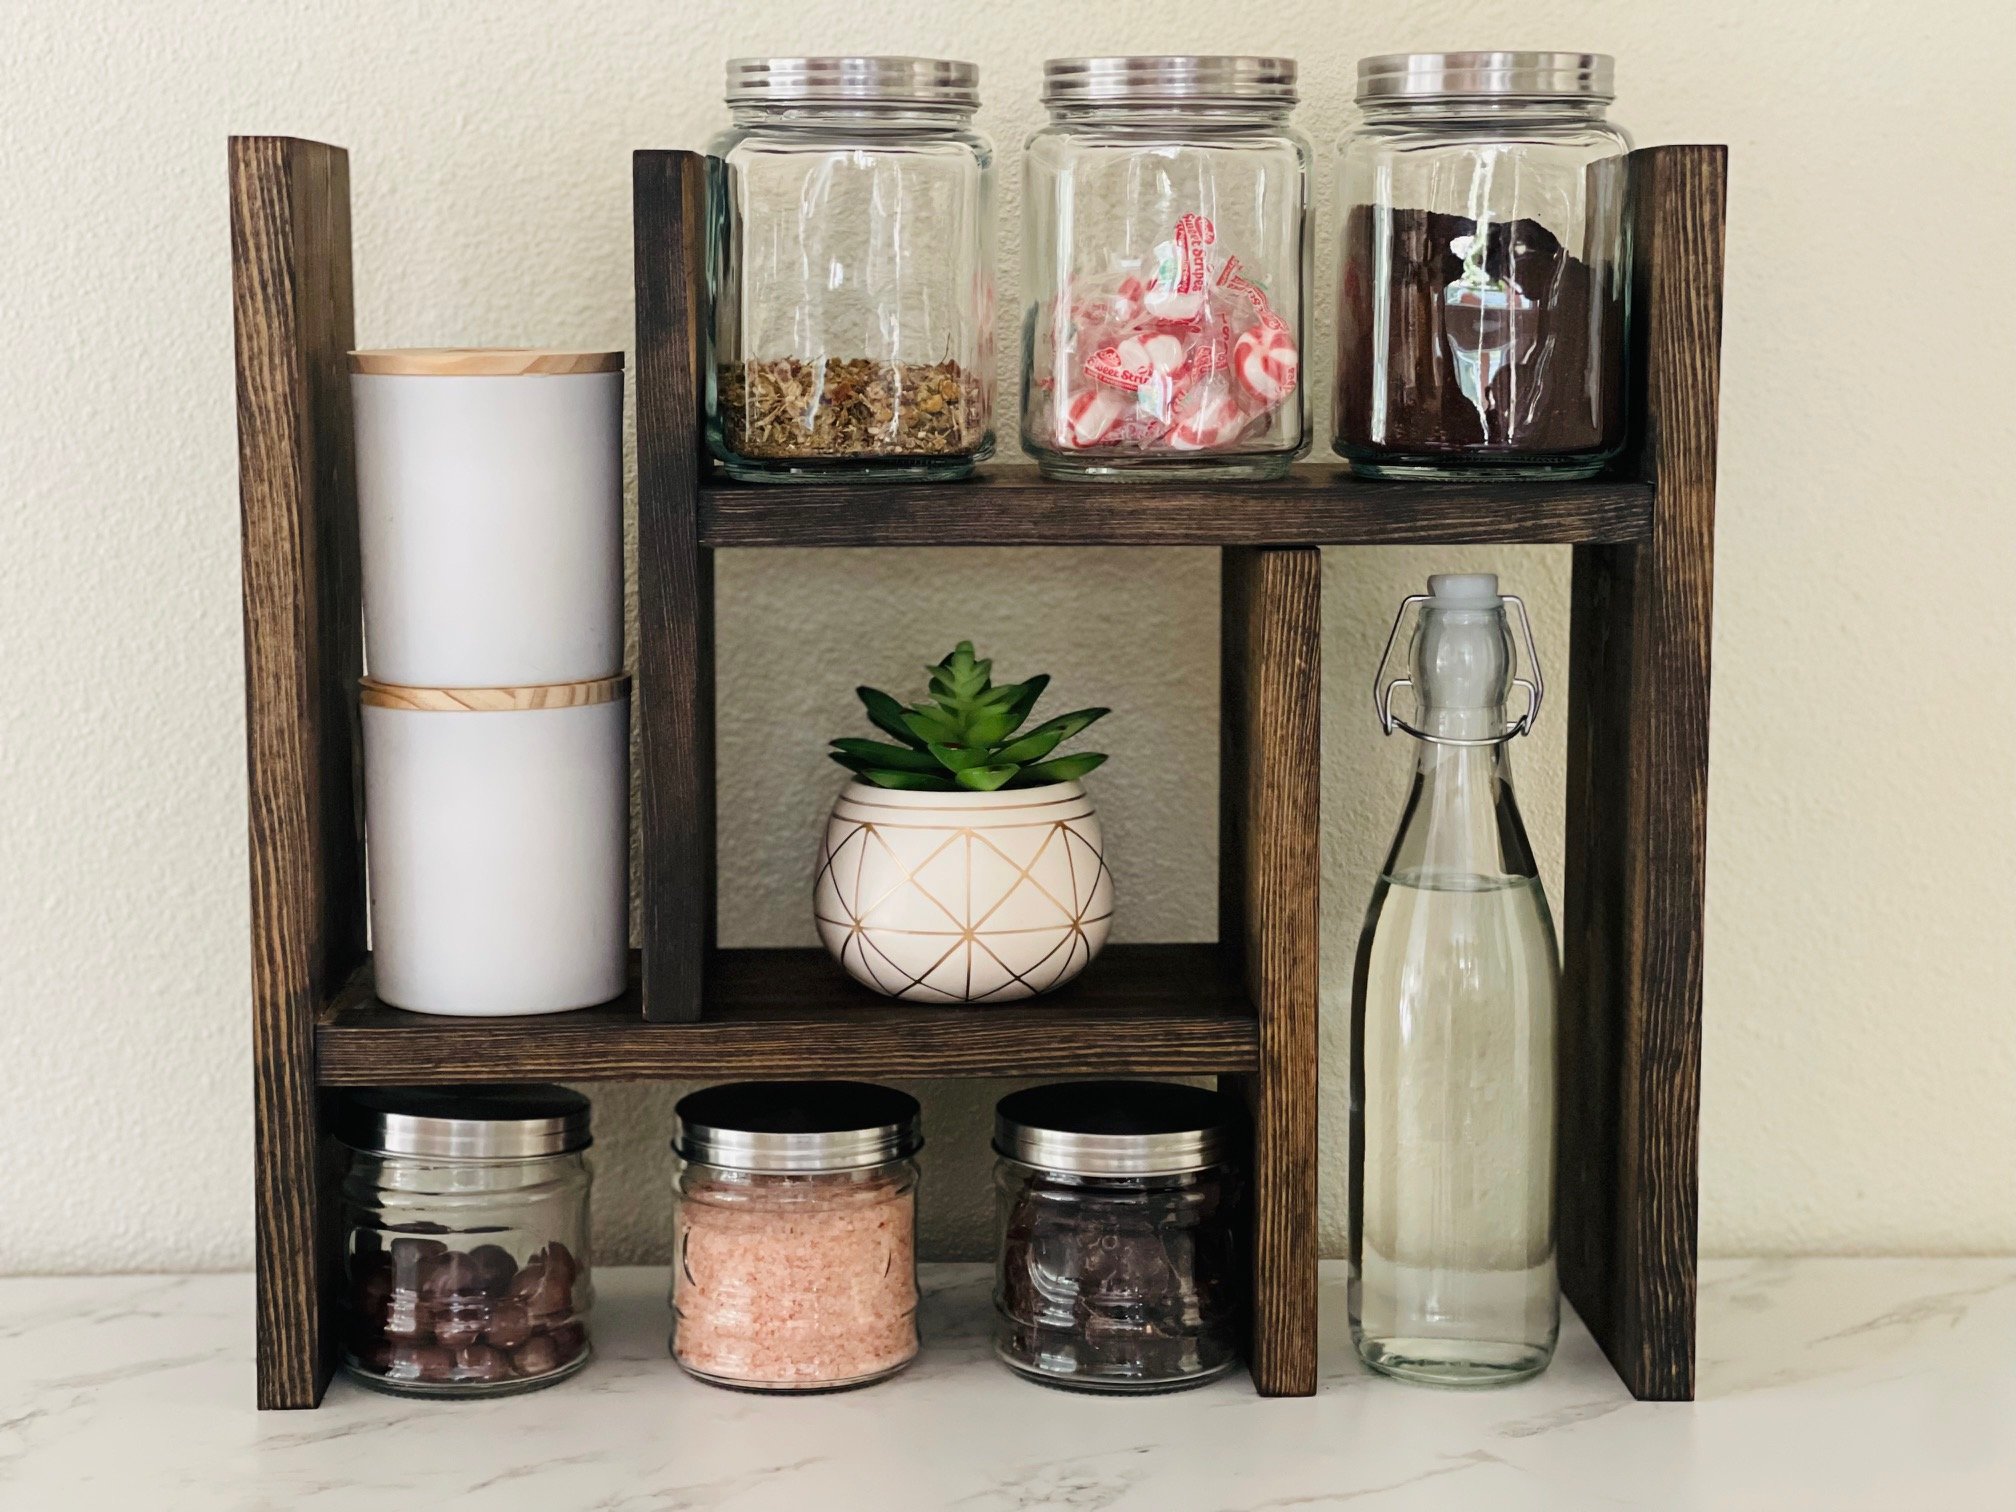
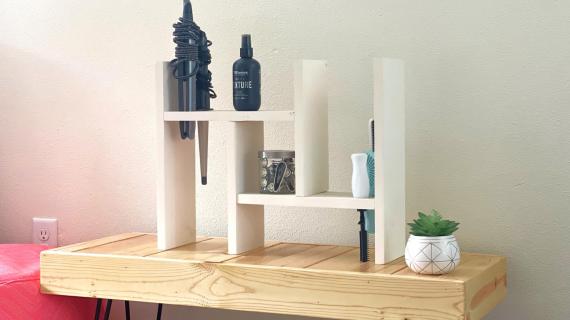
From compact to corner, to expanded out - you can always be customizing this clever desktop organizer to suit your space and needs. 

We love it as a kitchen organizer and decor shelf, and an office or vanity organizer.  

This simple build uses a 1x6 board, and can be painted or stained any color!

Adjustable Shelf Desktop Organizer Plans


Pin for Later!

Adjustable Desktop Organizer

Dimensions
adjustable desktop organizer
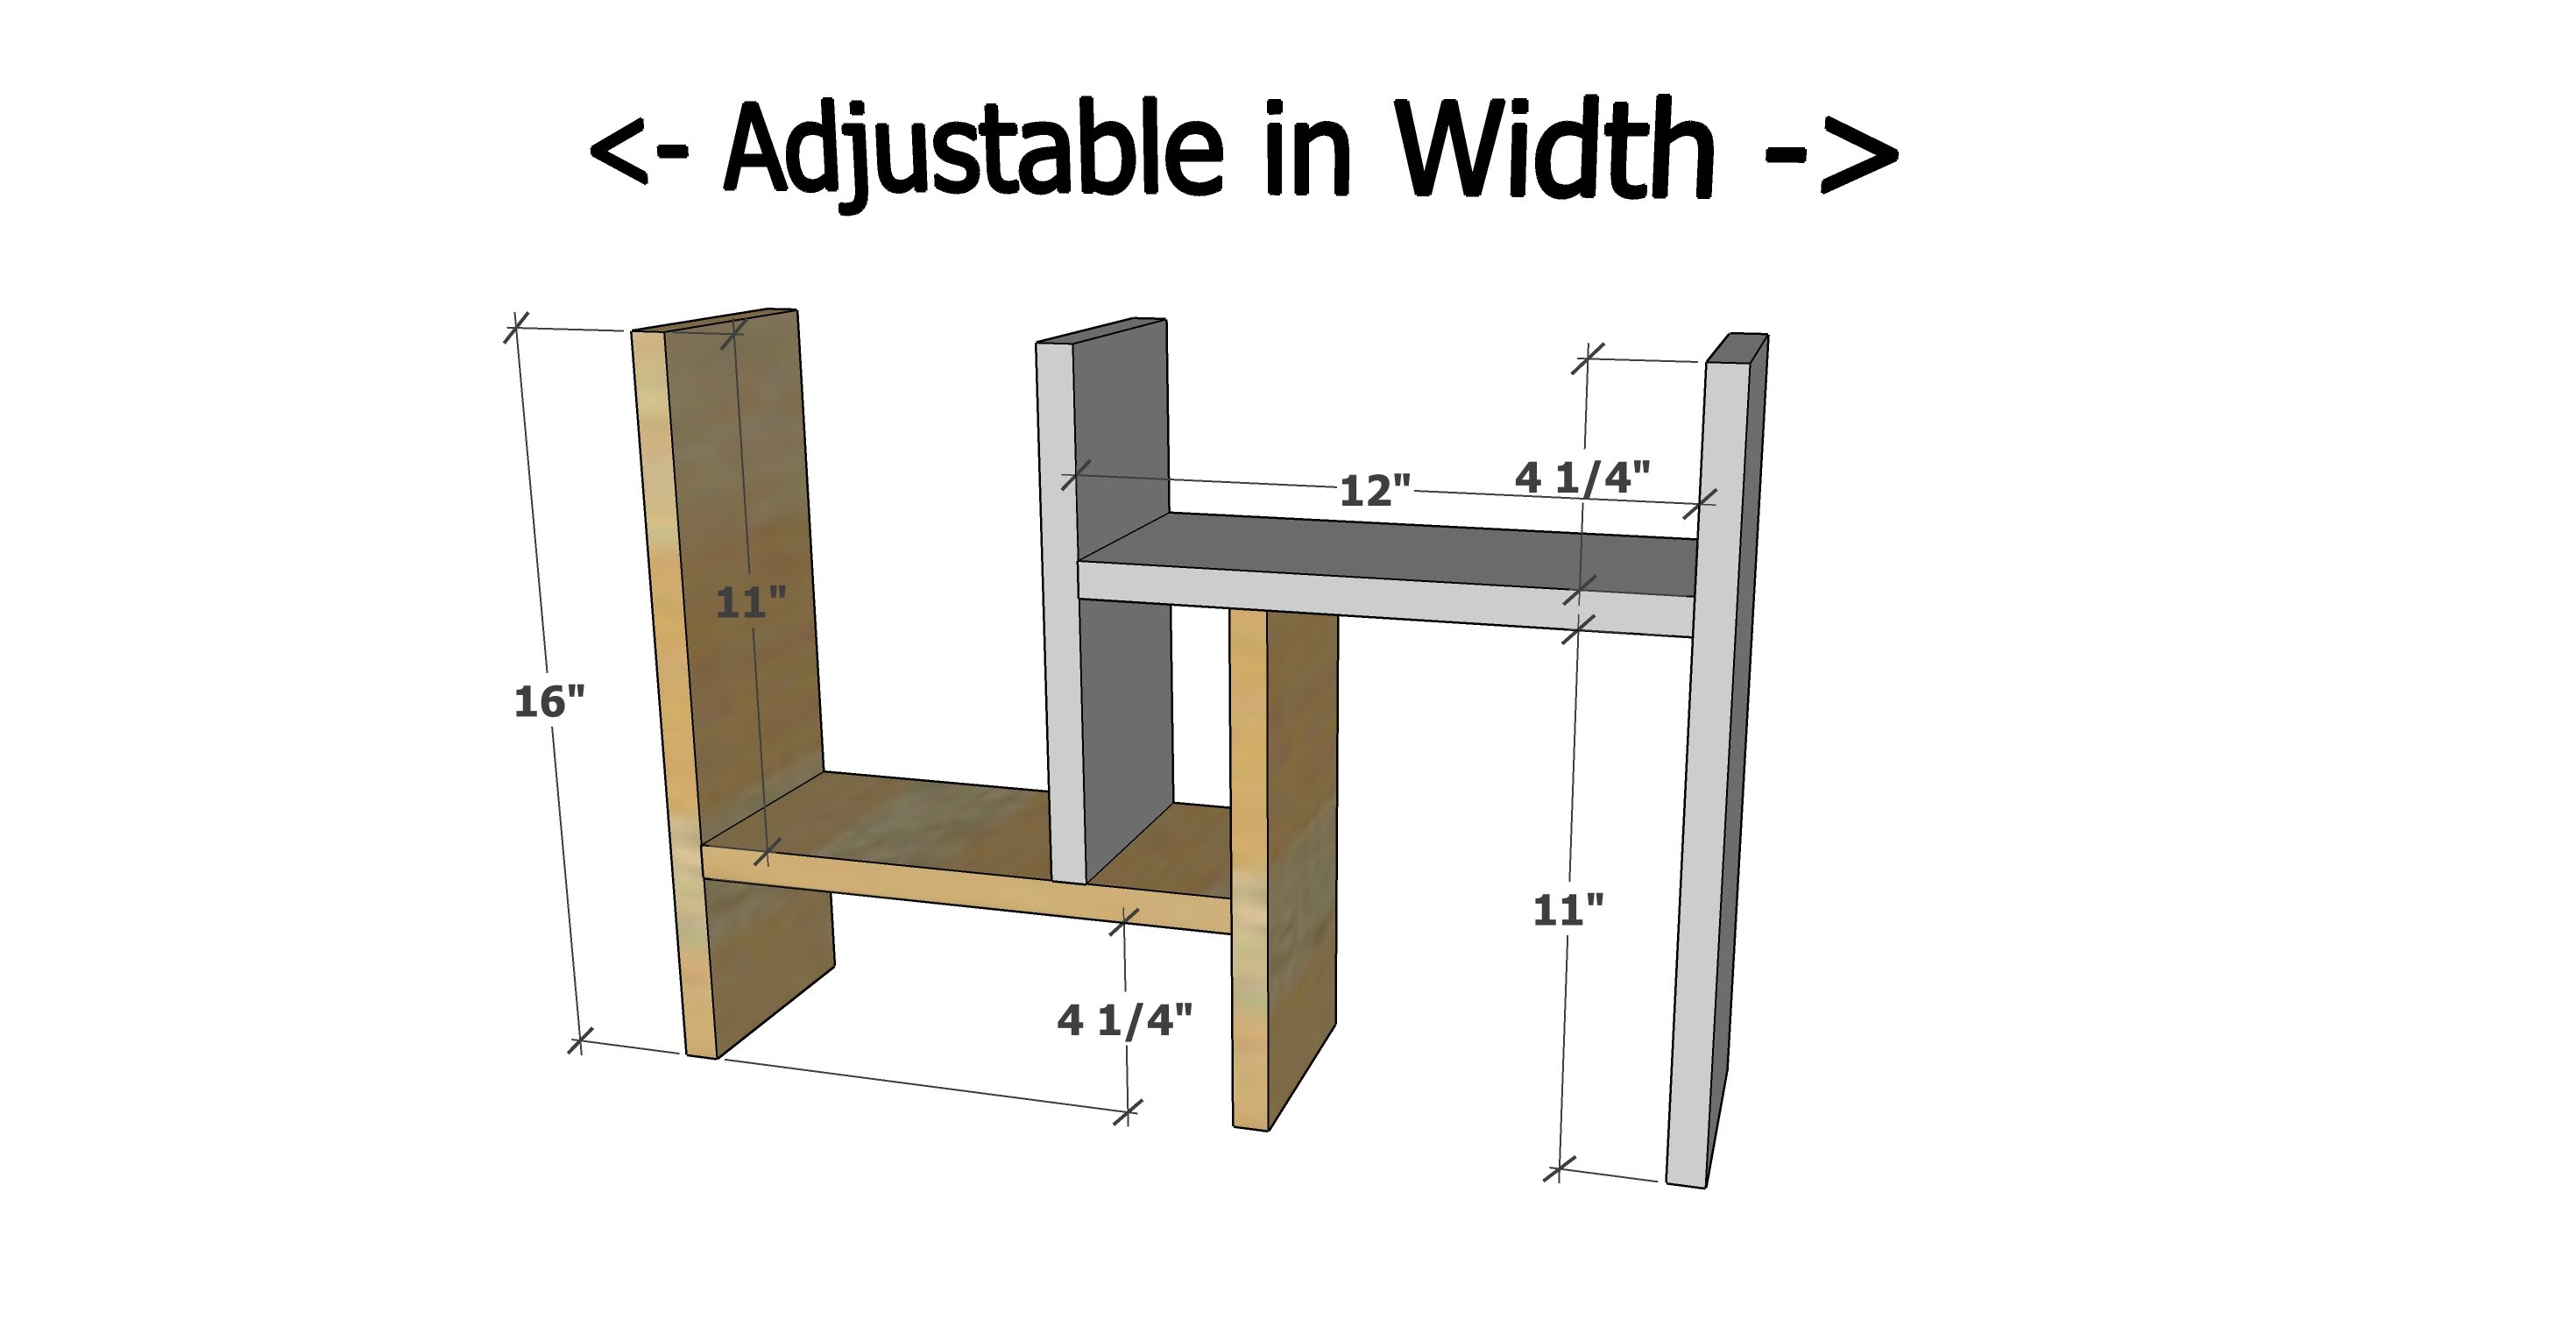
16" tall x 5-1/2" deep x 14"-23" wide (approximate)

Preparation

Shopping List
  • 1 - 1x6 @ 8 feet long
  • 1-1/4" brad nails and glue OR 1-3/4" self tapping star bit screws (12 total needed)
  • wood stain or paint
Cut List
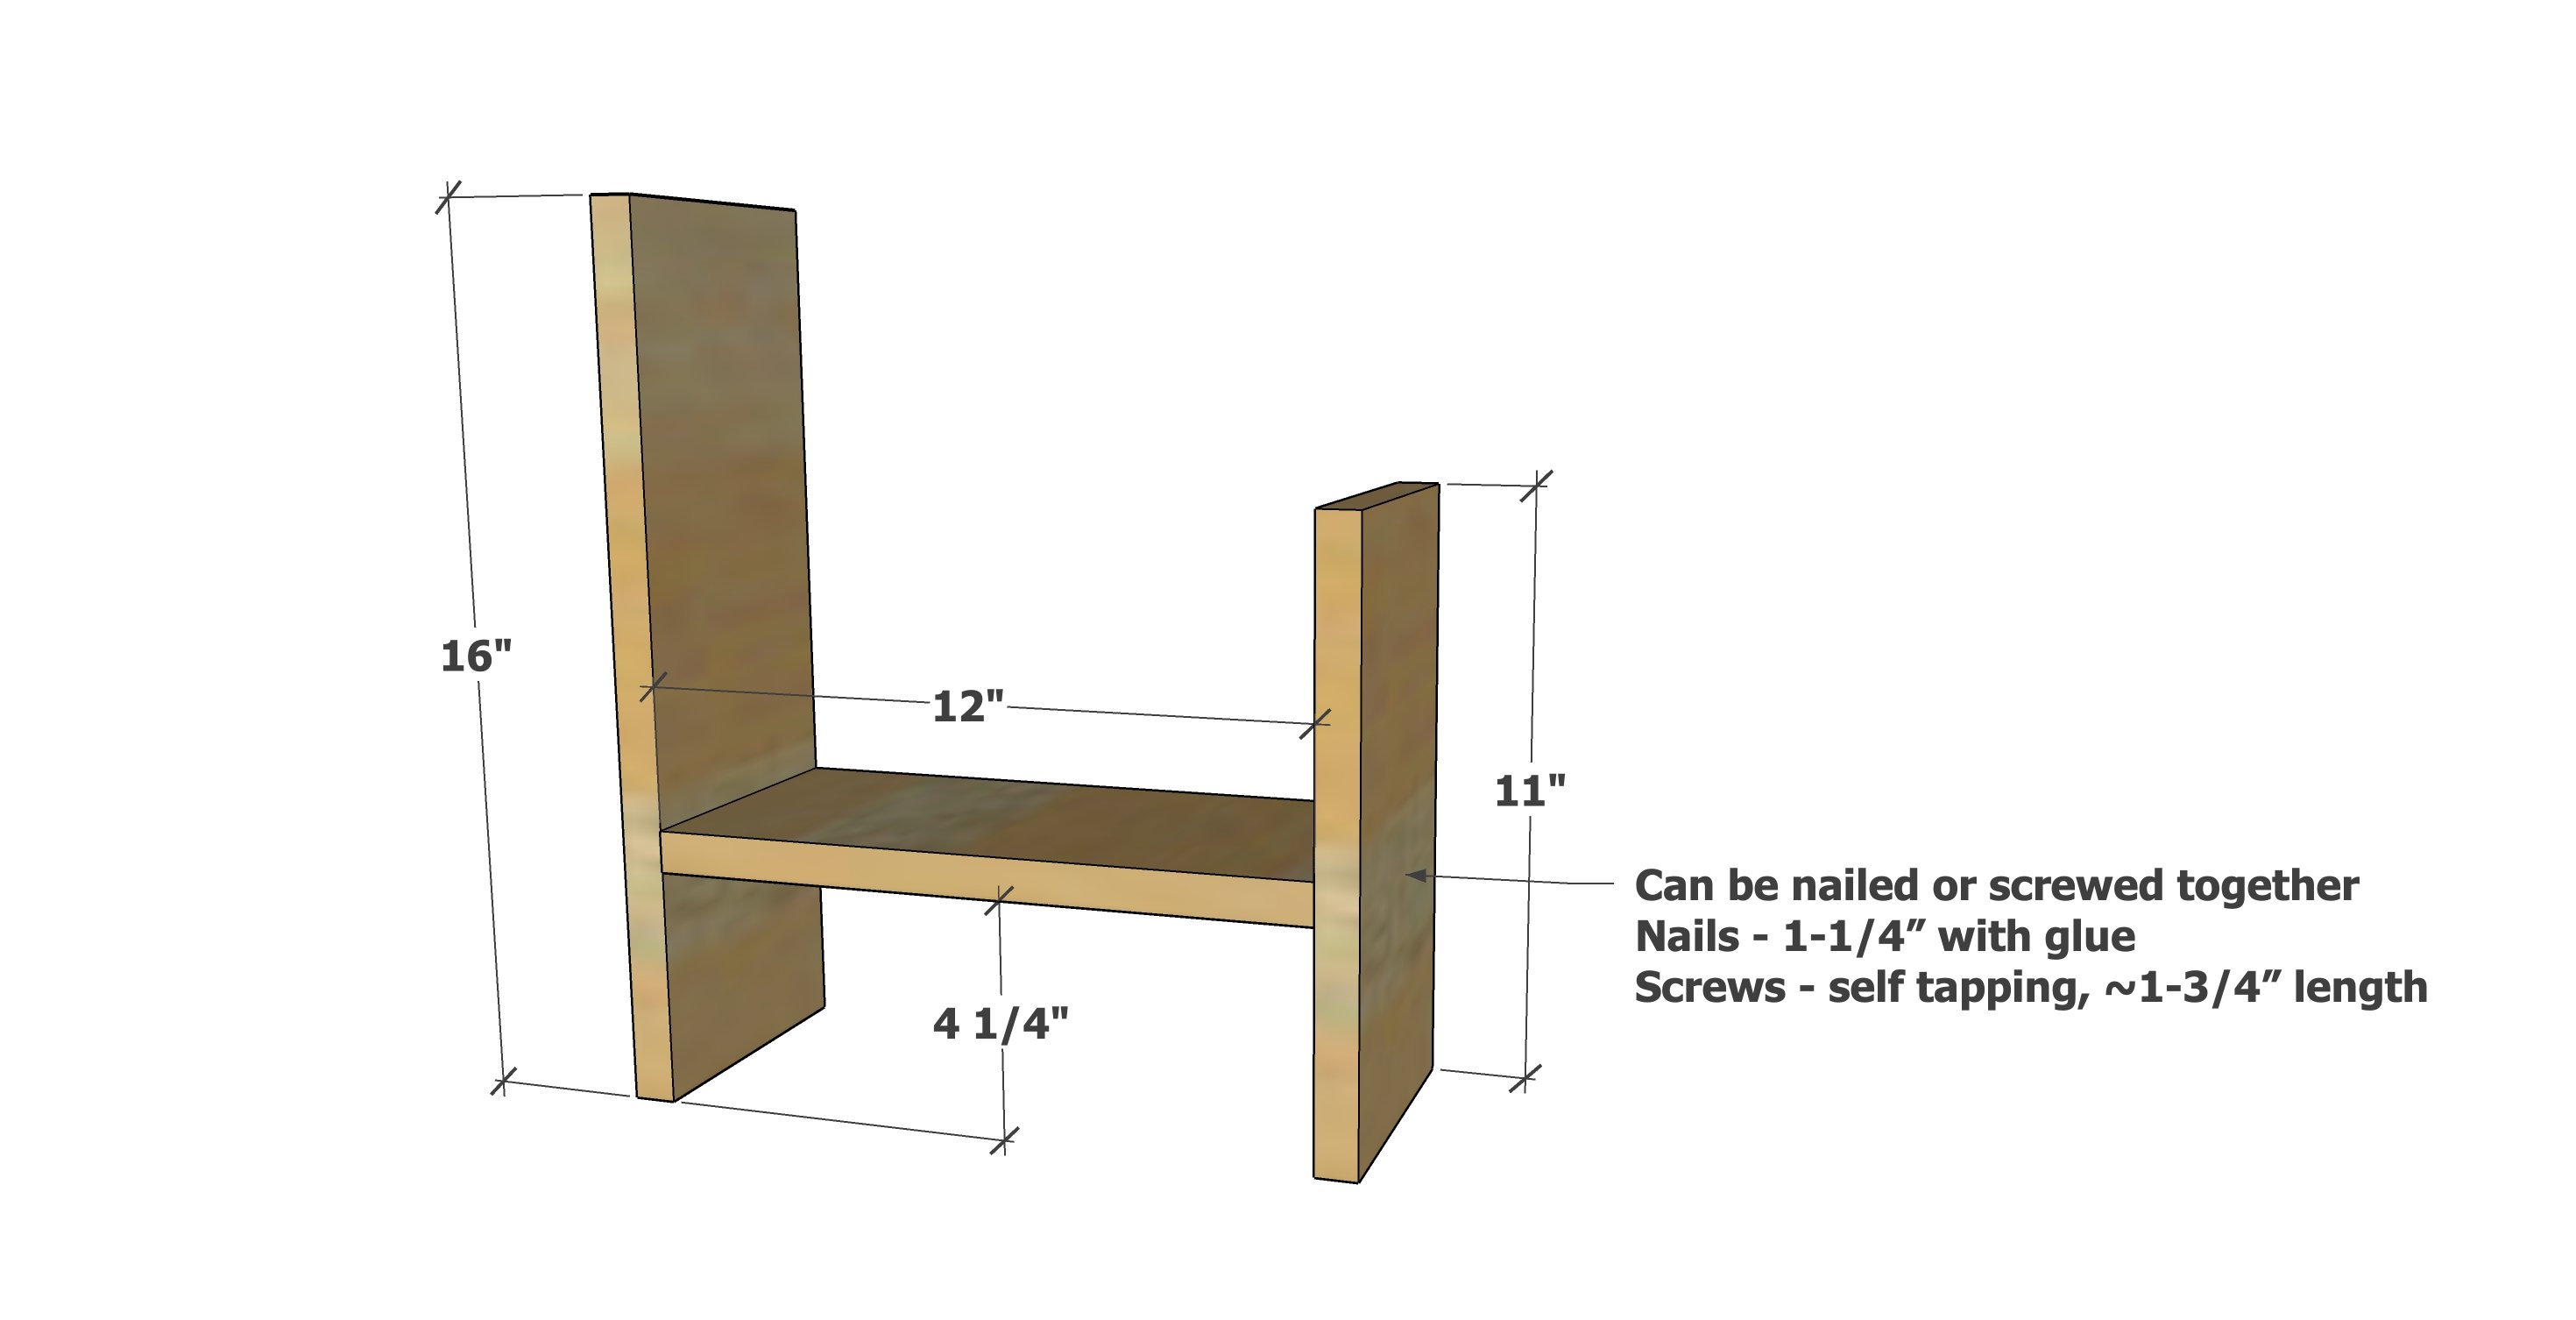
  • 2 - 1x6 @ 16" - tall leg
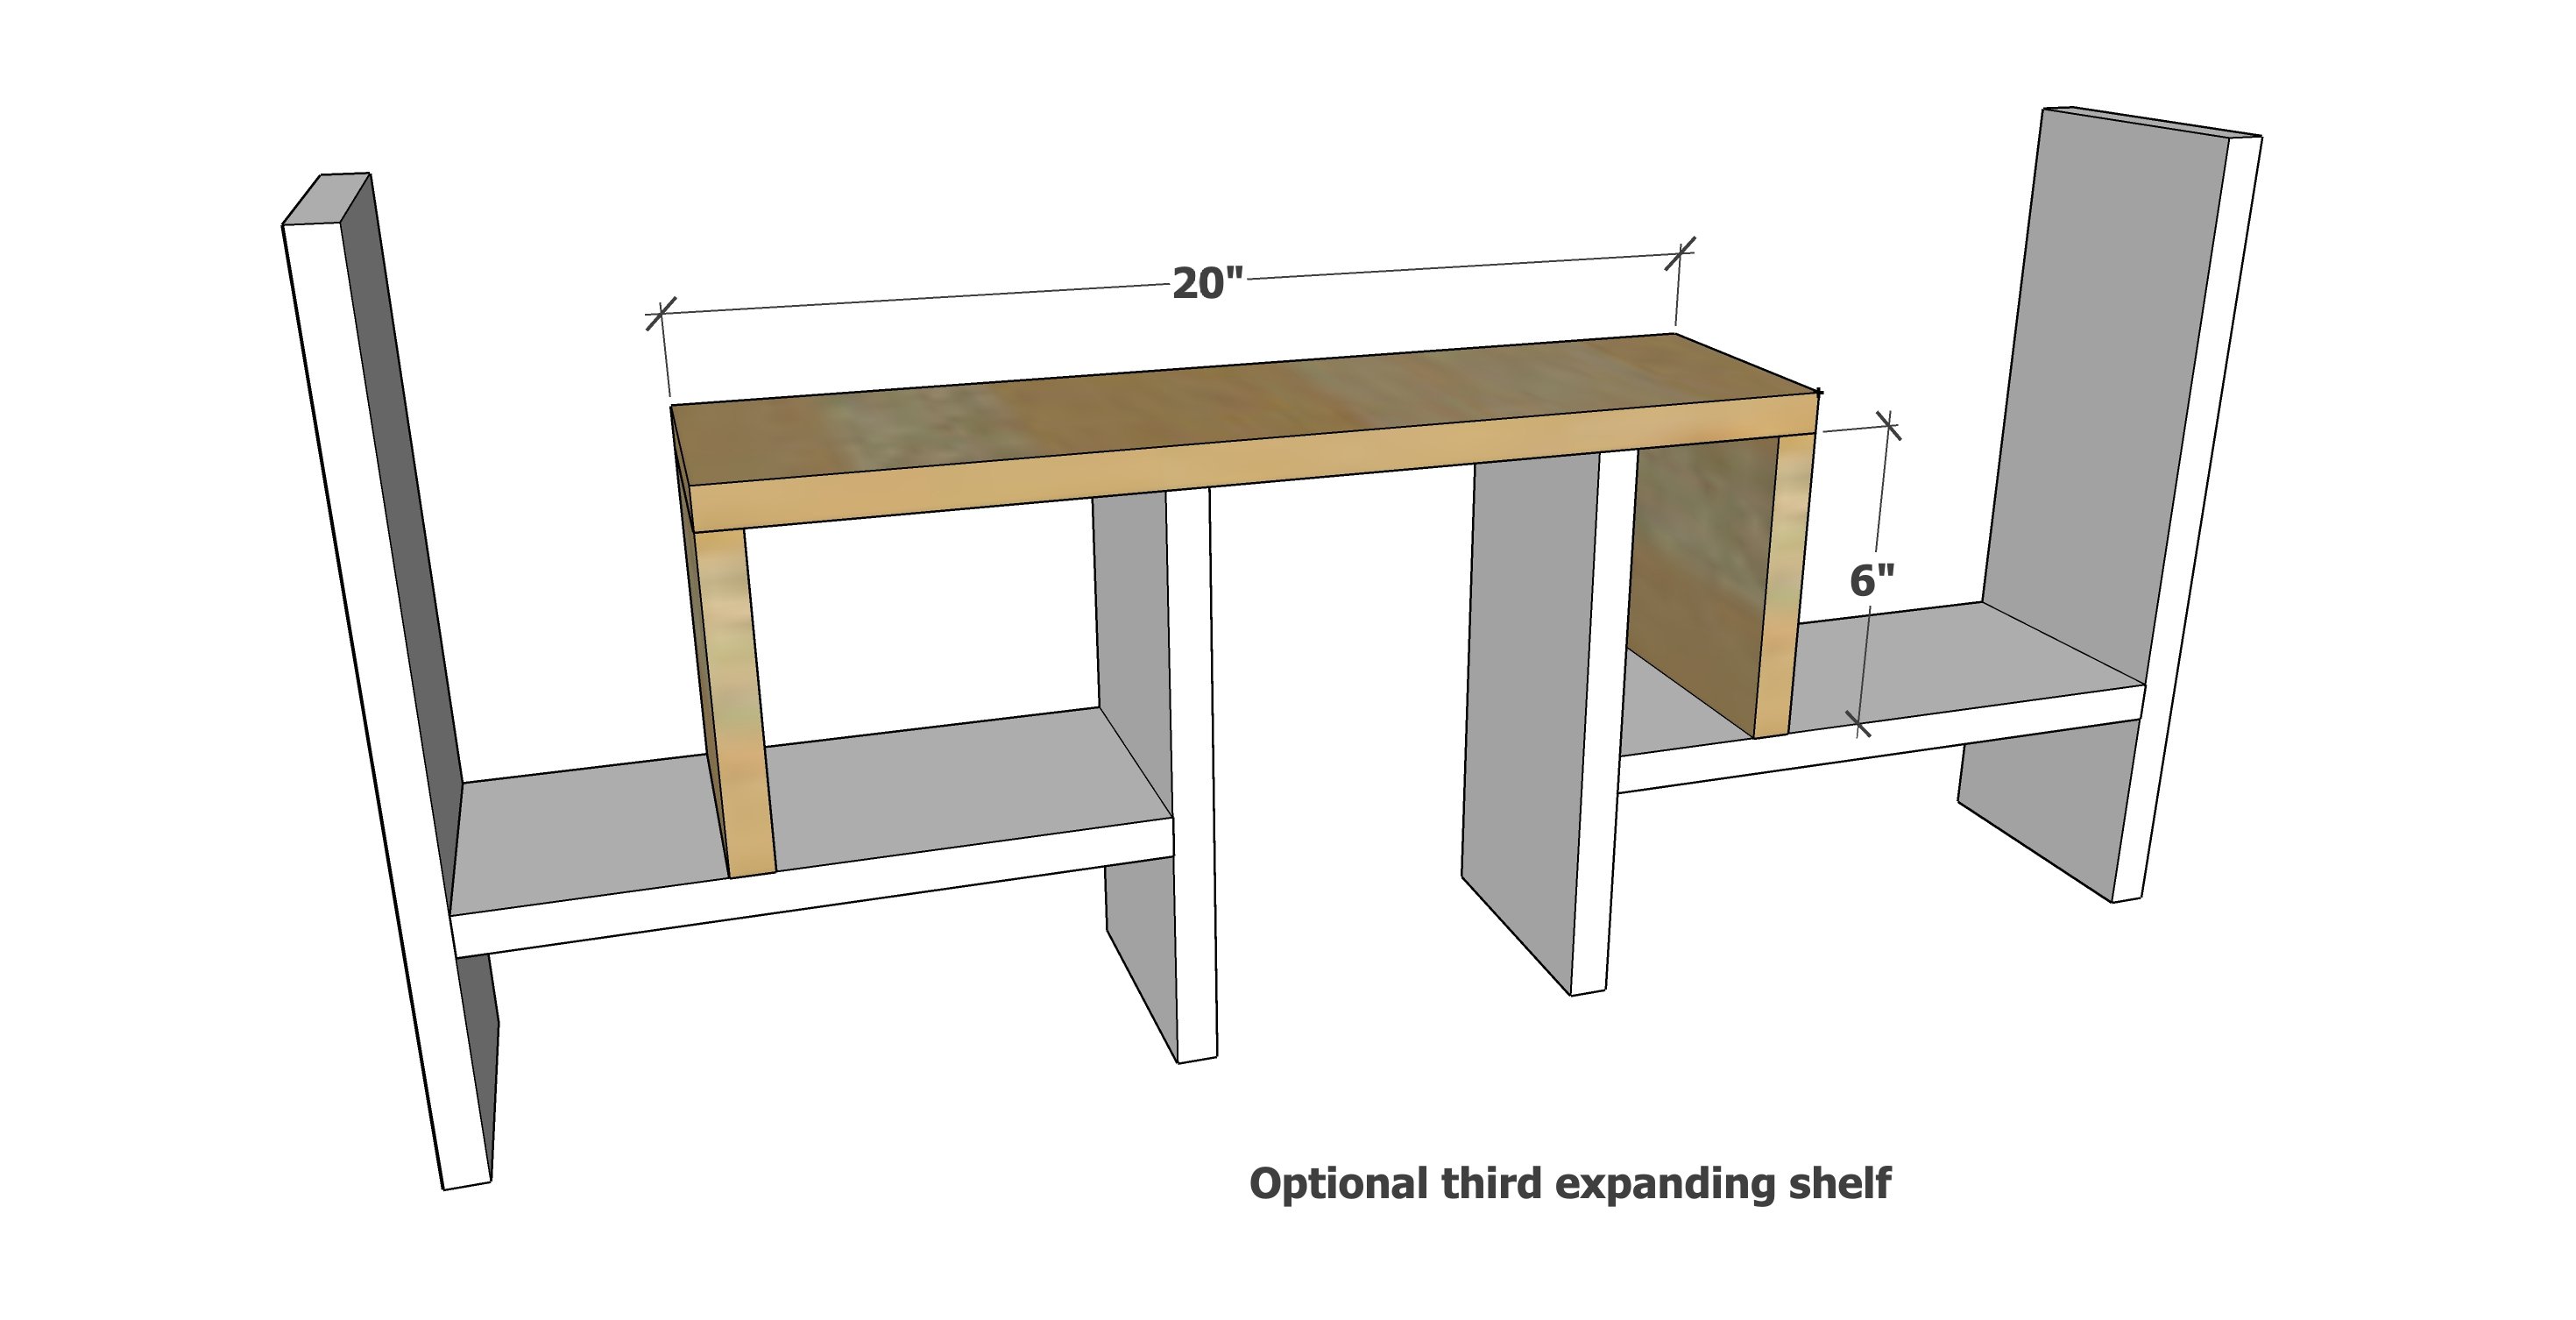
  • 2 - 1x6 @ 12" - shelf, can make up to 20" long if a longer shelf is desired 
  • 2 - 1x6 @ 11" - short leg

A 1x8 or 1x10 can also be used instead of 1x6 for a deeper shelf depth

Tools
Tape Measure
Speed Square
Safety Glasses
Drill
Miter Saw

Instructions

Step 1

Carefully mark out the location of the shelf on the short and tall legs.

Attach the shelf to the legs with nails or screws, three per joint.

Build two identical.

Step 2

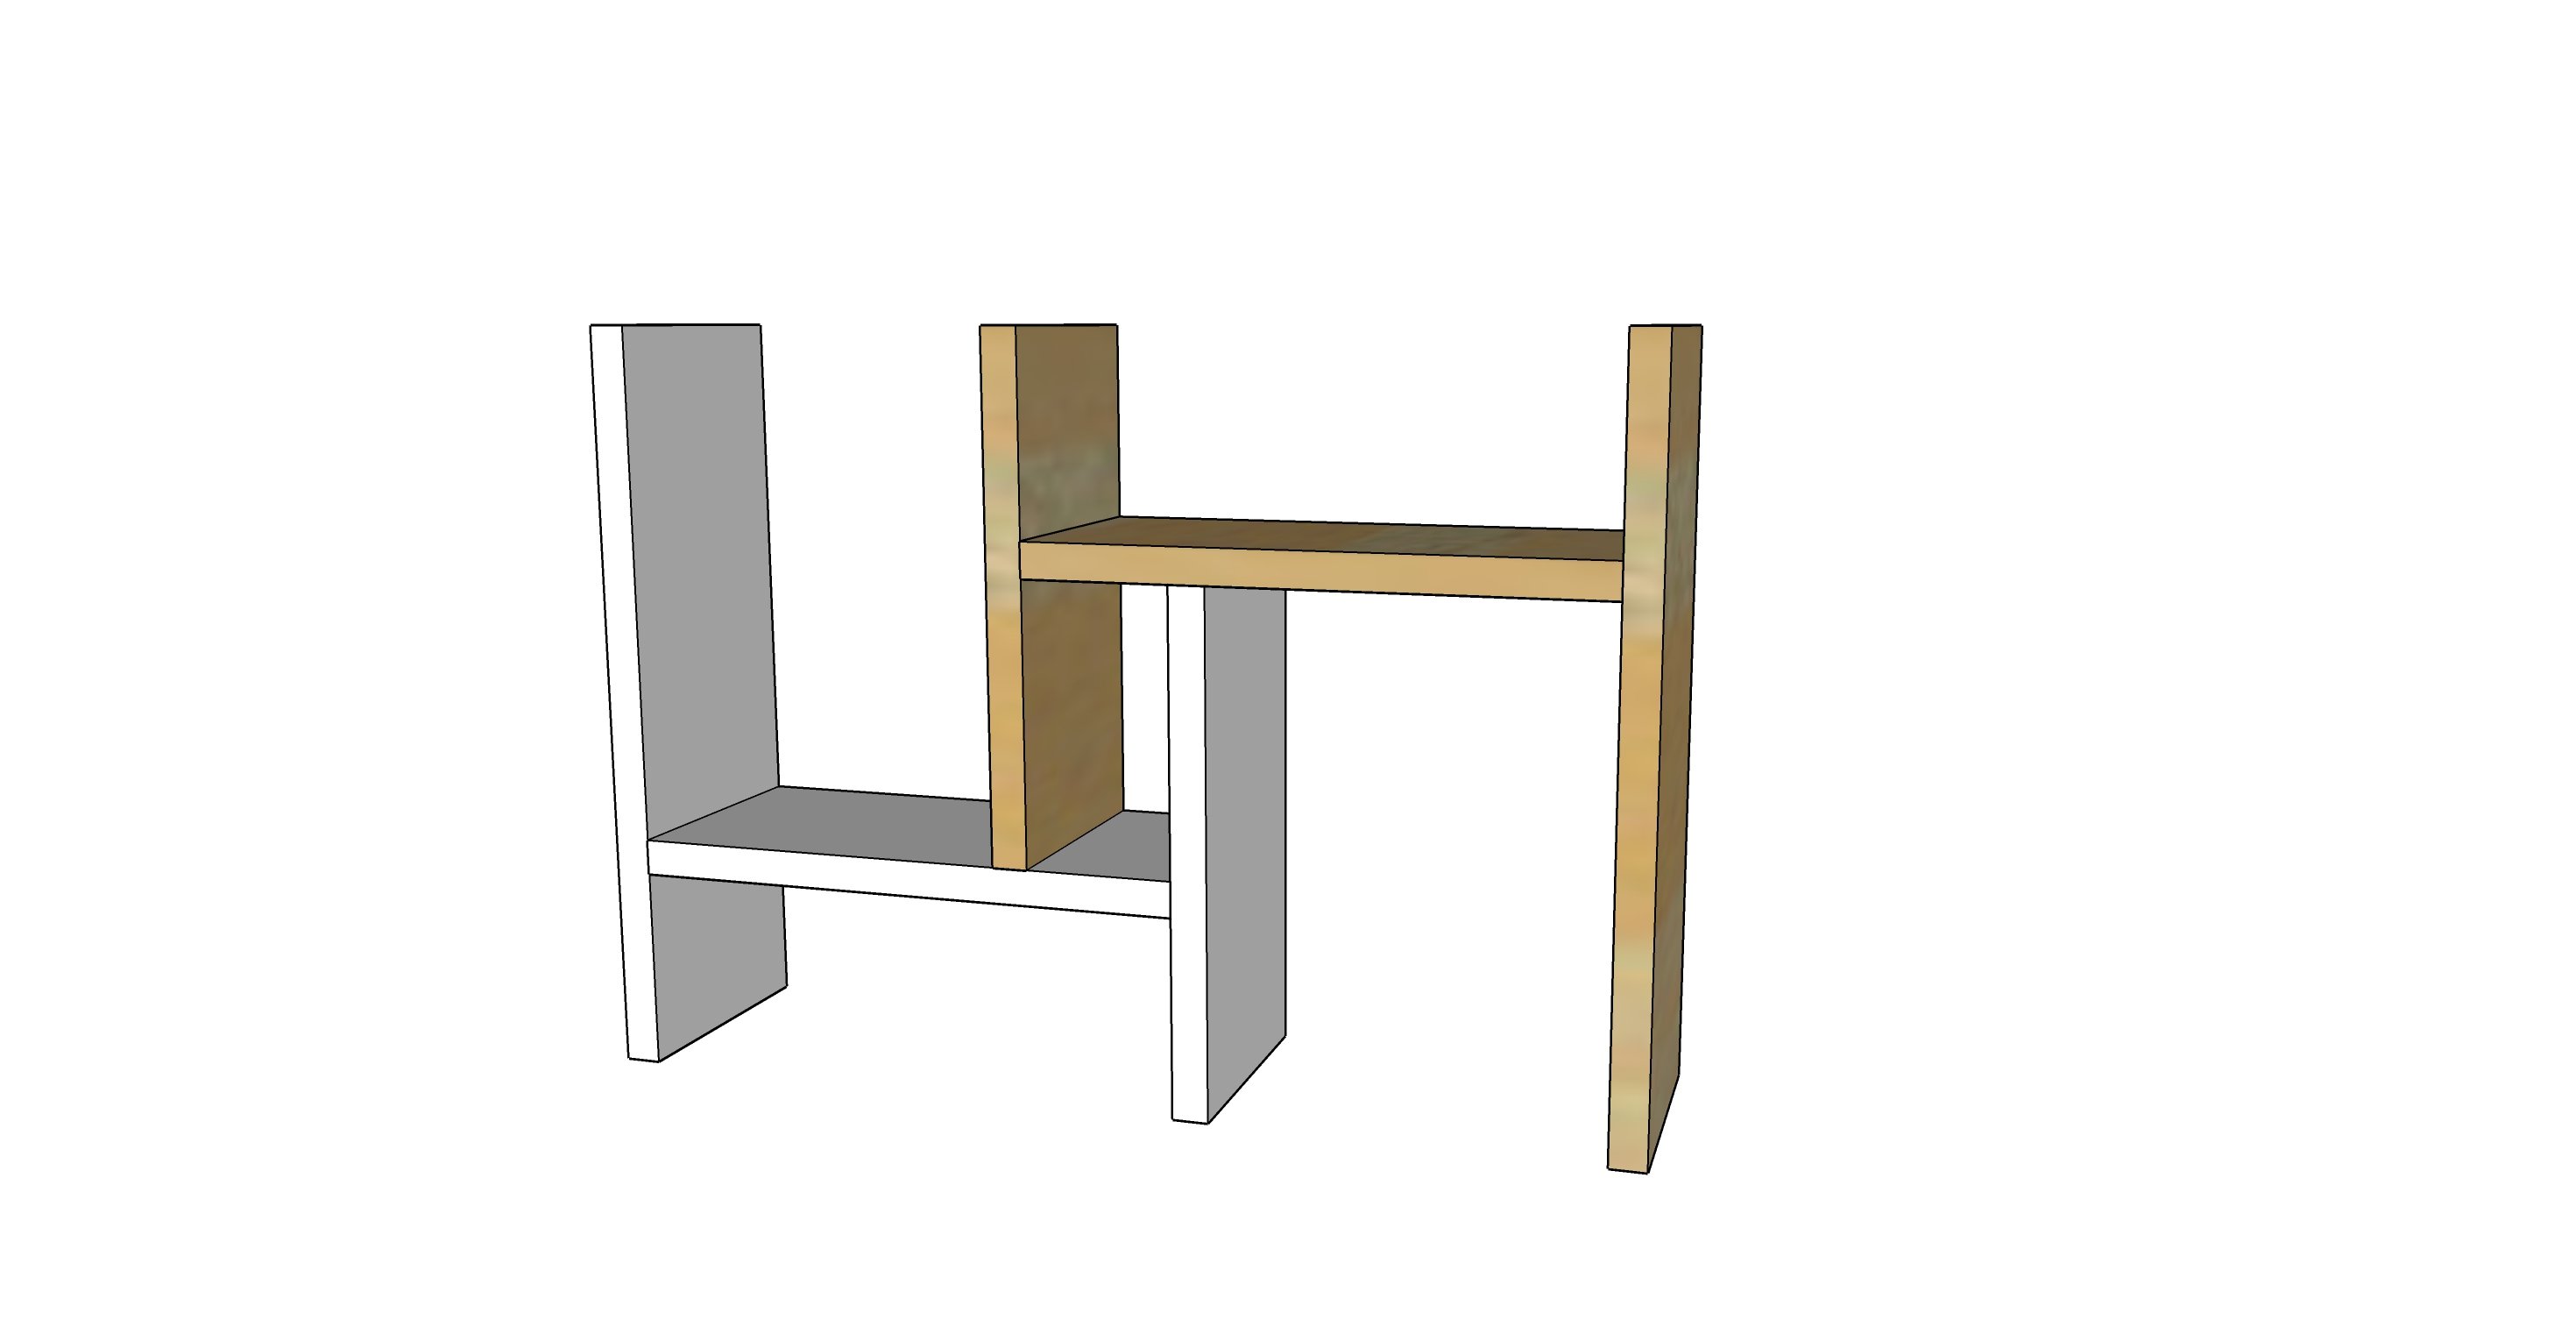
Position the two organizers as shown and adjust as needed.

Step 3

For an even longer shelf, a third organizer piece can be added to the first two as shown.

Finishing Instructions
Preparation Instructions
Fill nail or screw holes with wood filler and let dry. Sand off excess when dry. Remove sanding residue with a vacuum, followed by wiping with a damp lint free cloth.
Finish Used
Apply stain with a foam applicator. Wipe off excess.
Project Type