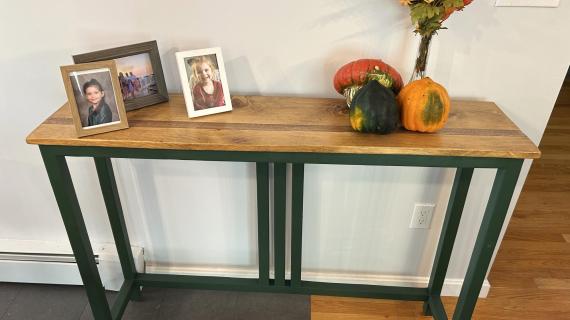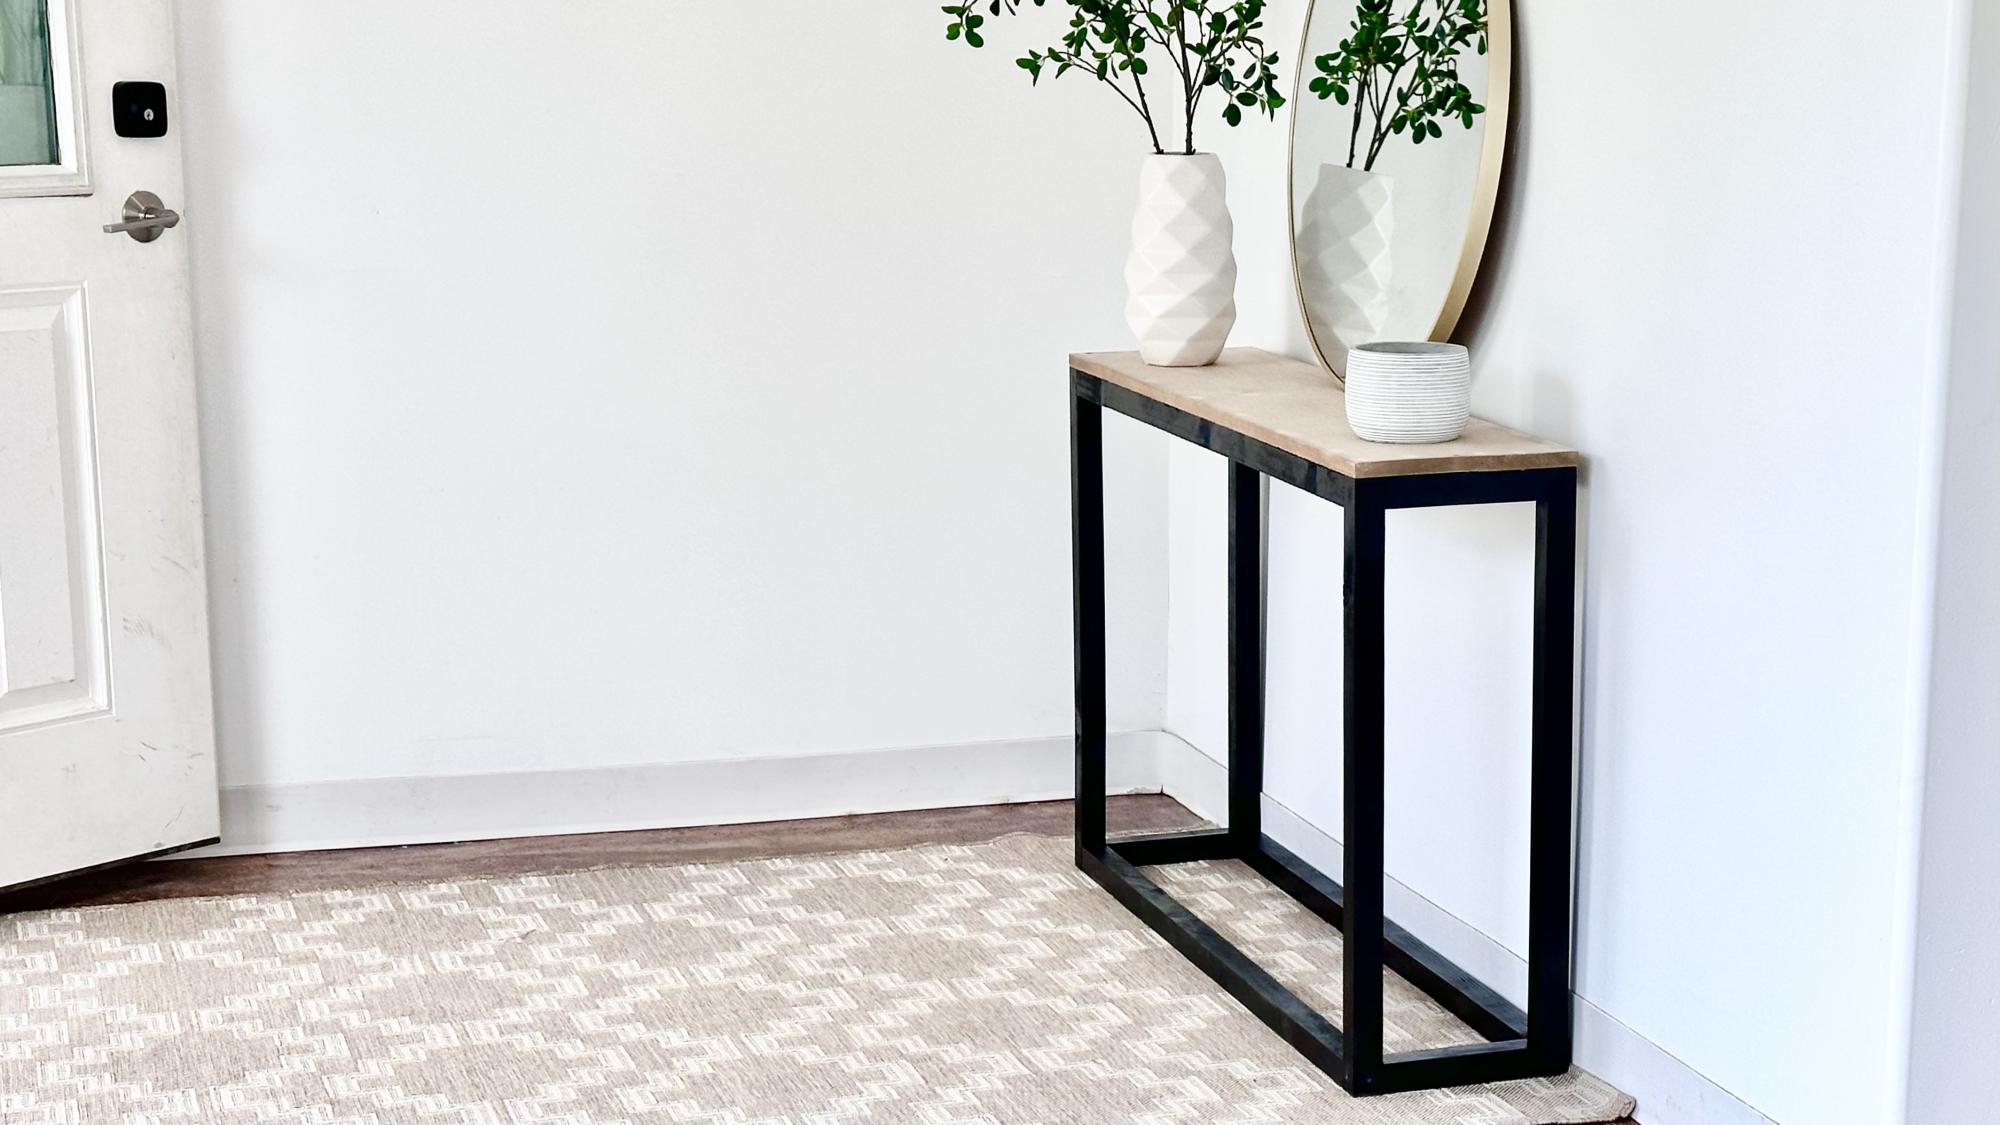


I built this box frame console table with lumber using just a few tools. It cost me about $25 and about 2 hours to build. I love the wood top contrasted with the boxy base. This is the perfect low cost but beautiful piece that goes with just about any decor style.
Build your own with my free step by step plans, diagrams, shopping list and cut list with a video tutorial. I also have plans for the matching coffee tables, and side tables. From Ana-White.com
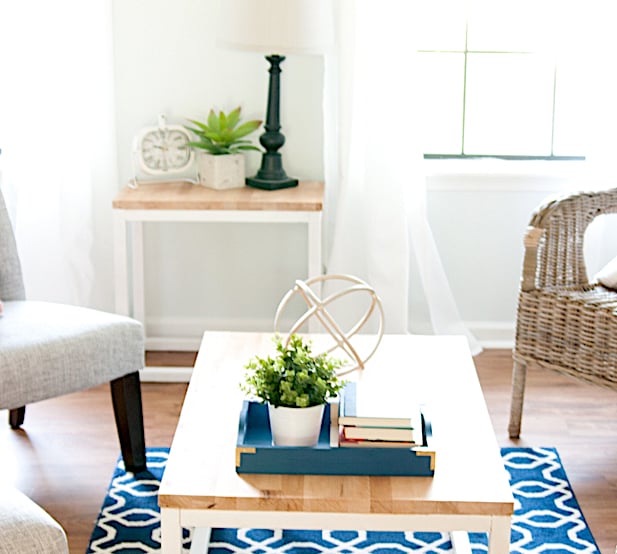
Photo credit: INBETWEENCHAOS
Why I Built this Console Table
I needed a simple but stylish console table for an Airbnb - since it's for short term rentals, I didn't need storage. I didn't want to spend alot of time or money on a project. I was able to build this console table for about $25 in lumber.
- Inexpensive - cost about $25 in lumber
- Stylish - goes with just about any decor
- Wood Top - the wood top adds texture and warmth to a space and is easy to clean and keep looking new
- Lightweight - easy to move around if needed
- Perfect Size - it's a just right size for a narrow hall, entryway or small living room or that blank wall that needs something
- Common Materials - build with furring strips and 1x12, available at most stores
- Minimal tools - you just need a few tools to make this
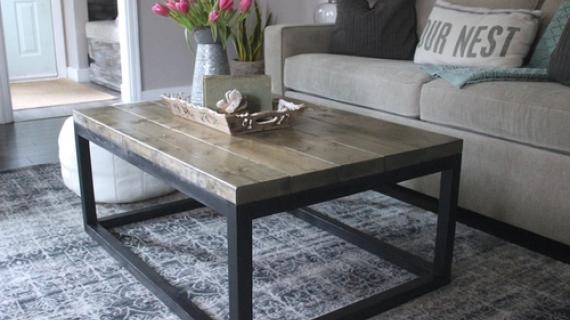
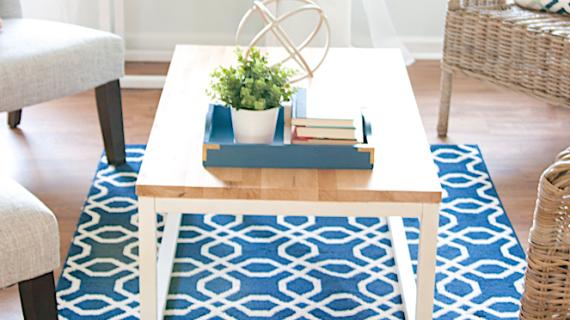
- Plans for Matching Pieces - this turned out so well, I added plans for the coffee tables and end tables too!
How to Build it - Watch the Build Video
In this super quick video, watch me build this console table.
Free Matching Plans in this Collection
- Box Frame Console Table
- Square Box Frame Coffee Table
- Rectangle Box Frame Coffee Table
- Square Box Frame End Table
- Rectangle Box Frame End Table
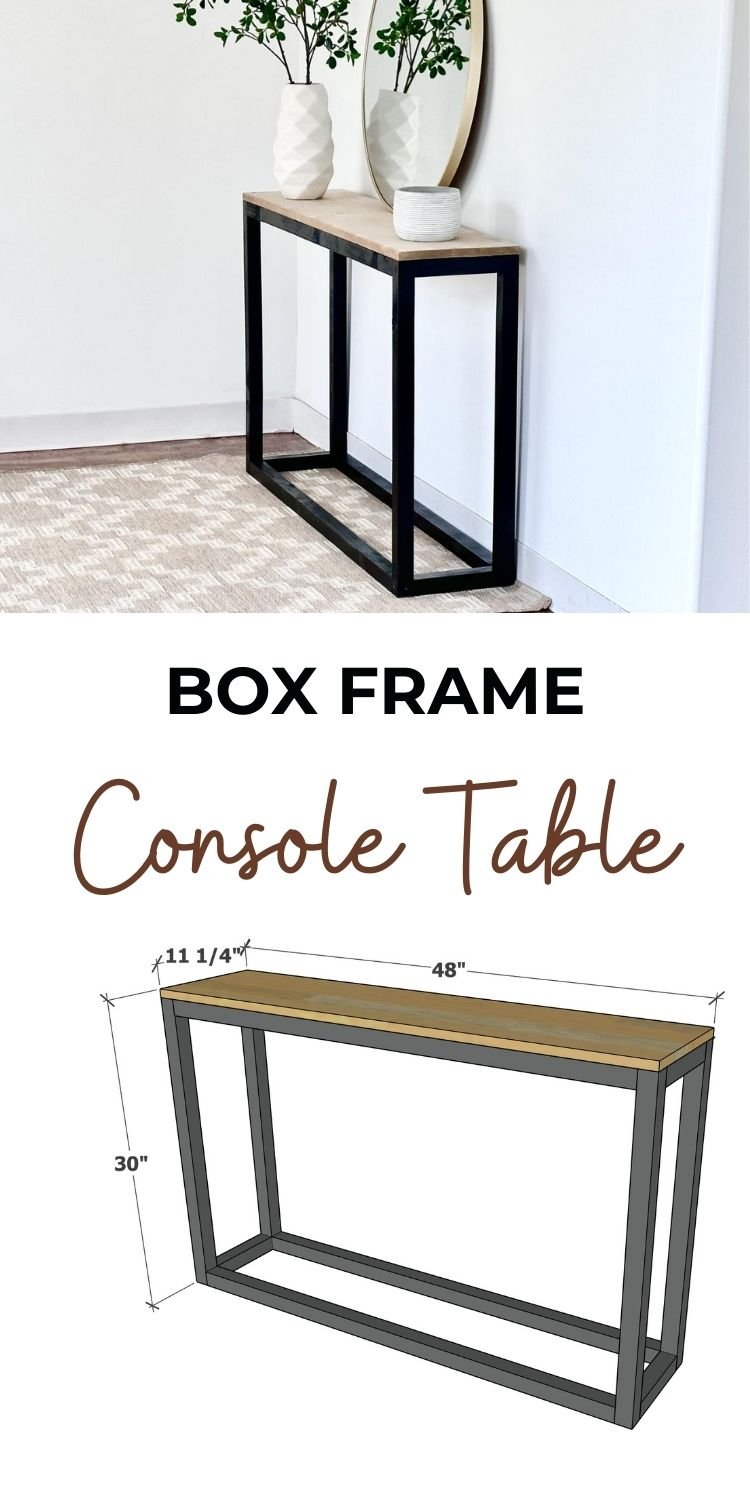
Box Frame Console Table Free Plans
Here's the free step-by-step plans to build this console table.
Pin For Later!
Preparation
- 4 - 2x2 @ 8 feet long (I used furring strips)
- 1 - 1x12 @ 4 feet long
- 2-1/2" self tapping trim screws (16 needed)
- 1-5/8" self tapping trim screws or 1-1/4" brad nails for attaching top
- wood glue
- wood filler
- 120 grit sanding block
- paint or stain for finishing
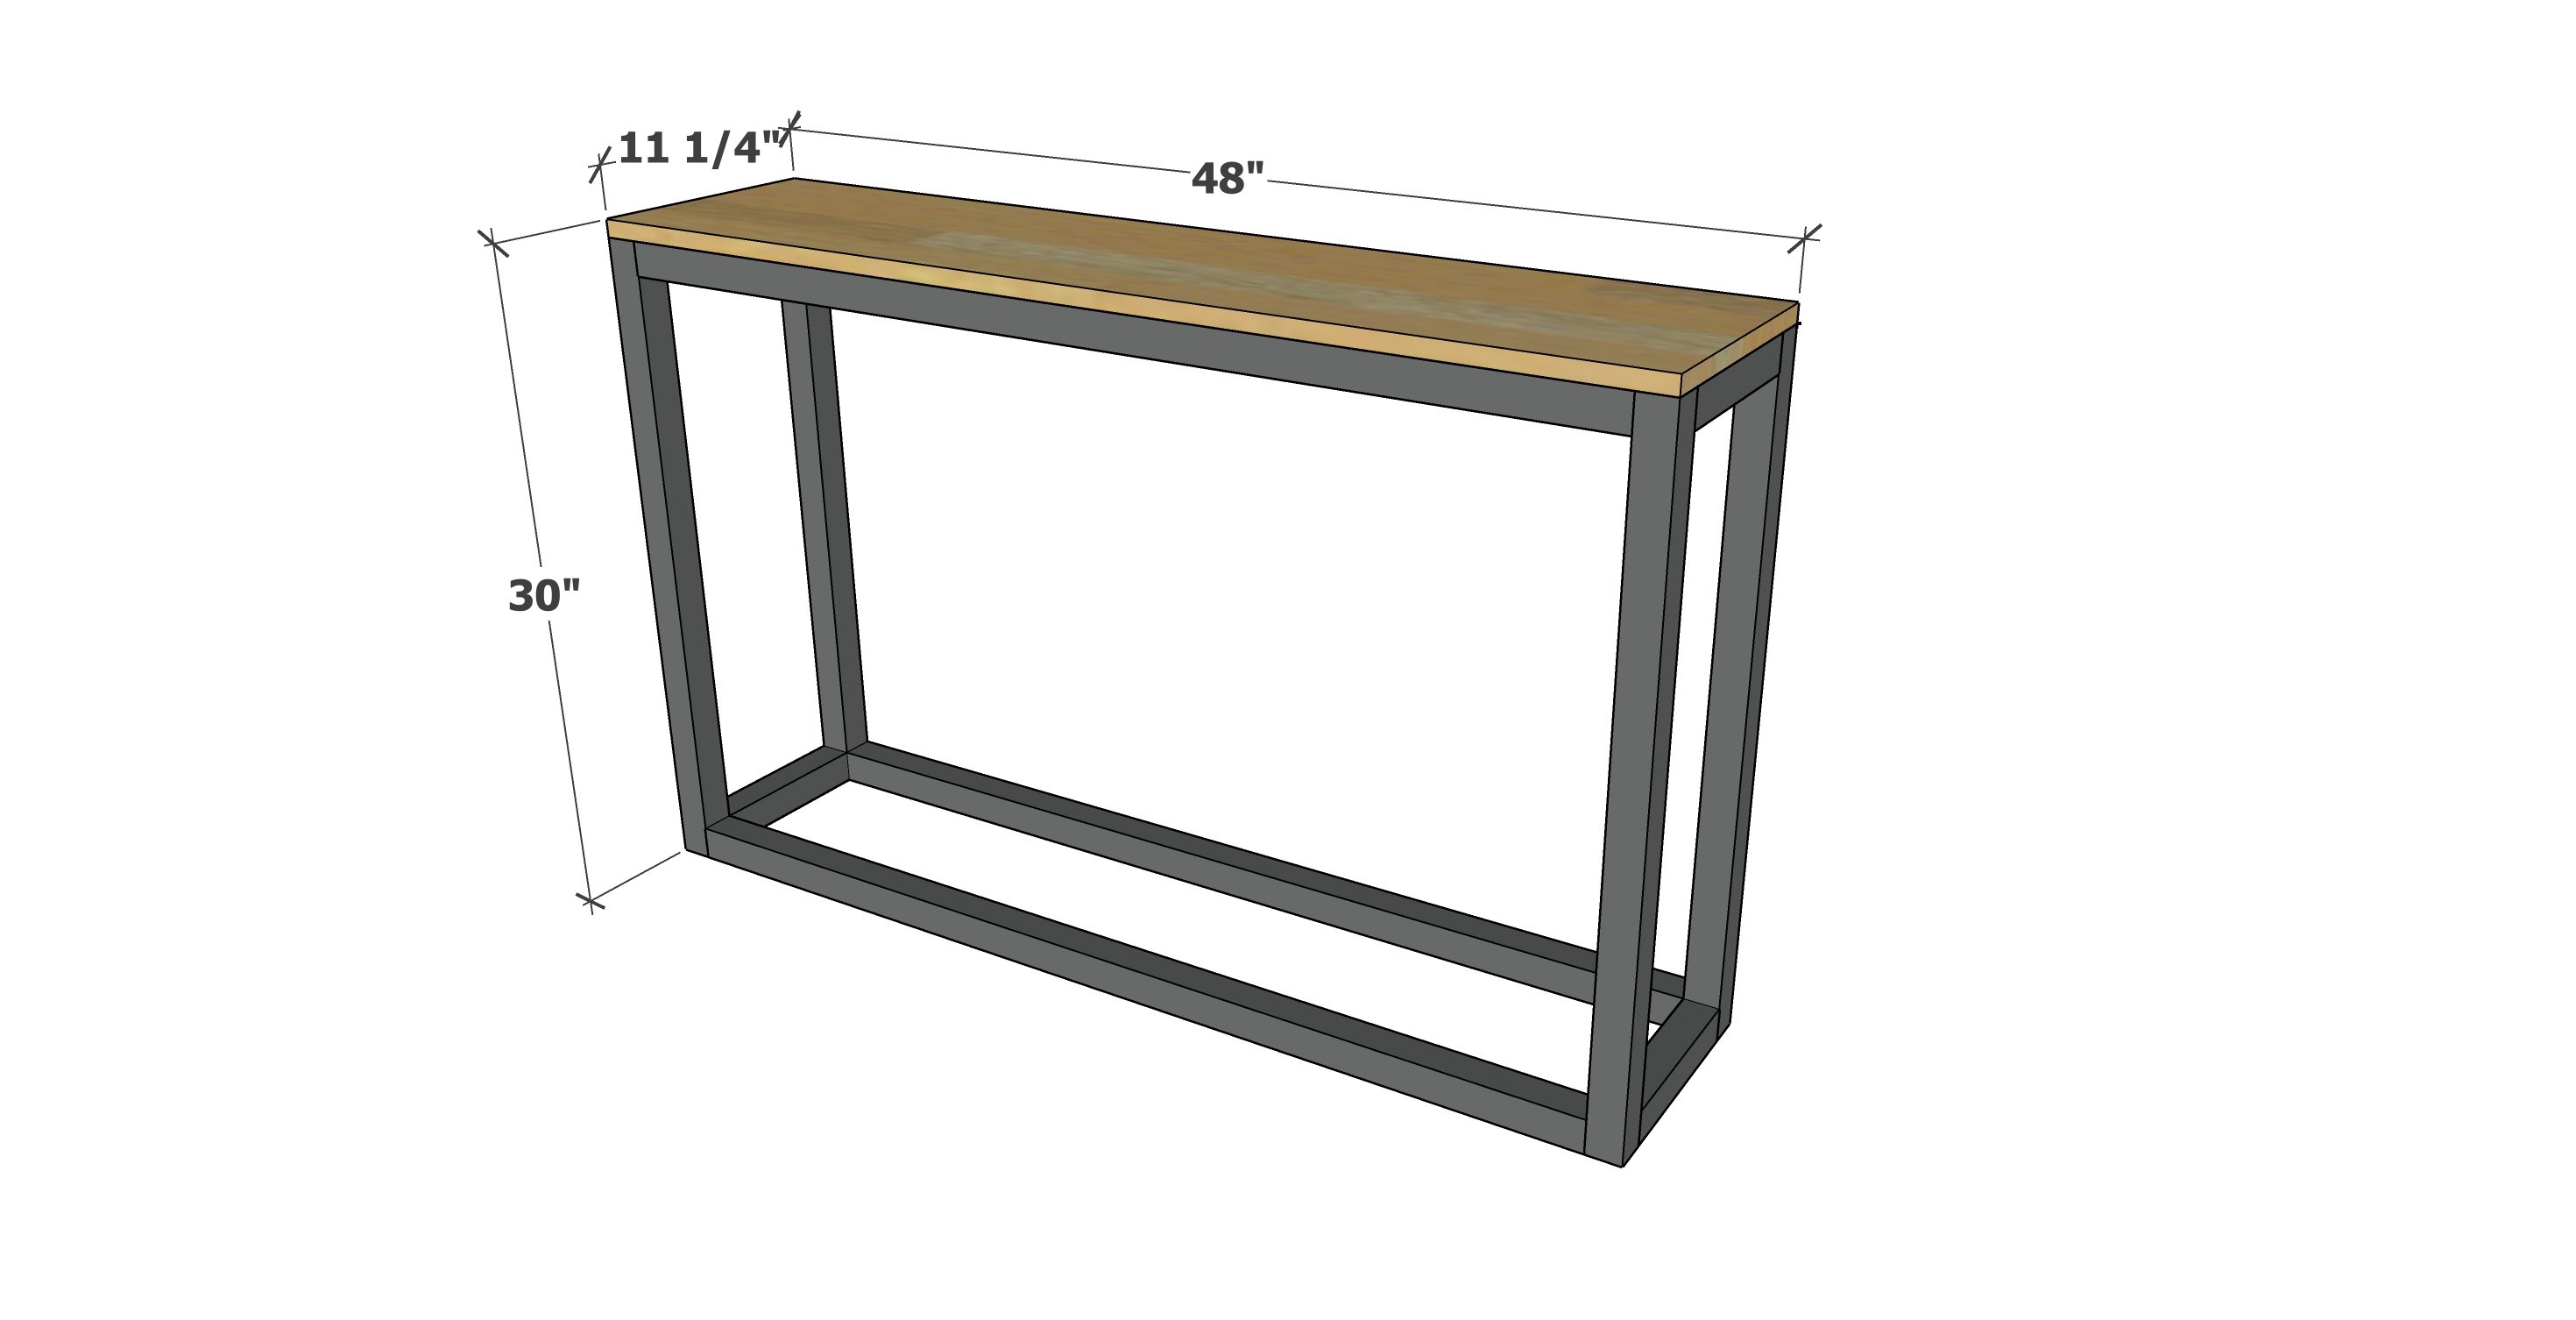
- 4 - 2x2 @ 29-1/4" - legs
- 4 - 2x2 @ 45" - side frame
- 4 - 2x2 @ 8-1/4" - or 3" less than width of 1x12 - end frame
- 1 - 1x12 @ 48" - top


Sand the wood pieces with the 120 grit sanding block until smooth.
Instructions
Step 1
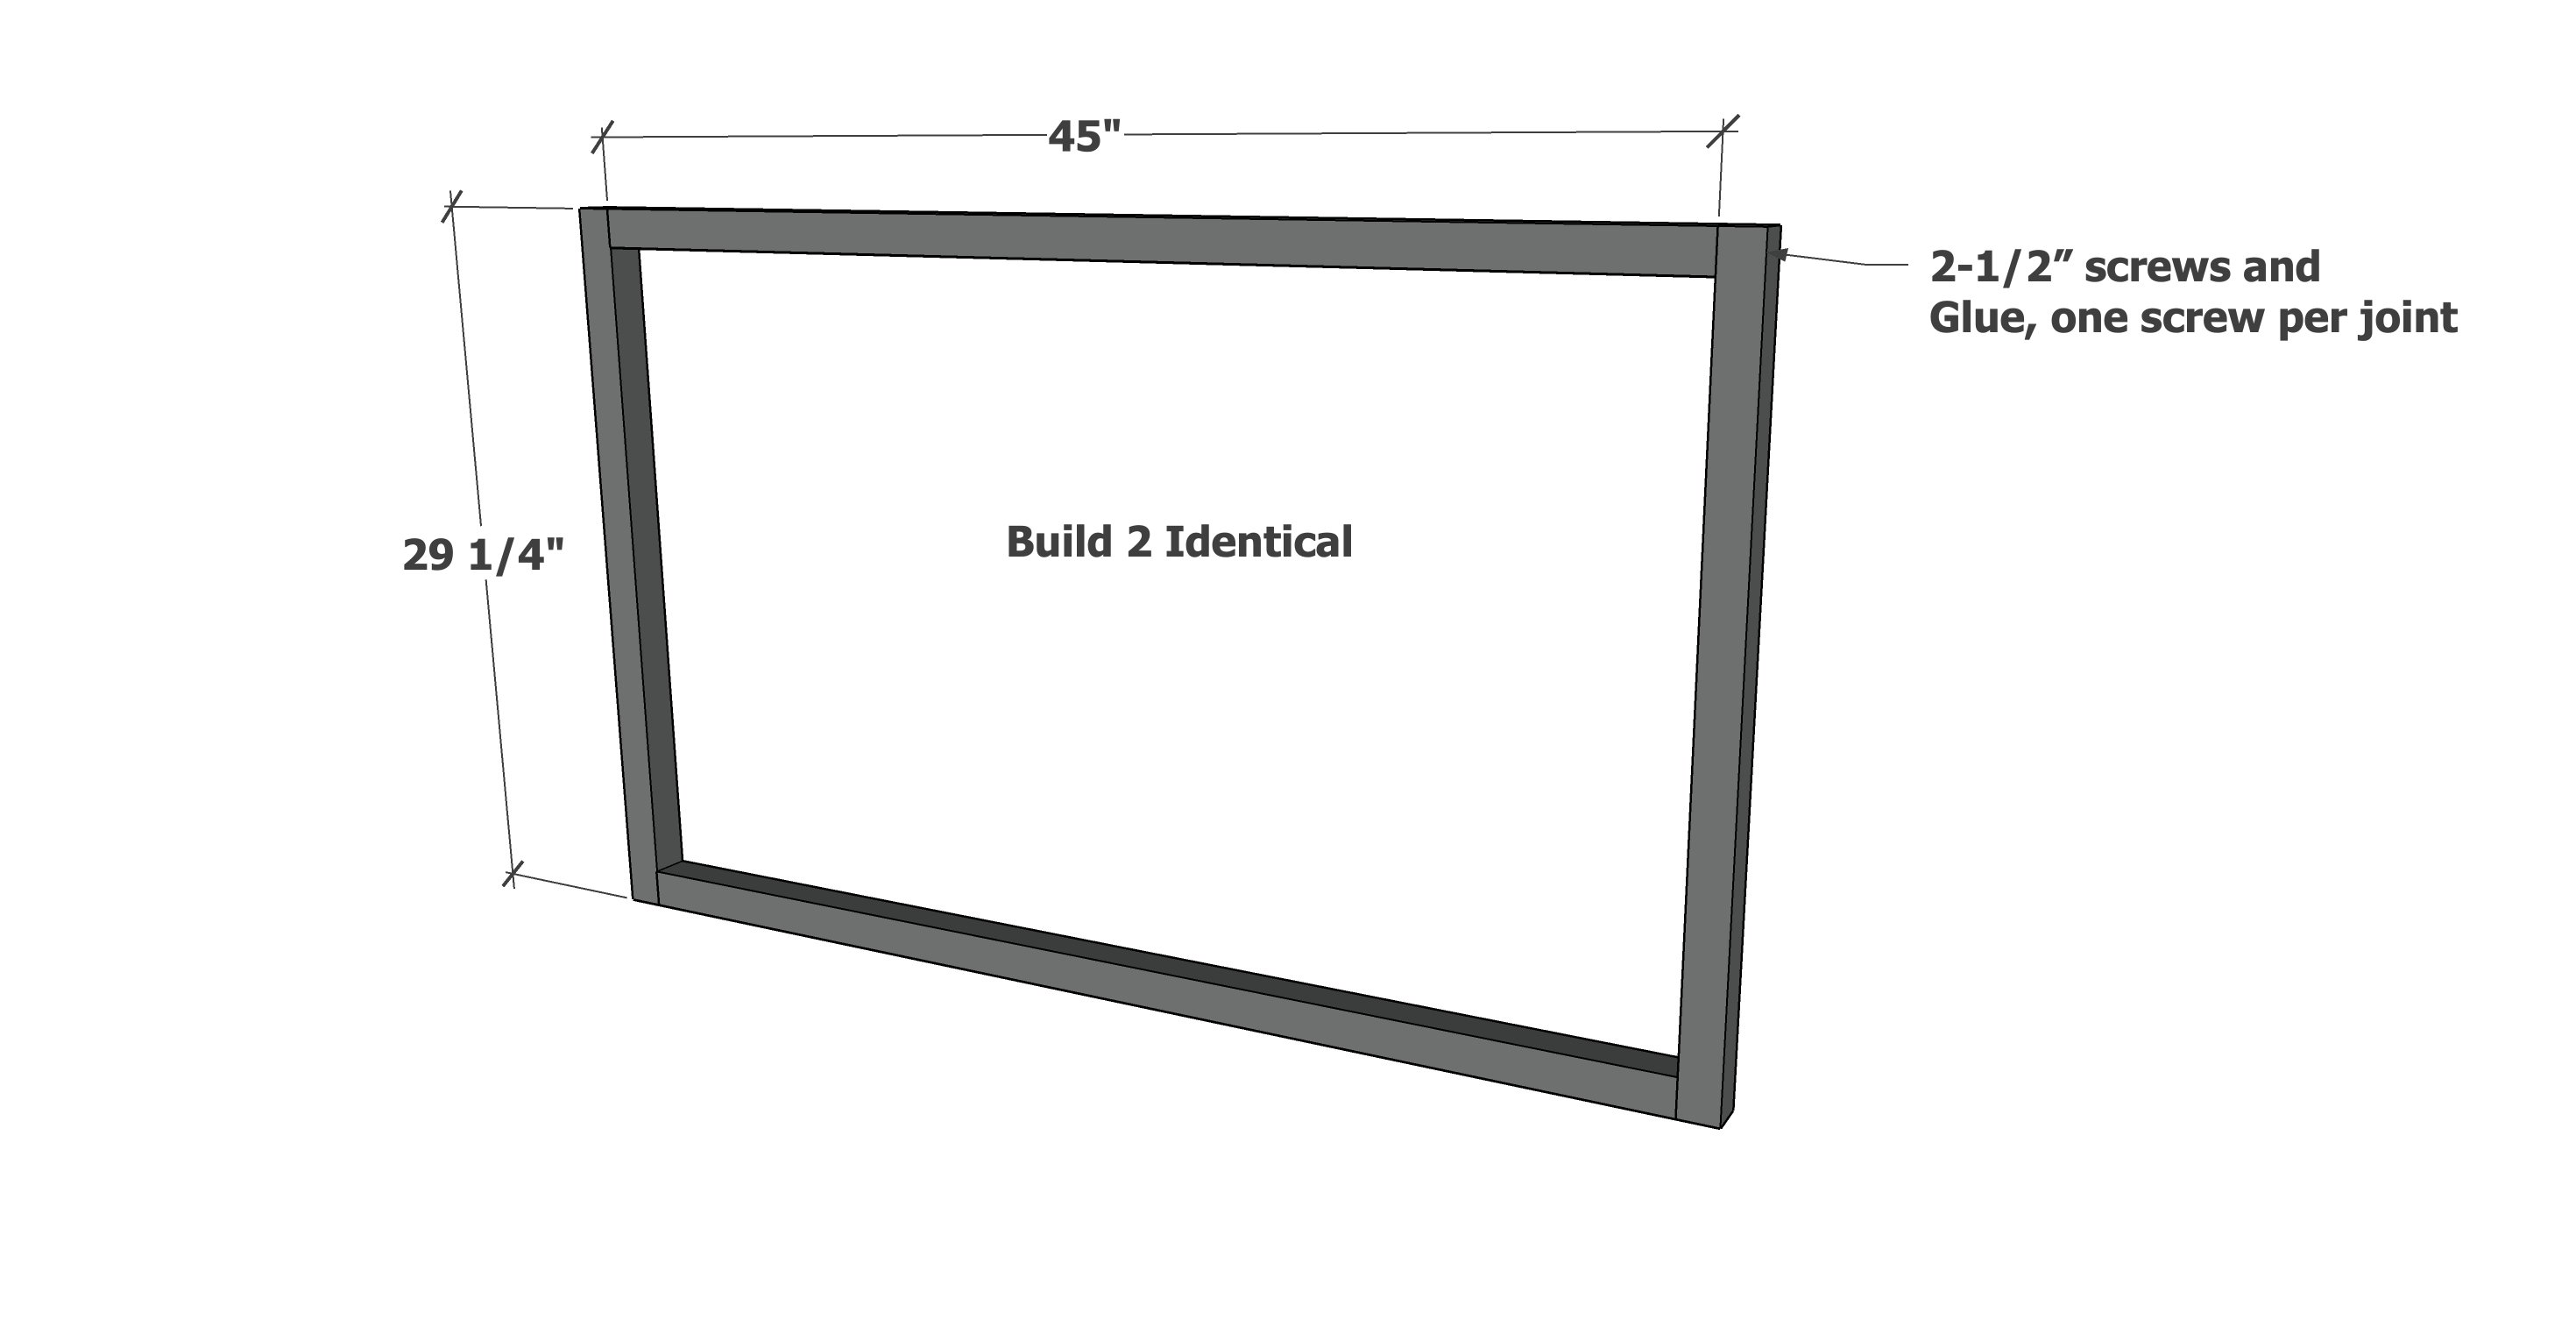
Build two frames for the sides as shown, using the 2-1/2" screws, one screw per joint with generous glue.
Step 2
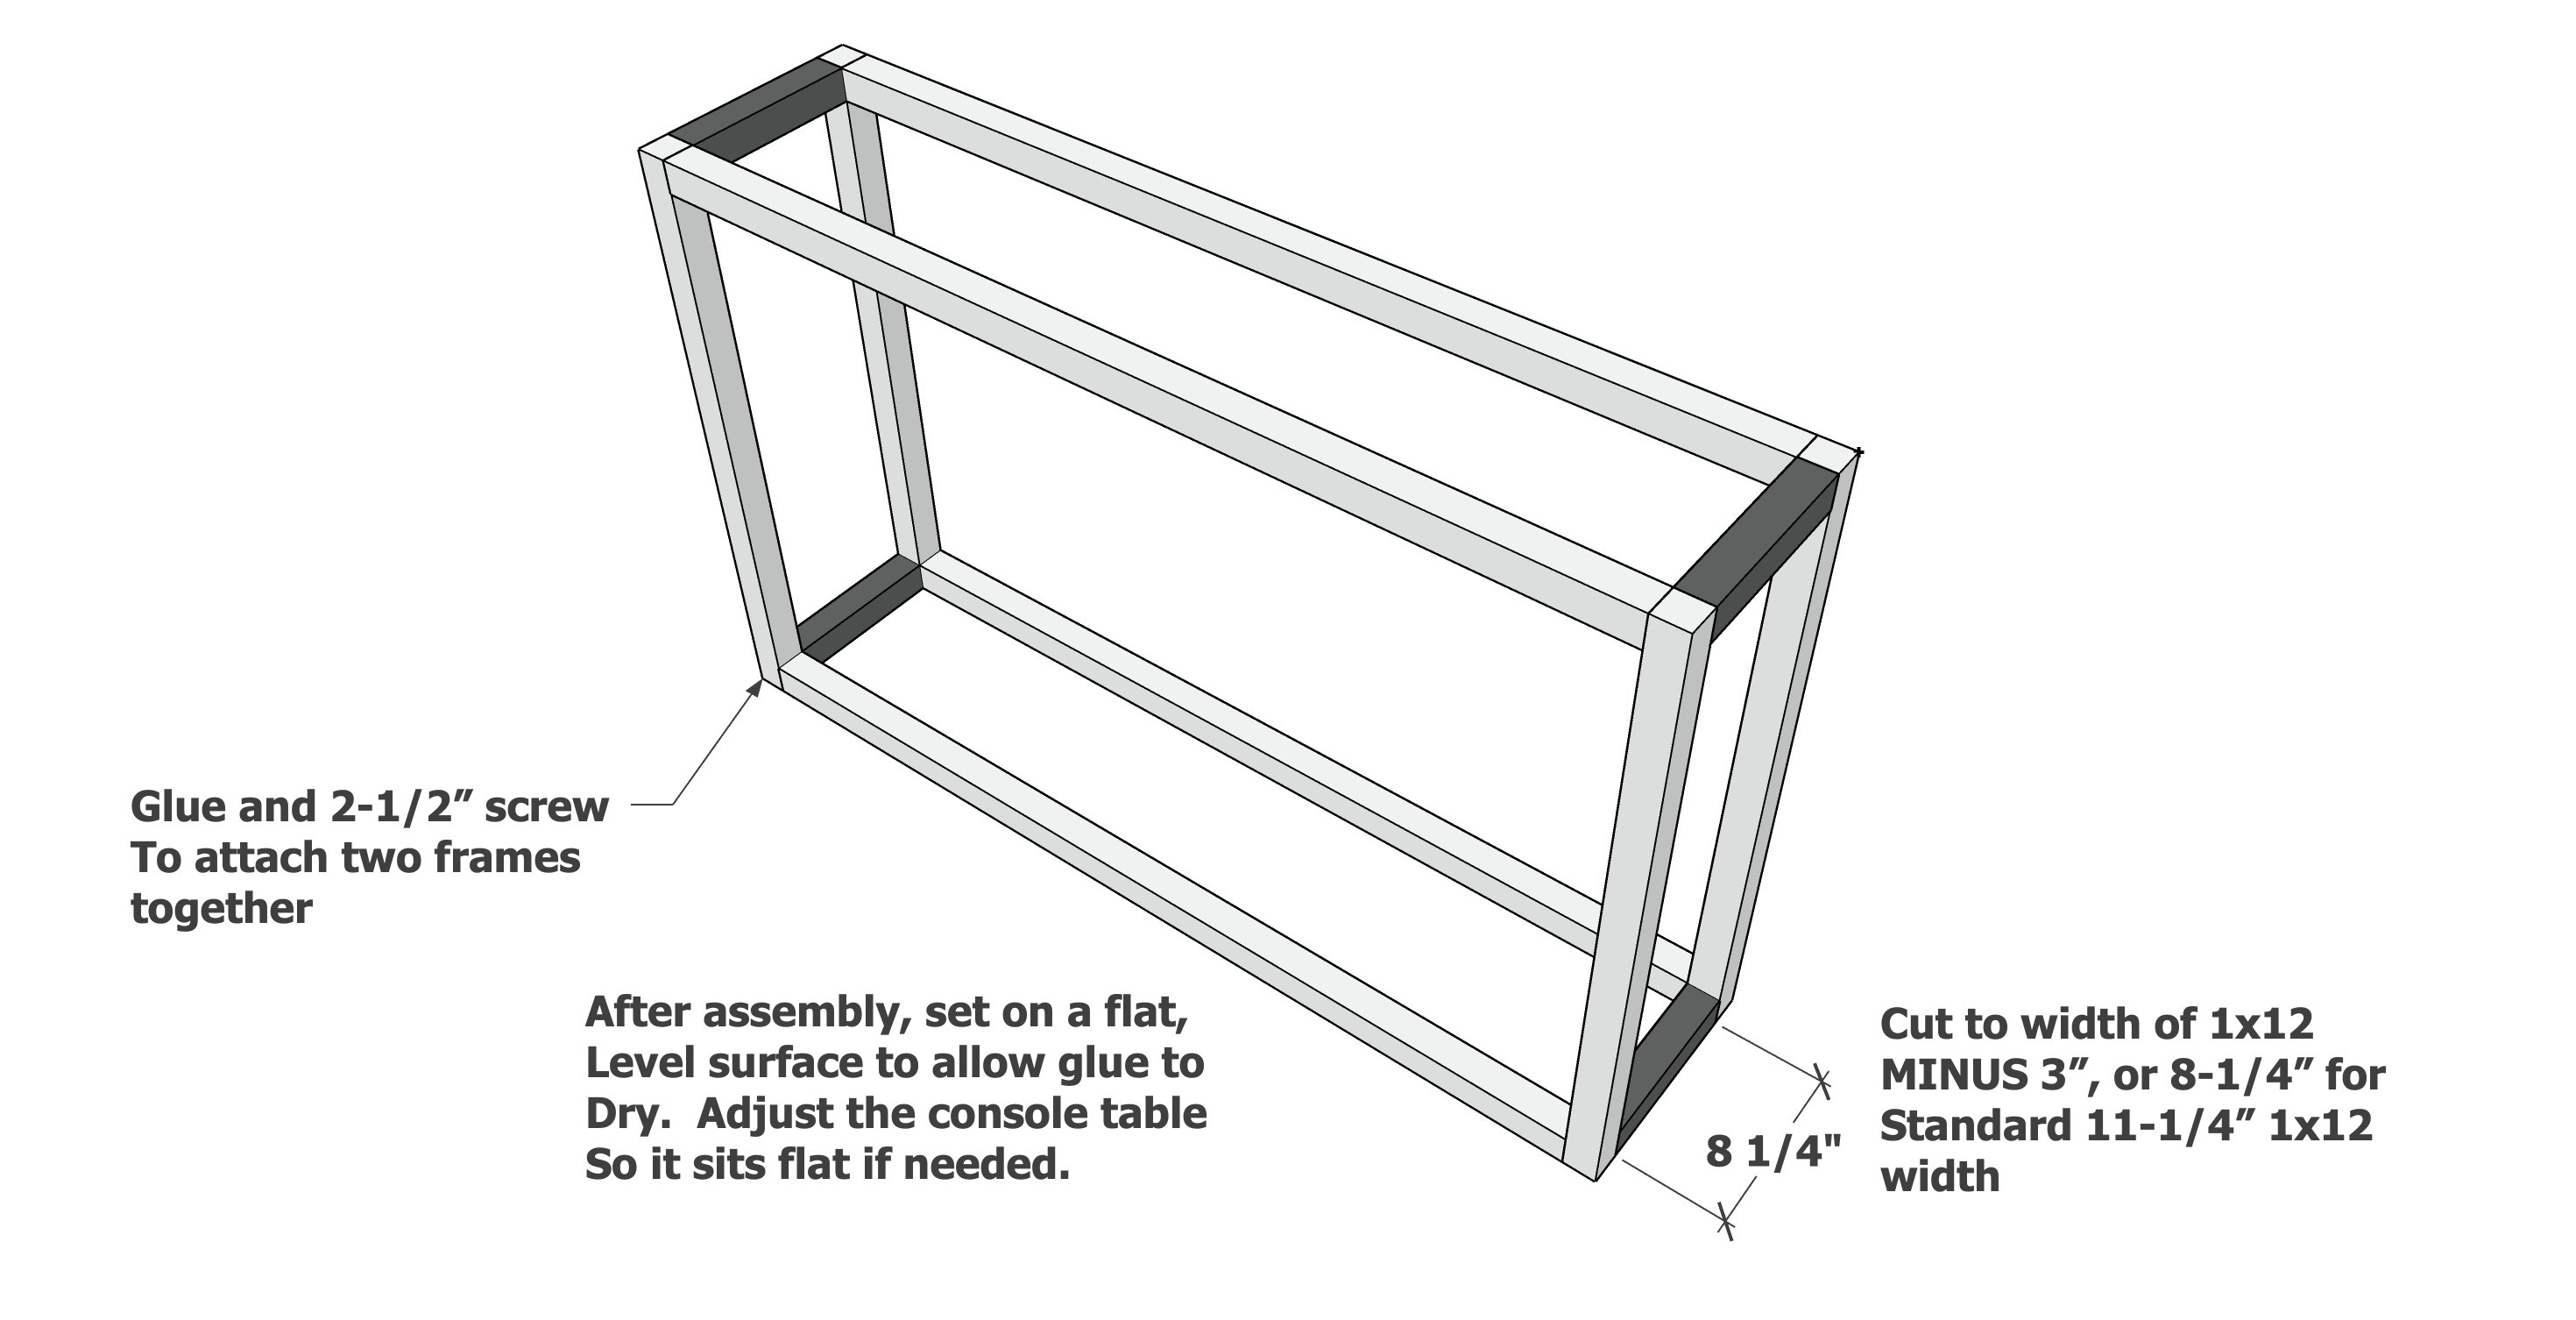
Connect the two frames with the short 2x2 pieces, attaching with glue and 2-1/2" screw.
Set the assembled frame on a level surface. Adjust any joints if needed for square, so the frame sits level and flat.
Let glue dry.
TIP: If going for a two tone finish, paint or stain the base as desired before attaching the top. Do not finish the top edges, you want raw wood to bond with the 1x12 top to be attach in the next steps.
Step 3
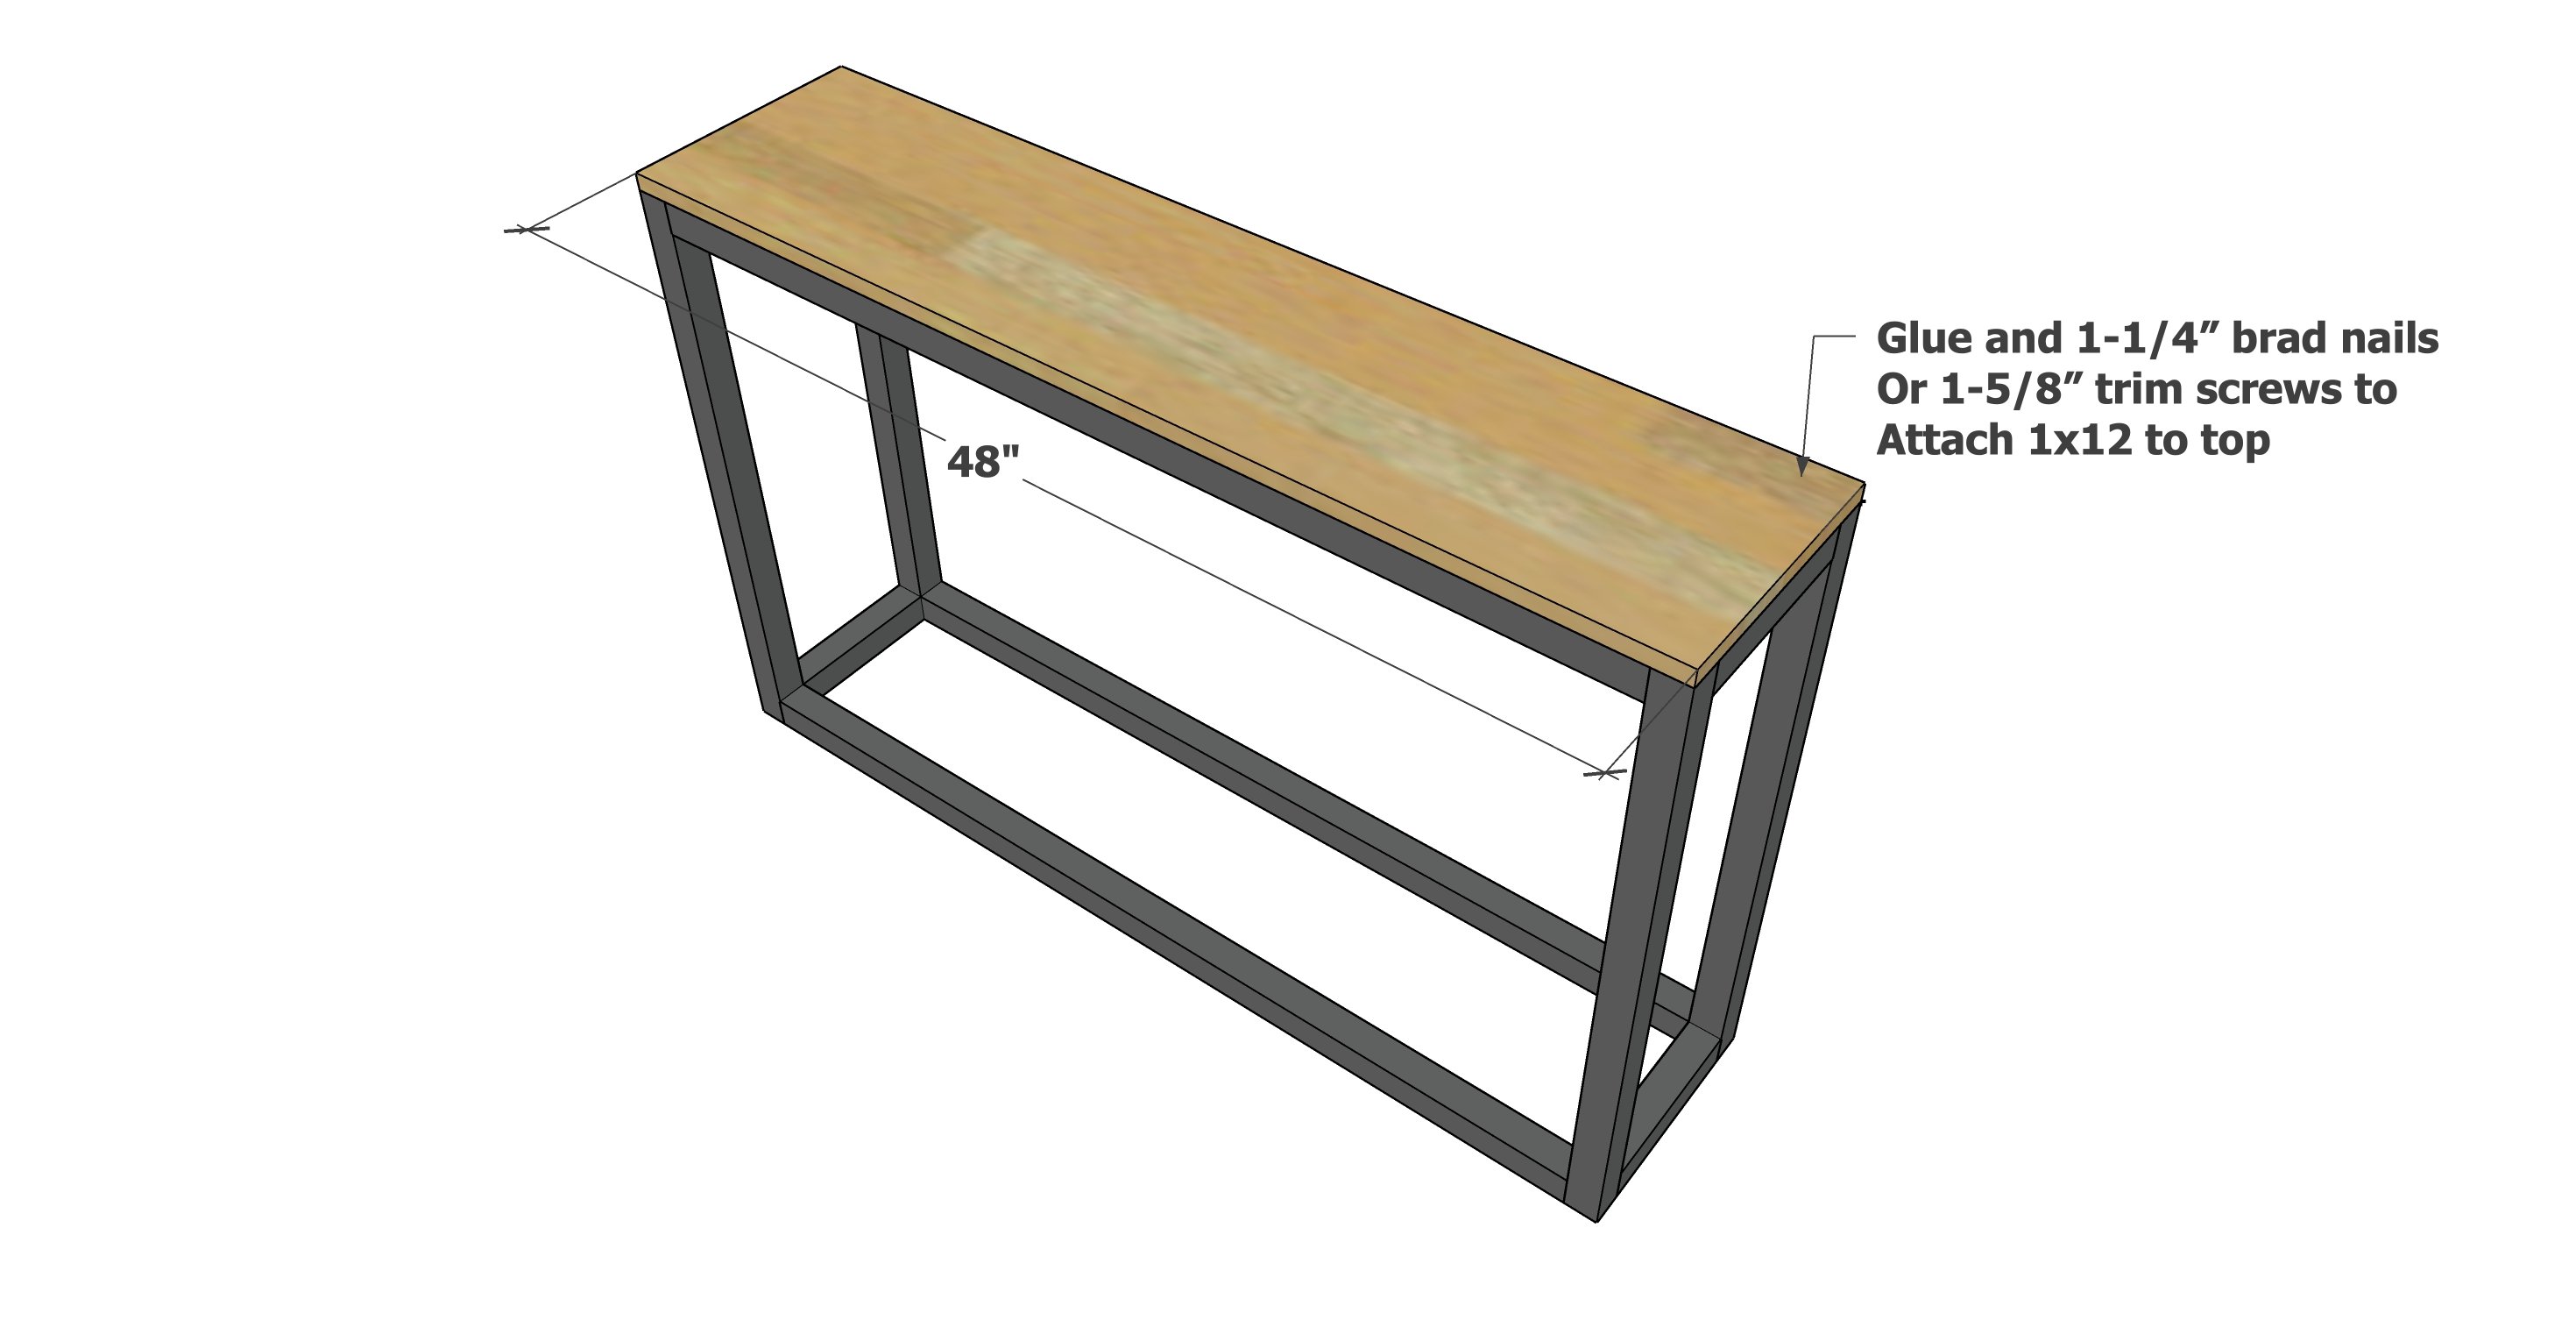
Apply glue generously to the top of the frame.
Place the 1x12 on top and nail or screw down.
Fill nail holes with wood filler and let dry. Lightly sand with sanding block.
Finish the top with stain, a clean polyurethane coat will help seal the top.