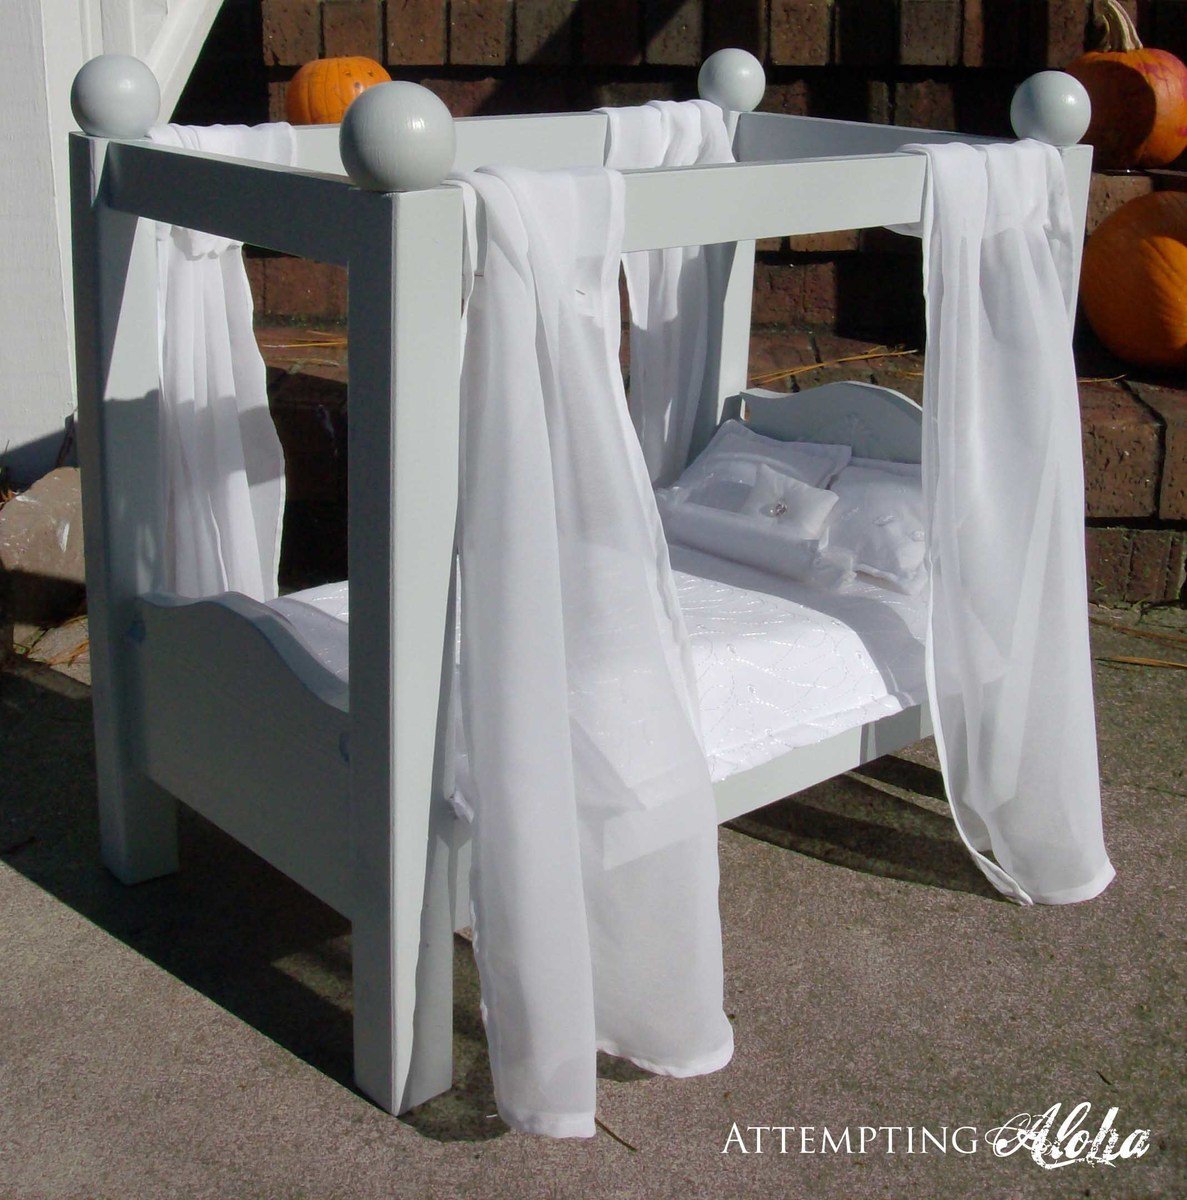
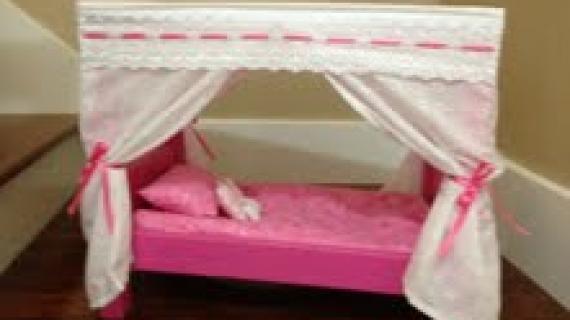
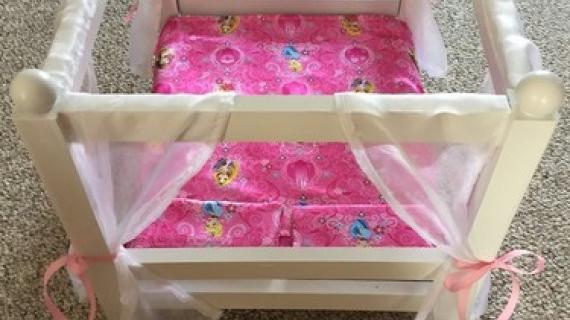
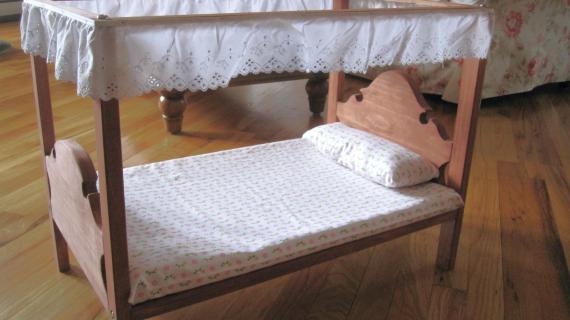
I used the base of Ana's Farmhouse doll bed as a jumping-off point for my canopy doll bed. A free PDF pattern of the headboard/footboard is available on my blog here:
http://attemptingaloha.blogspot.com/2011/11/diy-canopy-doll-bed-its-don…
This was my first time using Sketch Up, and I just got a crash course this afternoon, so you might have to overlook the slightly messy-looking headboard in the design plan pics! :)
My daughter loves her doll bed (it's used for her Build-A-Bear), and I hope you find this helpful.
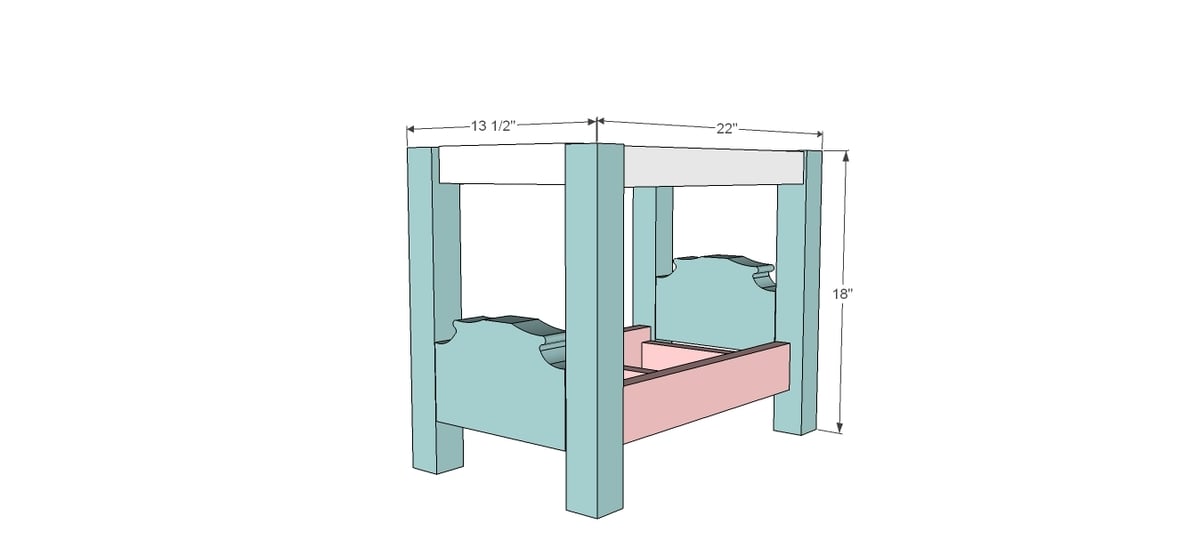
Preparation
1x6 (19" total)
2x2 furring strip (72" total)
1x3 furring strip (36" total)
1x2 furring strip (85" total)
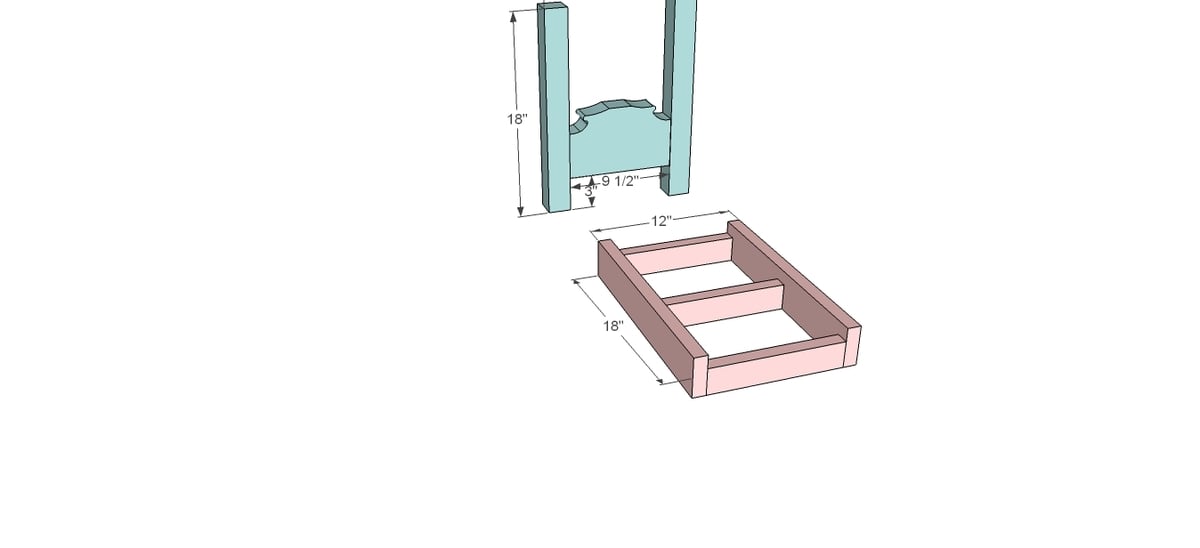
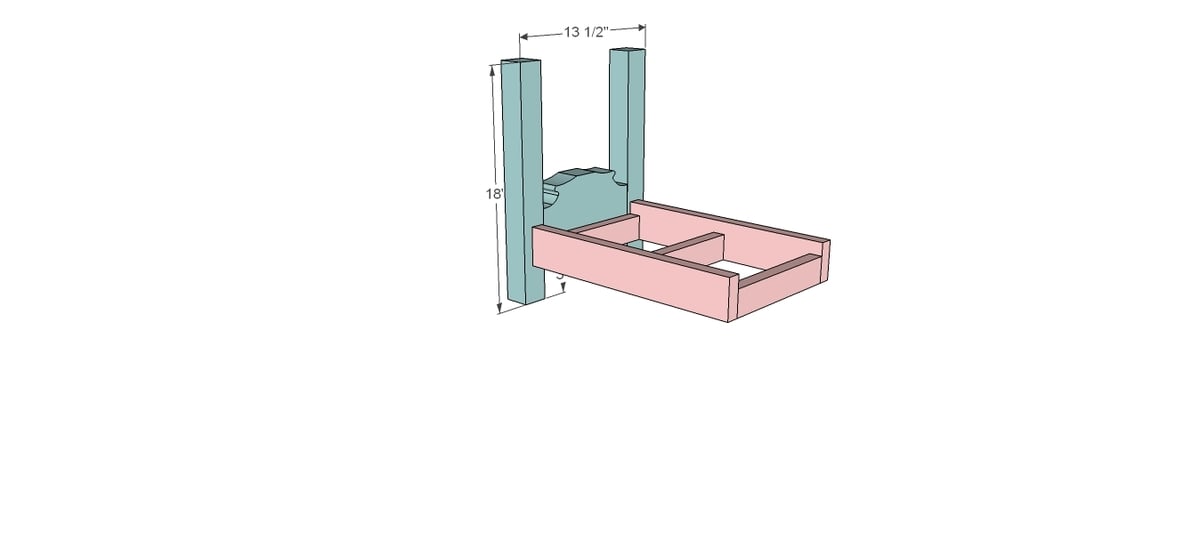
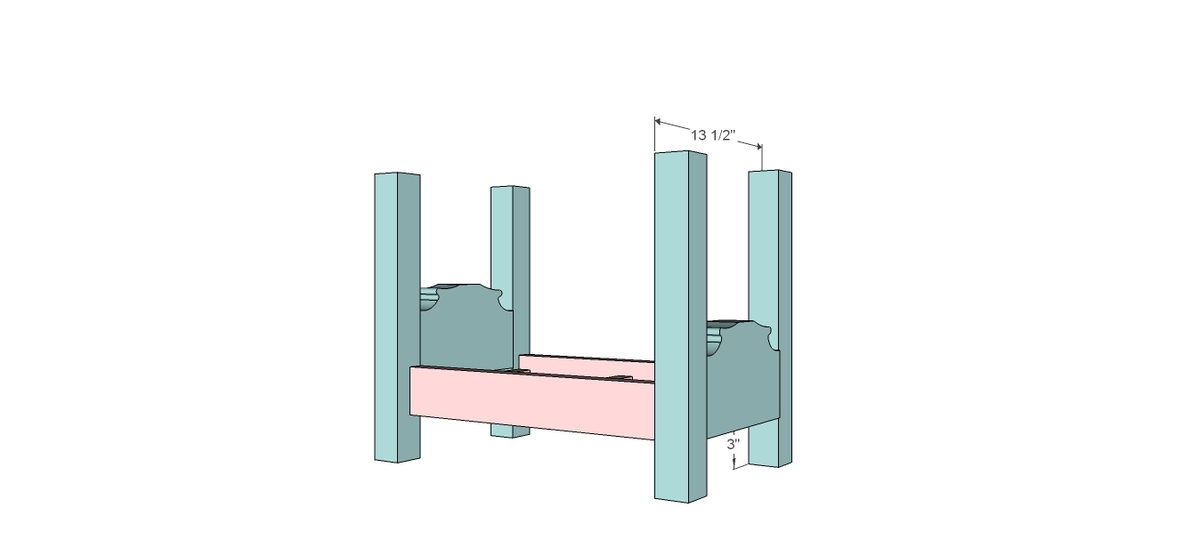
2x2 - cut 4 pieces @ 18" each
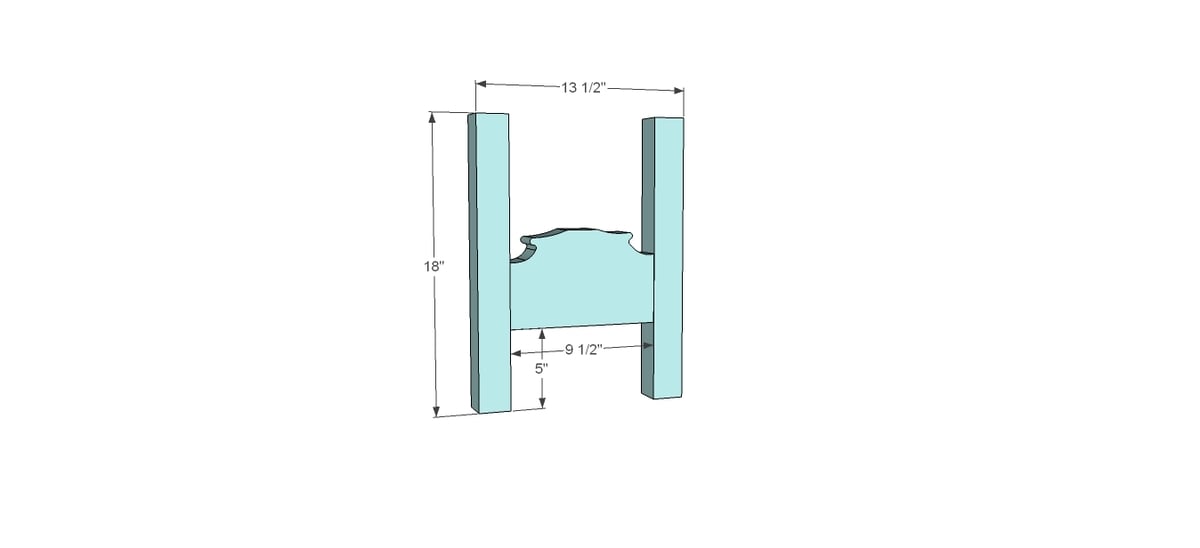
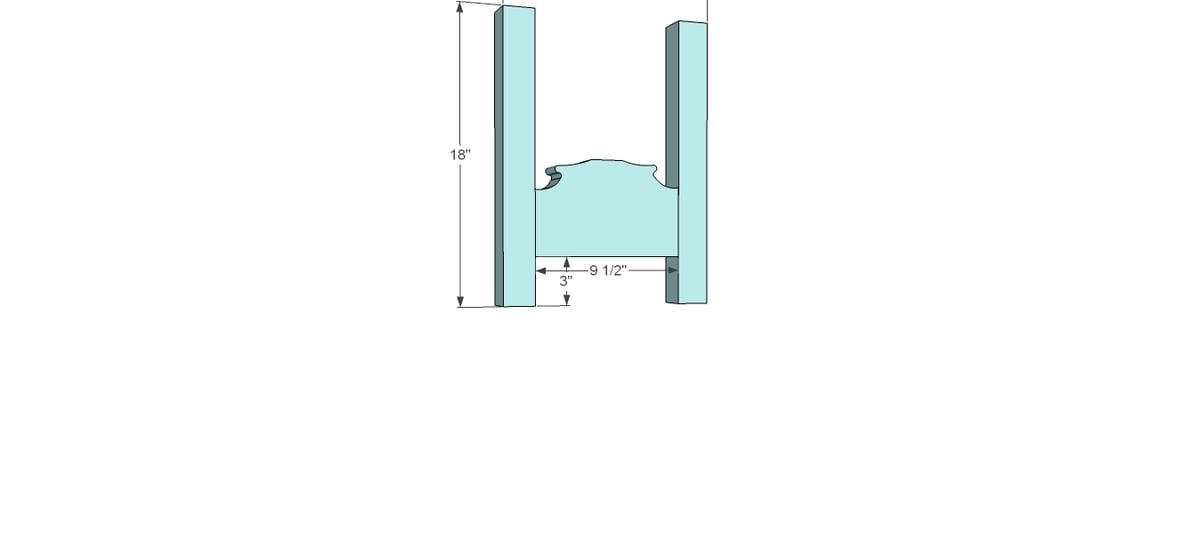
1x6 - cut 2 pieces @ 9.5" each
1x3 - cut 2 pieces @ 18" each
1x2 - cut 2 pieces @ 9.5" each
2 pieces at 18" each,
and 2 or 3 (depending on how many slats you want on the bottom of the bed--I recommend 3) at 10" each
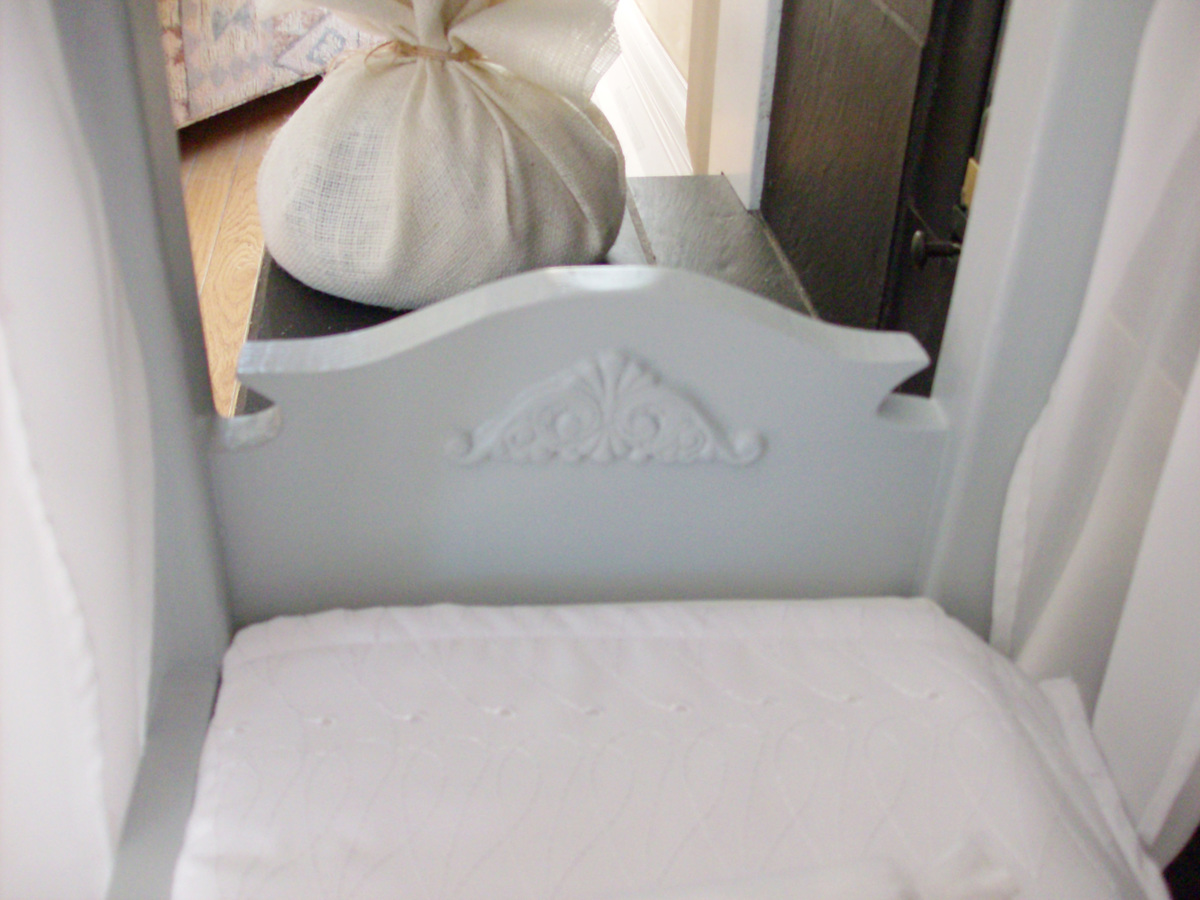
Once you've cut your two 1x6 pieces to 9.5", print the template from my site, cut it out, and trace it onto your board. Then cut it out with a jig saw.
Please read through the entire plan and all comments before beginning this project. It is also advisable to review the Getting Started Section. Take all necessary precautions to build safely and smartly. Work on a clean level surface, free of imperfections or debris. Always use straight boards. Check for square after each step. Always predrill holes before attaching with screws. Use glue with finish nails for a stronger hold. Wipe excess glue off bare wood for stained projects, as dried glue will not take stain. Be safe, have fun, and ask for help if you need it. Good luck!
Instructions
Step 1
Step 2
Step 3
Now follow Ana's Farmhouse Doll Bed plans Step 10:
http://ana-white.com/2010/11/doll-farmhouse-bed
But your 1x3's will be 18", and your 1x2's will be 10". I chose to add the center bar, and the cut list accounts for that.
Step 4
Step 6
It is always recommended to apply a test coat on a hidden area or scrap piece to ensure color evenness and adhesion. Use primer or wood conditioner as needed.



Comments
Ana White
Thu, 01/05/2012 - 16:35
Really cute!!! Nice plans too
Really cute!!! Nice plans too thank you so much for sharing with us!
cherie82
Fri, 01/06/2012 - 07:29
This looks really fun! Great
This looks really fun! Great for the new historical characters just released!
blessednest
Sun, 01/22/2012 - 16:48
LOVE!
This looks awesome!!!
meri (not verified)
Thu, 11/01/2012 - 05:40
canopy plans
Thanks! My granddaughter will love this for Christmas!
Jamien (not verified)
Sat, 12/15/2012 - 18:06
You might look at changing
You might look at changing the plans to make the side rails longer. Just made this for my daughter for Christmas and it barely fits an 18" doll. Will look at selling it for an16" doll and get her something else for Christmas.
Duane (not verified)
Fri, 12/28/2012 - 14:11
I agree the side rails need
I agree the side rails need to be about 20 inches long. Im building one for my daughters american girl doll and the doll is 18 inches long so there is no head room.