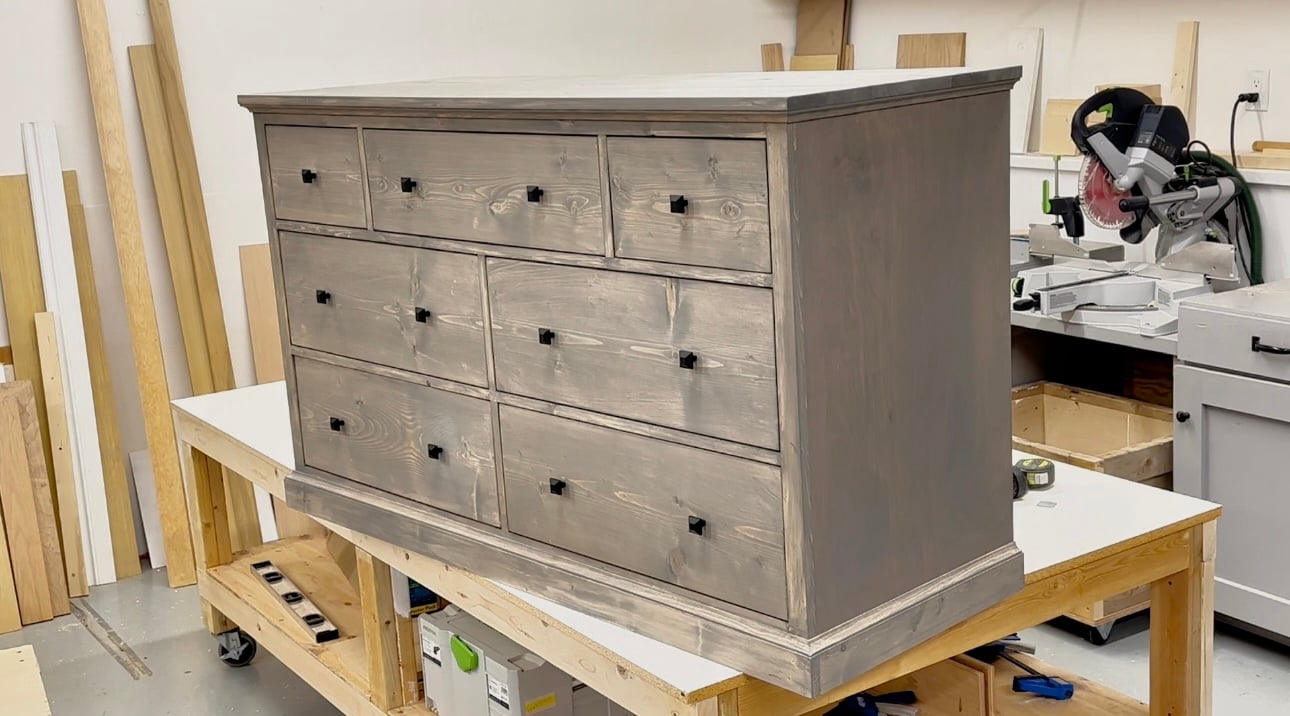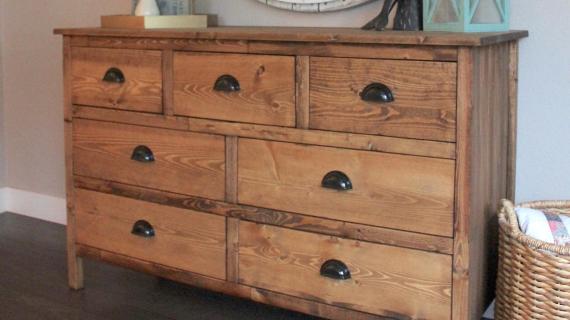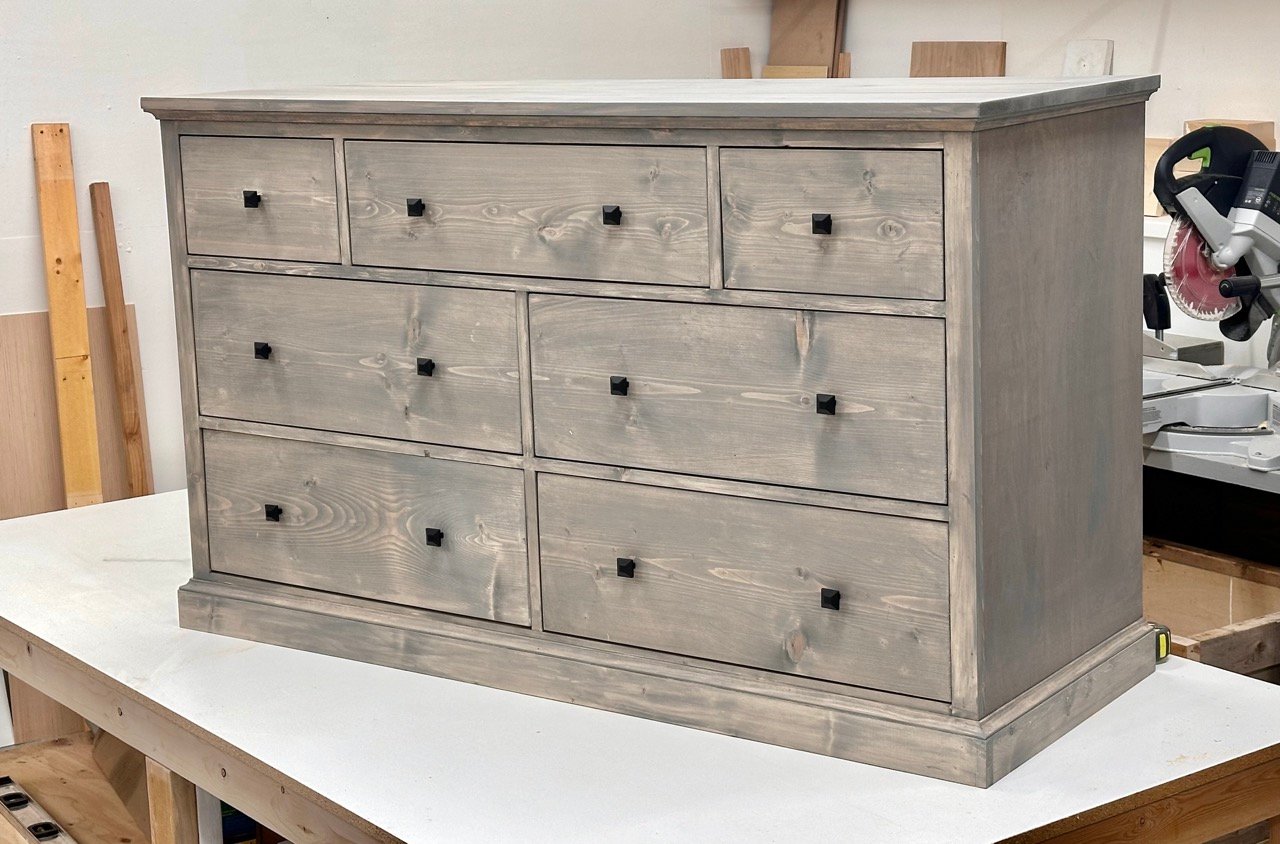
My daughter asked me for a dresser, the only problem was the dresser cost $1800 before tax and freight! So I built it for about $250!
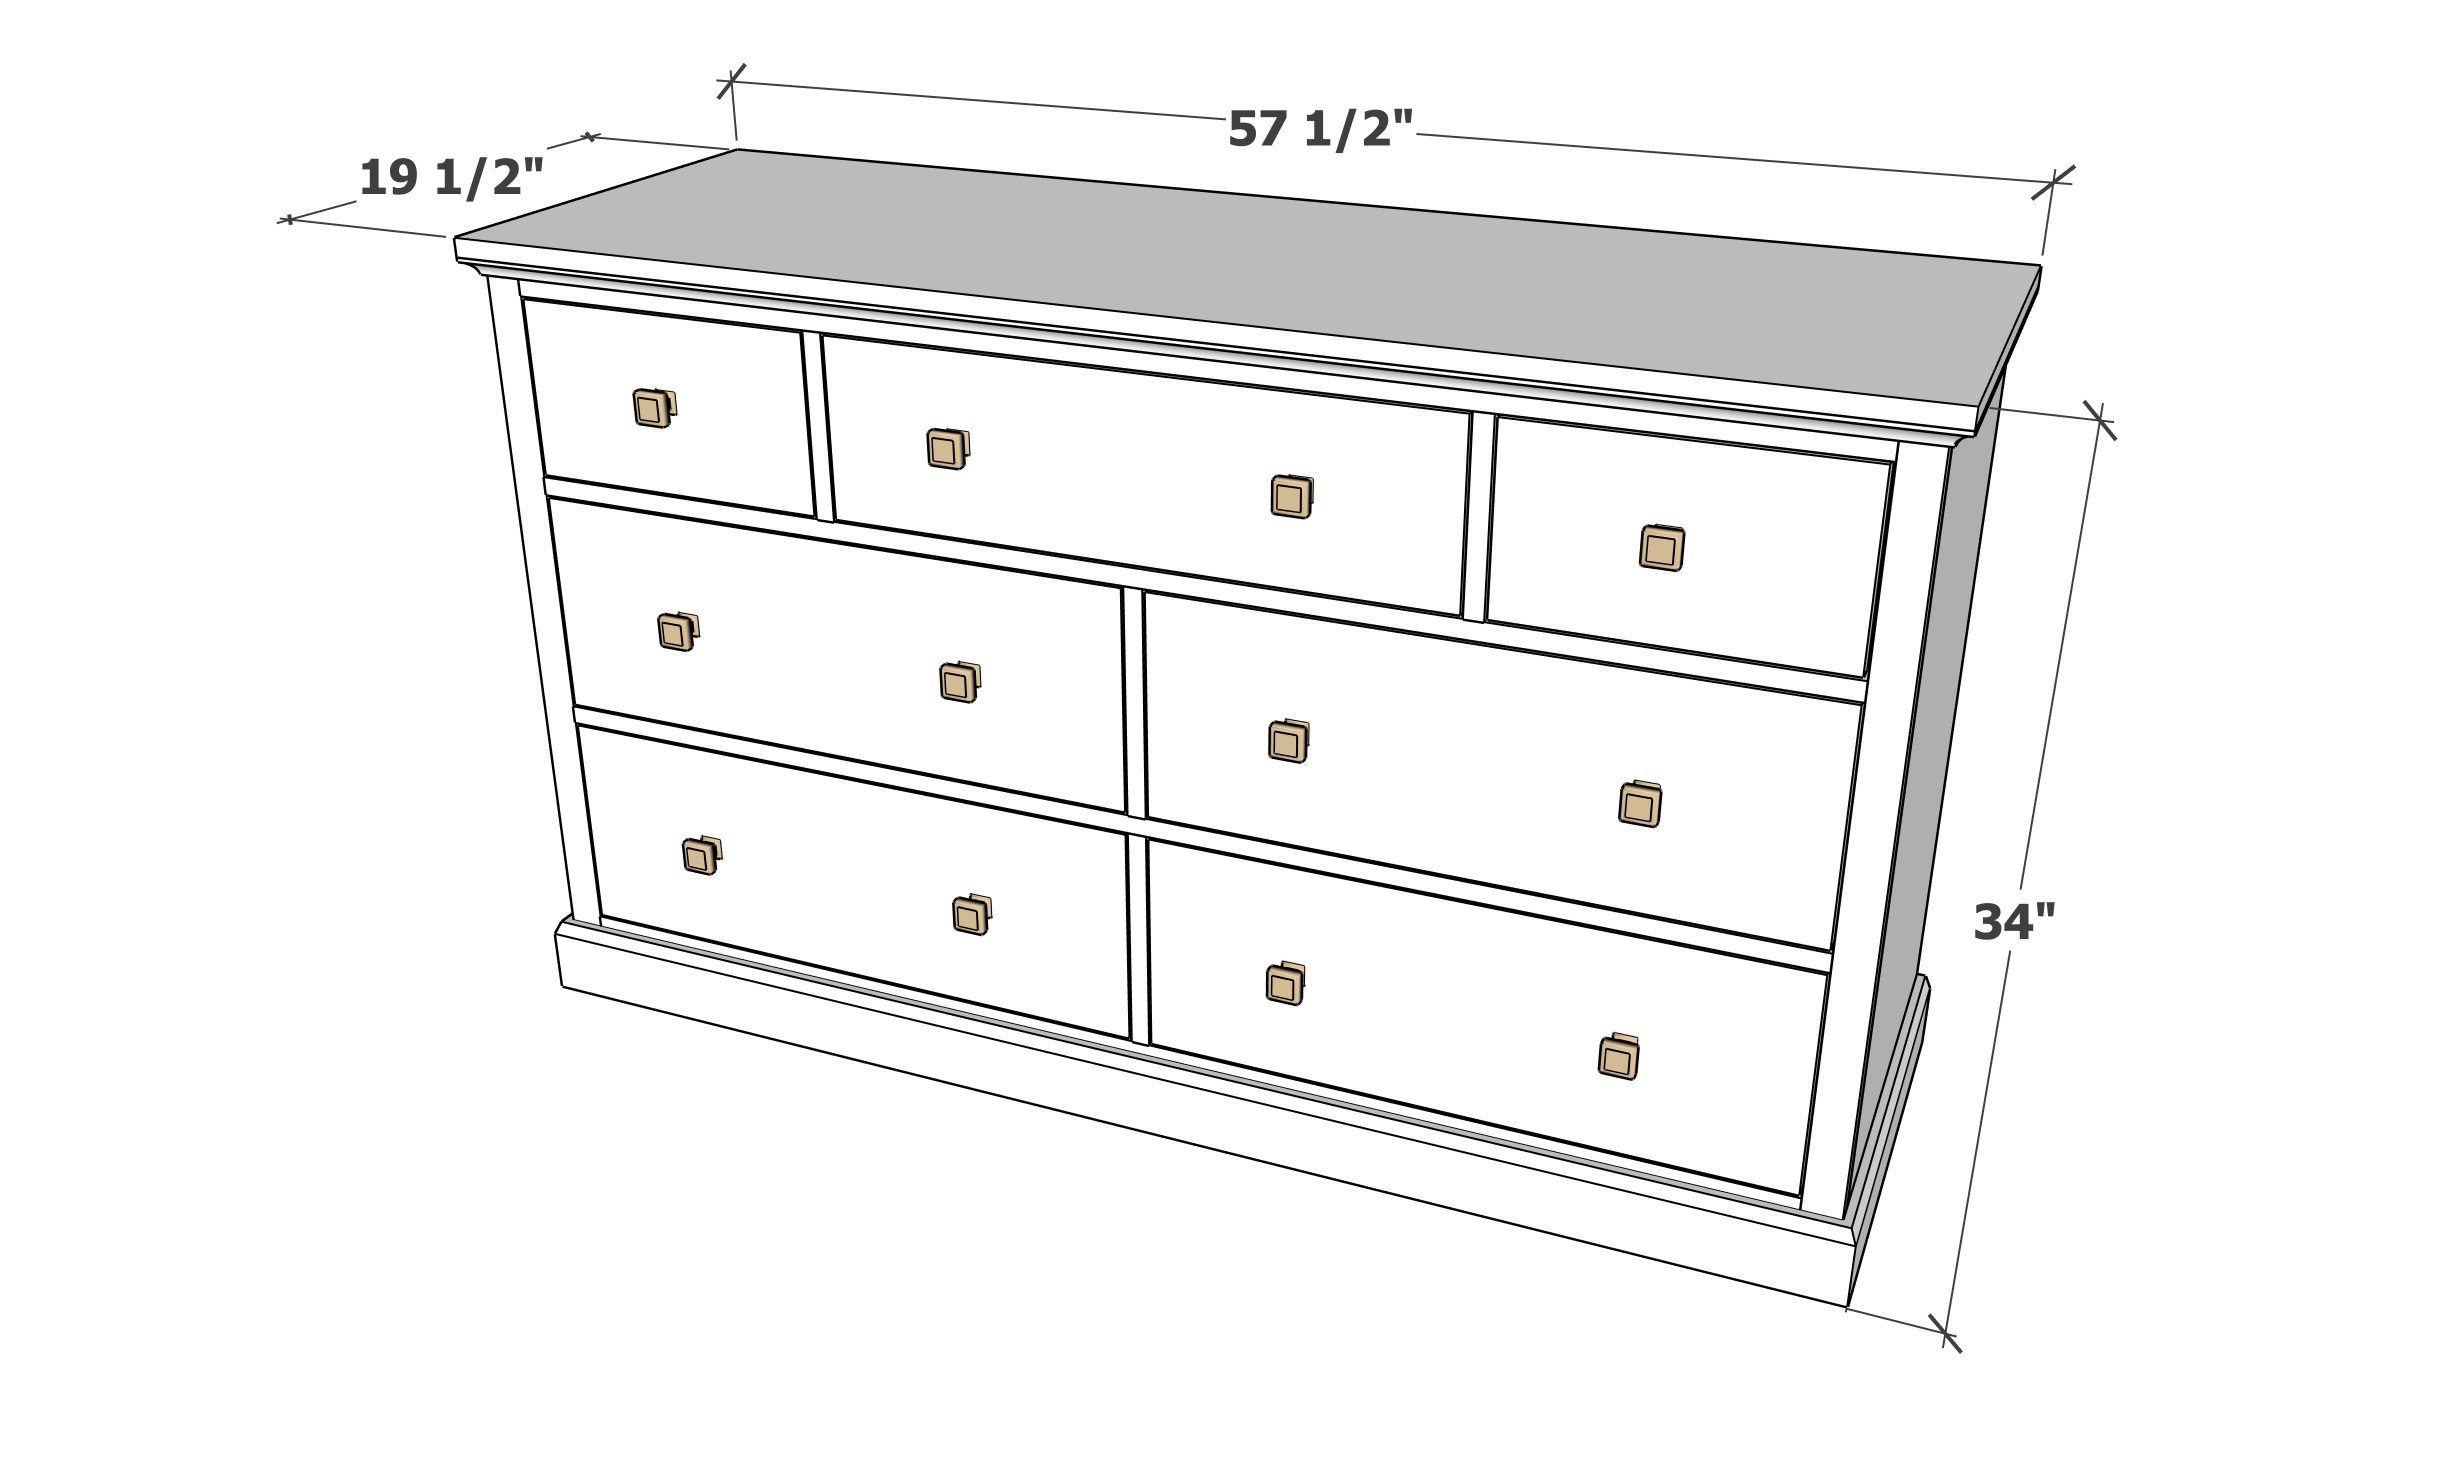
This dresser features four large drawers, one medium and two small drawers, perfect for organizing everything! This is an oversized dresser, with lots of storage and a very substantial feel.
I built it using solid wood, so there's true character and unique wood grains. Because it's wood, I was able to pick the wood stain color of my choice!
I think it turned out pretty good! The free plans follow!
Pin For Later!
Preparation
- 7 - 1x2 @ 8 feet long
- 1 - 1x3 @ 10 feet long
- 2 - 1x4 @ 8 feet long
- 4 - 1x6 @ 8 feet long
- 1 - 2x2 @ 10 feet long
- 2 - 1x8 @ 10 feet long (cut longest pieces first)
- 1 - 1x10 @ 10 feet long
- Half sheet of 3/4" thick hardwood plywood
- 1 full sheet of 1/4" thick plywood or underlayment, ripped into two strips 20" wide x 8 feet long
- 3/4" and 1-1/4" brad nails
- 1-1/4" and 2-1/2" pocket hole screws
- 7 - 20" euro drawer slides (I used these from D. Lawless)
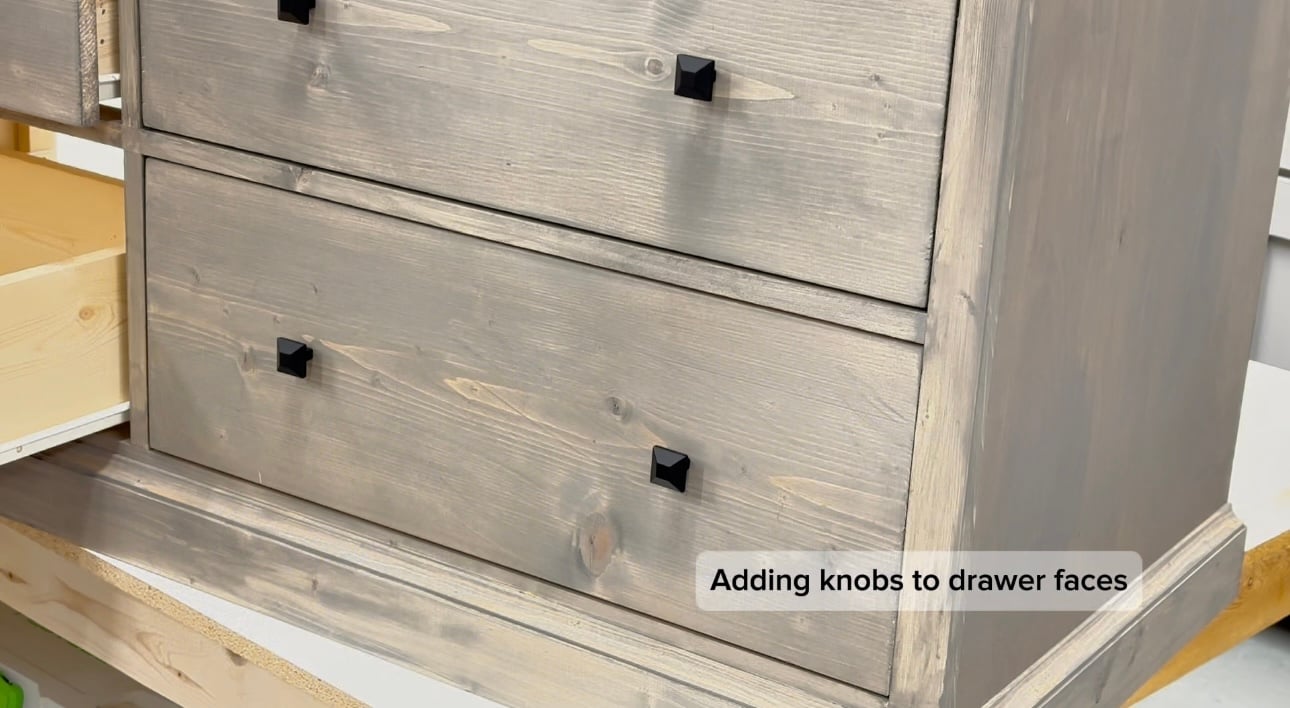
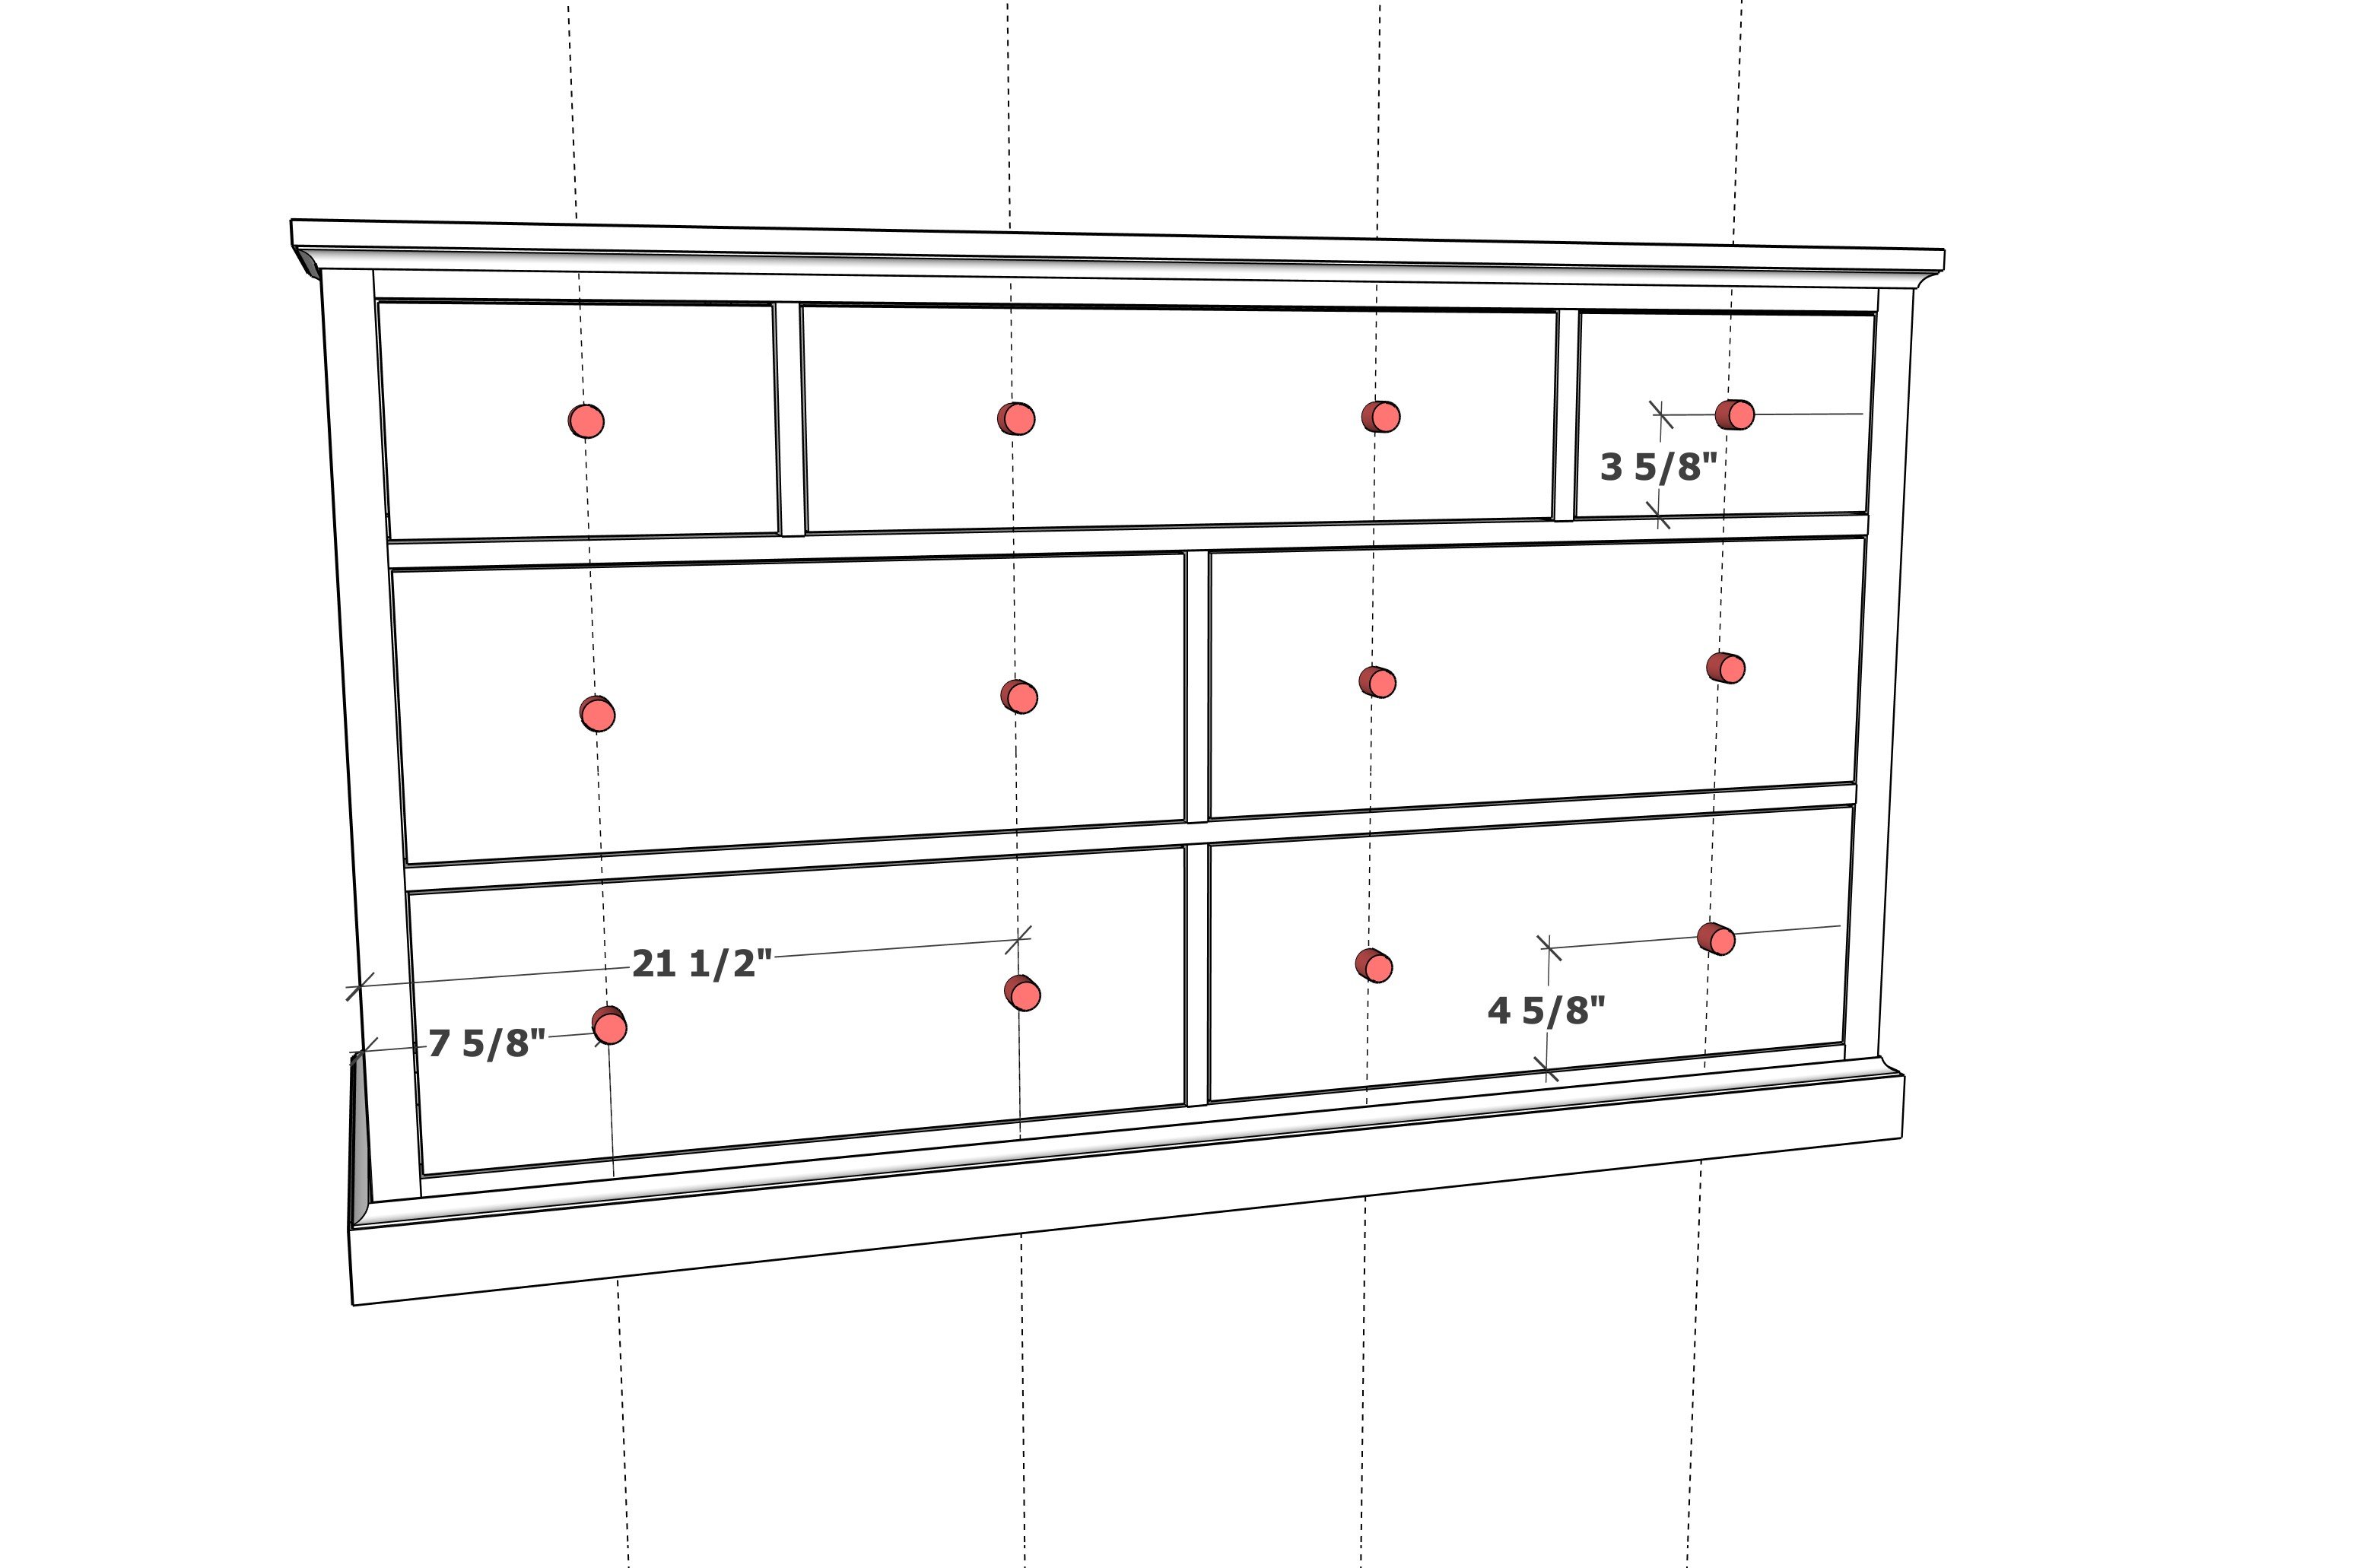
- 12 knobs (I used these from D. Lawless)
- wood glue
- wood filler
- finishing supplies
Carcass Cut List
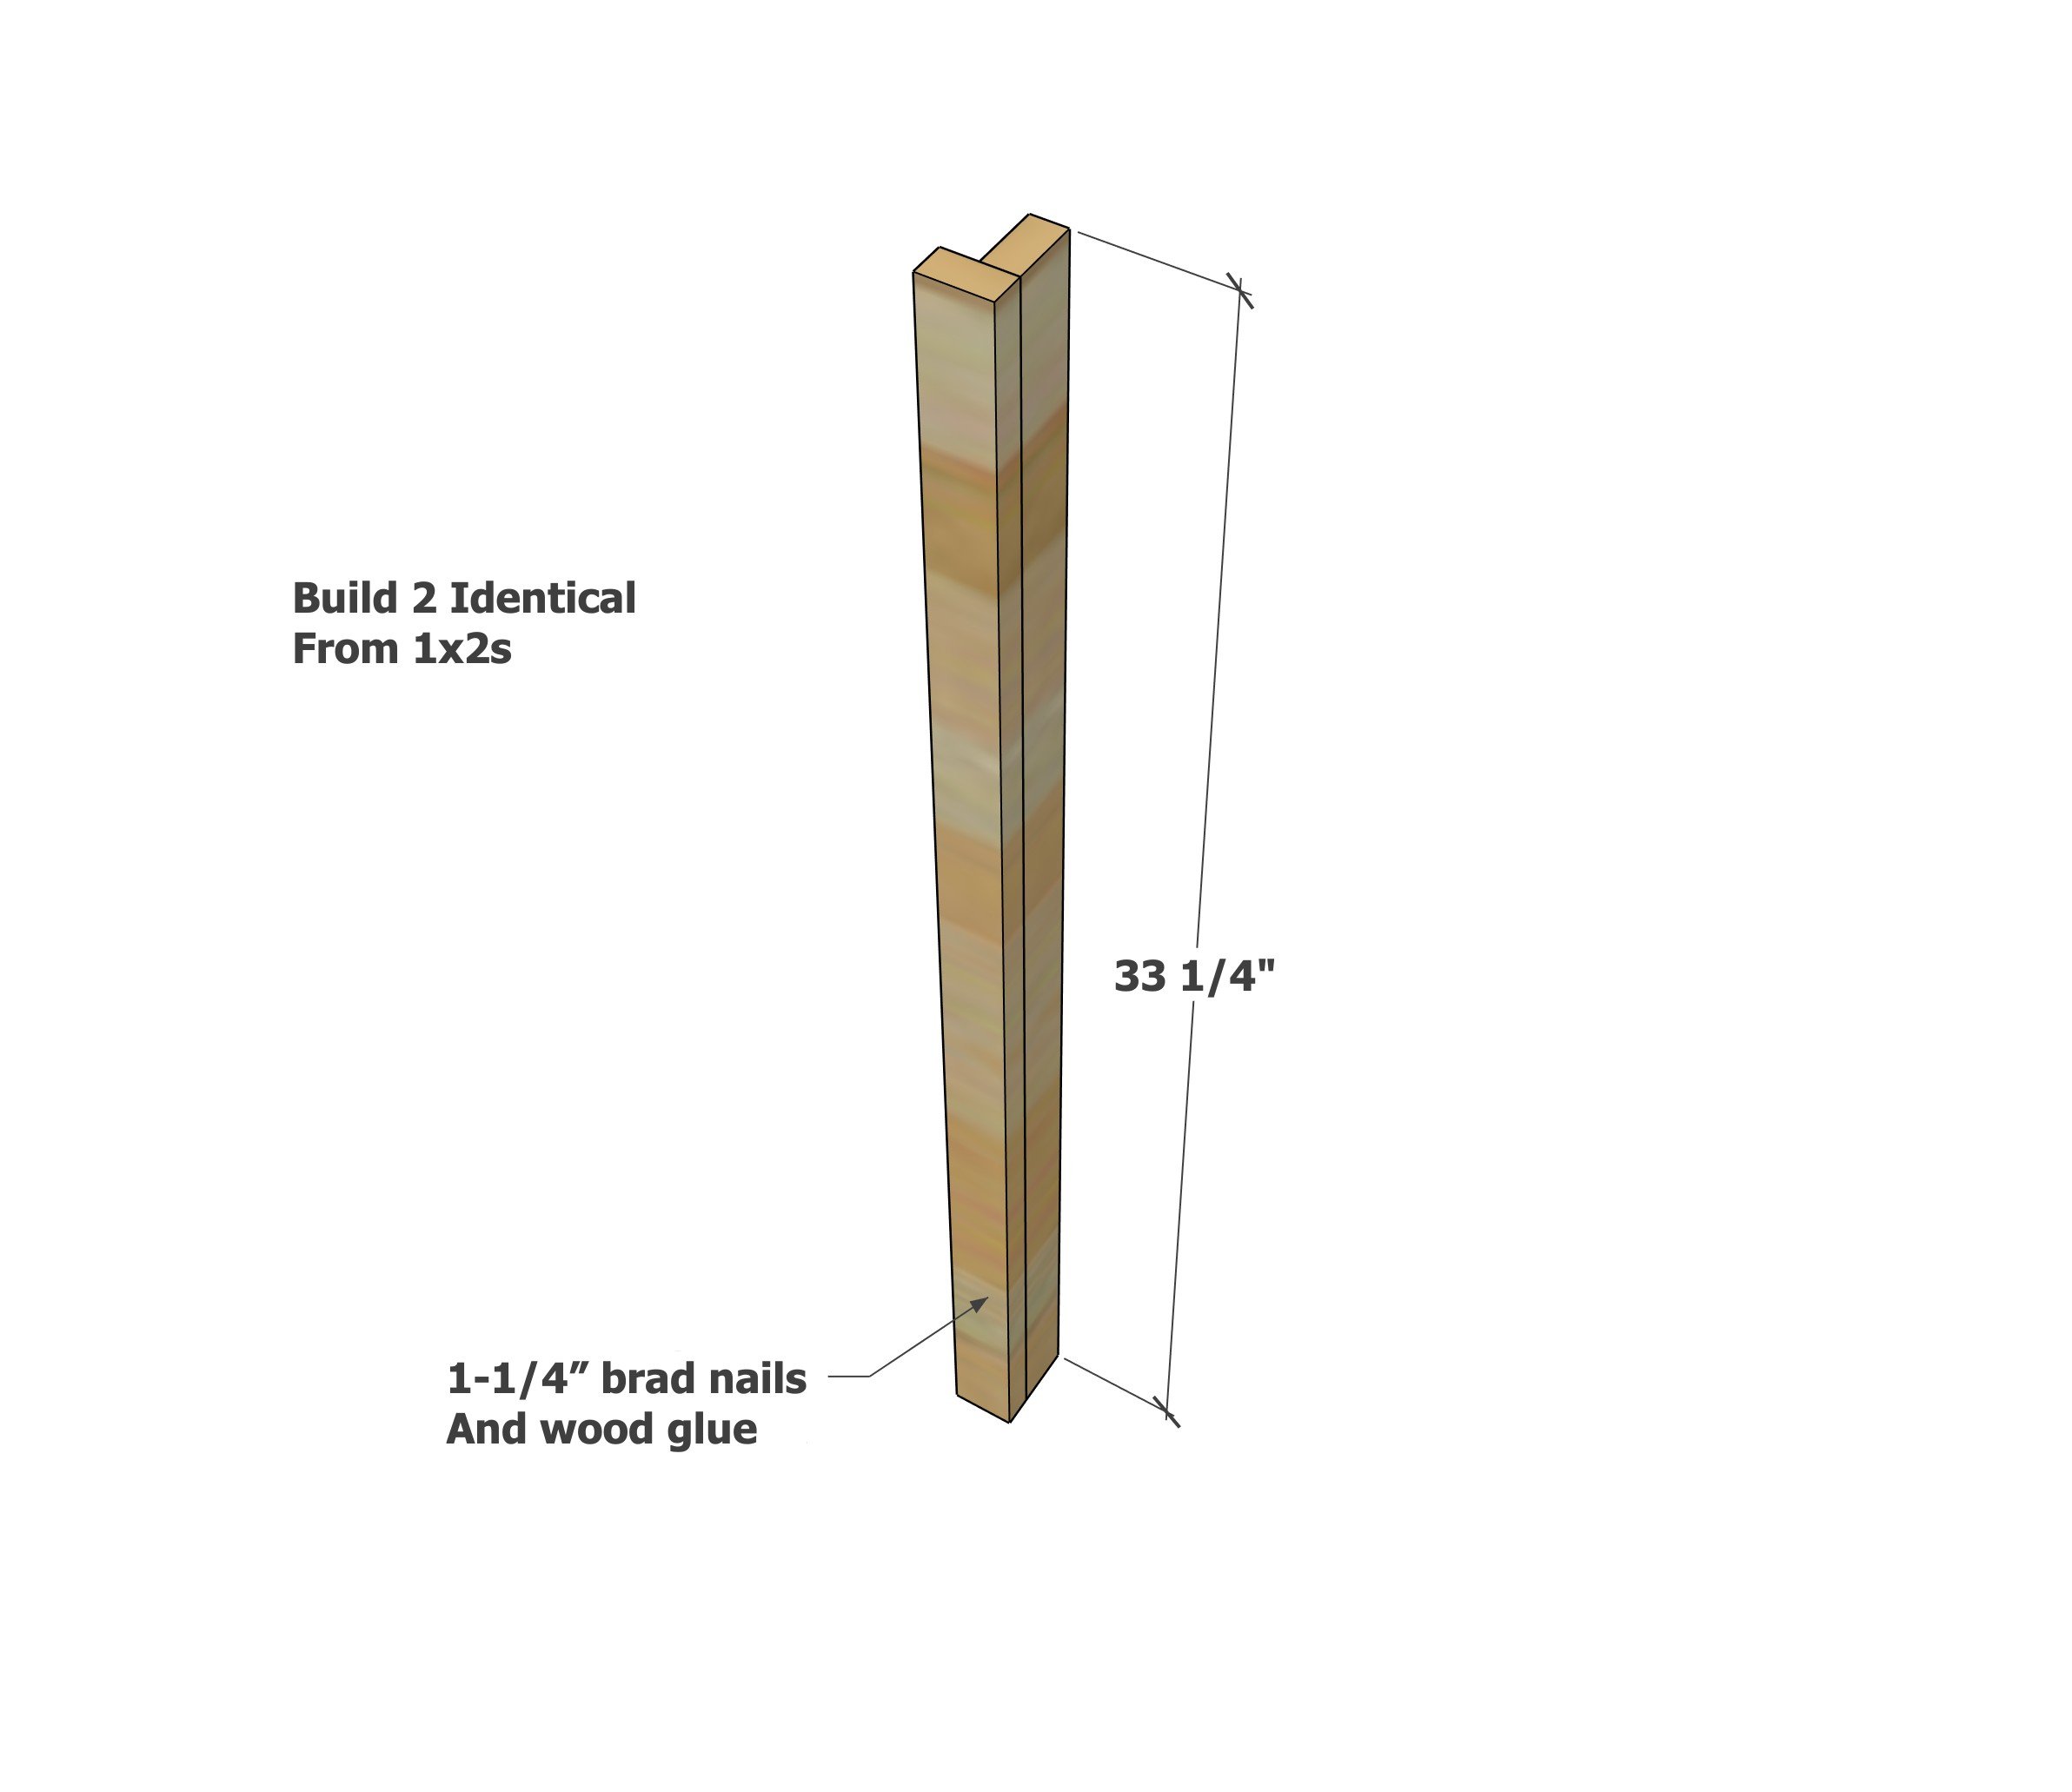
- 6 - 1x2 @ 33-1/4" - vertical trim
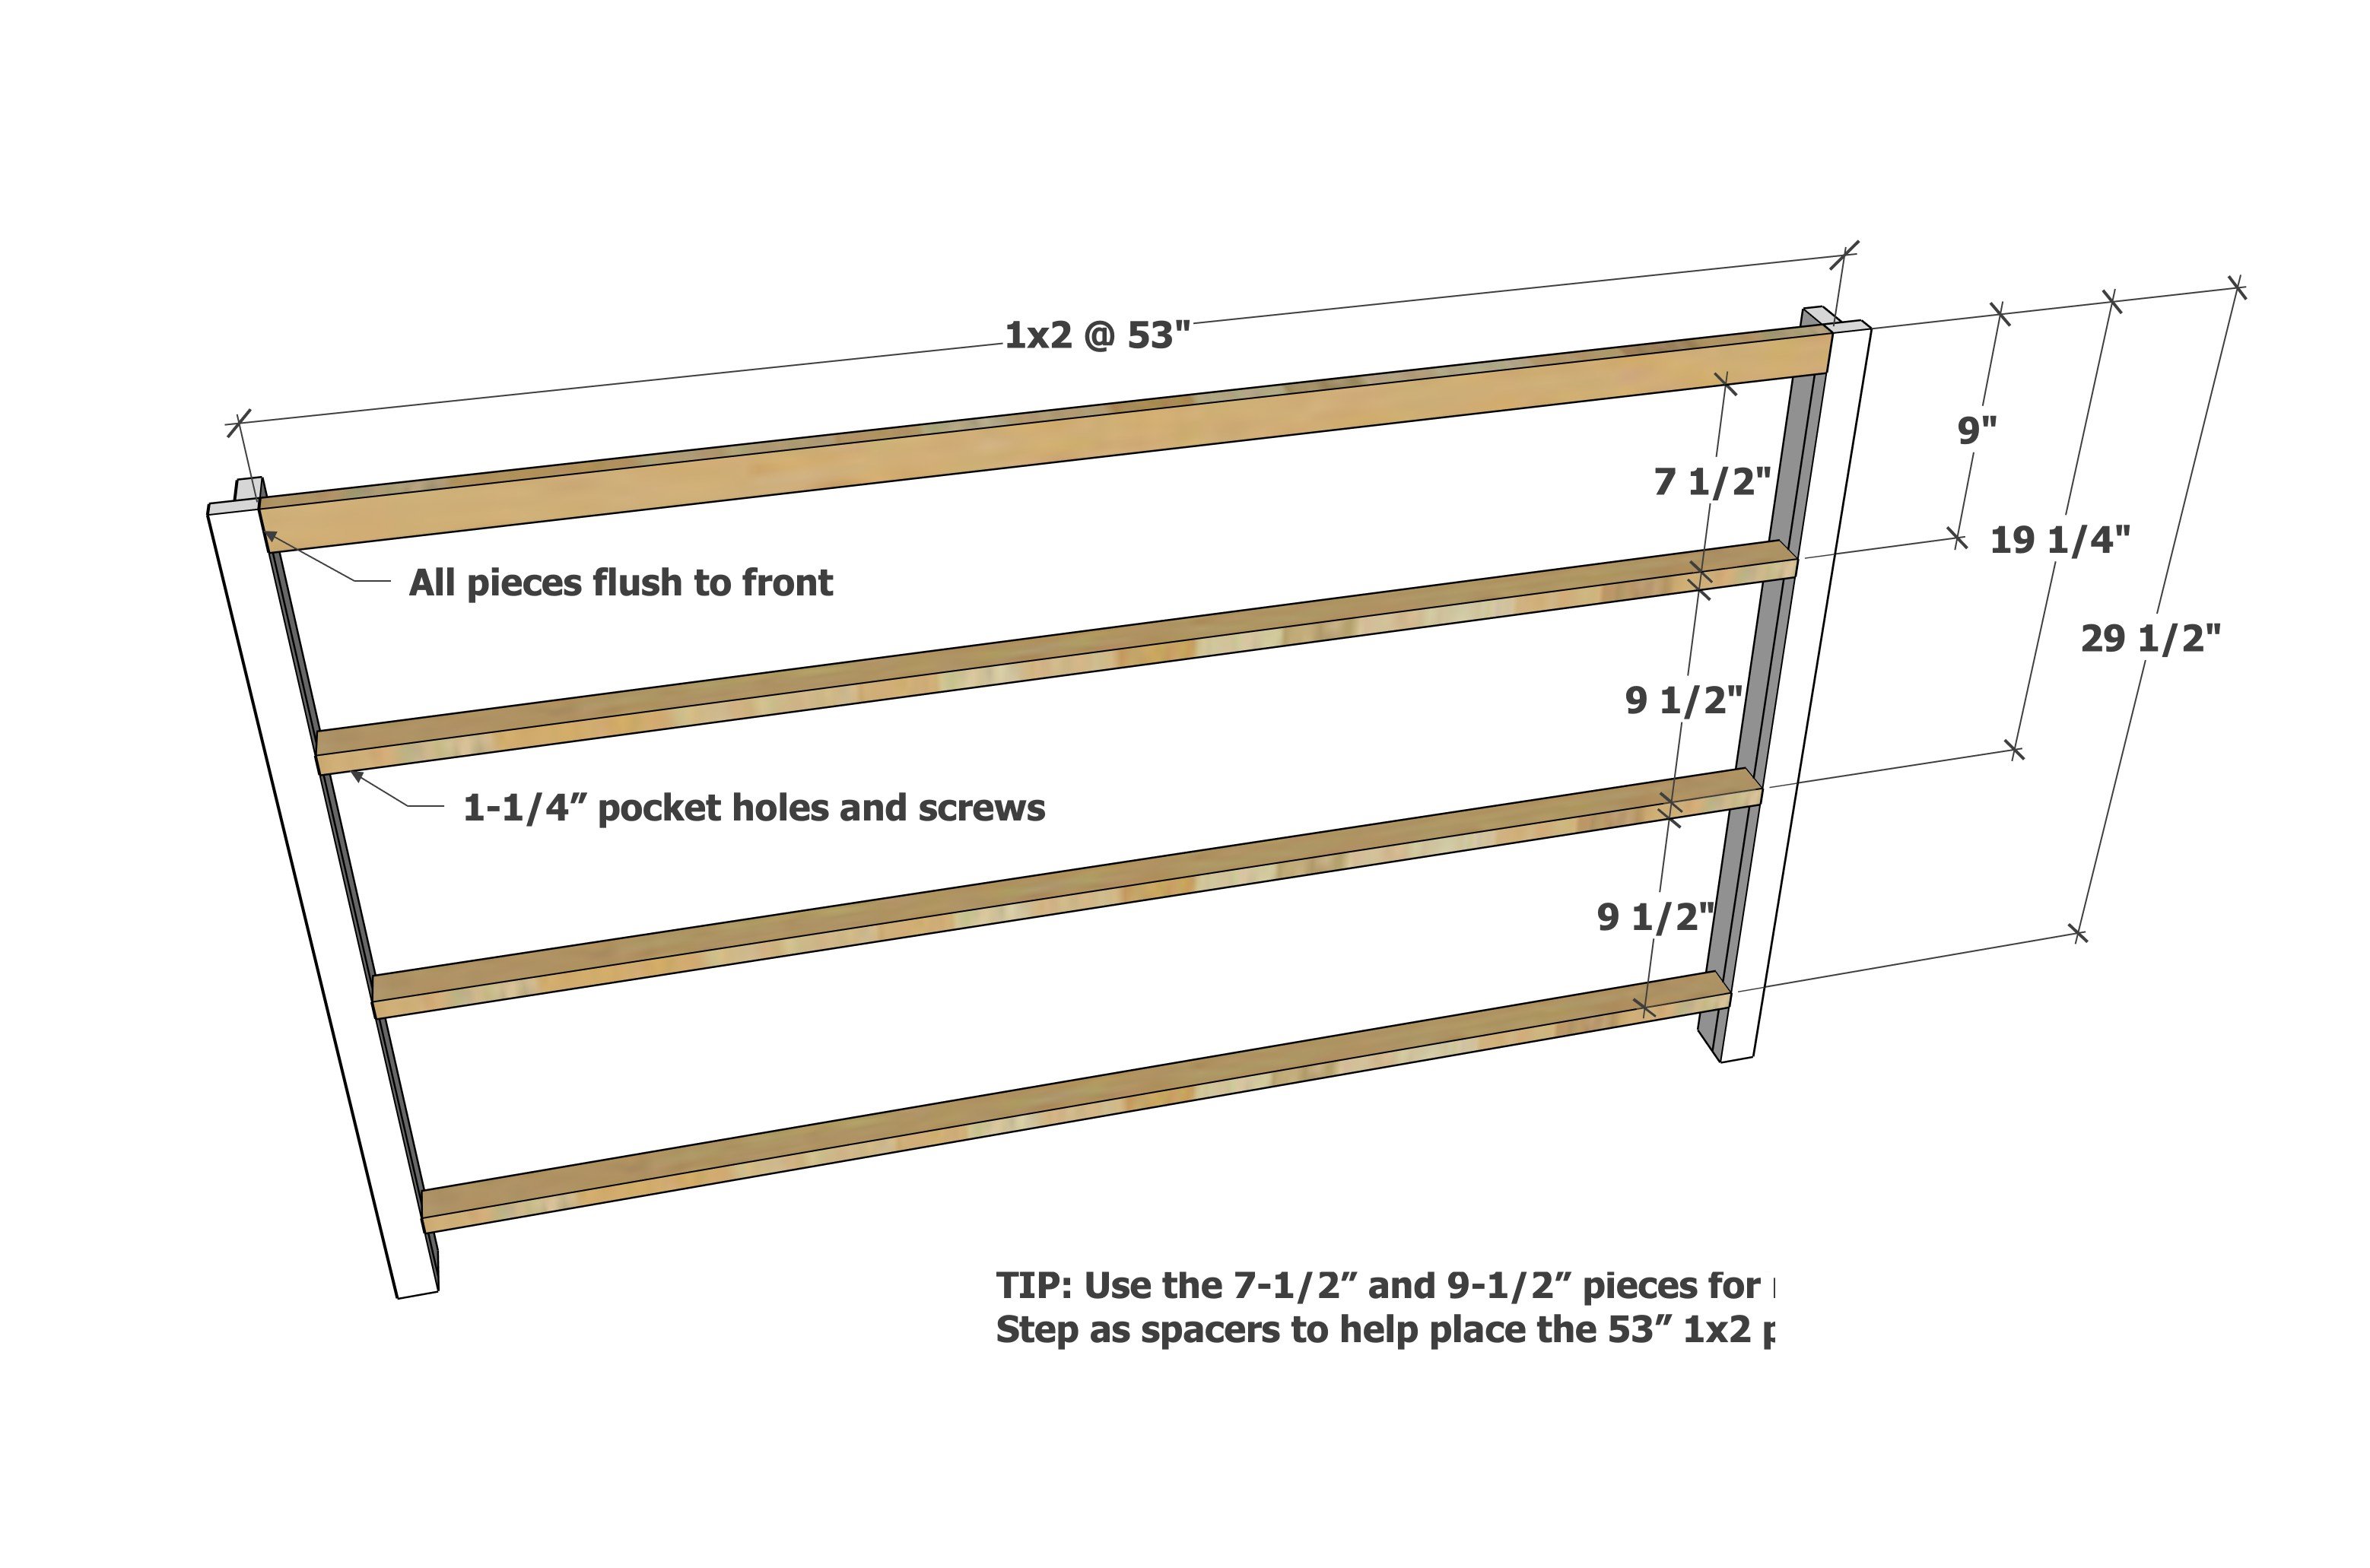
- 7 - 1x2 @ 53" - rails for trimming between drawer faces
- 2 - 2x2 @ 53" - top rail on both front and back frames
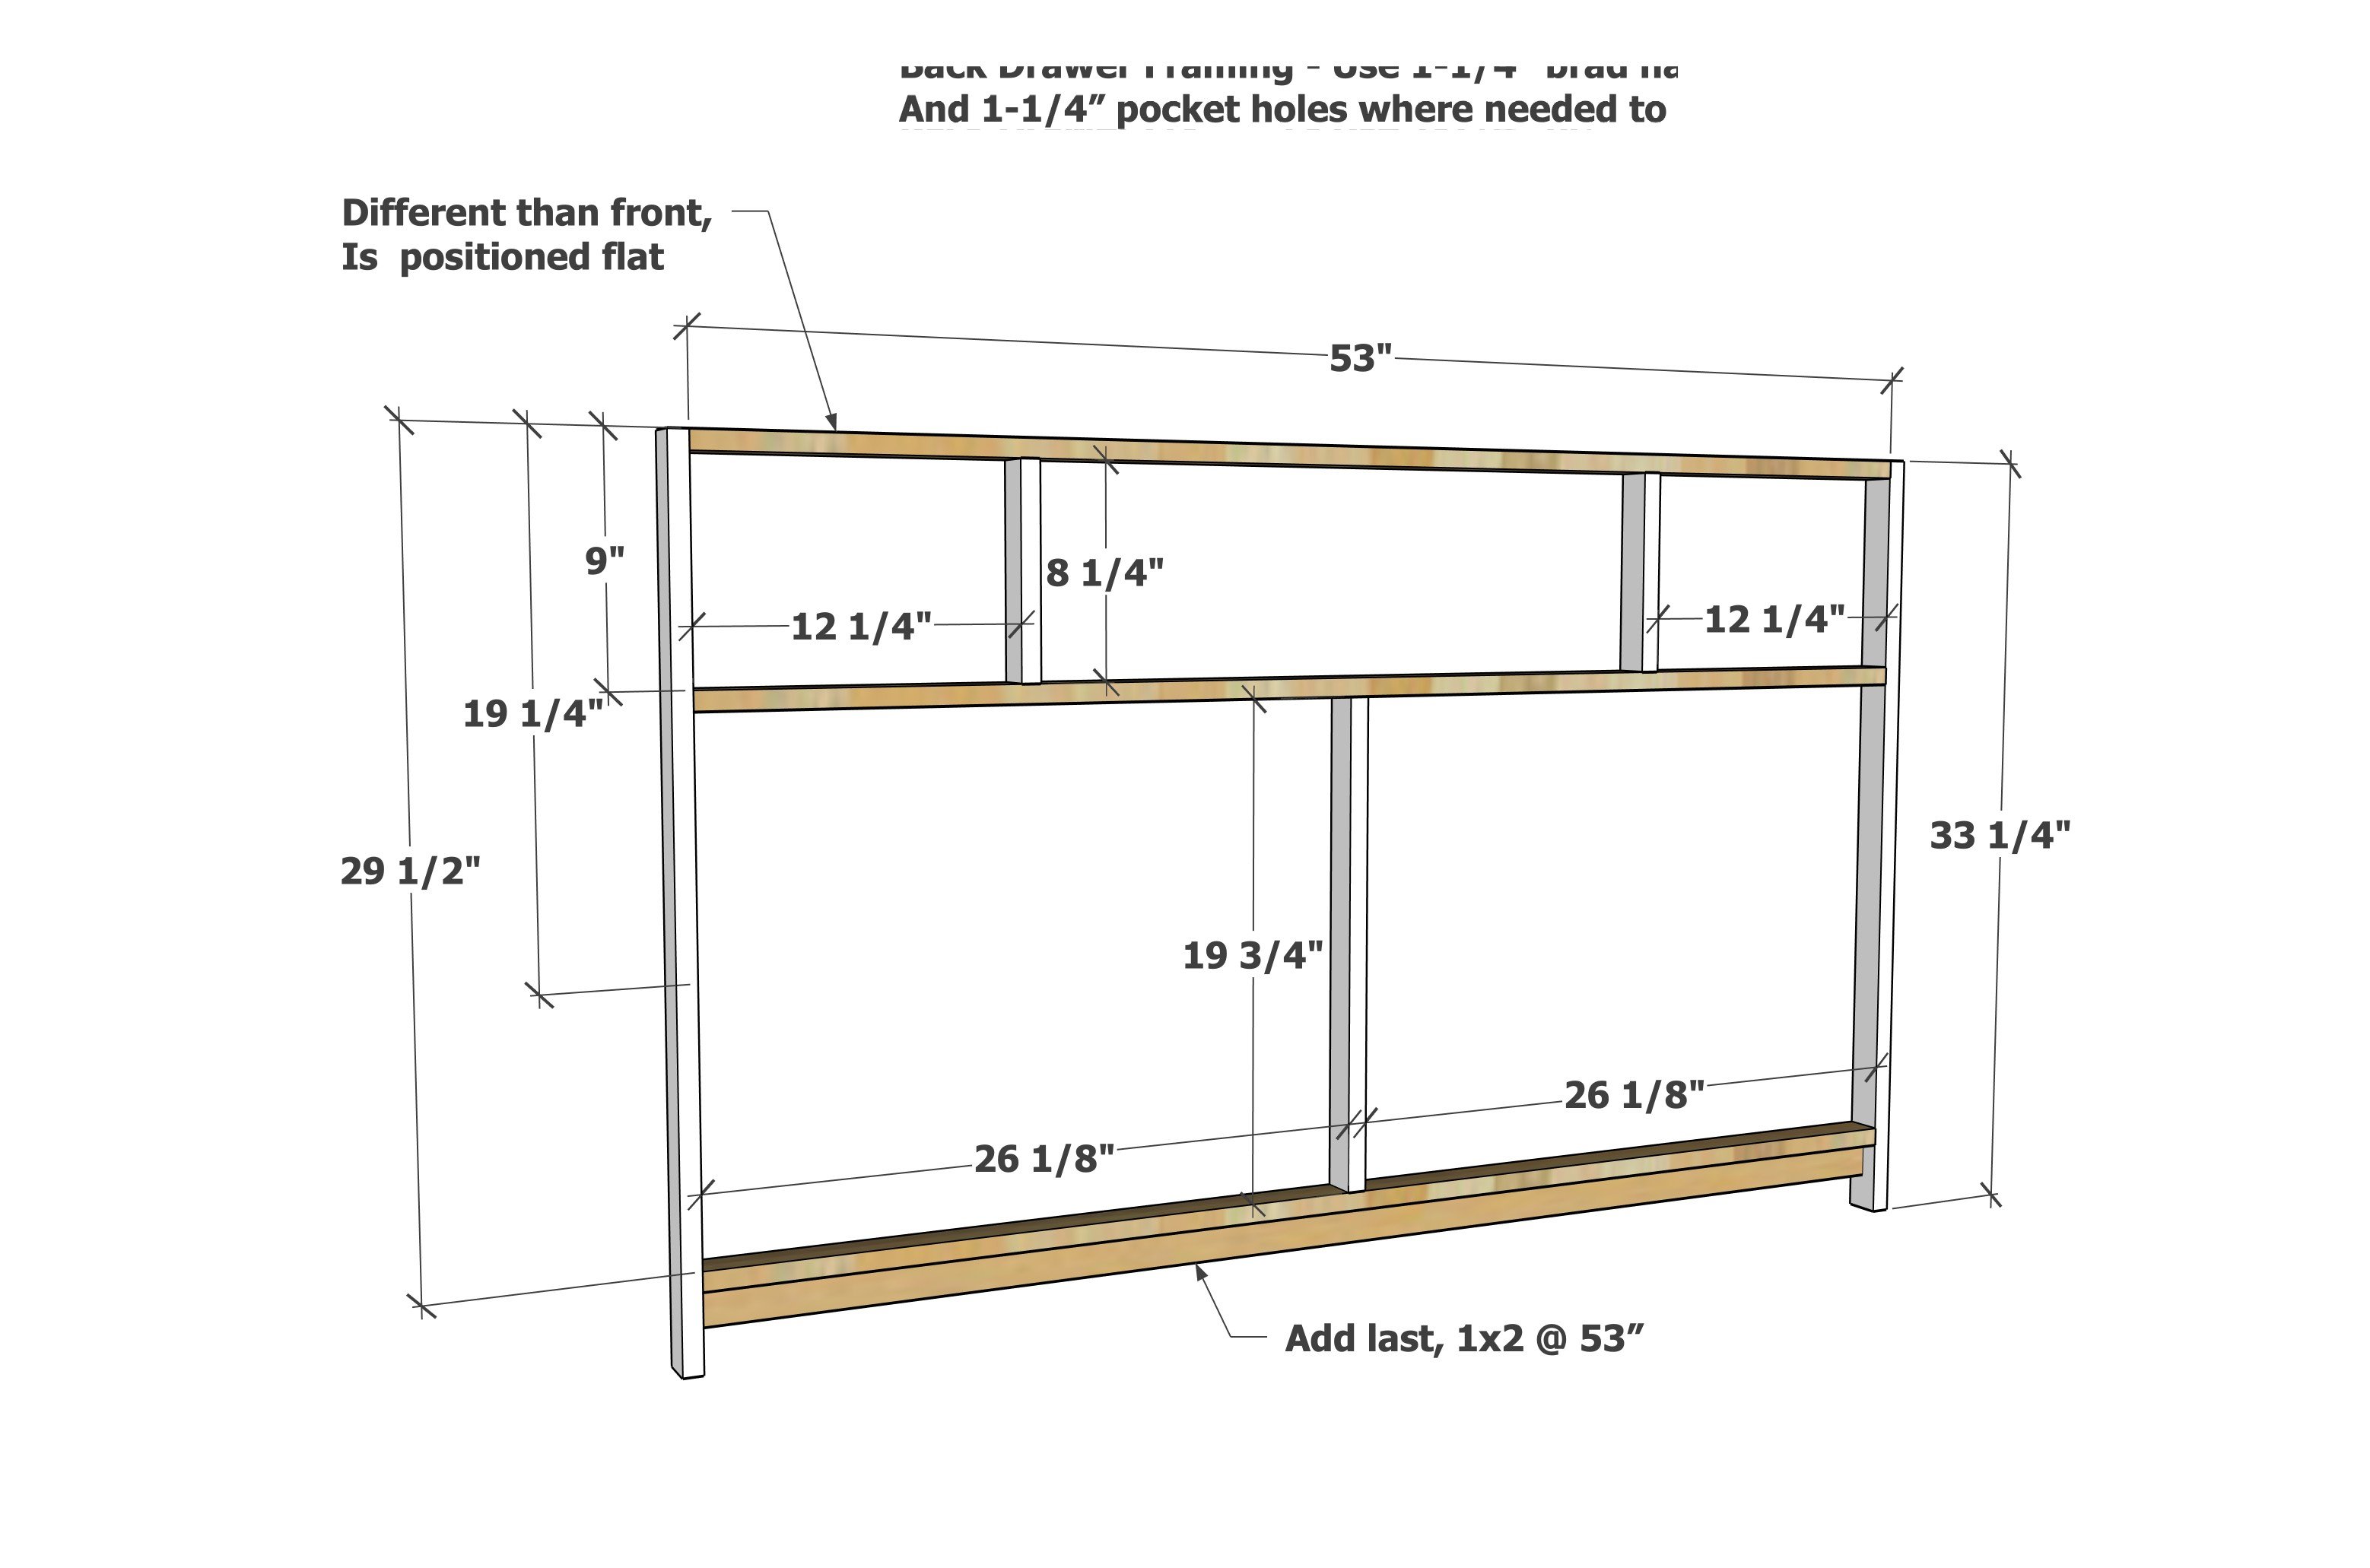
- 4 - 1x2 @ 7-1/2" - inner styles, top row of drawers
- 2 - 1x2 @ 9-1/2" - inner styles, middle and bottom rows of drawers
- 1 - 1x2 @ 19-3/4" - inner style, back frame lower drawers
- 2 - 3/4" plywood @ 20" x 33-1/4" - side panels
- 3 - 1x8 @ 57-1/2" - top
- 2 - 1x3 @ 20-3/4" - side base
- 1 - 1x3 @ about 57-1/2" - front base, cut to fit
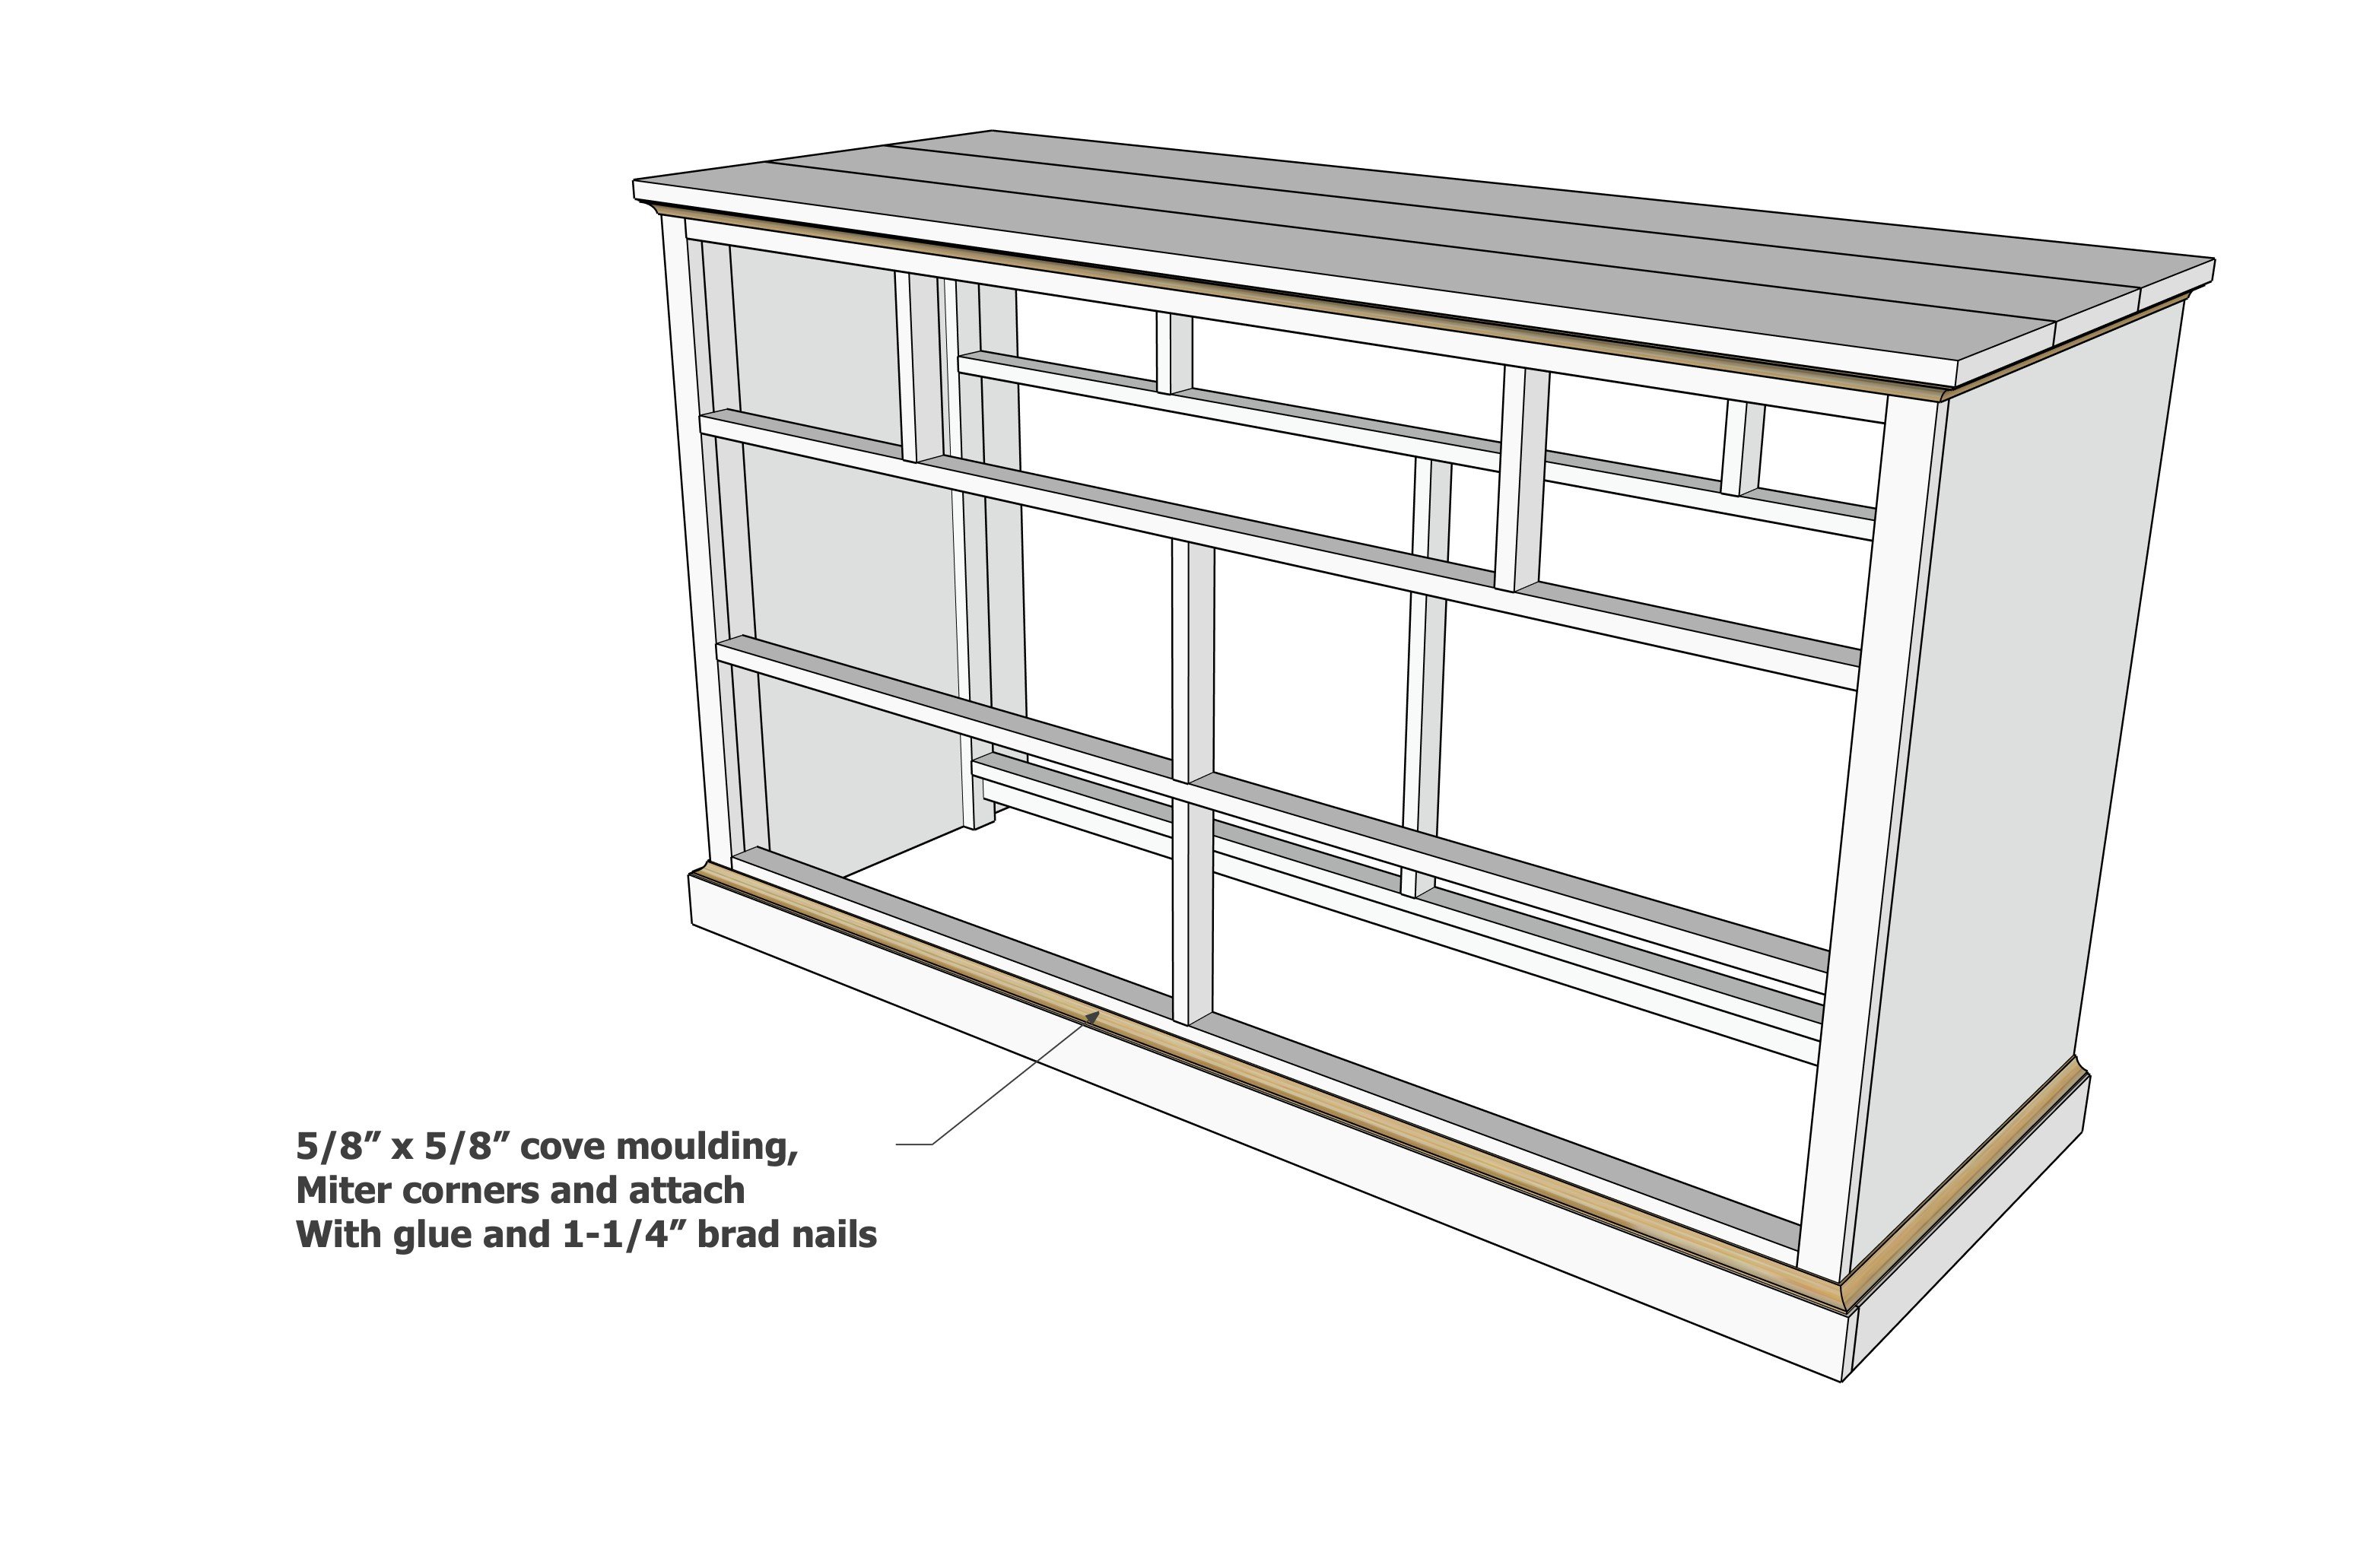
- 5/8" cove moulding is mitered and cut to fit
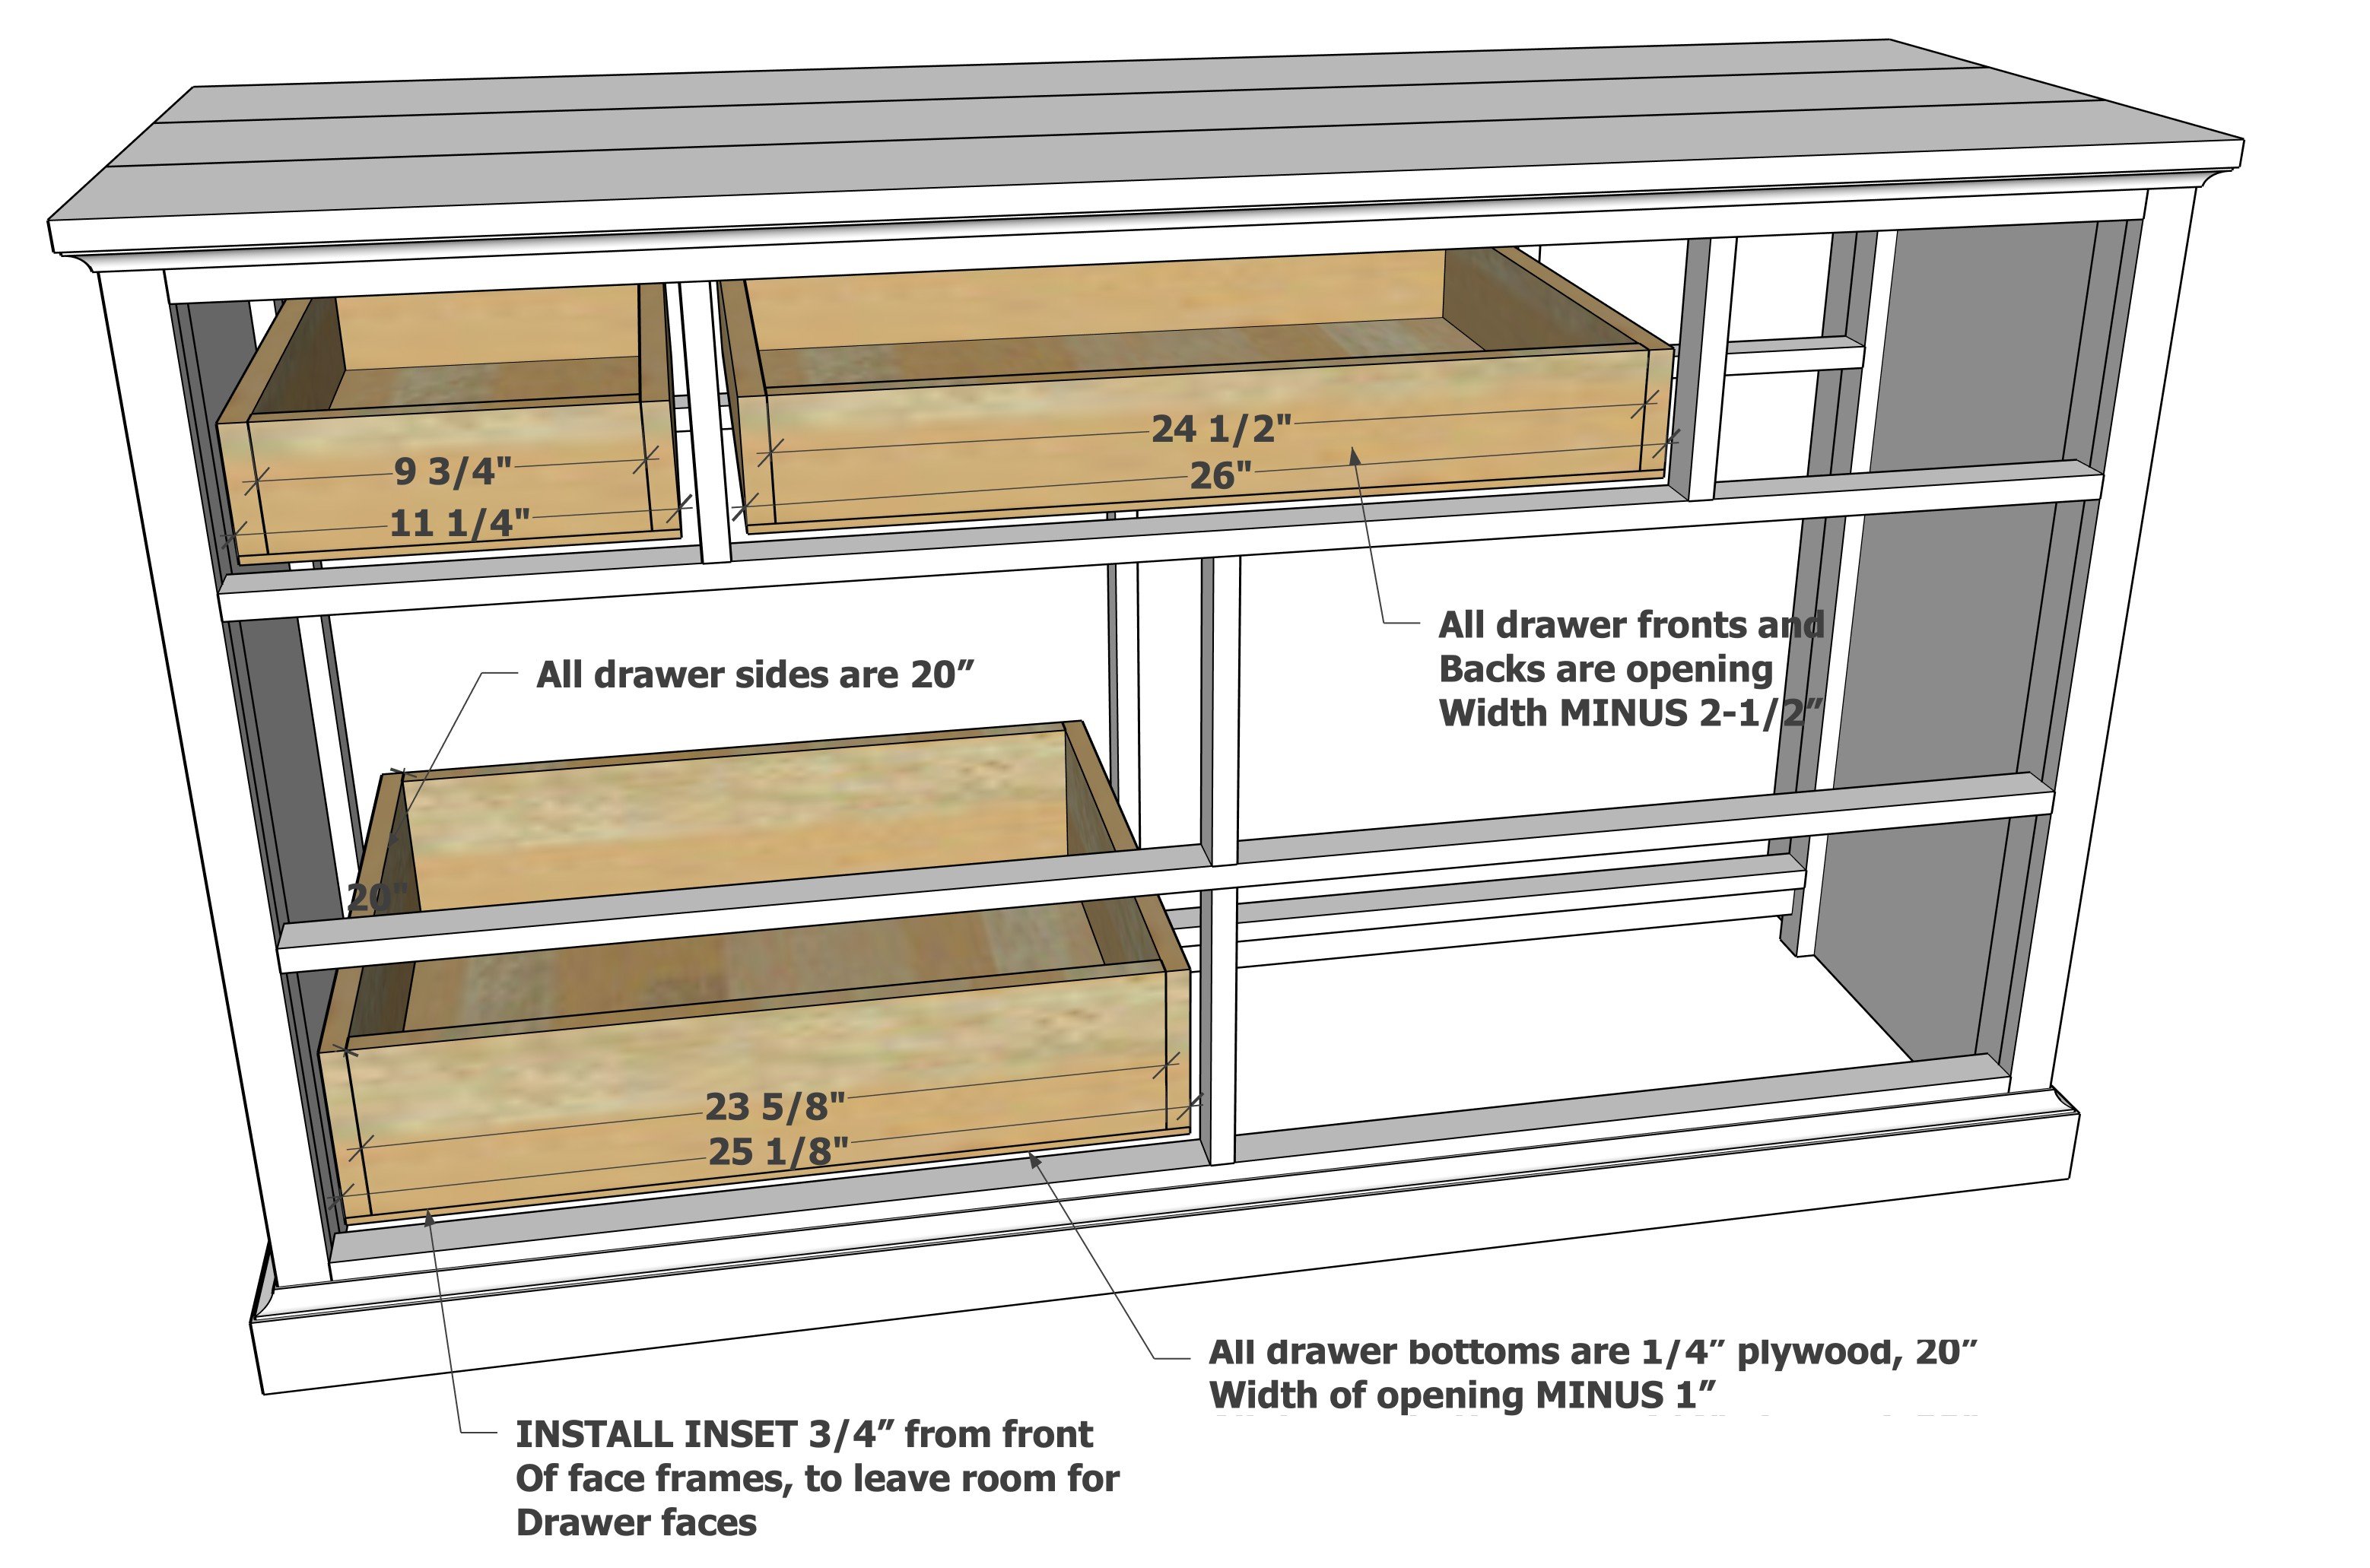
Drawer cuts - drawer front and backs should be measured and cut to fit, drawer sides are all 20" long
- 6 - 1x4 @ 20" - upper drawer boxes sides
- 4 - 1x4 @ 9-3/4" - small upper drawer boxes front and backs
- 2 - 1/4" plywood @ 20" x 11-1/4" - small upper drawer box bottoms
- 2 - 1x4 @ 24-1/2" - middle upper drawer box front and backs
- 1 - 1/4" plywood @ 20" x 26" - middle upper drawer box bottom
- 8 - 1x6 @ 20" - lower drawer box sides
- 8 - 1x6 @ 23-5/8" - lower drawer boxes front and backs
- 4 - 1/4" plywood @ 20" x 25-1/8" - lower drawer boxes bottoms
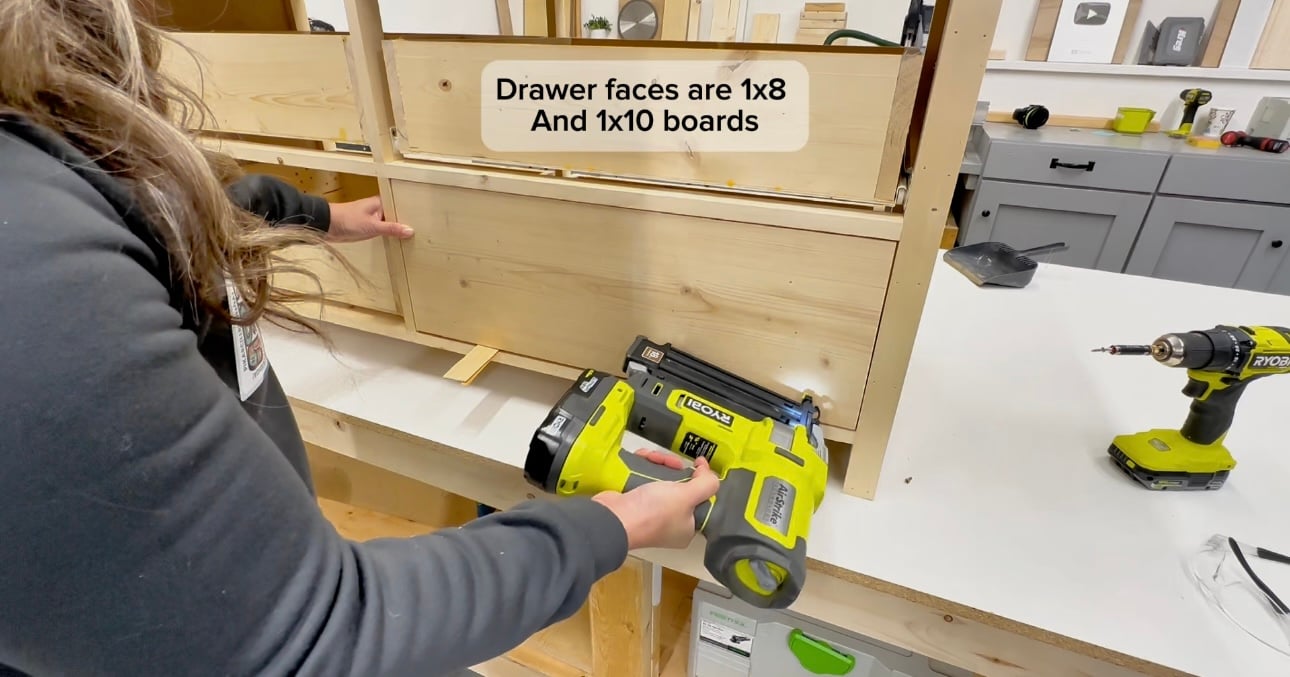
- 2 - 1x8 @ 12" - smaller upper drawer faces
- 1 - 1x8 @ 26-3/4" - middle upper drawer face
- 4 - 1x10 @ 25-7/8" - lower drawer faces
The dresser can be built in the steps shown in the video, but I thought after building this dresser, it would be easier to tackle in a different way. The below steps are this different way.
Instructions
Step 2
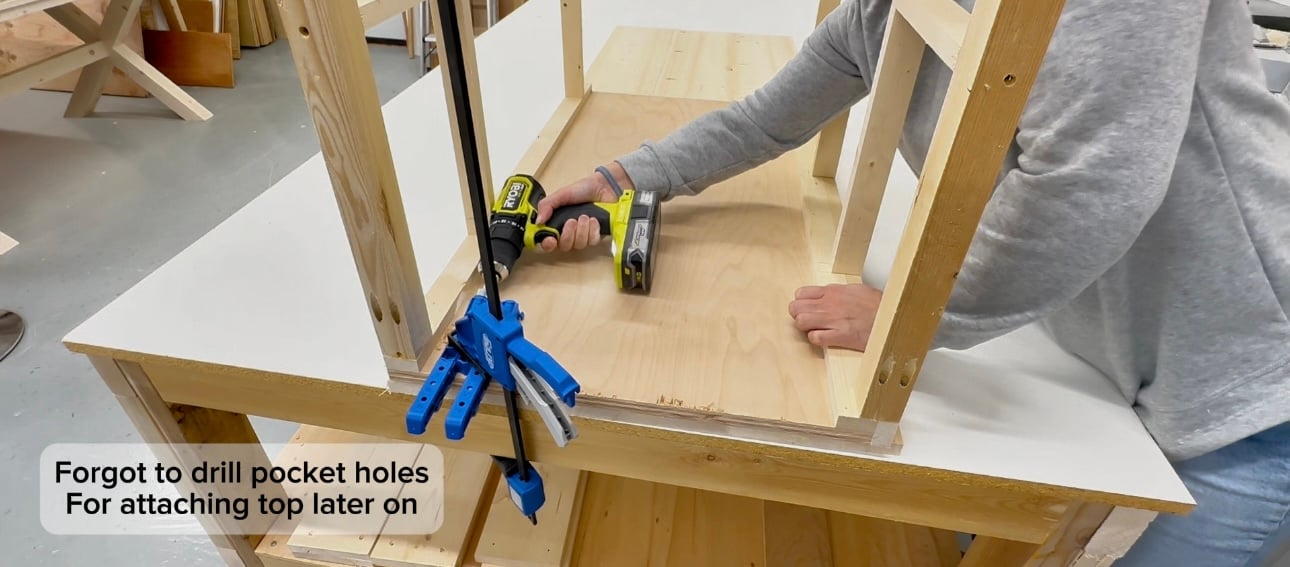
Drill pocket holes in the ends of the 2x2 (top) and 1x2s (lower three).
Layout the front frame, so that the pocket holes are orientated facing downward. Attach first together with 1-1/4" brad nails and wood glue, careful to not nail in locations of pocket holes, or where pocket hole screws will intersect.
After attaching with nails, attach through the predrilled pocket holes with 1-1/4" pocket hole screws.
NOTE: The diagram does show a 1x2 at the top. This is incorrect - the top should be a 2x2.
Step 3
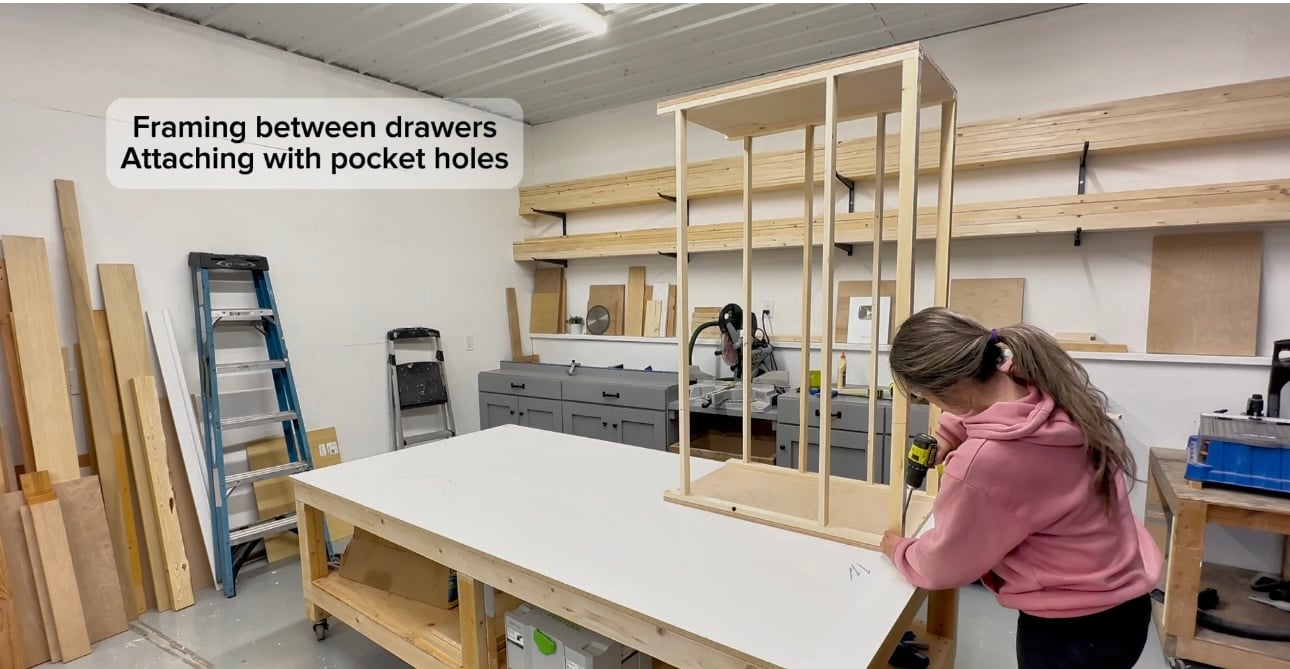
Use glue and nails to attach the stiles in between as shown. For some, you may need to use pocket holes to join where there is an intersecting board.
It is very important that the pieces are placed perfectly, as the drawer slides are attached to this framing and your drawer won't slide right if spacing is not correct.
Step 4
Step 5
Step 6
Step 7
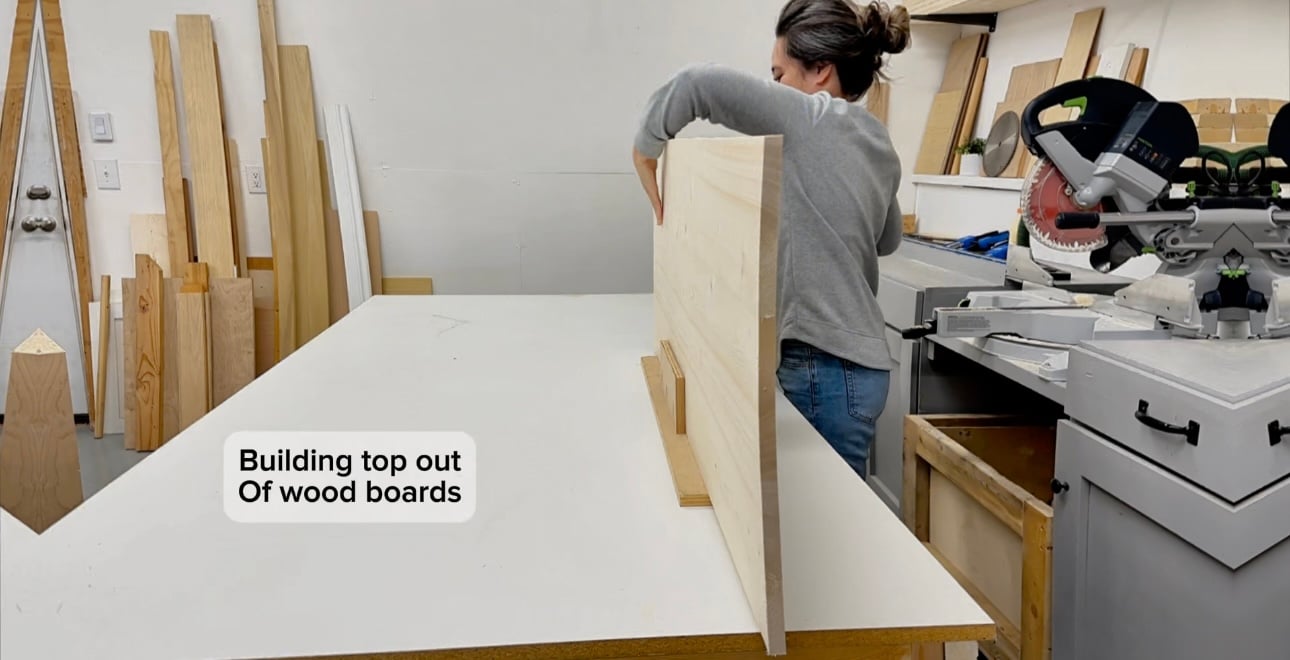
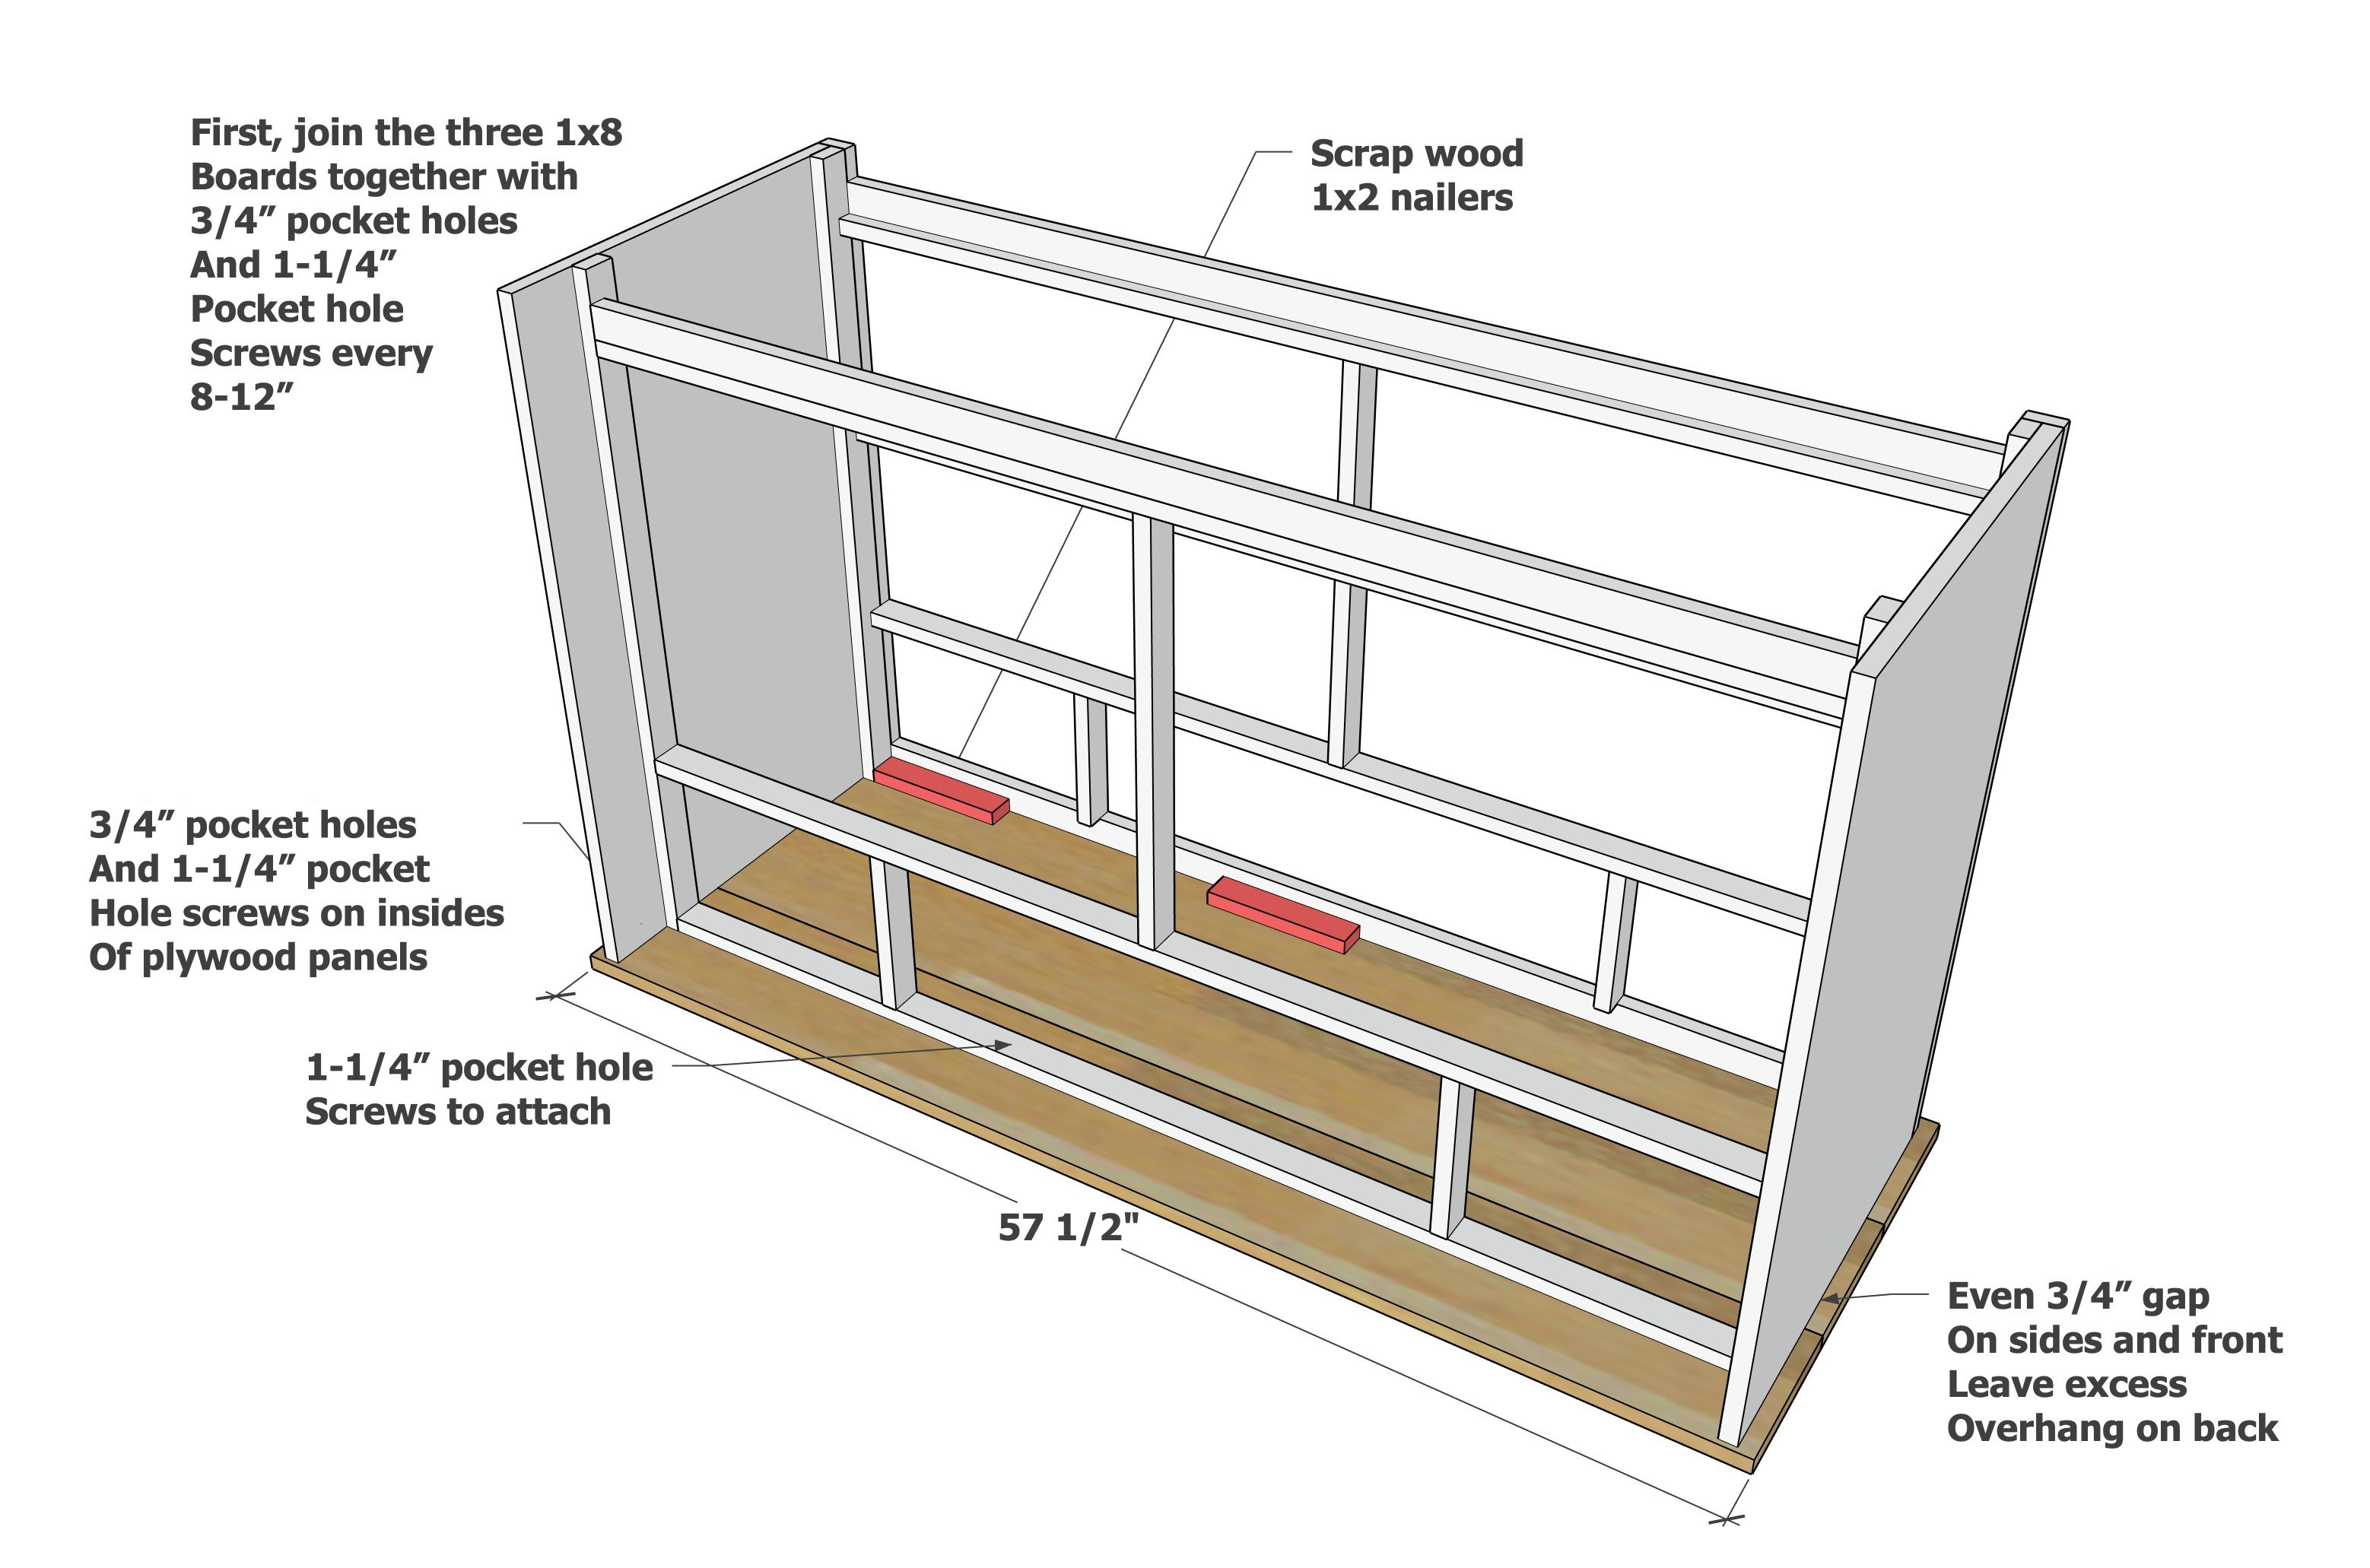
Build the top with the three 1x8s, with 3/4" pocket holes and 1-1/4" pocket hole screws, taking great care to make sure the top panel is square.
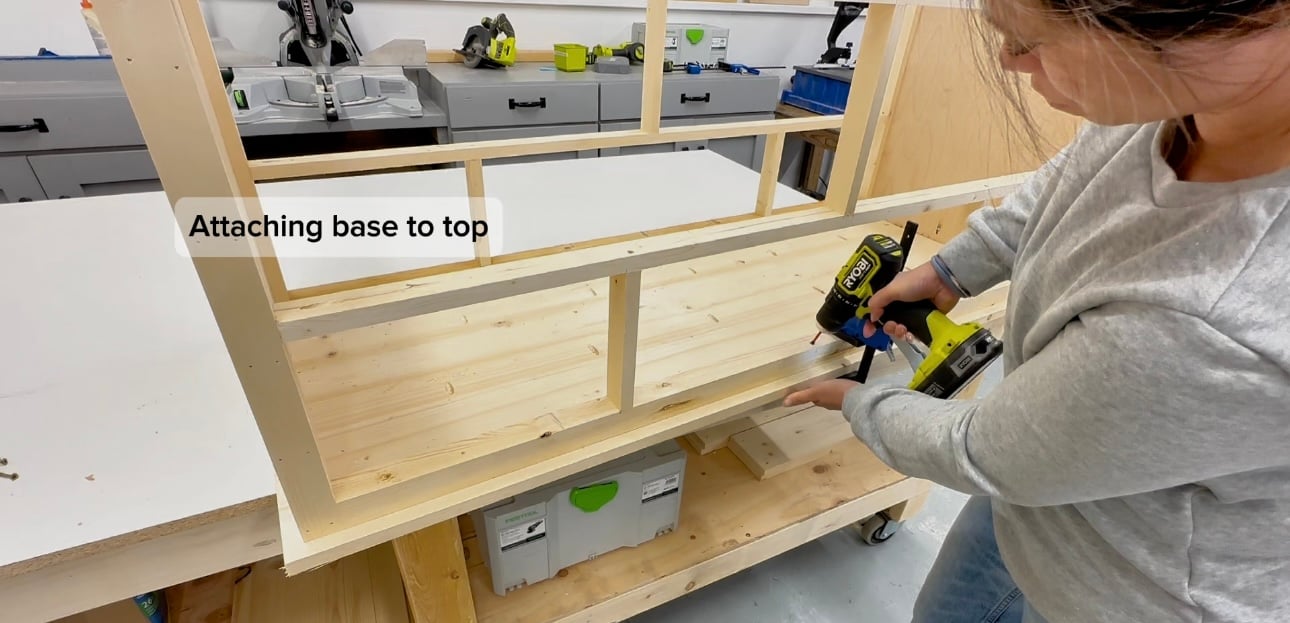
Carefully position the carcass on the underside. Make sure the overhang on the front and sides is 3/4", and even all the way down - this is important because the top squares up the entire project.
Attach through the predrilled pocket holes with 1-1/4" pocket hole screws. Attach in other places, use blocking if needed.
Step 8
Step 9
Step 10
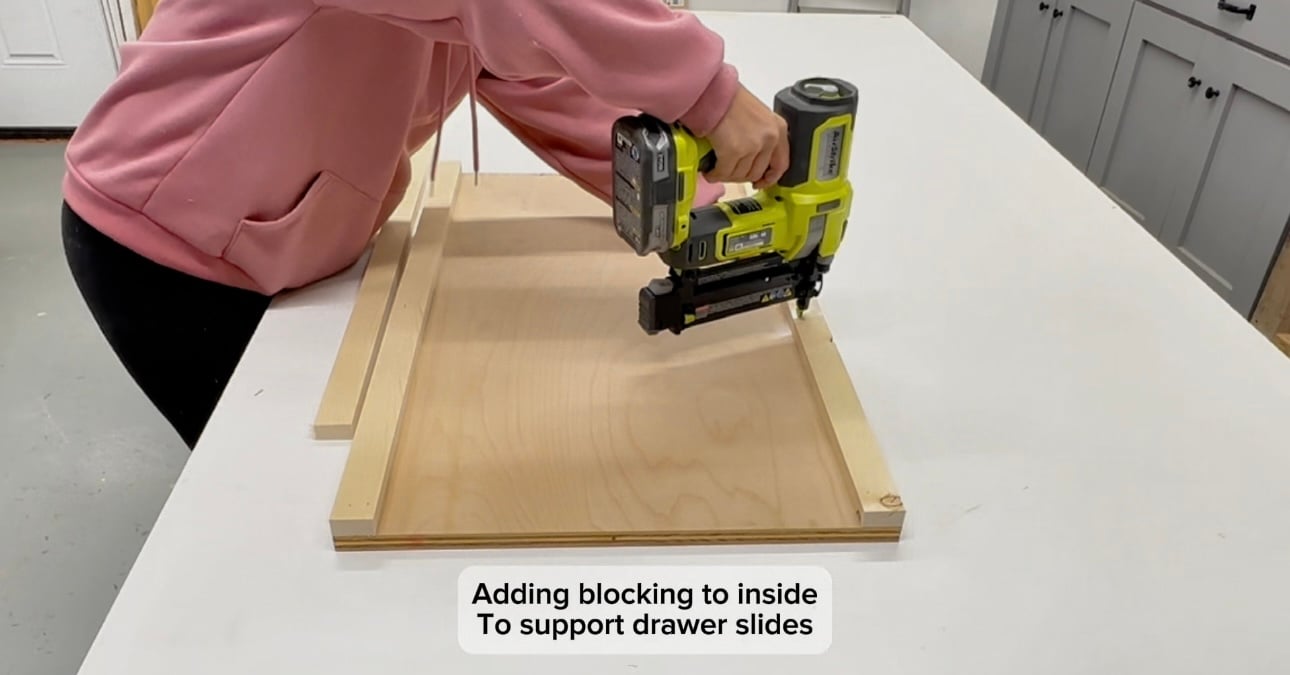
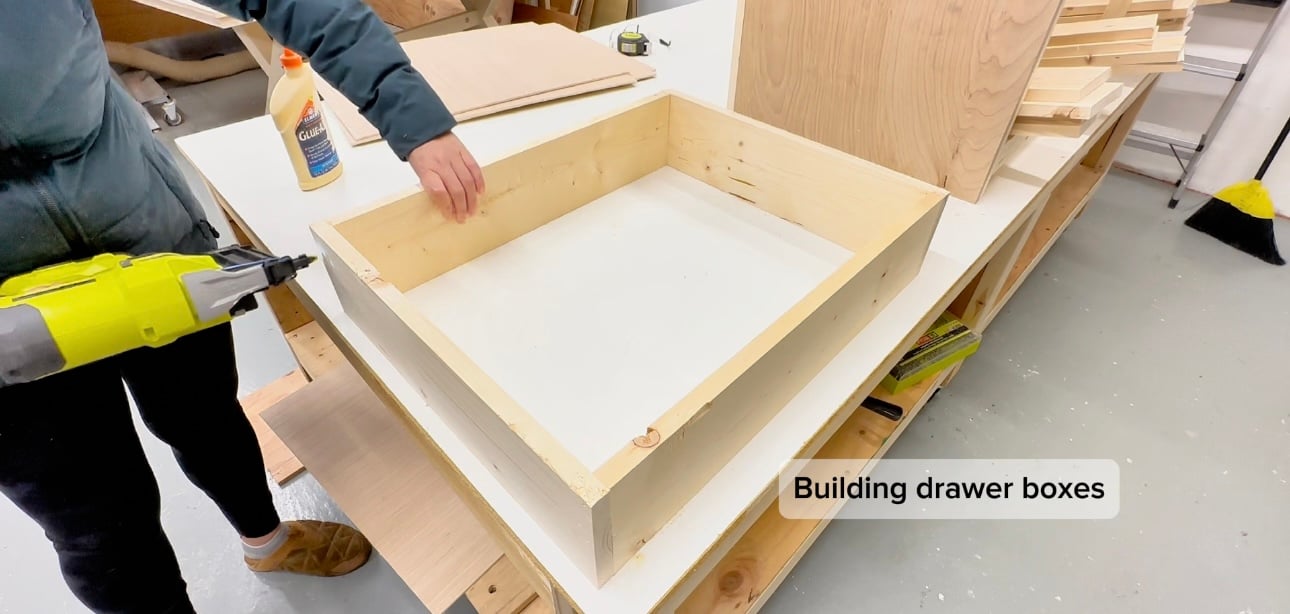
Measure the drawer openings and adjust the cut lists if necessary for the drawer boxes. All drawer sides are 20".
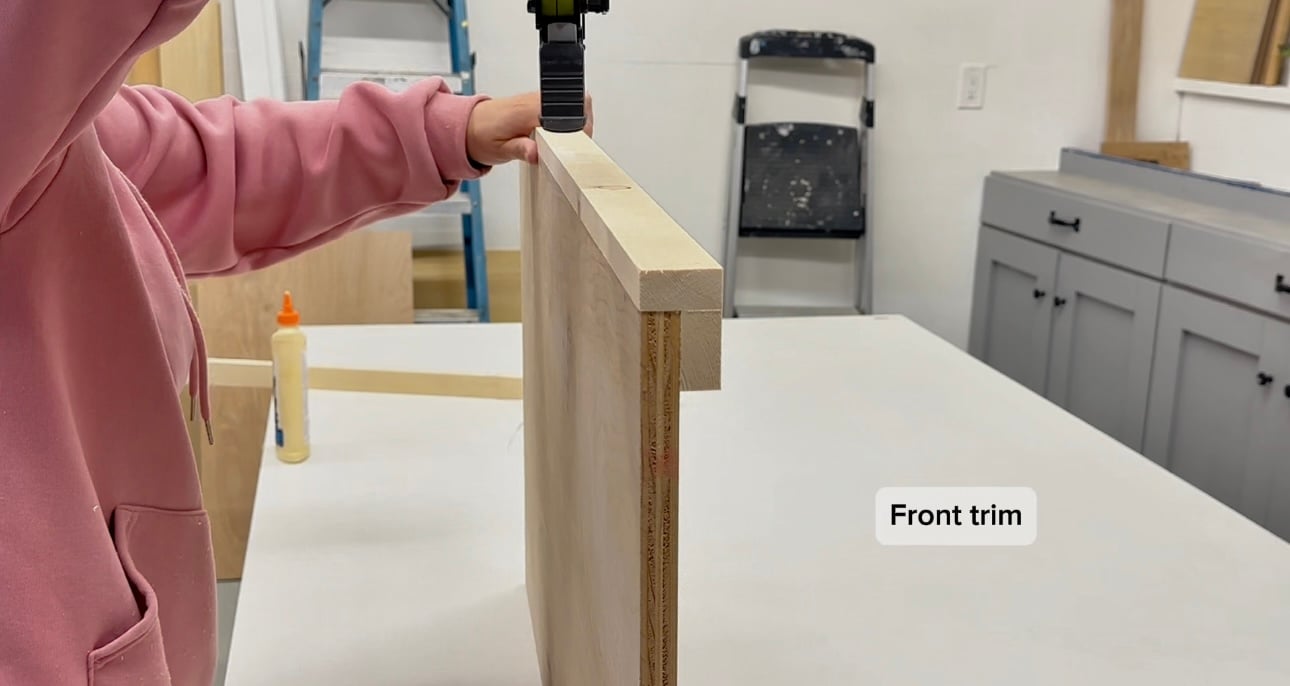
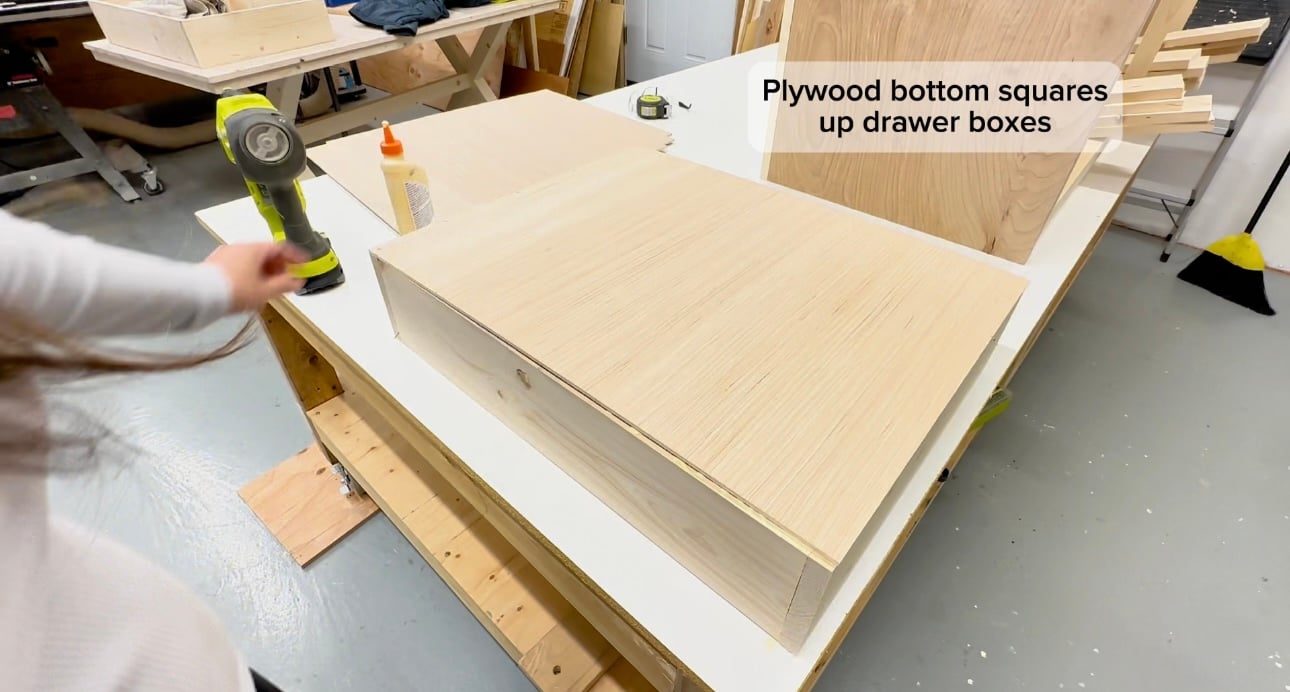
Build the drawer boxes with 1-1/4" brad nails and glue, attaching the bottoms with 3/4" brad nails and glue.
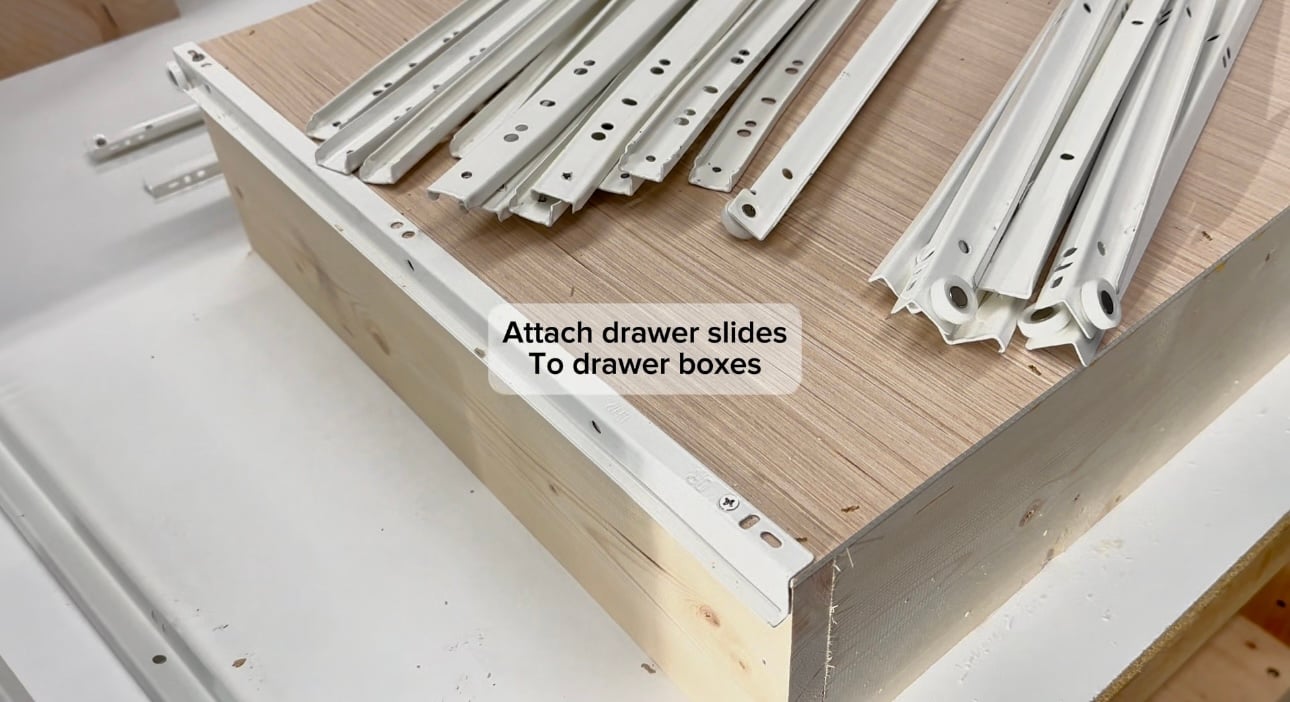
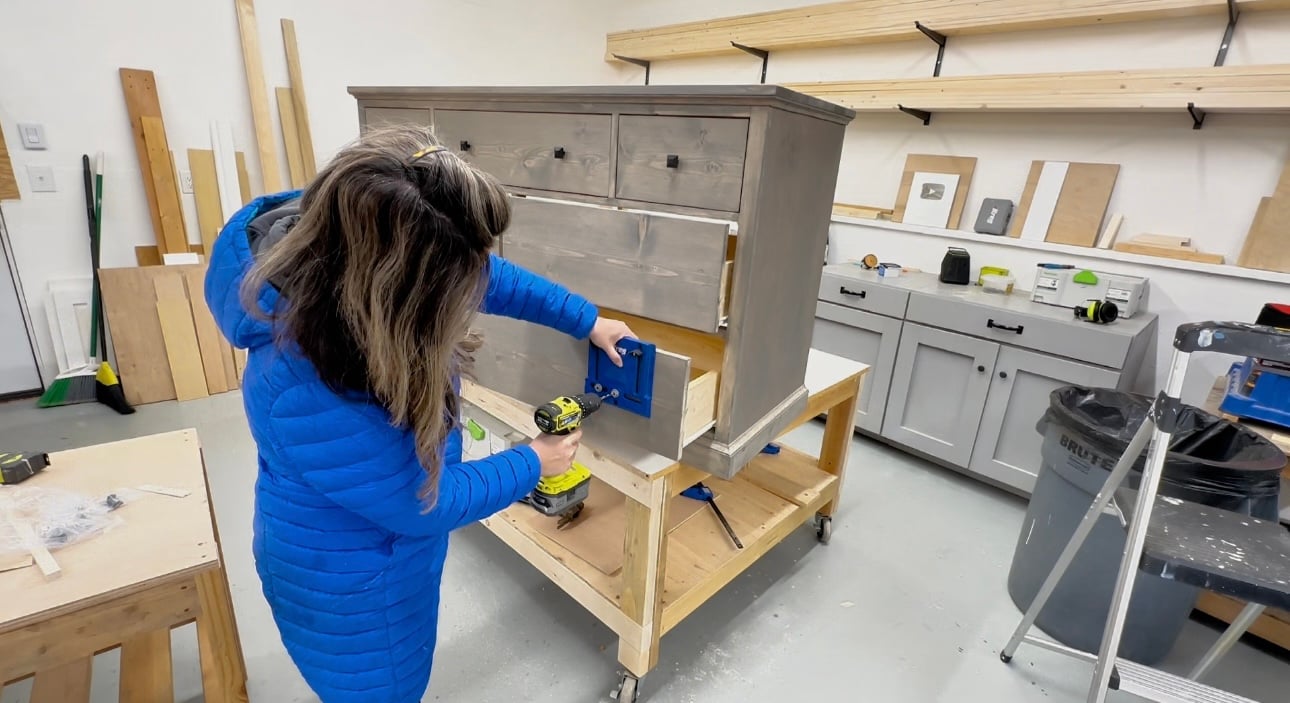
Install the drawer member hardware on the drawers, flush to the front, wheels to the back.
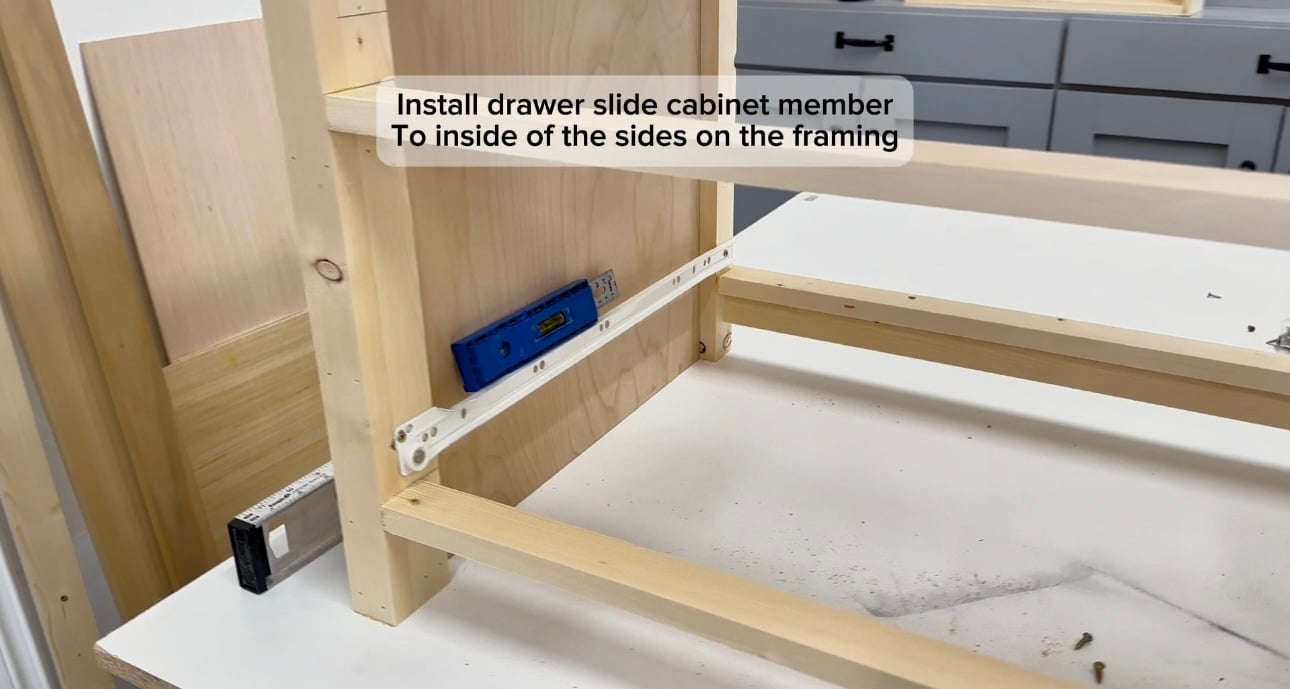
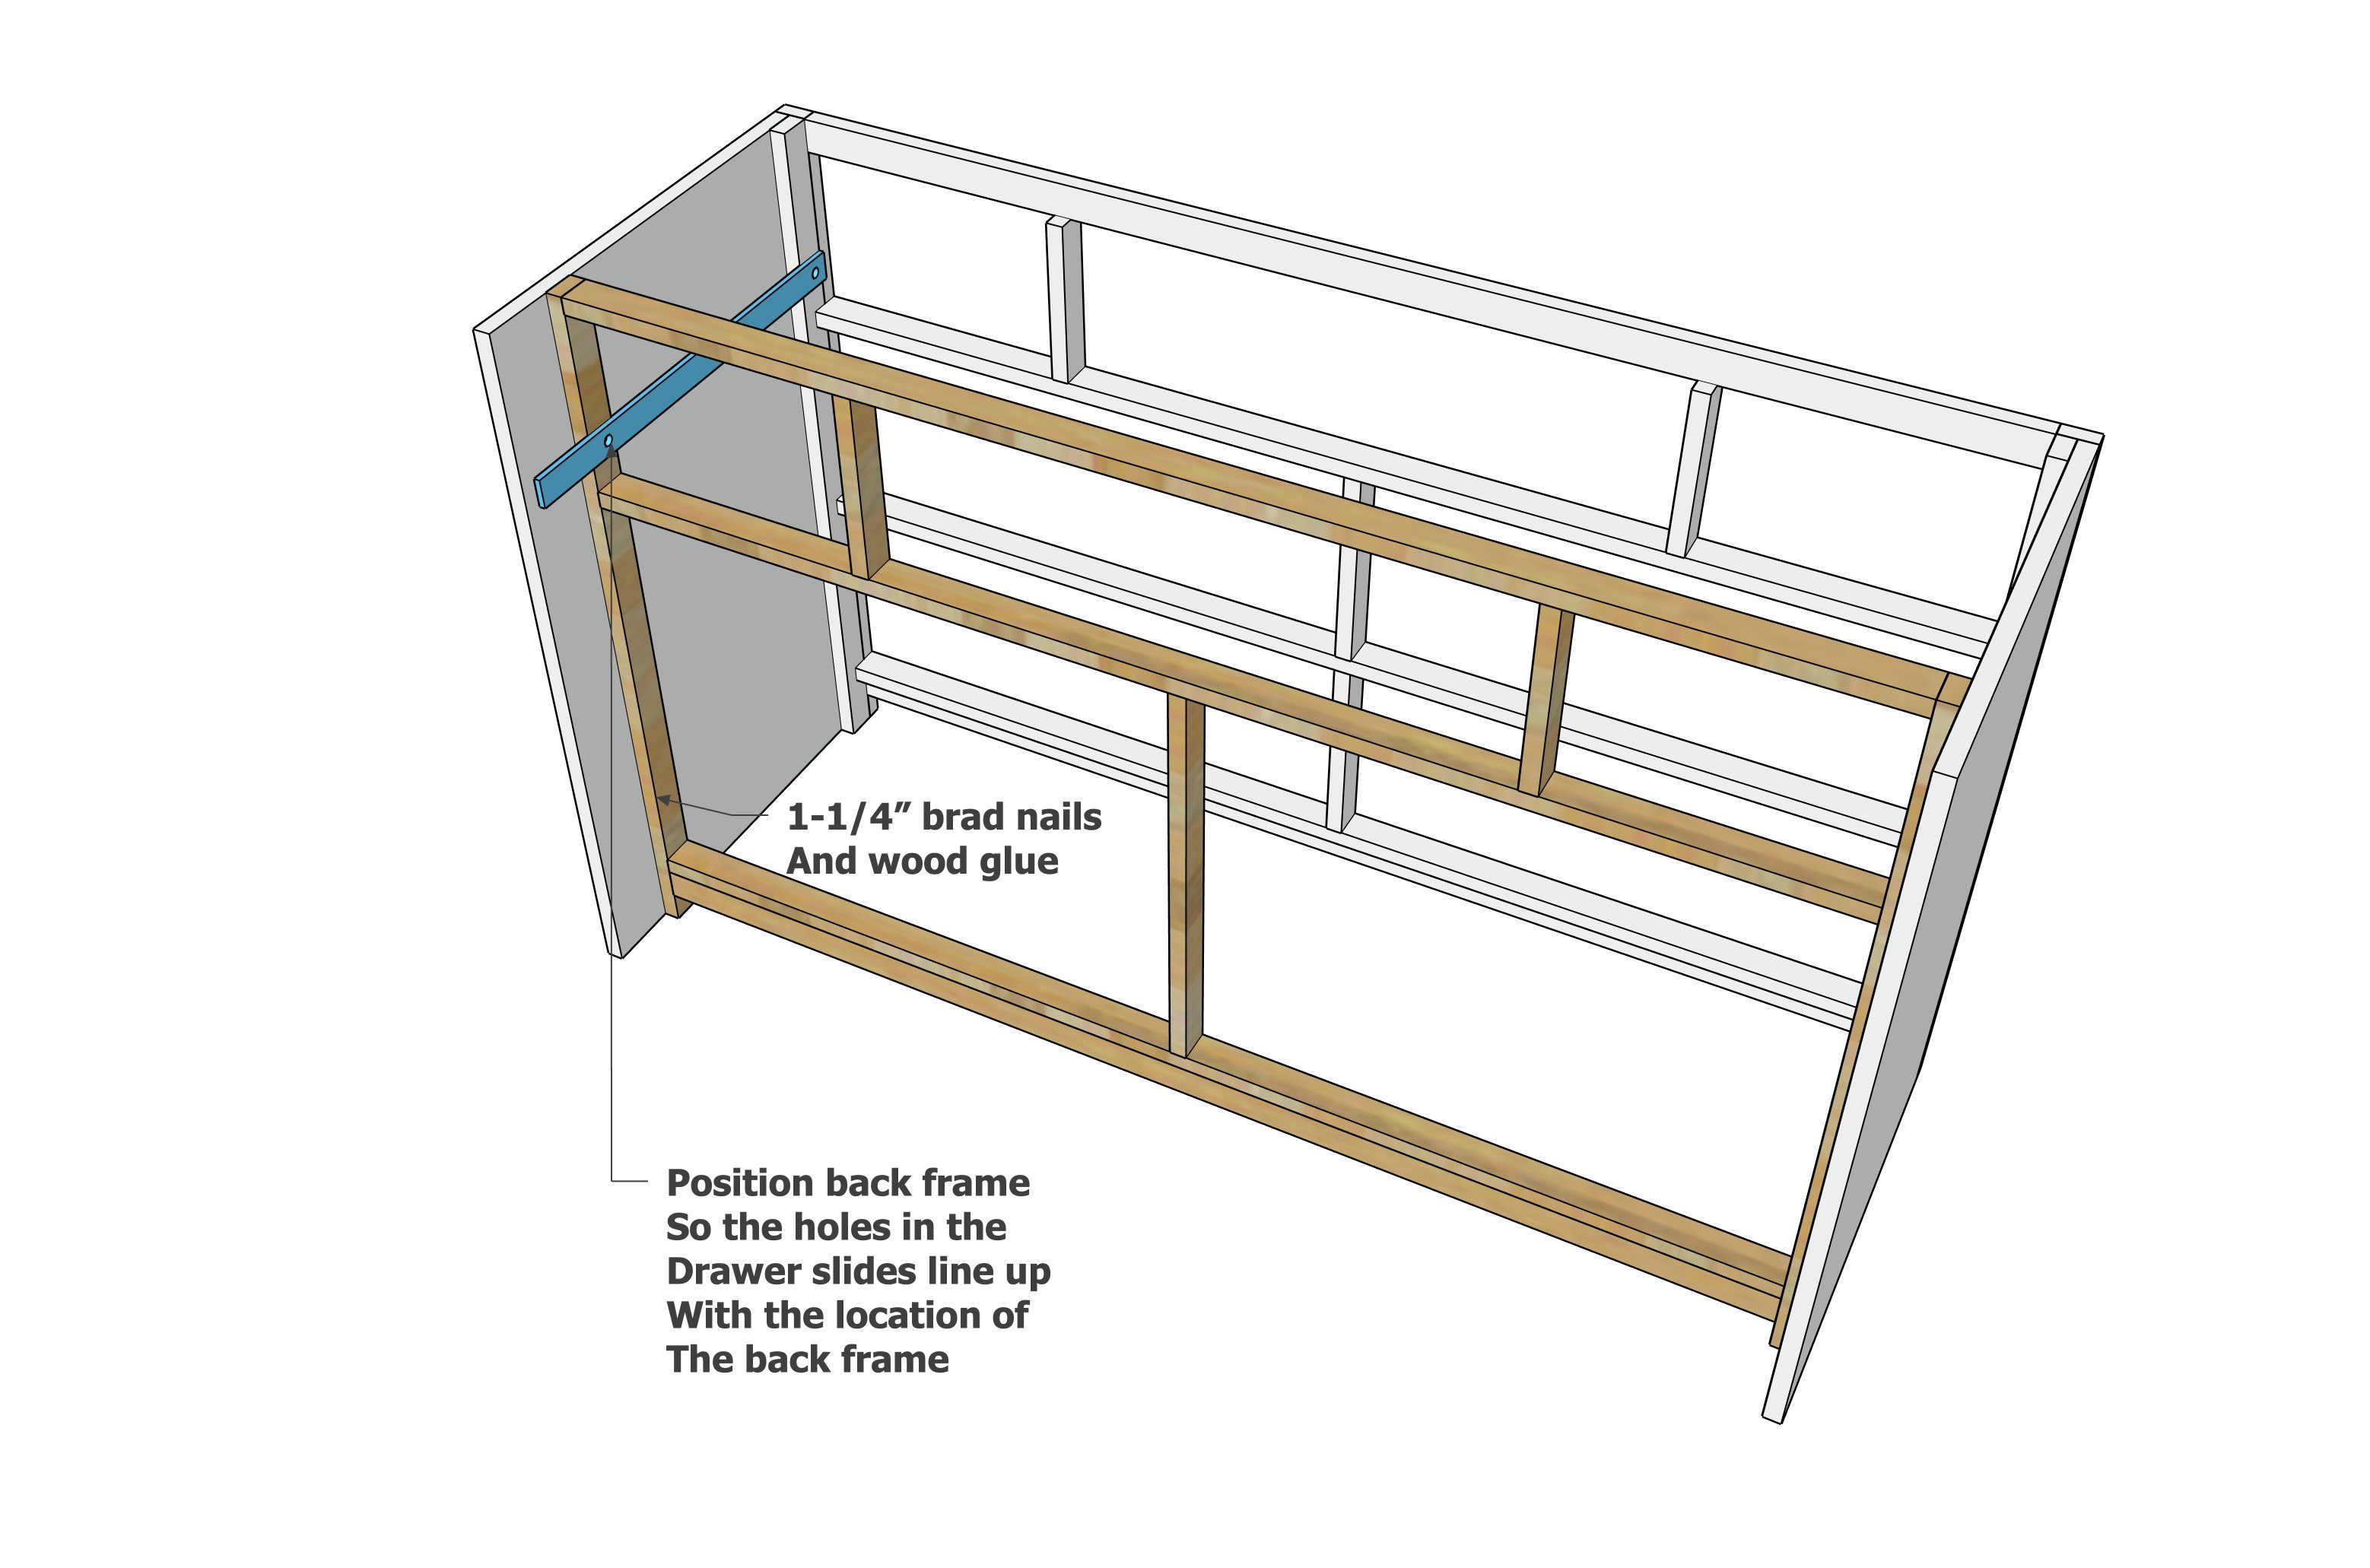
Install the cabinet member hardware on the inside of the carcass, so the front of the cabinet hardware is 3/4" in from the front face of the dresser. Here is a video showing how to install this type of drawer slide:
Step 11
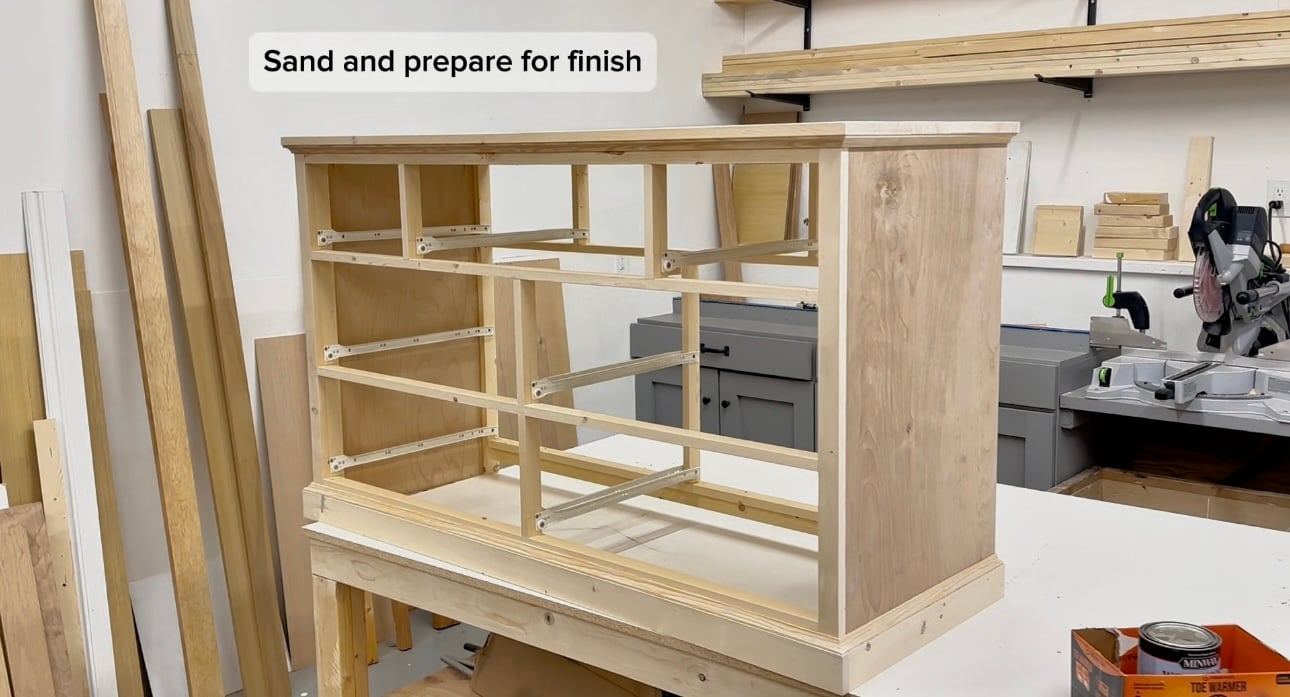
Then I sanded everything with 120 grit sandpaper, working in the direction of the wood grain.
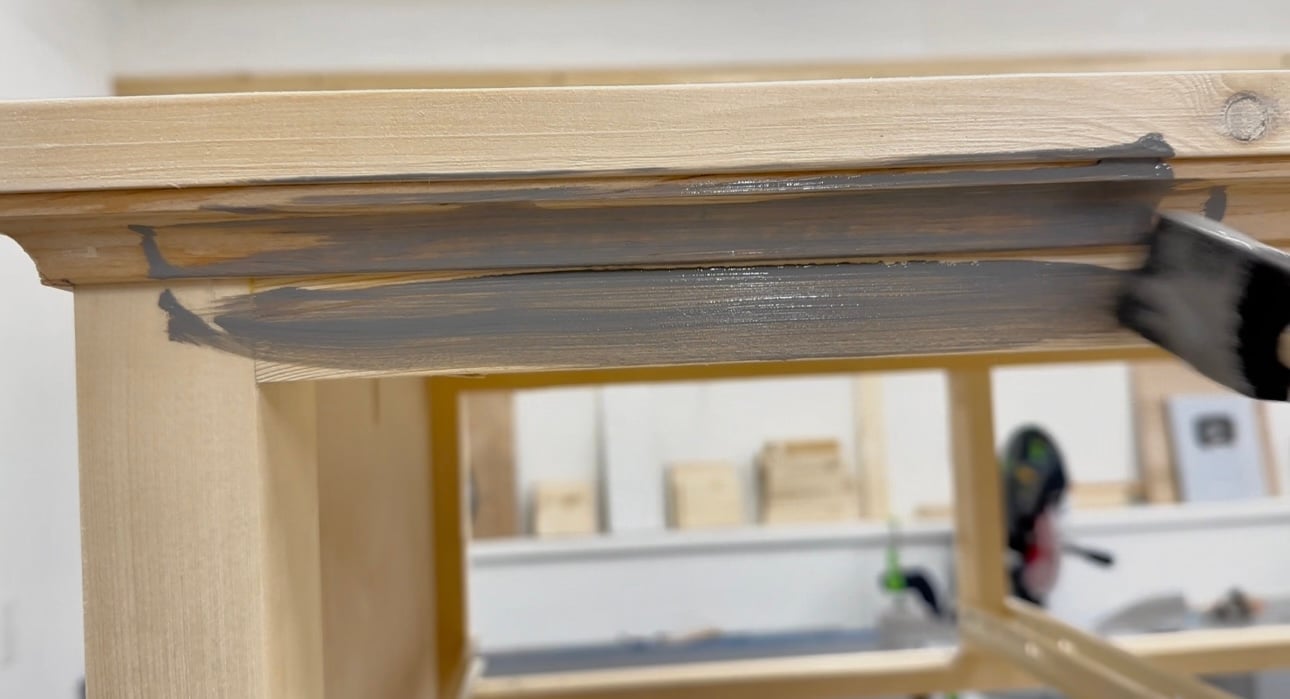
It has to look beautiful before staining for it to look beautiful after staining, preparation is everything!
I removed all sanding residue with a vacuum with a soft bristled brush.


