We put all that time and effort into making beautiful Christmas cookies, but how to display them?
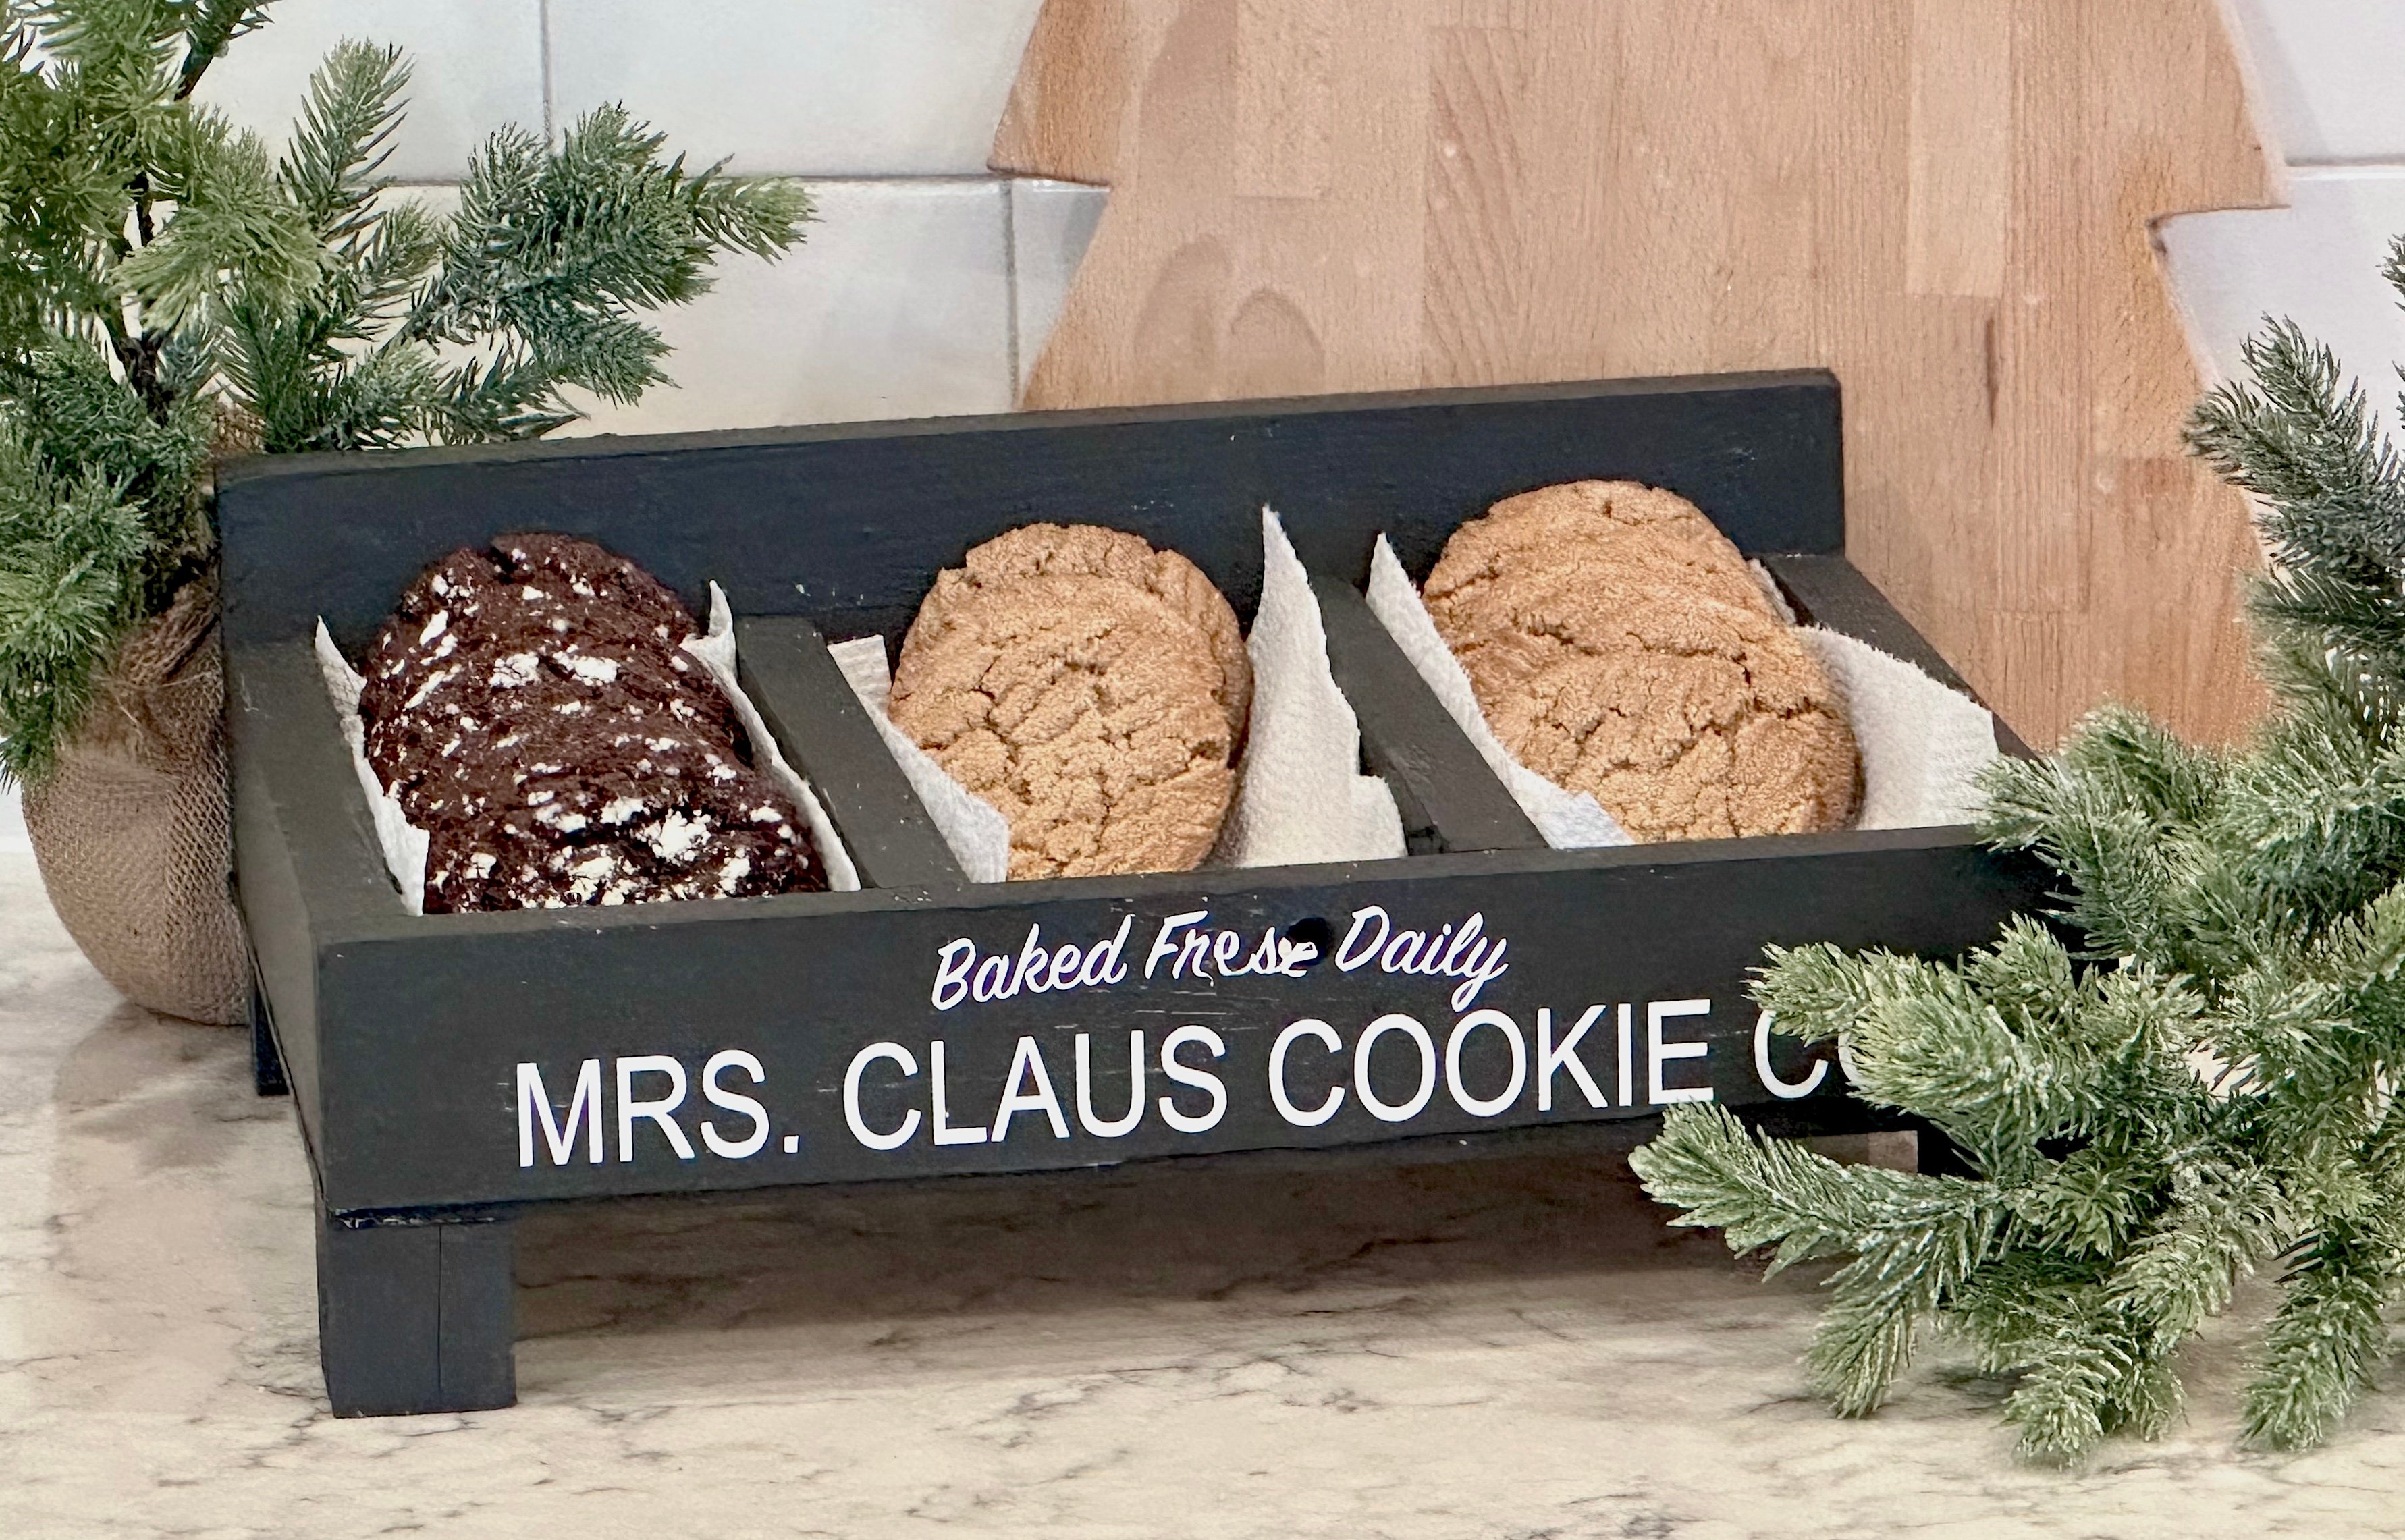
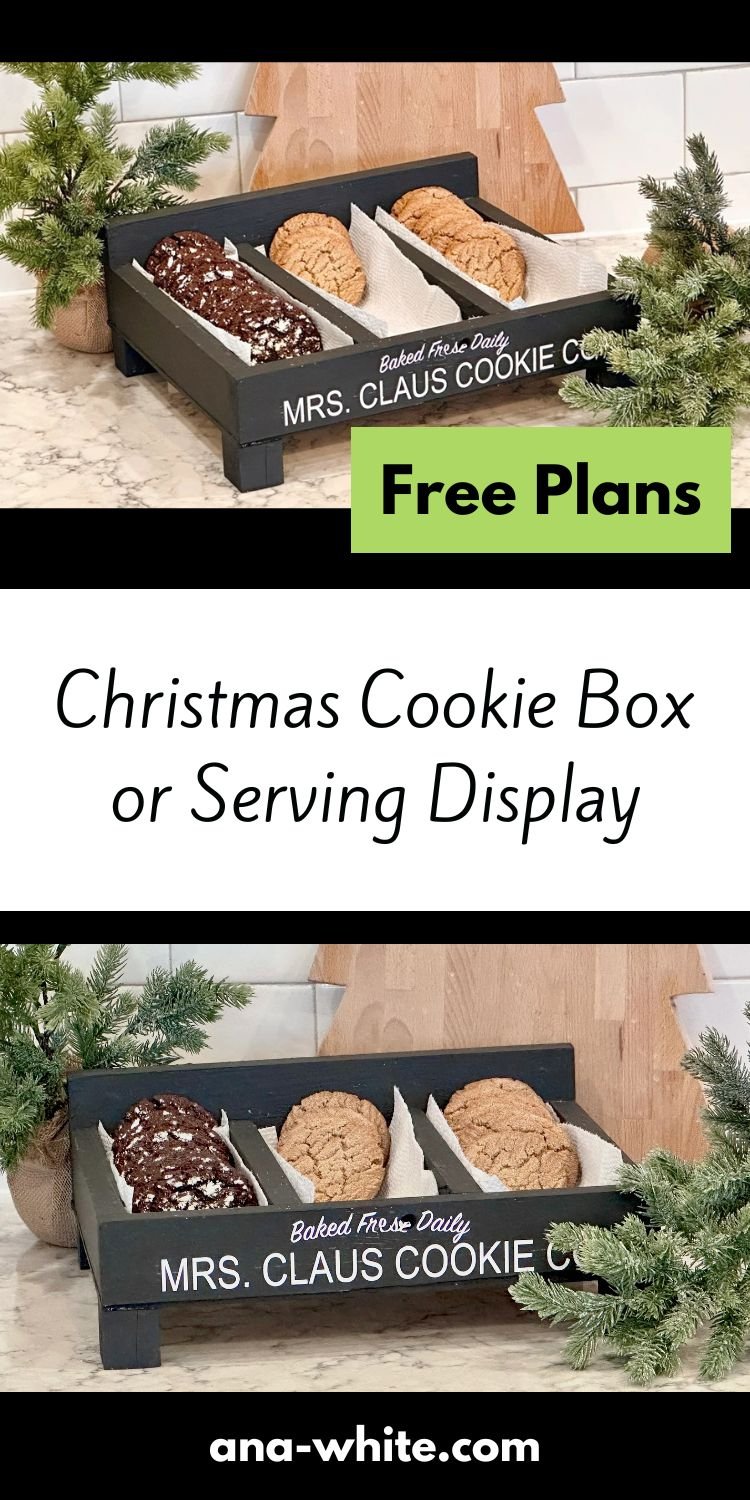
Build your own cookie box with scrap wood to display those beautiful cookies!
I built this cookie box for FREE using scrap whitewood boards in less than 20 minutes. I used a Circuit to make the lettering - now, I can display and serve my cookies! This is such a cool way to transport cookies, and bring to a cookie exchange too!
If you were to buy new materials, you can make this project for about $10. It was so fun, fast and easy!
Free step by step plans from Ana-White.com with detailed diagrams, video, shopping and cut lists - everything you need to make your own wood Christmas Cookie Box!
Why I Built this Project
Every Christmas, the children and I spend hours hand-making cookies. We love the time we spend together!
But when it's all done, I'm left with no where to display the cookies (and a giant mess to clean up, but that's another story).
So the cookies that cost $28 each (in time and materials), get stacked up on paper plates and covered in plastic wrap, half of them break and I really have a hard time letting anyone eat them after all that work family time.
This year, I decided to do something grand for my cookies and make their very own cookie display!
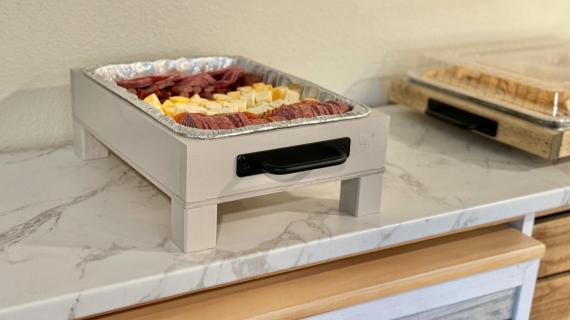
FUN FACT: Each of the bays does fit one store bough clamshell of a dozen cookies perfectly - this is what we used for the photos. Not that we would do that or anything.
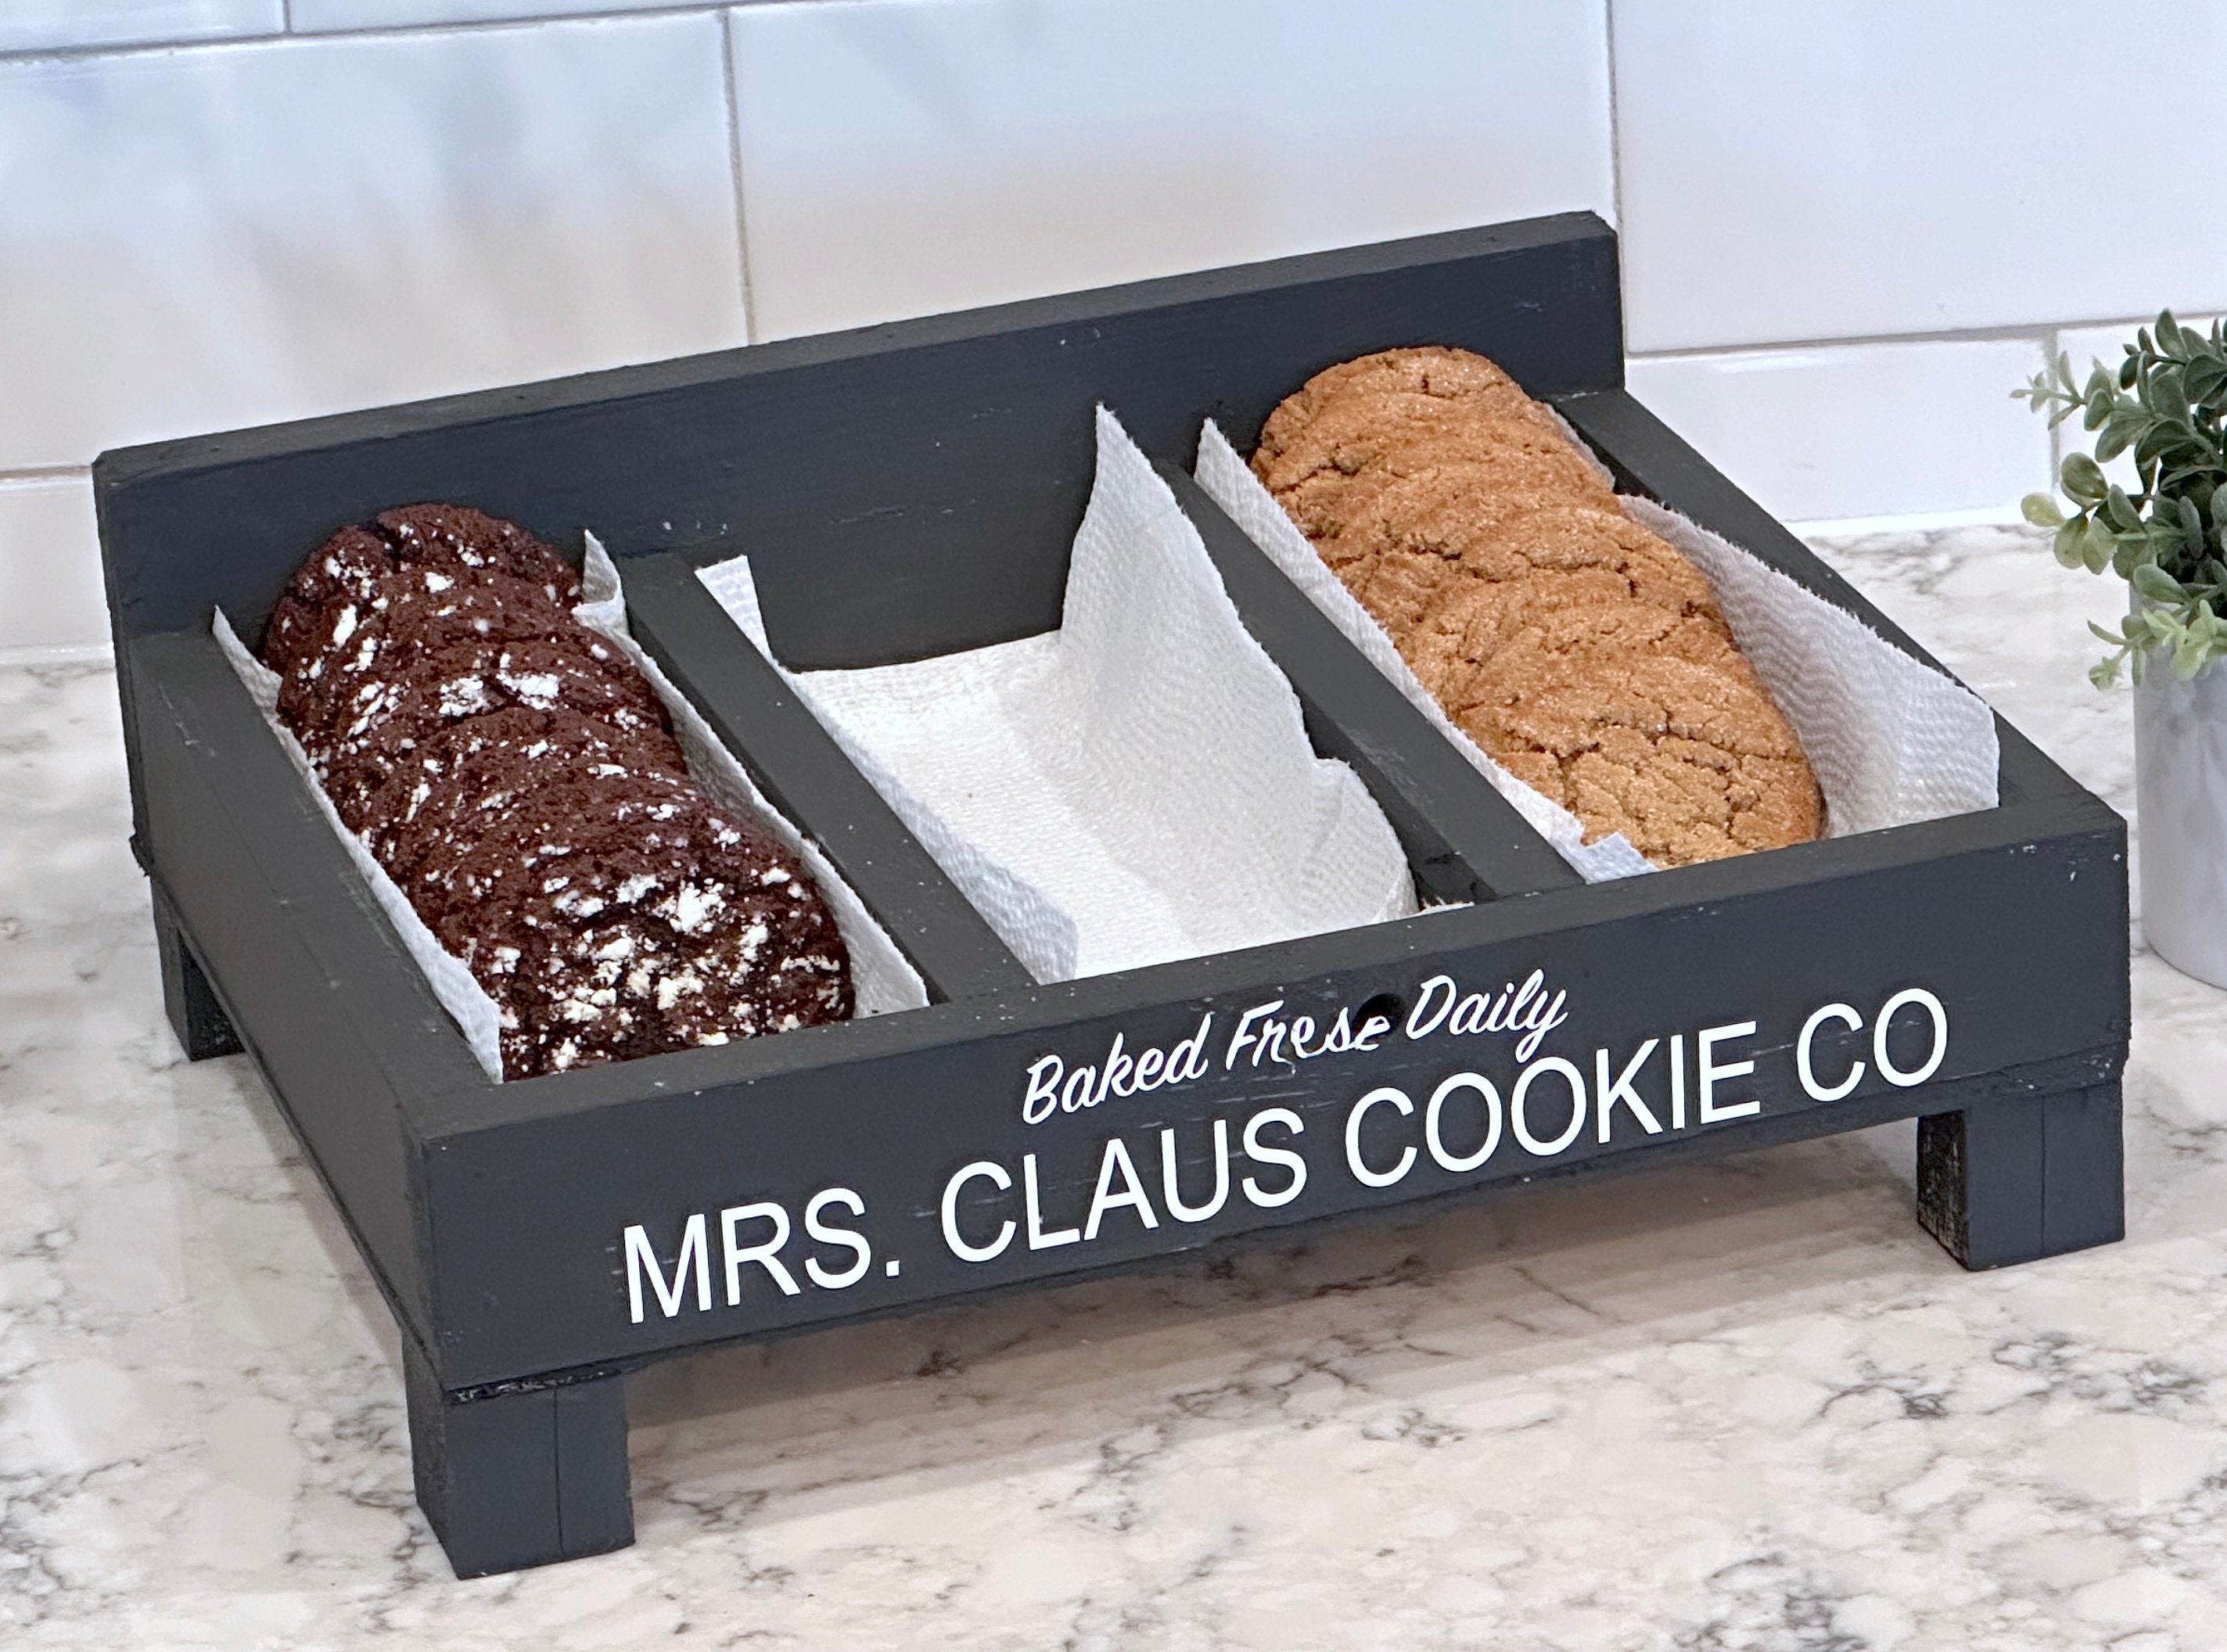
Just over here making those storebought clamshell cookies look good, don't mind me.
Why I Love this Christmas Cookie Display Box
- Displays cookies in a grand way
- Serves as a transporter for the cookies to go to cookie exchanges
- I'm competitive and want to have the best cookie display when we do our cookie exchanges
- I like to make stuff, and this was fun, fast, easy and cheap
- I needed more blog content (always, thank you for giving me employment)
How I Built this Project
Okay, seriously, this cookie display box is easier to build than making the cookies.
Cut the boards as shown in the cut list. I have a chop saw, it makes things easy, but you can use a circular saw or even jigsaw - no need to be perfect here.
Probably not the kinda project you want to ask Home Depot to cut tho
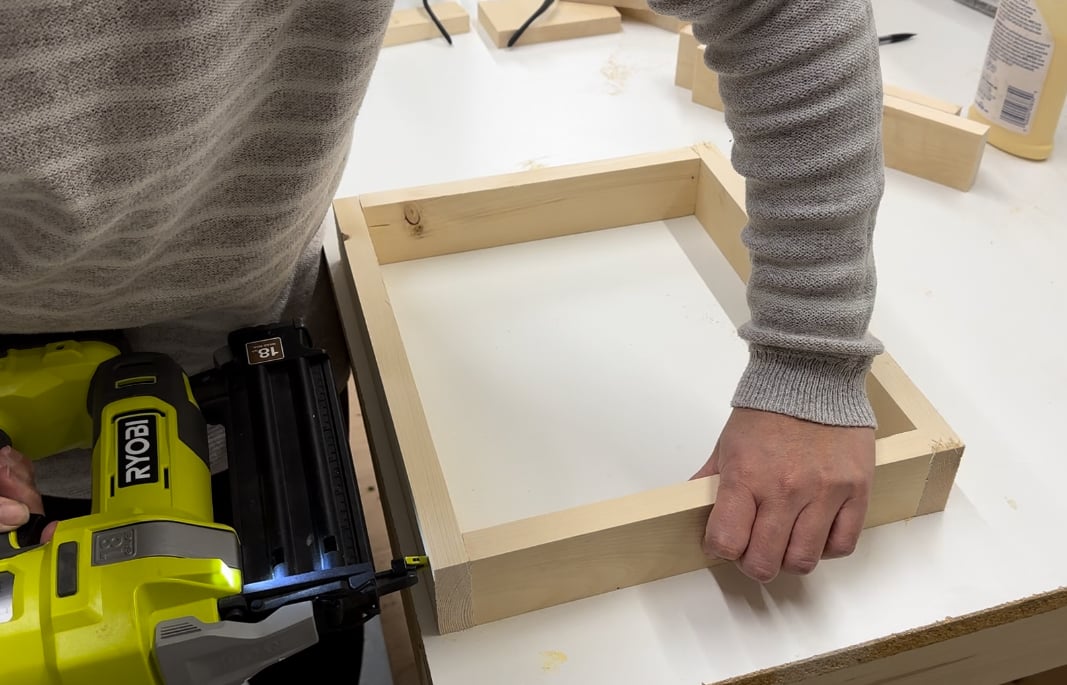
Now nail the boards together in a box. Someone is going to notice that the back is not a 1x6 - I later changed that.
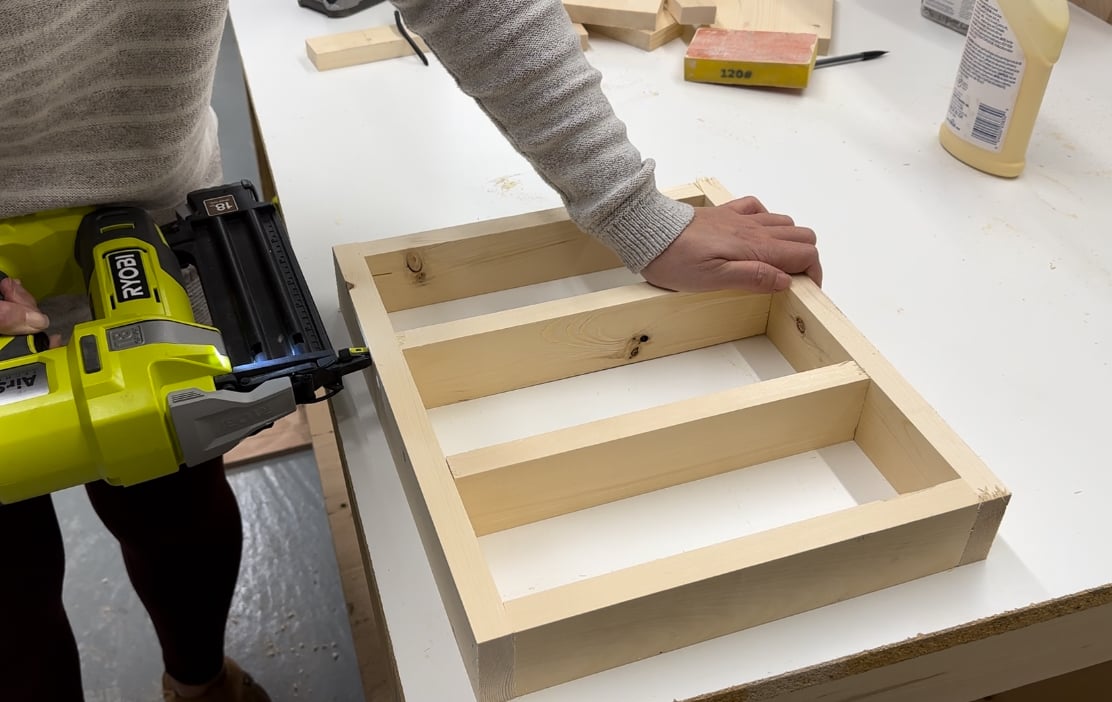
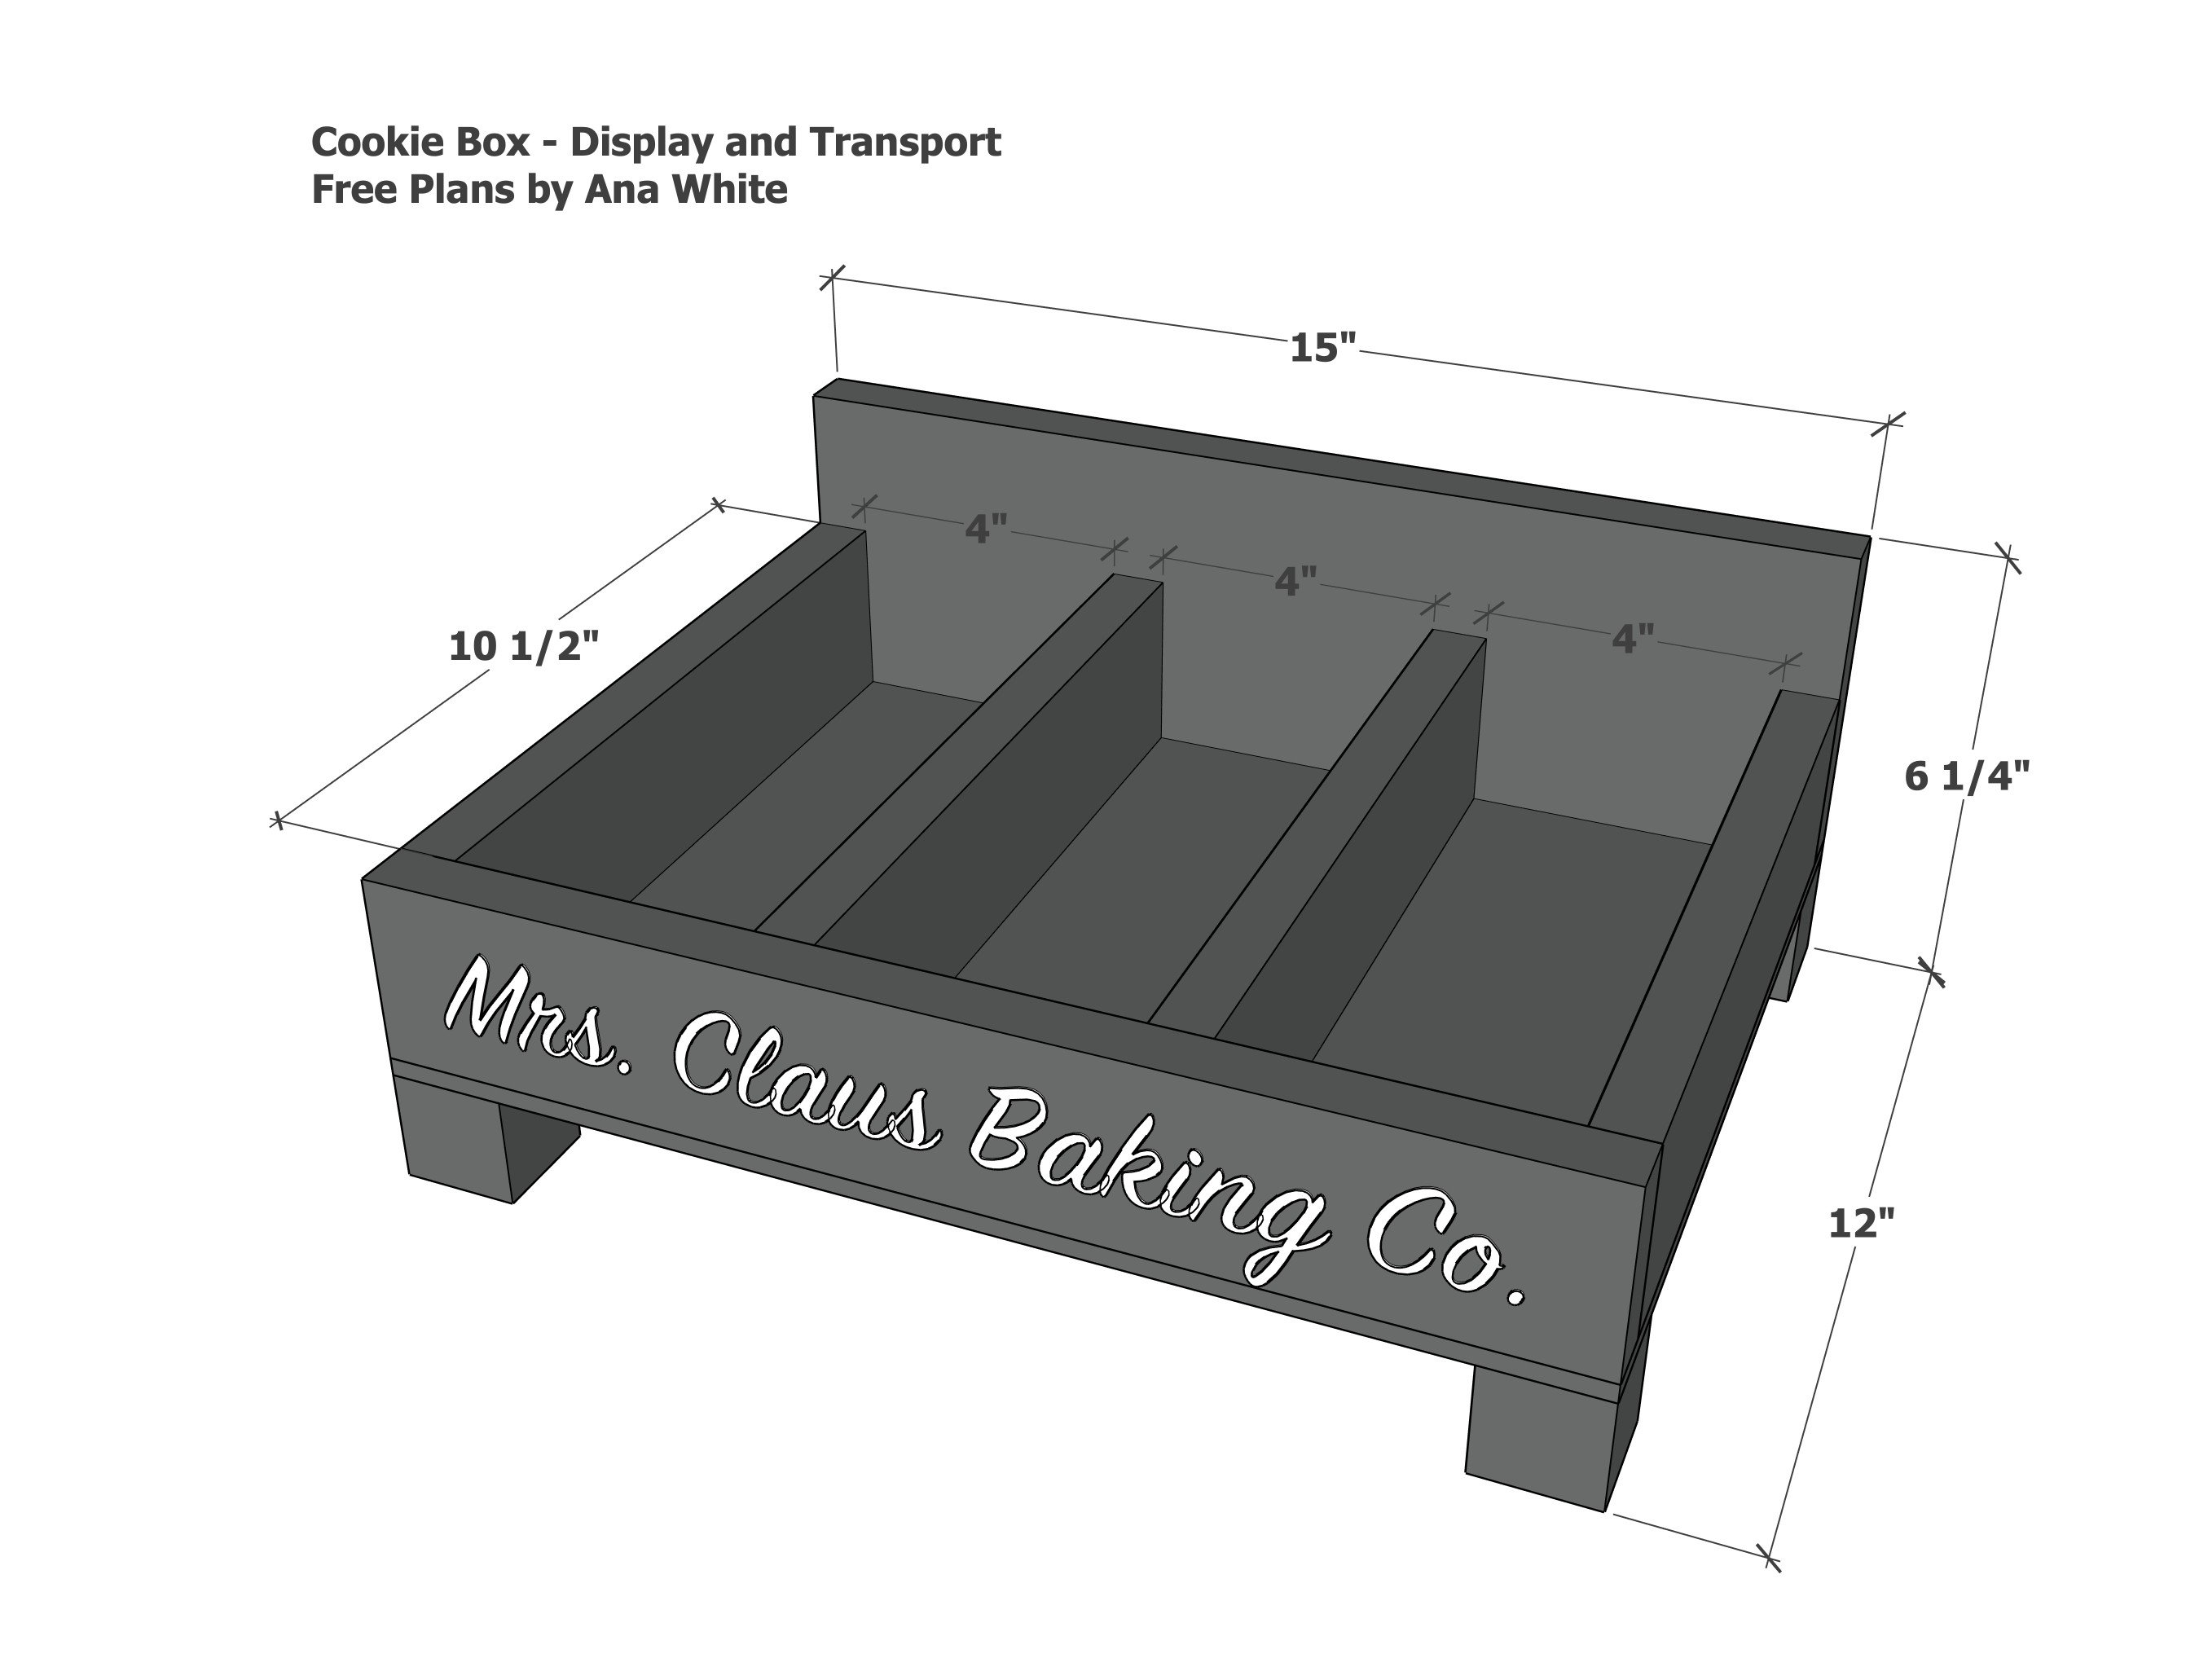
Now add the middle two divers, space out 4".
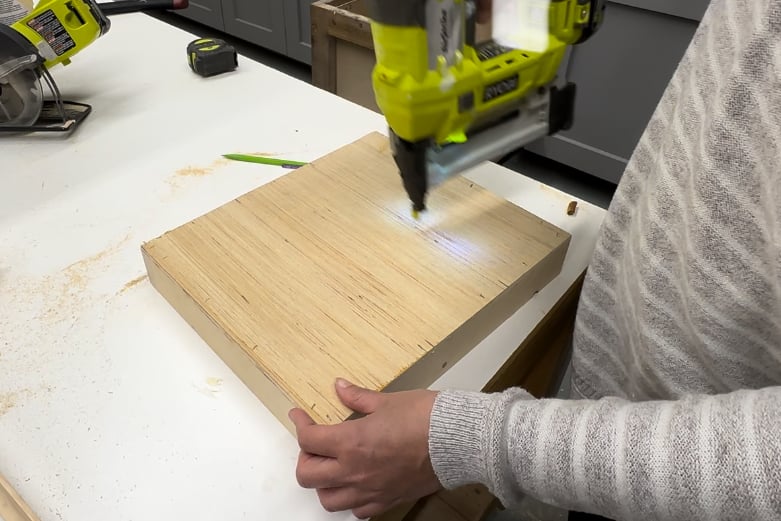
Cut the bottom 1/4" plywood with a circular saw. Then attach with glue and 3/4" nails or staples. Make sure you attach to the center dividers too, you can do this by drawing lines between the nail holes where you attached the dividers on the outer frame.
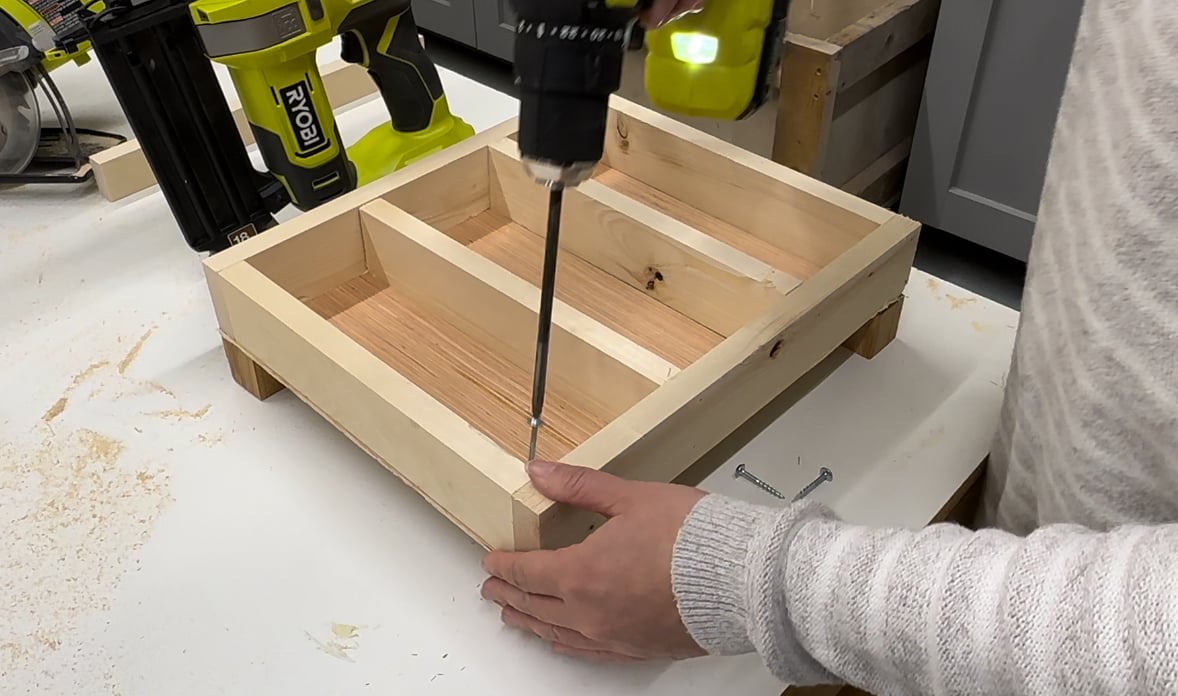
Finally, cut the 2x2 leg pieces (do not cut tiny pieces, instead cut the tiny pieces from a bigger piece). I attached with glue, and a 1-1/4" Kreg screw at the corners.

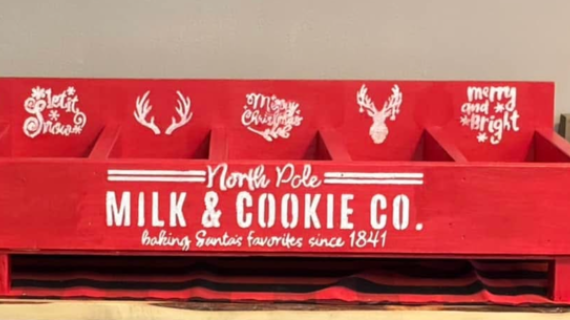
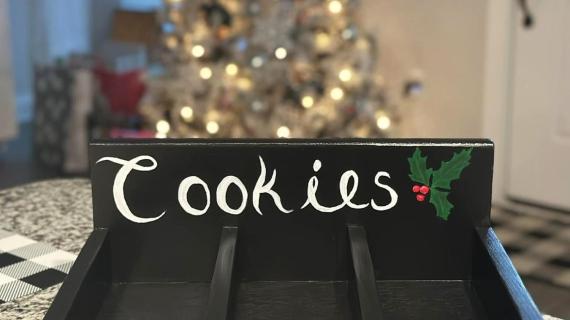
I painted with a charcoal paint, and then added polyurethane to seal. The lettering was printed with a Circuit (that was hard, the building part was easy).
Watch! Build Video for This Project
BUILD VIDEO COMING SOON - My kids are in hockey so everything takes twice as long to do now.
Free Plans to Build Your Own Christmas Cookie Box
Ready to give your Christmas cookies the display box they finally deserve? We've got you covered with the free plans (although this one is so simple you could probably figure it out without me).
Pin For Later!
Preparation
- 5 board feet of 1x3 (can be furring strips)
- 1 - 1x6 or 1x4 @ 15"
- 1/4" plywood @ 12" x 15"
- 6" of 2x2 scrap (will need a piece at least 16" long so you don't cut tiny pieces)
- 3/4" and 1-1/4" brad nails
- wood glue
- paint
- lettering is cut using a circuit
- 4 - 1x3 @ 10-1/2"
- 1 - 1x3 @ 15"
- 1 - 1x4 or 1x6 @ 15"
- 1 - 1/4" plywood @ 12" x 15"
- 4 - 2x2 @ 1-1/2" - do not cut tiny pieces, instead cut the tiny piece off of a larger piece


Instructions
Step 1
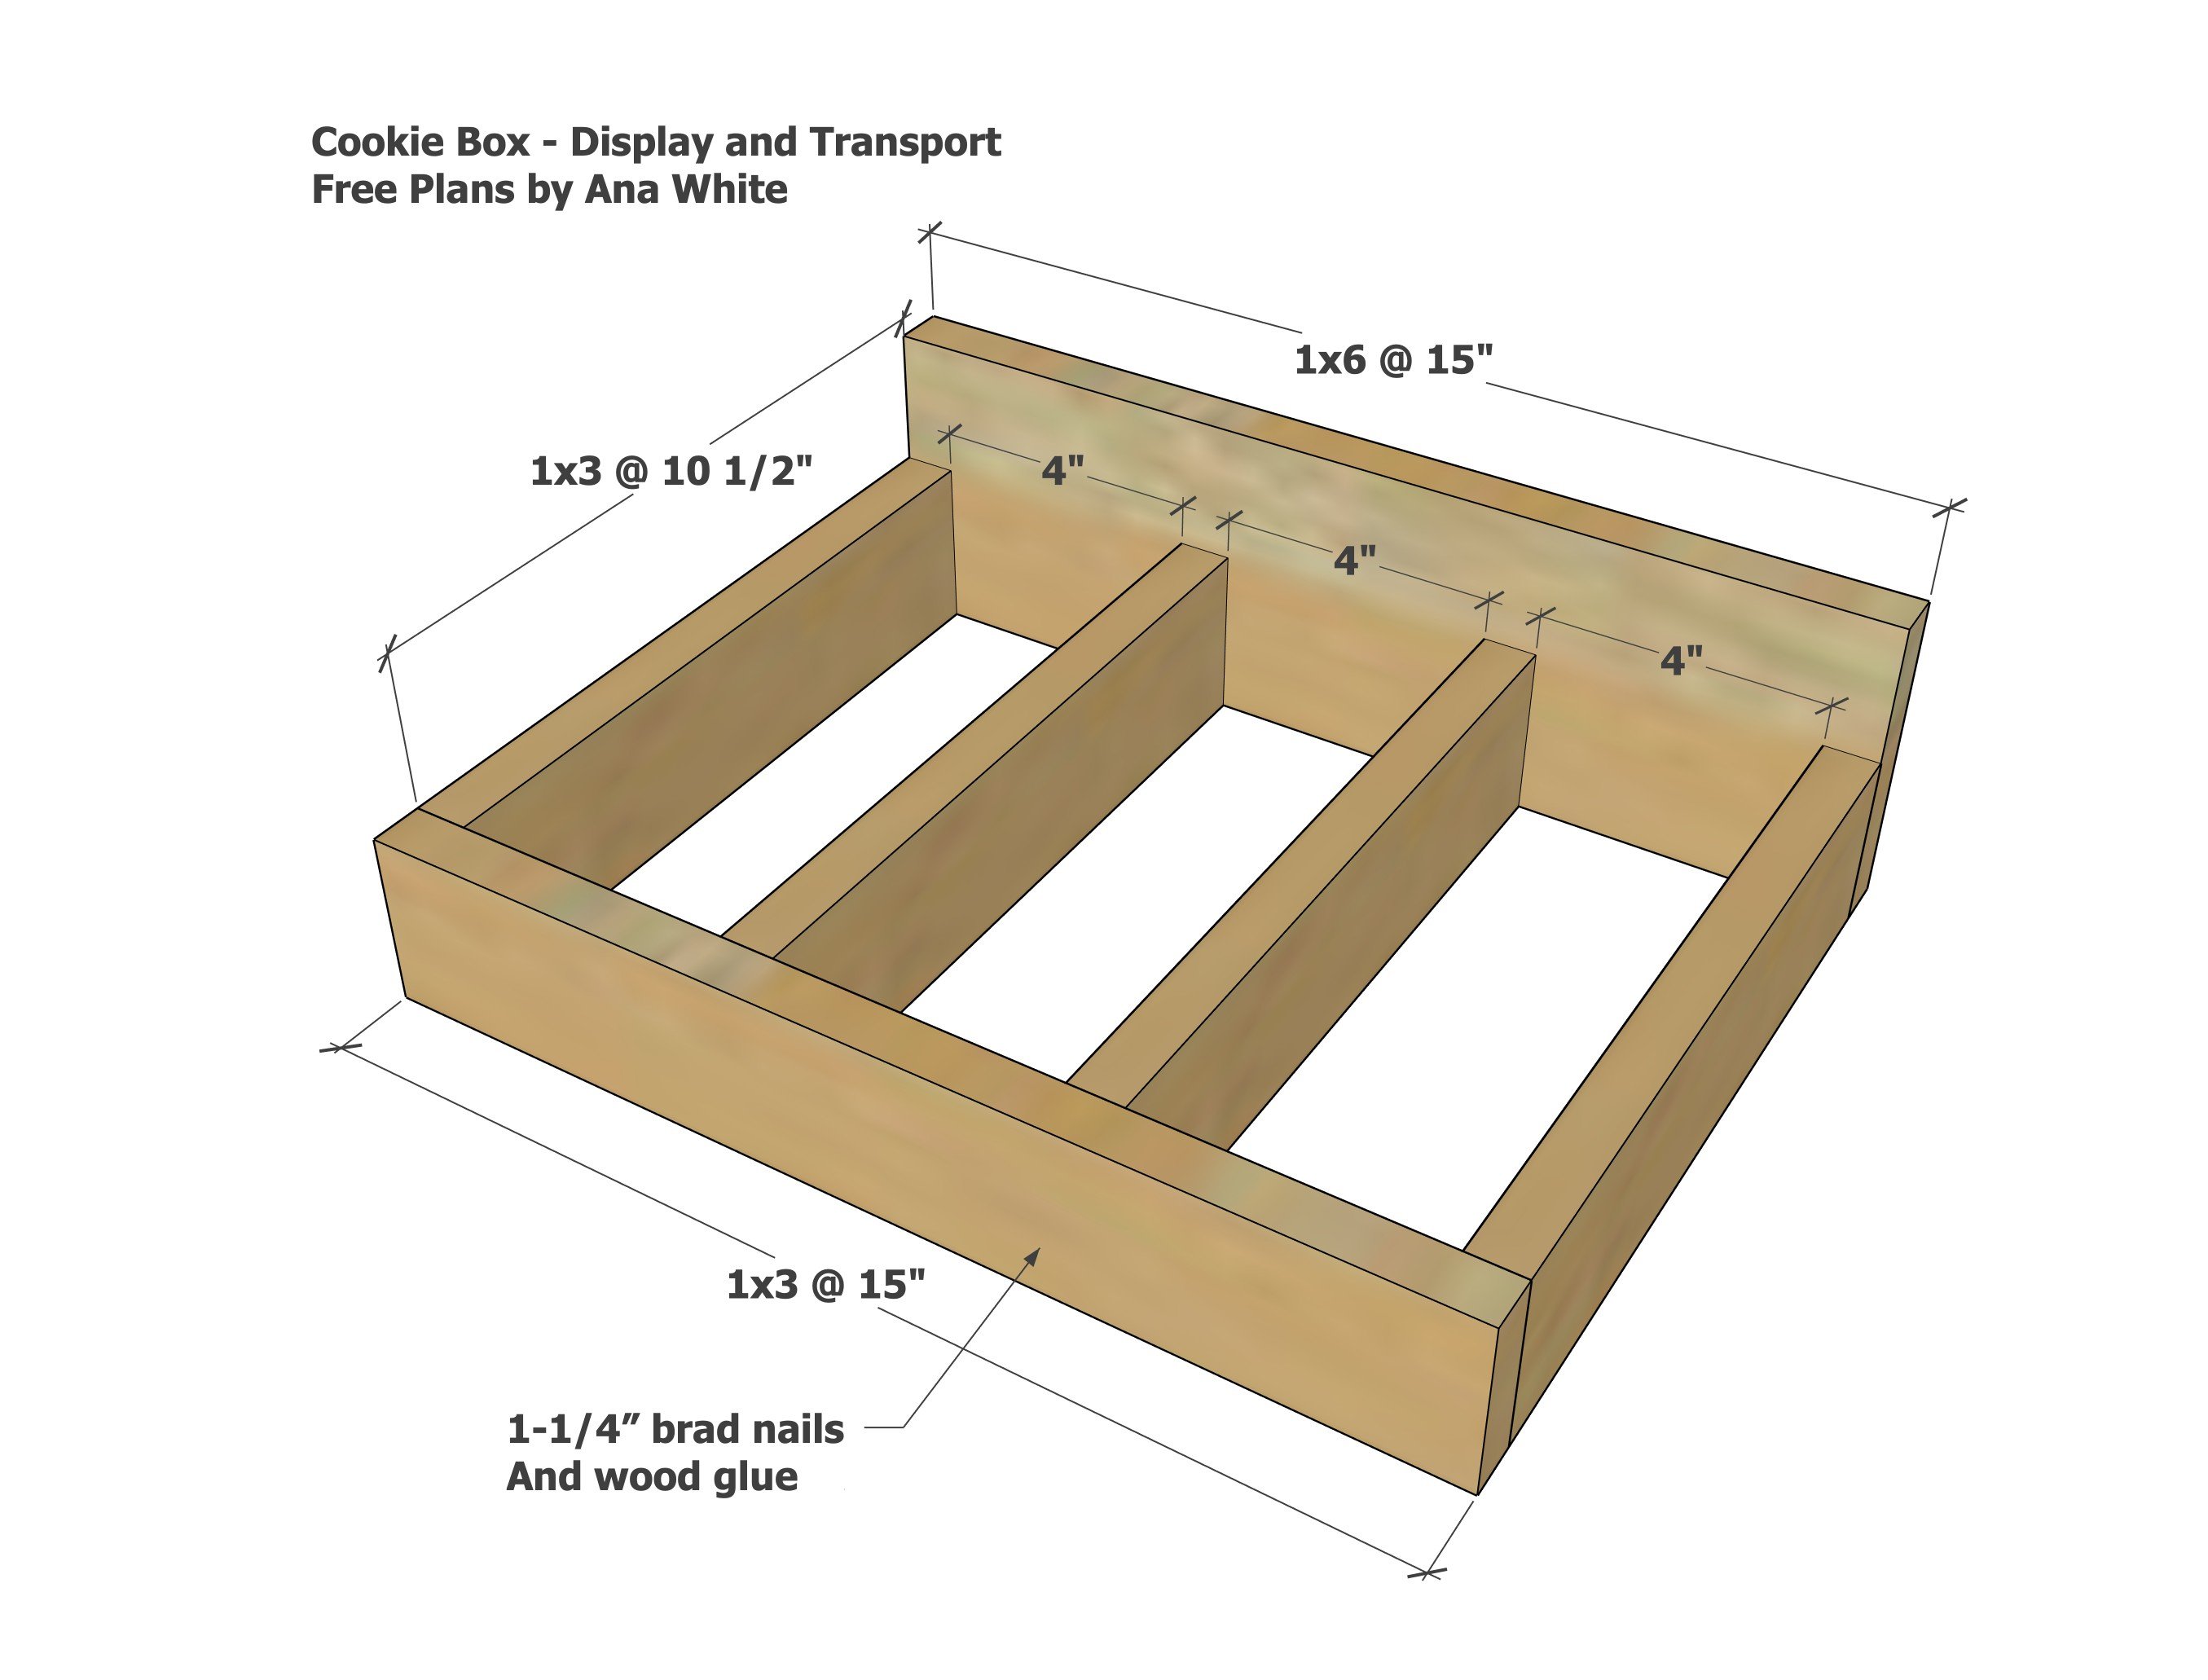
Nail the frame boards together with 1-1/4" brad nails and wood glue.
You can use a 1x6 or 1x4 for the back board.
Step 2
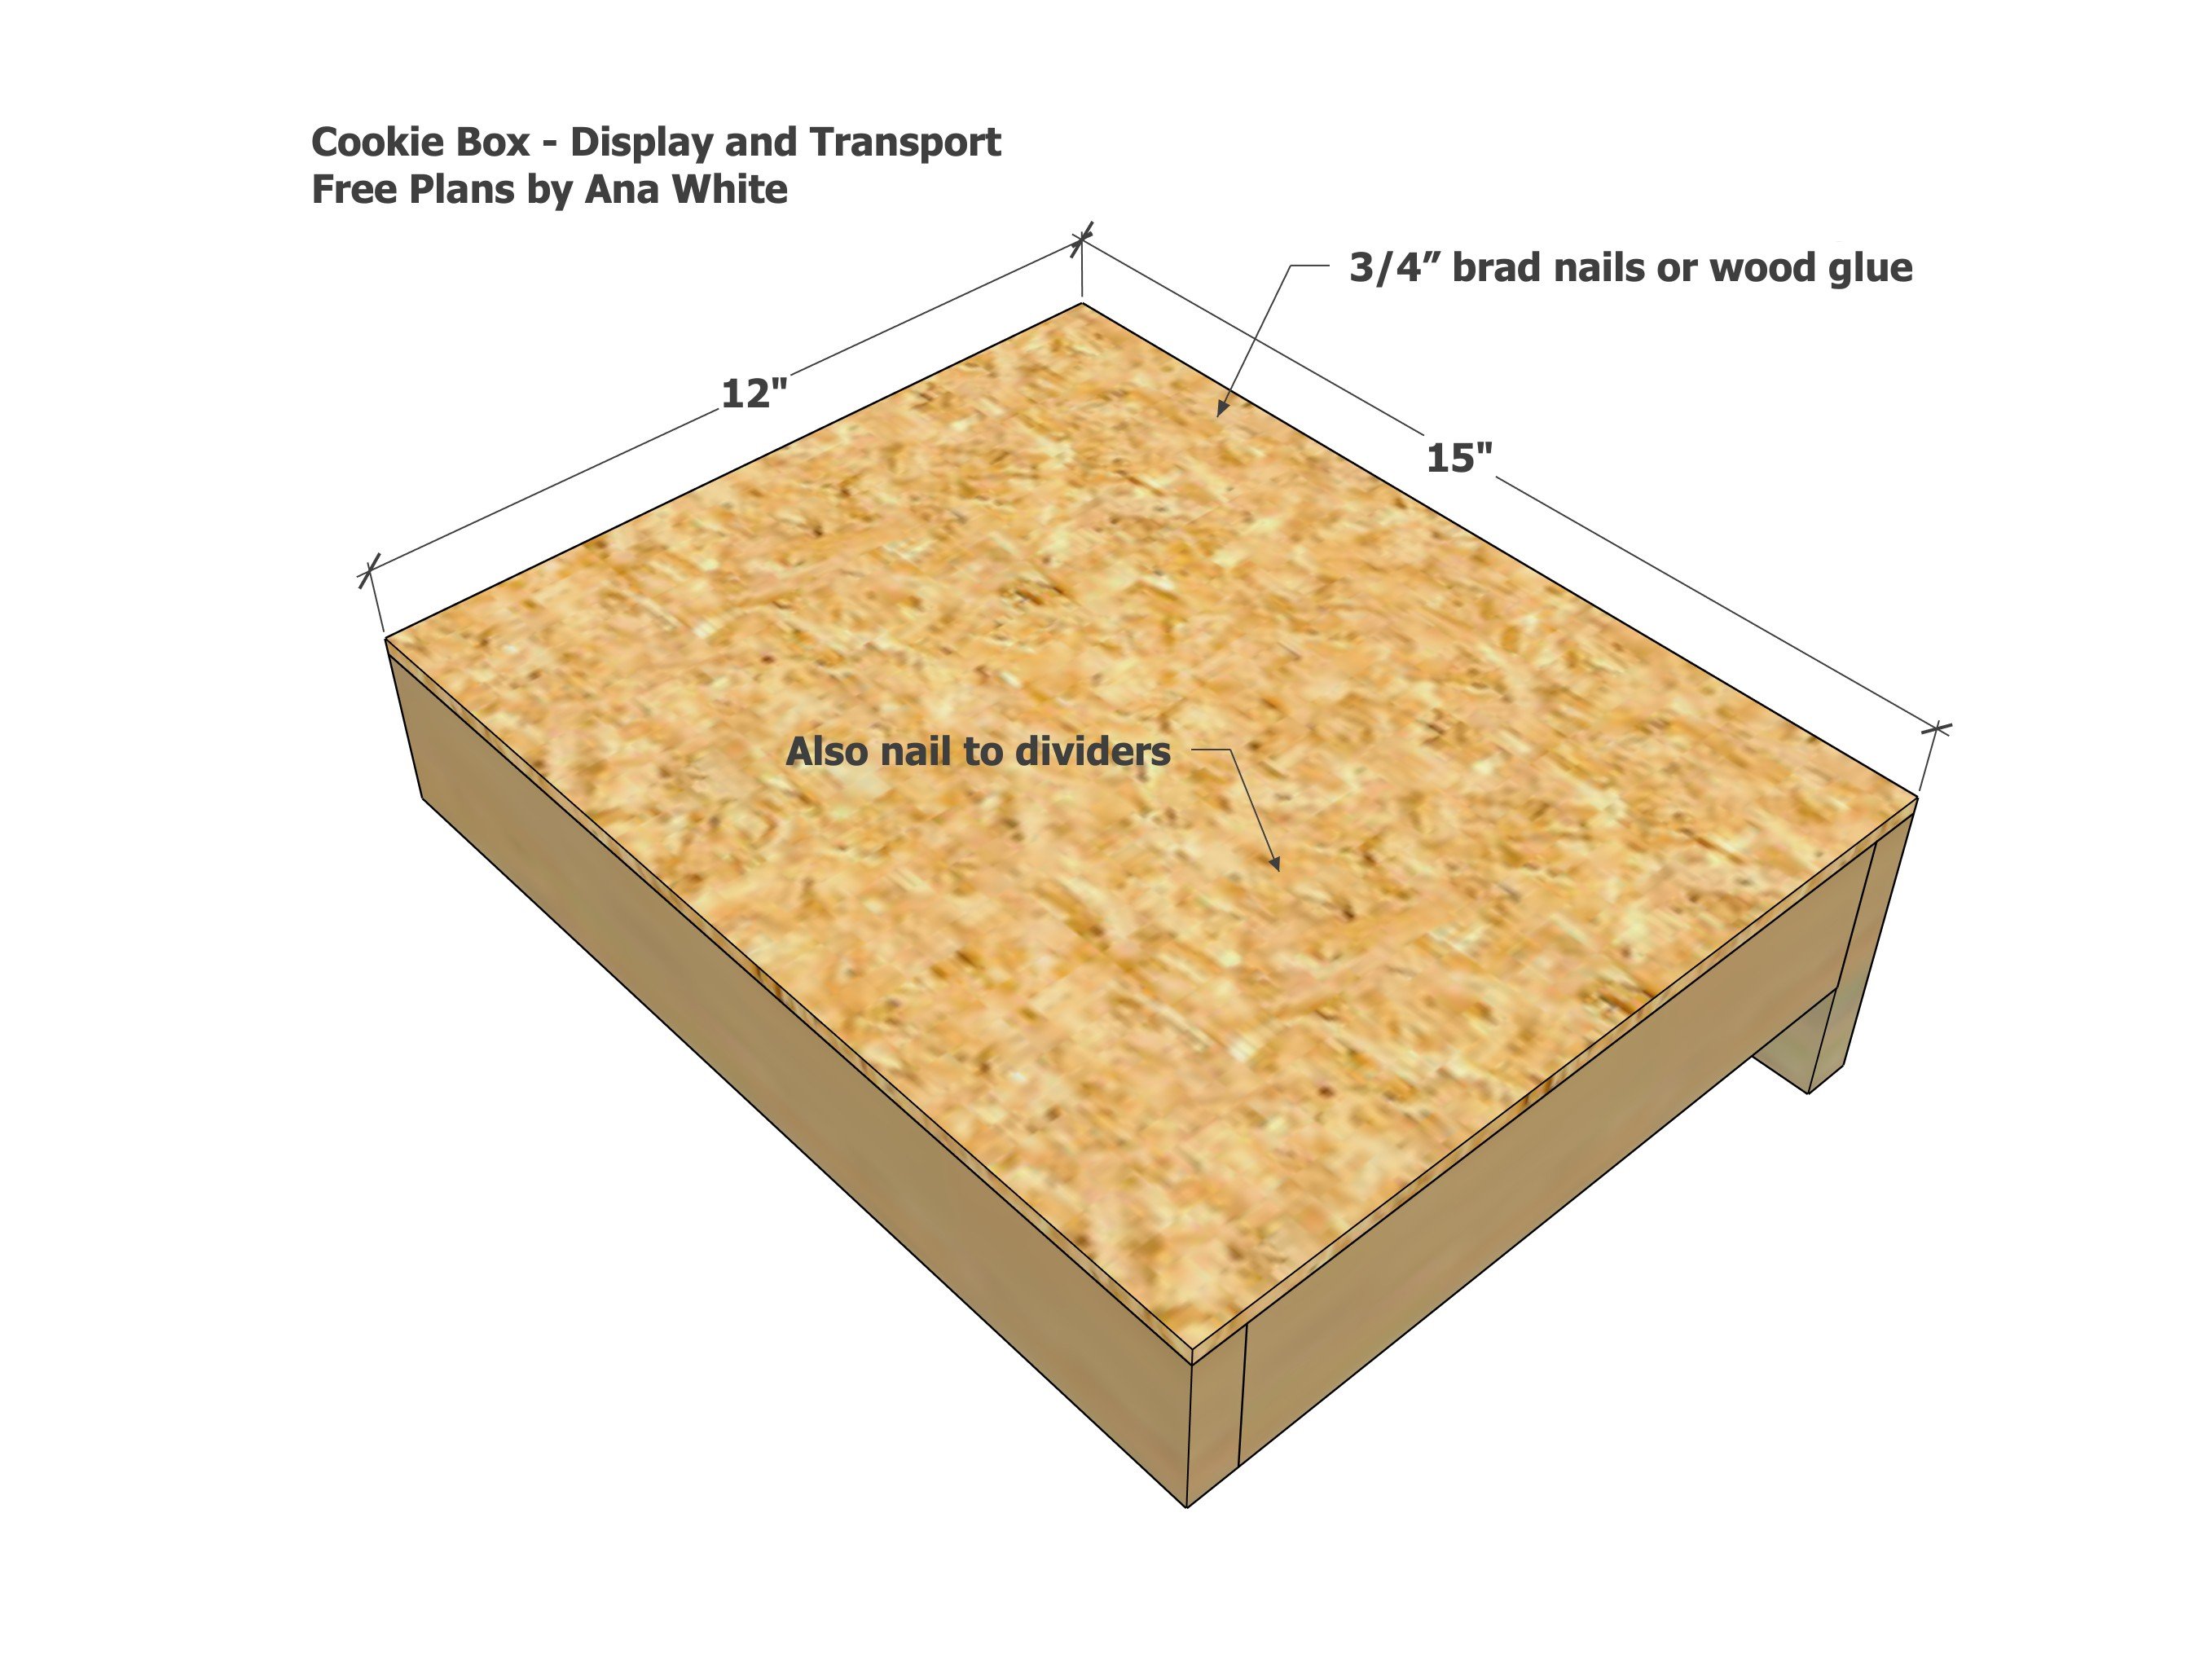
Cut the 1/4" plywood with a circular saw, clamping the plywood to the tabletop.
Use glue and 3/4" brad nails or staples to attach, make sure you attach to the center of the cookie box.
Step 3
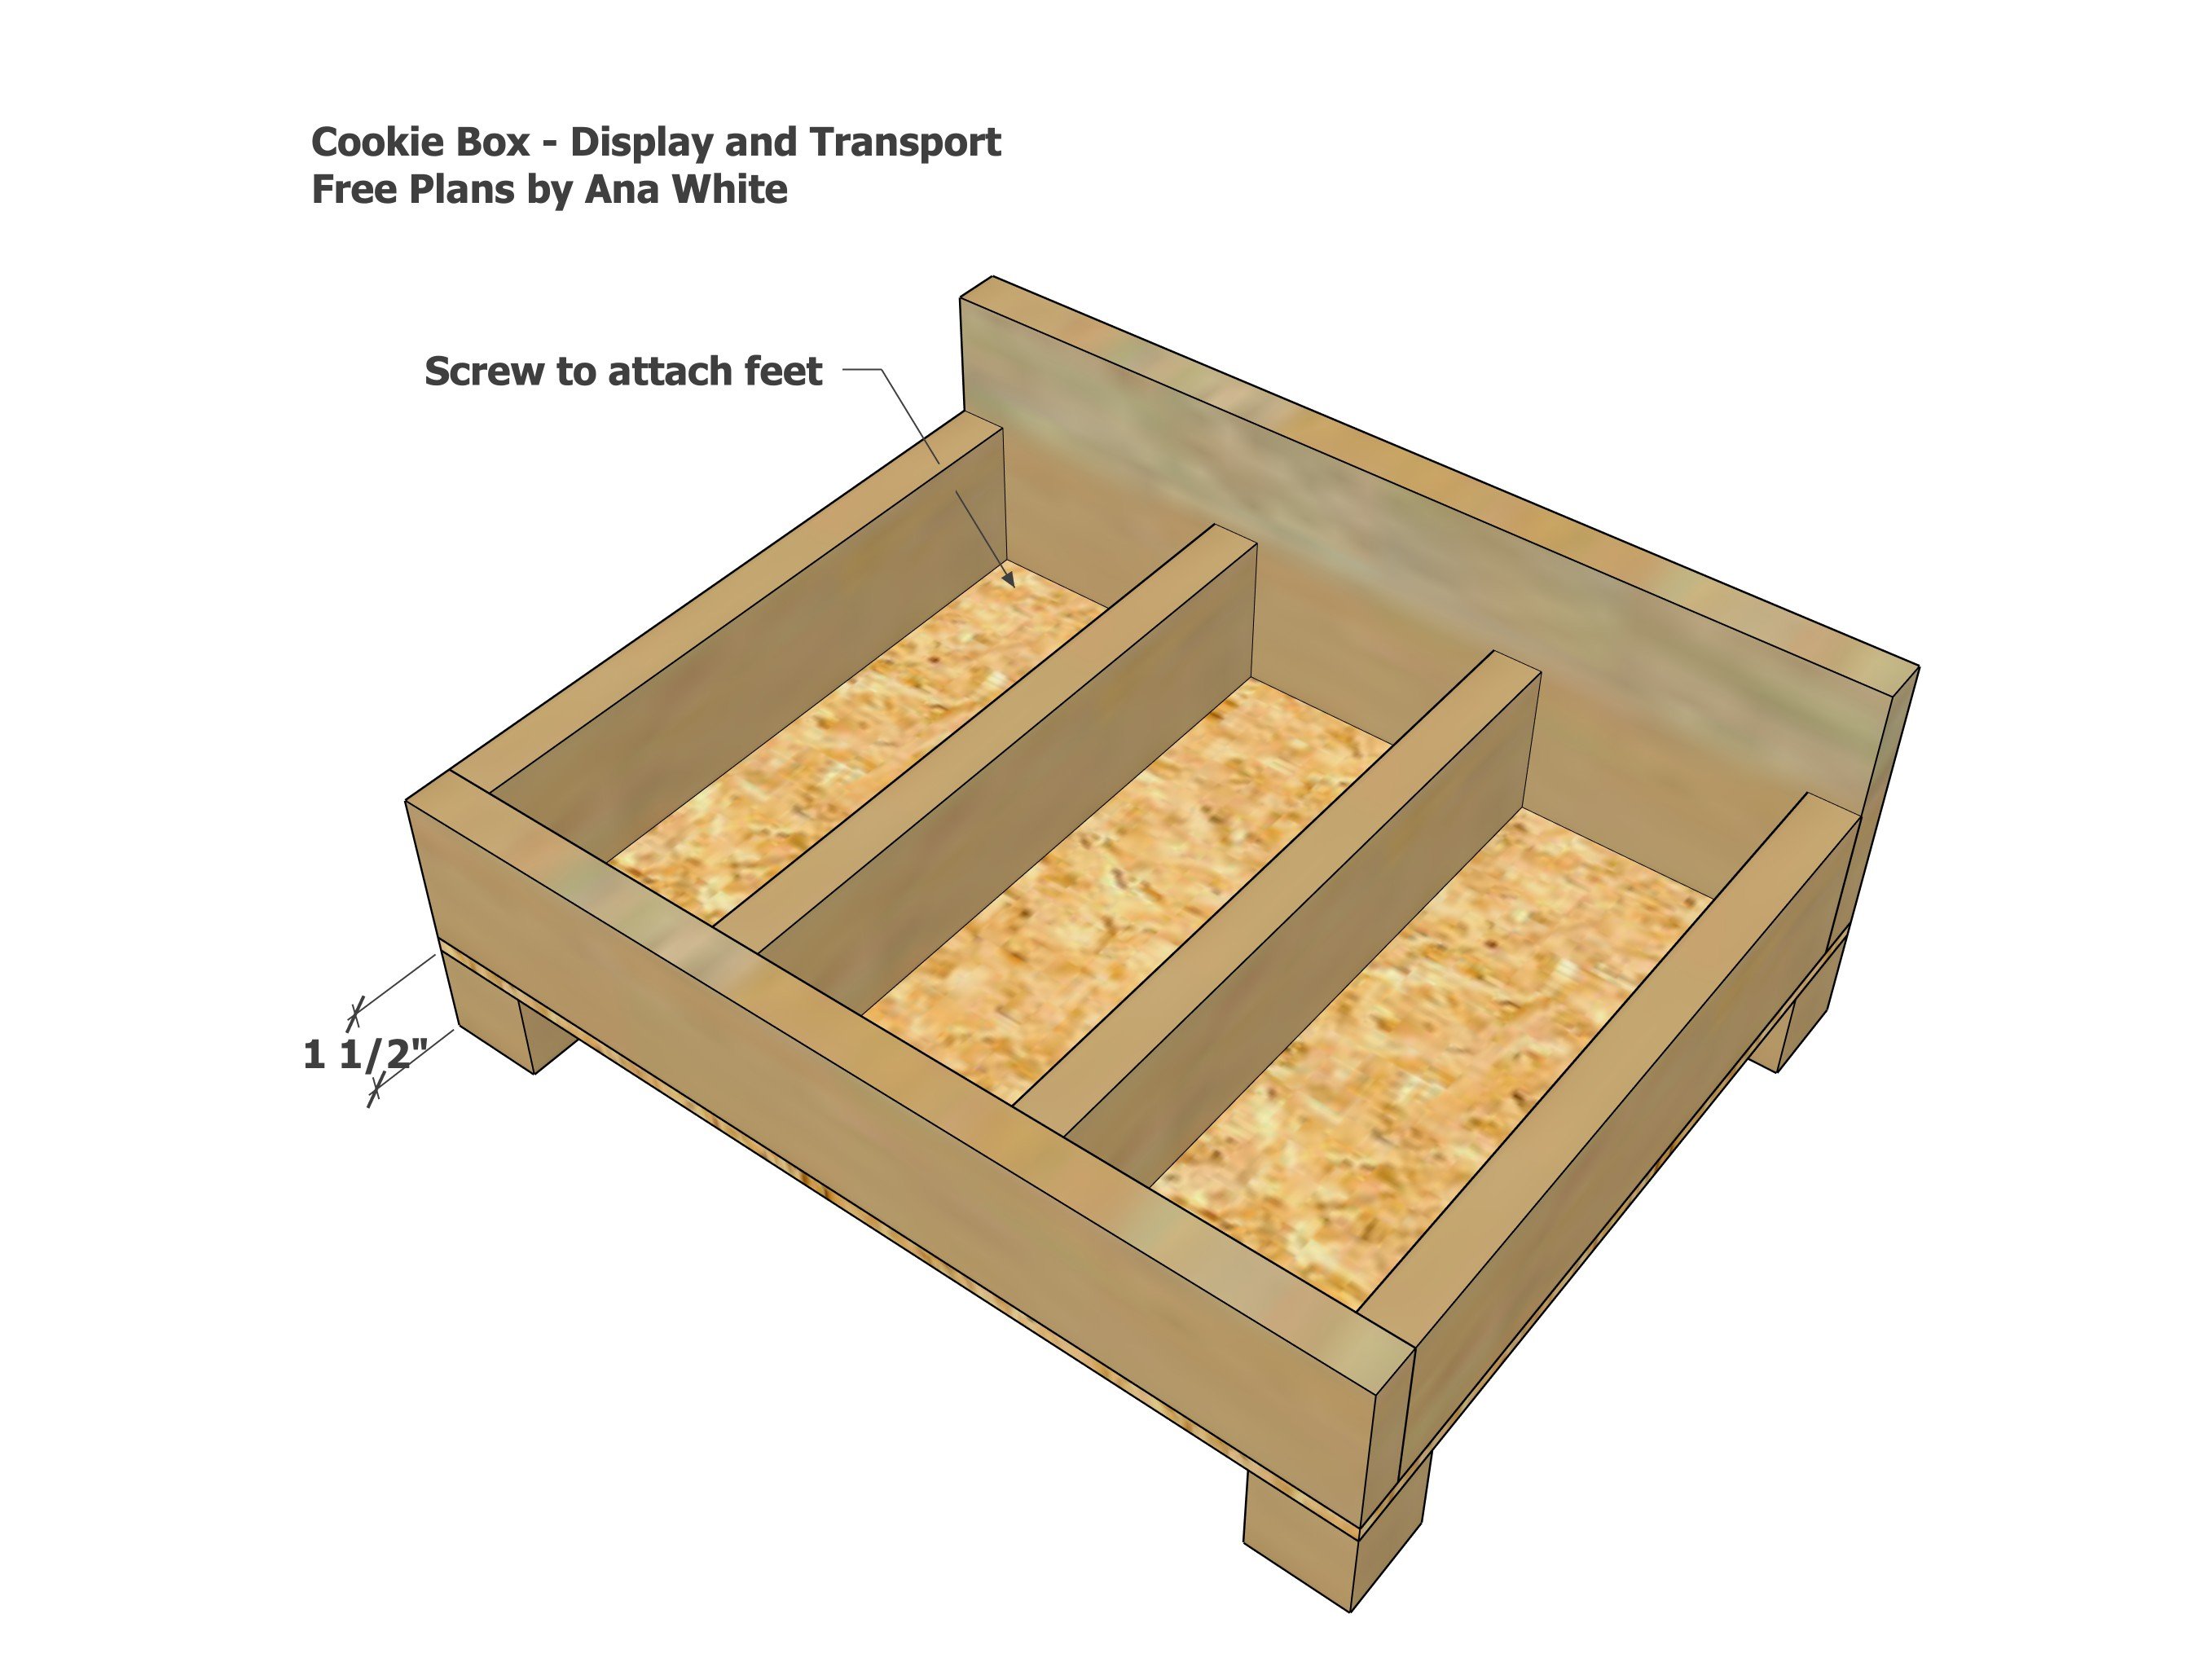
Add the feet on the bottom with glue. I used a 1-1/4" Kreg Jig screw at the corners to attach.
Apply a poly to keep it the finish from getting on the food.