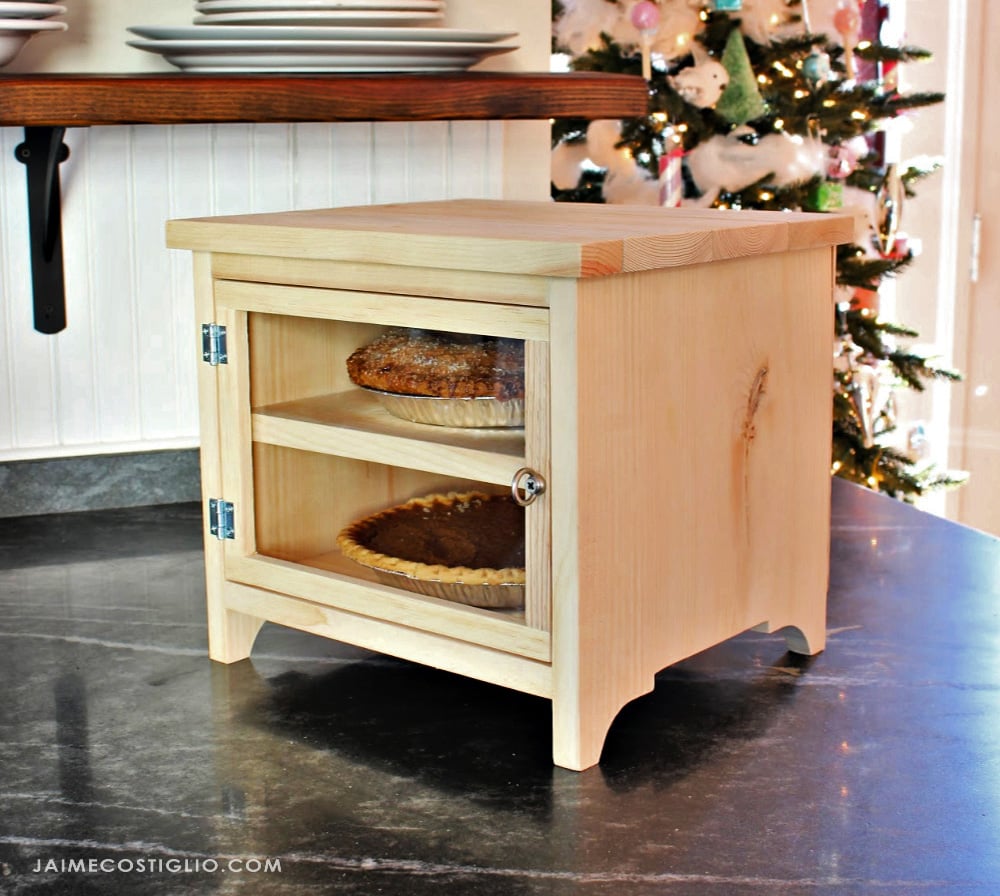


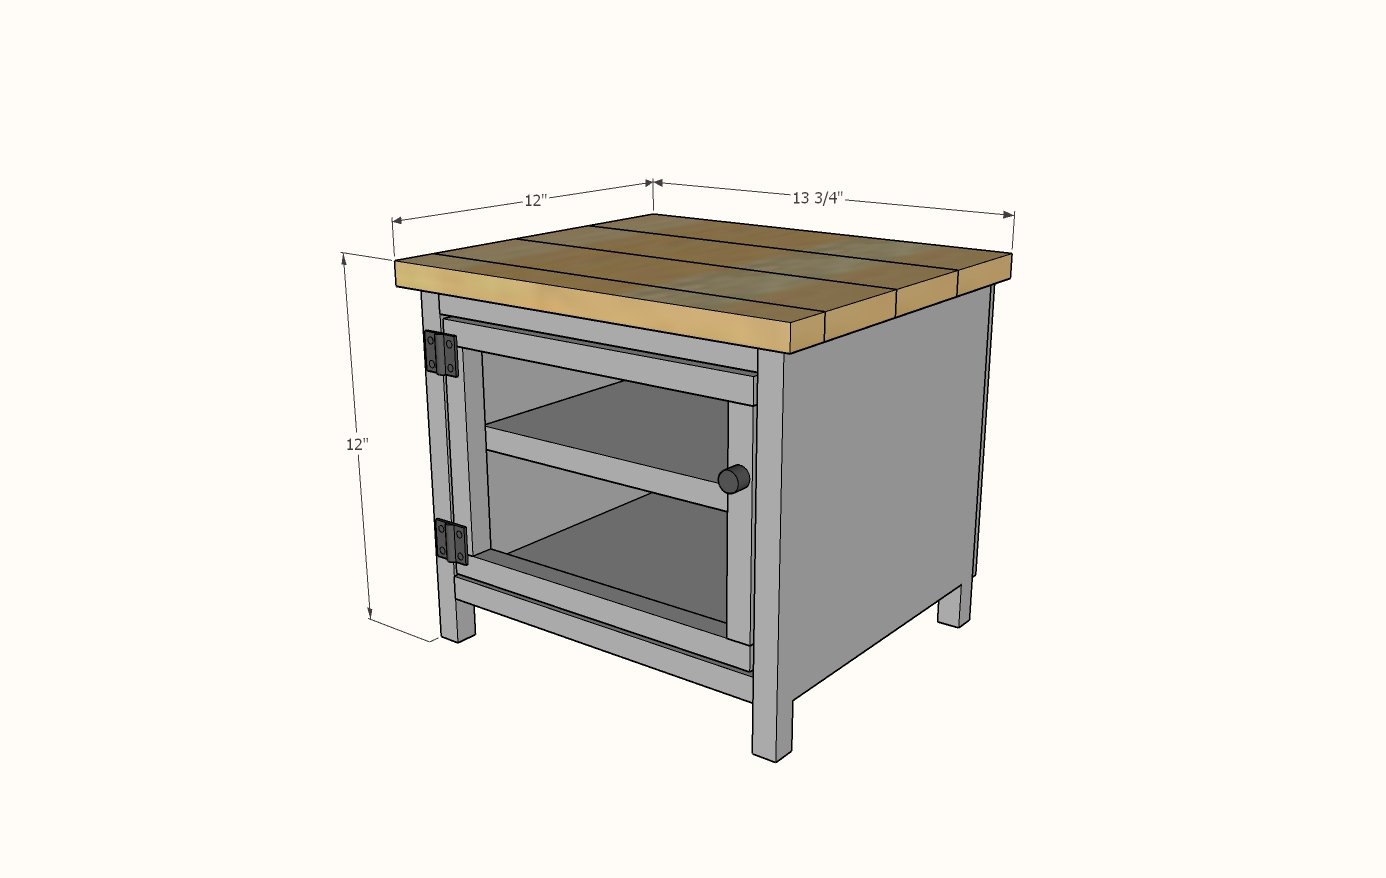
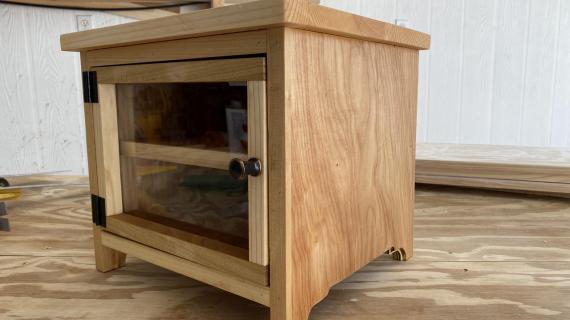
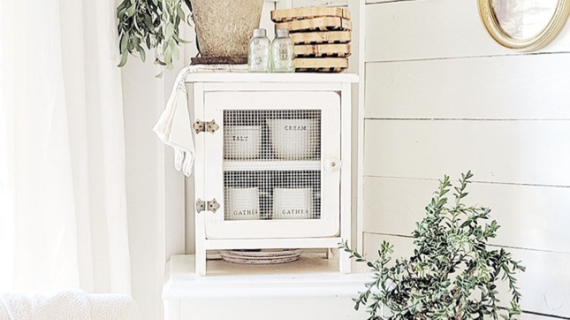
Store pies on your countertop in this DIY wood pie safe. Can be used to transport and gift pies too! Our free DIY plans include step by step diagrams, shopping and cut list. Beginner friendly plan requires basic tools and simple techniques.
Plan fits smaller pies, interior dimensions are 10-1/2" deep.
Built by Jaime Costiglio for Handbuilt Holiday.
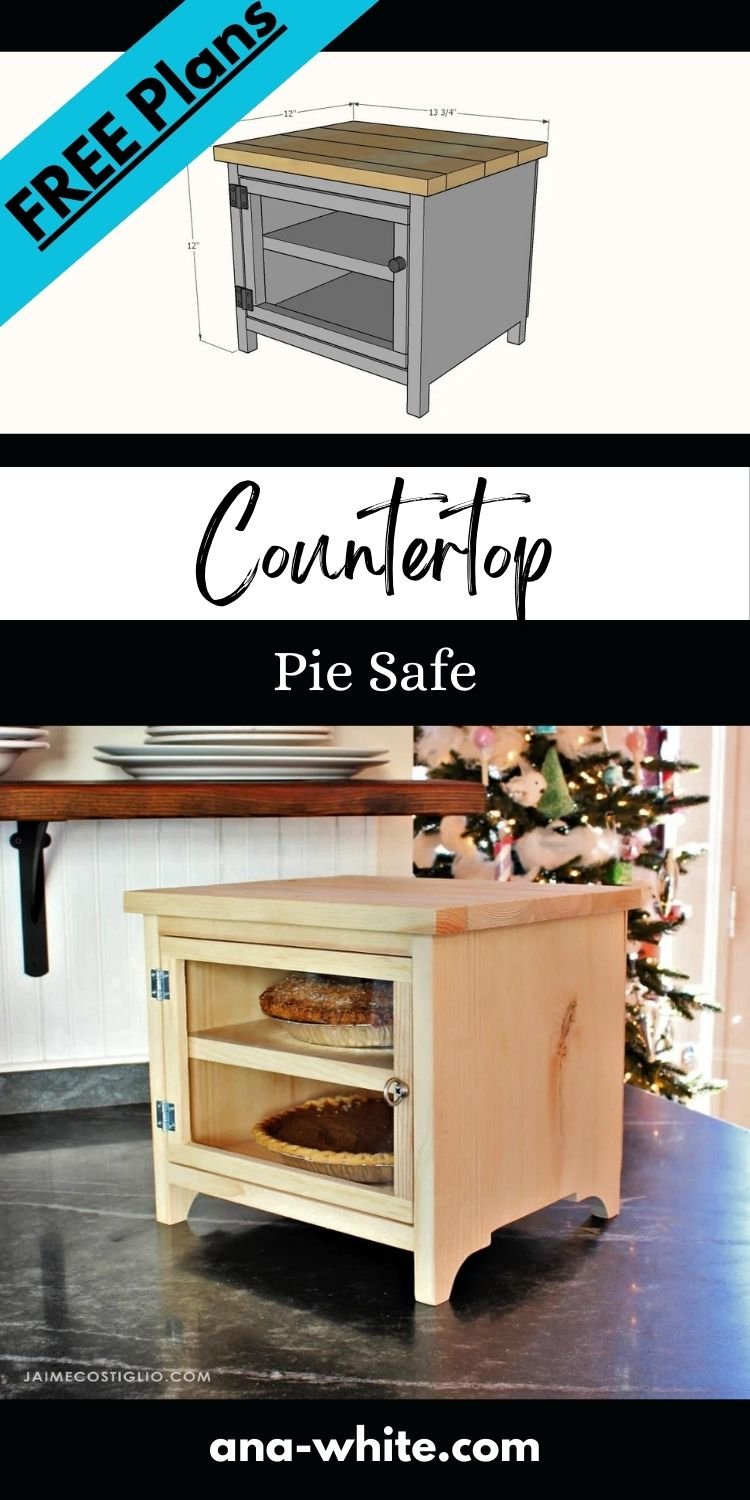
Pin For Later!
Preparation
- 1 - 1x12 @ 4 feet long
- 1 - 1x2 @ 4 feet long
- 1 - 1x4 @ 4 feet long
- 1 - 3/4" x 3/4" square dowel, 36" long
- scrap piece of 1/4" plywood at least 12" x 9"
- 1 - 8x10 piece of acrylic glass
- set of small hinges
- knob or handle
- 3 - 1x12 @ 11-1/4" - sides and bottom
- 1 - 1x12 @ 10" - shelf
- 2 - 1x2 @ 11-1/4" - top supports
- 1 - 1/4" plywood @ 9-3/4" x 12-3/4" - back (can be slightly smaller)
- 3 - 1x4 @ 13-3/4" - top
- 1- 1x2 @ 13-3/4" - top
- 2 - 3/4" x 3/4" @ 11"
- 2 - 3/4" x 3/4" @ 6-1/2"


Instructions
Step 1
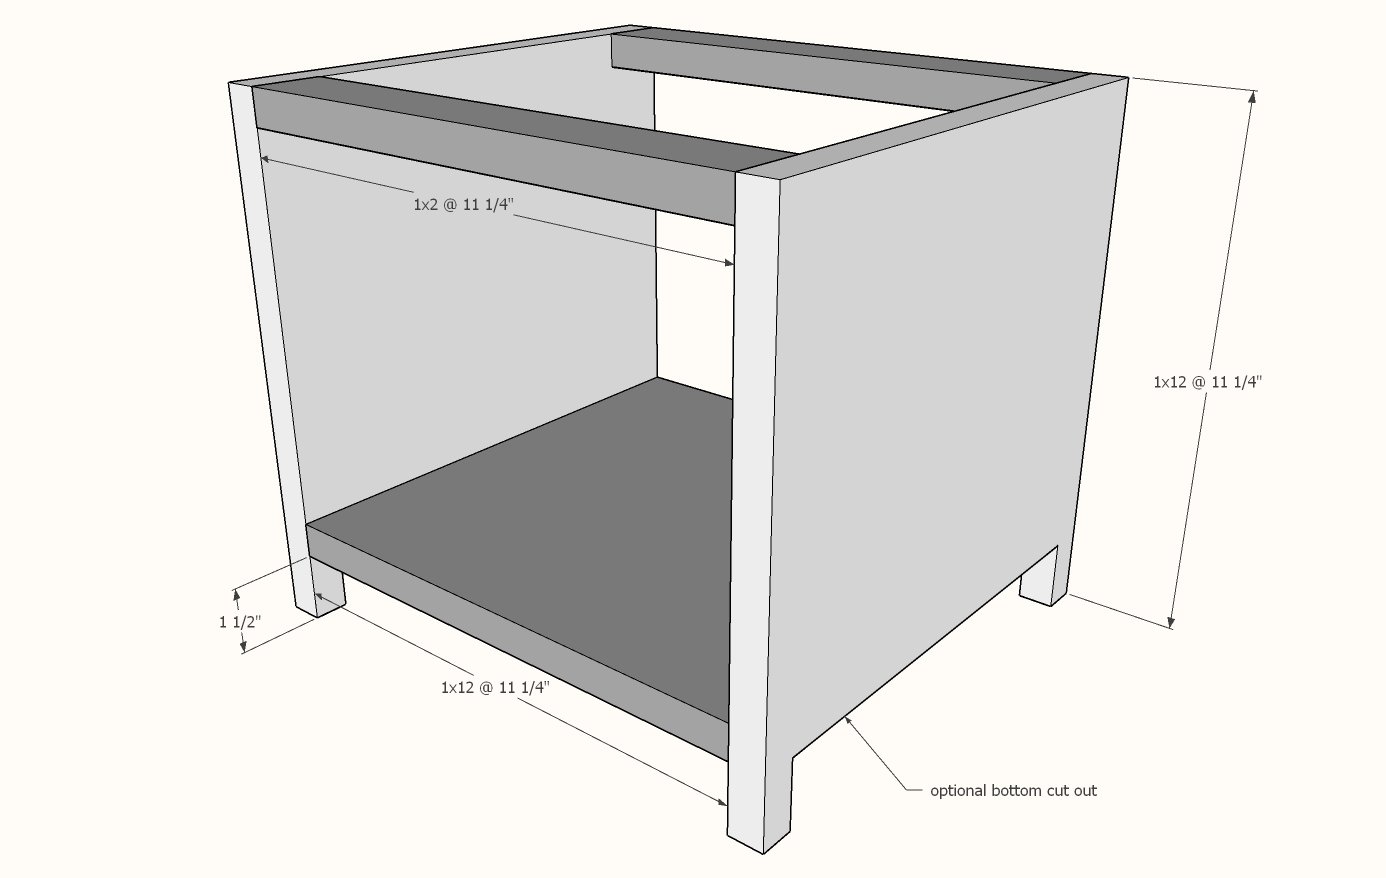
Attach the sides to the top pieces and the bottom shelf.
The base can be cut out with a jigsaw for additional detail.
1-1/4" brad nails and wood glue are plenty to attach.
Step 2
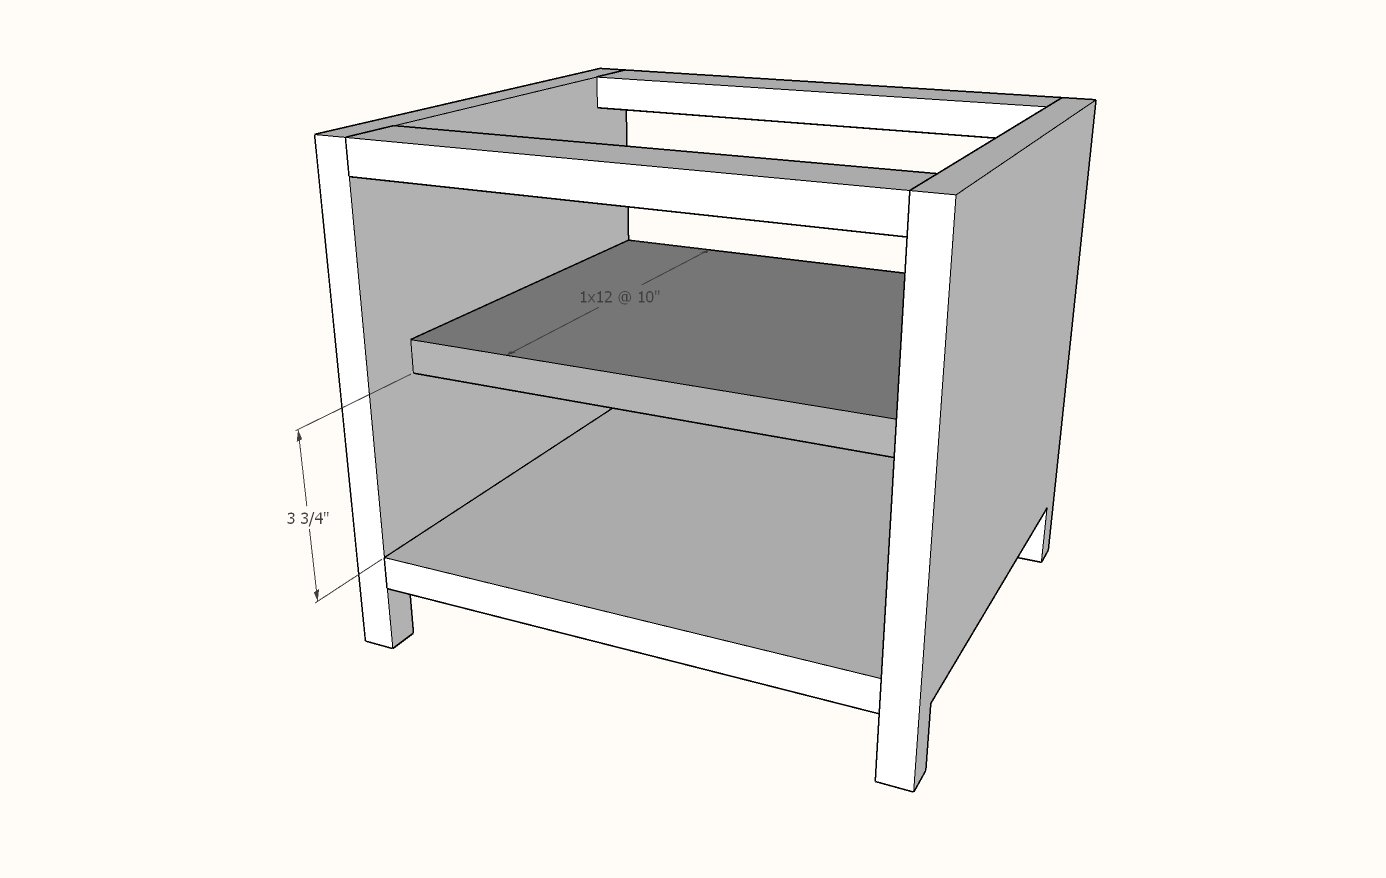
Attach shelf inside the pie safe, so there is space to the front and it is flush to the back of the pie safe.
Use 1-1/4" brad nails and wood glue.
Step 3
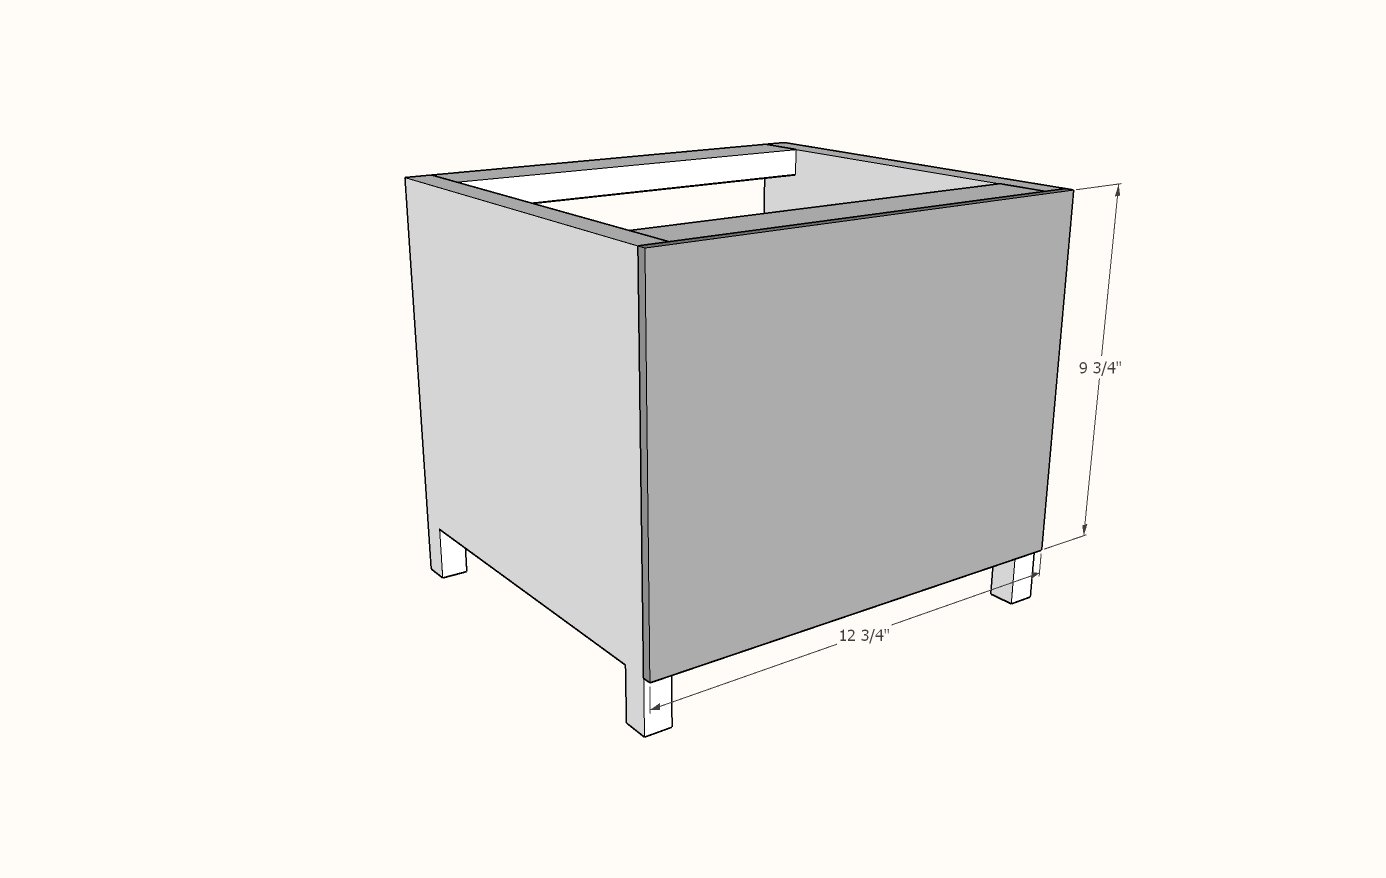
Attach 1/4" plywood to the back with 3/4" brad nails and wood glue.
Step 4
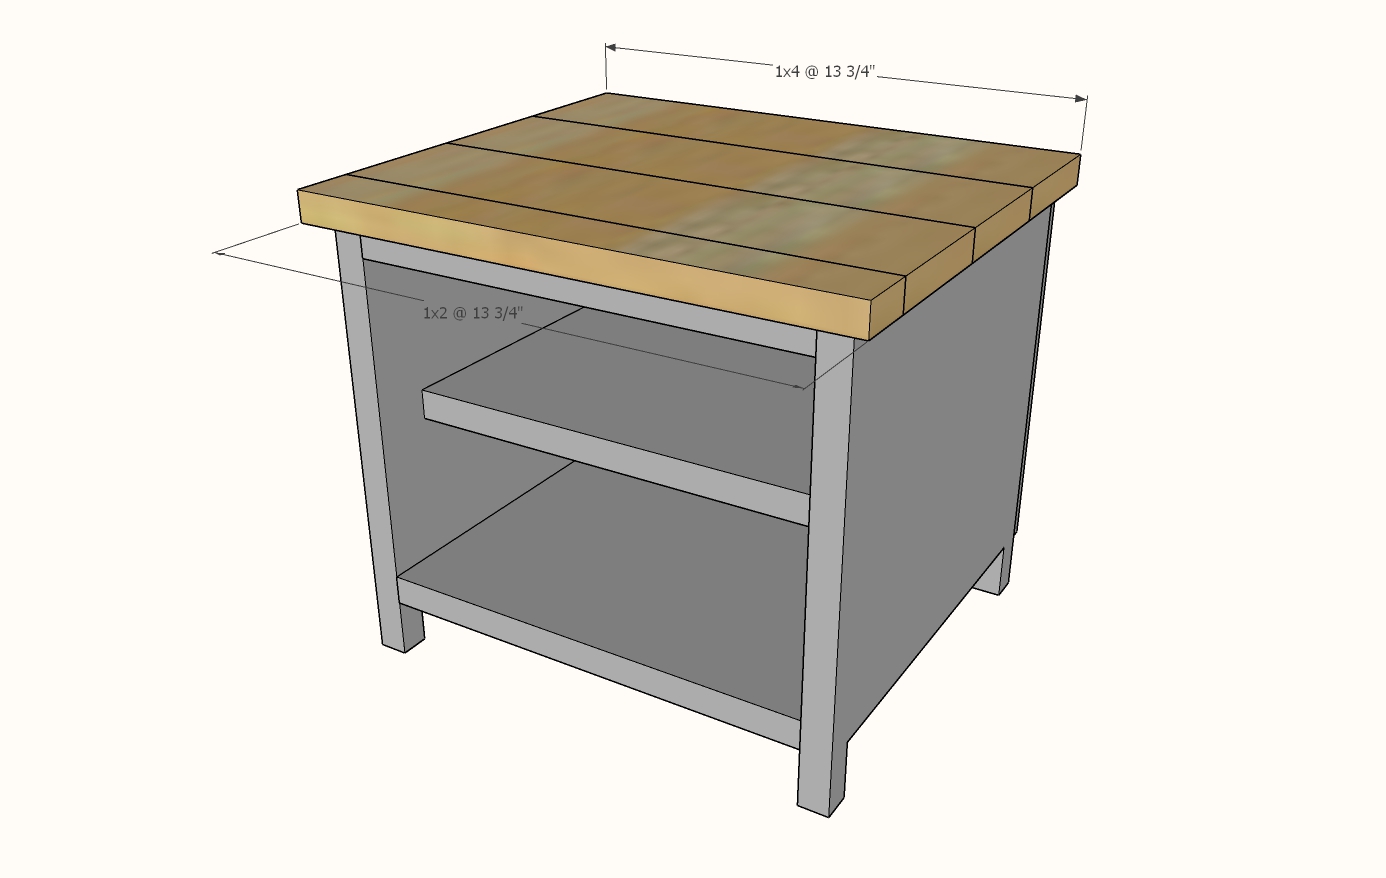
Attach top boards, with even overhang on front and sides, with 1-1/4" brad nails and wood glue.
Step 5

Attach dowels with 1-1/4" brad nail and wood glue.
Use super glue or hot glue to attach the acrylic glass to the back of the door.
Attach hinges to the door (we recommend predrilling holes to prevent splitting the wood).
A stop or magnetic clasp can be added if the pie safe is going to be used for transporting.
Comments
jennievh
Wed, 10/28/2020 - 13:48
Base idea for a Little Free Library
I was hoping to find plans to make a simple Little Free Library on this site, but when I came across this Pie Safe, realized I could modify it to work well as a Little Free Library:
I'll add an angled roof that overhangs the front a bit
I'll make it taller to accommodate books
I'll add a 4x4" to mount it onto
I'll paint it to better withstand weather.
Would love to know what you think! I remember finding your projects years ago; glad I found you again!