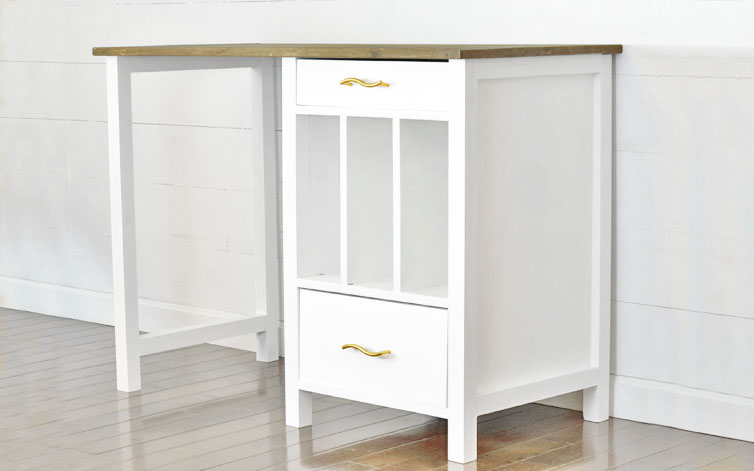


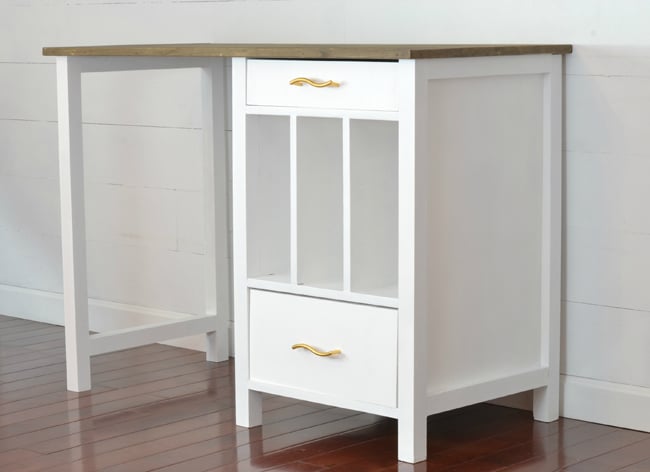
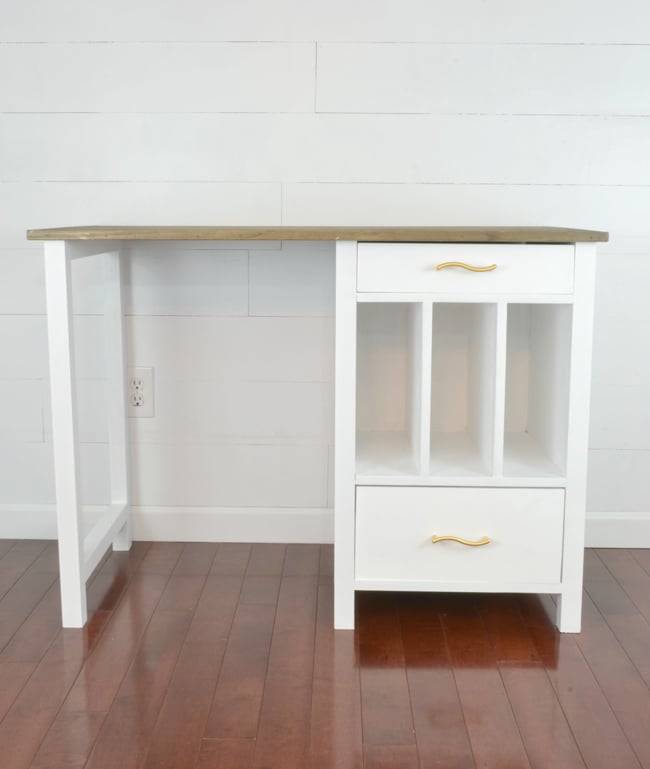
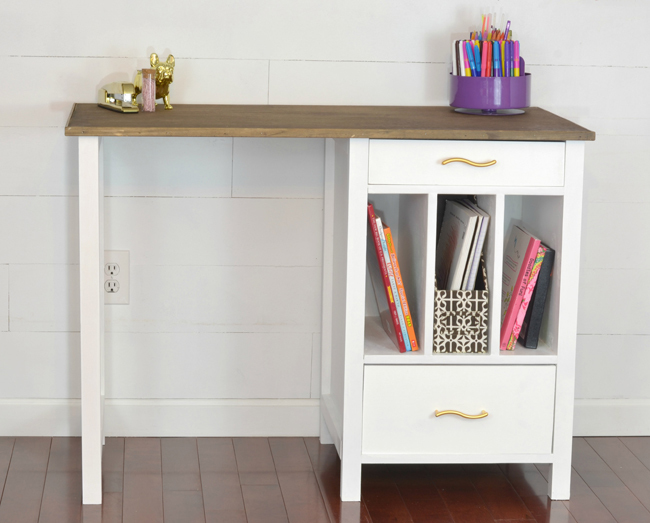
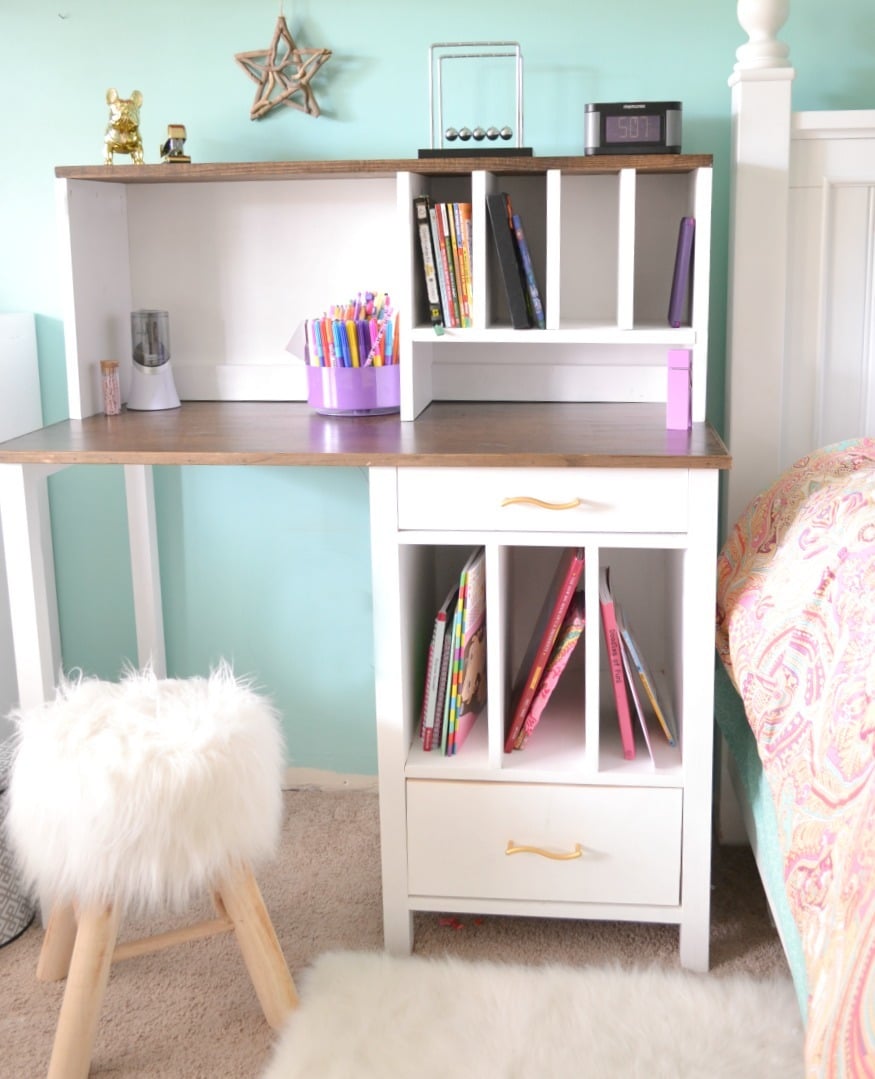
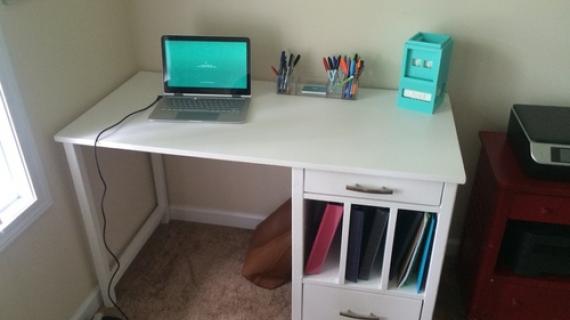
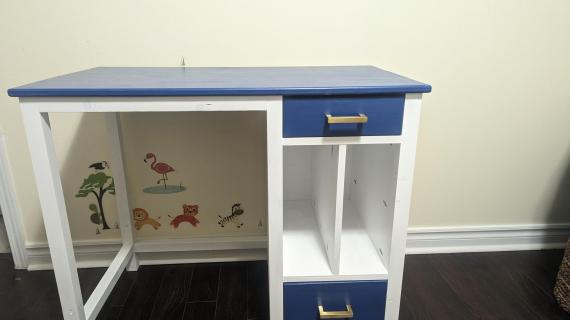
This cute desk has open file cubby slots - so you can keep notebooks, files, paper, and more within easy reach. A top drawer is perfect for pens and pencils. And there's a bonus lower drawer. Free plans created by Ana-White.com
Pin For Later!

Preparation
• 3 – 2x2 @ 8 feet long
• Half sheet (48” x 48”) of 3/4” thick hardwood plywood, cut into strips 15-3/4” wide x 48” long
• Quarter sheet (24” x 48”) of 1/4” thick hardwood plywood
• 1x2 @ 8 feet long
• 1 – 1x3 @ 6 feet long
• 1 – 1x6 @ 6 feet long
• 1 – 1x4 @ 16”
• 1 – 1x8 @ 16”
• 1 – 3/4” thick project panel, 48” x 19-3/4” (top) *can also build top
• 2 sets white euro drawer slides, 18” length
• 2 knobs/pulls
• 1-1/4” pocket hole screws
• 3/4" and 1-1/4” brad nails
• Wood glue
PEDESTAL BASE (For building one, double for building two)
• 4 – 2x2 @ 29-1/2” (legs)
• 2 – 3/4” plywood @ 15-3/4” x 26-1/2” (side panels)
• 4 – 1x2 @ 15-3/4” (side panel trim) optional on insides of pedestal
• 2 – 3/4” plywood @ 15-3/4” x 15-3/4” (top and bottom of cubby area)
• 2 – 3/4” plywood @ 15-3/4” x 13” (cubby dividers)
• 1 – 1/4” plywood @ 15-3/4” x 14-1/2” (cubby area back)
• 2 – 1x2 @ 15-3/4” (bottom trim)
DRAWERS
• 2 – 1x3 @ 18” (small drawer sides)
• 2 – 1x3 @ 13-1/4” (small drawer front and back)
• 2 – 1x6 @ 18” (large drawer sides)
• 2 – 1x6 @ 13-1/4” (large drawer front and back)
• 2 – ¼” plywood @ 14-3/4” x 18” (drawer bottoms)
• 1 – 1x4 @ 15-1/2” (small drawer face)
• 1 - 1x8 @ 15-1/2” (large drawer face)
OPEN LEG (for desk with only one pedestal base)
• 2 – 2x2 @ 29-1/2” • 2 – 2x2 @ 15-3/4” TOP • Edge glued project panel 48” x 19-3/4” (cut down to fit size)


Instructions
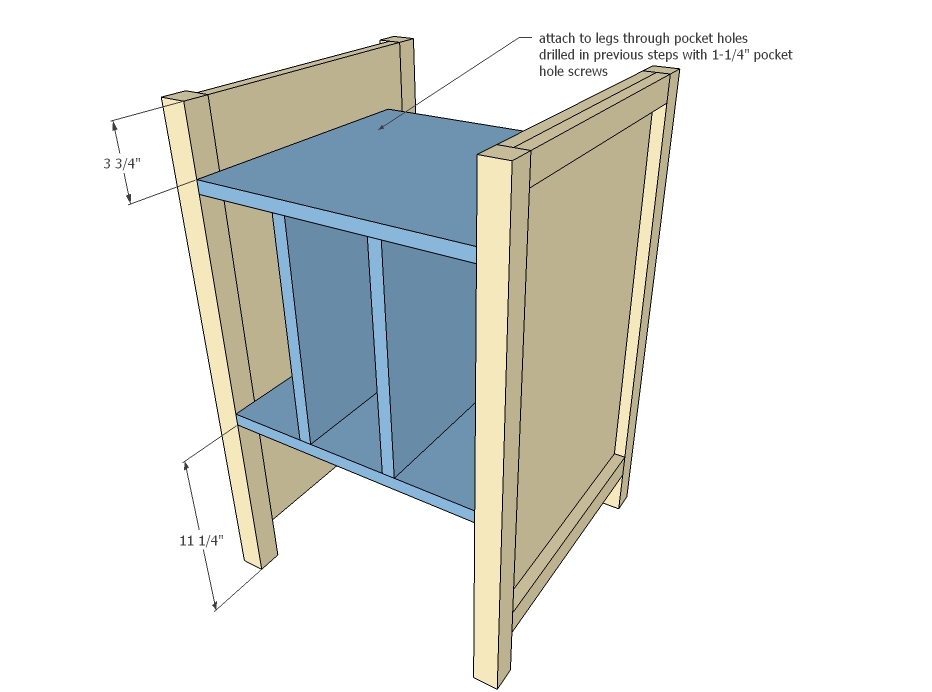
Step 1
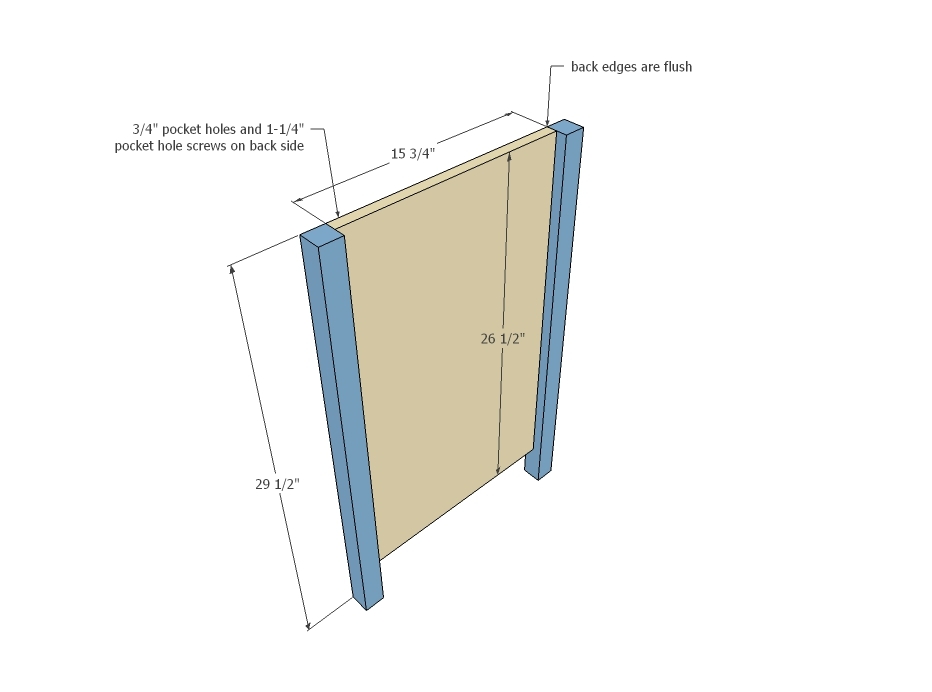
Drill 3/4” pocket holes along side edges of the side panels, every 8” approximately. Attach side panels to the legs, flush on back side and top, with 1-1/4” pocket hole screws and glue. Build two legs sets for each pedestal base.
Step 2

Attach trim with 1-1/4” nails and wood glue to the plywood panels.
Step 3
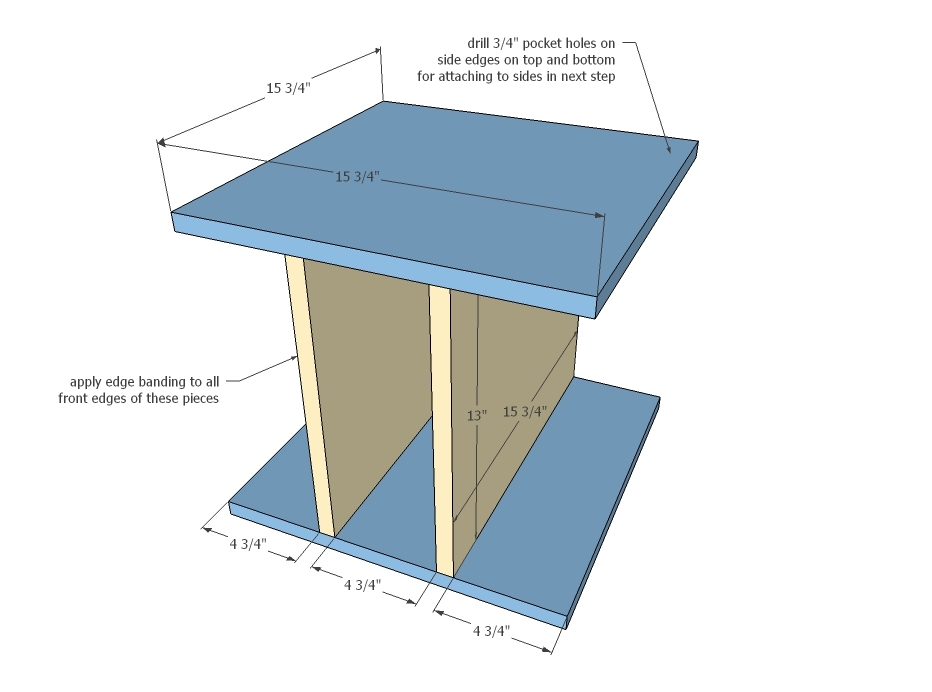
For all cubby area pieces, apply edge banding to front edges (stained finish) or finish front edges by filling any holes with wood filler and sanding (painted finish). Drill 3/4” pocket holes along side edges of top and bottom pieces. Then attach the top and bottom to the dividers with 1-1/4” nails and wood glue, so the pocket holes are on the top and bottom. Adjust for square.
Step 4
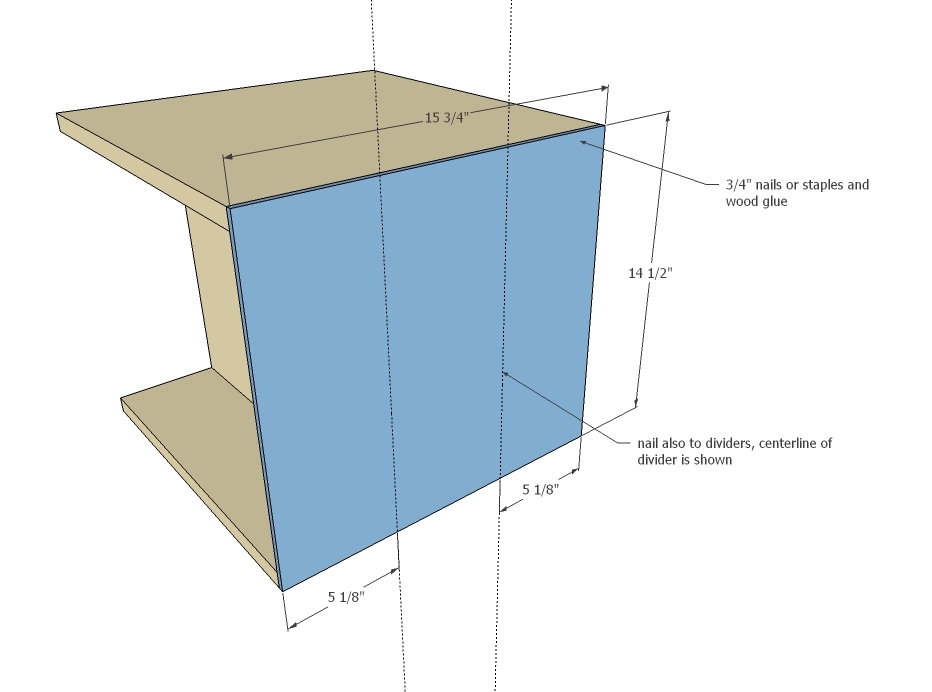
Attach to the back edges 1/4” plywood with glue and ¾” nails.
Step 5
Step 6

Drill ¾” pocket hole on each end of the remaining 1x2s and attach to base of legs with 1-1/4” pocket hole screws and glue.
Step 7
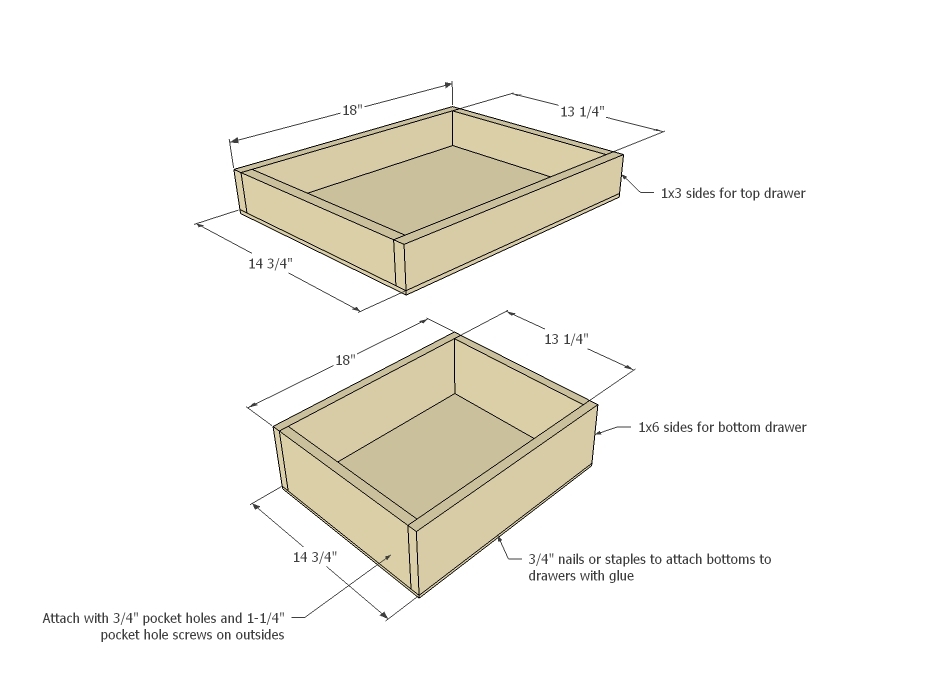
For drawer slides with clearances of ½”, these are the expected drawer sizes. Make sure you measure and build to fit. Place all pocket holes on outsides.
Step 8
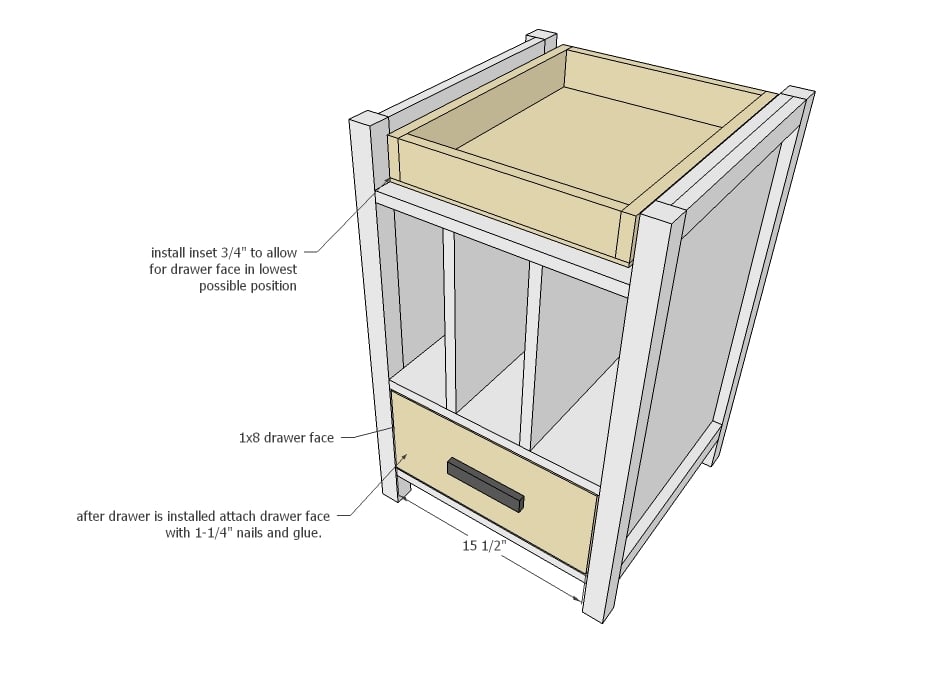
Install drawers in project, with drawer box inset ¾”. Then attach drawer face to drawer box with an even gap around all edges with 1-1/4” nails and glue. I also recommend a couple of screws from inside to further attach. TIP: Attach hardware to drawer face first.
Step 9
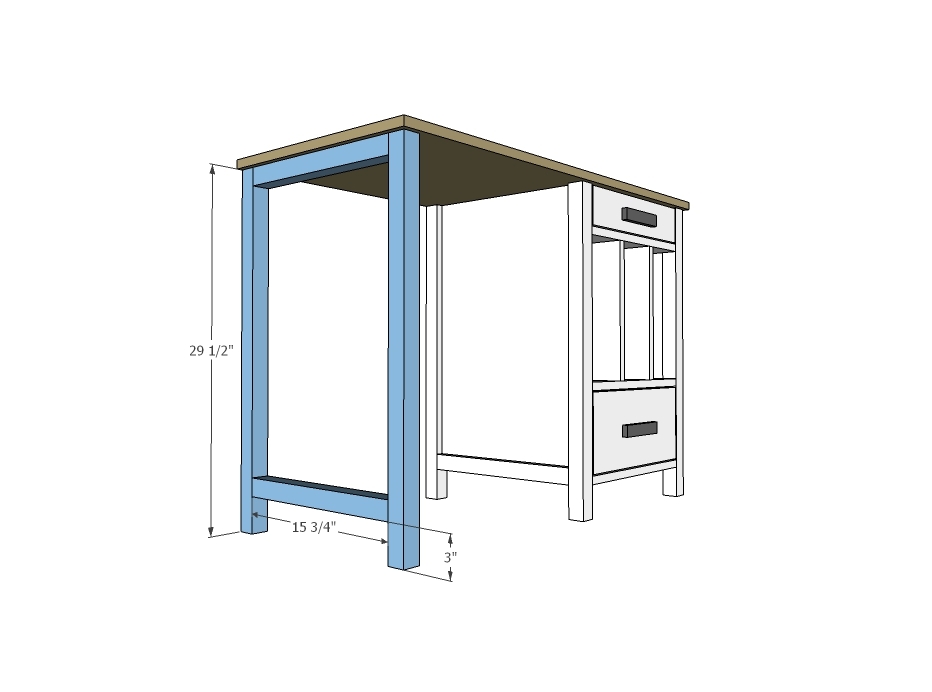
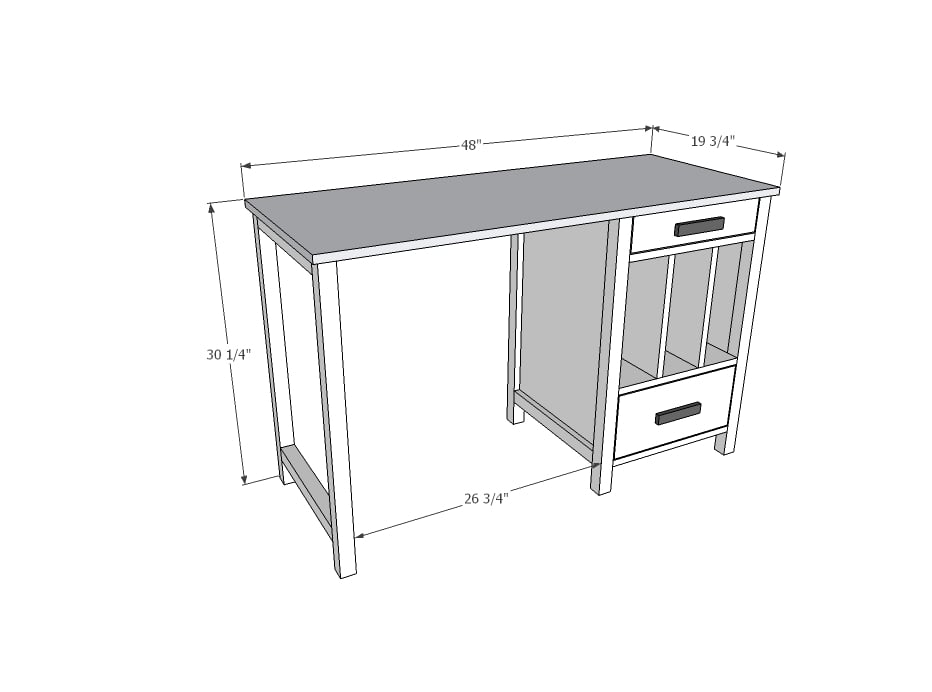
Build leg set with 1-1/2” pocket holes and 2-1/2” pocket hole screws. Attach to tabletop with 2” screws.
Step 10
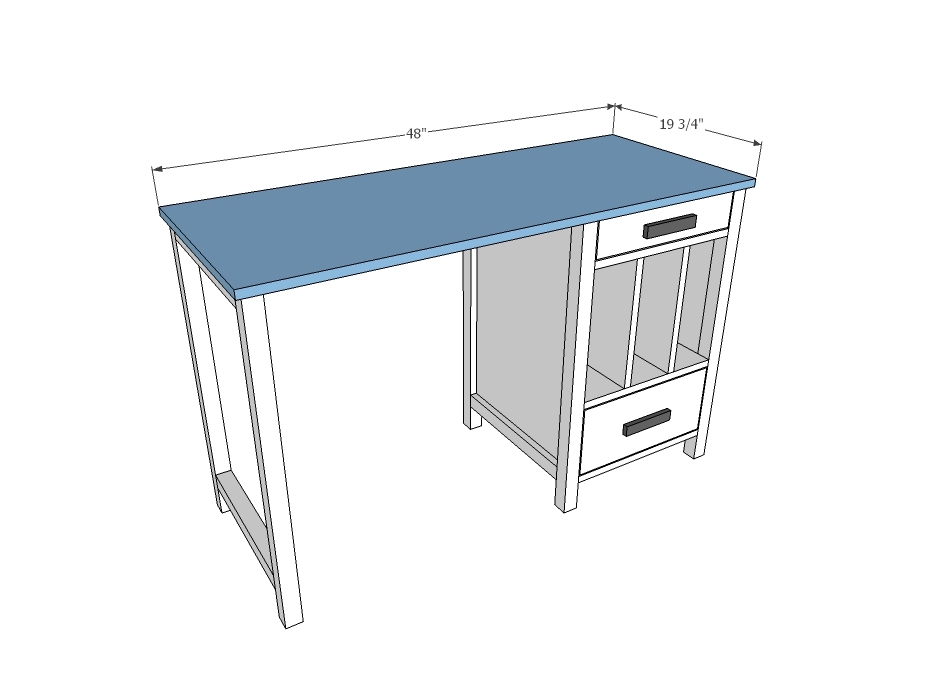
Cut tabletop to fit. Attach with 2” screws through 1x2 trim underside on sides of bases.

Comments
kimkentgray
Fri, 09/15/2017 - 14:22
Missing Steps 11 until the end
My daughter and I really want to build this desk but we can't find steps 11 until the end. Does anyone have all of the instructions? Can you share them? Please Help!
In reply to Missing Steps 11 until the end by kimkentgray
Ana White
Tue, 09/19/2017 - 18:00
That is the complete plan,
That is the complete plan, the extra steps are just fields for projects
that require more steps! :)
BlessingsBe
Sat, 02/17/2018 - 14:38
PDF version - link broken
I love this plan and am a big fan of your work!
I was hoping to download and print the PDF version of this plan because my printer seems to cut off the right side of the page when I try to print your printer-friendly version but it will print the whole page correctly from the PDF. Unfortunately, the PDF link seems to be broken. I would so appreciate it if the PDF version can be made available. Thanks!