

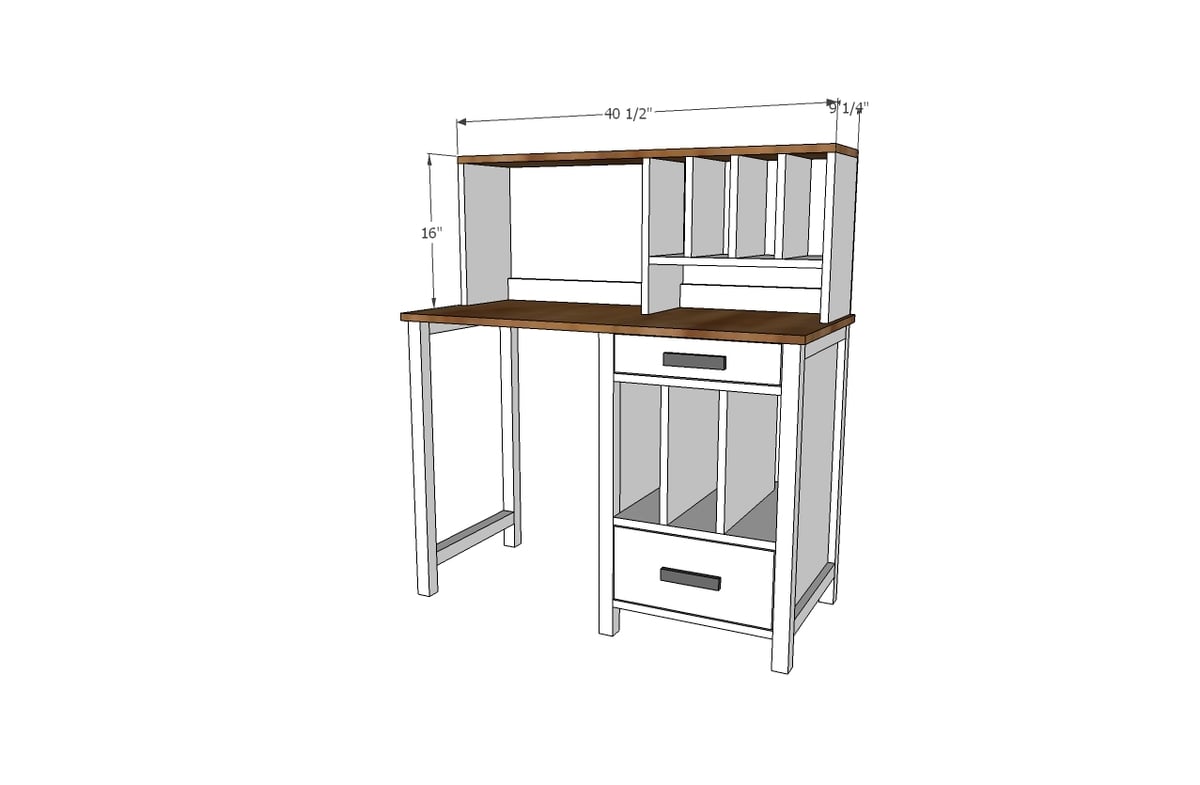
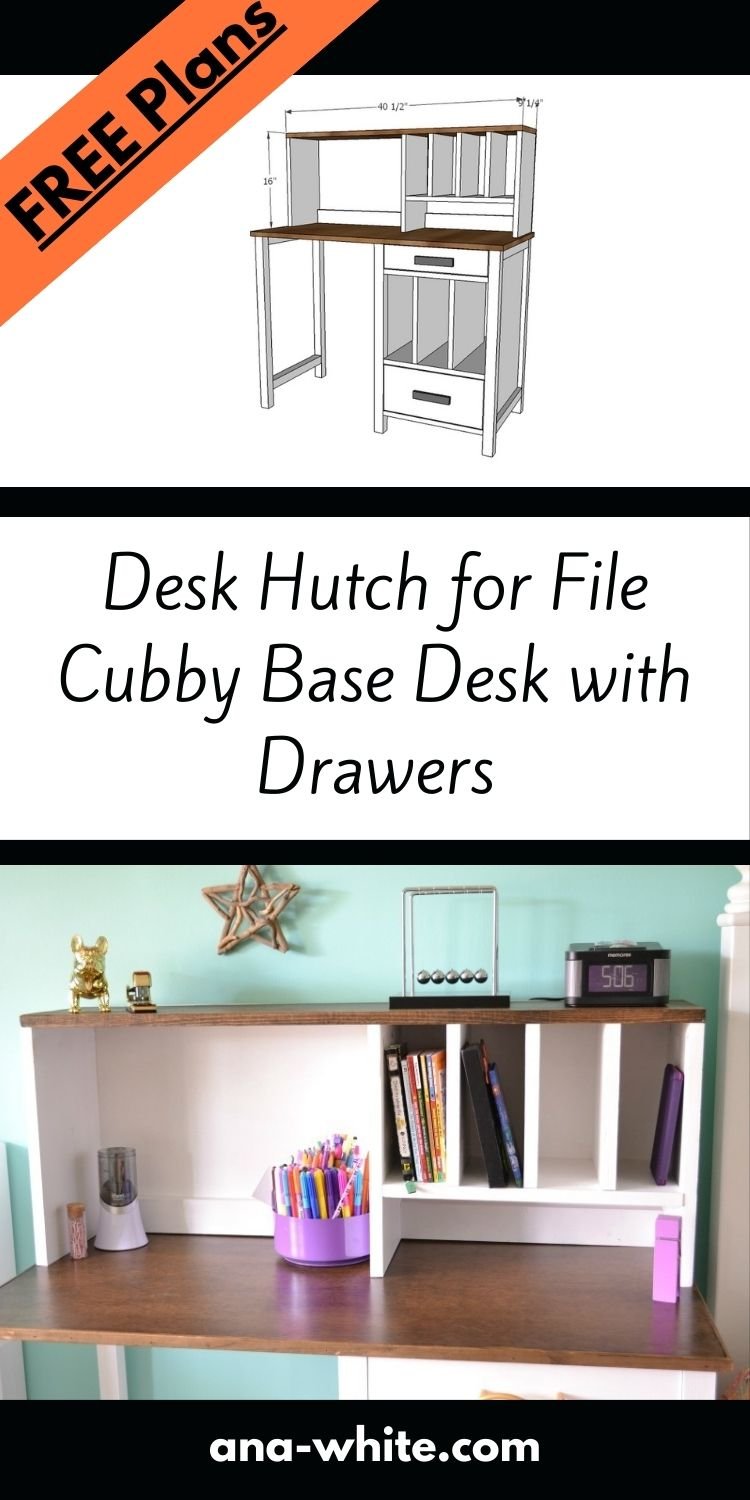
Free plans to build your own desk hutch (match this desk) but can be used on any desk. Step by step plans with diagrams, shopping and cut list from Ana-White.com


Remember a few weeks ago when I teamed up with Jillian from I Am a Homemaker to get you these desk plans?
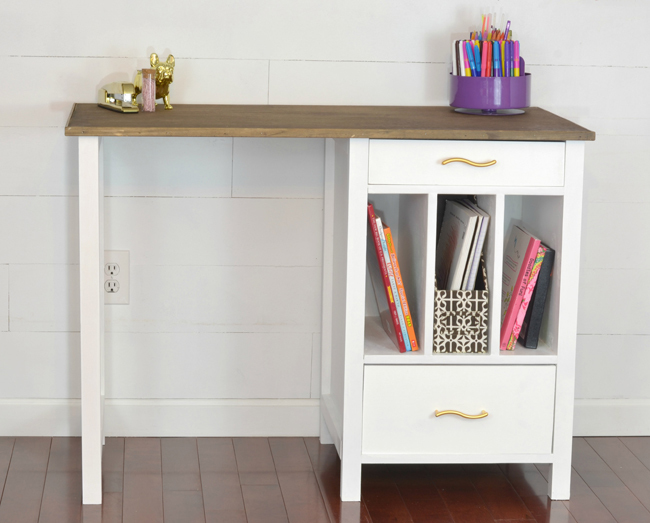
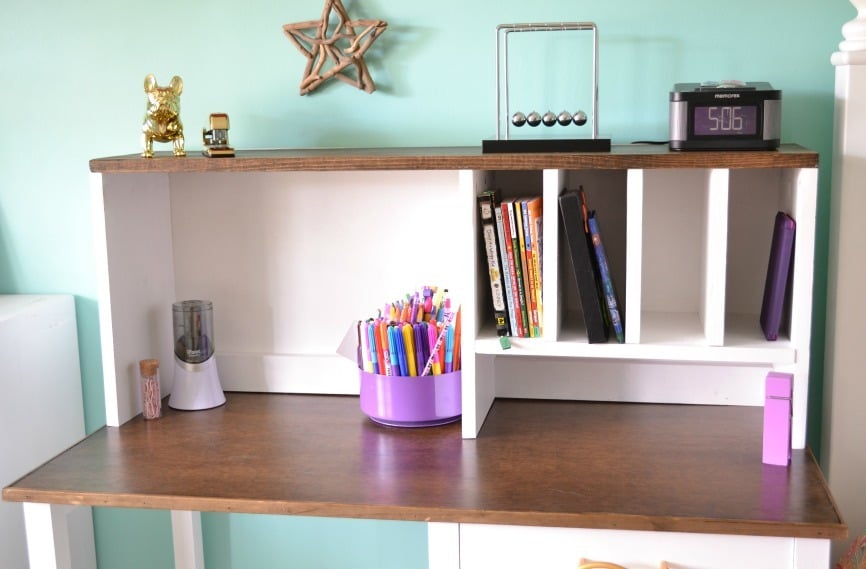
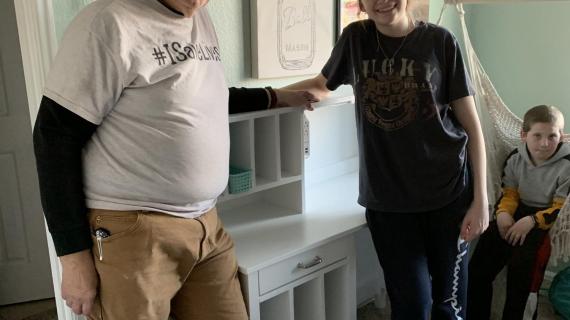
I love how this desk has a mixture of storage - a pencil drawer, cubbies for books, papers, magazines and folders, and then a larger drawer for the bigger stuff.
Perfect. Well, almost.
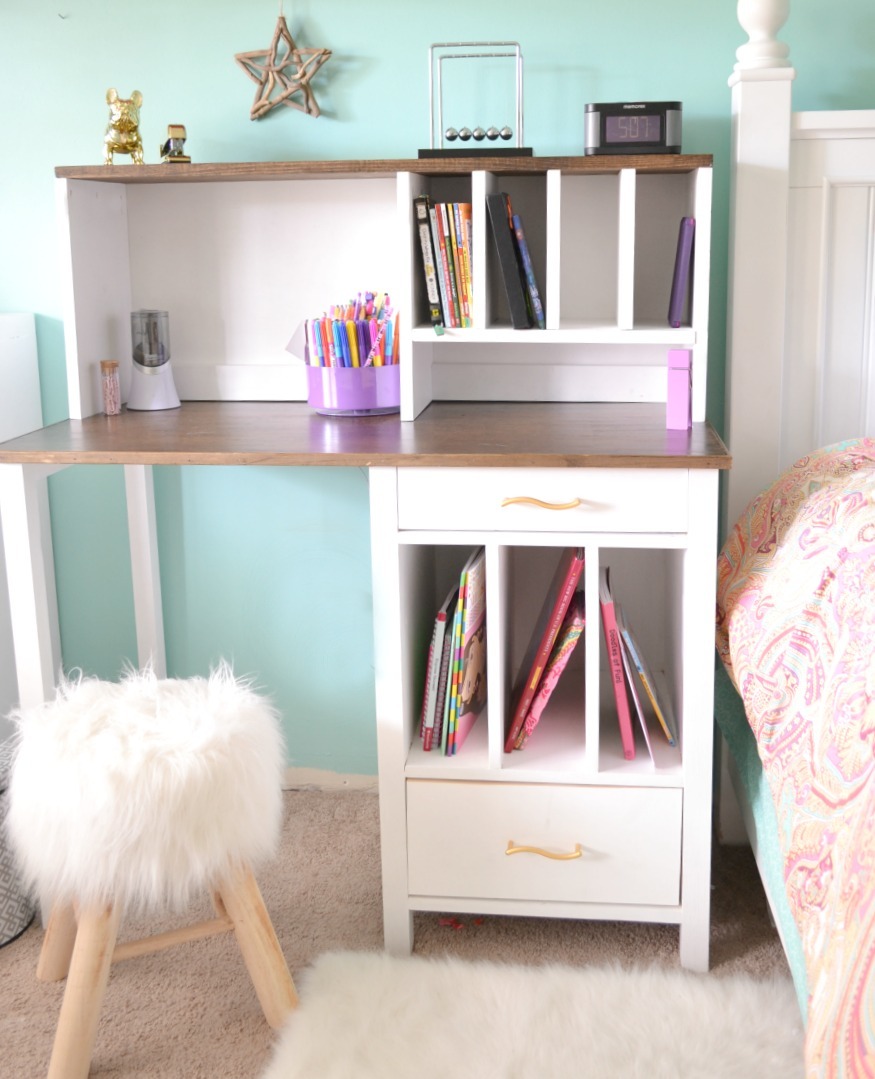
We needed a hutch option too!
So Jillian and I teamed up again to get you the hutch plans to match the desk.
Pin For Later!
Preparation
1 - 1x10 @ 4 feet long
1 - 1x10 @ 8 feet long
1 - 1x3 @ 4 feet long
quarter sheet (2'x4') of 1/4" thick backing material (plywood, mdf, paneling etc)
1-1/4" pocket hole screws
1-1/4" brad nails
3/4" brad nails (for attaching back)
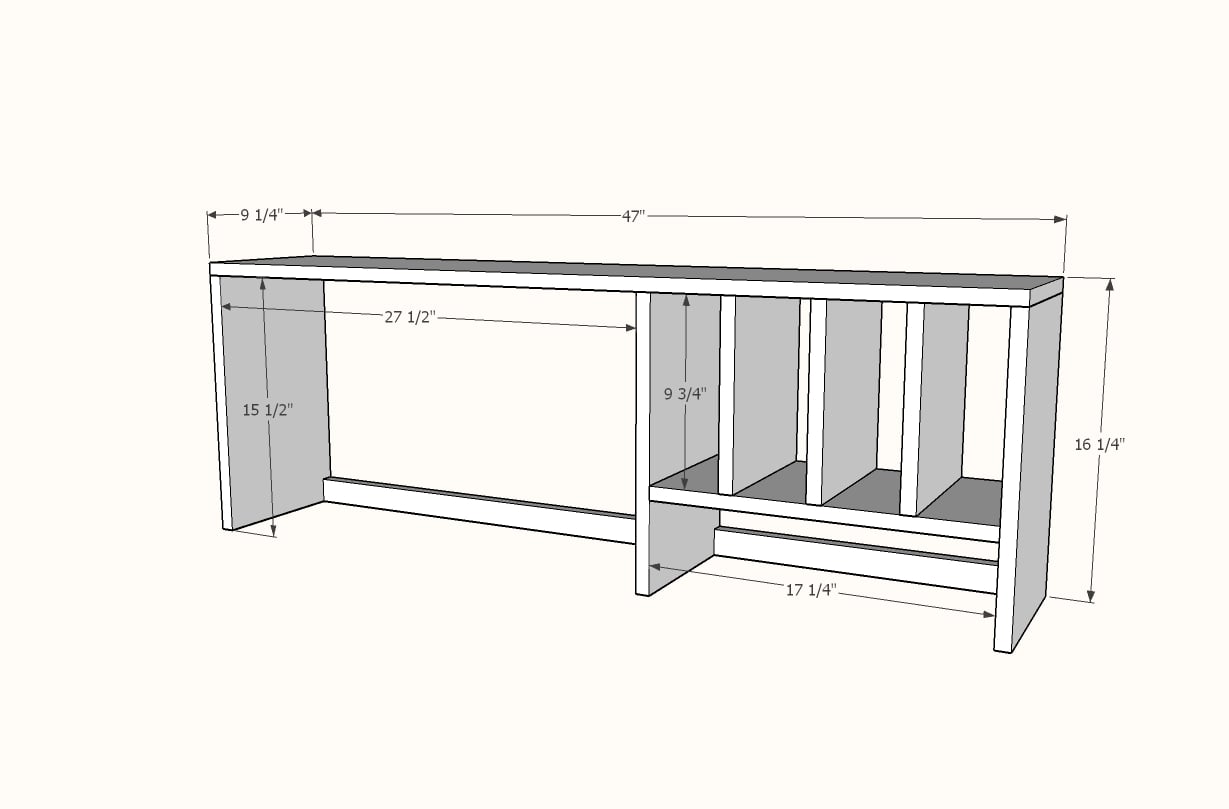
1 - 1x10 @ 47-1/2" - top
3 - 1x10 @ 15-1/4" - vertical sides
1 - 1x3 @ 17-1/4" - shelving area base
1 - 1x3 @ 27-1/2" - open area base
1 - 1x10 @ 17-1/4" - shelving area bottom
3 - 1x10 @ 9-1/2" - shelving area dividers - cut to fit
1 - 1/4" plywood @ 16" x 47" - back - cut to fit


Instructions
Step 1

Attach the top to the sides and divider. You can use 2" screws, 3/4" pocket holes (with 1-1/4" pocket hole screws), or 1-1/4" brad nails with glue (since this joint will be reinforced).
Note that the open area inside width has been updated to 27-1/2" (NOT 21")
Step 2

Attach back supports. These can be nailed as well, but pocket holes are preferred at the center. If you don't have a Kreg Jig, you can nail or screw at an angle.
NOTE the longer support has been updated to 27-1/2"
Step 3

Attach shelf, again, your choice of fasteners.
Step 4
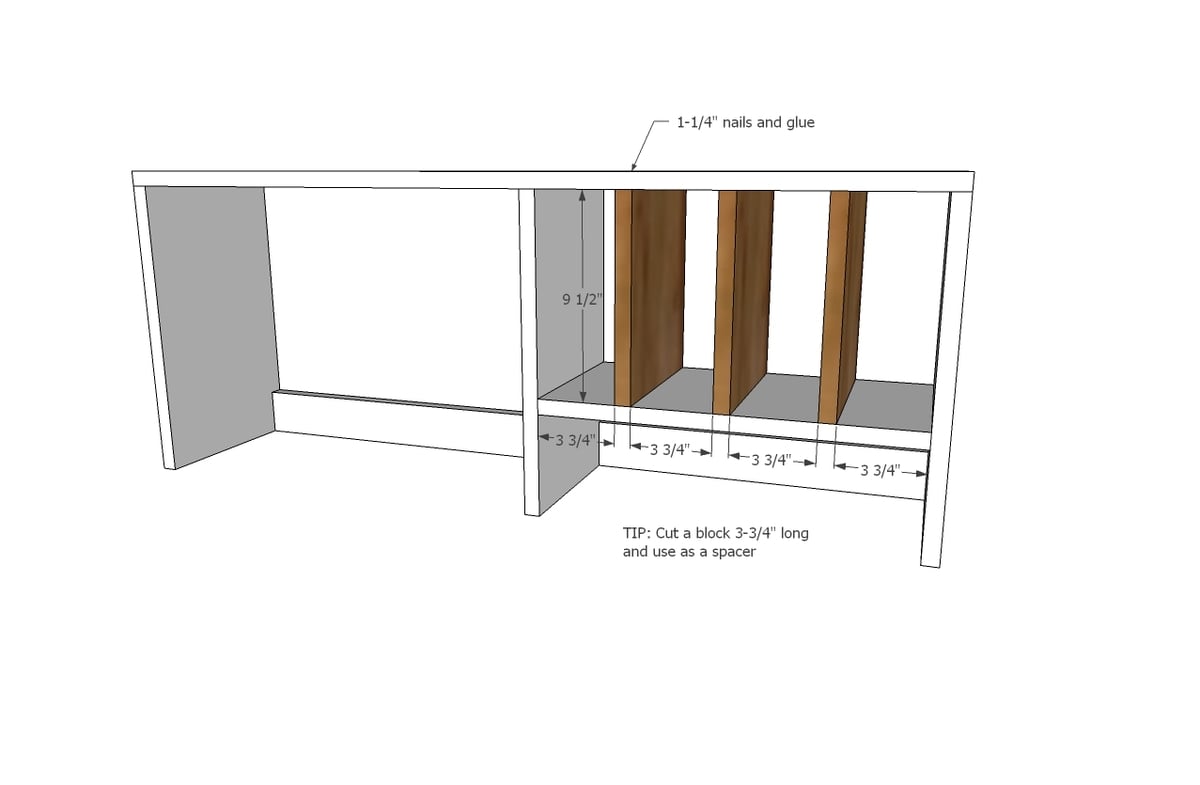
Add dividers, same as shelf.
Step 5
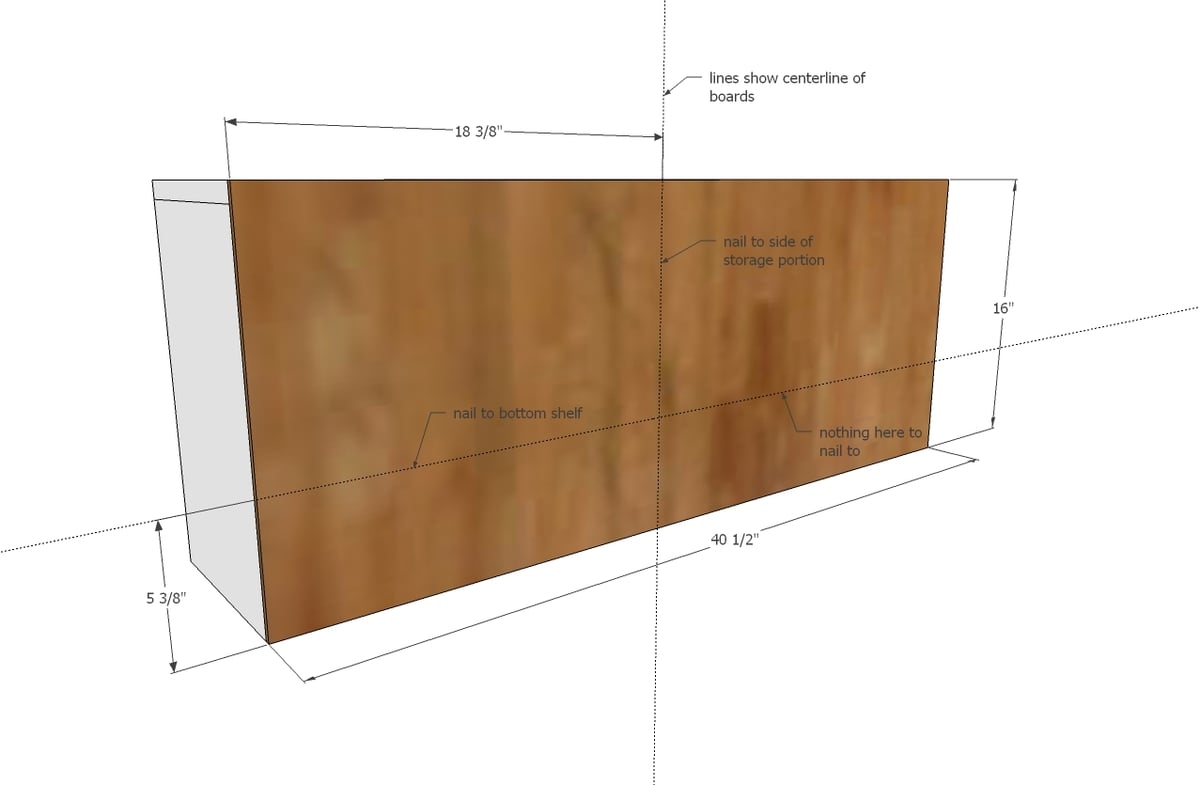
Cut back to fit and attach with 3/4" brad nails and glue.
Comments
sraper2
Mon, 05/09/2016 - 14:46
It's so beautiful! I might
It's so beautiful! I might have to try to make it a desk with two work stations for my daughters!