Why I Built this Project
My kids love knee hockey. They get their mini sticks out and disappear for hours. Friends come over and they have tournaments and shootouts and series.
We tried using an iPad app as a scoreboard, but this takes set up time, batteries must be charged, and the screen lock has to be turned off so the screen doesn't keep timing out on them. Such a pain.
We tried an electronic scoreboard, but the problem was it had a tiny remote that always got lost, and took setup time and use. So the kids just wouldn't bother using it.
The kids needed a scoreboard so simple to use, that it was worth using. And if it looked like a big time scoreboard, they'd want to use it.
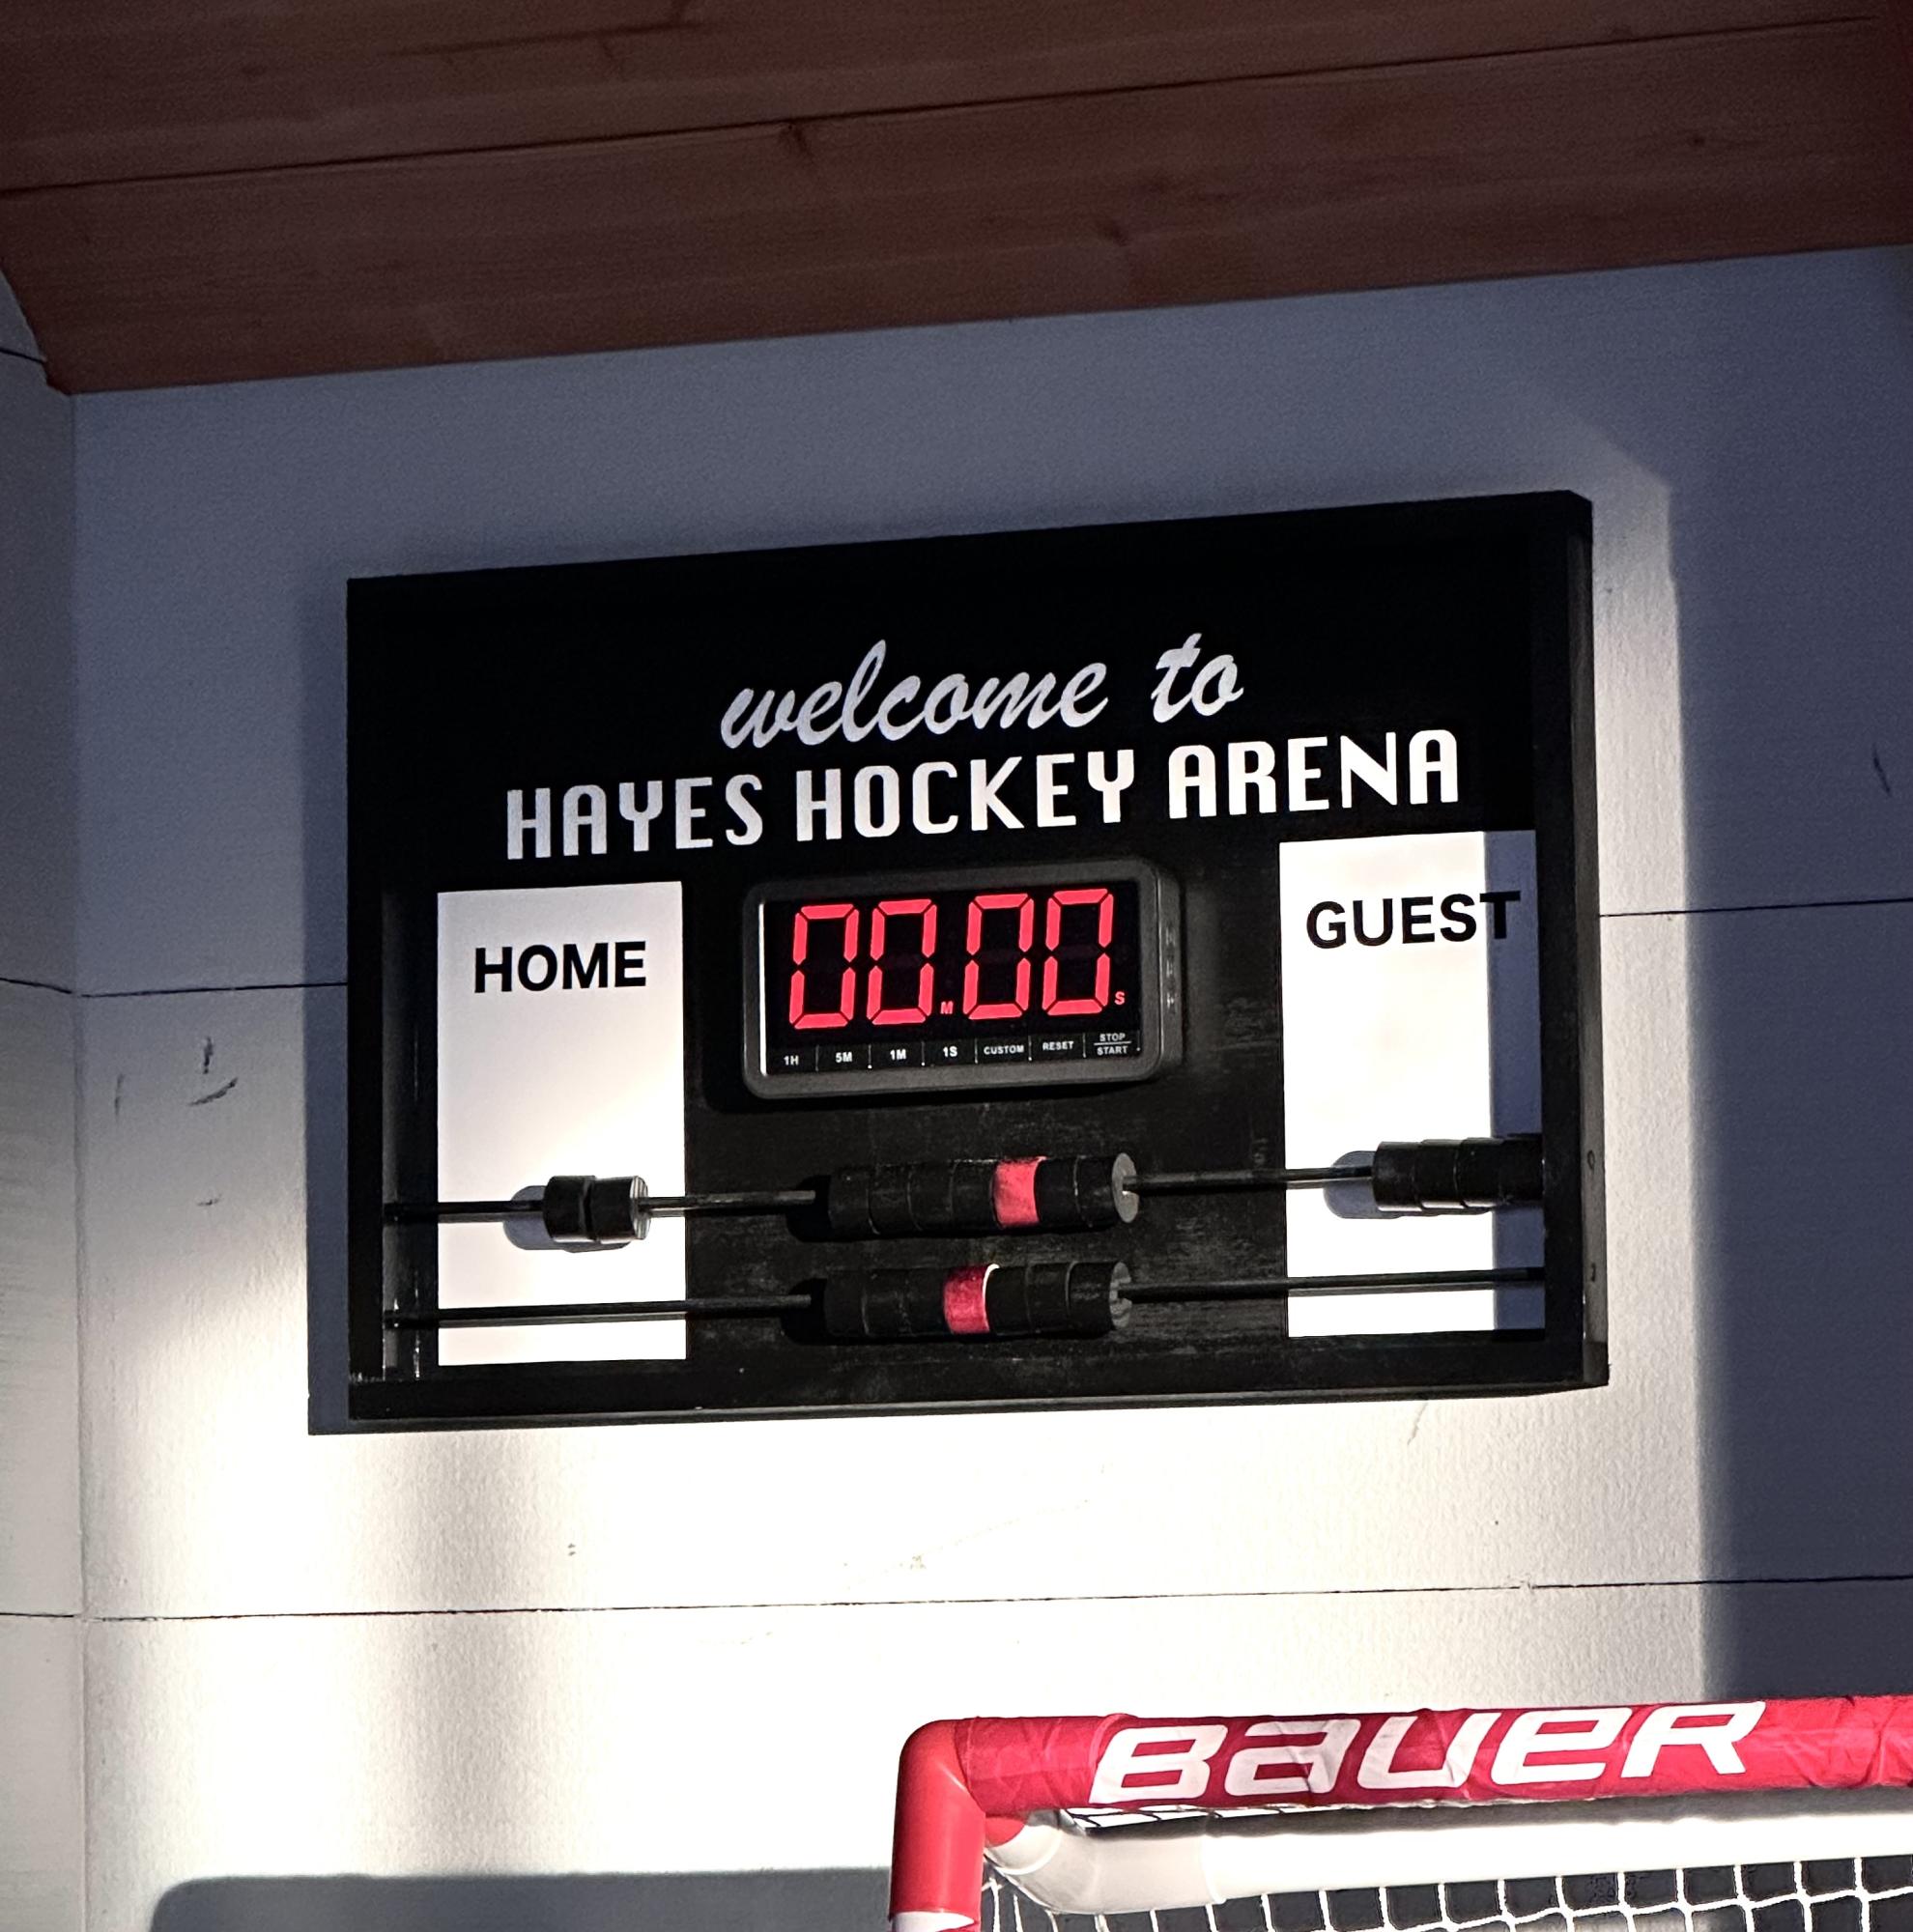
With some scrap wood pieces, black spray paint and a kitchen timer, we made them this!
How I Built this Project
Here's how I built this project -
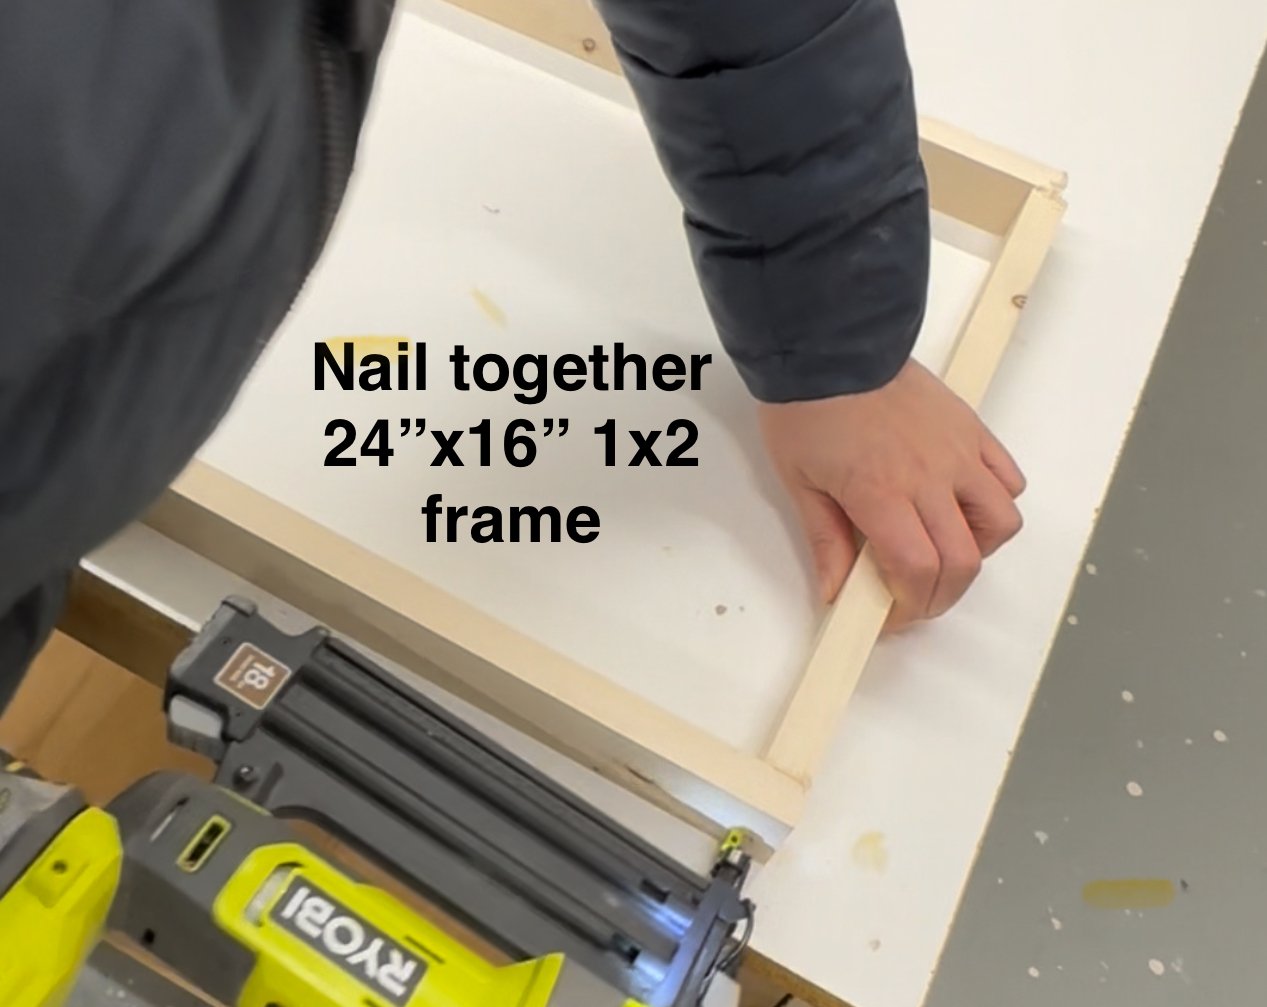
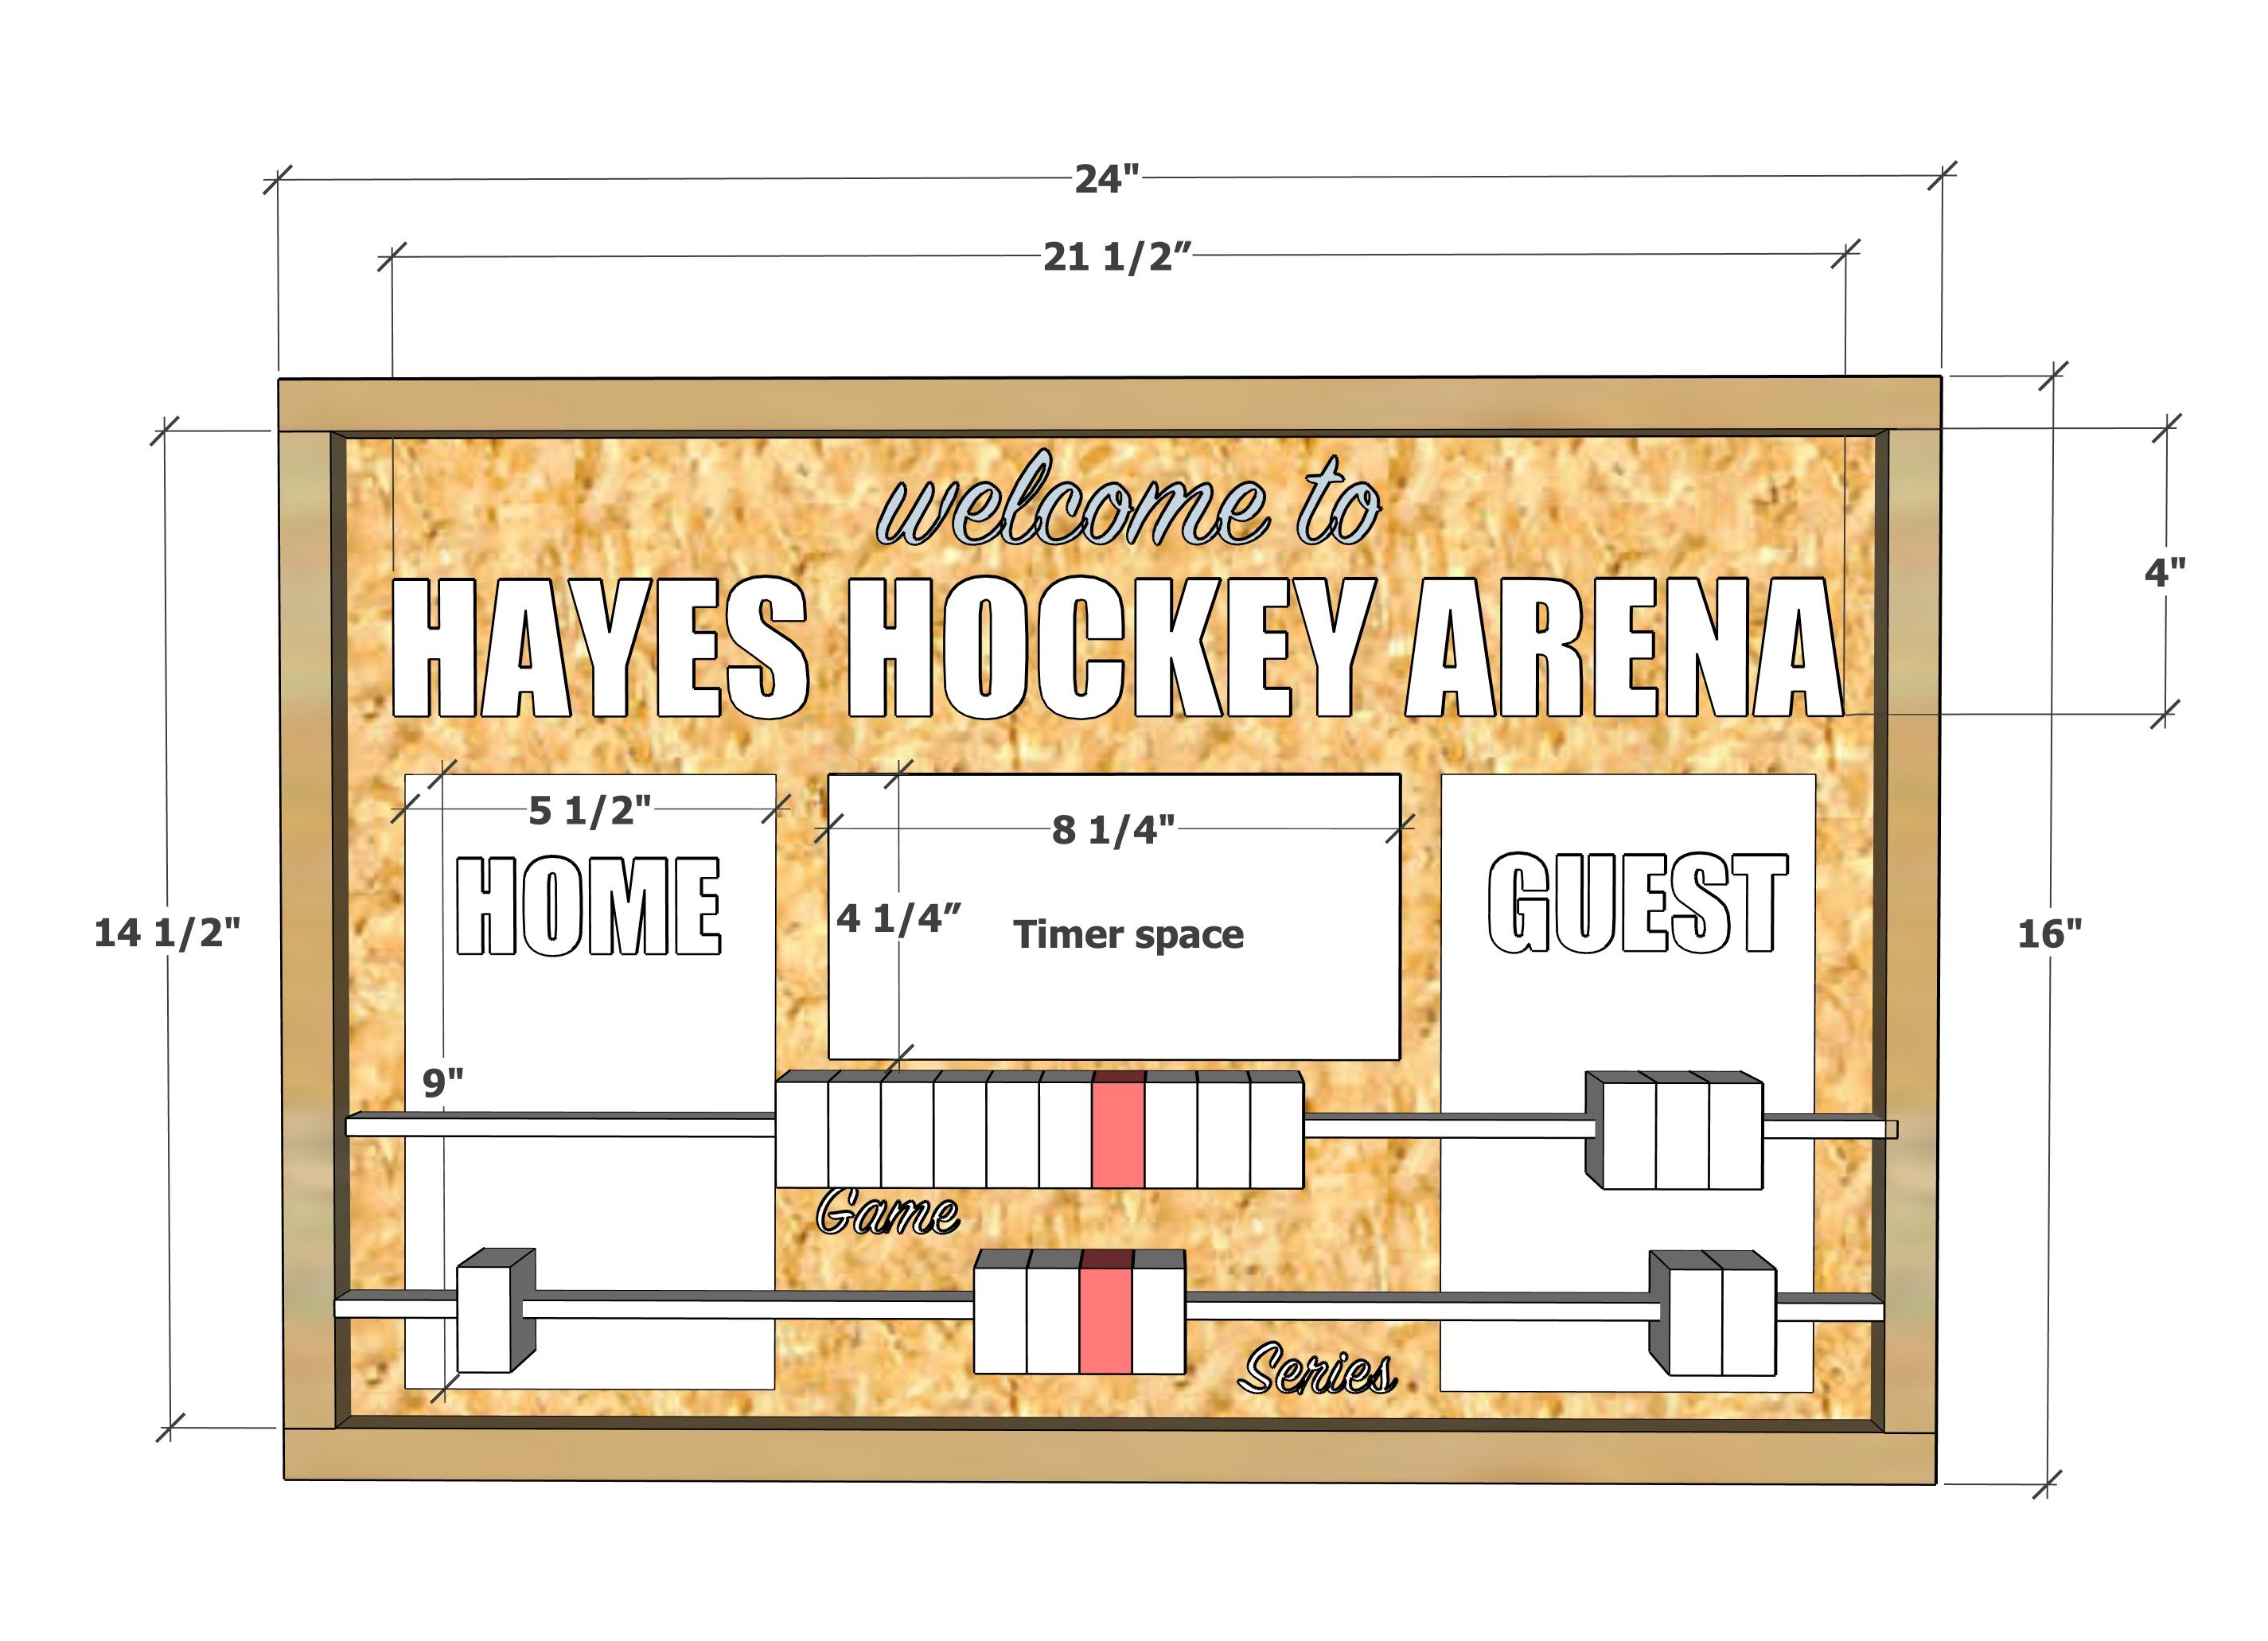
I cut 1x2 boards in 24" and 14-1/2" long and made a frame. I used glue and 1-1/4" brad nails.
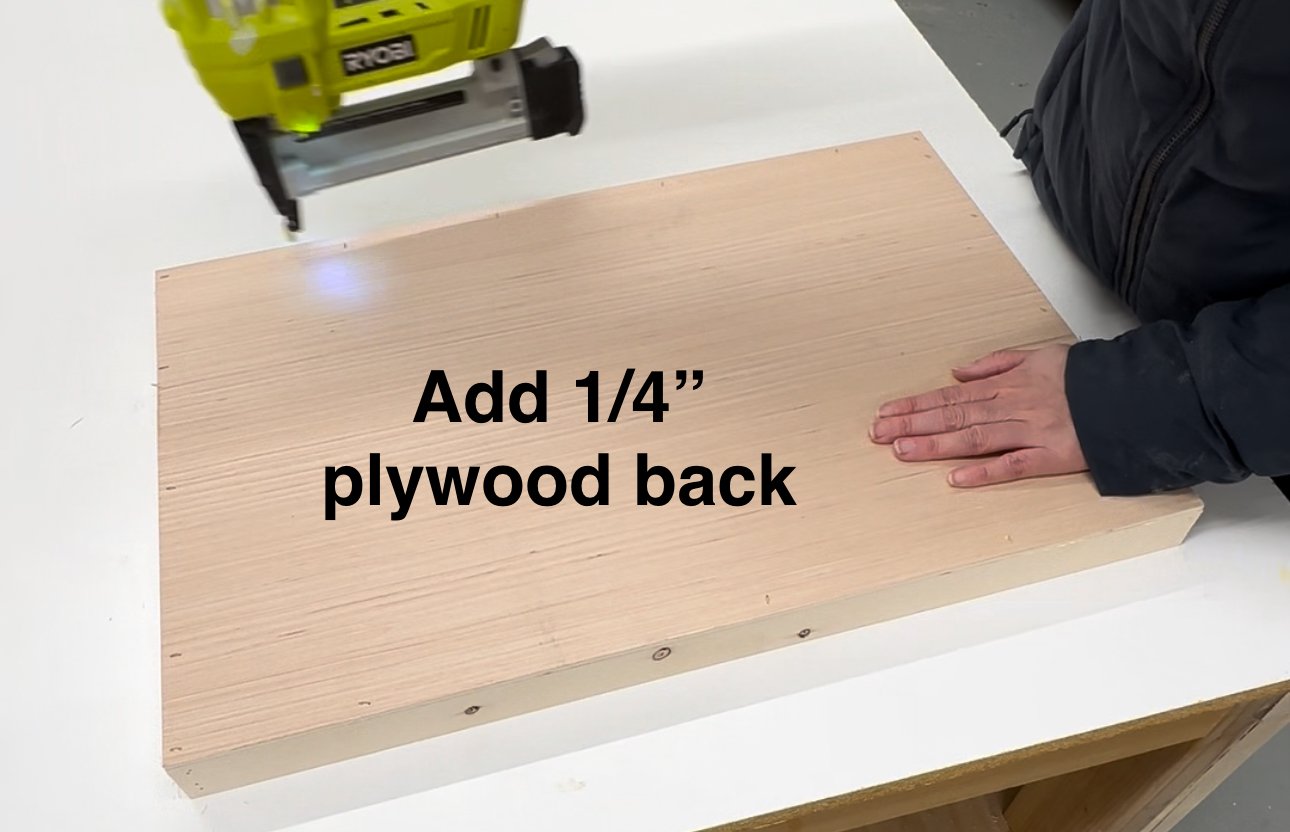
I cut a 1/4" plywood piece for the back and glued and nailed it on.
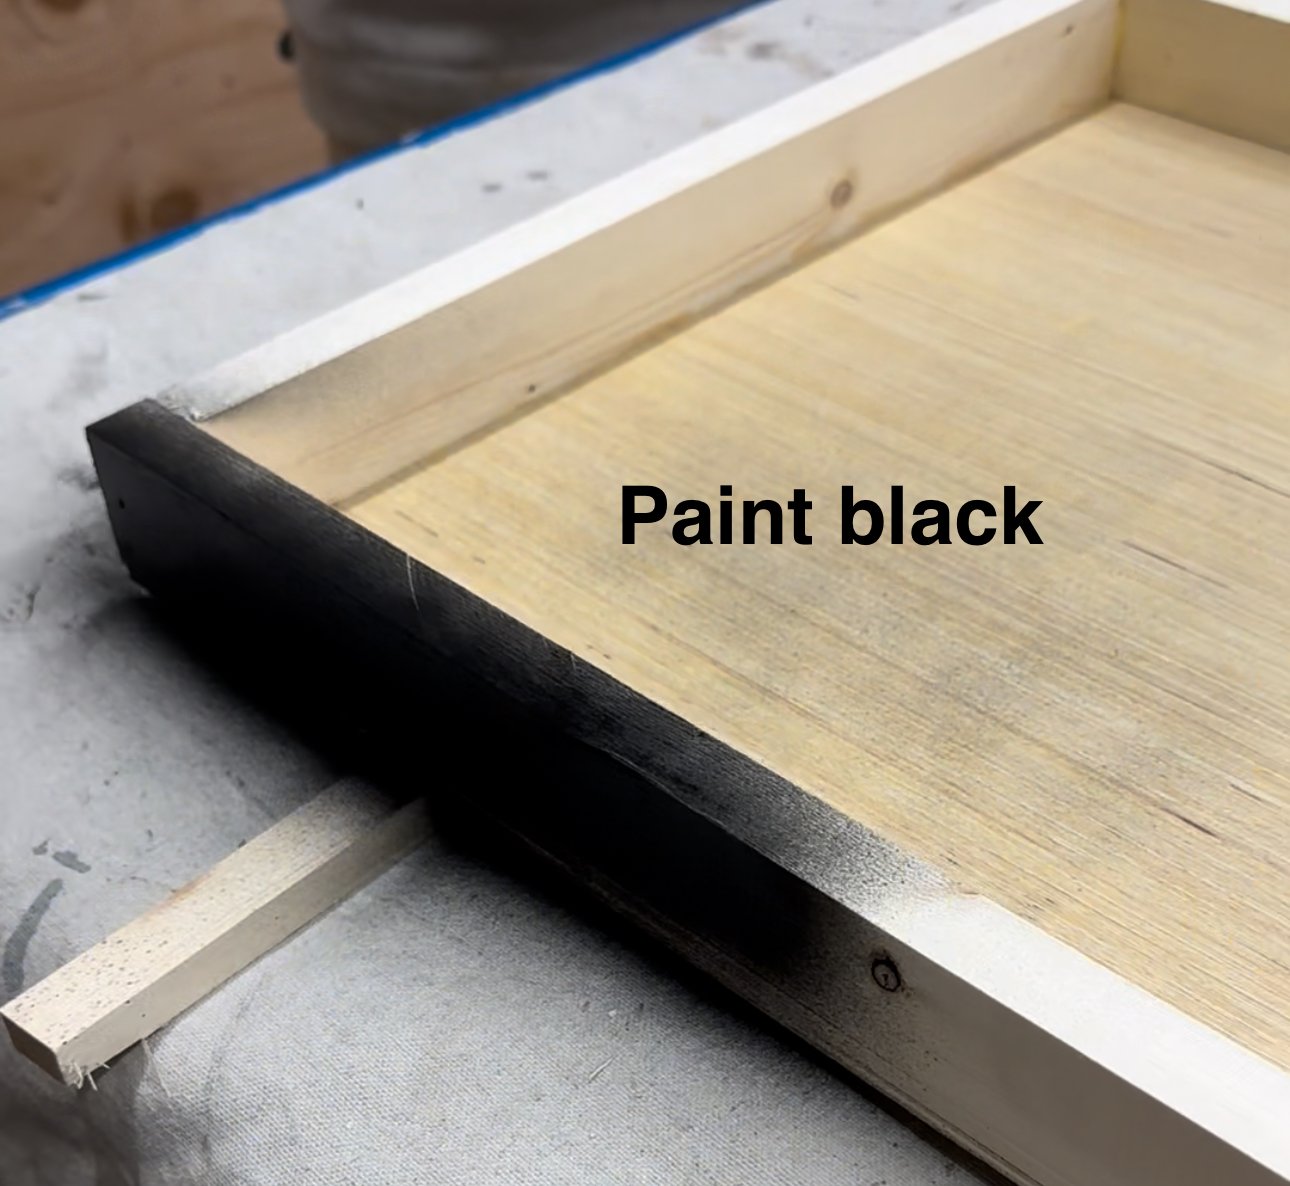
I spray painted the frame, back, wood wheels and rods with black spray paint.
The wood wheels I cut from a 1-1/4" wood dowel and drilled the centers out. You can also purchase wood wheels and use them instead. I painted all but two wheels black. The center wheels I painted red.
The metal rods I found at my hardware store. You could potentially use wood dowels, but the metal was more appealing to me since I wanted this scoreboard to take some use (and abuse). I painted the rods black too.
Okay, now for the vinyl lettering - this is what makes this scoreboard! And the good news is you can customize for however you like!
I have a Cricut Joy and I used it with white permanent vinyl to cut the lettering out for the header.
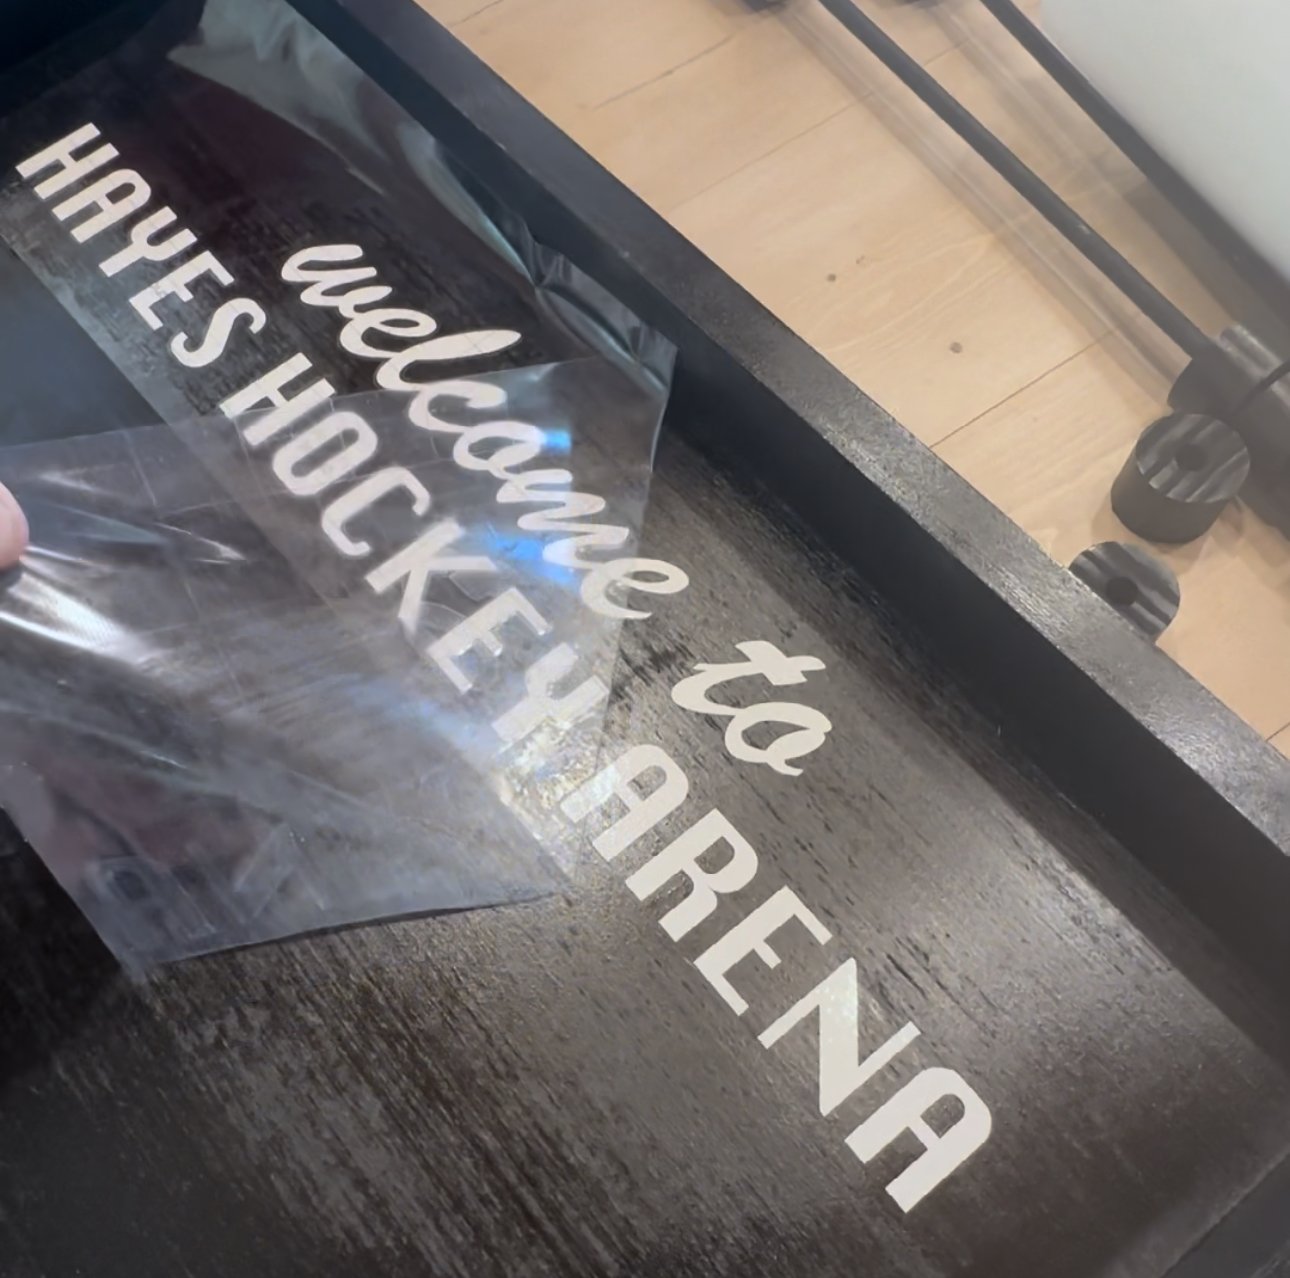
For the Home and Guest score boxes, I simply made a white vinyl block 5-1/2" x 9" and then cut out the "home" and "guest" lettering, so I didn't have to paint the white boxes on the black frame.
Then we drilled out for the rods, hot glued them in place (with the wood wheels on of course), and mounted the kitchen timer to the center.
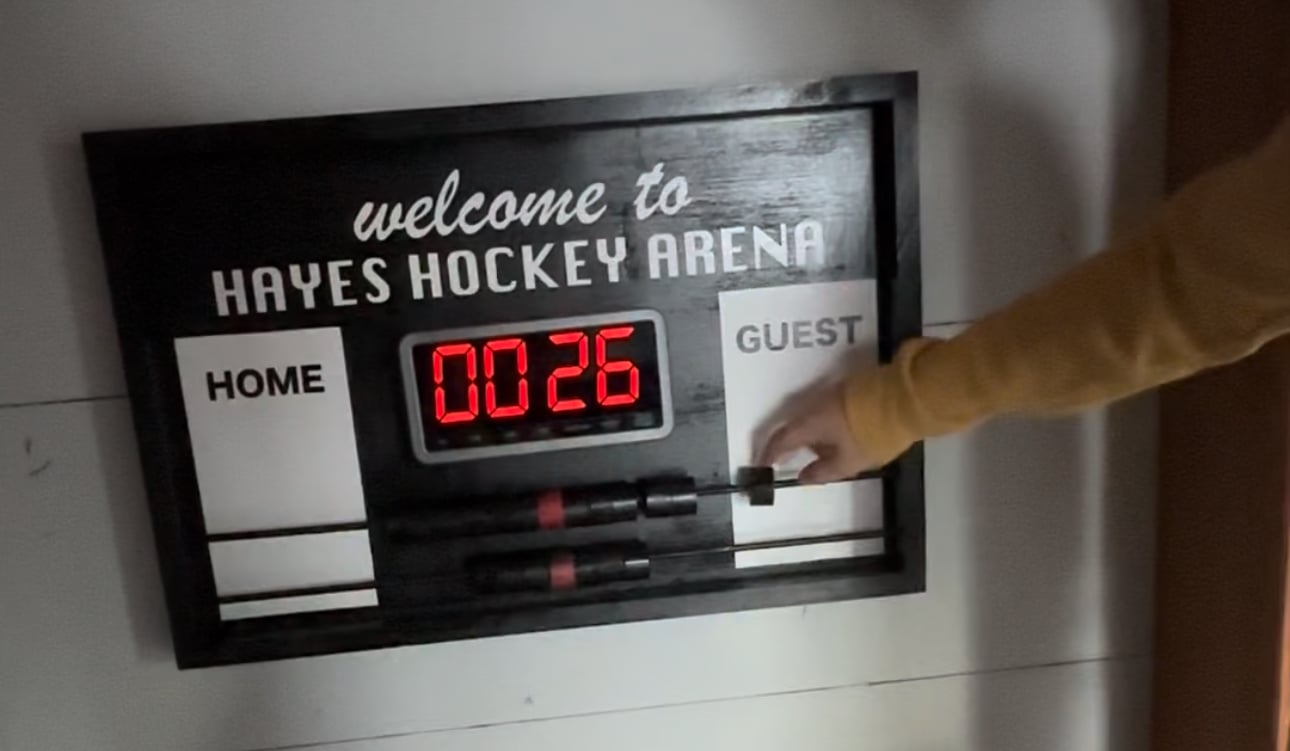
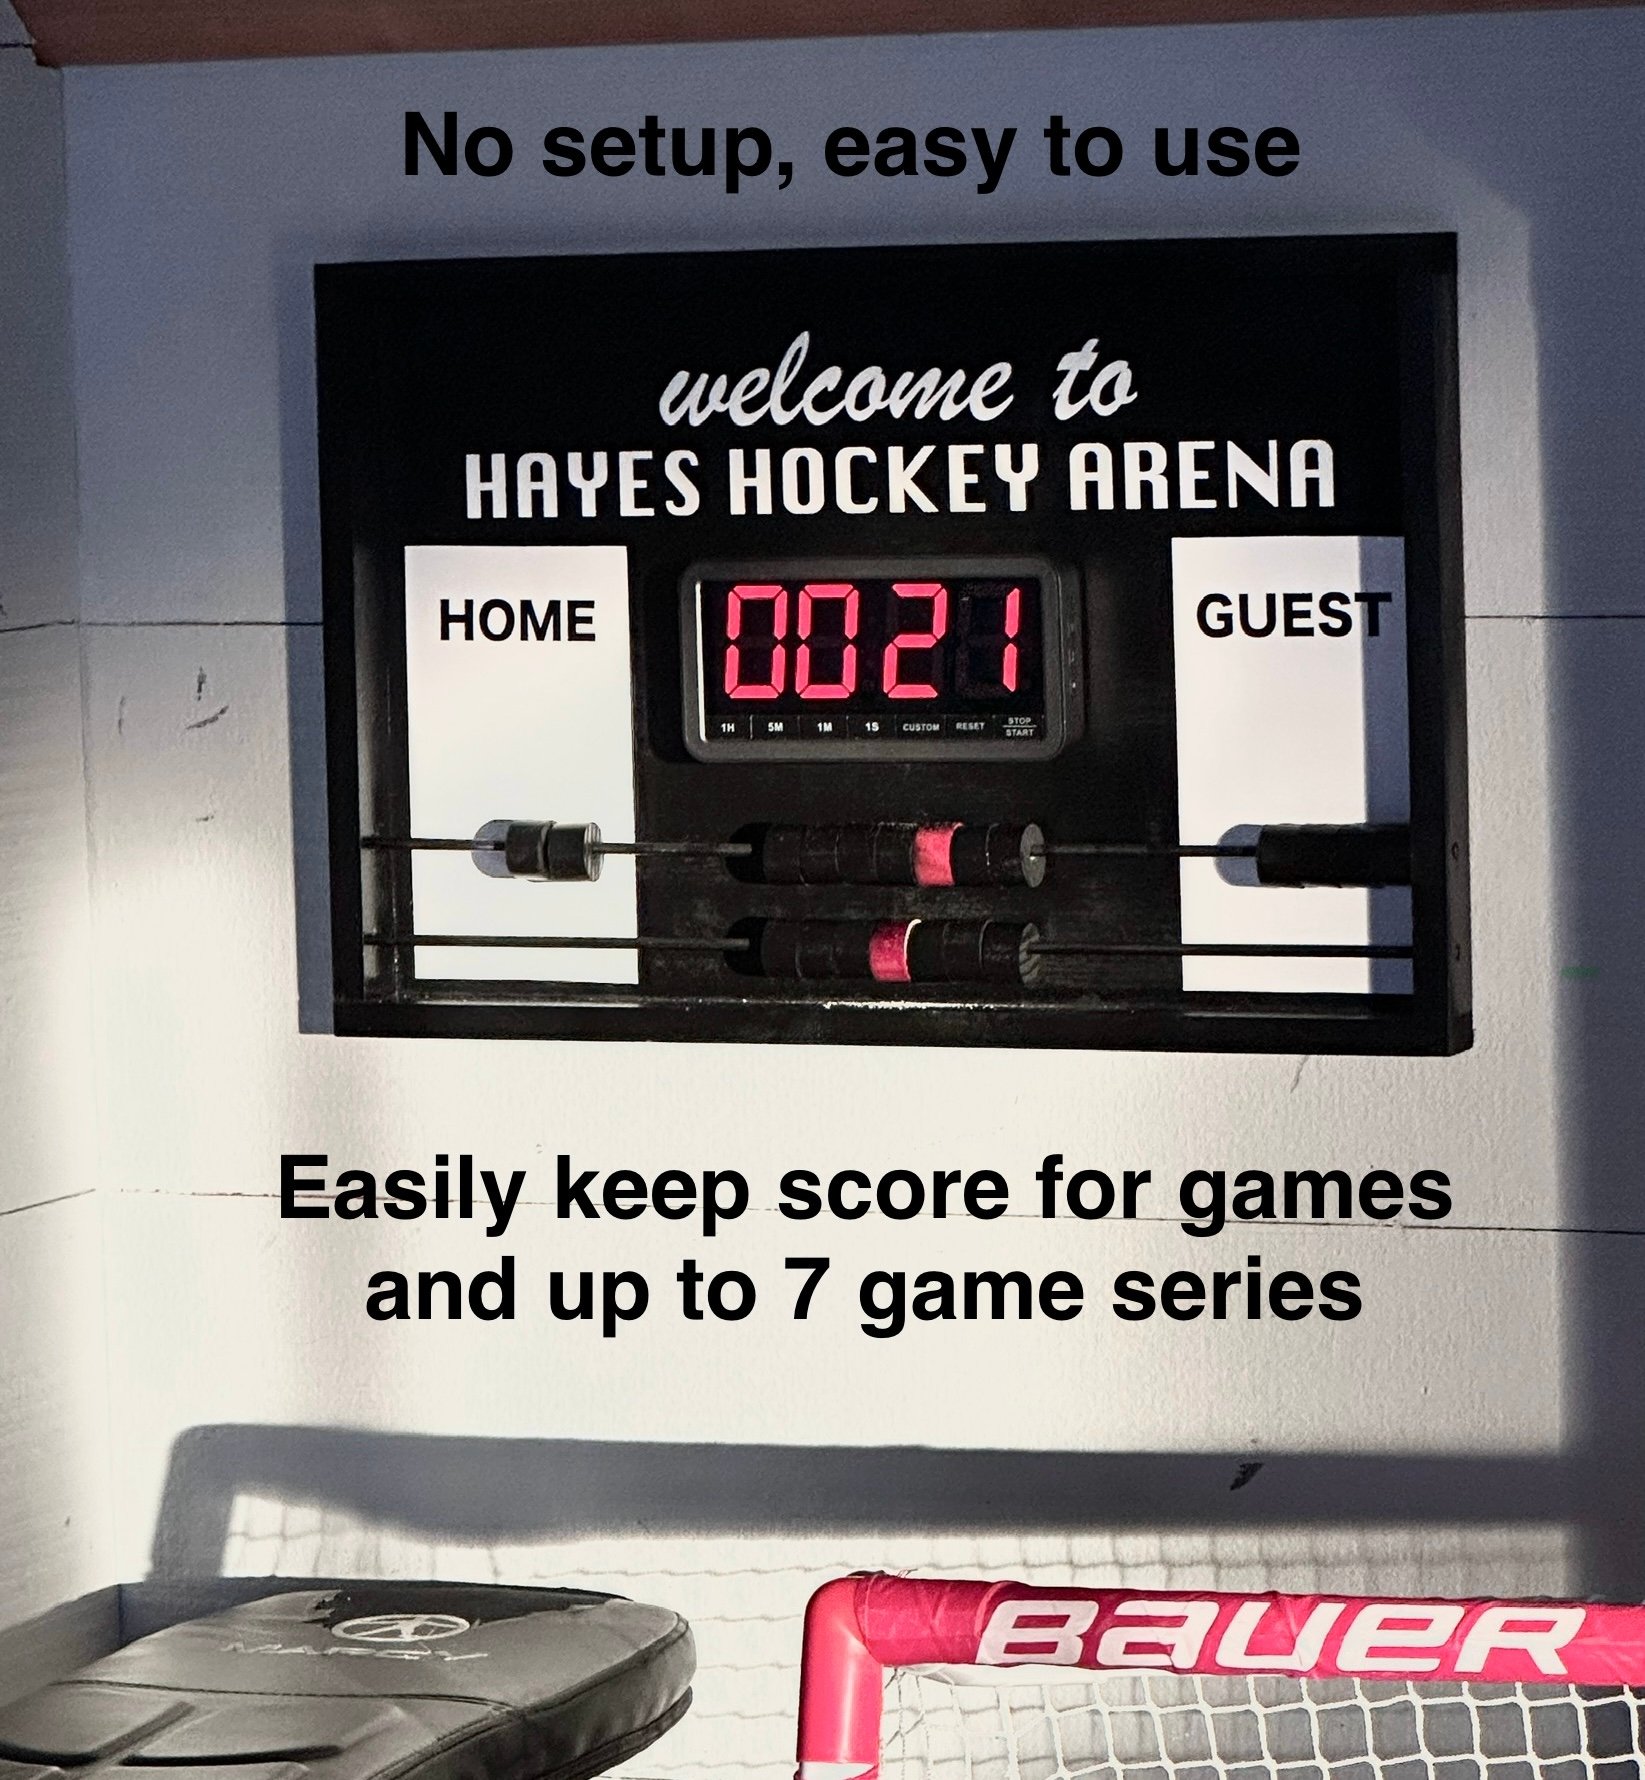
So how this works is the top bar is the "game" scoring. When a team scores, simply slide a wood wheel over to that teams white box. When the time clock runs out, whichever team has more wood wheels is the winner. Alternatively, you can play the first to seven, with the red wood wheel being the seventh score.
The lower row of scoring is for a series. When a team wins a game, they then get a series point on the lower abacus. I put seven wood wheels on our series scoring, the first to win four games wins the series.
Our goal with this scoreboard is for it to look like a real scoreboard and add an arena feel to the room, for it to work simply and without much setup, and even without power or batteries, so there are no barriers to using it.
The kids are loving it, and it's a fun decor element to their playroom!
Watch! Build Video for This Project
VIDEO COMING SOON
Free Plans to Build Your Own Personalized Home Scoreboard
The only way to get this home scoreboard is to make it! Here's the free plans with links to the materials I used. Thank you for using my plans, I'm glad we can help!
