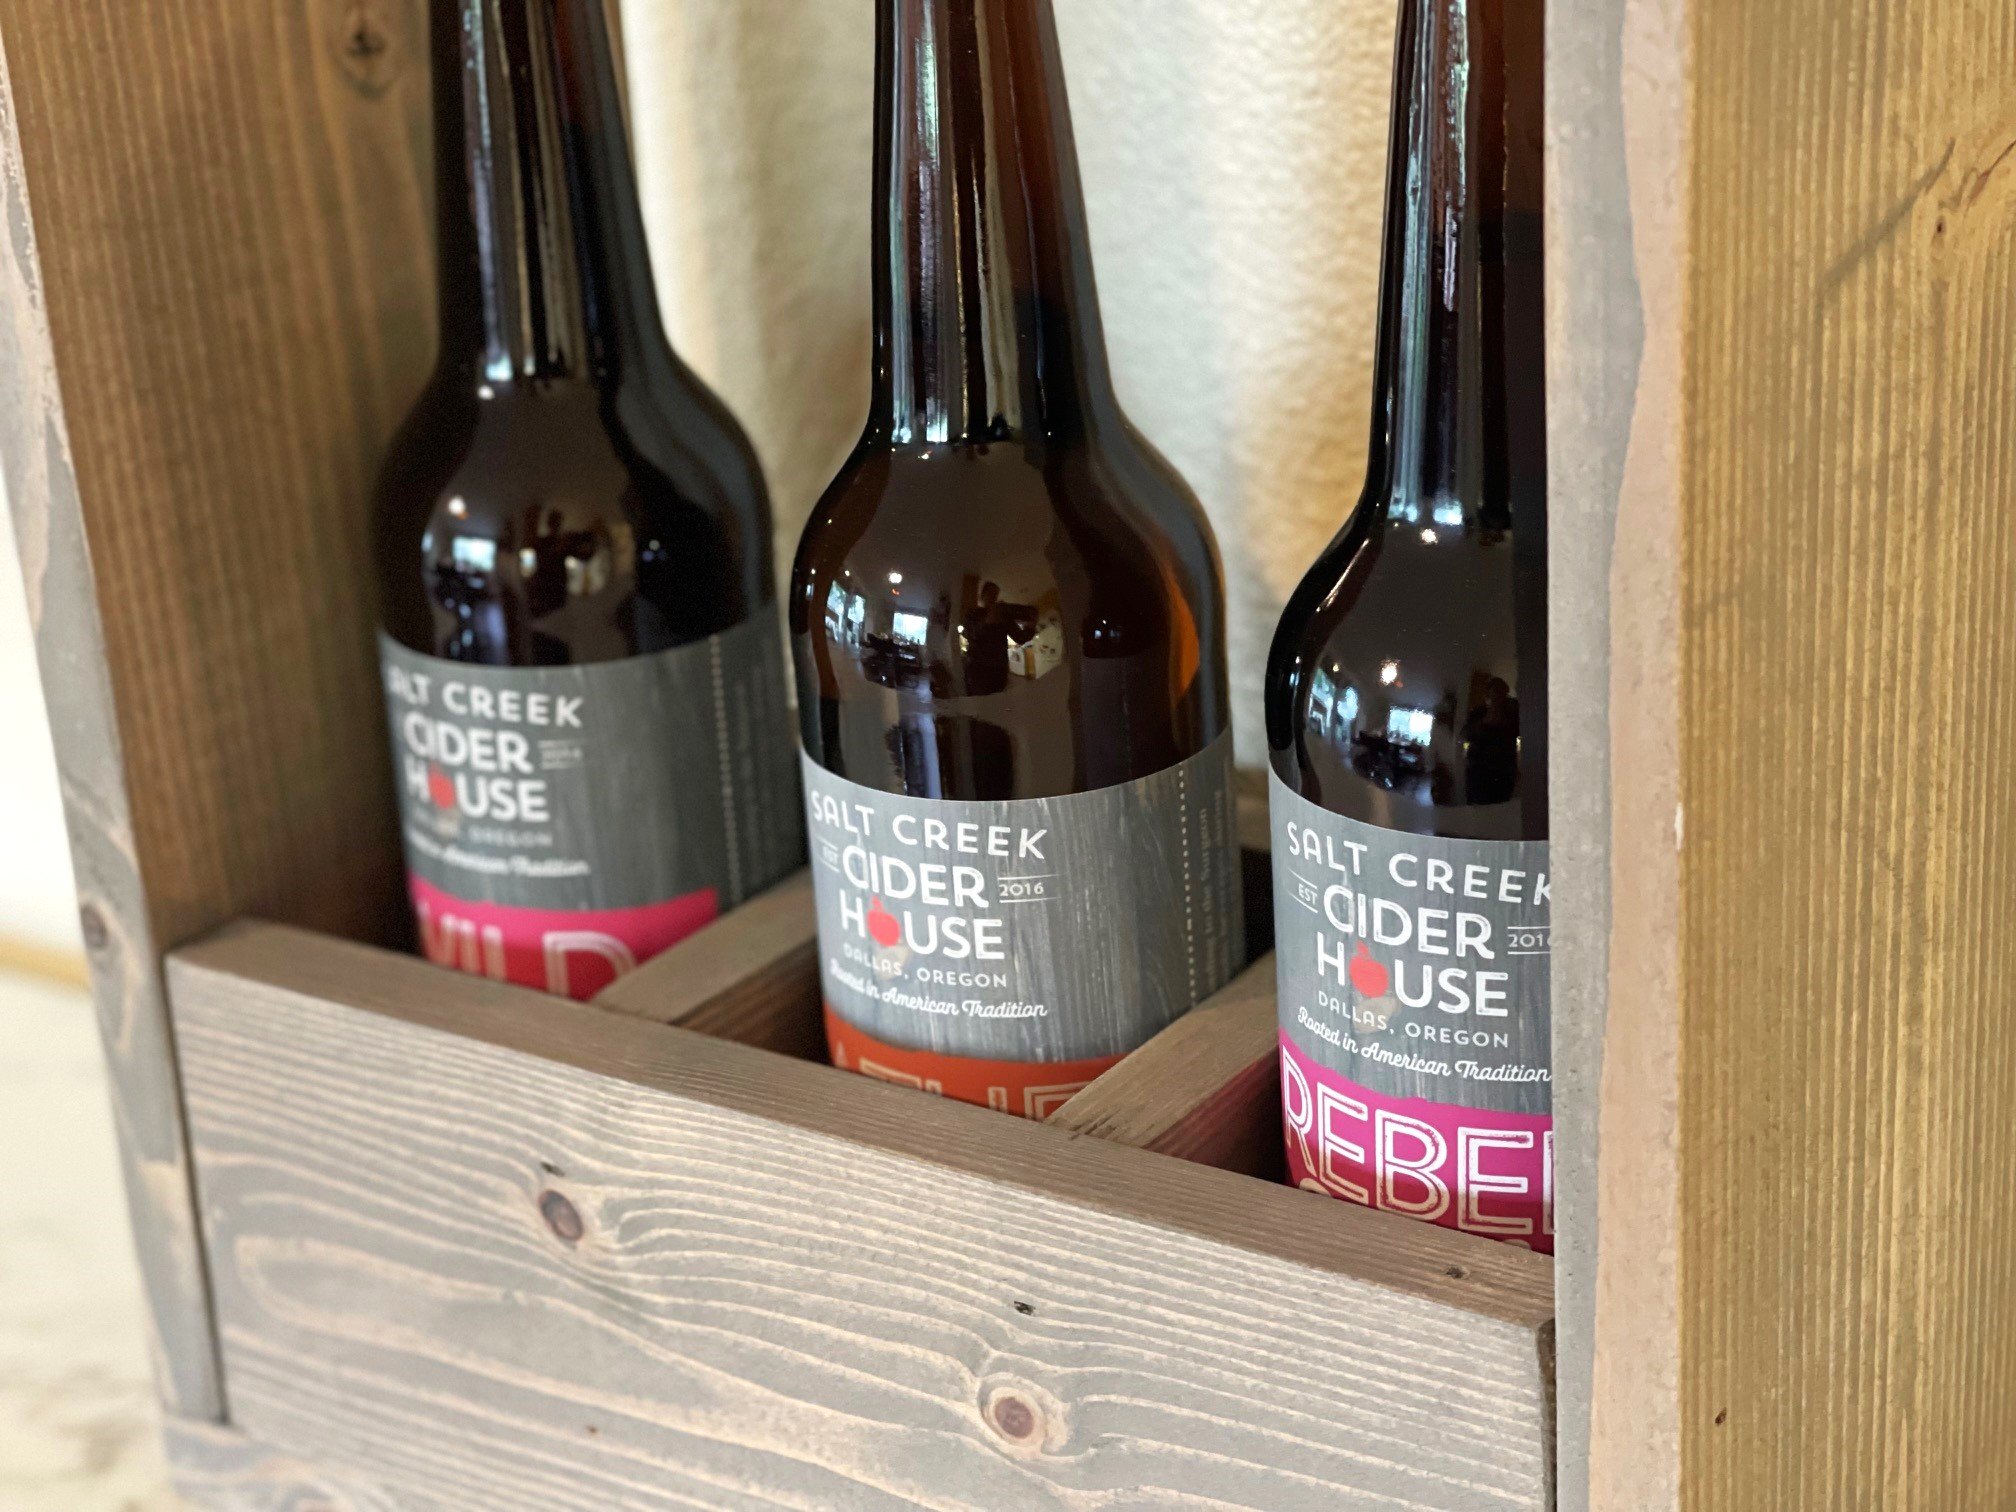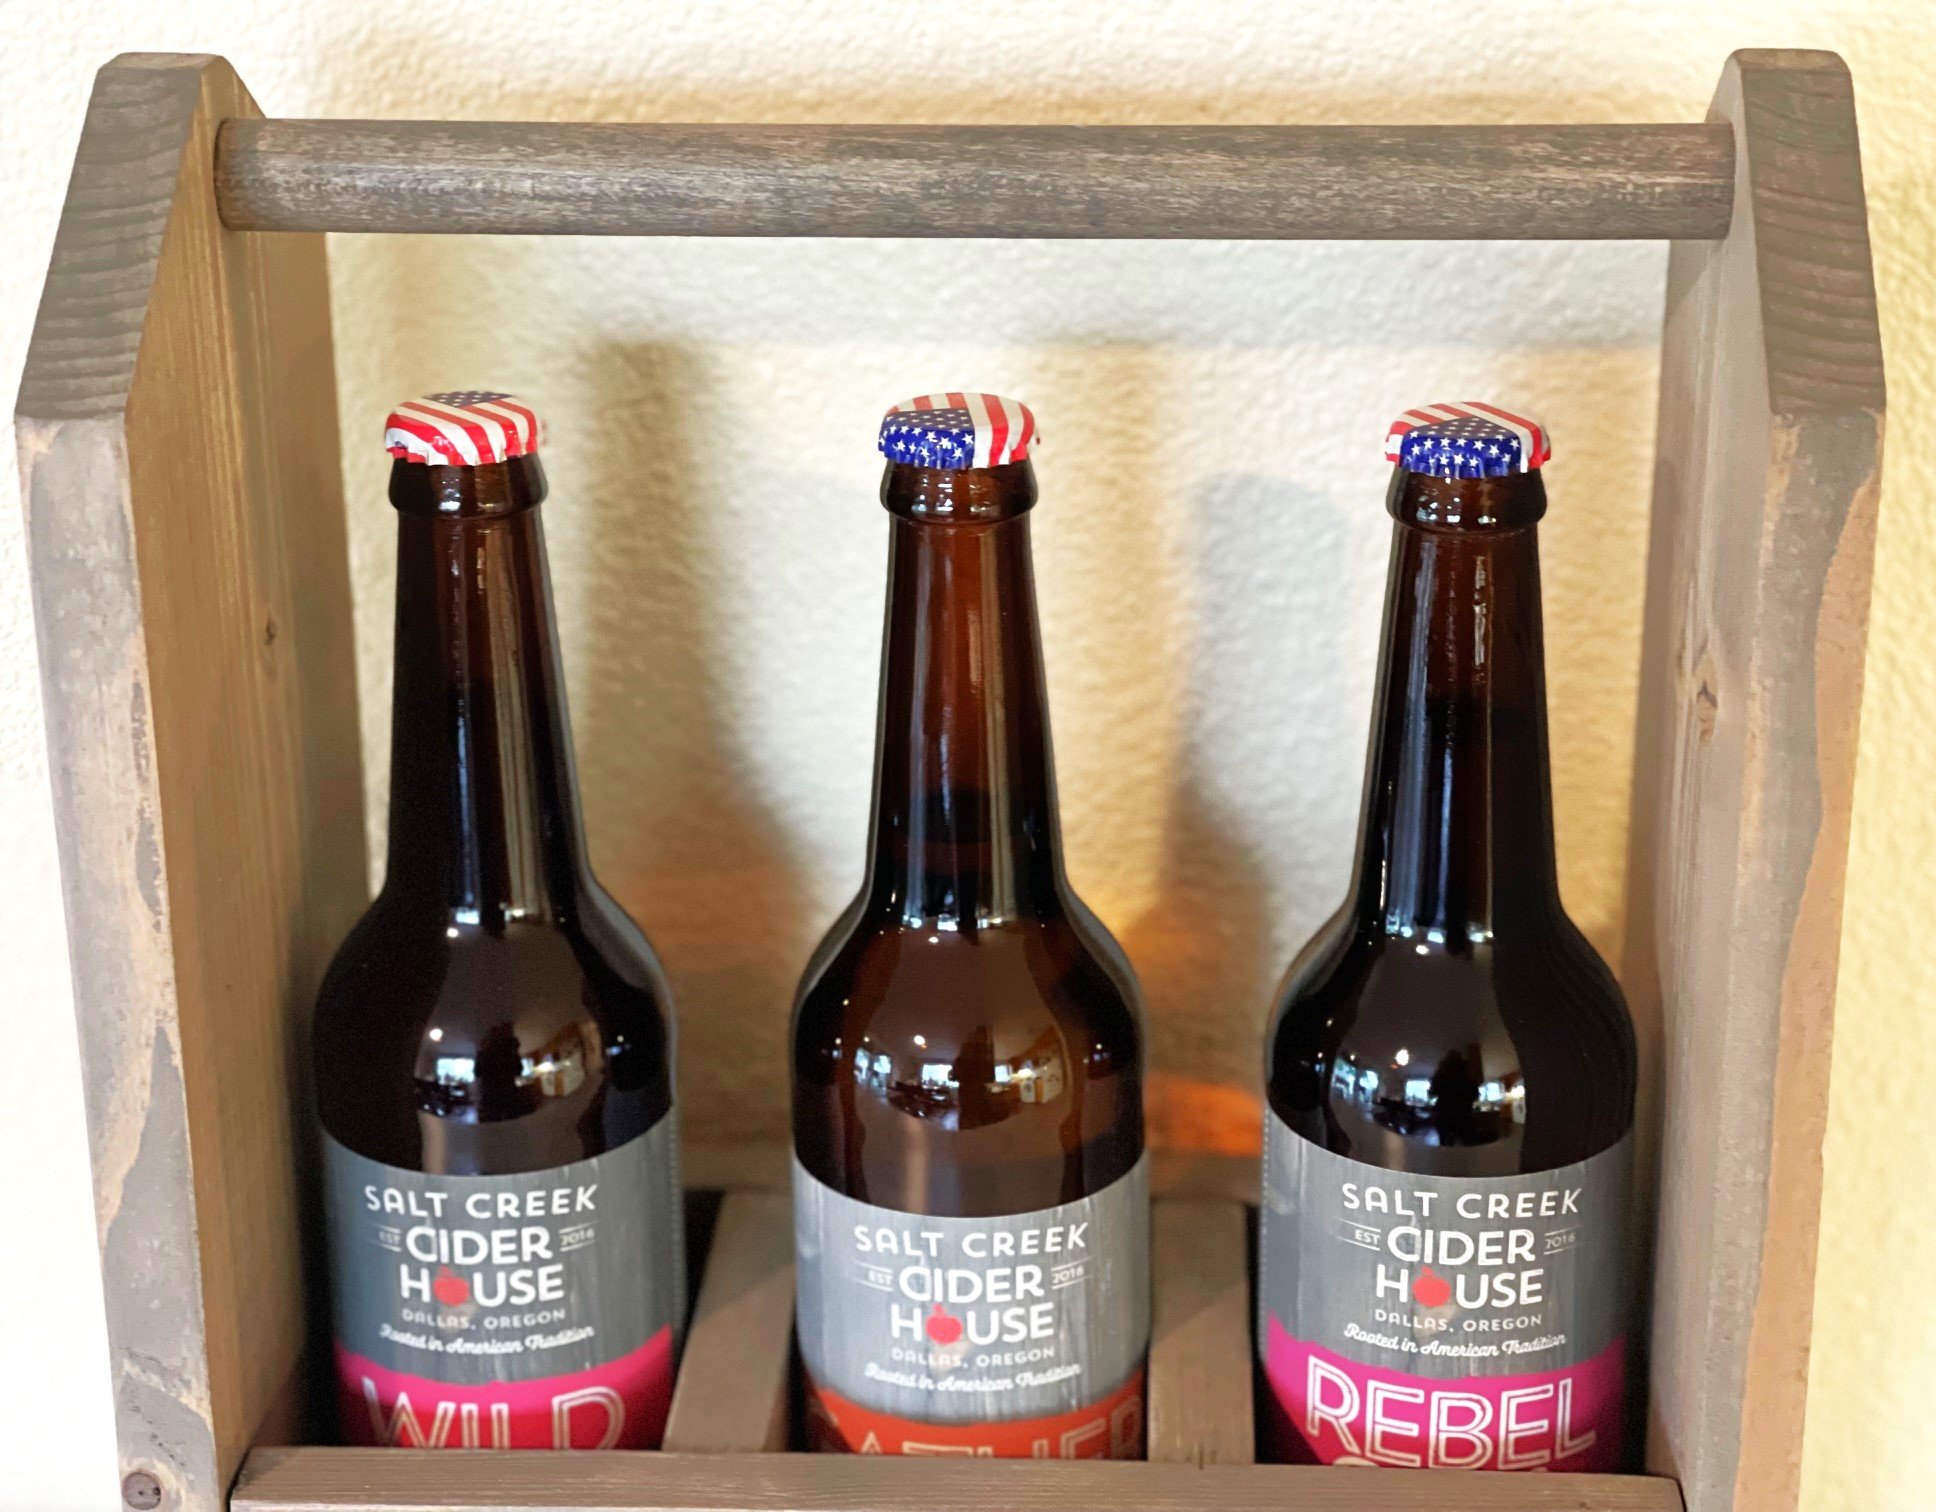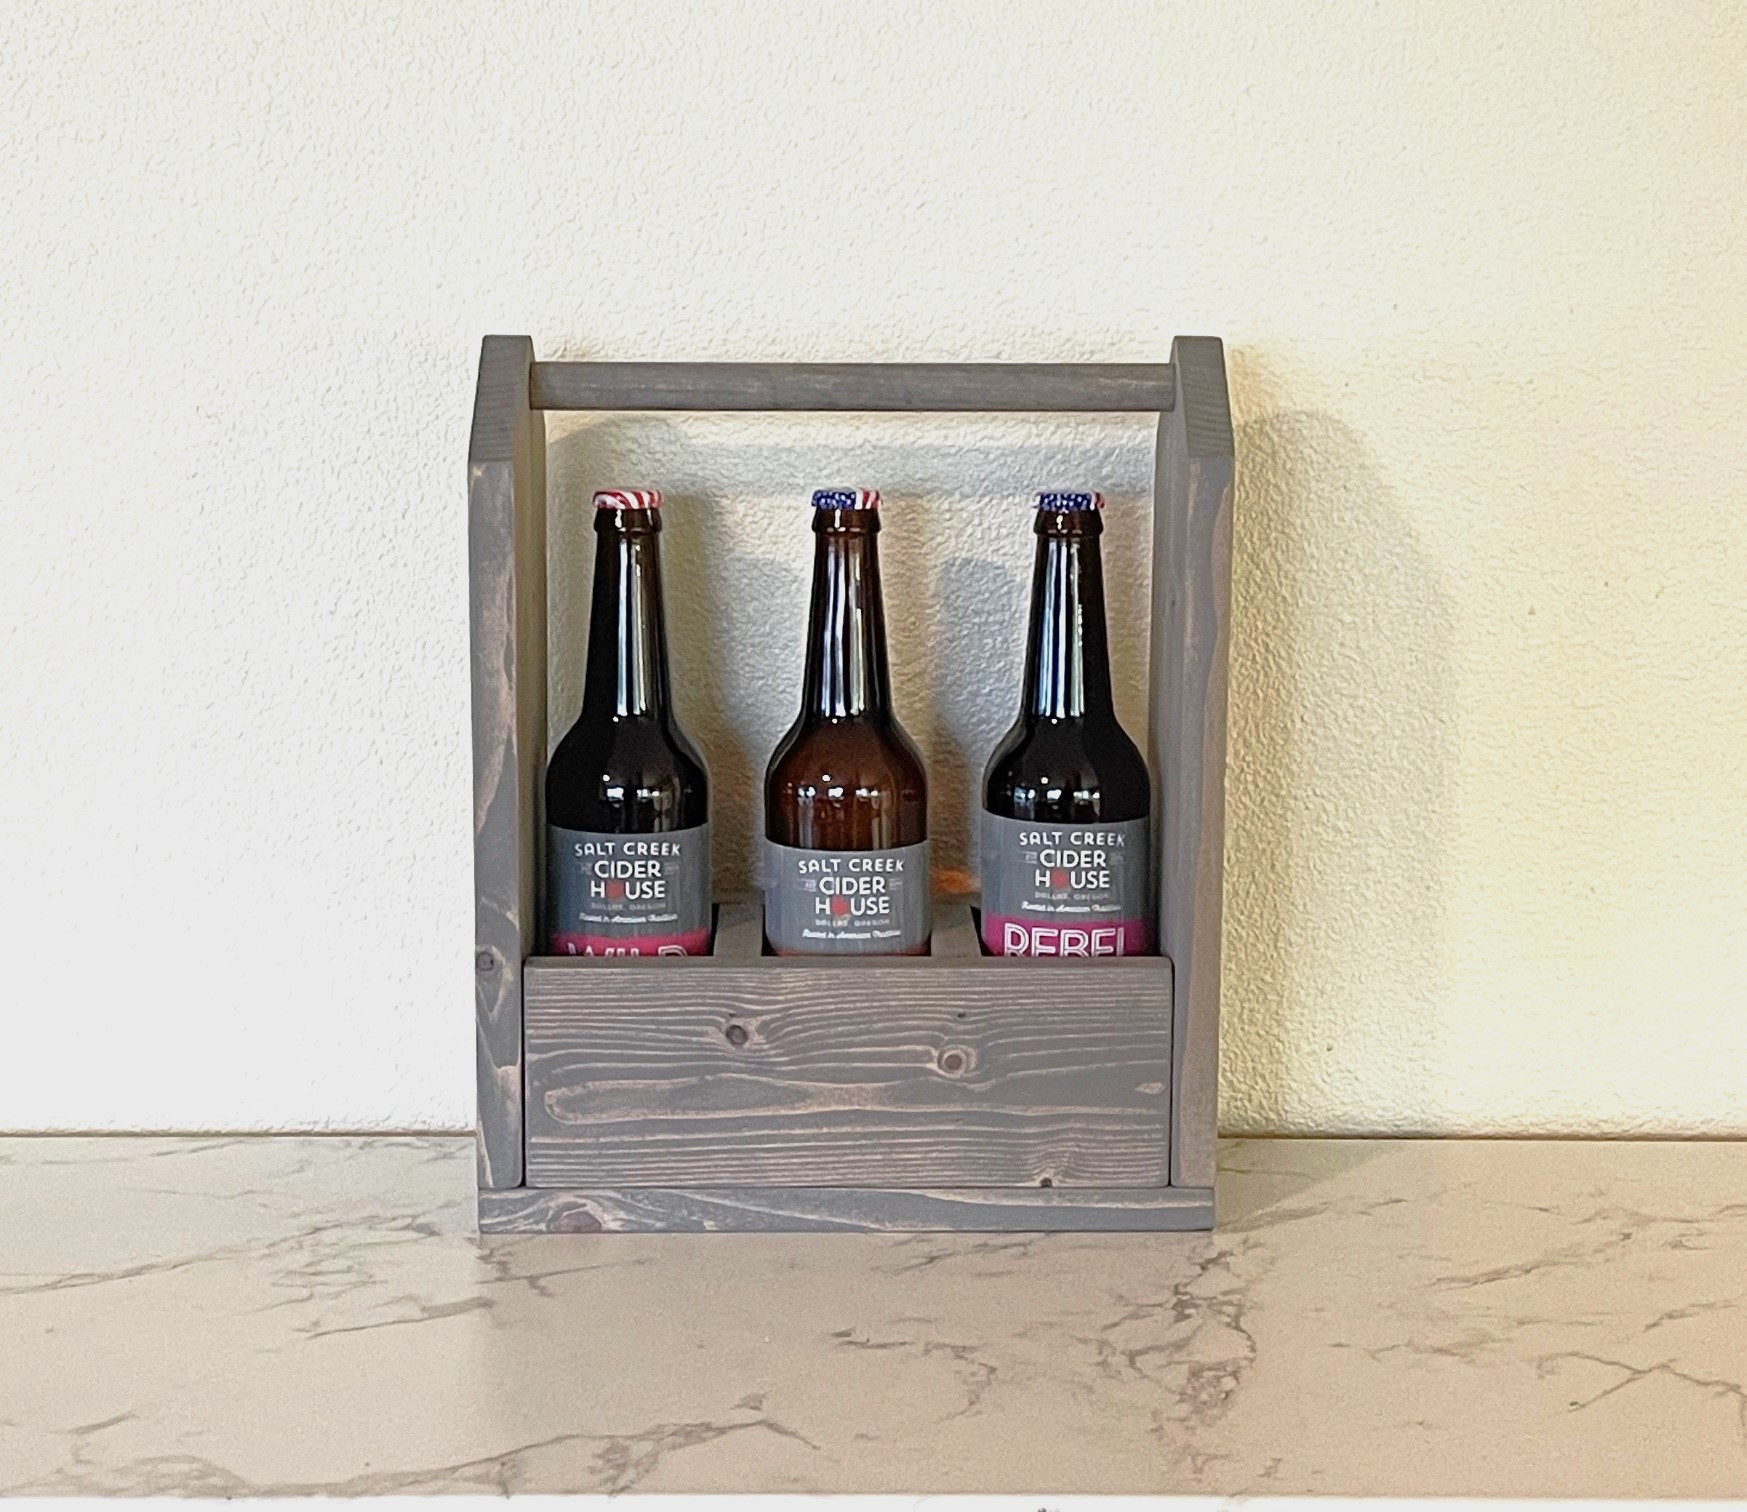
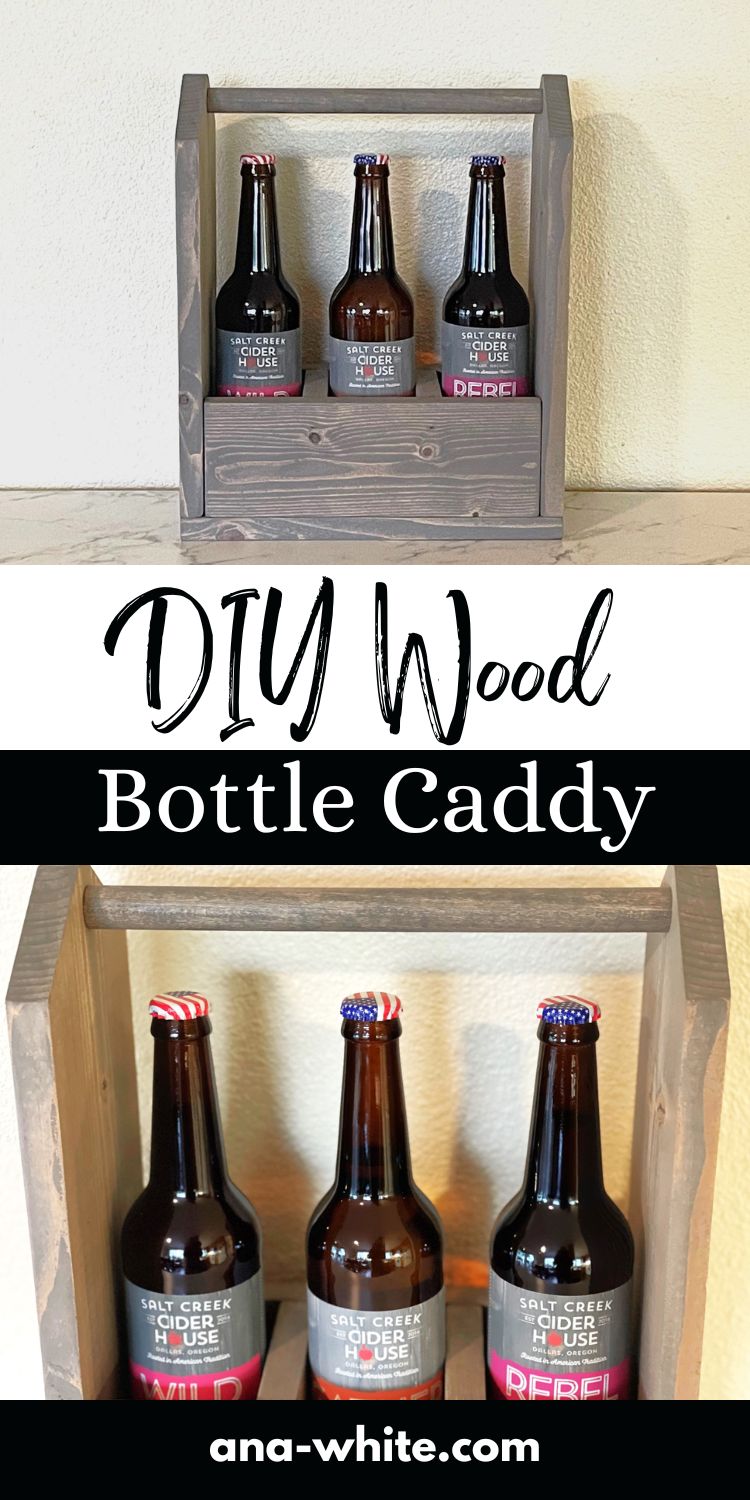
Build your own wood bottle caddy with free plans from Ana White! This simple to build project presents the cider in a beautiful carrier, and makes it portable. Great as a gift or decor.
Pin For Later!
Dimensions
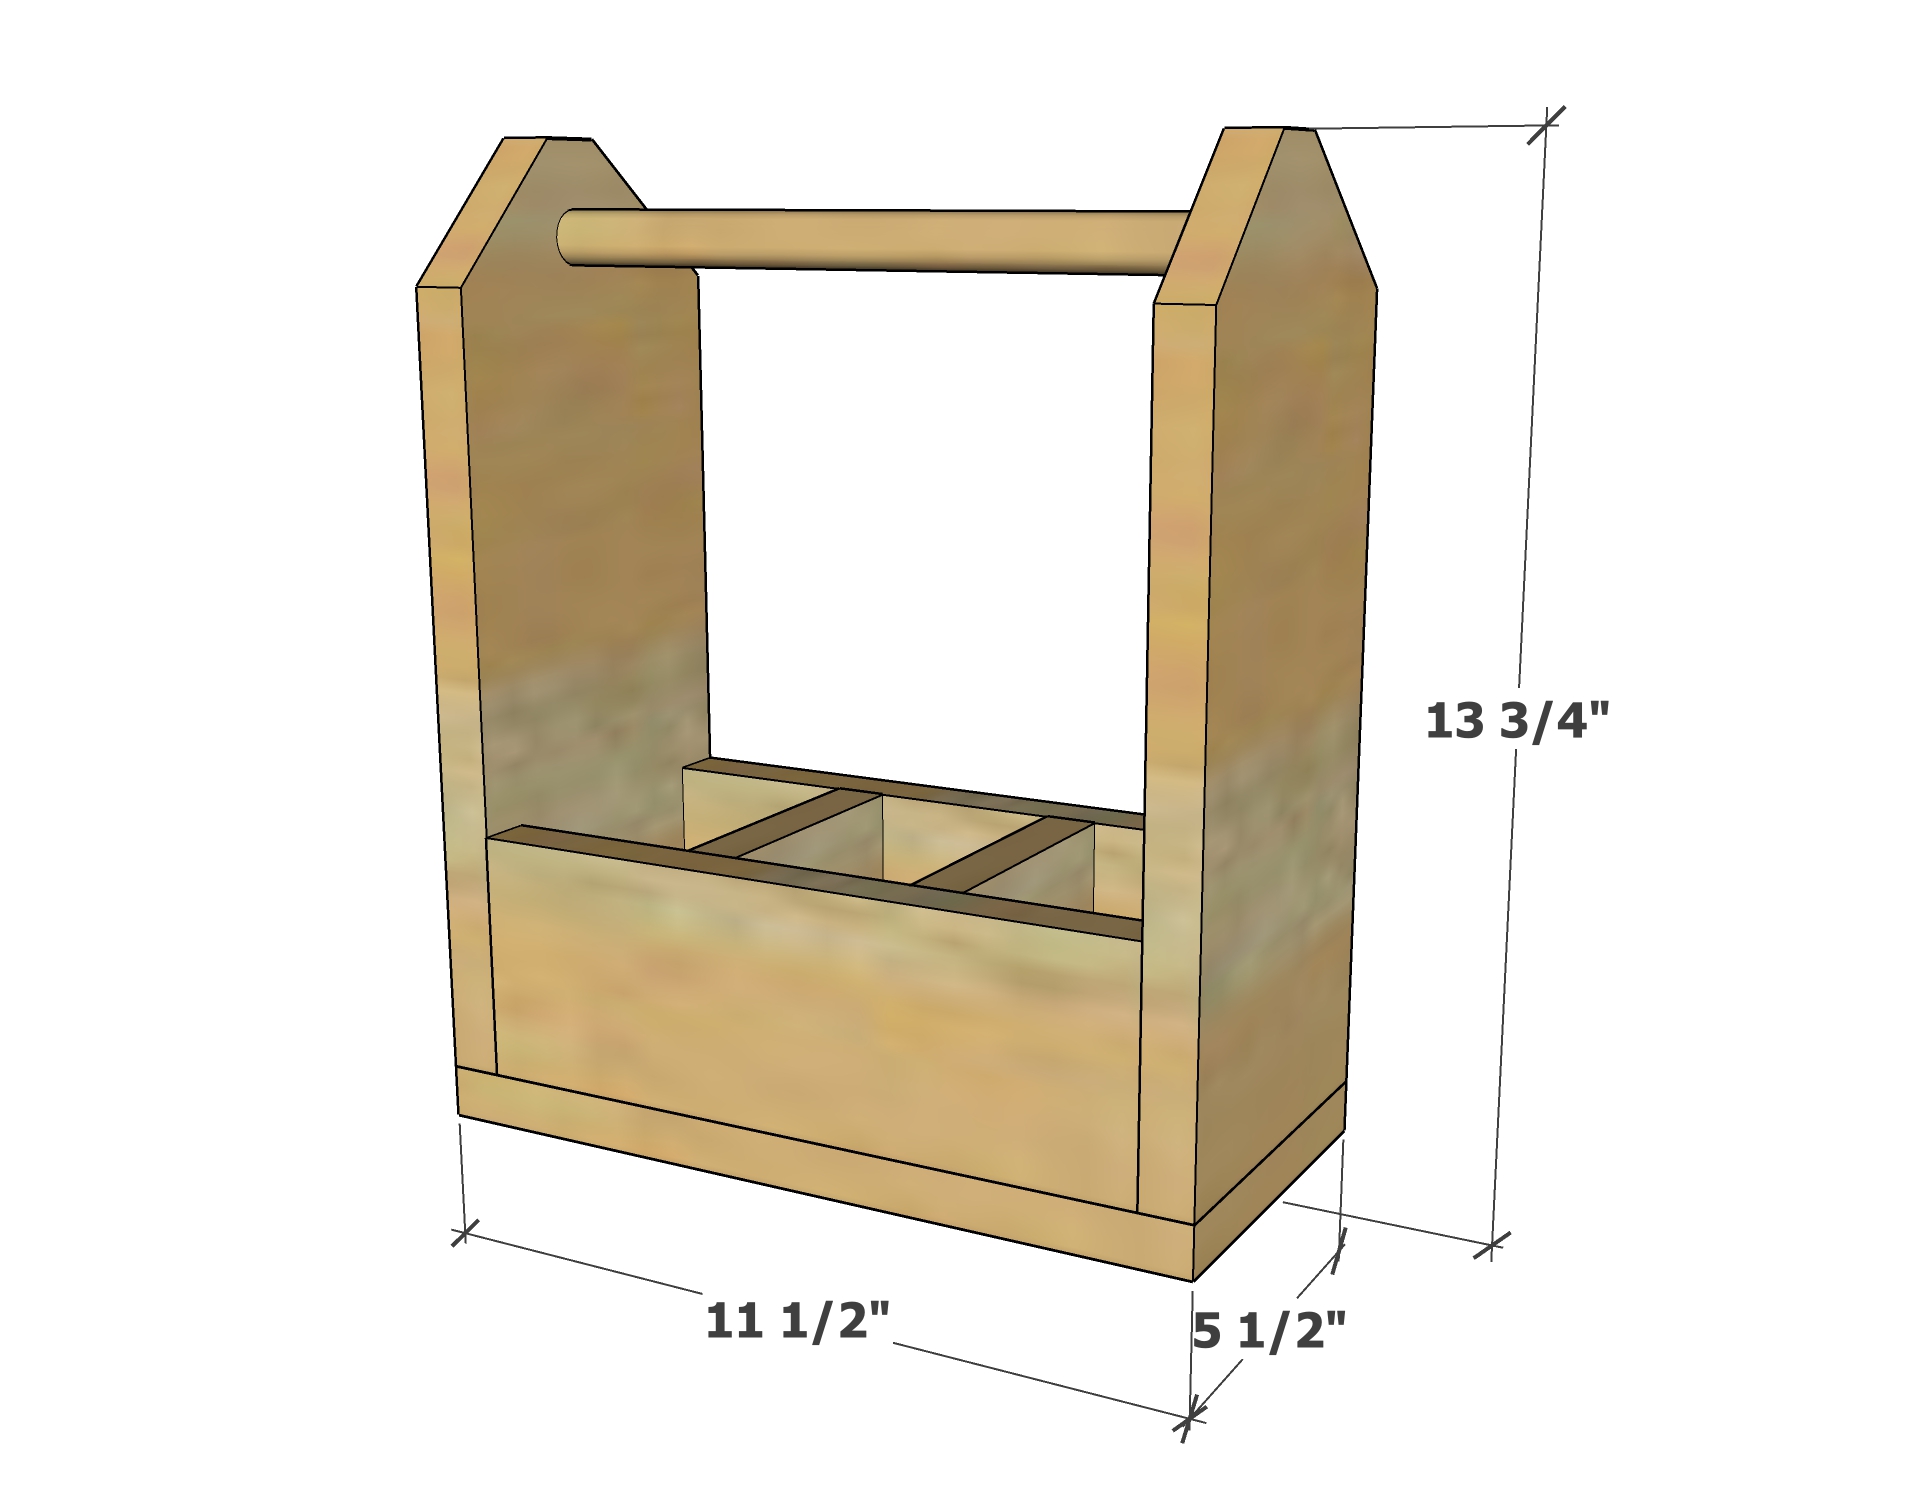
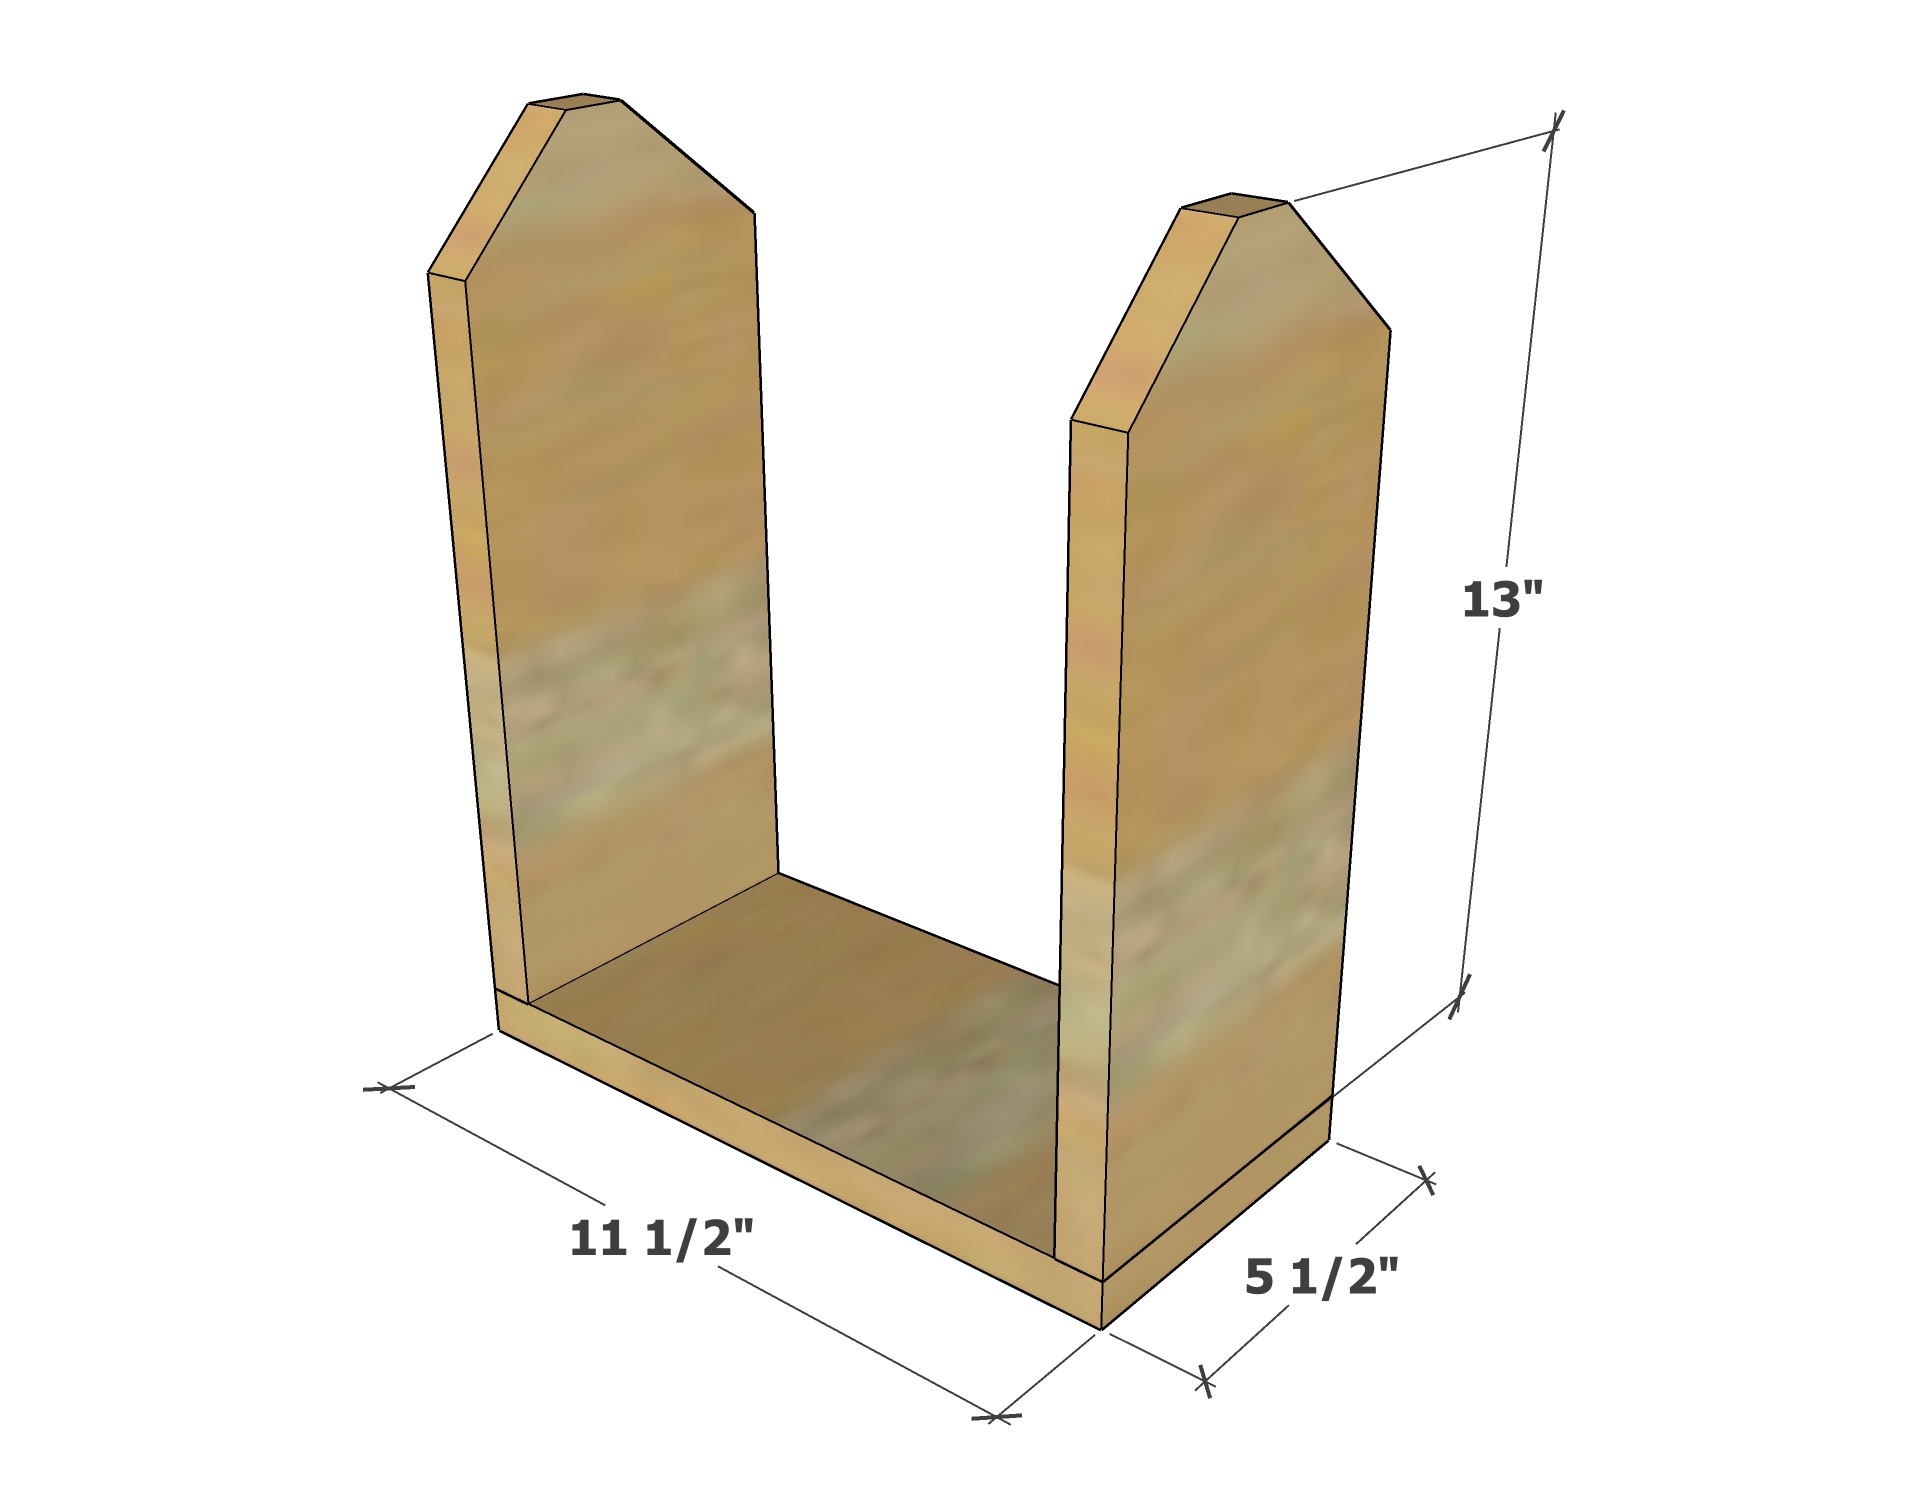
Dimensions as shown in photographs, can be modified for different sized bottles and number of bottles
Preparation
Shopping List
Shopping list as shown in photos and diagrams, adjust if bottle caddy is custom size
- 1 - 1x6 @ 4 feet long
- 1 - 1x4 @ 2 feet long
- 1 - 3/4" dowel @ 1 foot long
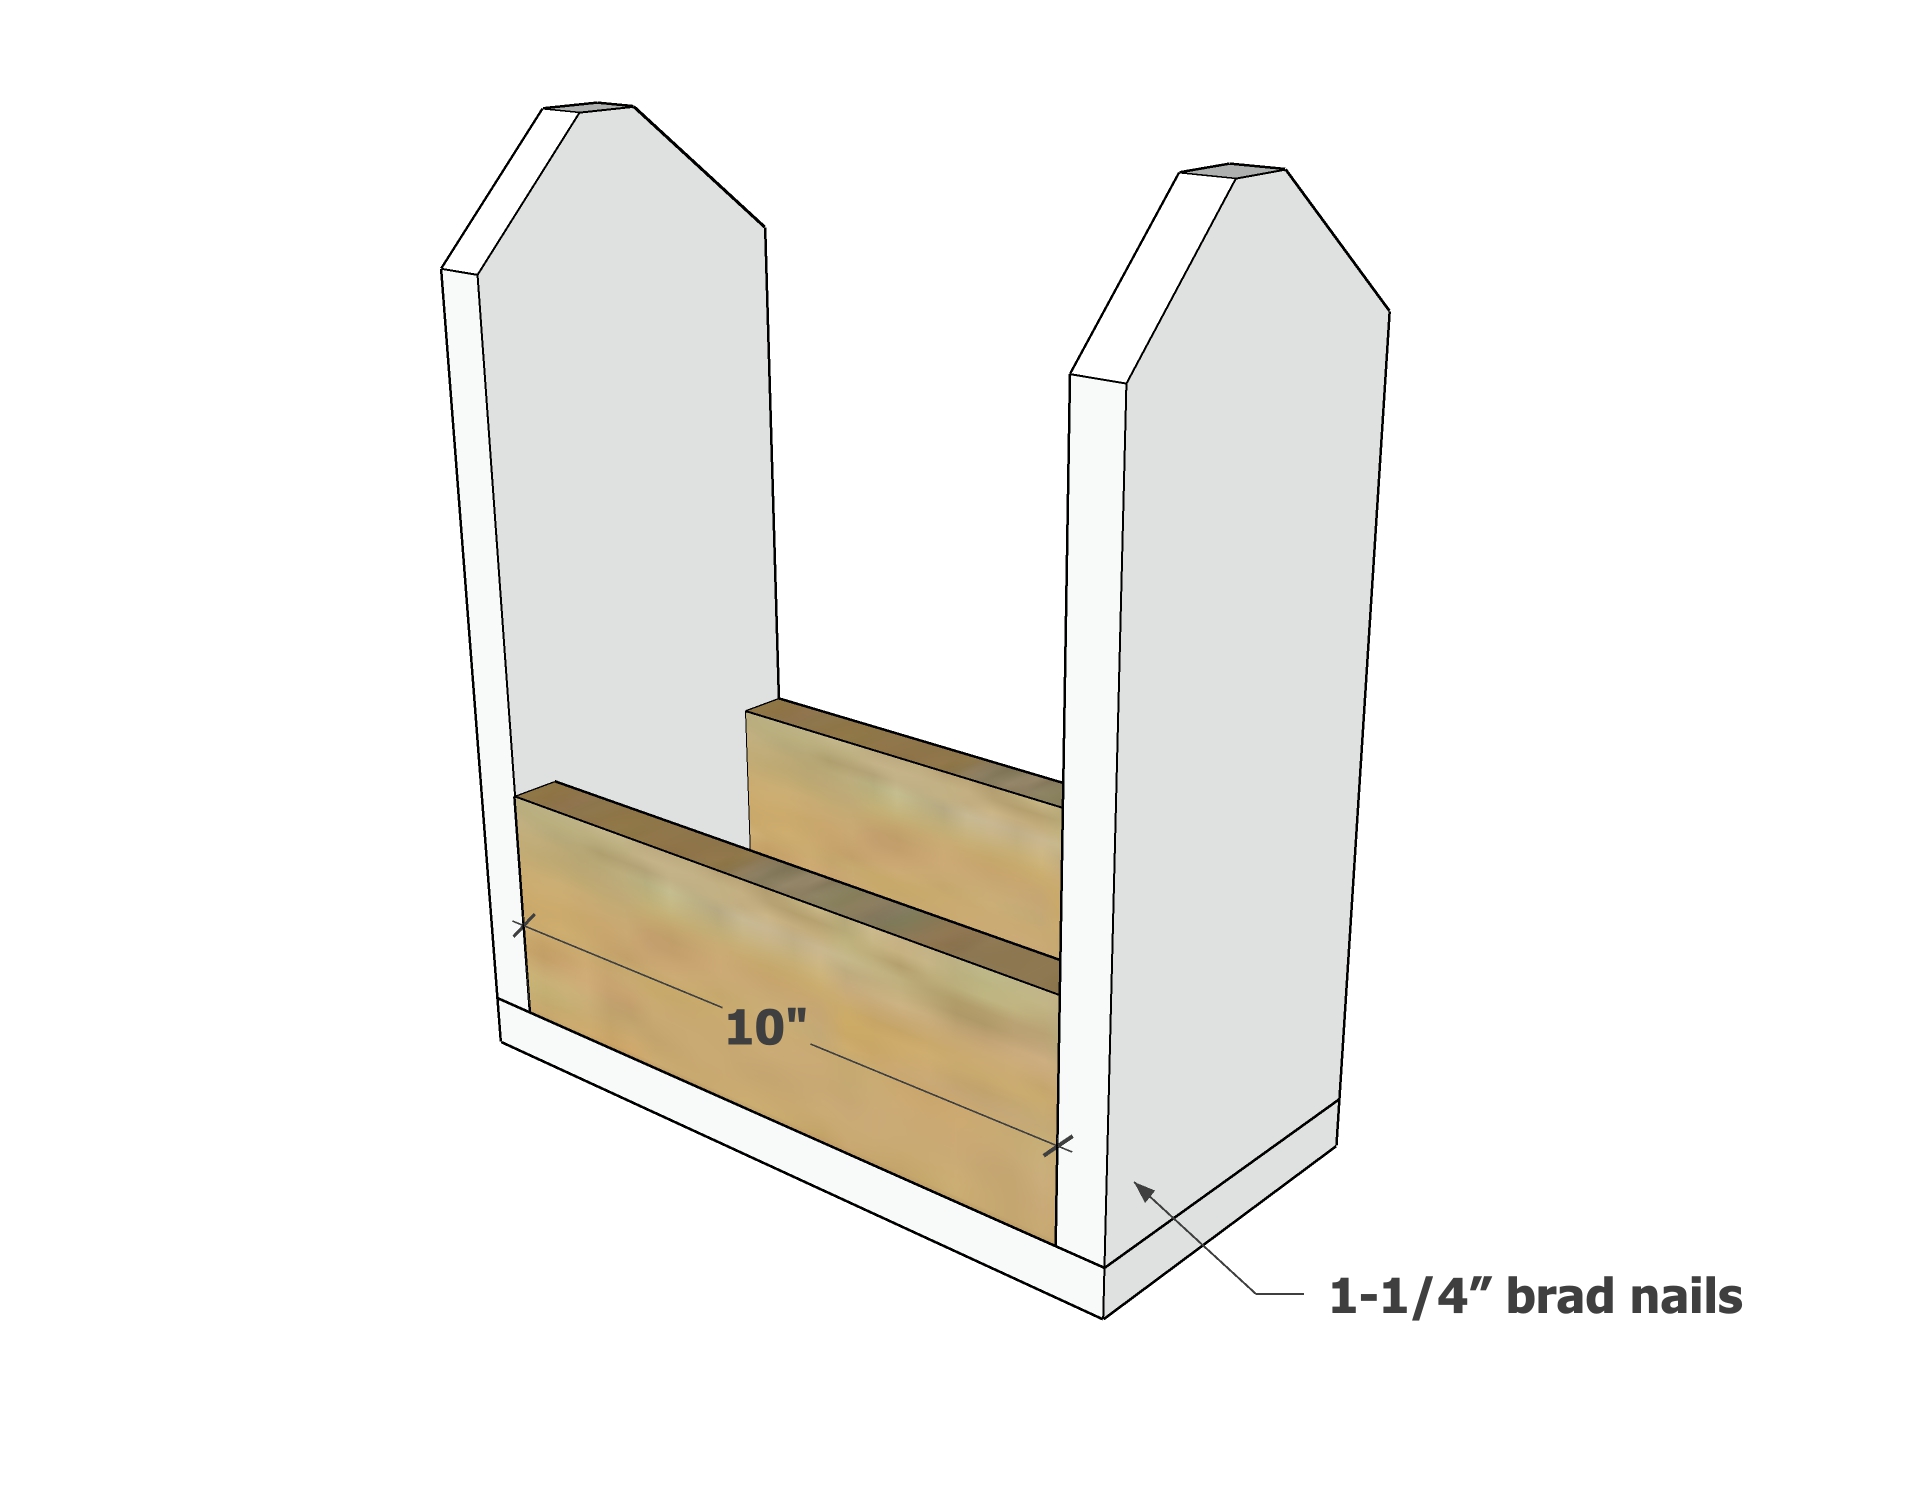
- 1-1/4" brad nails
- 2" self tapping trim screws
- wood glue
- wood filler
- 120 grit sandpaper
- stain or paint
Cut List
Cut List for Drink Caddy as Shown, for 3 Bottles, max diameter 2-3/4" and max height 10"
- 1- 1x6 @ 11.5” - bottom
- 2 - 1x6 @ 13”, top ends dogeared, cut at 45 degree angle leaving 1” flat top - ends
- 2 - 1x4 @ 10” - sides
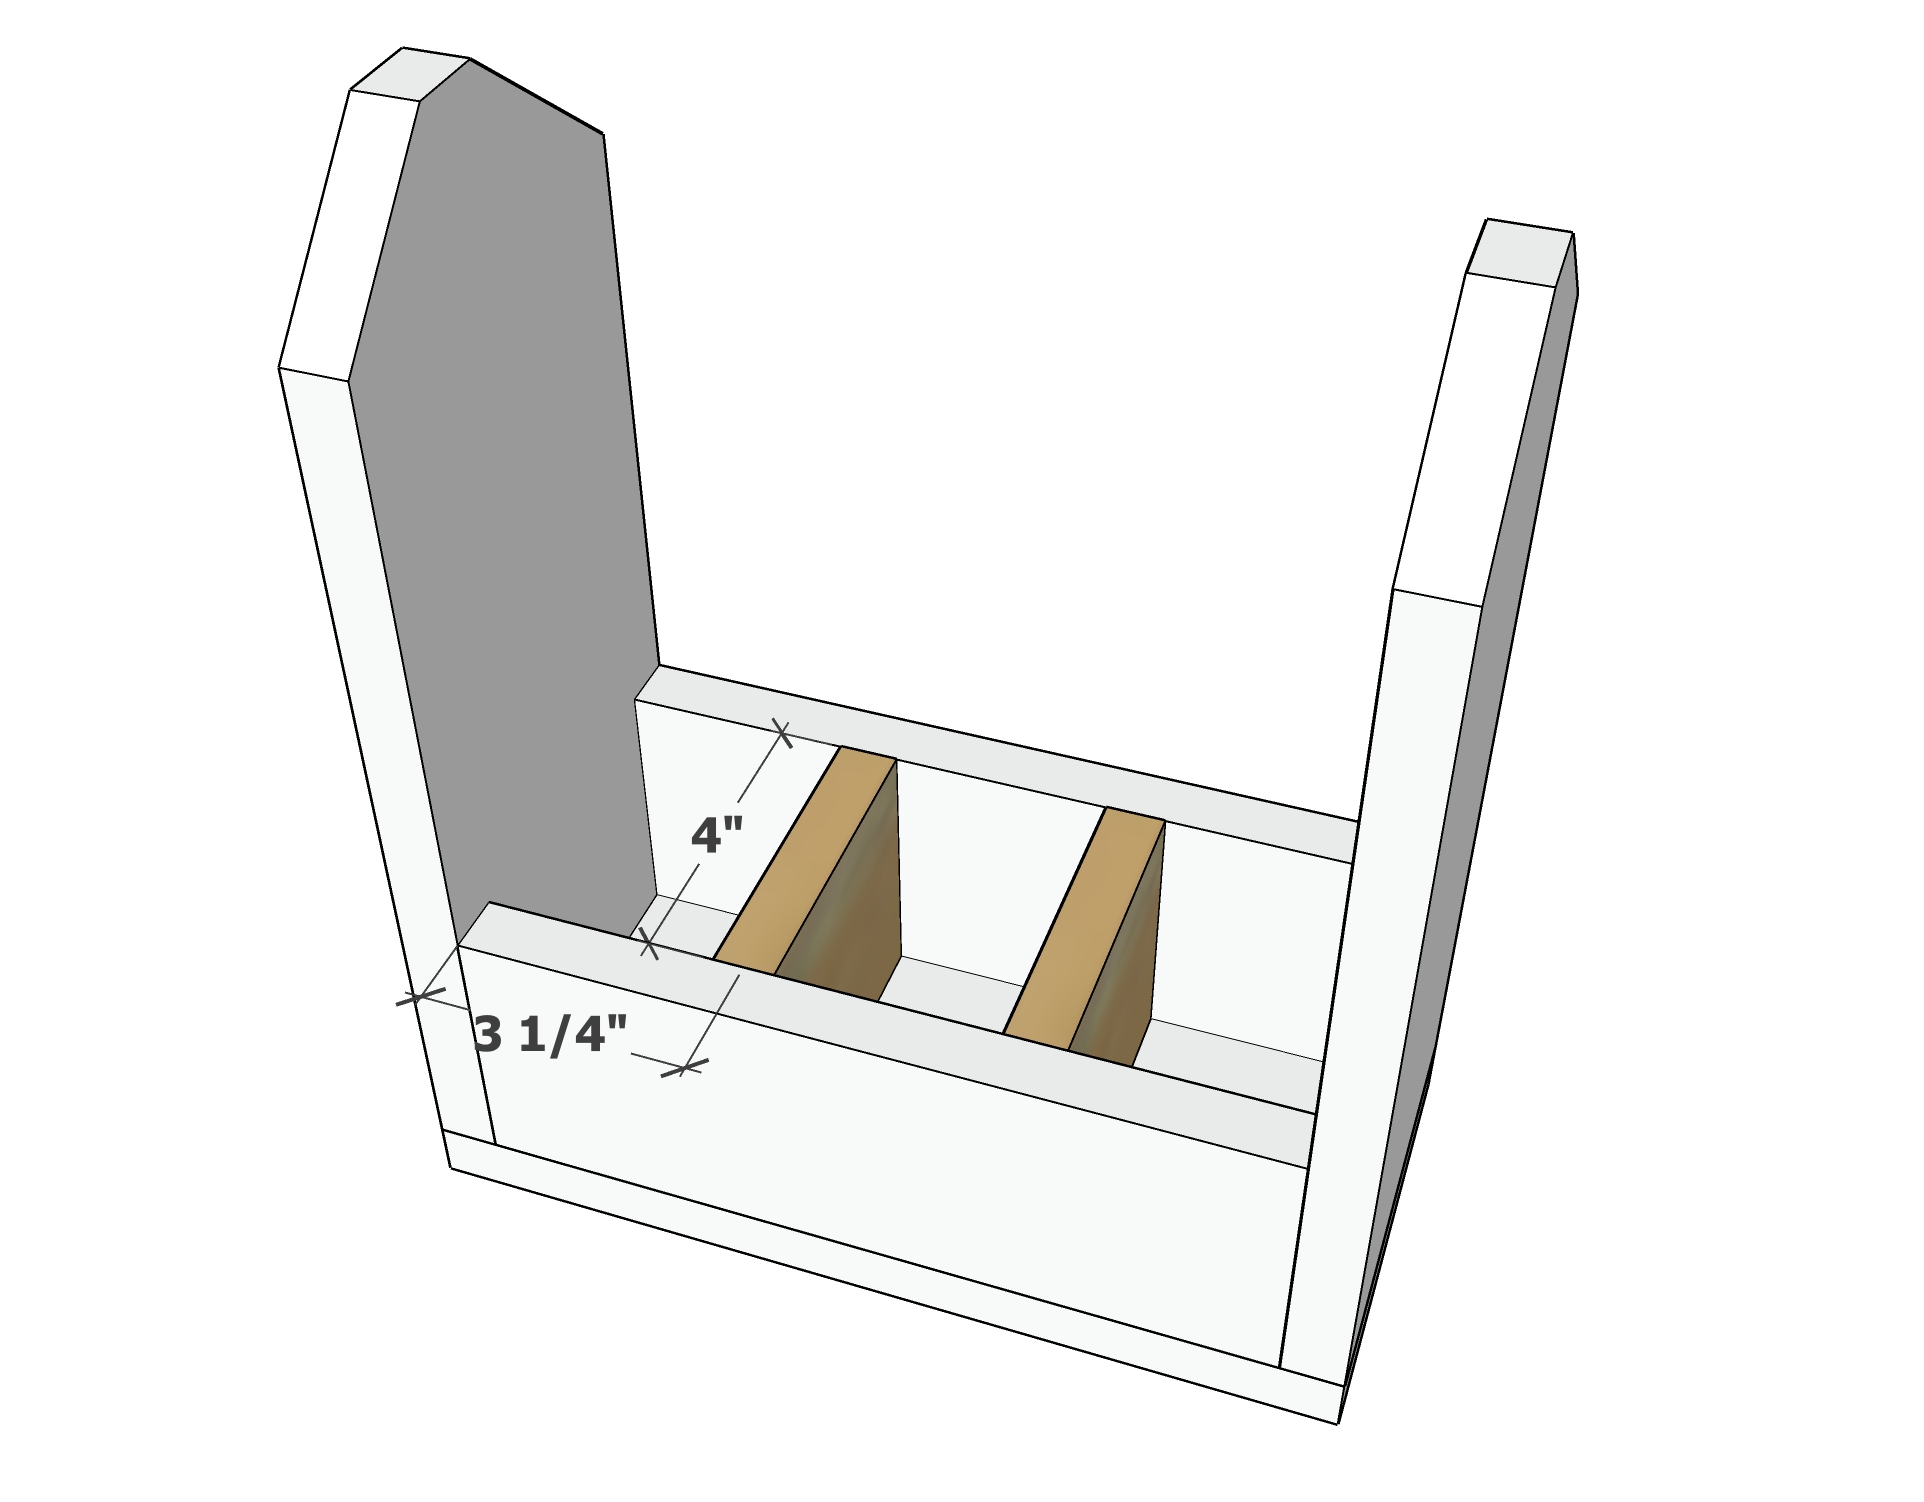
- 2 - 1x4 @ 4” - dividers
- (Spaced 3.25" to center from each end)
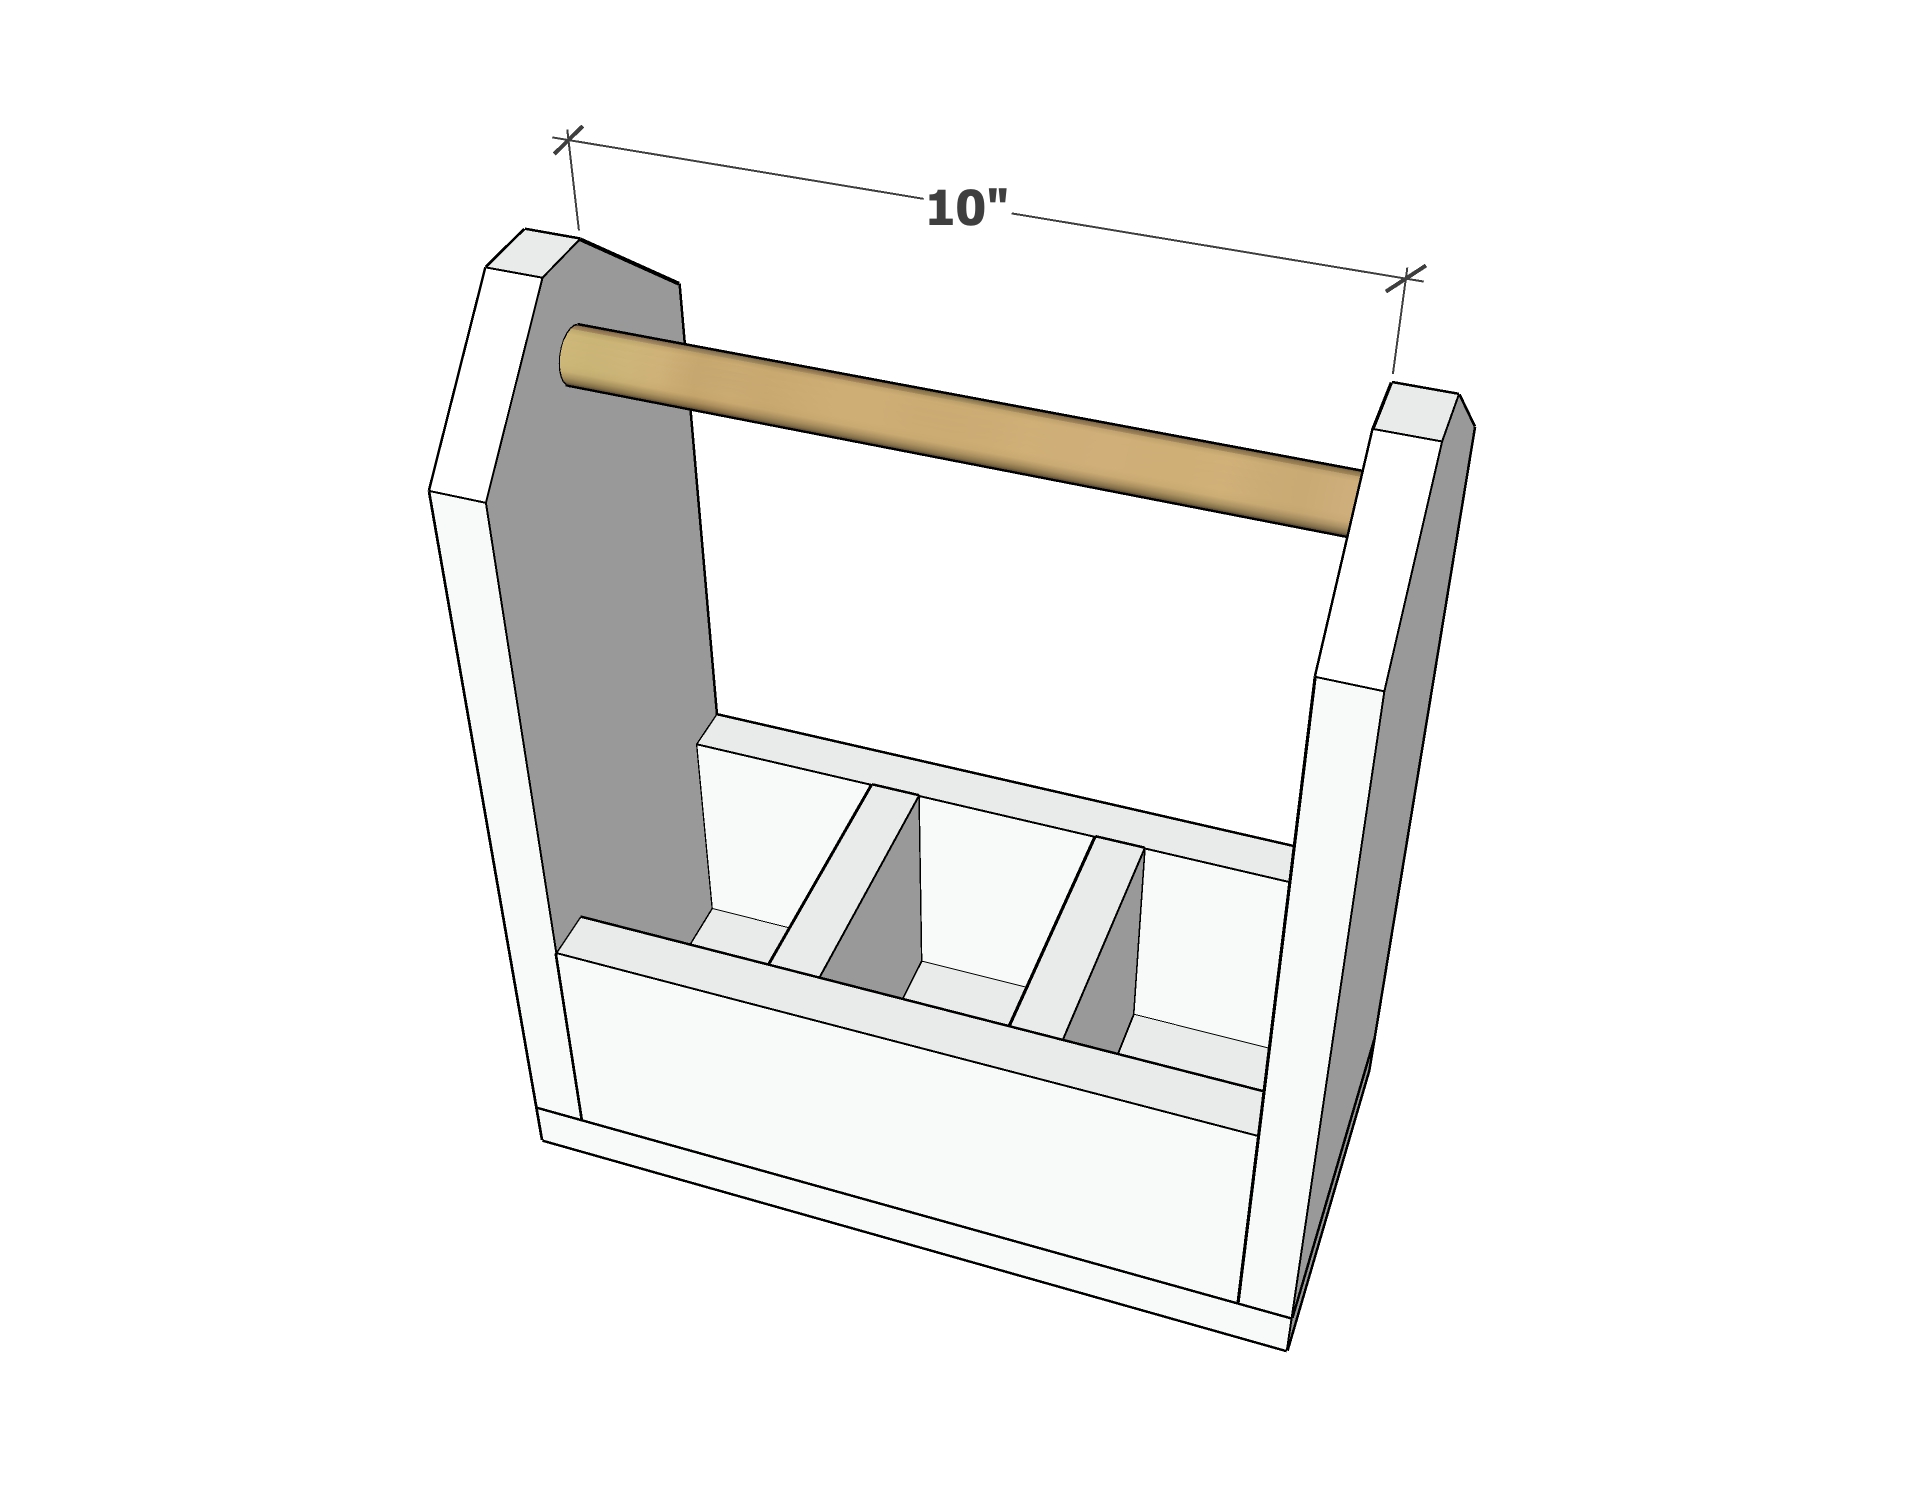
- 1- 3/4” Dowel at 10”
Customizable Cut List for More Bottles or Bottles of Different Sizes, max bottle diameter 4"
- BOTTOM: 1- 1x6 @ (diameter of bottle base X number of bottles) + (number of bottles X .75) + .75 = bottom
- ENDS: 2 - 1x6 @ height of bottles + 3" - top ends dogeared, cut at 45 degree angle leaving 1” flat top - ends
- SIDES: 2 - 1x4 @ bottom cut length - 1-1/2" - sides
- DIVIDERS: 1x4 @ 4” - quantity to cut - one less than the total number of bottles the caddy will hold
- HANDLE: 1- 3/4” Dowel at same length as sides
Instructions
Step 1
Step 2
Room
Seasonal And Holiday


