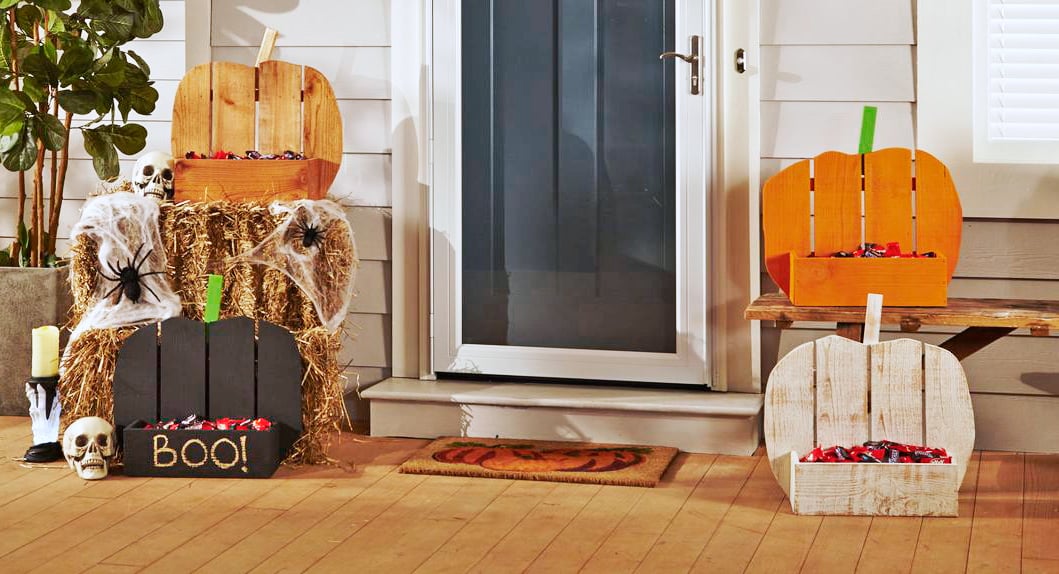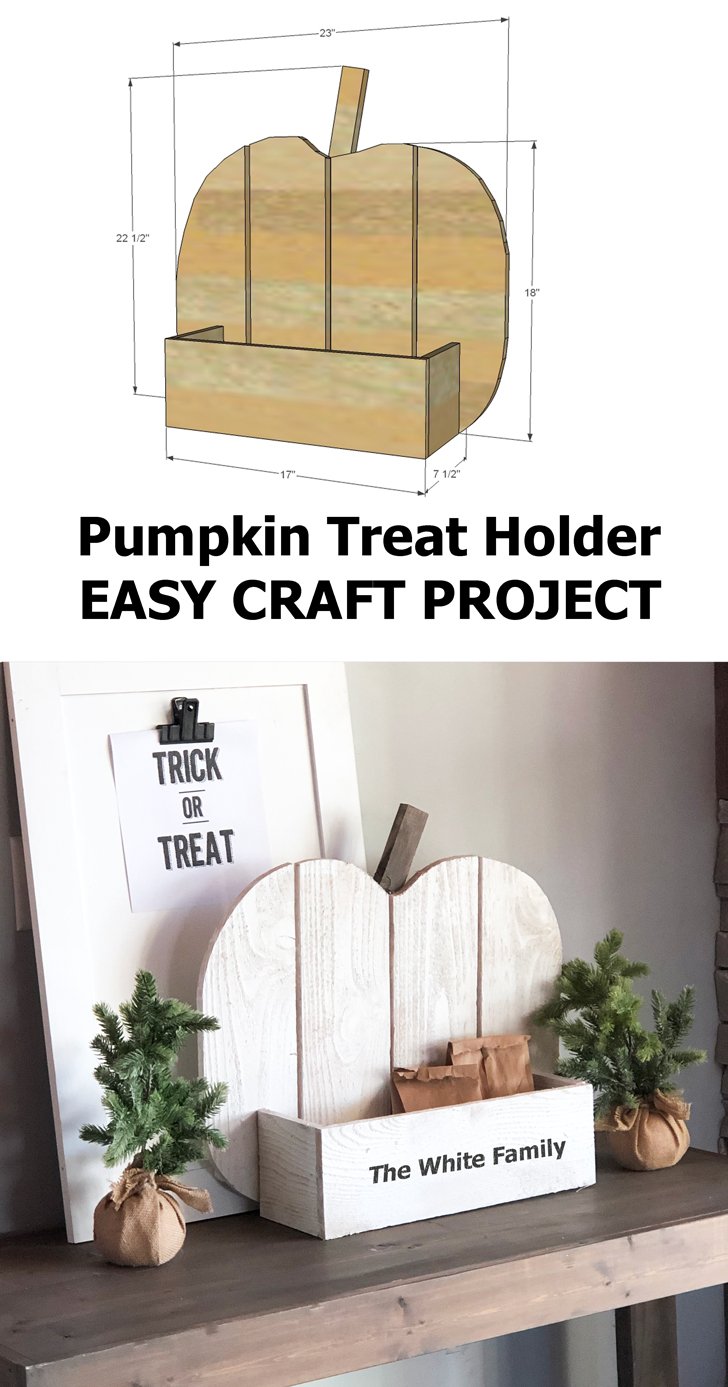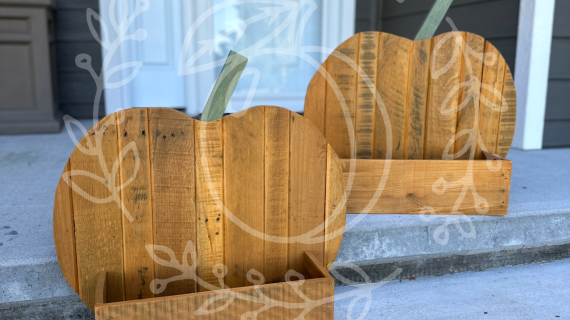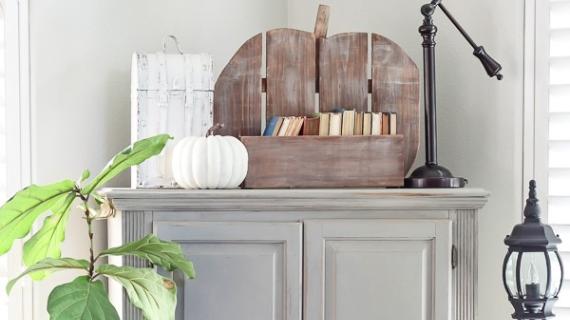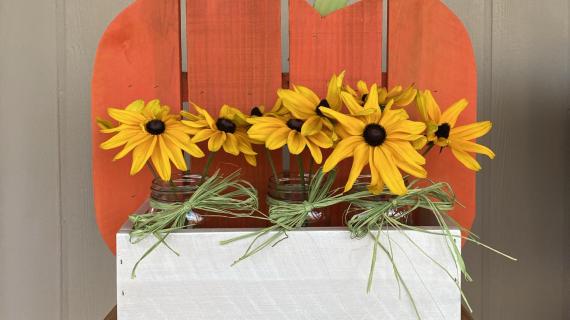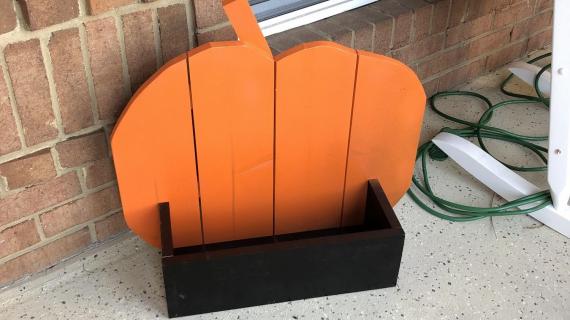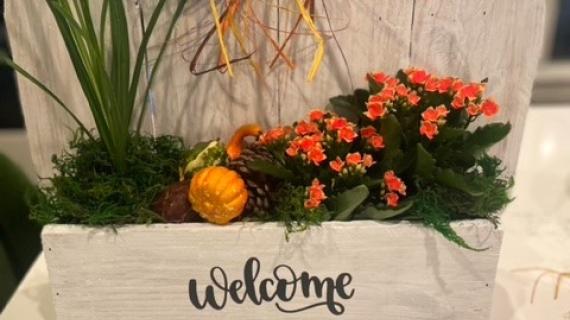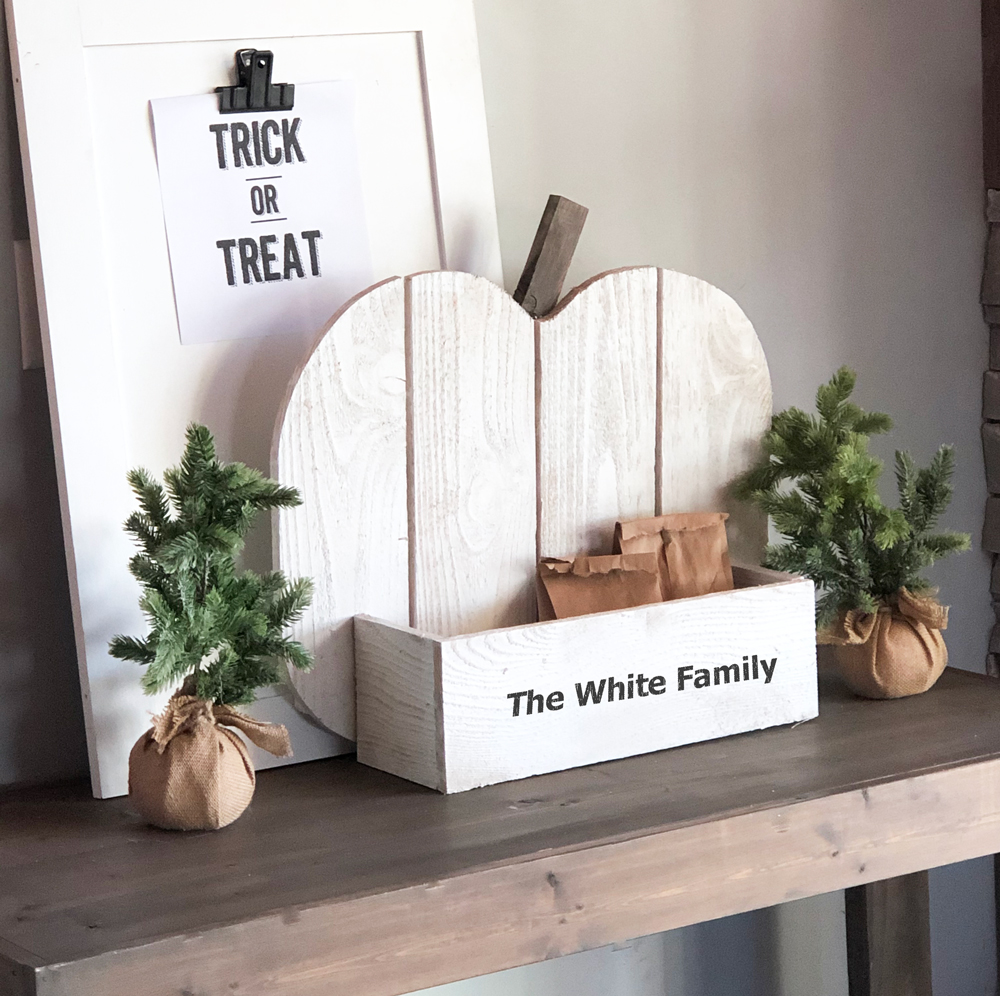
Build your own treat holder for trick or treaters. This super simple build uses pallet wood or cedar fence pickets and can be painted or stained any color! Free tutorial by Ana-White.com
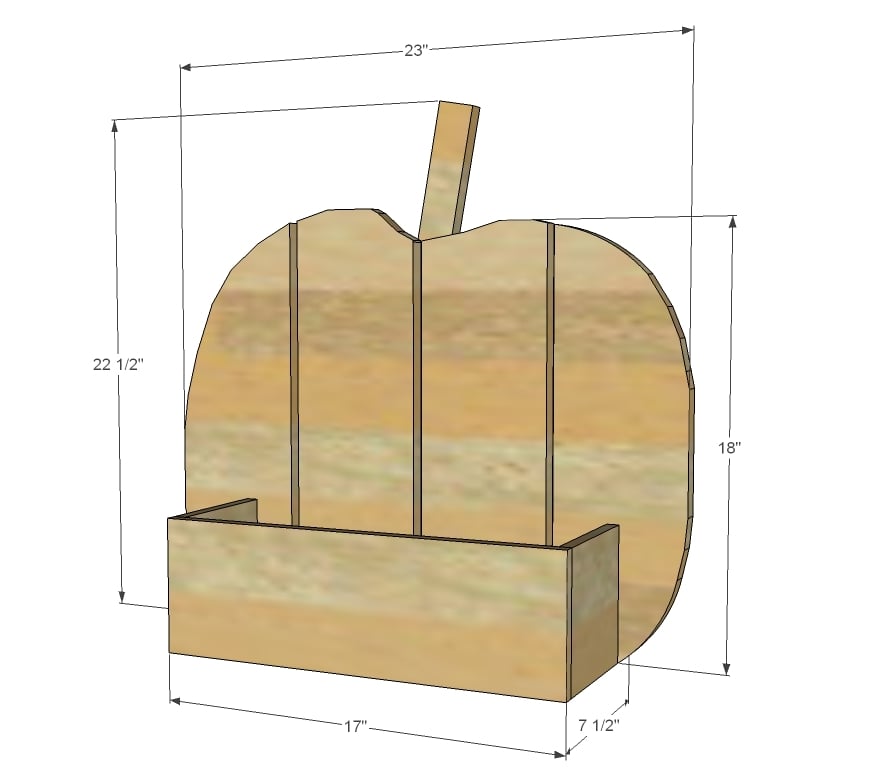
Preparation
- 2 - Cedar fence pickets, 5-1/2" wide x 6 feet long OR 1x6 whitewood boards OR similar pallet wood
- 1 - 1x2 @ 4 feet long
- 1" brad nails or staples or hot glue
PUMPKIN
4 – cedar fence pickets cut into 18” long pieces (fit all four on one fence picket, can be shorter or longer)
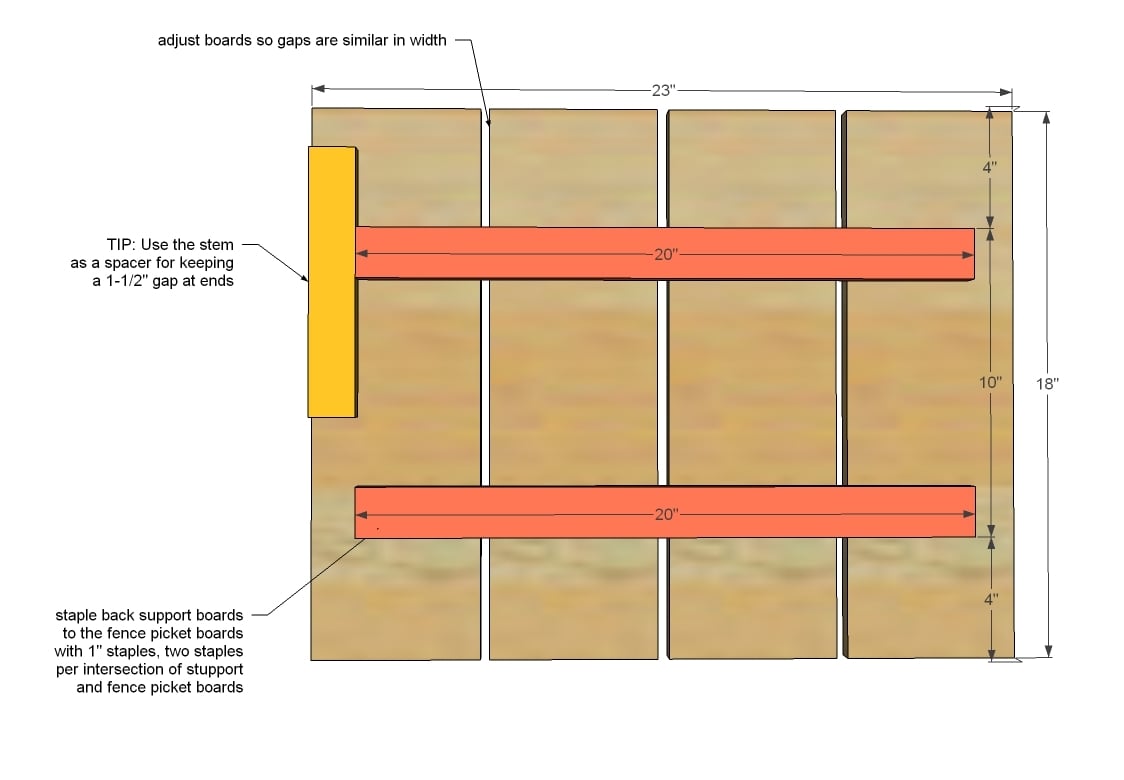
2 – 1x2 @ 20” long
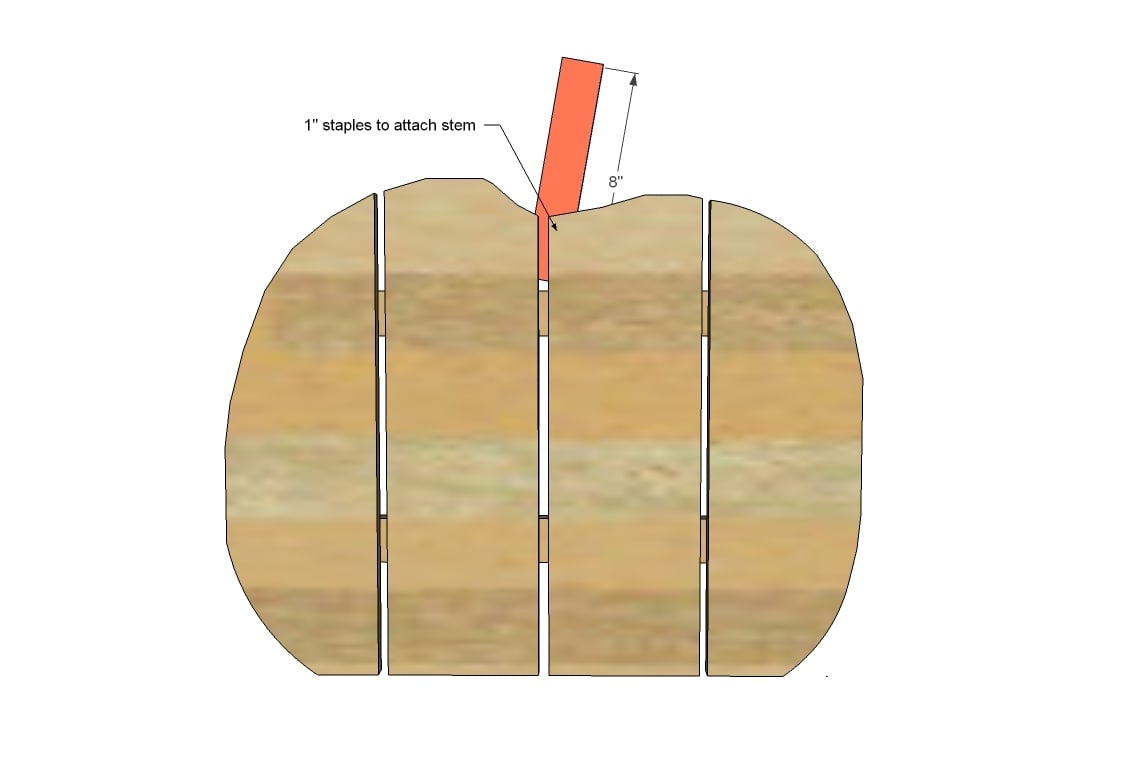
1 – 1x2 @ 8” long (length can be flexible to use up scrap wood)
FRONT BOX
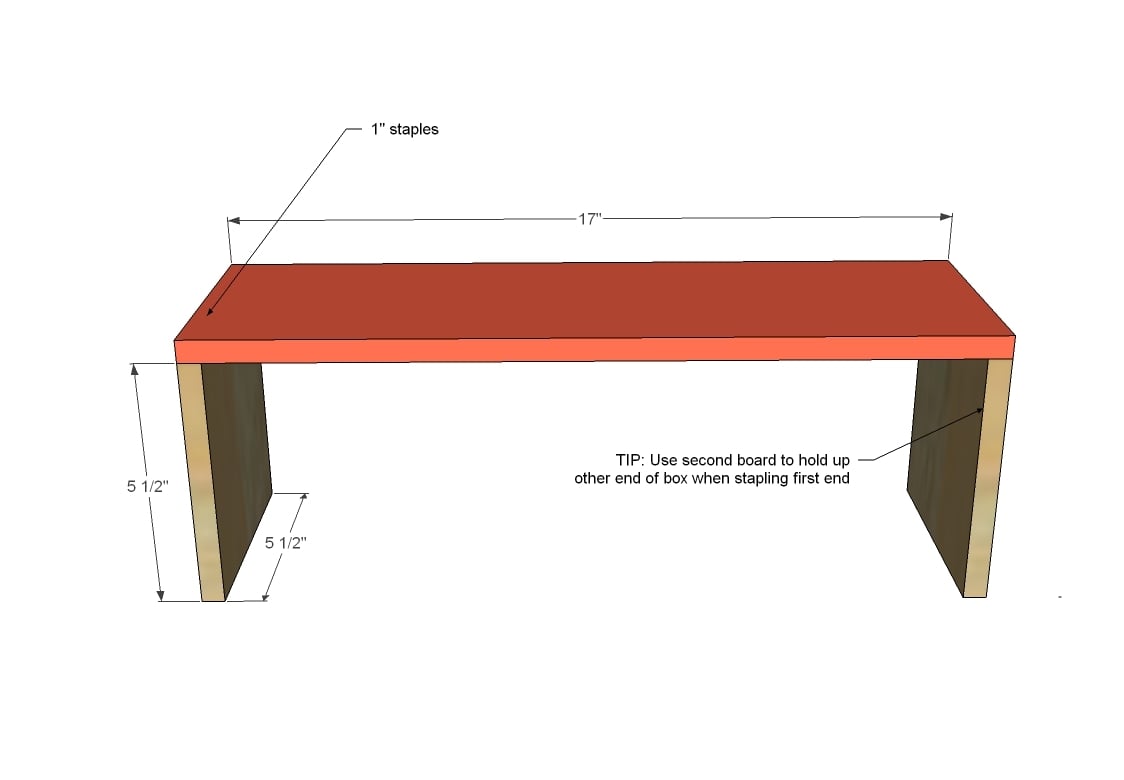
1 – cedar fence picket @17” long
2 – cedar fence pickets @ 5-1/2” long
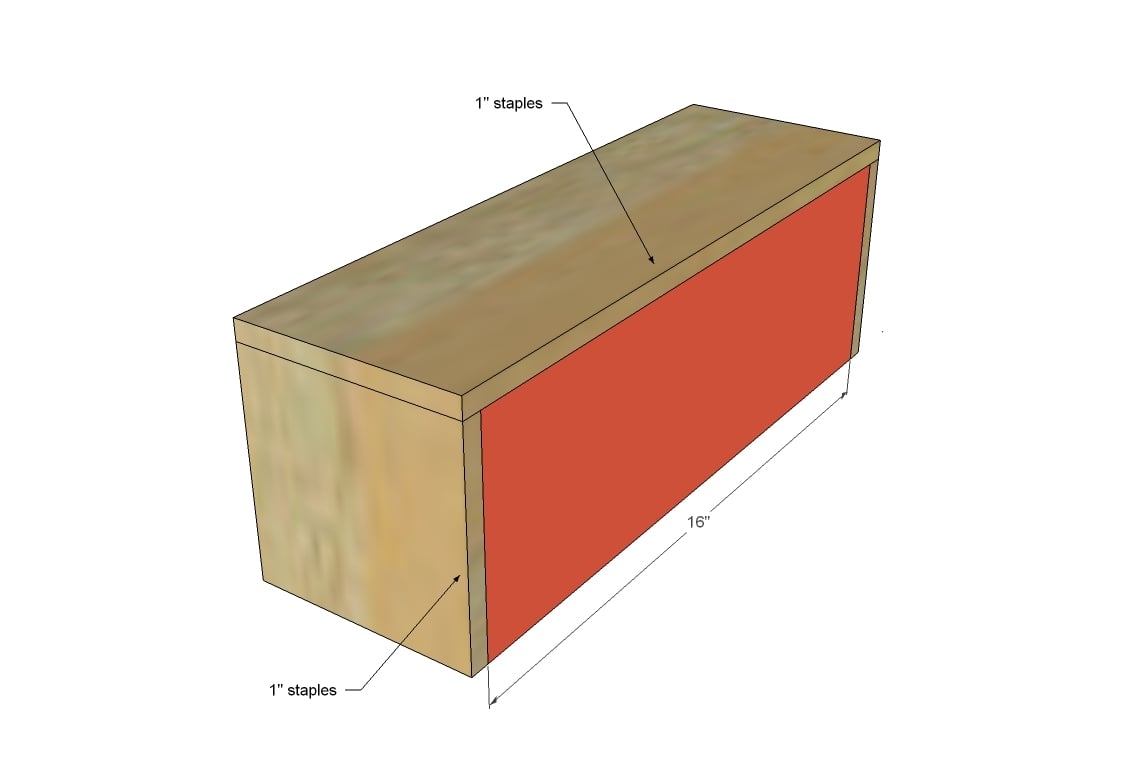
1 – cedar fence picket @ 16” long
Cut all of your boards according to the cut list. For the pieces on the pumpkin, there is flexibility to cut slightly shorter to accommodate all of the pieces per given materials list. For the box pieces, it is important to cut straight and accurate to the cut list. The easiest saw to cut these pieces with is a miter saw, but a circular saw can be used as well.
You can build this project with HOT GLUE as I did in the video, or you can use a brad nailer or a stapler. Any method works great!
Instructions
Step 1
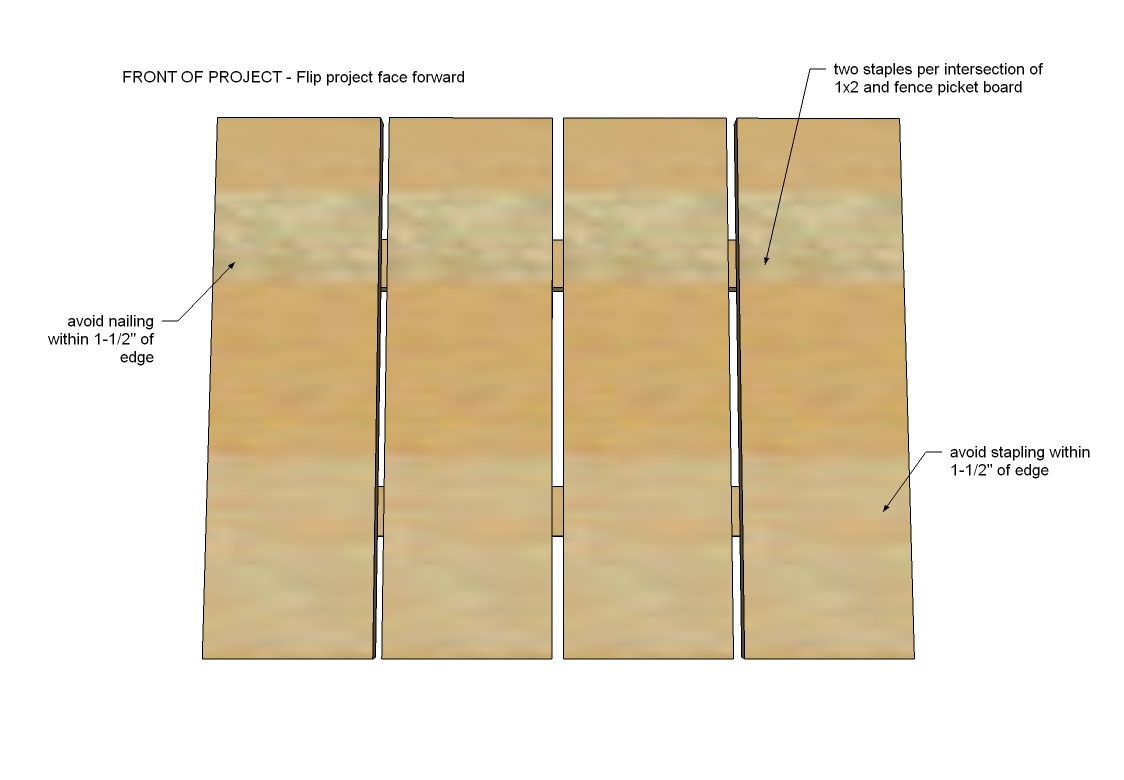
Lay the four fence pickets on the worksurface, so overall width is about 23”. Place 20” long 1x2s on top, with about 1-1/2” gap on either end. TIP: Use the stem (stem is 1-1/2” in width) as a guide.
Use wood glue and two 1” staples per overlap of 1x2 and each cedar fence picket to secure 1x2s to the fence pickets.
Step 2
Step 3
Step 4
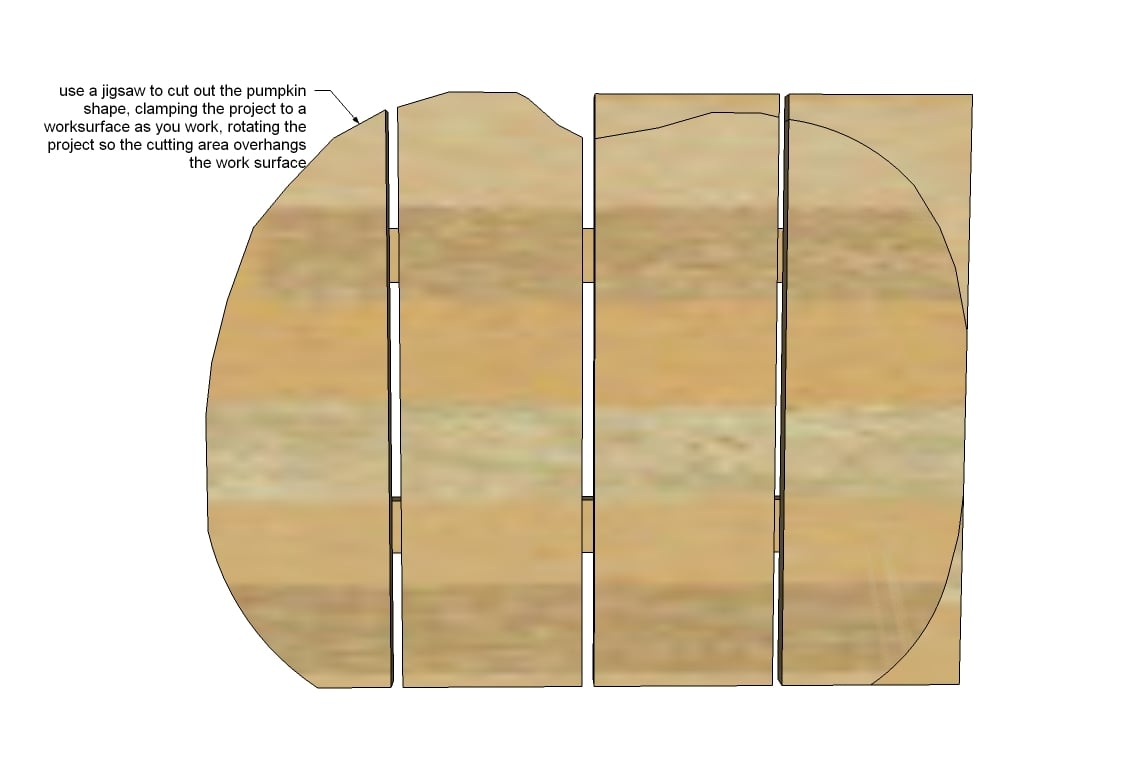
Position project so area to be cut out overhangs work surface to allow jigsaw blade to cut freely. Secure the project to the worksurface with two clamps. Test to make sure project is secure.
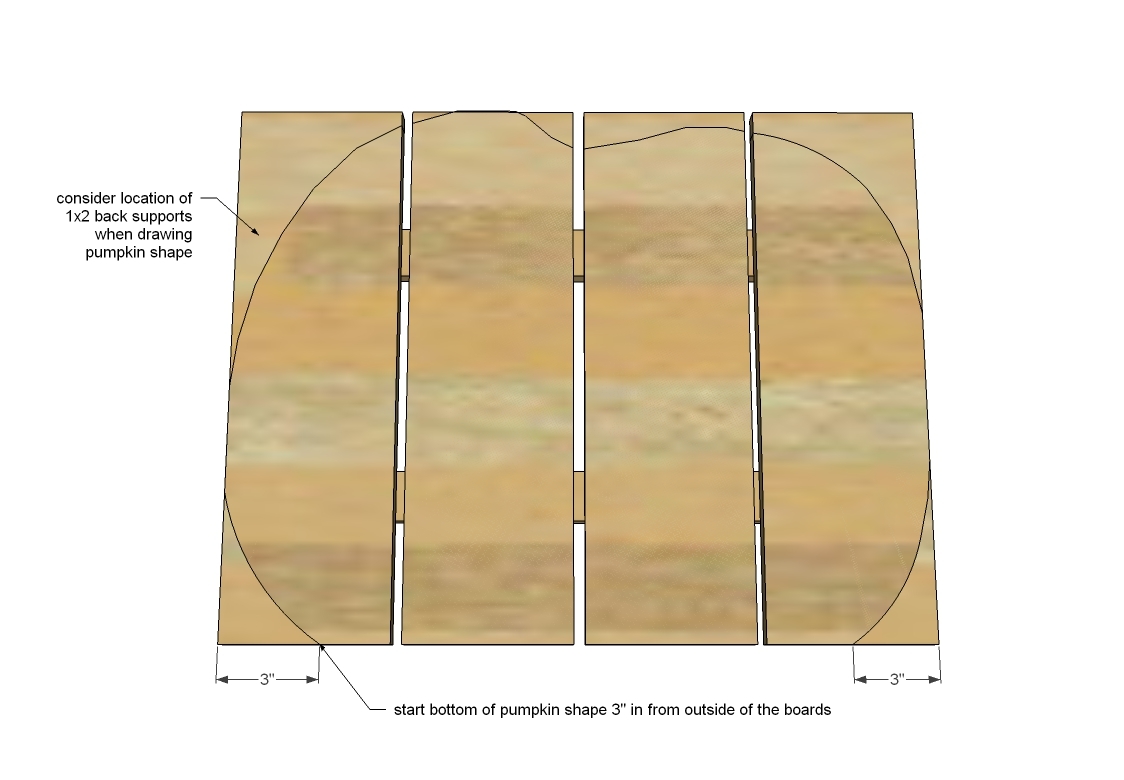
Cut out following pumpkin shape with jigsaw.
Remove clamps and reposition and reclamp to cut full pumpkin shape out.
Step 7
Step 8
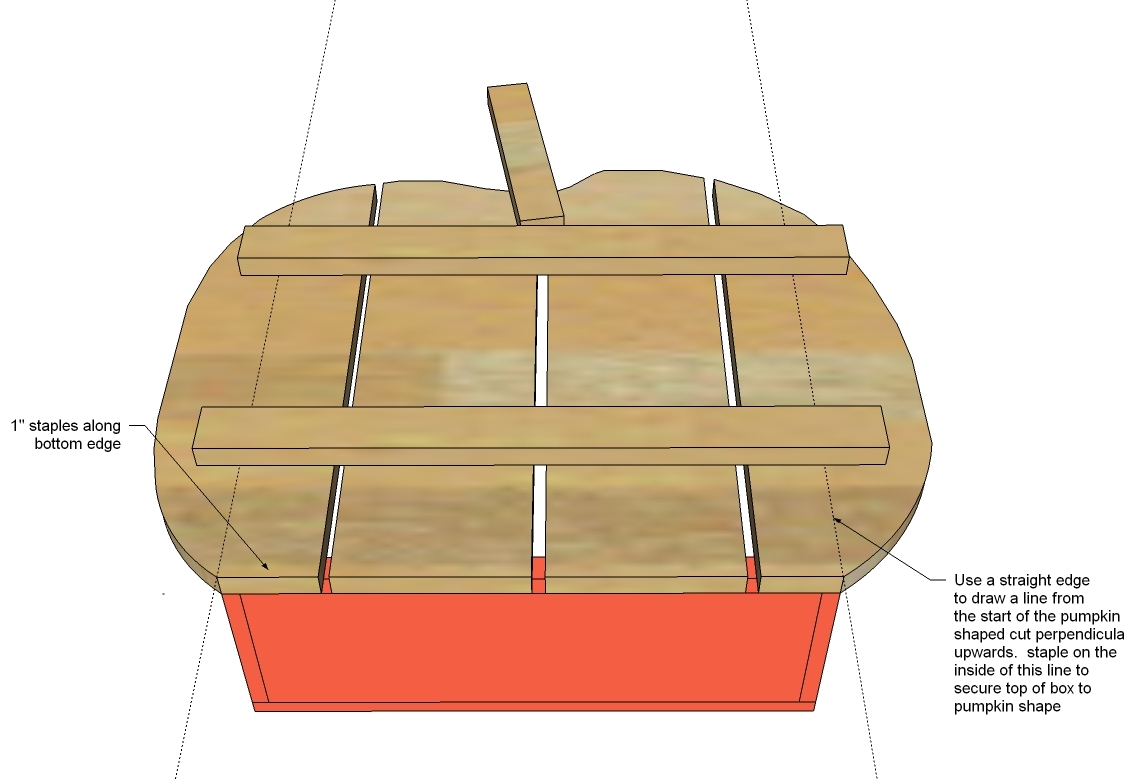
Place box open side up on worksurface. Apply glue along top edges. Place pumpkin on top, aligning bottom edge, and the start of the pumpkin shaped cut with the outside corners of the box. Use 1” staples to secure bottom of pumpkin to bottom of box.
Use a straight edge to guide you when stapling the pumpkin to the sides of the box.
It is always recommended to apply a test coat on a hidden area or scrap piece to ensure color evenness and adhesion. Use primer or wood conditioner as needed.


