Simple Leaning Easel

The free plans on this website are made possible with advertising and affiliate links.  Thank you for helping us keep plans free.


leaning easel
Difficulty
Starter Projects
| Print this plan

How to build a simple leaning easel.  Free step by step plans from Ana-White.com

Simple Leaning Easel

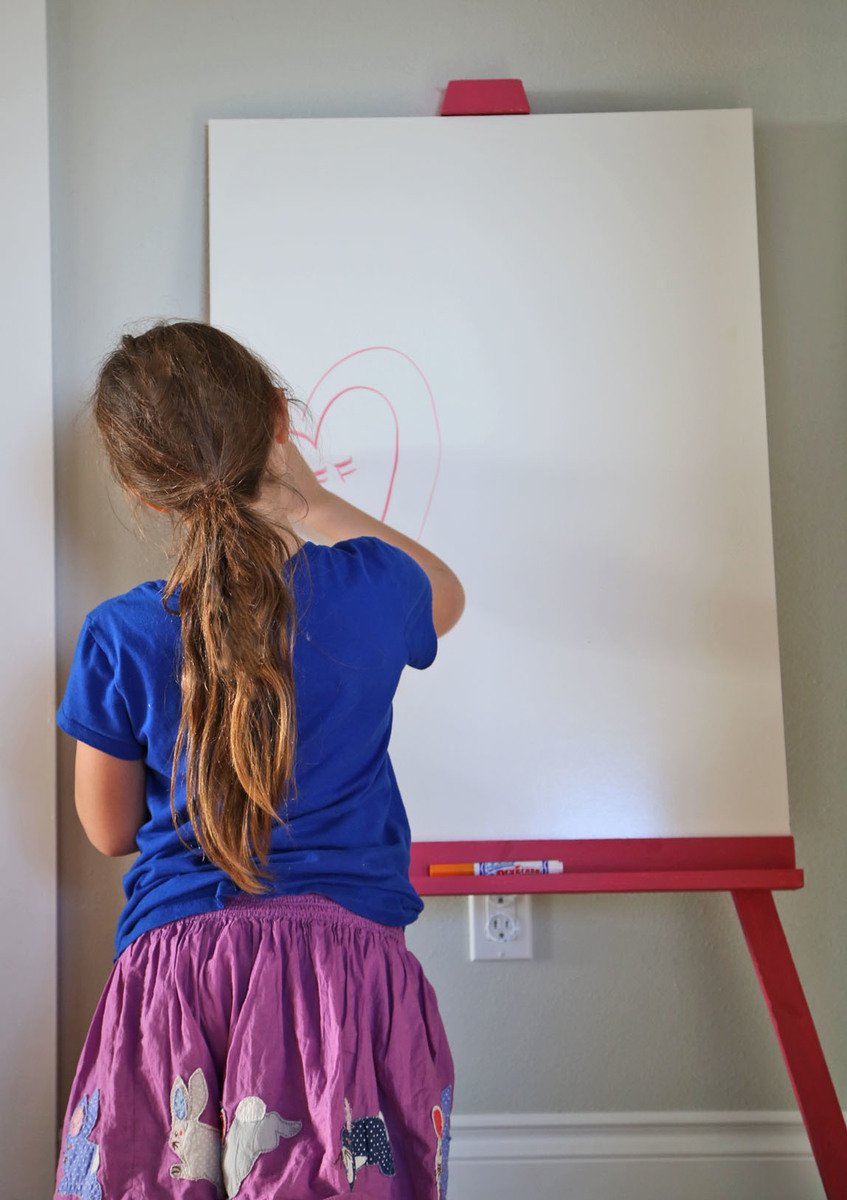
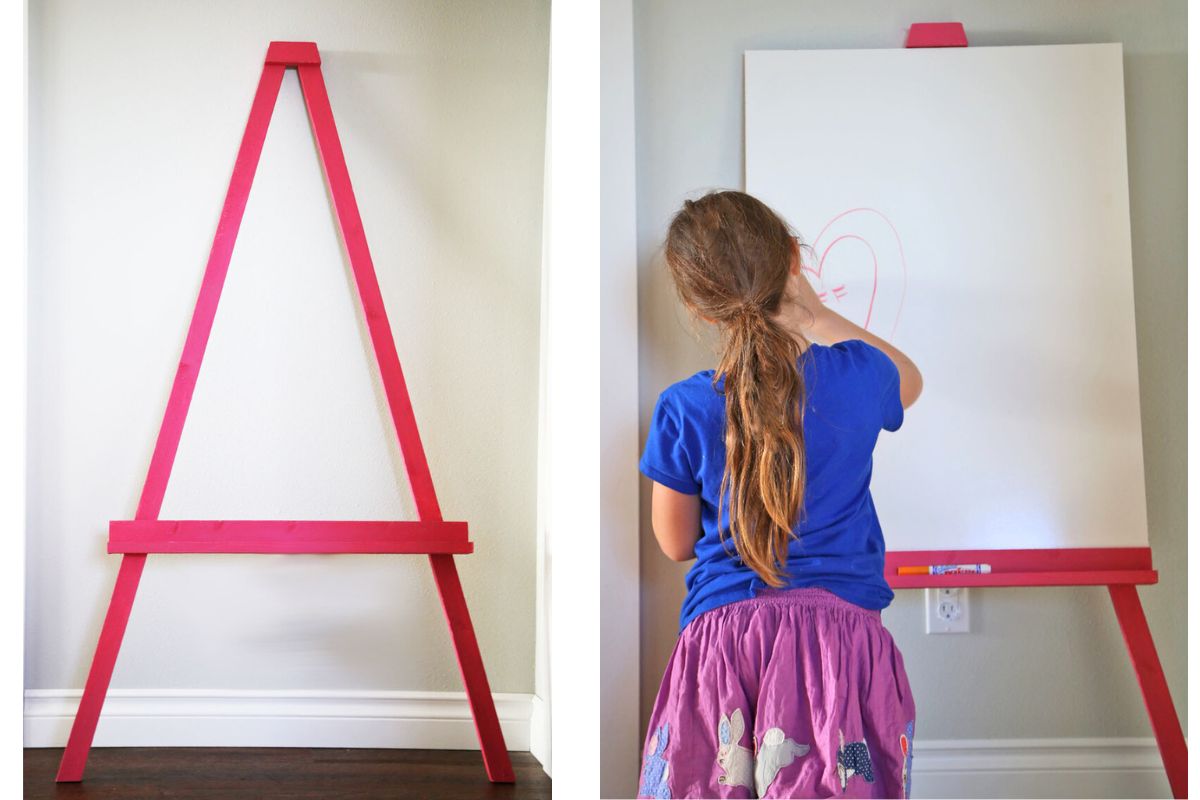
My daughter has been begging me to hang up a whiteboard for her to play "school" - but knowing how often school changes "classrooms" - as in getting moved around the house, I've been hesitant to start drilling holes in the drywall.  So I thought why not make a simple little easel that she can place her whiteboard on, and when class is in session in the hallways, instead of the dining room or playroom, she can just move the easel to move her whiteboard.

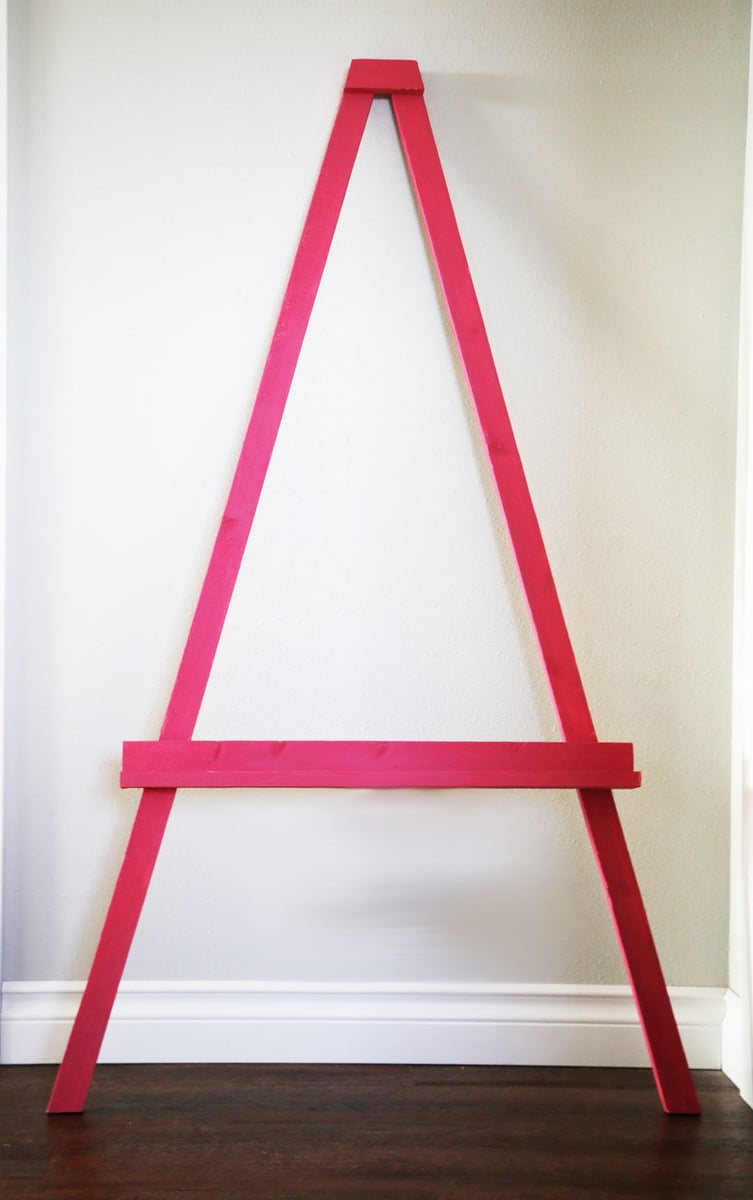
On a simple project like this, you don't want to spend all day making it, and you don't want to spend a fortune on supplies.  So I thought simple is better, and just made a little A-Frame that leans against the wall.  I used up mostly scraps to make this, and it only took me about ten minutes from cut to finish.

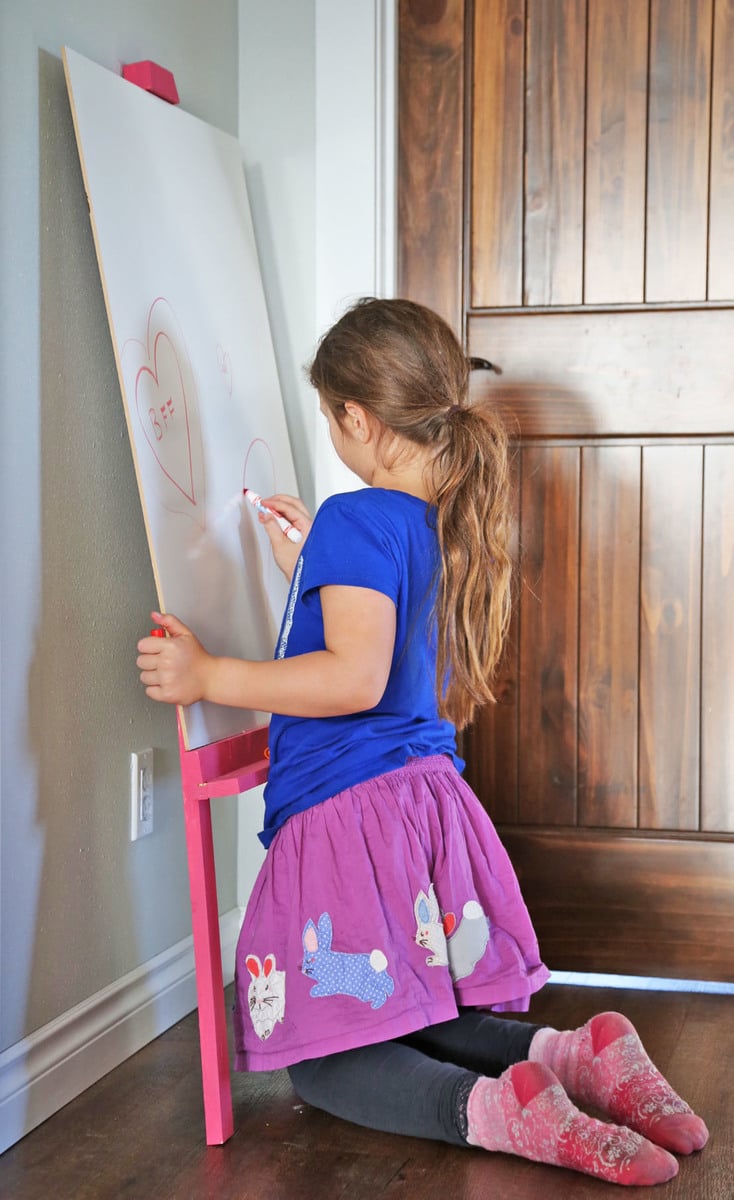
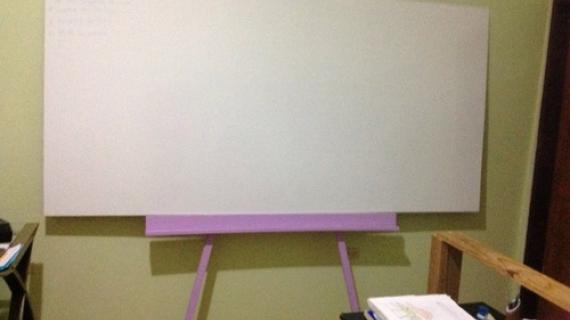
It's a little short (mine - I've made the plans taller for you) for my eight year old,


But pretty close to perfect for my one year old.  

This little leaning art easel is easy to modify for your kids height too - or to change up for your whiteboard (or art canvas or chalkboard).  

I also put together a quick little video of all the steps, so check that out too!

Plans follow (If this is the homepage click Read More below).

Thanks so much for reading and #GetBuilding2015 !  Happy #ScrapWorkLove!

Ana


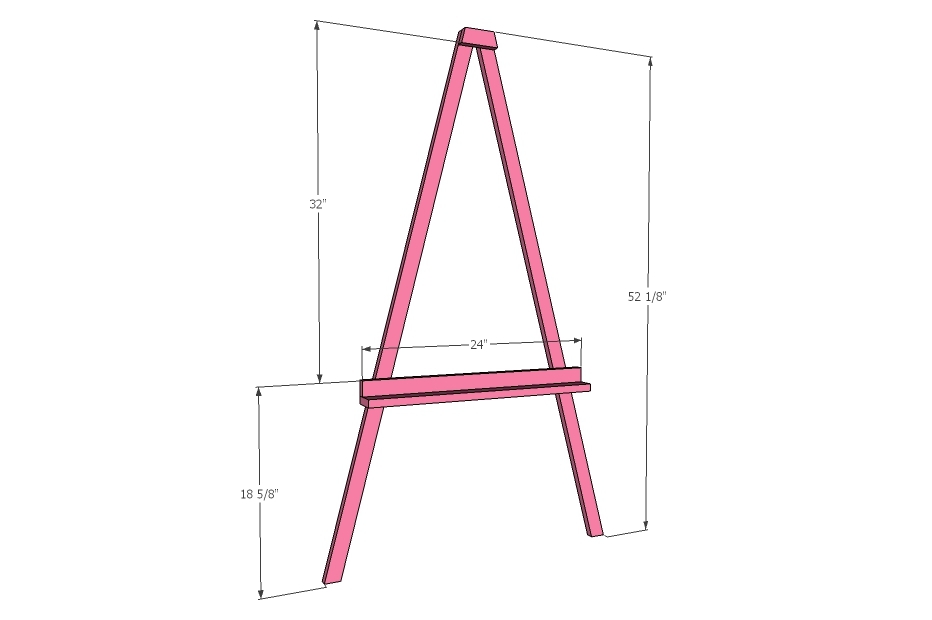
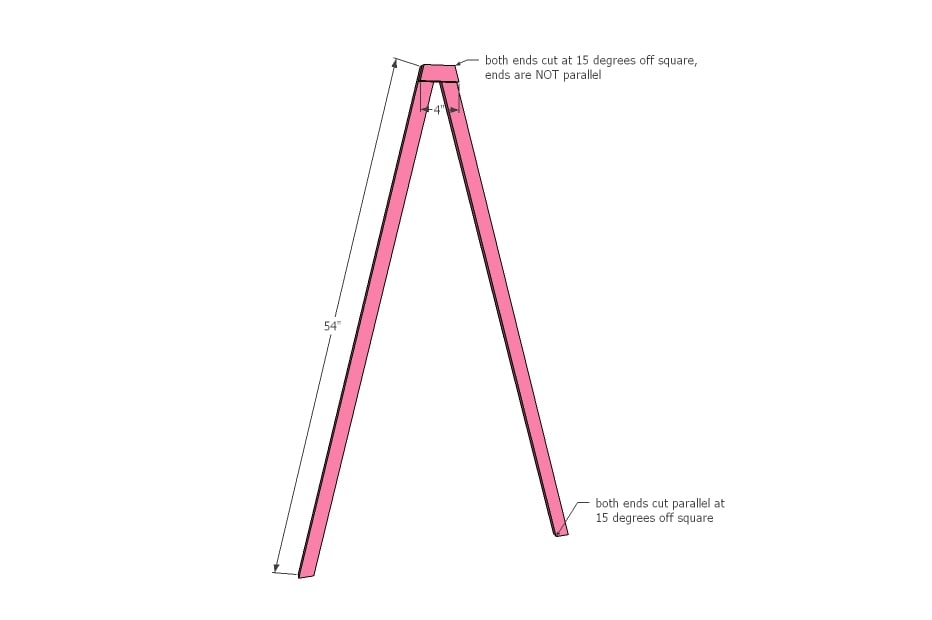
Dimensions
Simple Leaning Easel
Dimensions shown above

Preparation

Shopping List
  • 2 – 1x2 boards, 8 feet long
  • 1 – 1x3 board, 2 feet long
  • Wood Glue
  • 1-1/4” Brad Nails
  • Nailer
  • Wood Cutting Saw
  • Paint
Cut List
  • 2 – 1x2 @ 54” long, both ends cut at 15 degrees off square, parallel to each other (note in video this piece is 48" but I lengthened to get tray height of 18" in this plan)
  • 1 – 1x2 @ 4” long, longest point measurement, both ends cut at 15 degrees off square, ends NOT parallel
  • 1 – 1x2 @ 24”
  • 1 – 1x3 @ 24”
Tools
Tape Measure
Safety Glasses
Miter Saw
Brad Nailer

Instructions

Step 1

Attach top to legs, outside edges flush, with 1-1/4" brad nails and glue.

Step 2

Attach bottom 1x2 so the whiteboard fits in the space between the top and bottom. Use 1-1/4" brad nails and glue.

Step 3

Attach tray to bottom of 1x2 and through back of legs with 1-1/4" brad nails and glue.

Finishing Instructions
Preparation Instructions
Fill all holes with wood filler and let dry. Apply additional coats of wood filler as needed. When wood filler is completely dry, sand the project in the direction of the wood grain with 120 grit sandpaper. Vacuum sanded project to remove sanding residue. Remove all sanding residue on work surfaces as well. Wipe project clean with damp cloth.

It is always recommended to apply a test coat on a hidden area or scrap piece to ensure color evenness and adhesion. Use primer or wood conditioner as needed.
Seasonal And Holiday