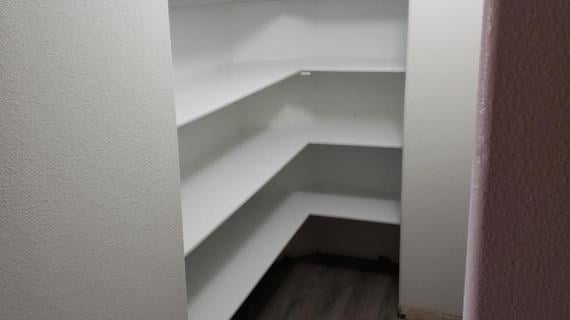
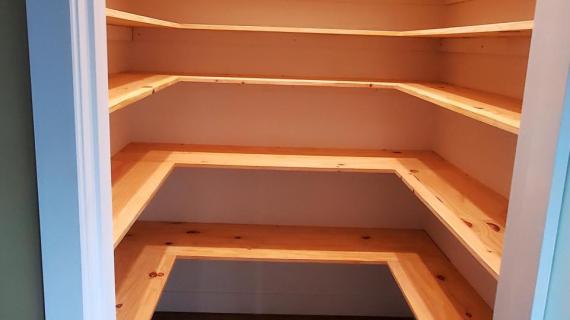
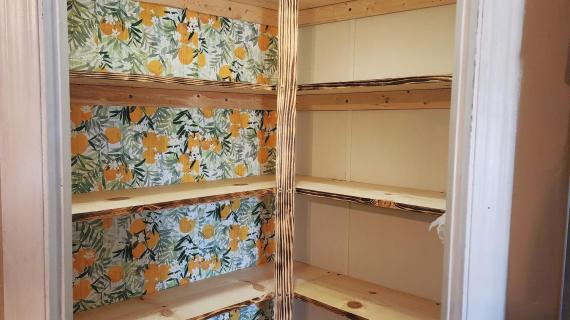
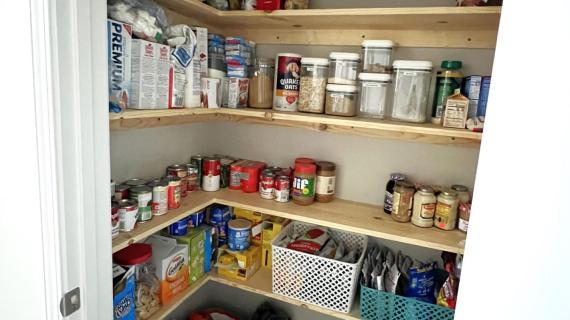
This is the easiest and quickest way to build pantry shelving - can also be used for linen closets or nook shelving. Step by step tutorial from Ana-White.com
Pin For Later!
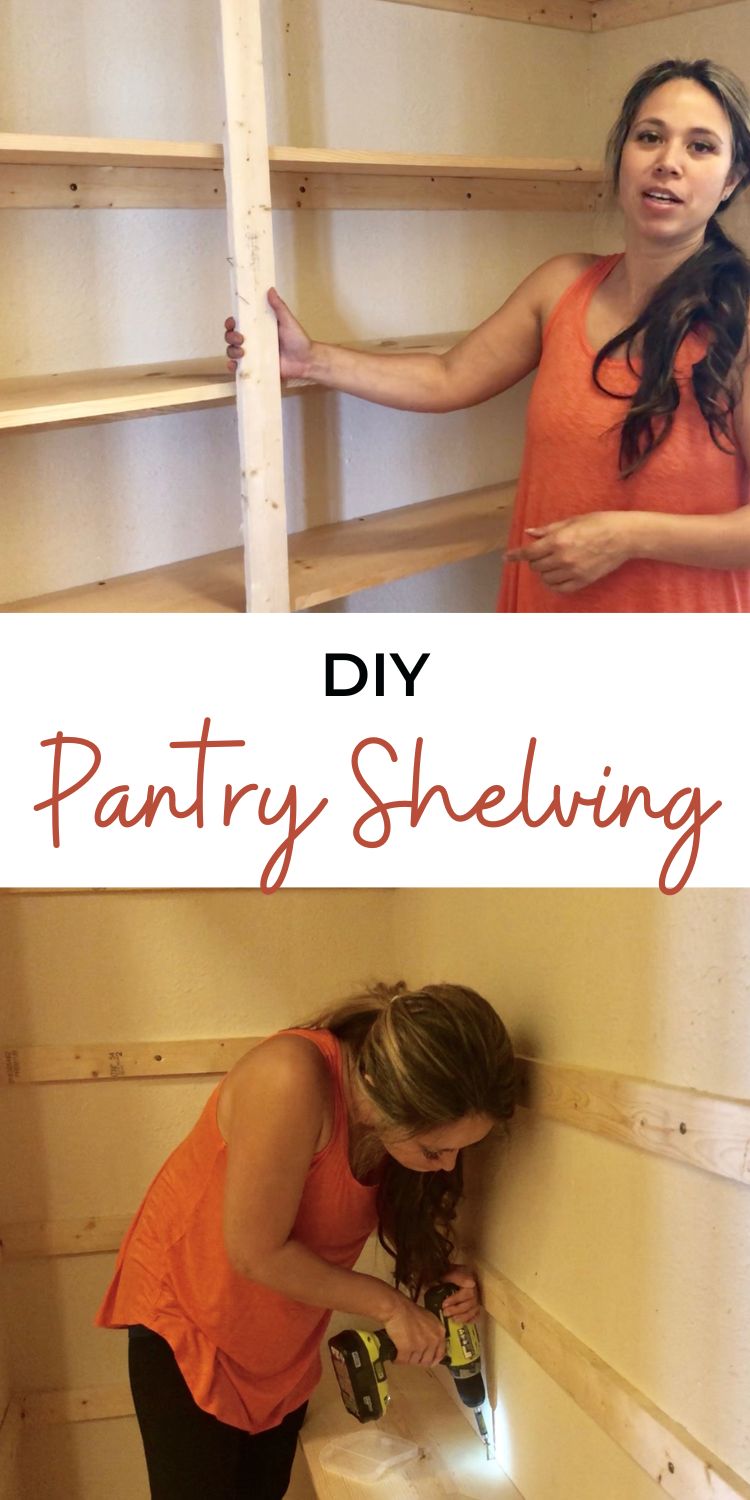
Preparation
- 1x3 for shelf supports (can use furring strips, about $1.50 each), equal to linear feet of shelving
- 1x12s, 15-3/4" wide shelving, or other shelf material for shelving
- 2-1/2" Cabinet Screws for attaching 1x3s to wall (#8 Preferred)
- 1-1/4" Cabinet Screws for attaching shelving to 1x3s and legs to shelving (#8 Preferred)
Instructions
Step 1
Step 2
Step 3
Use First Row as A Pattern for Upper Rows
Since studs in walls run vertically, you can use the first 1x3 screw pattern for all subsequent 1x3 supports on the same wall.
Simply place a second 1x3 on top of the first 1x3 (as shown below) -
Then start screws directly above where screws are located in the first 1x3, but do NOT screw all the way through the 1x3.
Then move the second 1x3 (with screws not fully driven) to the location of the next shelf, and finish driving the screws into the studs in the wall. Make sure you use your level to install the 1x3 level.
Repeat for additional shelves.
Step 4
Step 6
Main Shelving
Now it's time to add the shelving.
Cut the shelving about 1/4" less in overall length of the inside of the closet.
Place on top of the 1x3s, working from the bottom upward.
Screw down with 1-1/4" cabinet screws.
Step 7
Step 8
Front Supports
Front supports will help strengthen the shelf and keep the boards straight.
Attach a 1x3 leg to the front, as needed.
- Make sure the 1x3 is plumb (level vertically)
- Cut the 1x3 to the height of the top shelf
- Make sure the shelf is level as you attach it to the 1x3 (not sagging front to back)
- Make sure the 1x3 leg is all the way on the ground
- Use a 1-1/4" cabinet screw to attach the leg to the shelf
- Legs should be placed about every 36" for 3/4" thick shelving


