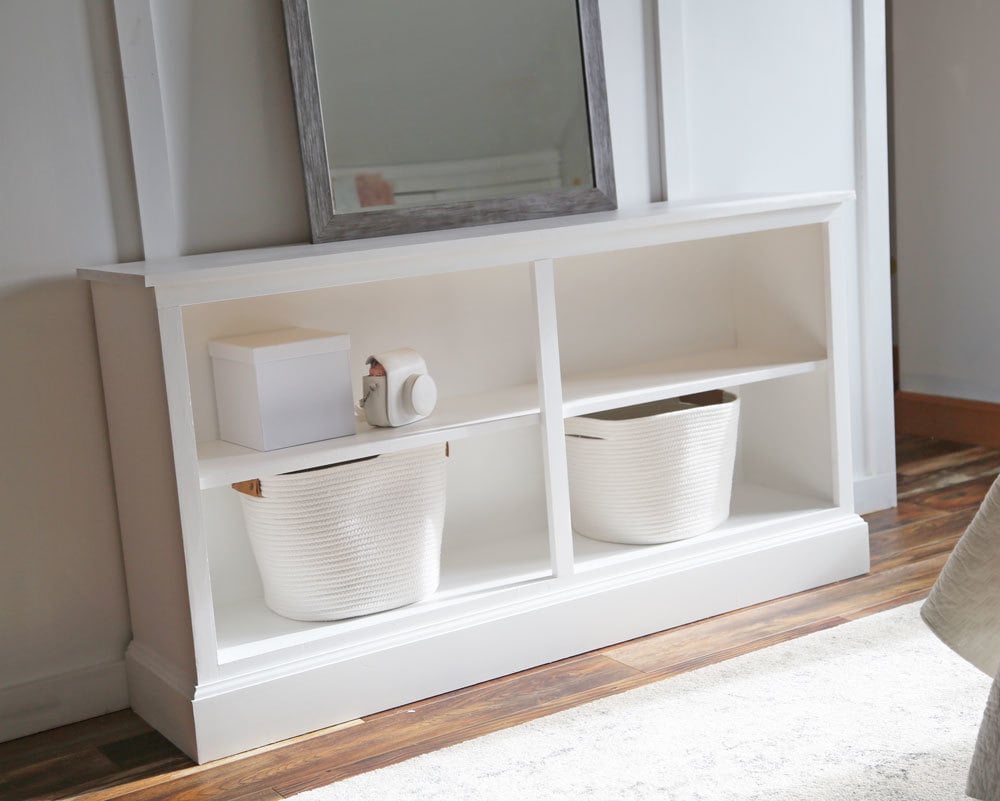
Extra Wide Console Bookcase

white bookcase console height
Difficulty
Intermediate
| Print this plan

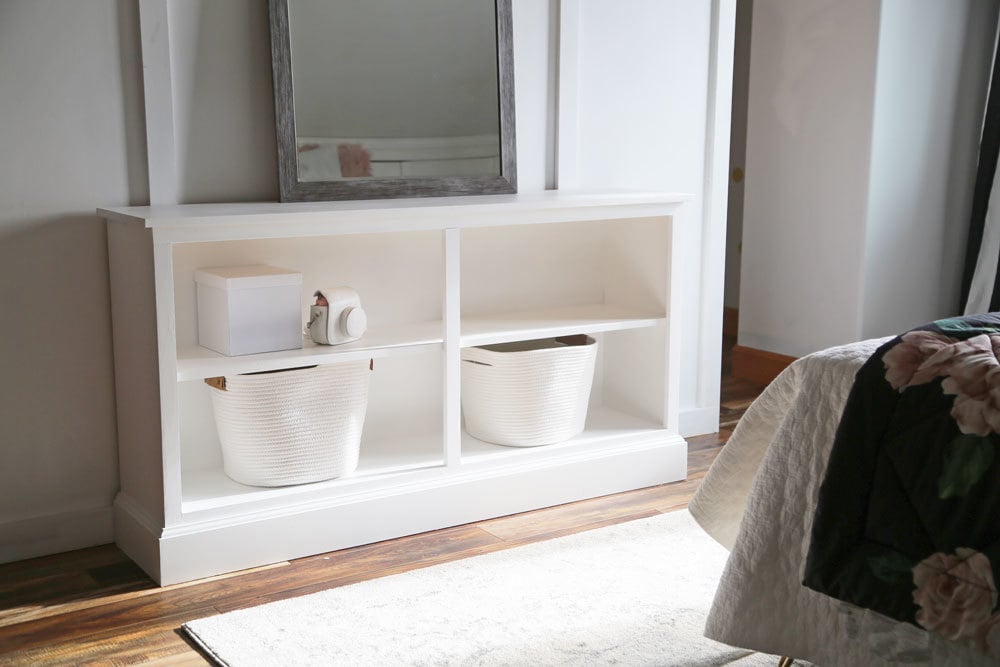
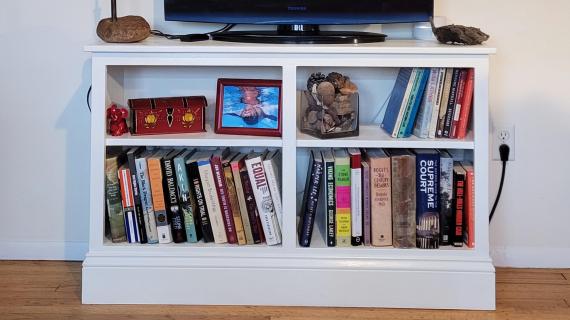
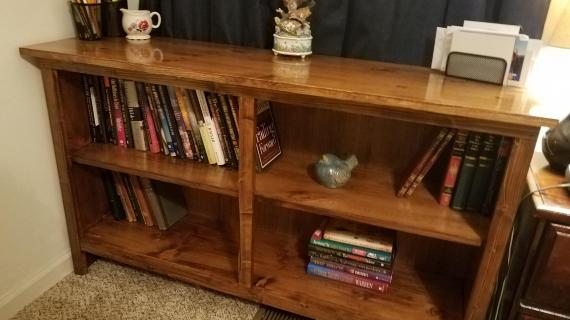
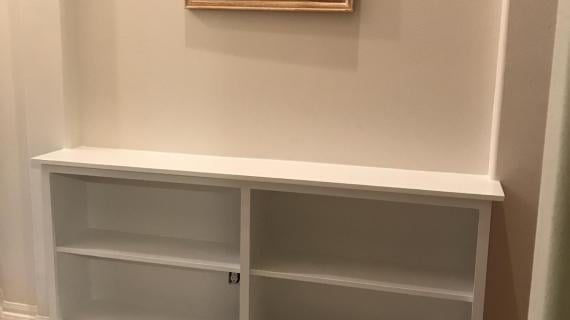
The height of a console or sofa table with all the storage of a bookcase.  Great for a media console too! We love this white bookcase, and you can build it yourself too, with free plans by ANA-WHITE.com
White bookcase
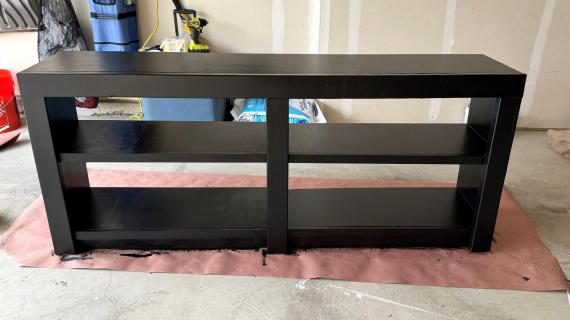
black console table pbteen emily merrit

I love bookcases.  They are the perfect solution for storing all the things.  

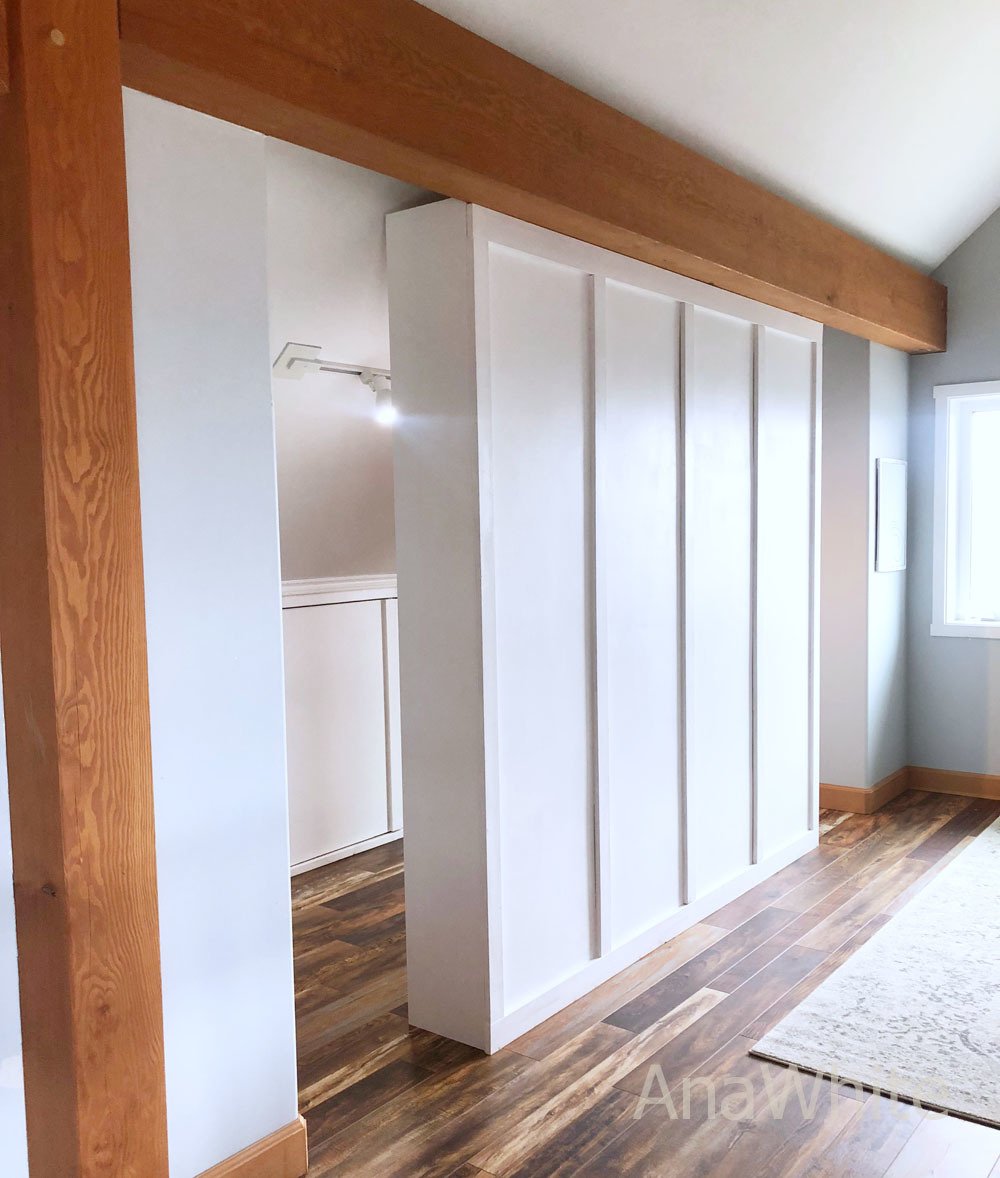
Last week we tackled a closet room divider that totally transformed an awkward attic room that my almost teen daughter Grace is claiming for her room.

The wall just was begging for an extra wide dresser with a mirror on top.

But then remembered having a dresser when I was a growing up.  The dresser was not user friendly for me as a teen - clothes on the bottom stayed on the bottom, or clothes on the top never stayed folded.  Dressers are great - but maybe not for kids.  I perfer open shelving - more like a bokshelf.

So I decided to build a bookshelf in the size of a dresser.  So the top height is about tabletop height, and nice and wide.  But open shelving, so we can organize all her things into bins and baskets.

We came up with this! 

It's perfect! It's just the right height for setting things on top.  The open storage is beautiful and practical. It's extra wide - like a console or a dresser - so there's plenty of surface area on top.  And plenty of shelving below.  

We spent about $40 building it - mostly because we had scrap wood leftover from the closet room divider - but if you were to buy all new, it would be about $80.

We walk you through how we built the extra wide console bookcase in this video

And the free plans are below.

Please share a brag post when you are done, or tag me #anawhite on Instagram - we are so thankful to see your projects!

Ana


UPDATE: We finished Grace's Bedroom!  See the room tour here.

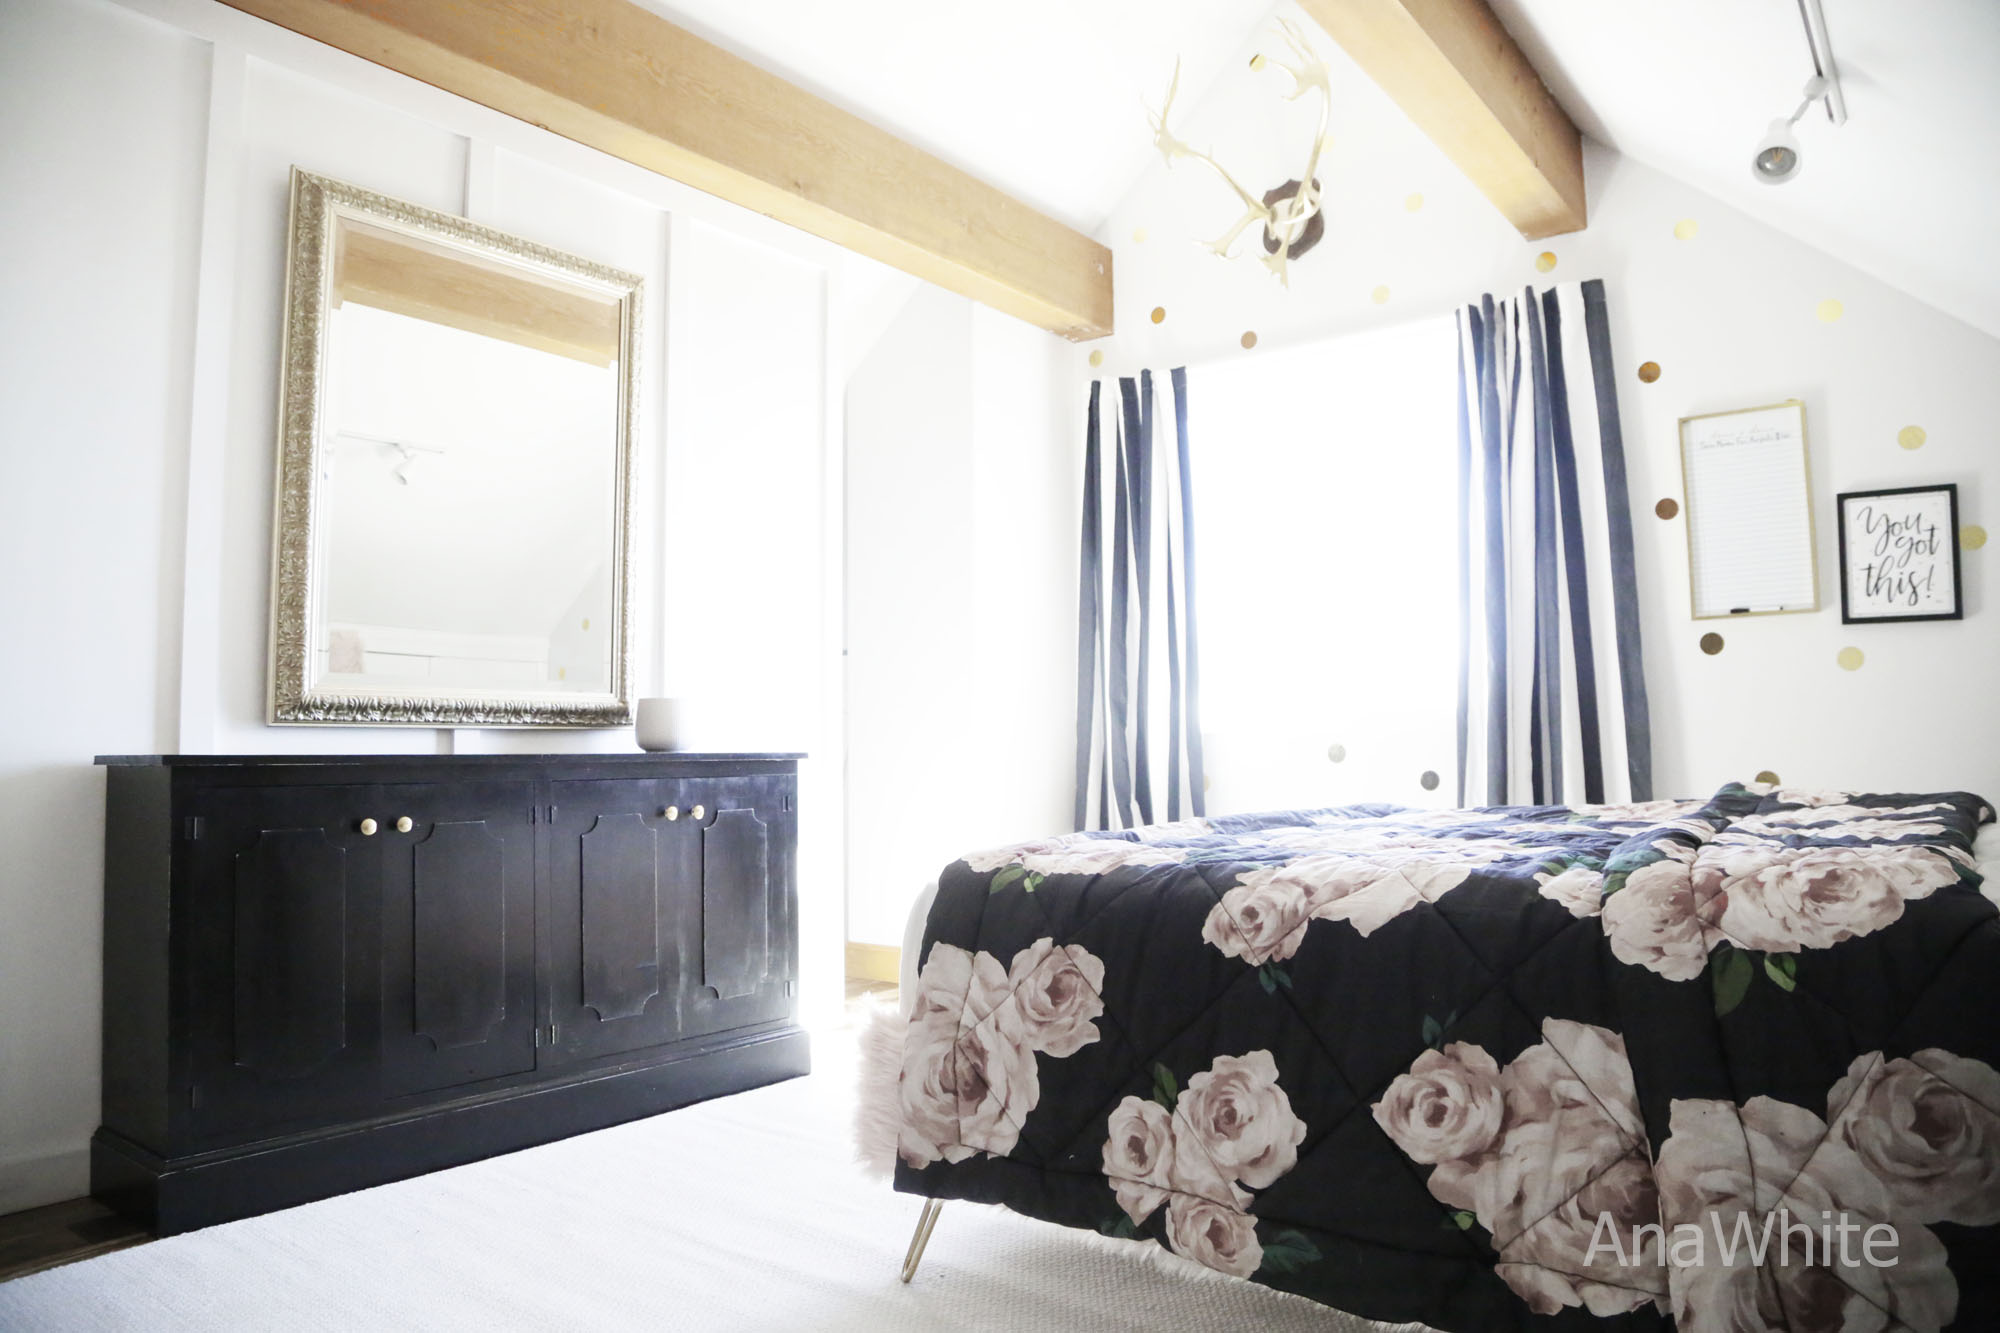
As we finished the space, the bookcase felt a little "off" in the room - so we added doors and painted it black

Vintage Glam Teen Bedroom

black console table door detail

The doors are simply 3/4" plywood cut to fit the openings (with 1/8" gaps on all sides and in between the doors).  Then I cut 1/4" plywood panels 6" smaller in width and height than the 3/4" plywood doors.  Then I jigsawed the curved corners off and glued and nailed the 1/4" plywood centered on to the 3/4" plywood.  I let the doors dry upside down, so the glue sticks everywhere.  Then I just attached with surface mounted hinges.


To build the doors, simply cut plywood about 

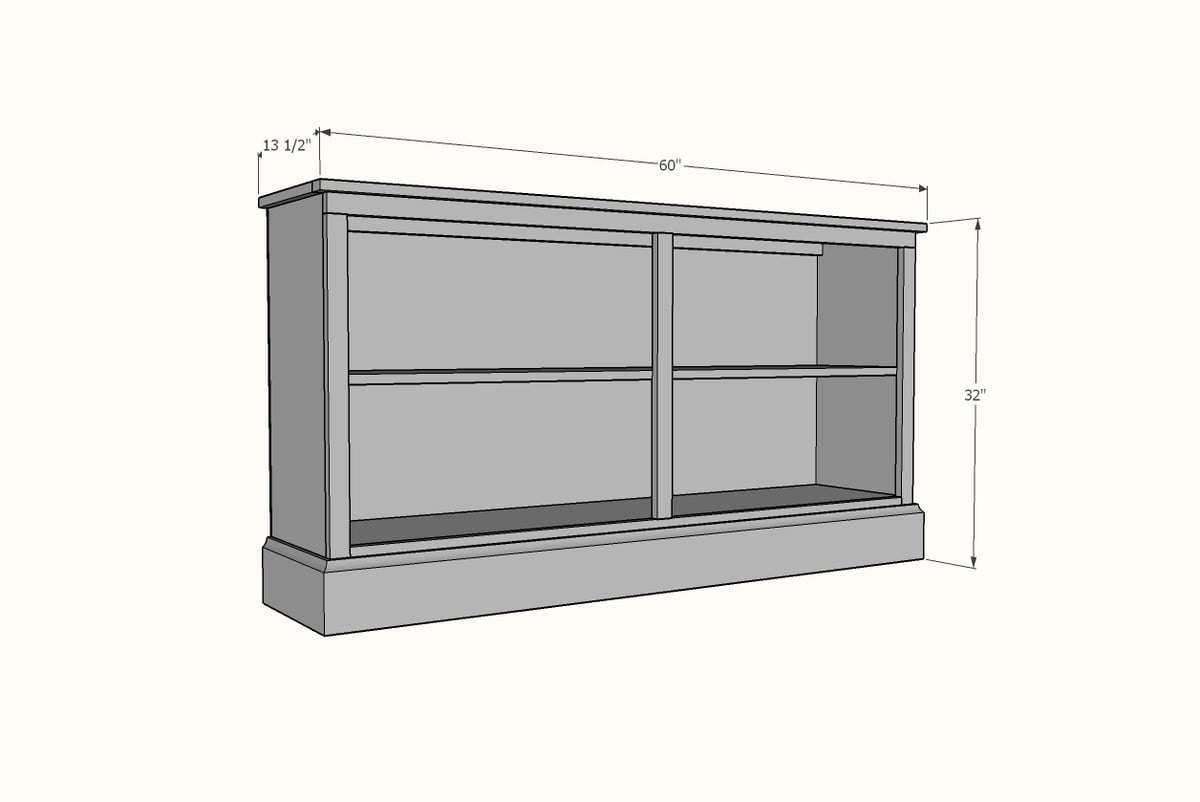
Dimensions
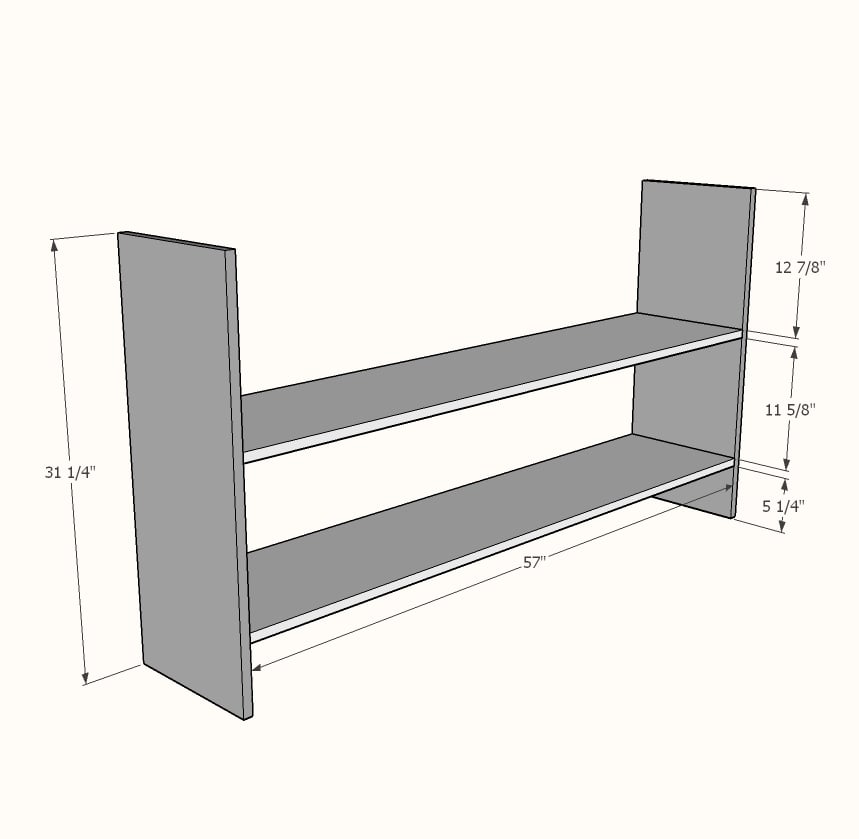
white bookcase plans dimensions
Dimensions shown above

Preparation

Shopping List

2 - 1x12 @ 8 feet long (or you can use 3/4" plywood ripped into strips 11-1/2" wide)

1 - 1x12 @ 5 feet long (or you can use 3/4" plywood ripped into strips 11-1/2" wide)

4 - 1x2 @ 8 feet long

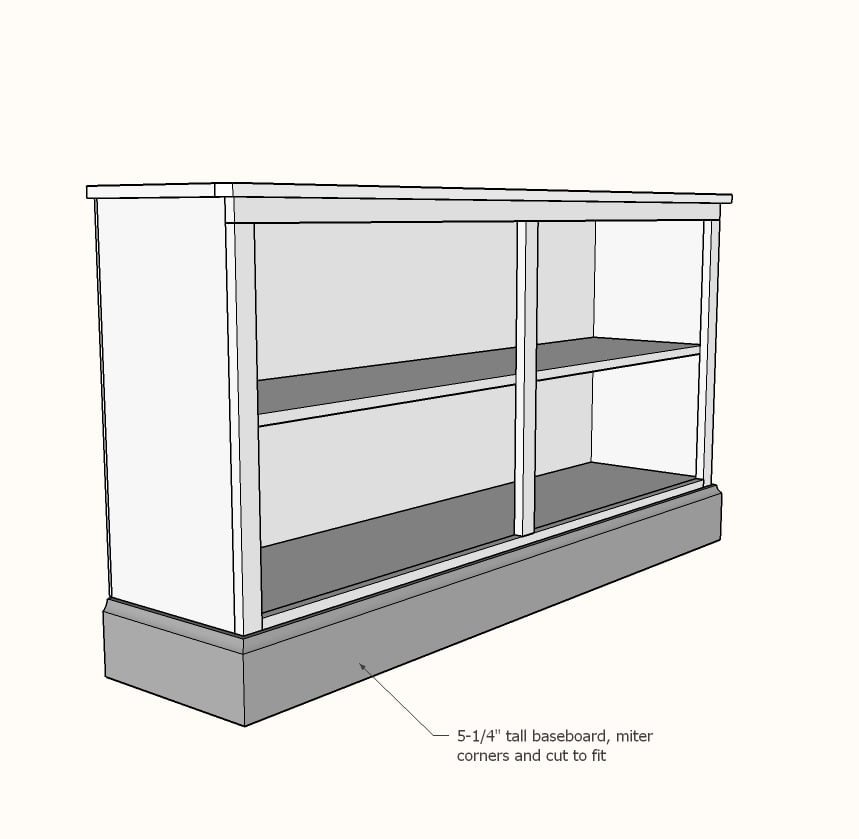
1 - 5-1/4" tall baseboard @ 8 feet long

1 - 1/4" plywood full sheet (for the back, optional or can substitute other materials)

Common Materials
1 1/4 inch finish nails
Cut List

2 - 1x12 @ 31-1/4" - sides

2 - 1x12 @ 57" - shelves

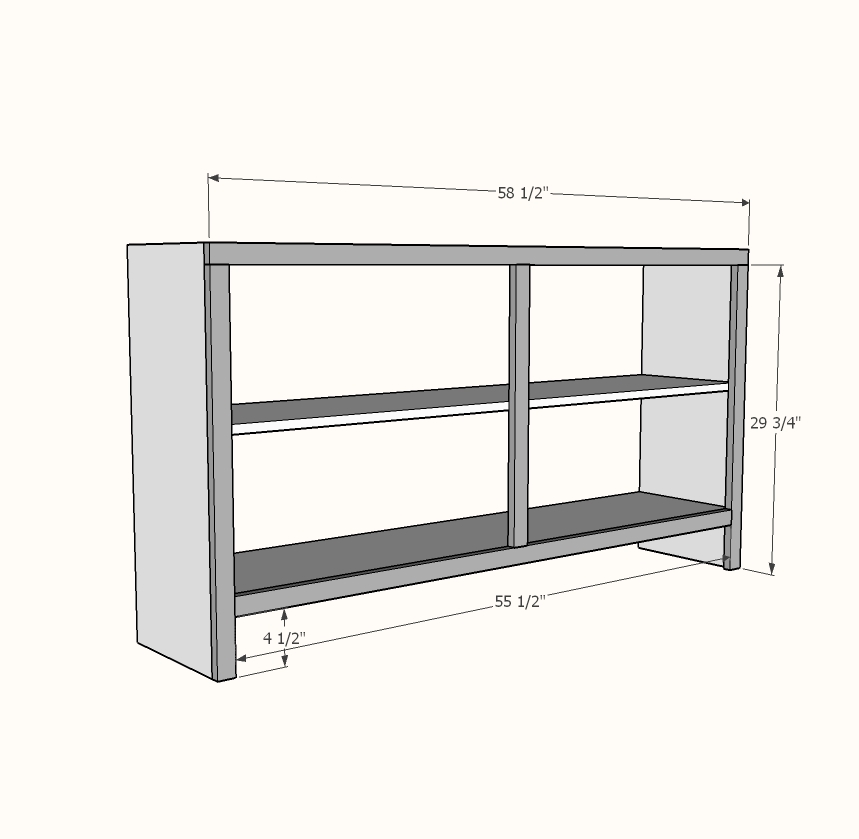
2 - 1x2 @ 29-3/4" - face frame sides

1 - 1x2 @ 58-1/2" - face frame horizontal top

1 - 1x2 @ 55-1/2" - face frame horizontal bottom

1 - 1x2 @ 23-3/4" - face frame center support

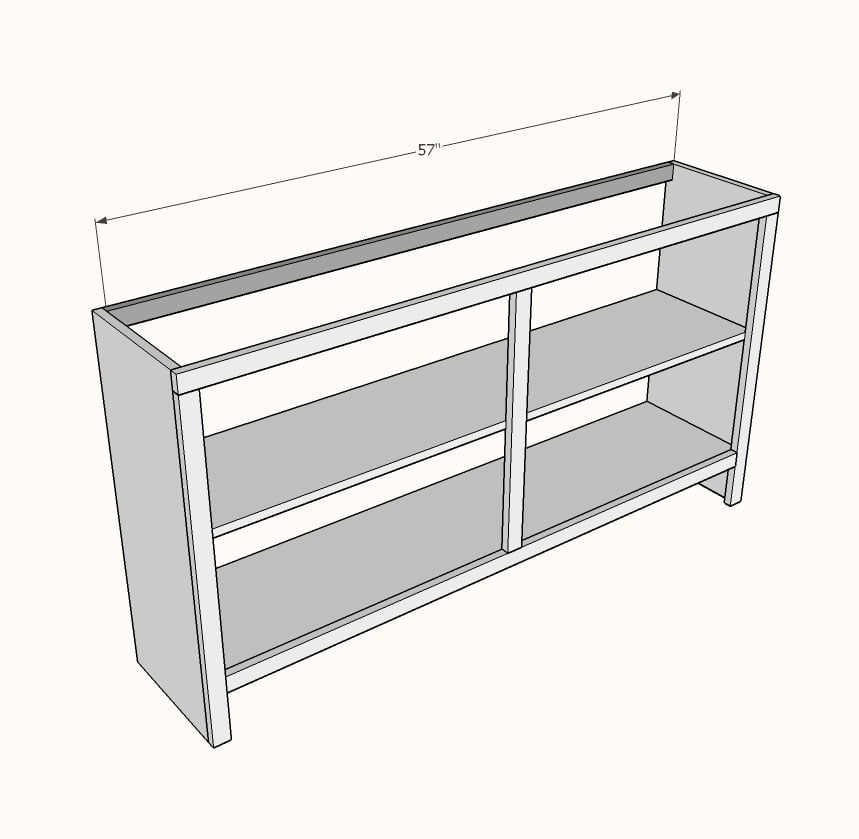
1 - 1x2 @ 57" - back support

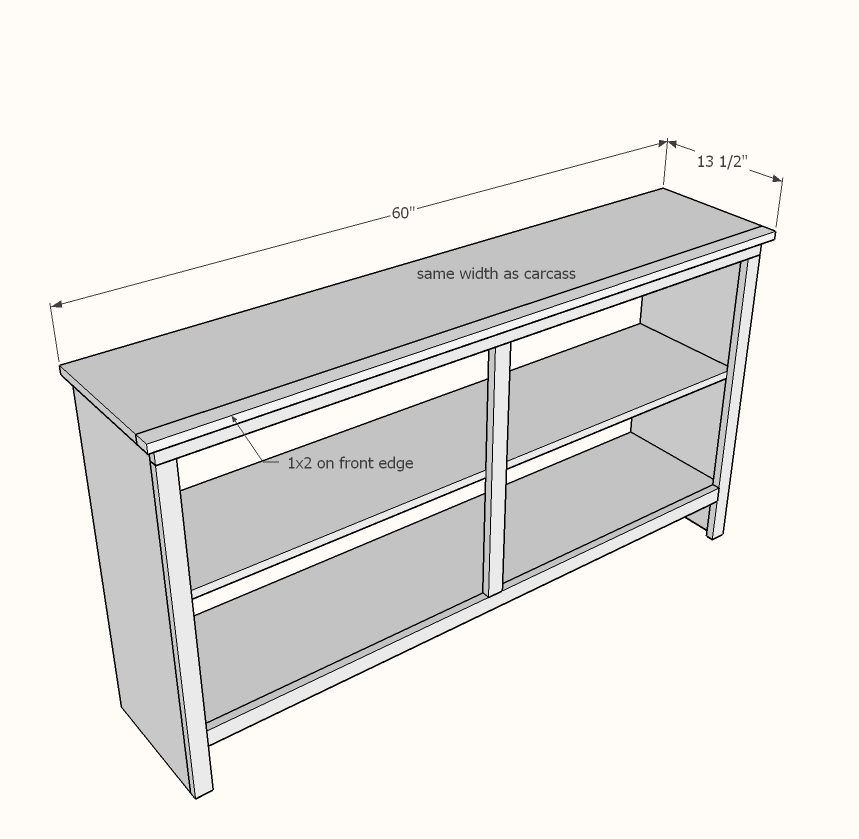
1 - 1x12 @ 60" - top

1 - 1x2 @ 60" - top

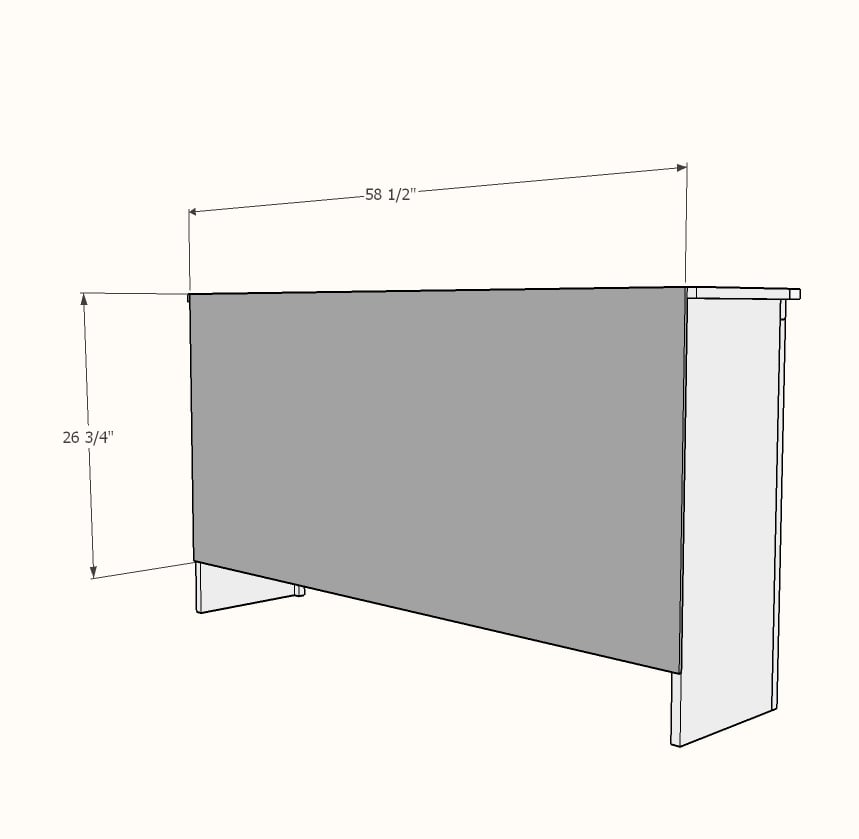
1 - 1/4" plywood @ 58-1/2" x 26-3/4" - back (optional)

5-1/4" baseboard cut to fit

Tools
Tape Measure
Speed Square
Pencil
Safety Glasses
Hearing Protection
Kreg Jig
Drill
Circular Saw
Miter Saw
Brad Nailer
Power Sander

Instructions

Step 1

Drill 3/4" pocket holes on each end of the two shelves.  Attach to the sides with 1-1/4" pocket hole screws.

Step 2

Build the face frame with 3/4" pocket holes and 1-1/4" pocket hole screws first.  Then attach the face frame to the 1x12s with 1-1/4" brad nails and wood glue.  Make sure you attach the center vertical piece of the face frame to the middle shelf.

NOTE: The center vertical piece of the face frame is to keep the center shelf from sagging.  If you customize the size to a shorter width, you may not need this center support piece.

Step 3

Attach back support with 3/4" pocket holes and 1-1/4" pocket hole screws.

Step 4

Attach top to front 1x2 trim with 3/4" pocket holes and 1-1/4" pocket hole screws.  Then glue and nail entire top to the bookcase with 1-1/4" brad nails.

Step 5

Step 6

Miter cut the baseboard trim to fit the bottom.

Attach with 1-1/4" brad nails and wood glue.

NOTE: Depending on your baseboard thickness, the brad nails may be a little long.  1" brad nails would be more suitable if you have on hand, but if you didn't want to buy different nails, the 1-1/4" nails will work just fine.

Comments

papabear

Thu, 04/11/2019 - 21:00

It says the side pieces are 21.25 inches in the cut list but in the diagram it says 31.25 inches . Which one is rite ?

papabear

sarydon

Tue, 01/05/2021 - 12:51

If I am going to make this only 42 inches wide, do you think I need the center support? I was leaning towards no. Thanks so much!!!!