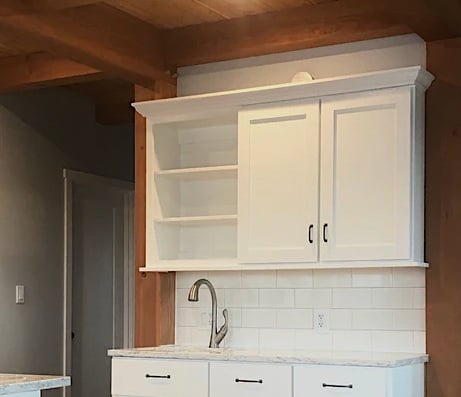
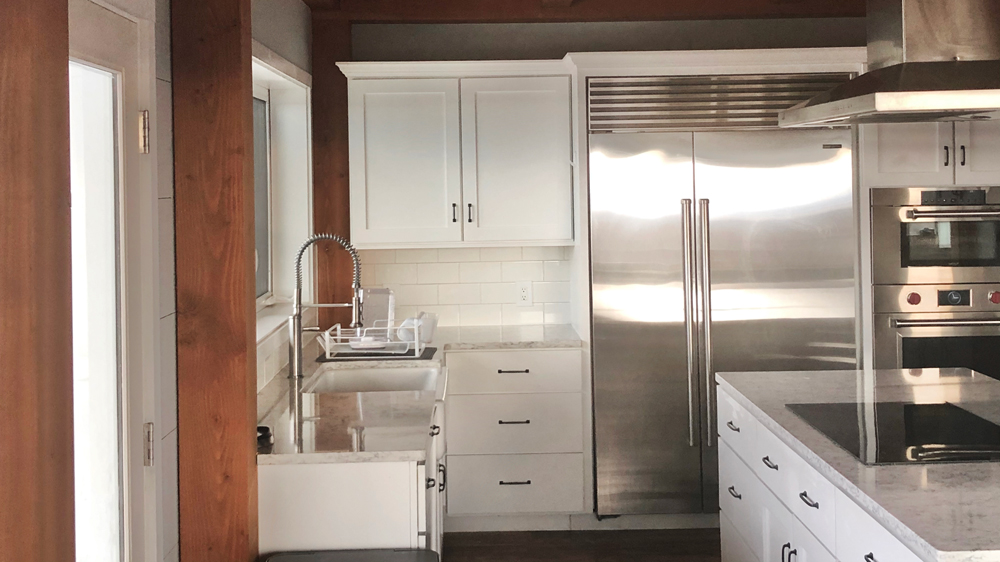
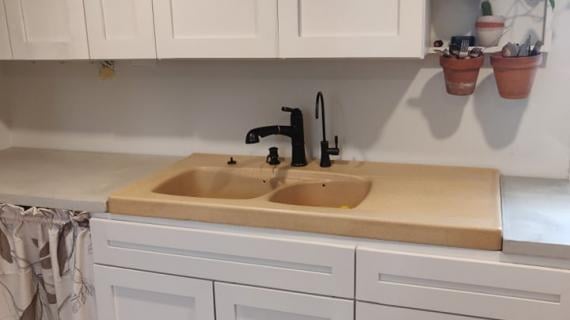
It's easy to build your own kitchen wall cabinets with face frames. The face frame is wood trim around the front edge of the cabinet that helps strengthen the cabinet, and trim out the front of the cabinet. A face frame is optional but adds lots of strength and beauty to the cabinet.

WHAT DO YOU NEED TO BUILD YOUR OWN CABINETS?
- 3/4" Hardwood Plywood
- 1x2 Hardwood for face frames, I use poplar for painted finishes
- 1/4" plywood for the back
- 1x3 or 1x4 pine wood boards for bay supports
- Cabinet doors and concealed full overaly hinges for face frame cabinets
- Shelf pins if adjustable shelves
- For tools, I recommend a table saw, miter saw, drill, pocket hole jig, 18 gauge brad nailer, power sander, and standard hand tools
RECOMMENDED DIMENSIONS
- Depth of 11-1/4" is standard. Deeper cabinets can be 15-1/4" but it gets difficult to reach the contents in the back of the cabinet and obstructs lower countertops
- Width of up to 36" is standard. Wider widths may create sagging shelves.
- Height of 30" is standard. 42" is common, as this is the full height cabinet when installing on 8 foot tall walls.
- Bay = 1 is standard
CONFIGURING WITH ANA'S FREE EASY TO USE DESIGN APP
Use Ana's Free Furniture Design App to create custom plans, even in odd sizes. It's super easy to use and you can download the plans in seconds.
Below is a standard 36" cabinet carcass. Once you have the carcass set, everything can just be measured off the carcass.

CUTTING THE PIECES
When you complete your custom design, download the plans. Rip 3/4" hardwood plywood into the desired width and cross cut with a miter saw to get the exact cuts needed.
ASSEMBLING THE CARCASS
simply drill 3/4" two pocket holes on each end of the shelf boards (horizontal) and attach to the vertical side boards with 1-1/4" pocket hole screws. The shelves can be adjustable with shelf pin holes.

BAY SUPPORT
You'll need something to keep the cabinet from racking and to attach to the wall. A 1x3 bay support at the top back is recommended, attach to both sides and top shelf.

FACE FRAME
For the face frame, we recommend poplar 1x2s for paint grade, and for stain grade, wood of your choice, preferably a hardwood as the face frame will take much use and may support hinges.
Cut the face frame stiles to match the height of the cabinet from 1x2s. Then measure and cut to fit the face frame rails (horizontal 1x2s)

Attach the face frame boards together first with 3/4" pocket holes and 1-1/4" pocket hole screws. Then use glue and 1-1/4' brad nails to attach face frame to front of cabinet.
CABINET DOORS
For face frame cabinets, there are different overlays for hinges. The most common is 1-1/4" or sometimes referred to as "full overlay" for Concealed Face Frame Hinges. This type of hinge is usually available off the shelf at most hardware stores.
For the 1-1/4" overlay hinge, measure the doors as shown in the diagram below.

- Door width is opening width + 2-1/2"
- For double doors, simply divide in half
- The height is the opening height + 2-1/2"
CABINET INSTALLATION
The cabinet must be hung to studs in the wall behind the cabinet, through the top bay support, using self tapping construciton screws. We also recommend attaching cabinets together through the sides using 1-1/4" self tapping construction screws.


