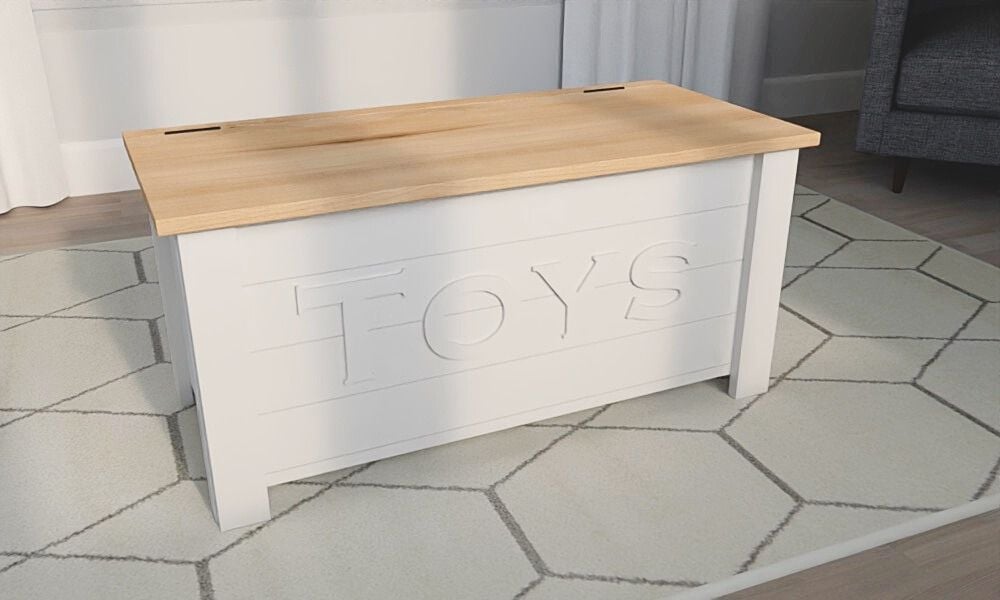


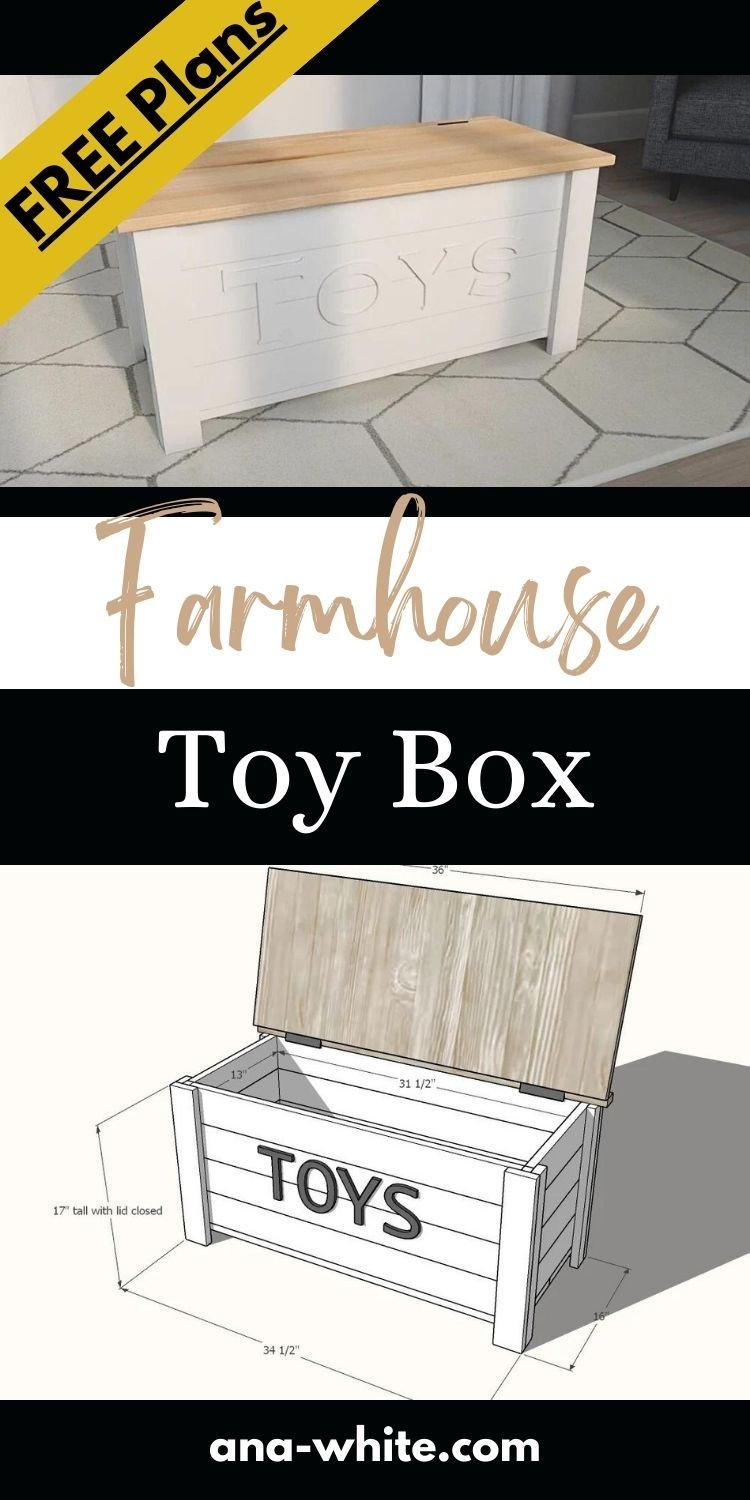
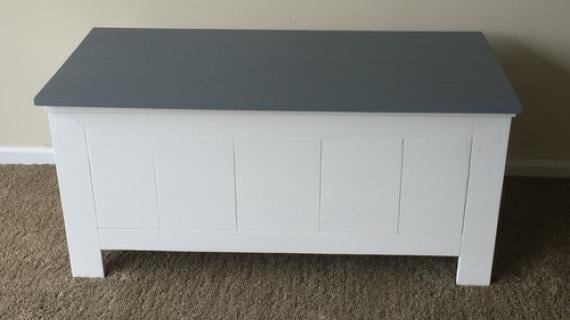
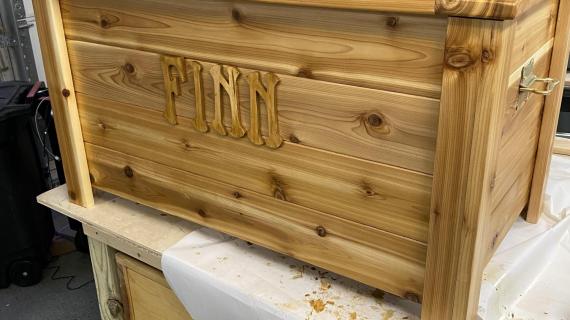
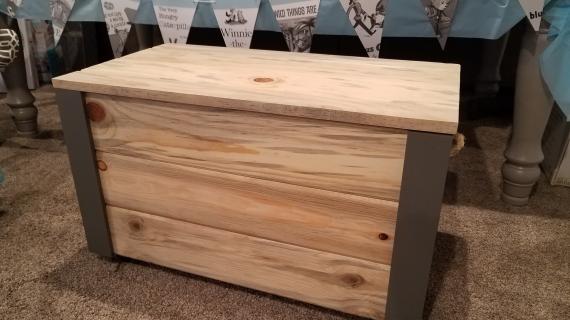
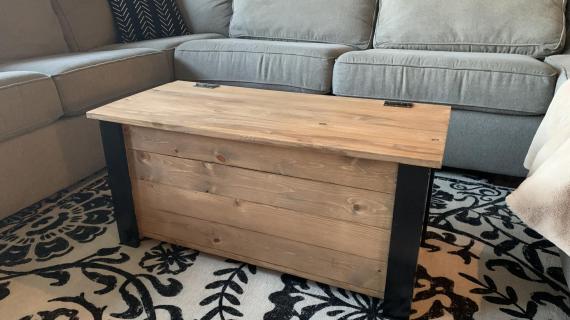
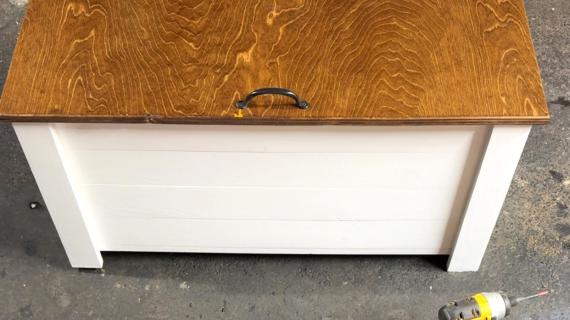
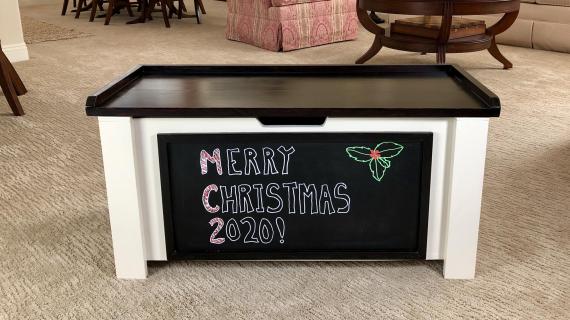
This beautiful farmhouse toy box is easy to build with common pine boards. Our free step by step plans with full diagrams make it easy. Plans by Ana-White.com
Pin For Later!
Preparation
- 4 - 1x4 @ 8 feet long (from each board, cut two 33" pieces and two 13" pieces)
- 2 - 1x2 @ 6 feet long
- 1 - 1x3 @ 6 feet long
- 1 - 1x8 @ 6 feet long
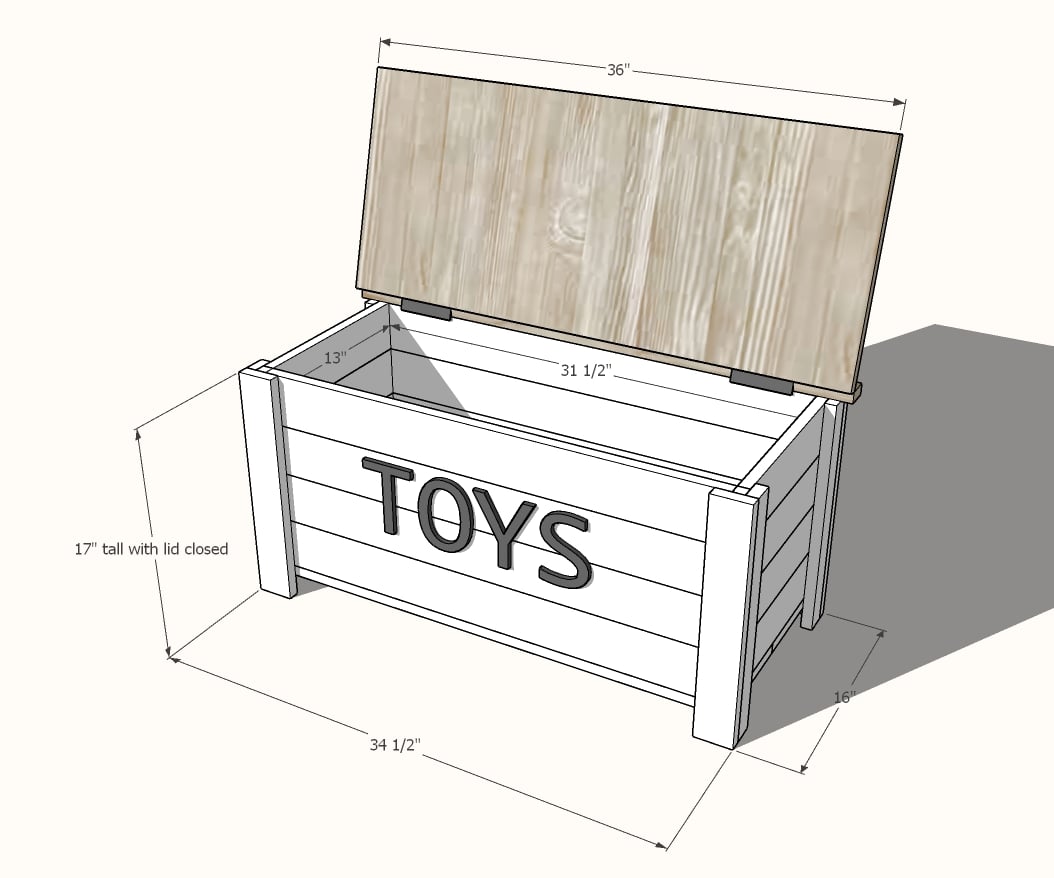
- 1 - Project Panel with actual measurements 36" x 15-1/4" (available off the shelf at Lowes)
- 1 set of 3" hinges
- Toy box lid support (recommended)
- Felt pads or cushion
- 20 - 1-1/2" to 2" long #8 self tapping wood screws (SPAX or similar) can be cabinet screws, trim screws, or construction screws (needs to be at least 1-1/2" long, but can be up to 2" long)
- 1-1/4" brad nails
- Wood Glue
- 4 - 1x3 @ 16-1/4"
- 4 - 1x2 @ 16-1/4"
- 8 - 1x4 @ 33"
- 8 - 1x4 @ 13"
- 2 - 1x8 @ 33"
- 1 - 1x2 @ 36"
- 1 - Project Panel @ 15-1/4" x 36"
Cut boards with a compound miter saw (preferred) or a circular saw with a straight edge as a guide. It is very important to create nice straight cuts for good joints.


Instructions
Step 1
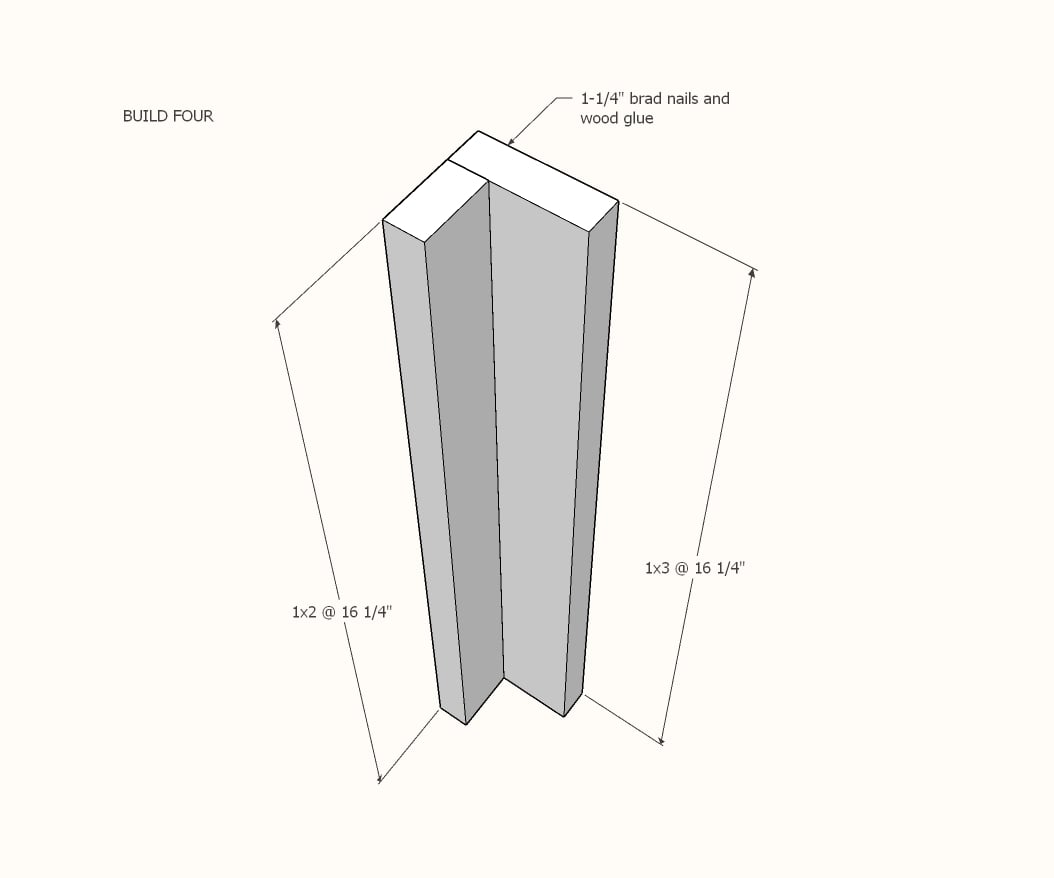
Glue and nail 1x3 leg pieces to 1x2 leg pieces so outside edges are flush.
Nail about every 6".
Build four.
Step 2

Glue and nail one longer 1x4 to the top of two legs.
Make sure the 1x3 leg part is on the front, and the 1x2 leg part is on the ends.
Keep top and outside edges flush.
Step 3
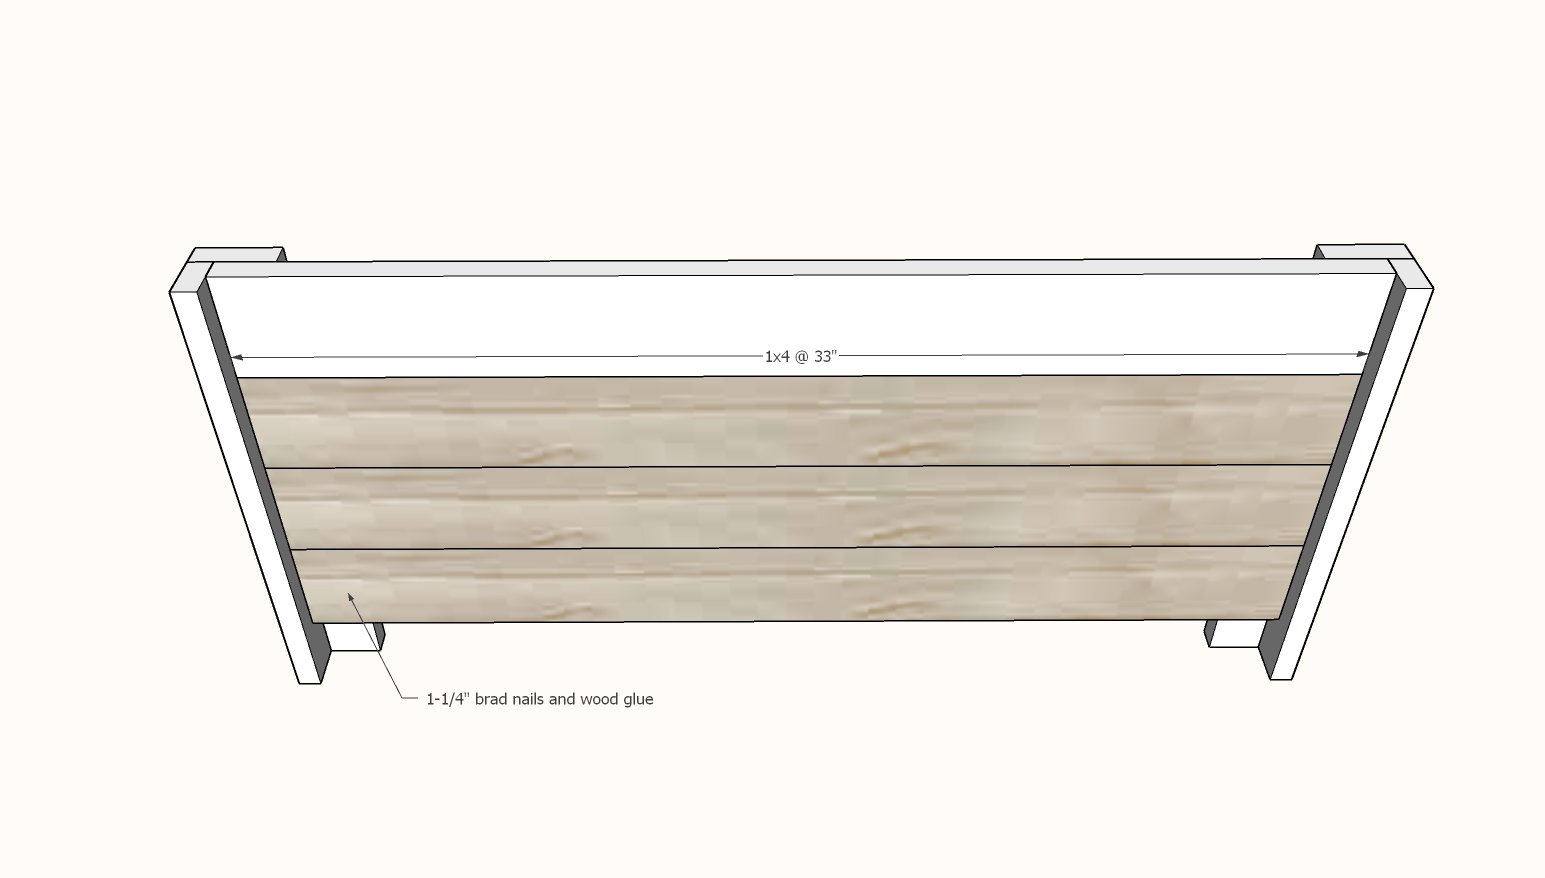
Add additional longer 1x4 boards between legs, using glue in the long seam between 1x4s too.
Attach to legs with 1-1/4" brad nails and wood glue.
Step 4
Attach shorter 1x4 boards to ends of toybox with glue and 1-1/4" brad nails. Start at the top and work downward.
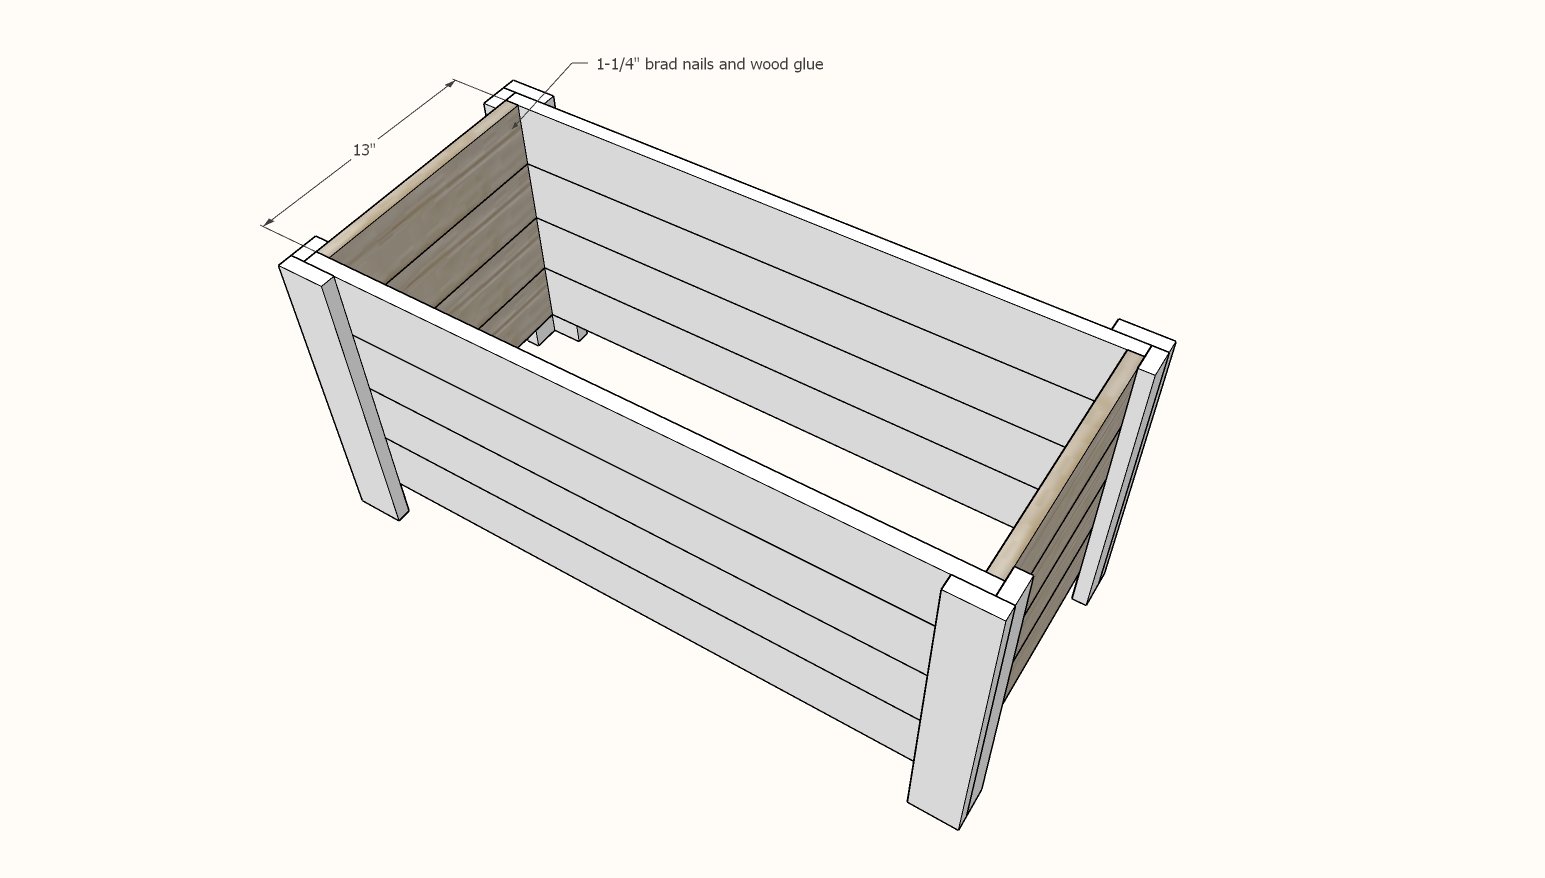
Step 5
Check the toybox bottom for square by taking opposite diagonal measurements, and making sure the measurements match. If they don't match, push the longer diagonal corners together until they do.
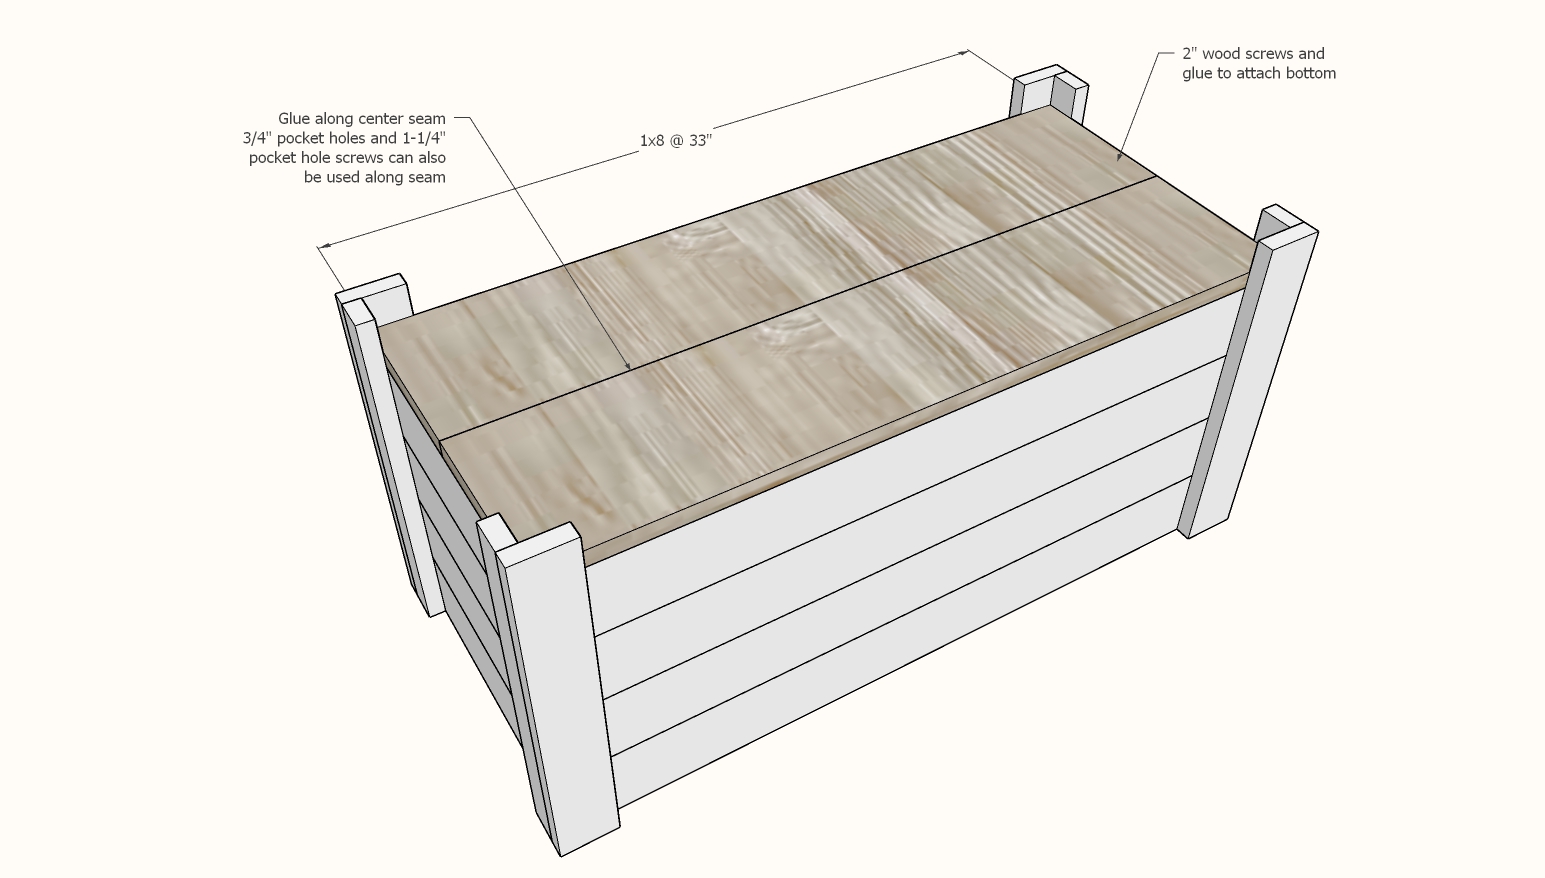
Use the 2" self tapping screws to attach the bottom on the toy box.
For added strength, also nail and glue from the outsides of the legs into the edges of the 1x8 bottom.
Step 6
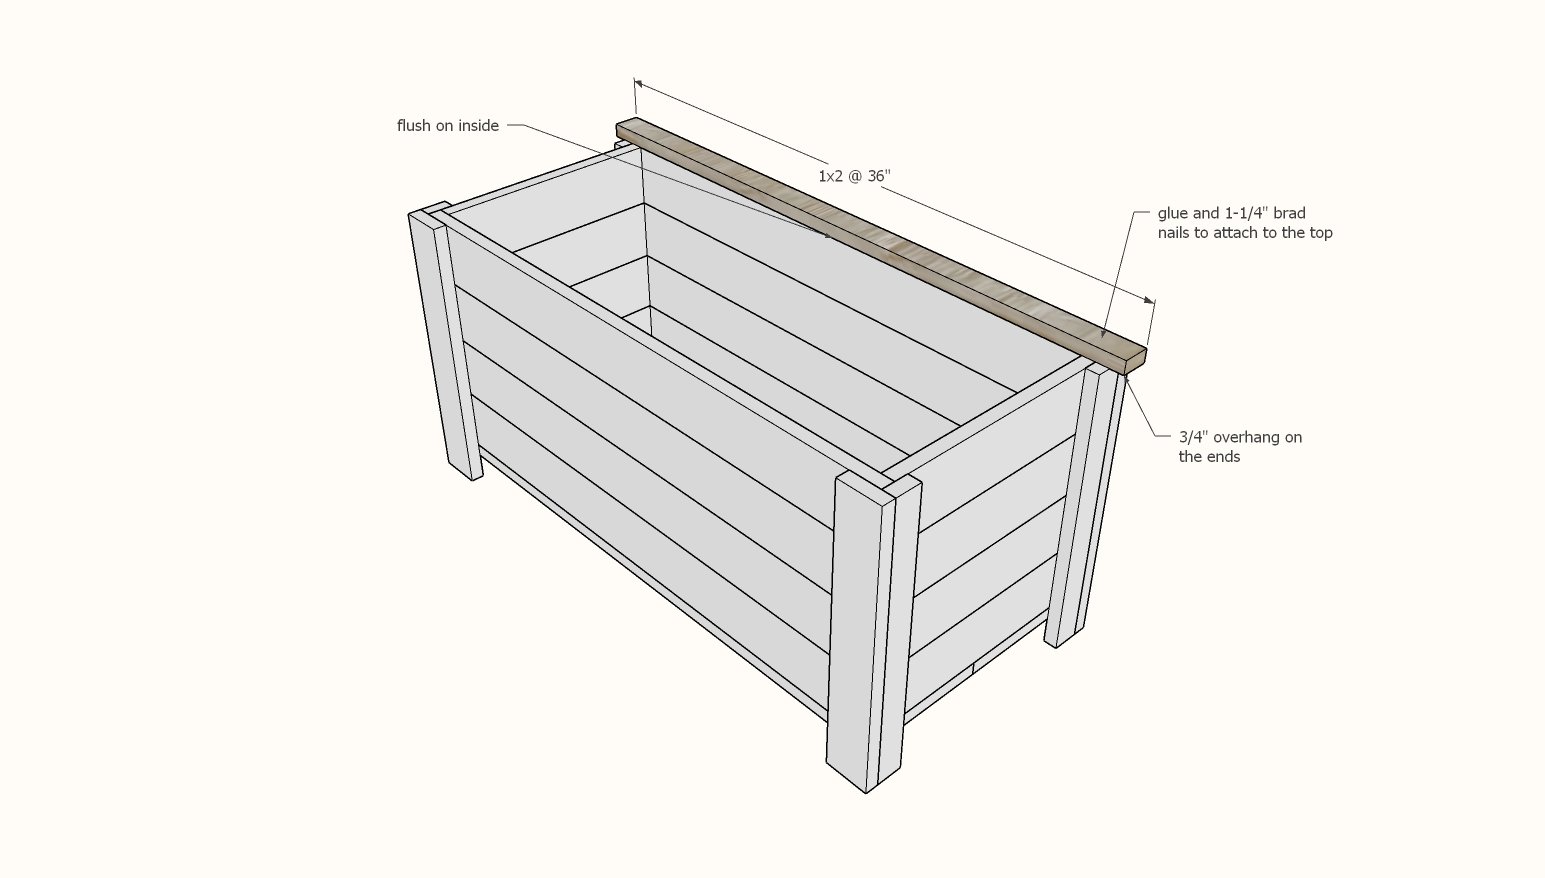
Nail and glue 1x2 to the top.
Step 7
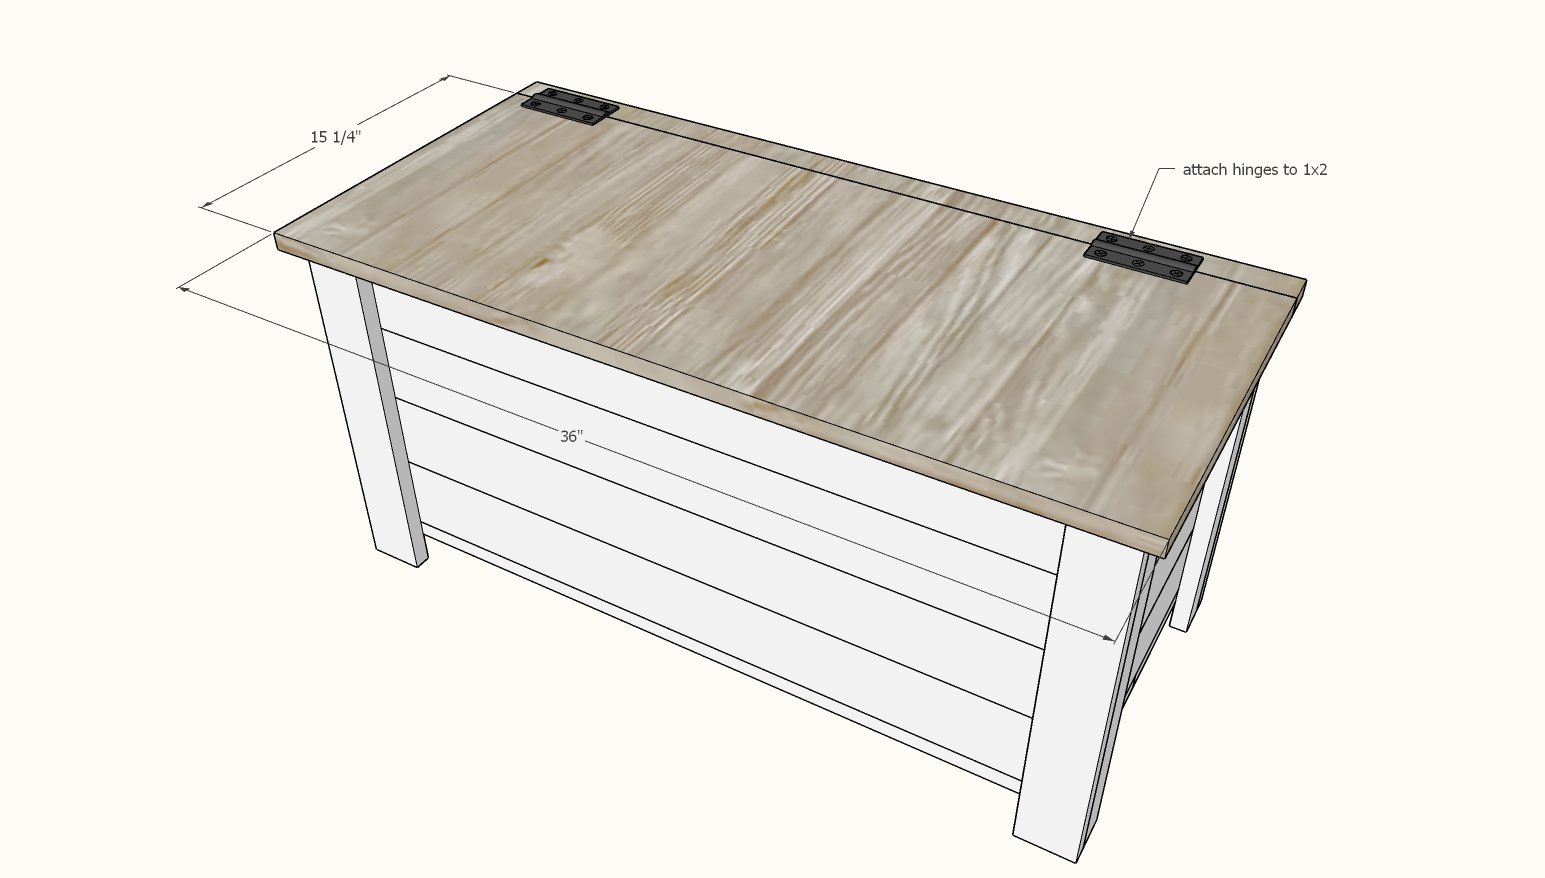
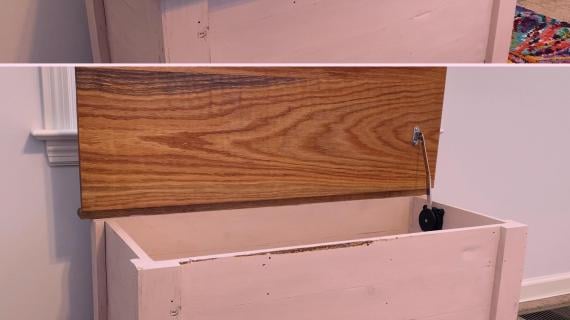
Attach toybox lid with the hinges.
We recommend a toybox hinge support to keep the top from slamming closed.
We also recommend felt pads or bumpers to soften the close.


Comments
demariont
Sun, 07/05/2020 - 10:15
Are wheels an option?
I want to add wheels. Is that possible? Someone help out lol
In reply to Are wheels an option? by demariont
Ana White
Mon, 12/19/2022 - 10:33
Yes, just cut the legs to…
Yes, just cut the legs to fit the size of the box, and then add wheels to the bottom.
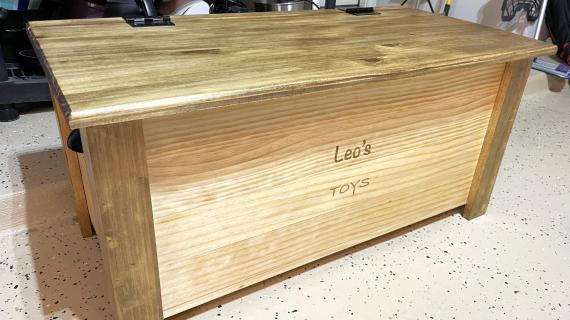
davidd62
Sun, 12/06/2020 - 05:13
Toy Box
Toy Box
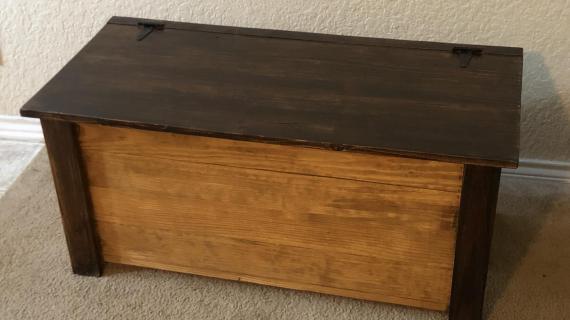
itosan1@msn.com
Wed, 12/28/2022 - 16:14
Toy box
Toy box