

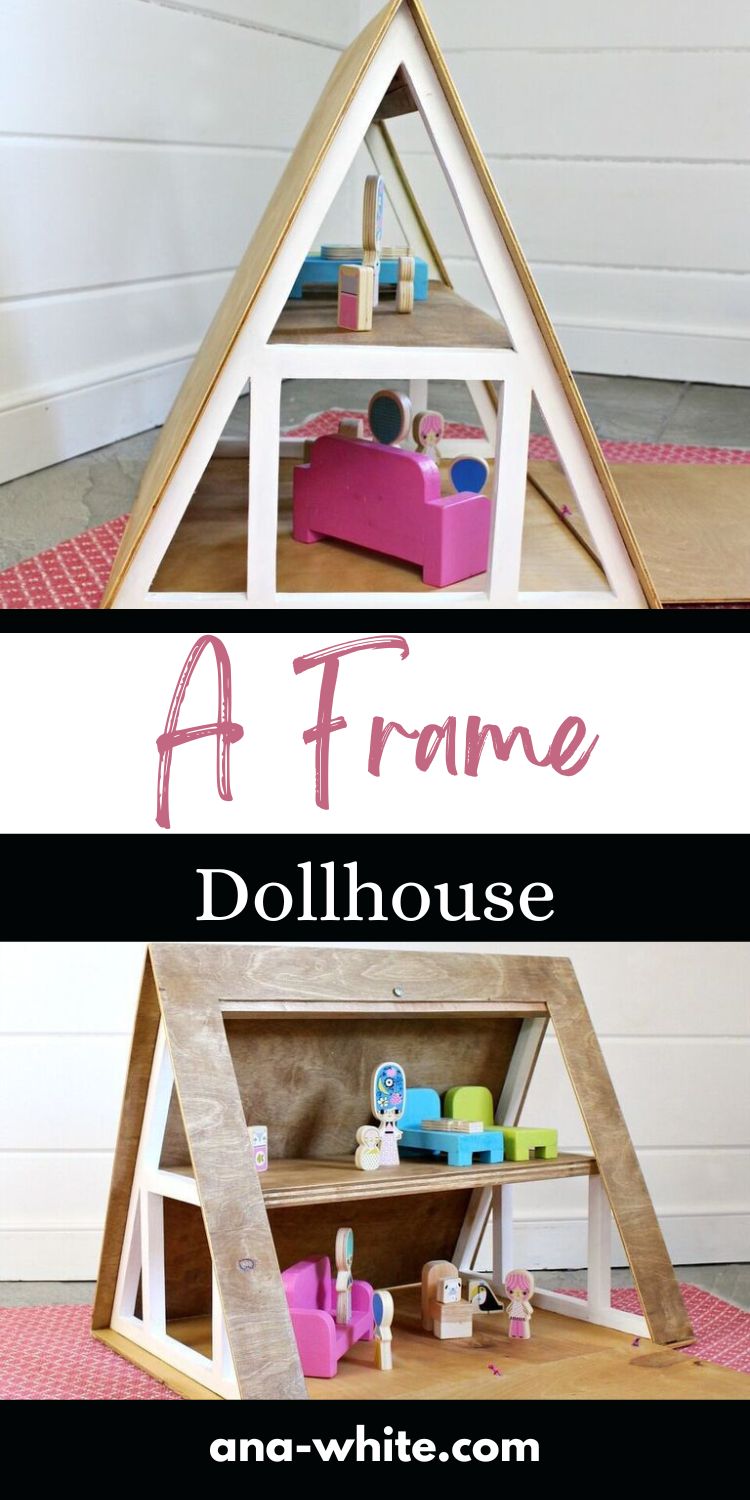
How to build an A Frame Dollhouse free tutorial by ANA-WHITE.com

A Frames are making a comeback in a big - and little - way.
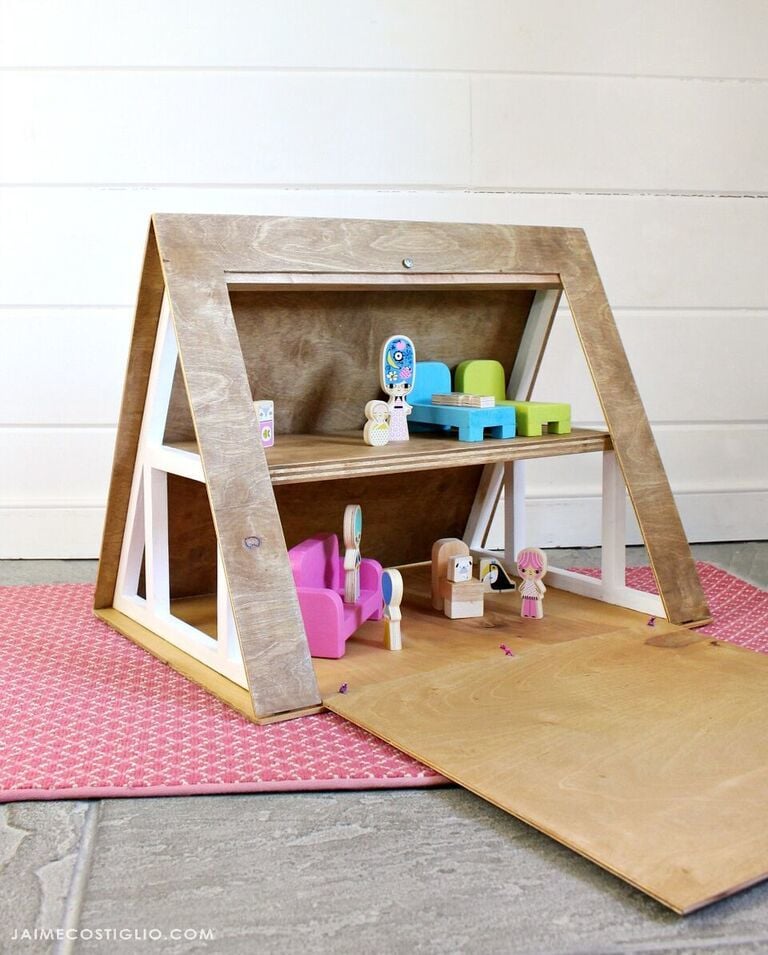
This adorable DIY A Frame dollhouse is made with plywood scraps and a few basic power tools.

The free pattern to build your own is below.

This free woodworking plan is brought to you are part of a series that Jaime Costiglio and I team up on each Holiday season called Handbuilt Holiday. We celebrate the season of giving by giving you a new, free gift plan every Friday in the weeks leading up to Christmas.
If an A Frame dollhouse doesn't fit your Christmas list, don't worry, we've got dozens more plans in this collection available here.
You'll find the free pattern below - do grab it and build!
And make sure you go through Jaime Costiglio's build tutorial for lots more photos and tips.
Happiest Holidays!
Ana
Pin For Later!
Preparation
1/4" plywood panel 24" x 48"
3/4" plywood 18-1/2" x 24"
1 - 1x3 @ 18-1/2" long
2 - 3/4" plywood pieces, 15-1/2" x 17" - cut into triangles as shown in step 1
1 - 1x3 @ 18-1/2"
1 - 3/4" plywood @ 18-1/2" x 8-1/4"
2 - 1/4" plywood @ 18-5/8" x 22"
1 - 1/4" plywood @ 22" x 16"


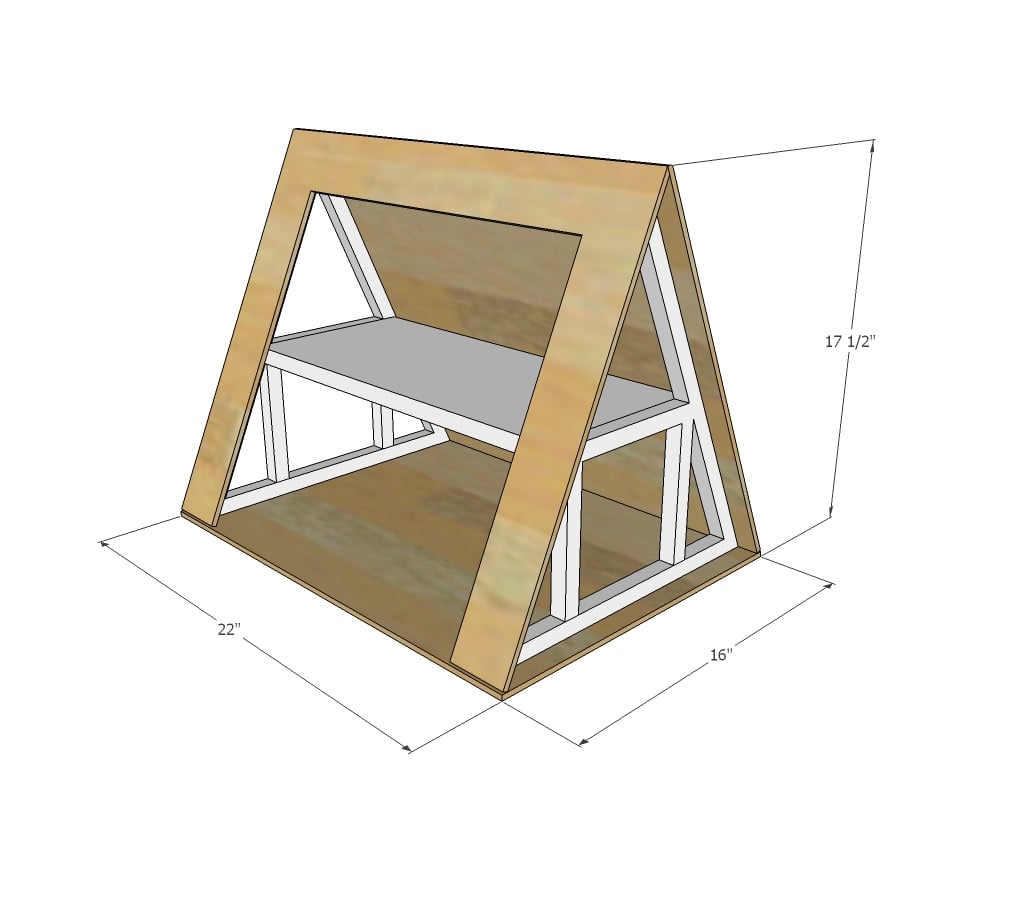
Instructions
Step 1

With a jigsaw, cut out sides as shown above. You can change window cutouts but leave the 3/4" edges and second floor horizontal piece.
TIP: Drill holes to start cuts with a drill bit sized just bigger than your jigsaw blade.
Step 2

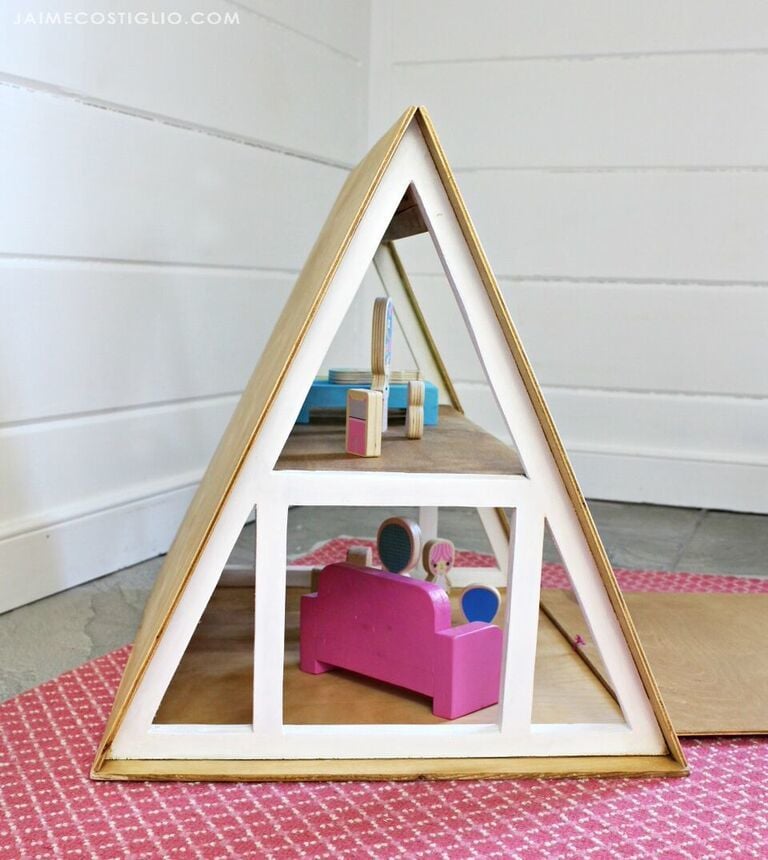
Attach 1x3 and loft floor to the A Frame sides. You can use pocket holes or screws or 1-1/4" nails (or longer) and wood glue.
NOTE: 1x2 shown in diagram has been altered to 1x3 to allow roof side to close easier.
Step 3
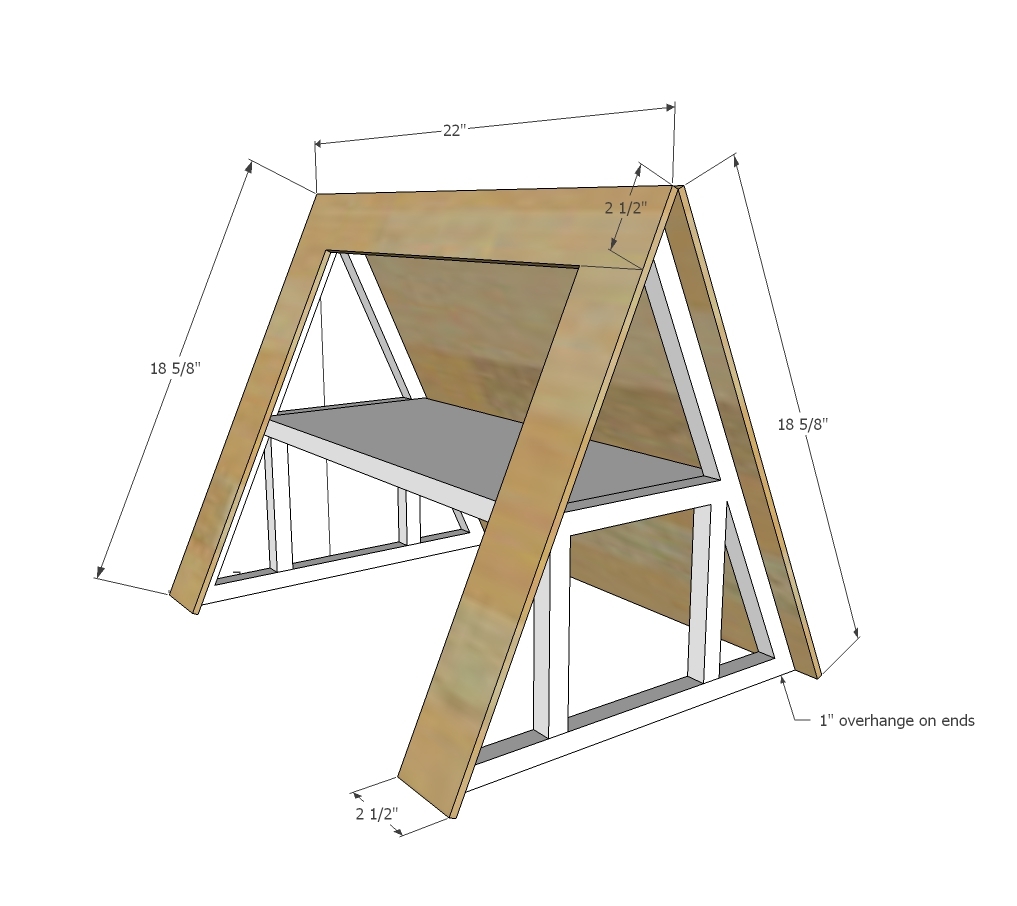
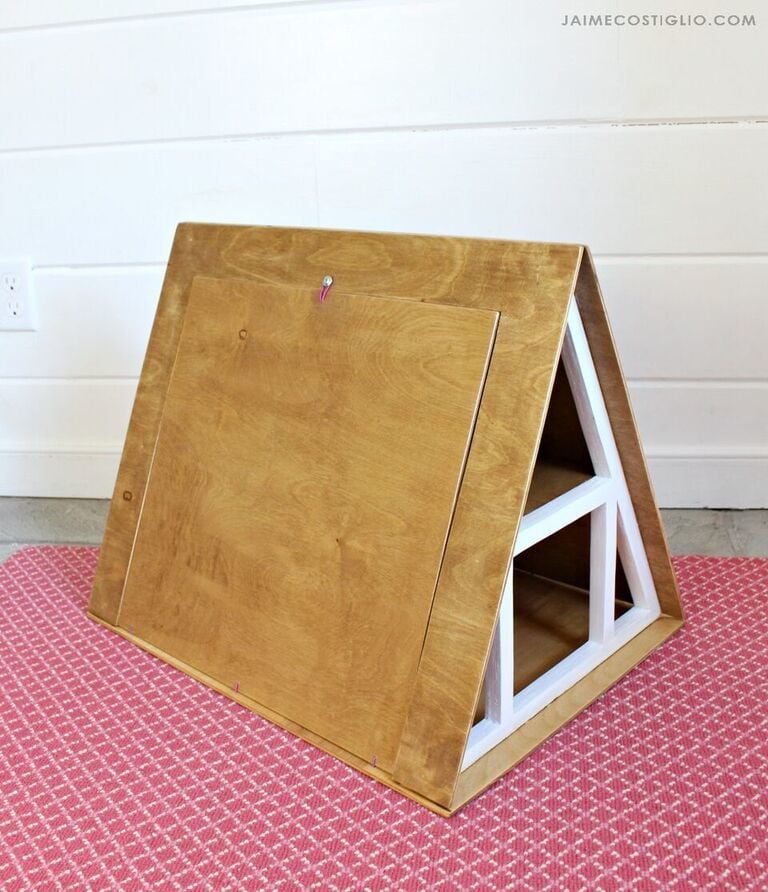
Cut roof out on one side to allow roof to fold down.
Attach 1/4" plywood panels to the sides of the 3/4" plwyood with 3/4" brad nails and wood glue.
Step 4
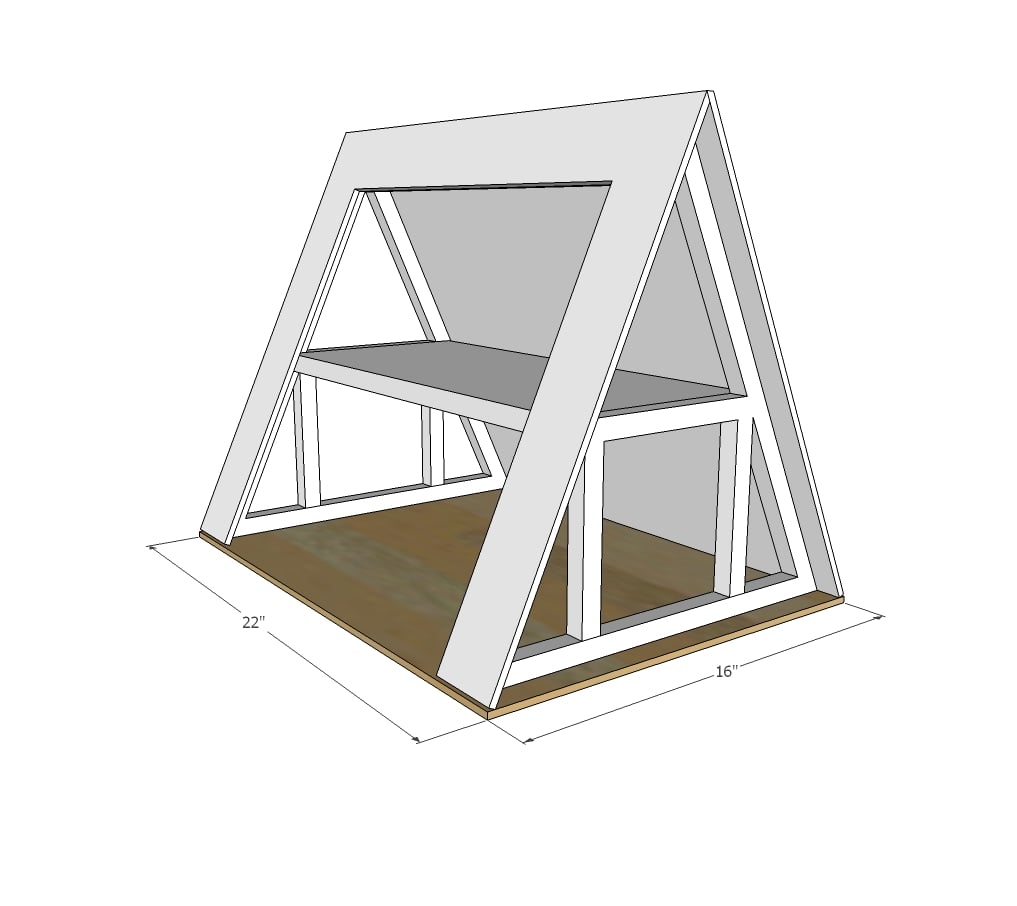
Nail bottom to 3/4" plywood edges.
Step 5