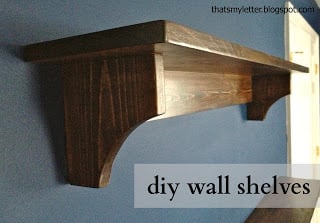
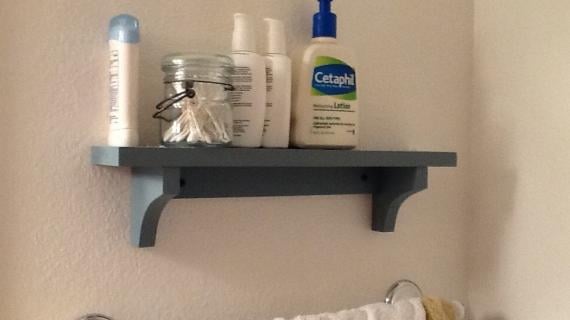
Free plans to make simple shelves from Ana-White.com
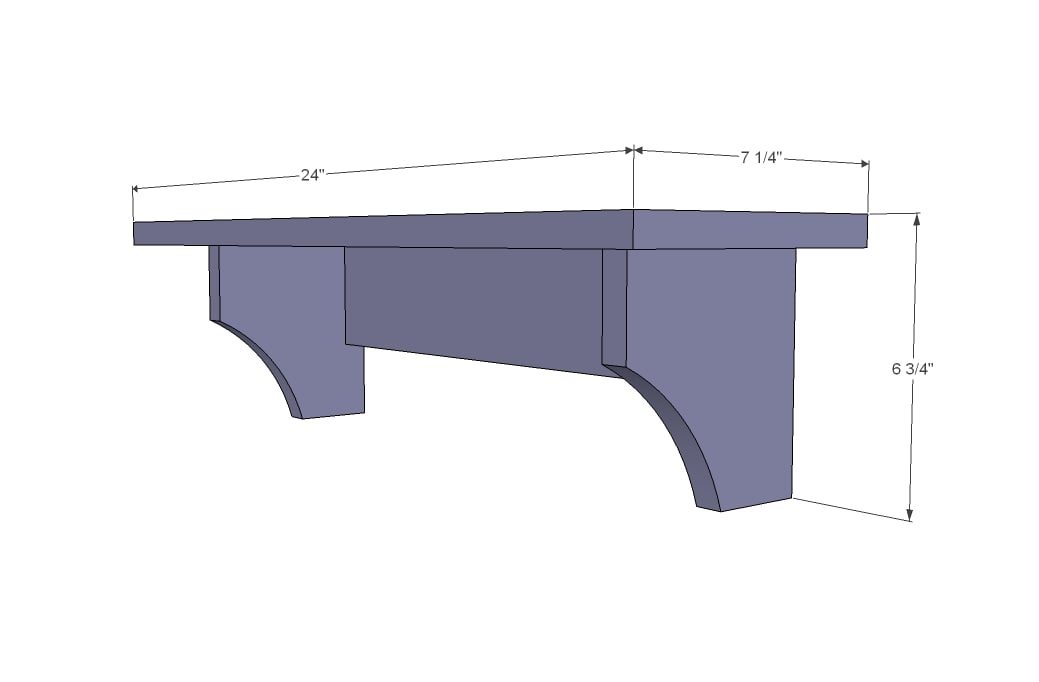
Preparation
1 - 1x8 @ desired length of shelf
1 - 1x4 @ desired length of shelf MINUS 5 1/2"
1 - 1x6 @ 12"
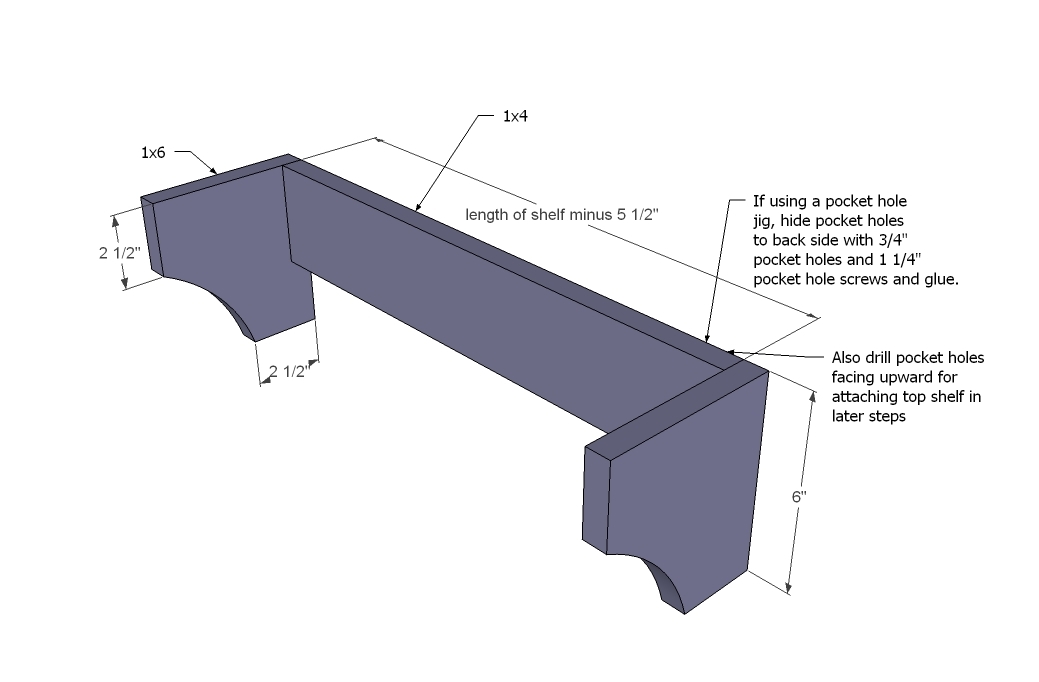
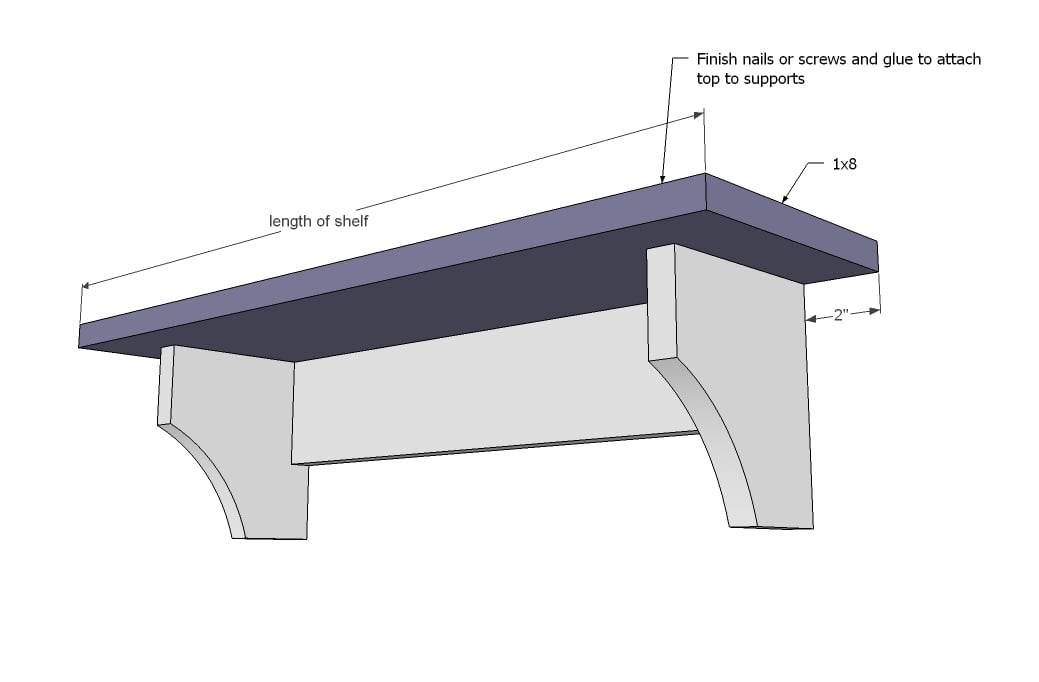
NOTE: Can be put together with pocket holes, countersunk screws or nails and glue
1 - 1x8 @ desired length of shelf
1 - 1x4 @ desired length of shelf MINUS 5 1/2"
2 - 1x6 @ 6"
Please read through the entire plan and all comments before beginning this project. It is also advisable to review the Getting Started Section. Take all necessary precautions to build safely and smartly. Work on a clean level surface, free of imperfections or debris. Always use straight boards. Check for square after each step. Always predrill holes before attaching with screws. Use glue with finish nails for a stronger hold. Wipe excess glue off bare wood for stained projects, as dried glue will not take stain. Be safe, have fun, and ask for help if you need it. Good luck!
Instructions
Step 1
It is always recommended to apply a test coat on a hidden area or scrap piece to ensure color evenness and adhesion. Use primer or wood conditioner as needed.


Comments
Juanita_r
Mon, 02/18/2013 - 21:06
Are they really all sold out already!!!
Love the little shelf, what a bargain!!! I just tried to get one of the aprons, but they are all (except for the orange one...not and orange kinda girl) coming up as sold out!!! Are they really gone already!!! Talk about a red hot item!!! ;-)
balloongal247
Fri, 05/16/2014 - 09:09
Step 1?
This plan only has Step 2 and Step 3... Where's step 1? I assume step 1 would be drilling all the pocket holes into the wall side of the back board, and hanging holes if desired, and tracing the pattern for the supports and jigsawing it out... Maybe it's missing two steps then... I guess the pocket holes are just a side note in step 2.