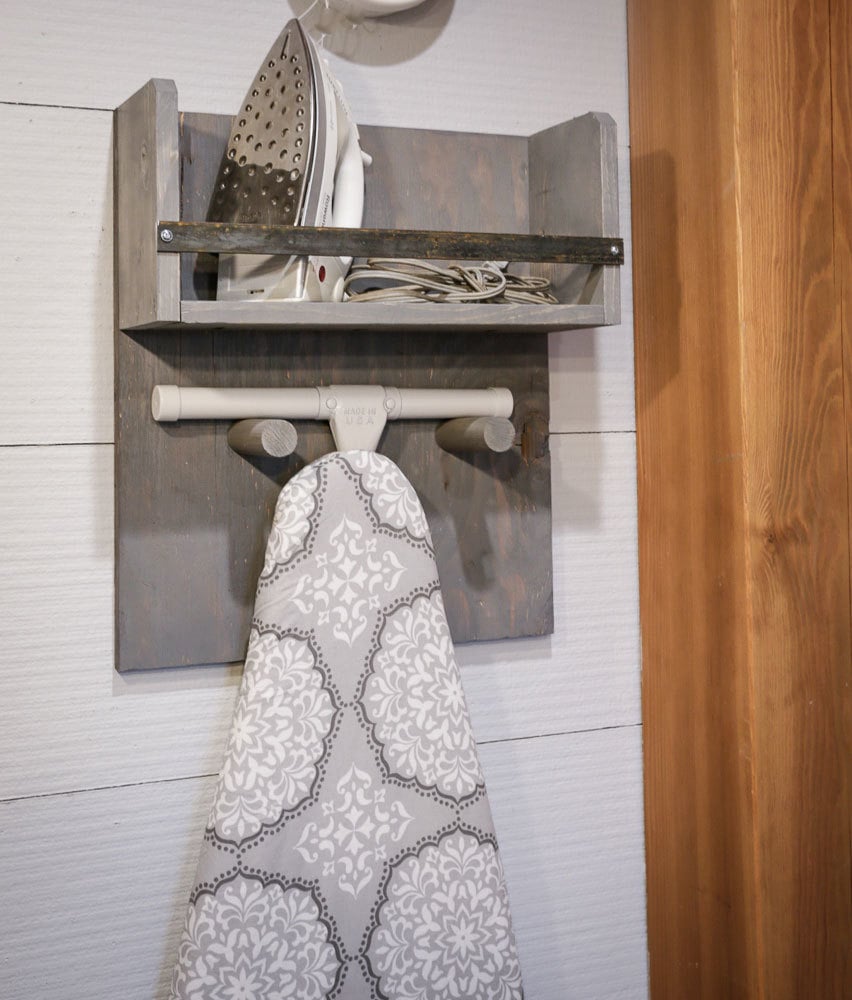
Iron Board Holder

The free plans on this website are made possible with advertising and affiliate links.  Thank you for helping us keep plans free.


Difficulty
Beginner Projects
| Print this plan

How to build an iron board holder.  Free tutorial by ANA-WHITE.com

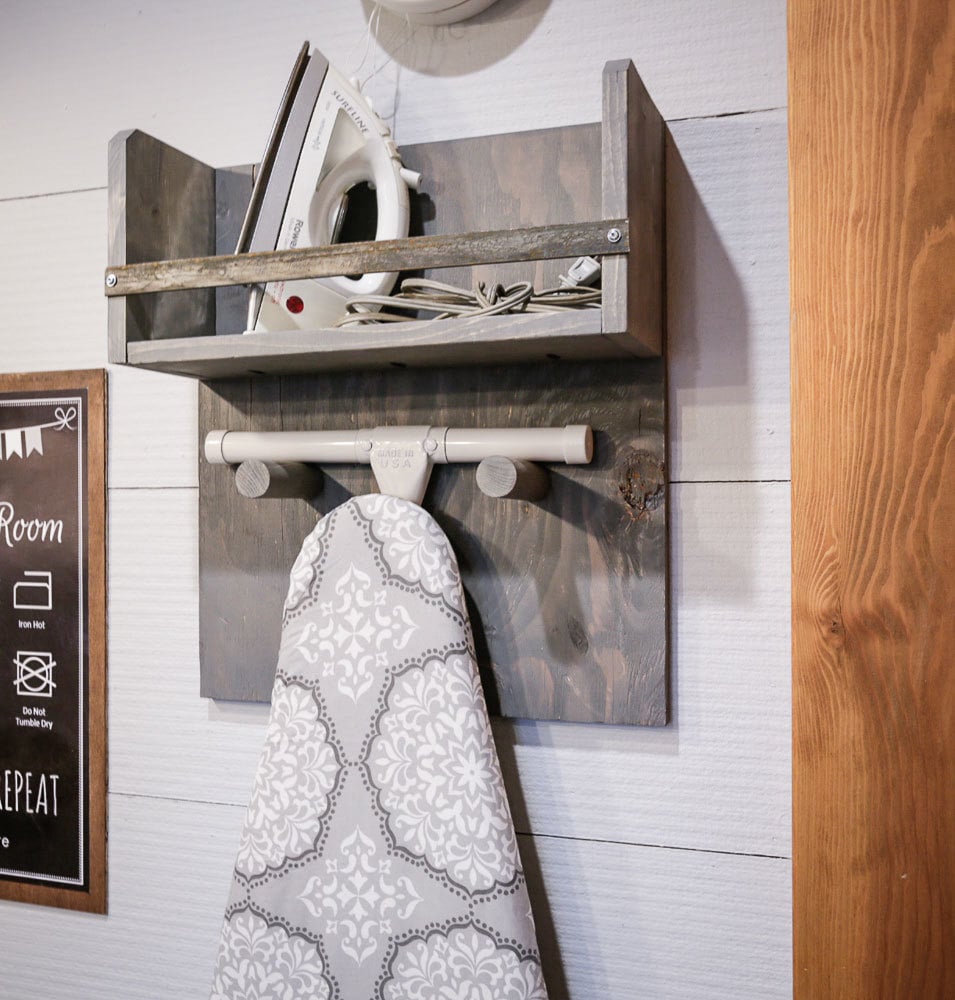
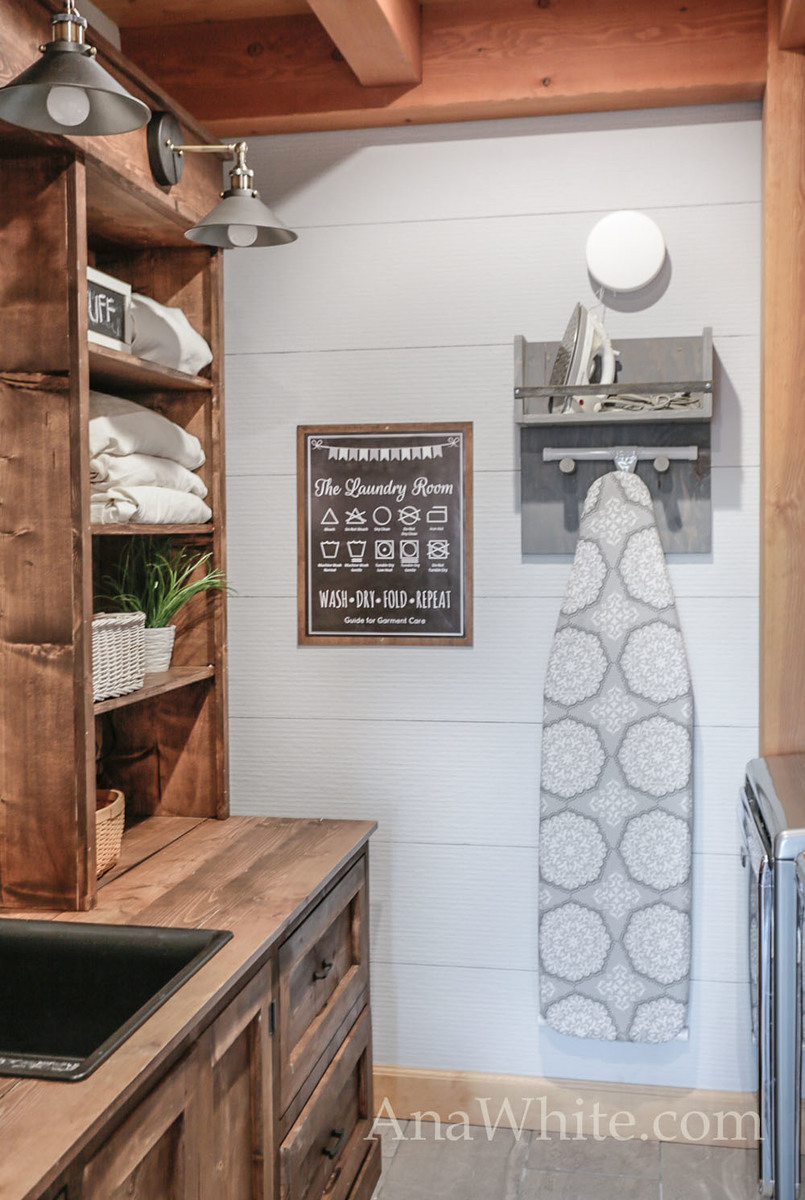
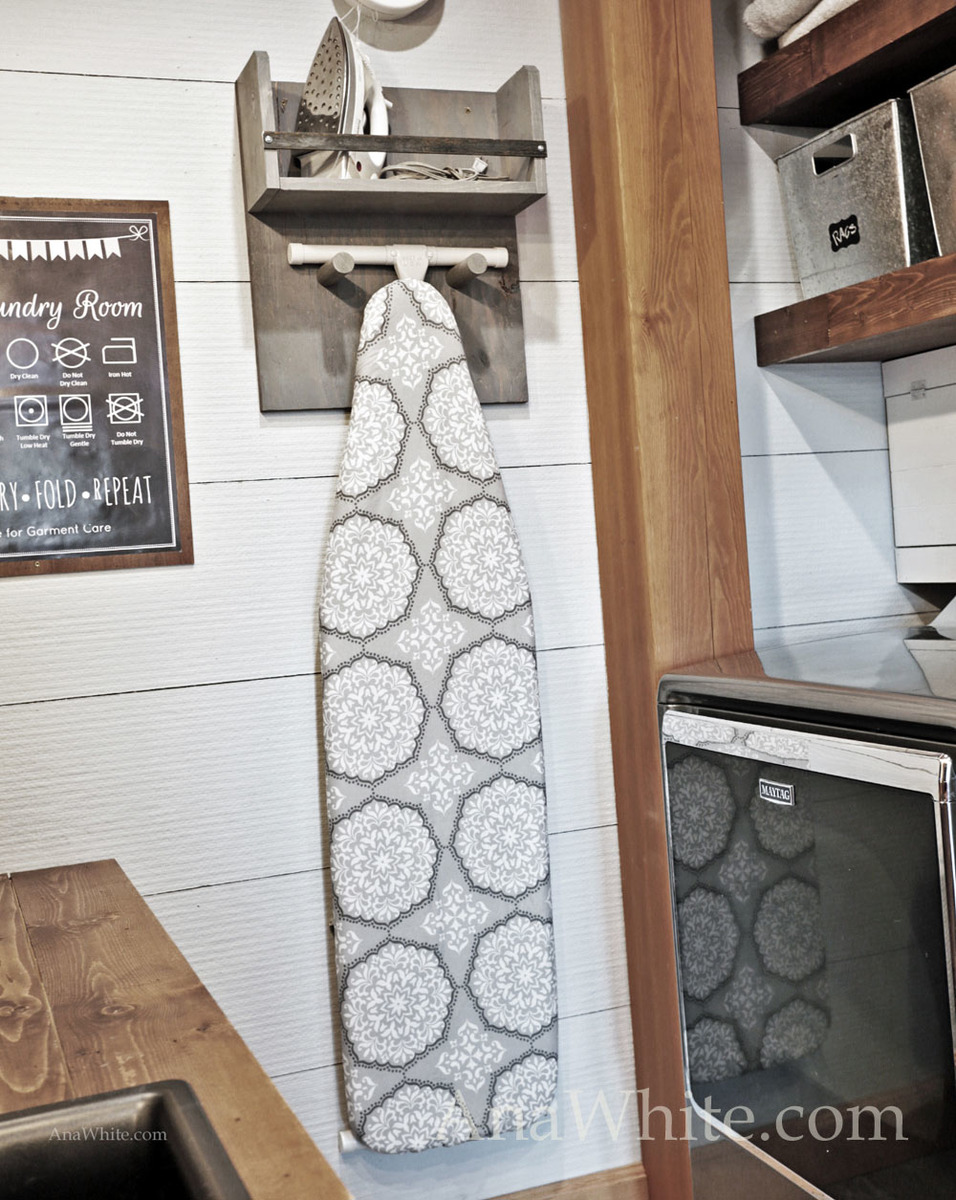
Here's a beautiful and accessible way to store your iron and ironing board.  This simple to build iron board holder is a very easy DIY project that is guaranteed to up the form and function in your laundry room.

So much better than a store bought hanger! 

Can you believe this iron board holder project cost less than $20 to make? 

The wood was transformed using Varathane Weathered Gray

The free plans follow!

Download, build and share!

XO Ana

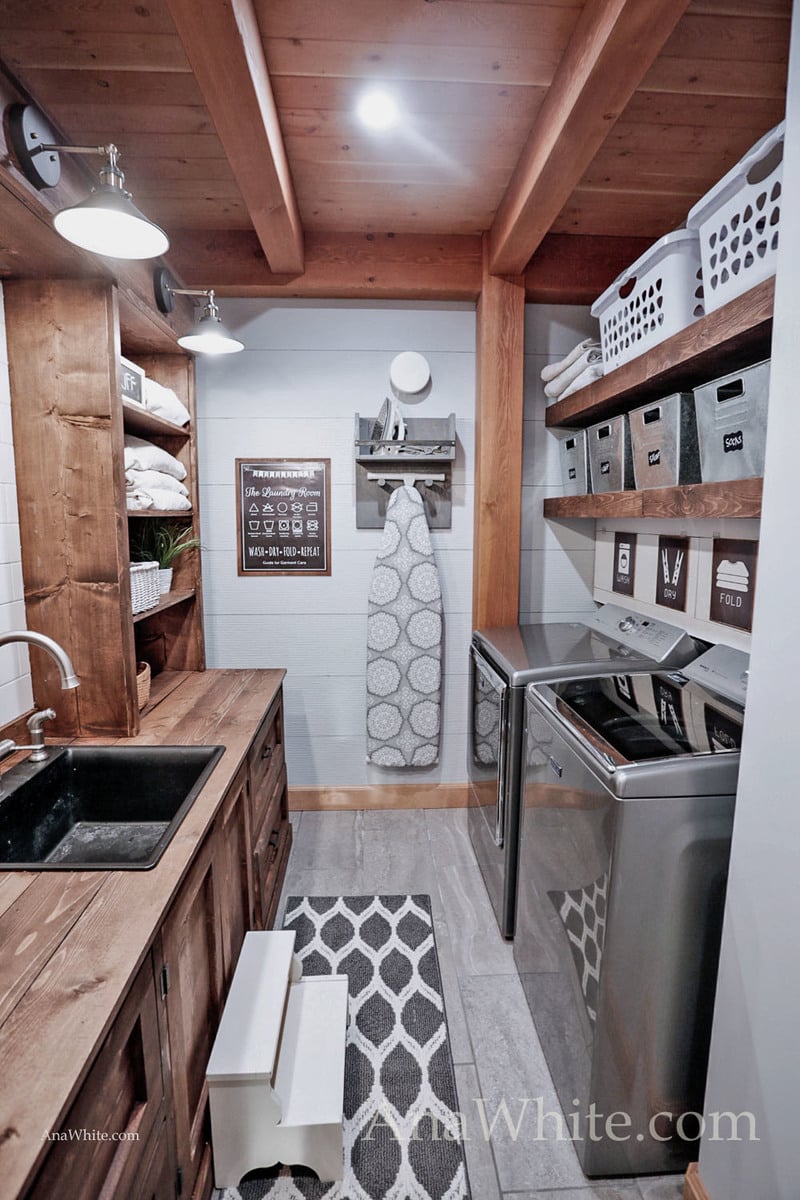
PS - If you love our diy iron board holder, check out our Laundry Room Tour with plans and sources and videos -

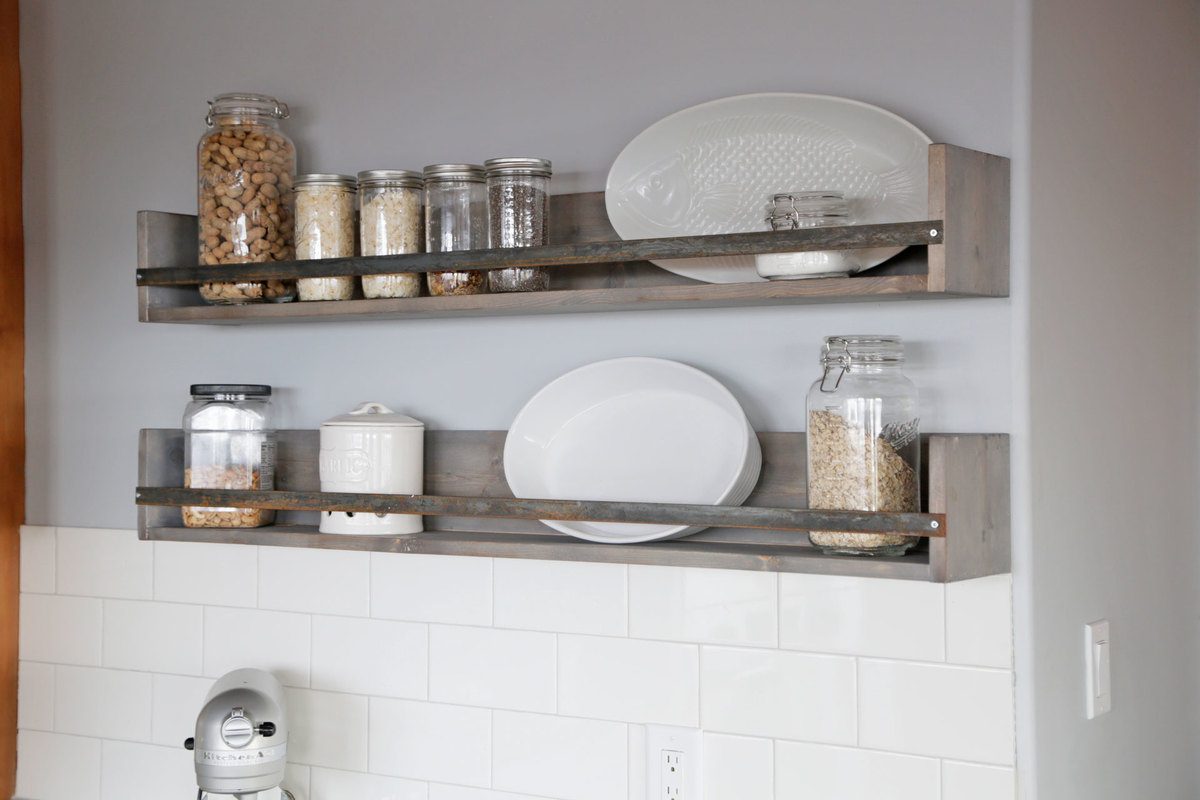
Or our brand new kitchen shelves (similar design, different use!) - plans coming soon

Or this more compact DIY Iron Board Holder, by Sawdust Sisters

Dimensions
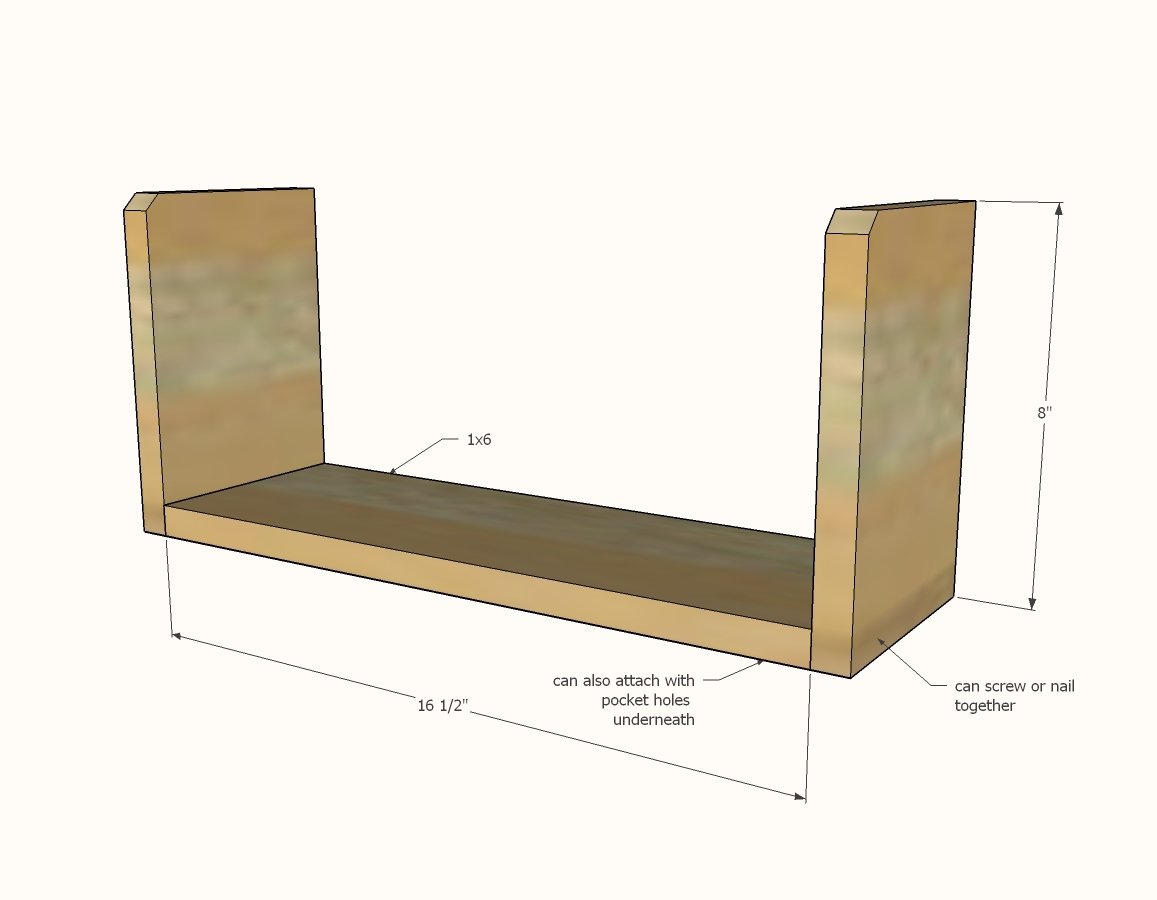
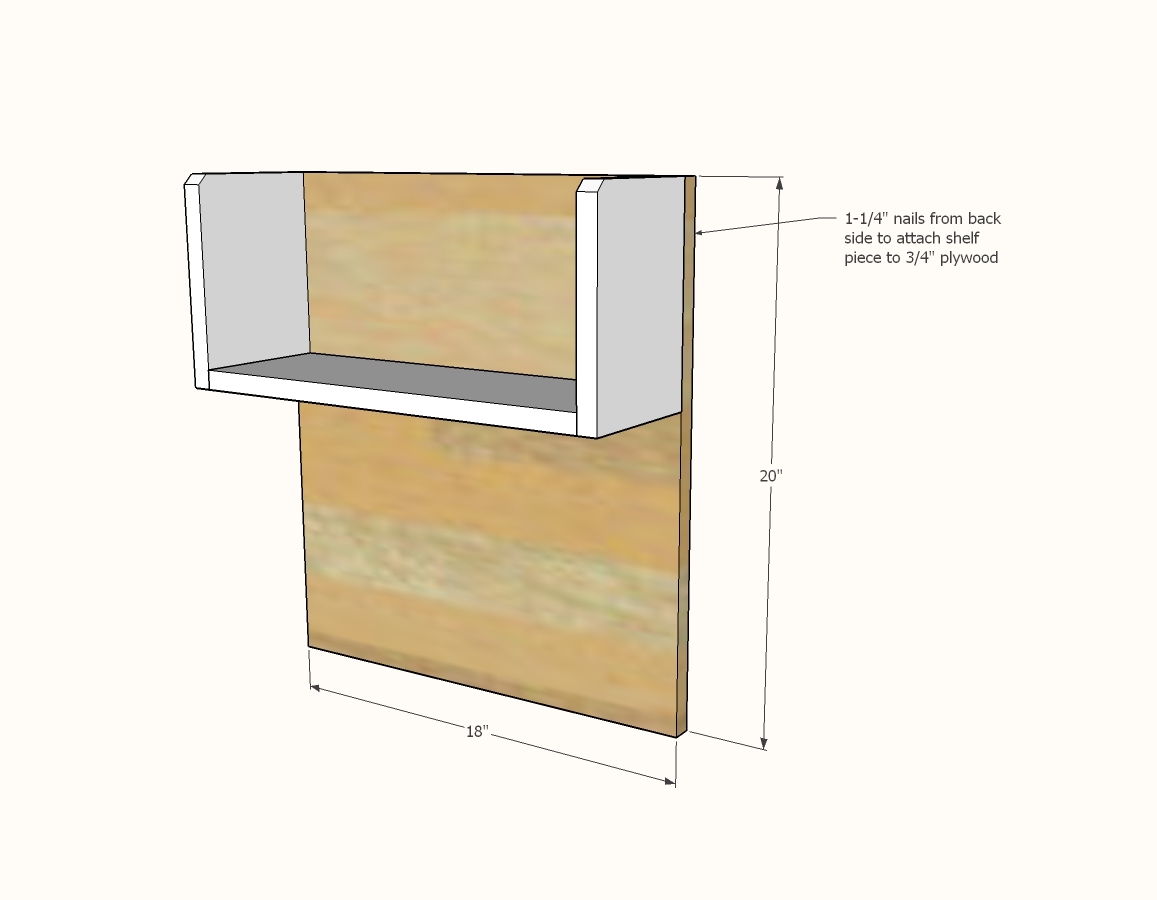
Dimensions shown above

Preparation

Shopping List

1 - 3/4" plywood @ 18" x 20"

1 - 1x6 @ 36" long

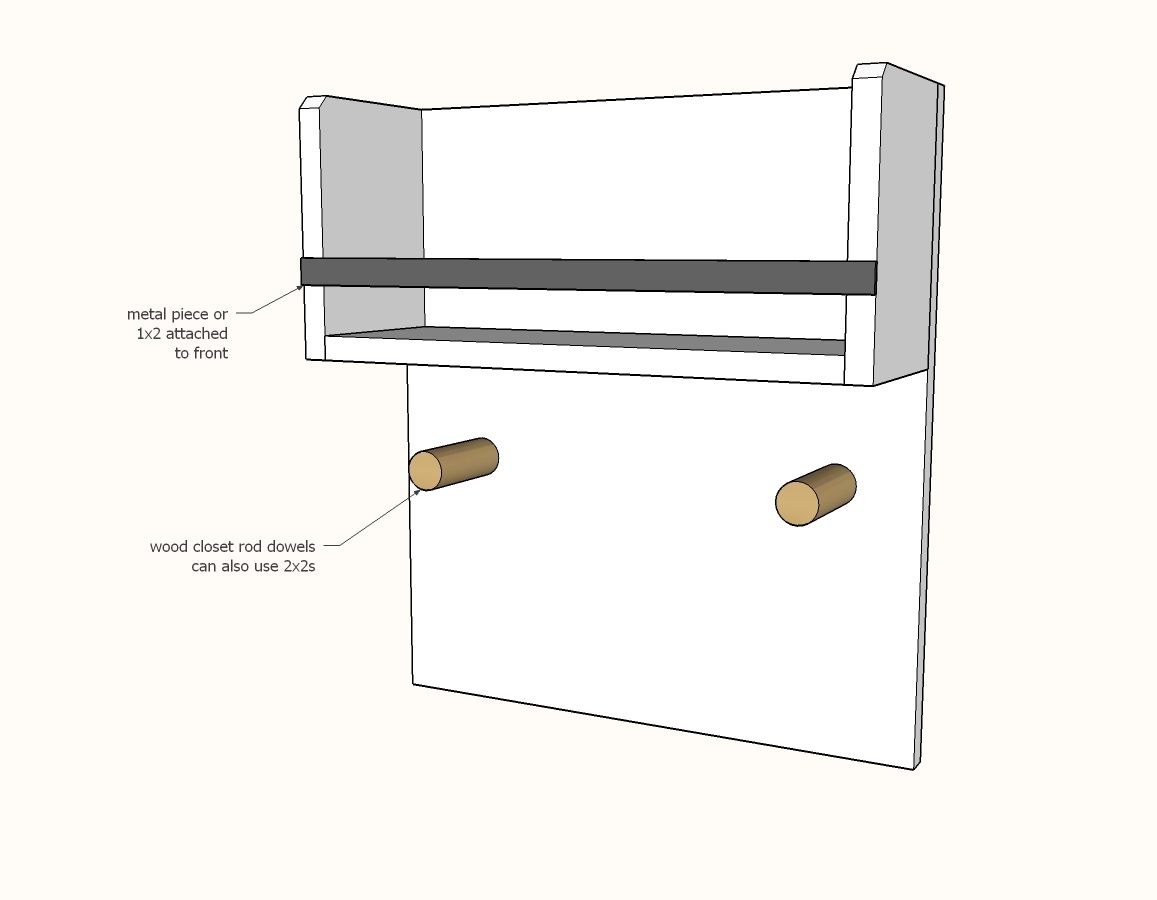
1 - 1-1/4" closet rod dowel @ 8" (could also use hooks or 2x2s)

1 - 3/4" flat metal piece @ 18" OR 1 - 1x2 @ 16-1/2"


Can be assembled with either 1-1/4" brad nails (with a brad nailer) and wood glue, or with 2" self tapping wood screws, or 1-1/4" pocket hole screws and Kreg Jig, or a combination. Least amount of tools and supplies is drill with 2" screws.


Cut List

1 - 3/4" plywood @ 18" x 20"

1 - 1x6 @ 16-1/2"

2 - 1x6 @ 8"

2 - 1-1/4" wood dowels @ 4"

1 - 3/4" flat metal piece @ 18" OR 1 - 1x2 @ 16-1/2"

Tools
Tape Measure
Speed Square
Pencil
Safety Glasses
Hearing Protection
Drill
Circular Saw
Drill Bit Set

Instructions

Step 1

Nail, screw or pocket hole the sides of the shelf to the bottom.  

Step 2

From back, attach shelf pieces to back with glue and nails or screws.  All outside edges should be flush.

Step 3

Use 2" screws from back to attach dowels.  TIP:  First predrill holes all the way through the 3/4" plywood from the front where you want the dowels placed.  Then flip over, insert screws, line up dowels centered on screws, and attach.

Comments

Dpug

Fri, 07/09/2021 - 13:46

Absolutely love this project! It'll be perfect for my upcoming laundry room makeover. Just a question, though: where did you get the flat metal piece that goes across the front? It adds such a nice finishing touch!